How to Add Outline to Sticker in Canva
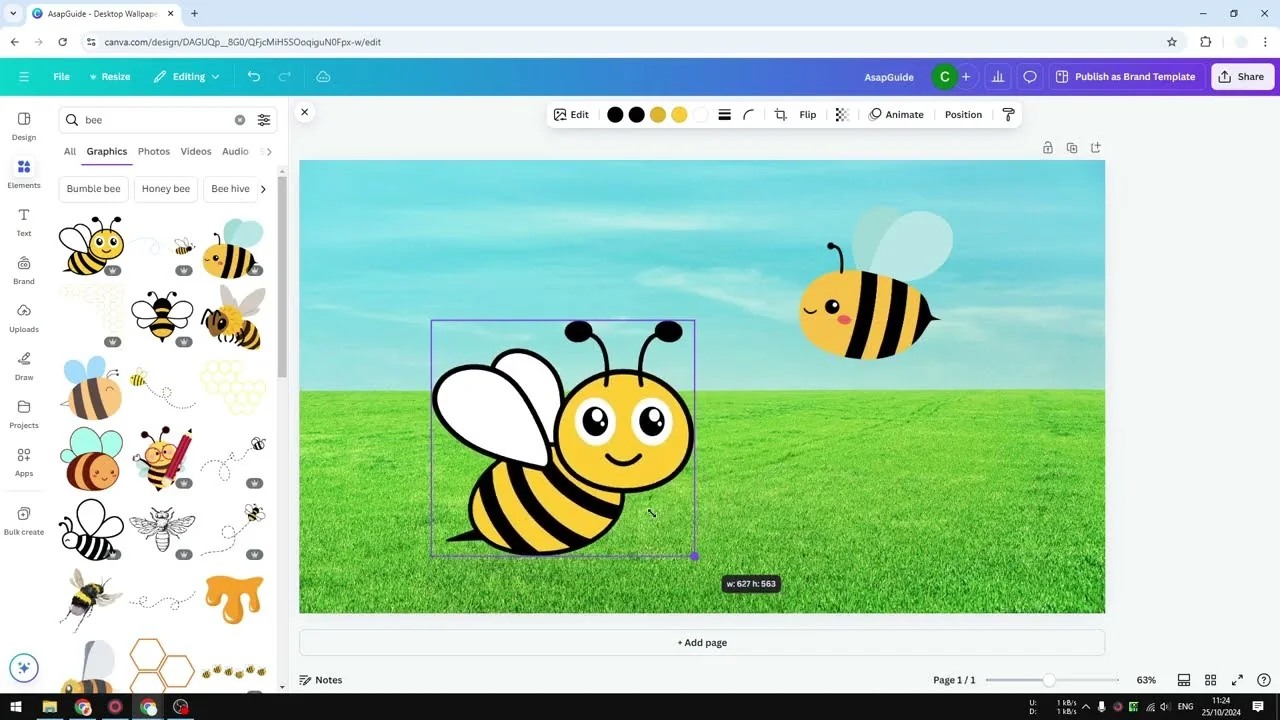
I will show you how to add a simple outline to a sticker in Canva. I have two stickers that come from the Graphics element. Graphics are vector-based objects, meaning you can enlarge the image and it will not be pixelated like JPG or PNG.
Add Outline to Sticker in Canva
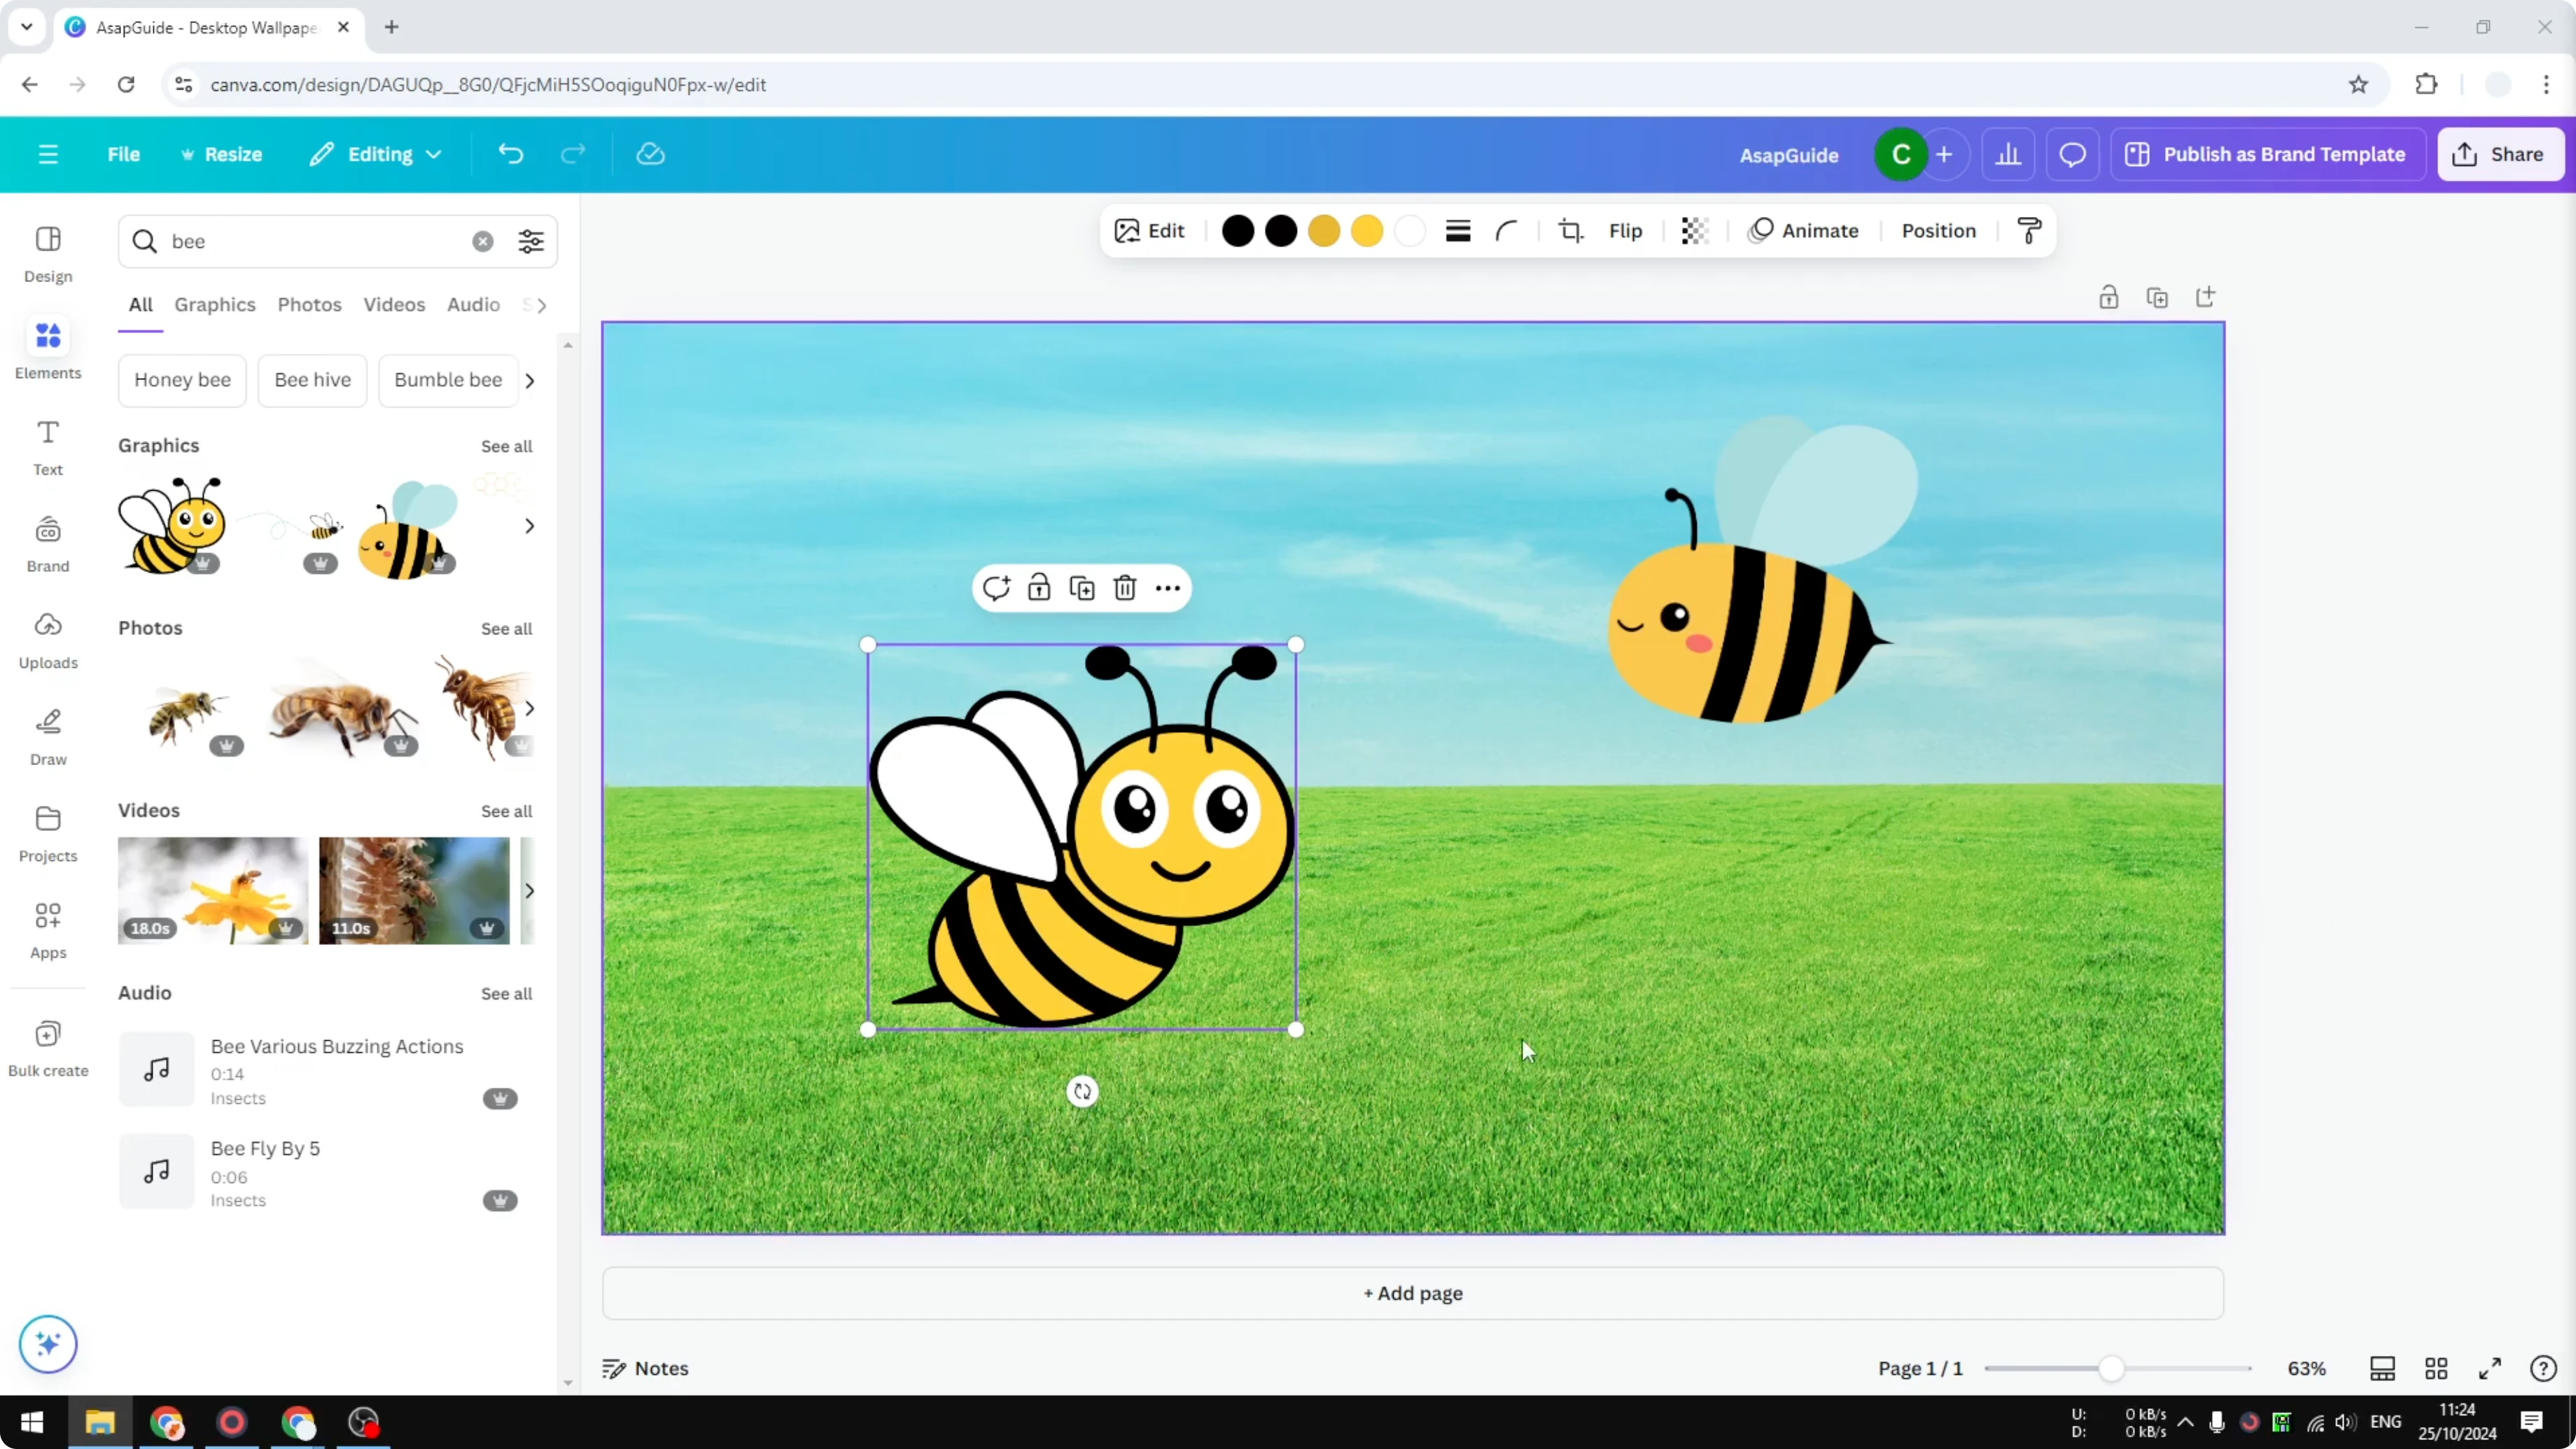
I want to add an outline to this sticker. This sticker already has an outline, but the picture of a bee does not. If you look closely, the sky is blue and the wings of this bee are also kind of blue, and that is why it is not very visible.
Why add outline to sticker in Canva
One way to make it visible is to add an outline. It gives a clear separation between the object and the background.

Read More: Add Background Text Canva
Steps
Click the object.
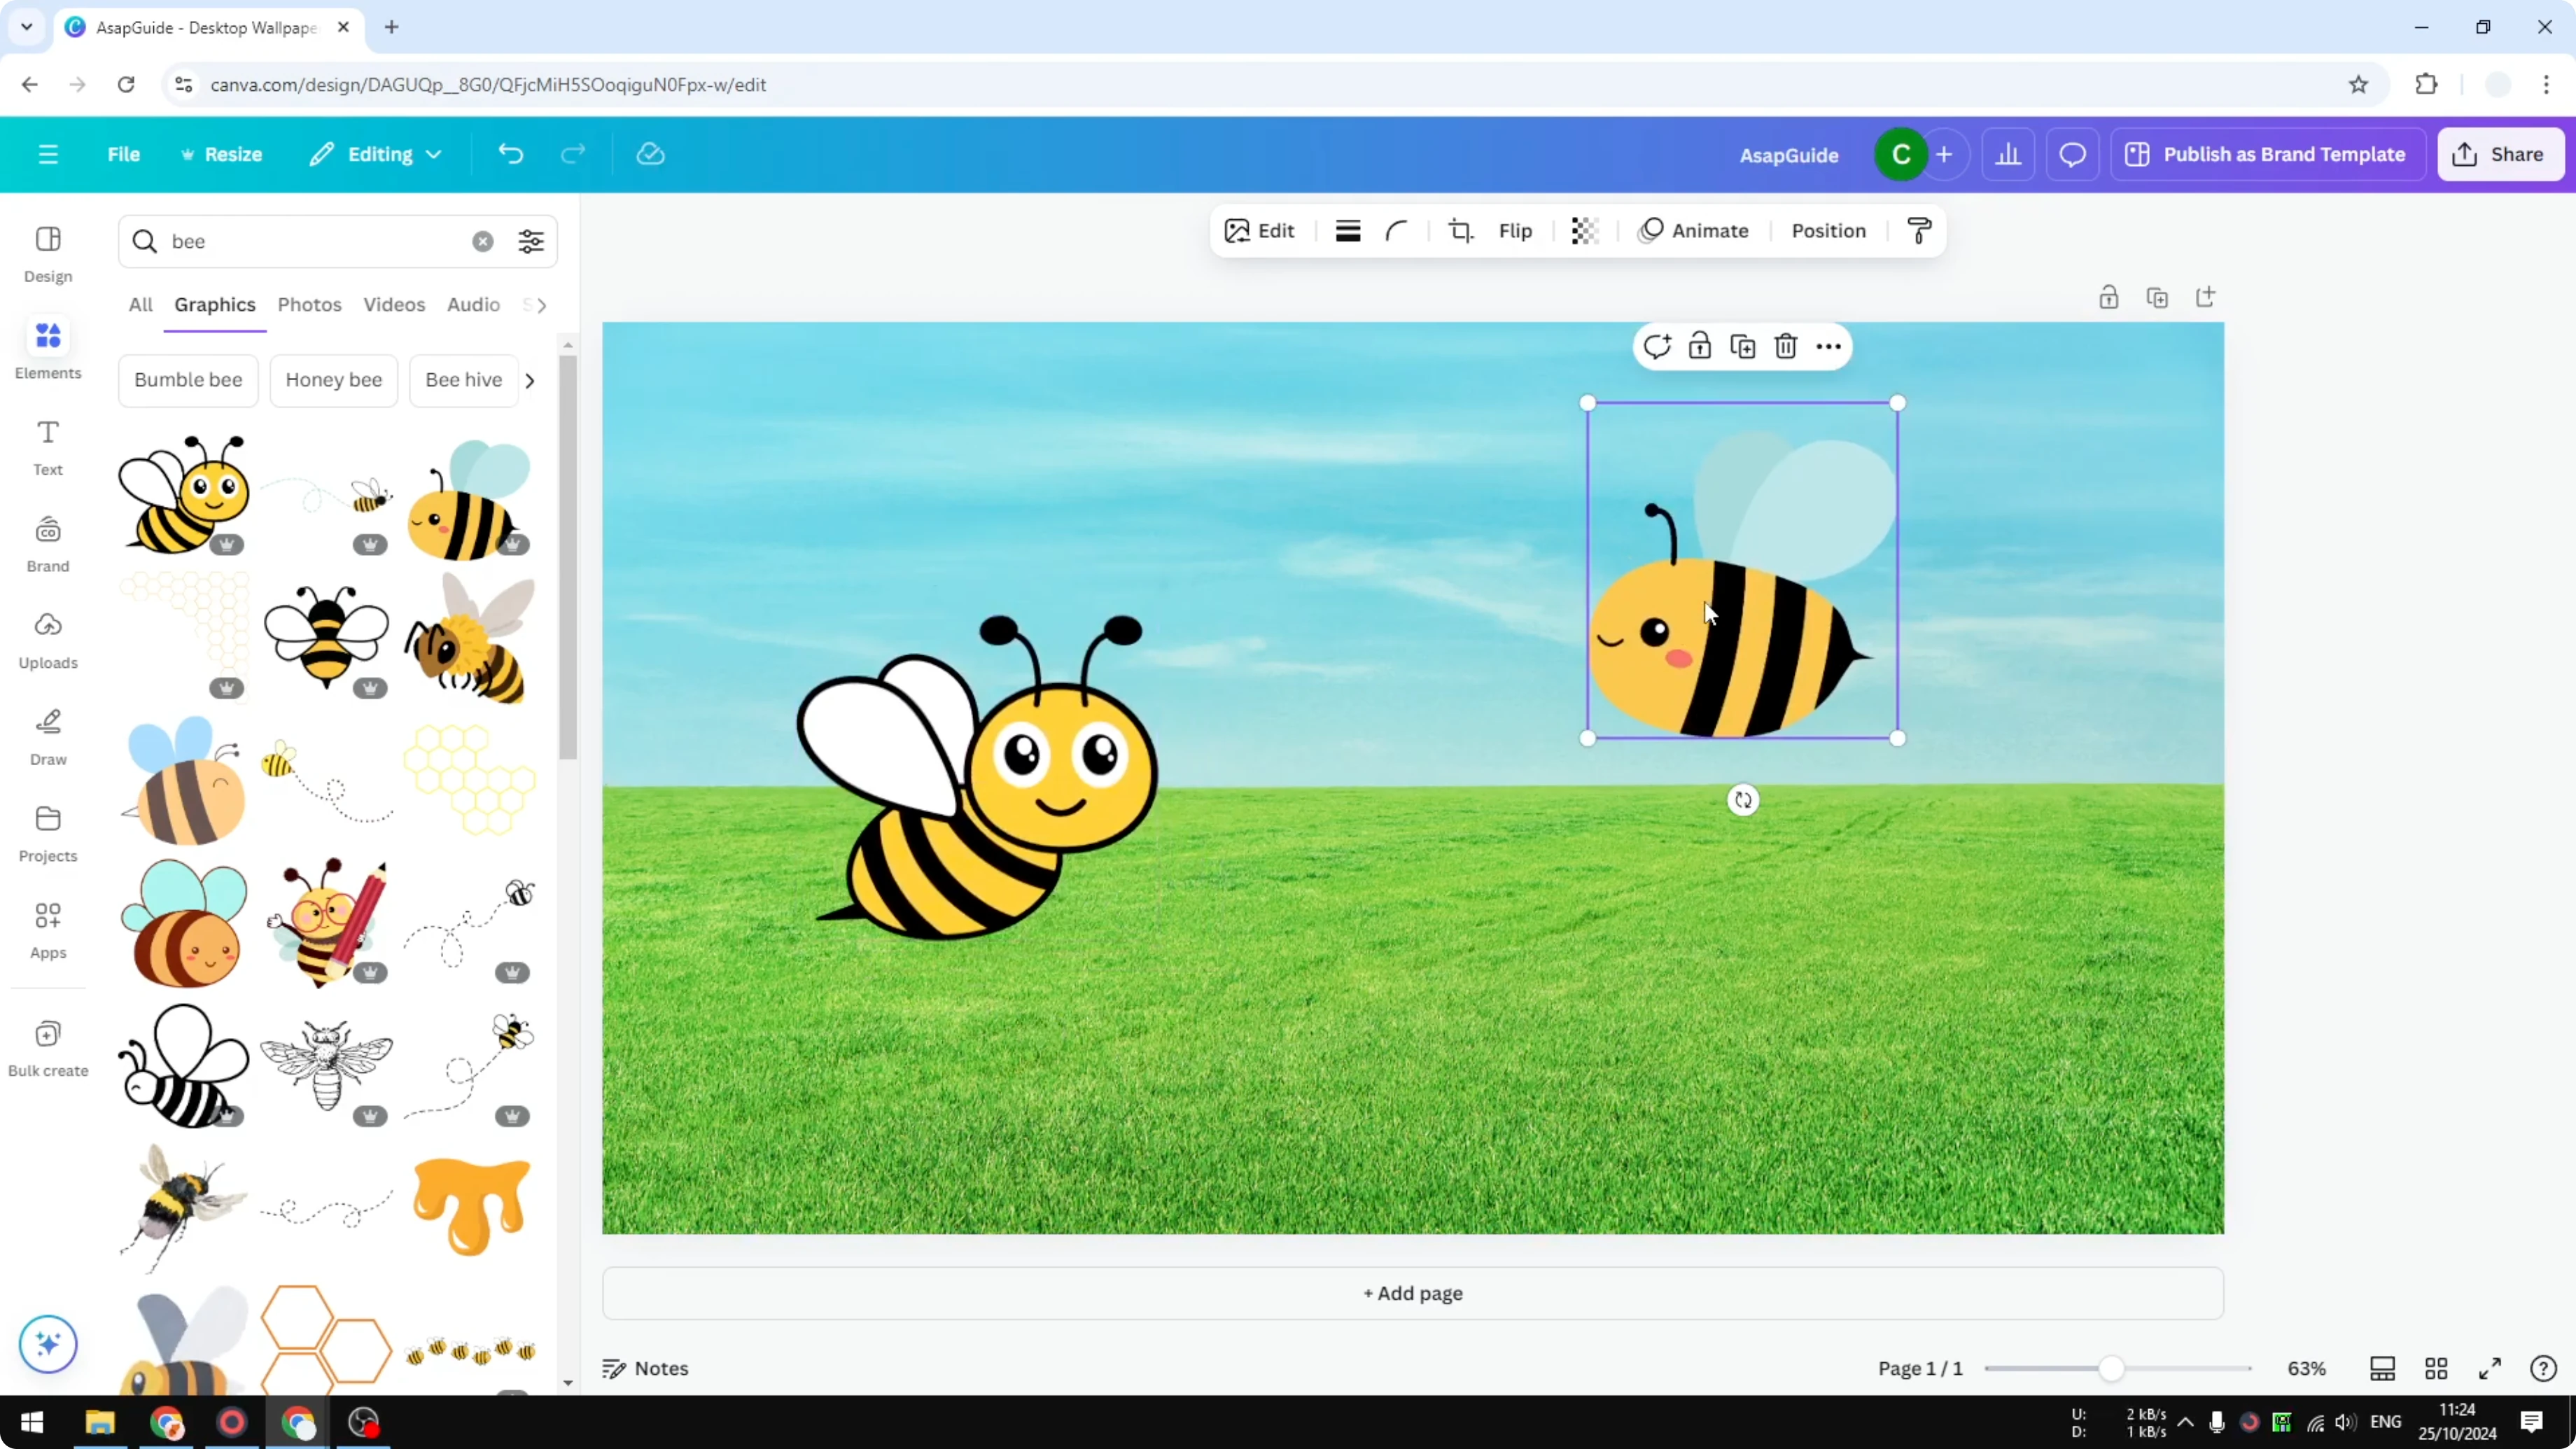
Open Edit.
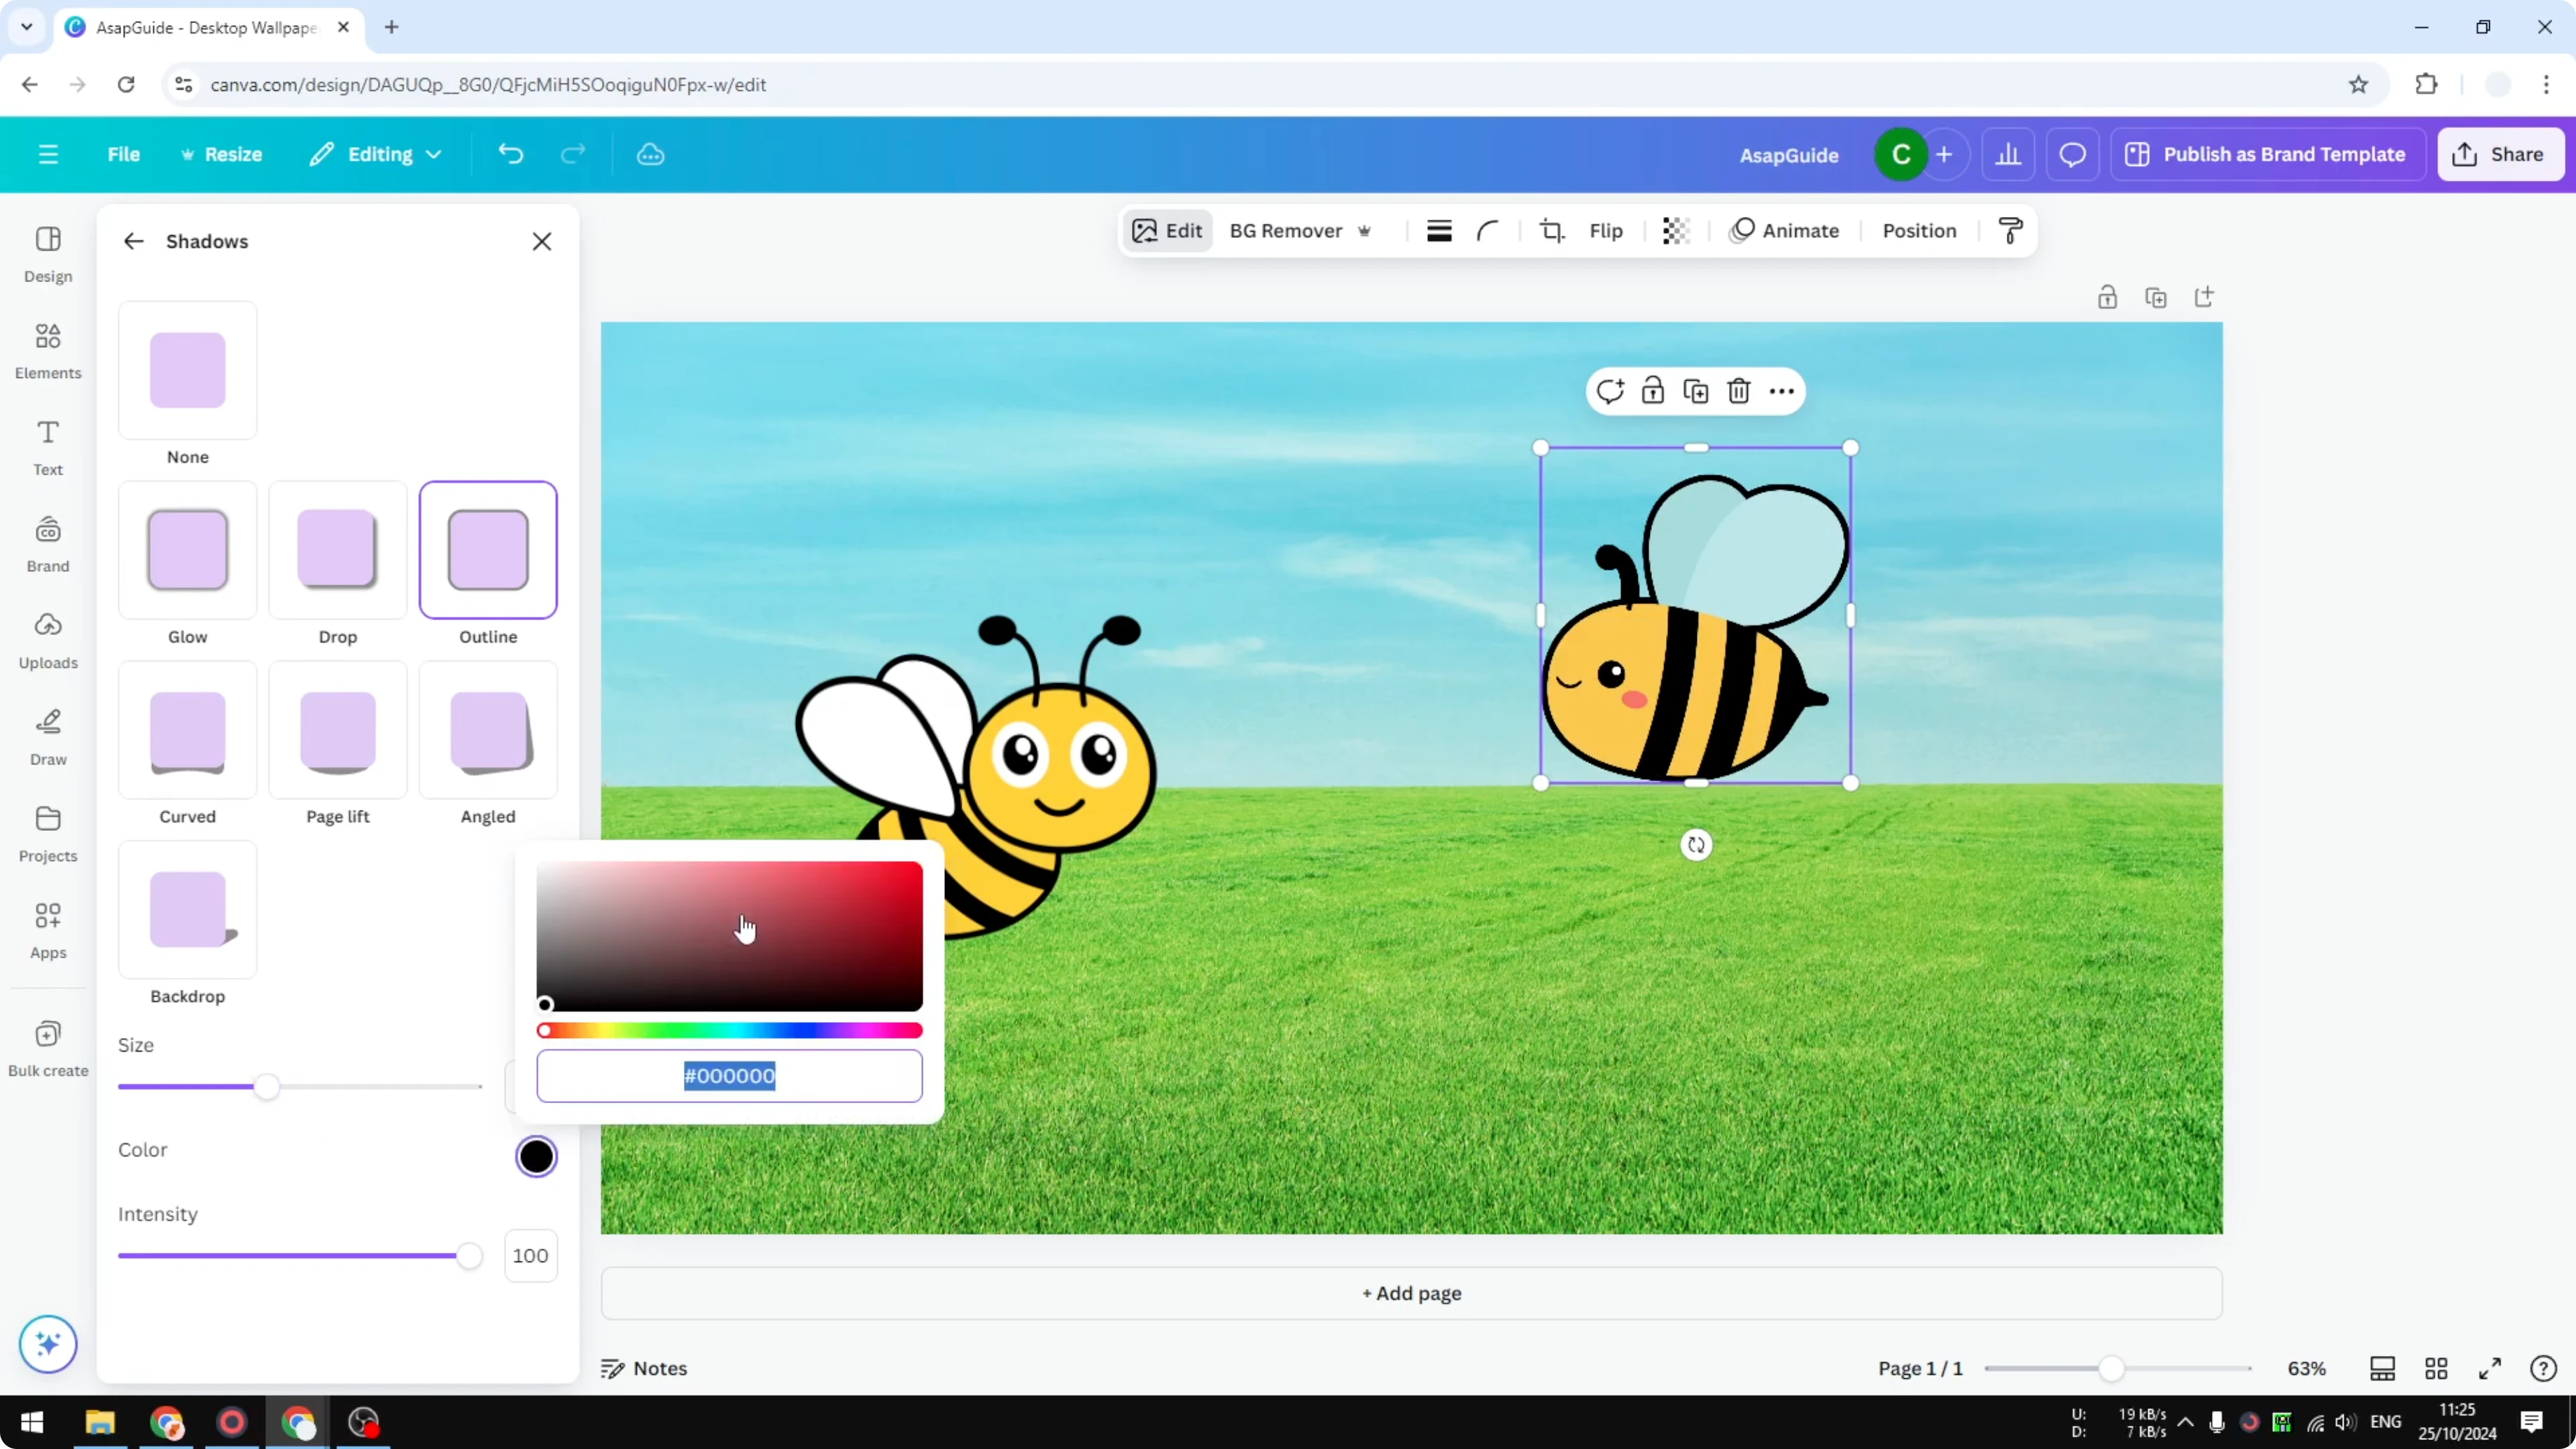
Click Shadows.
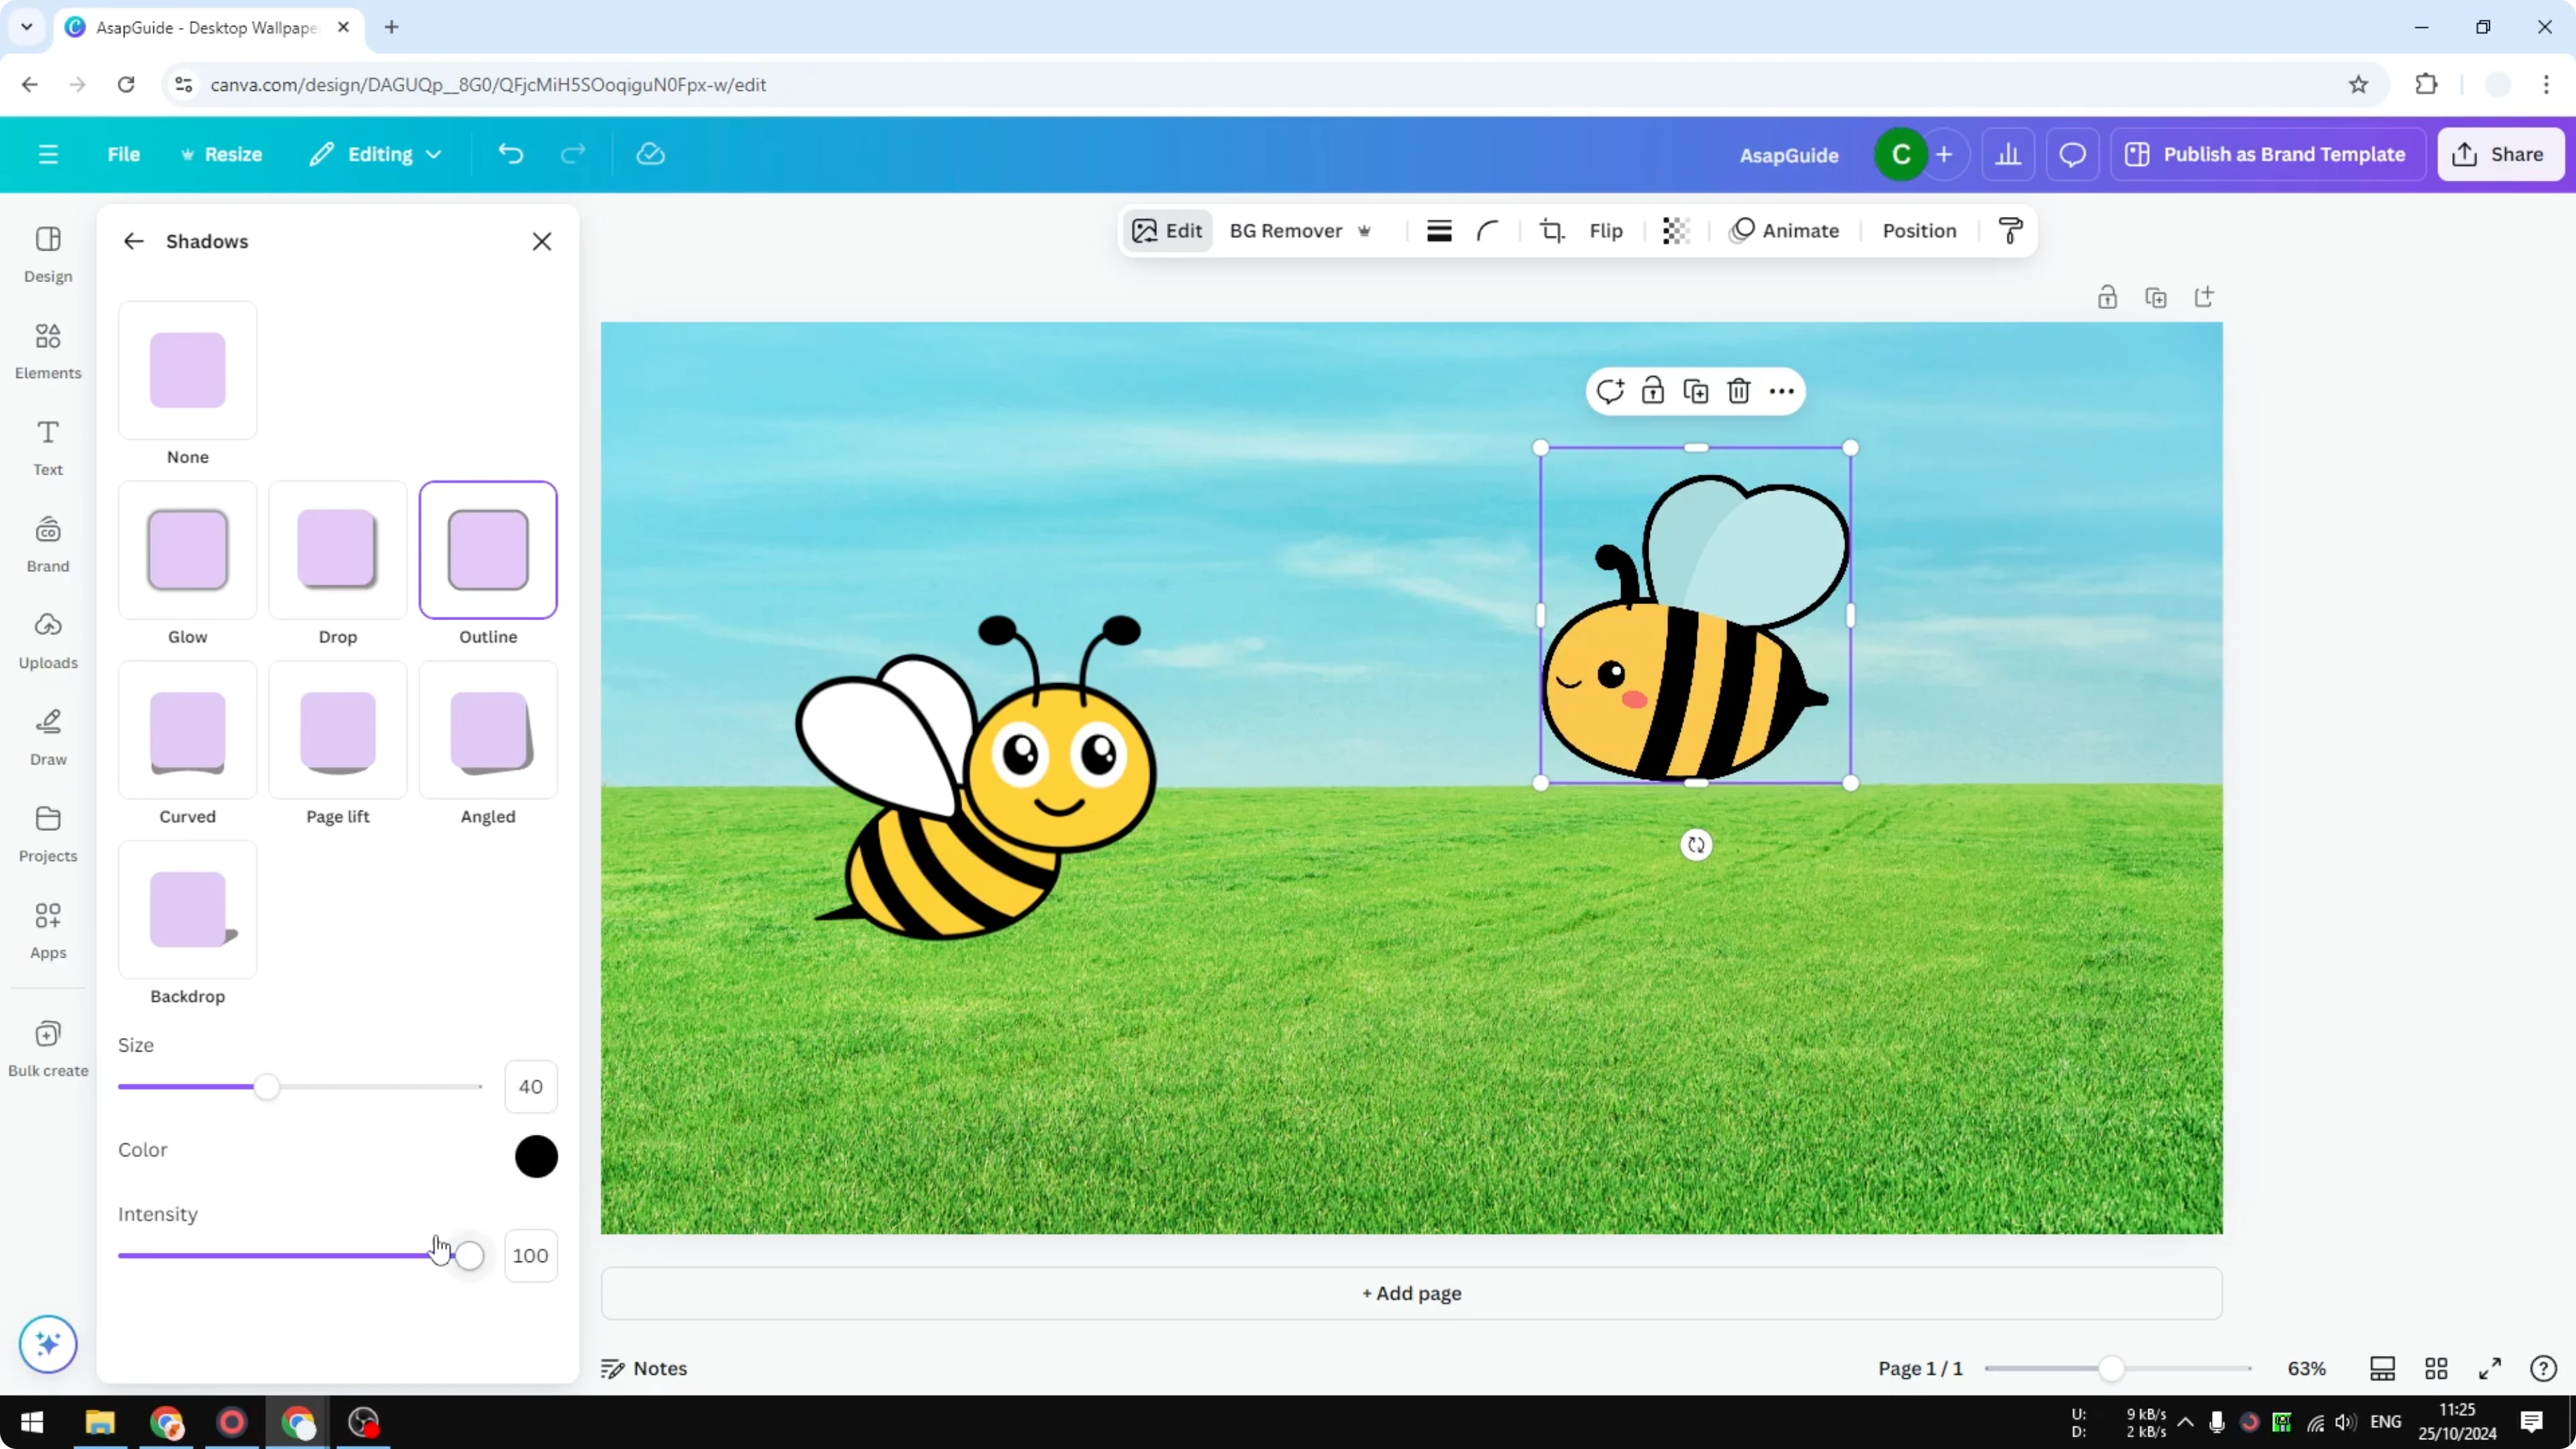
Select Outline.
Adjust the size or thickness of the outline. I set it to 40.
Change the color if you want. By default it uses black.
Use Intensity, which corresponds to the transparency level of the outline. You can make it almost invisible or fully visible.
Fine-tune settings
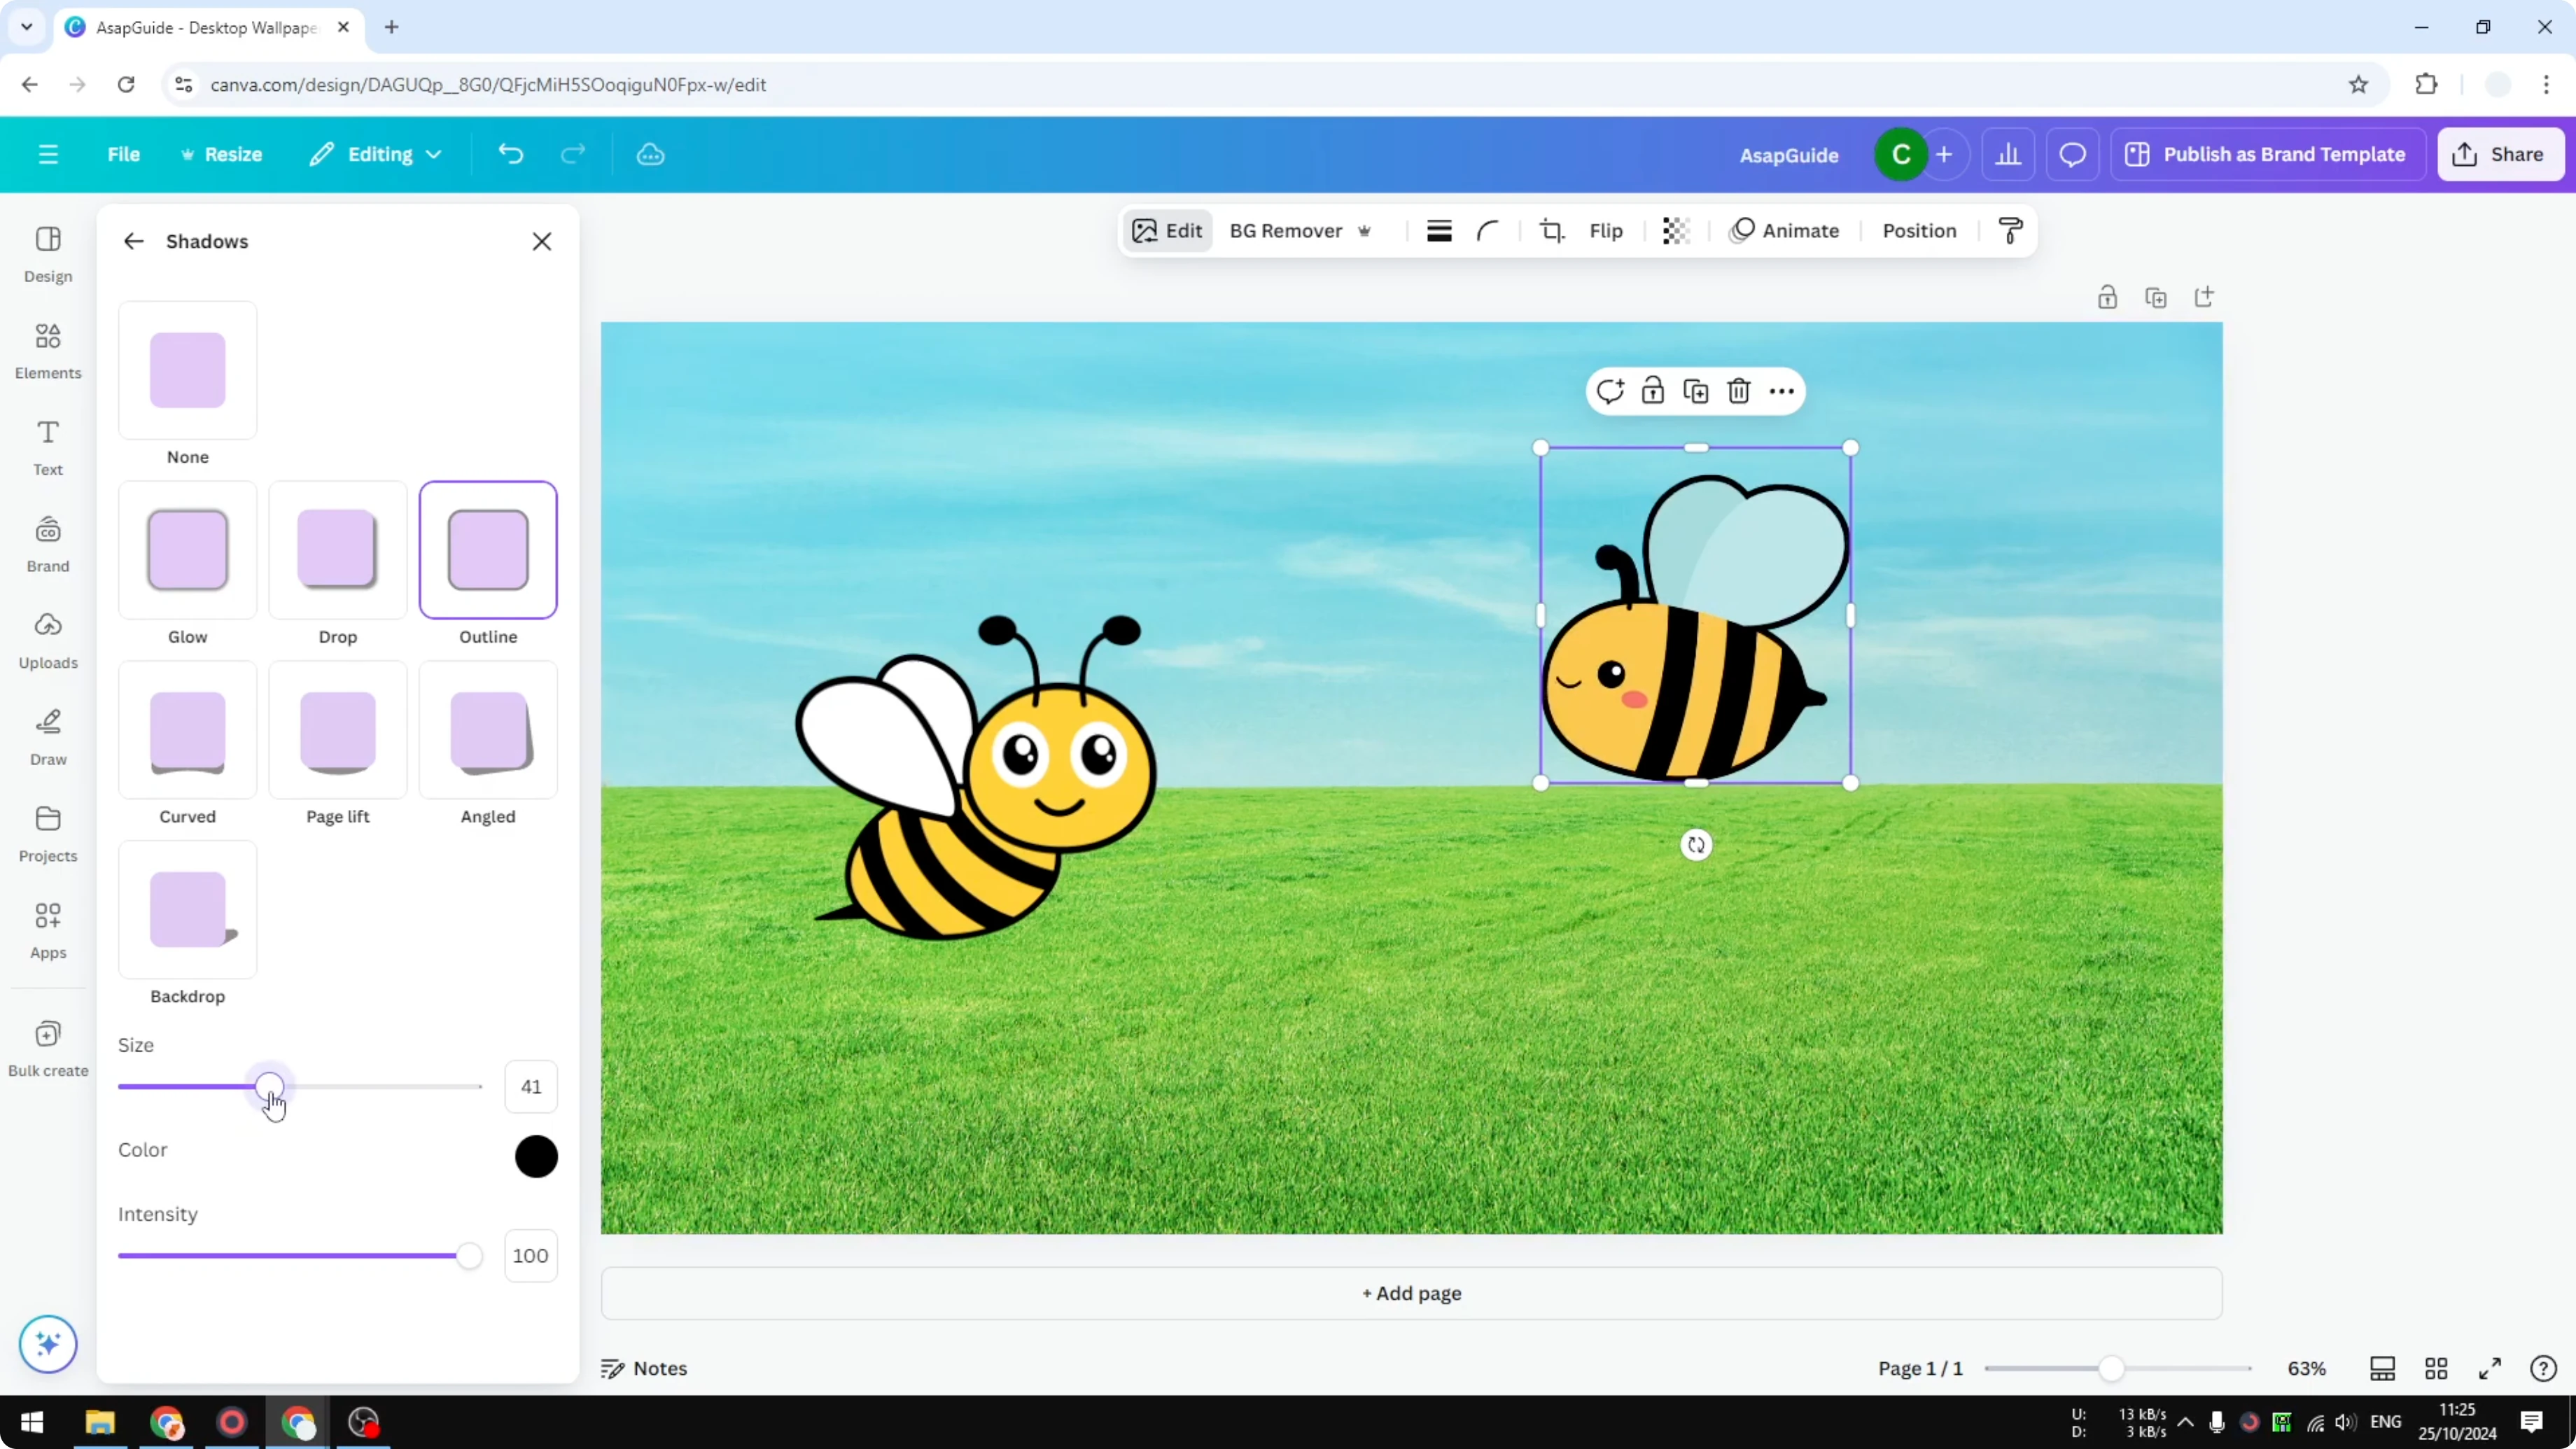
You can adjust the size or thickness of the outline to your preference. You can choose a different color if black does not fit your design. The Intensity slider controls transparency, from almost invisible to fully visible.
Read More: Add Alt Text Picture Canva
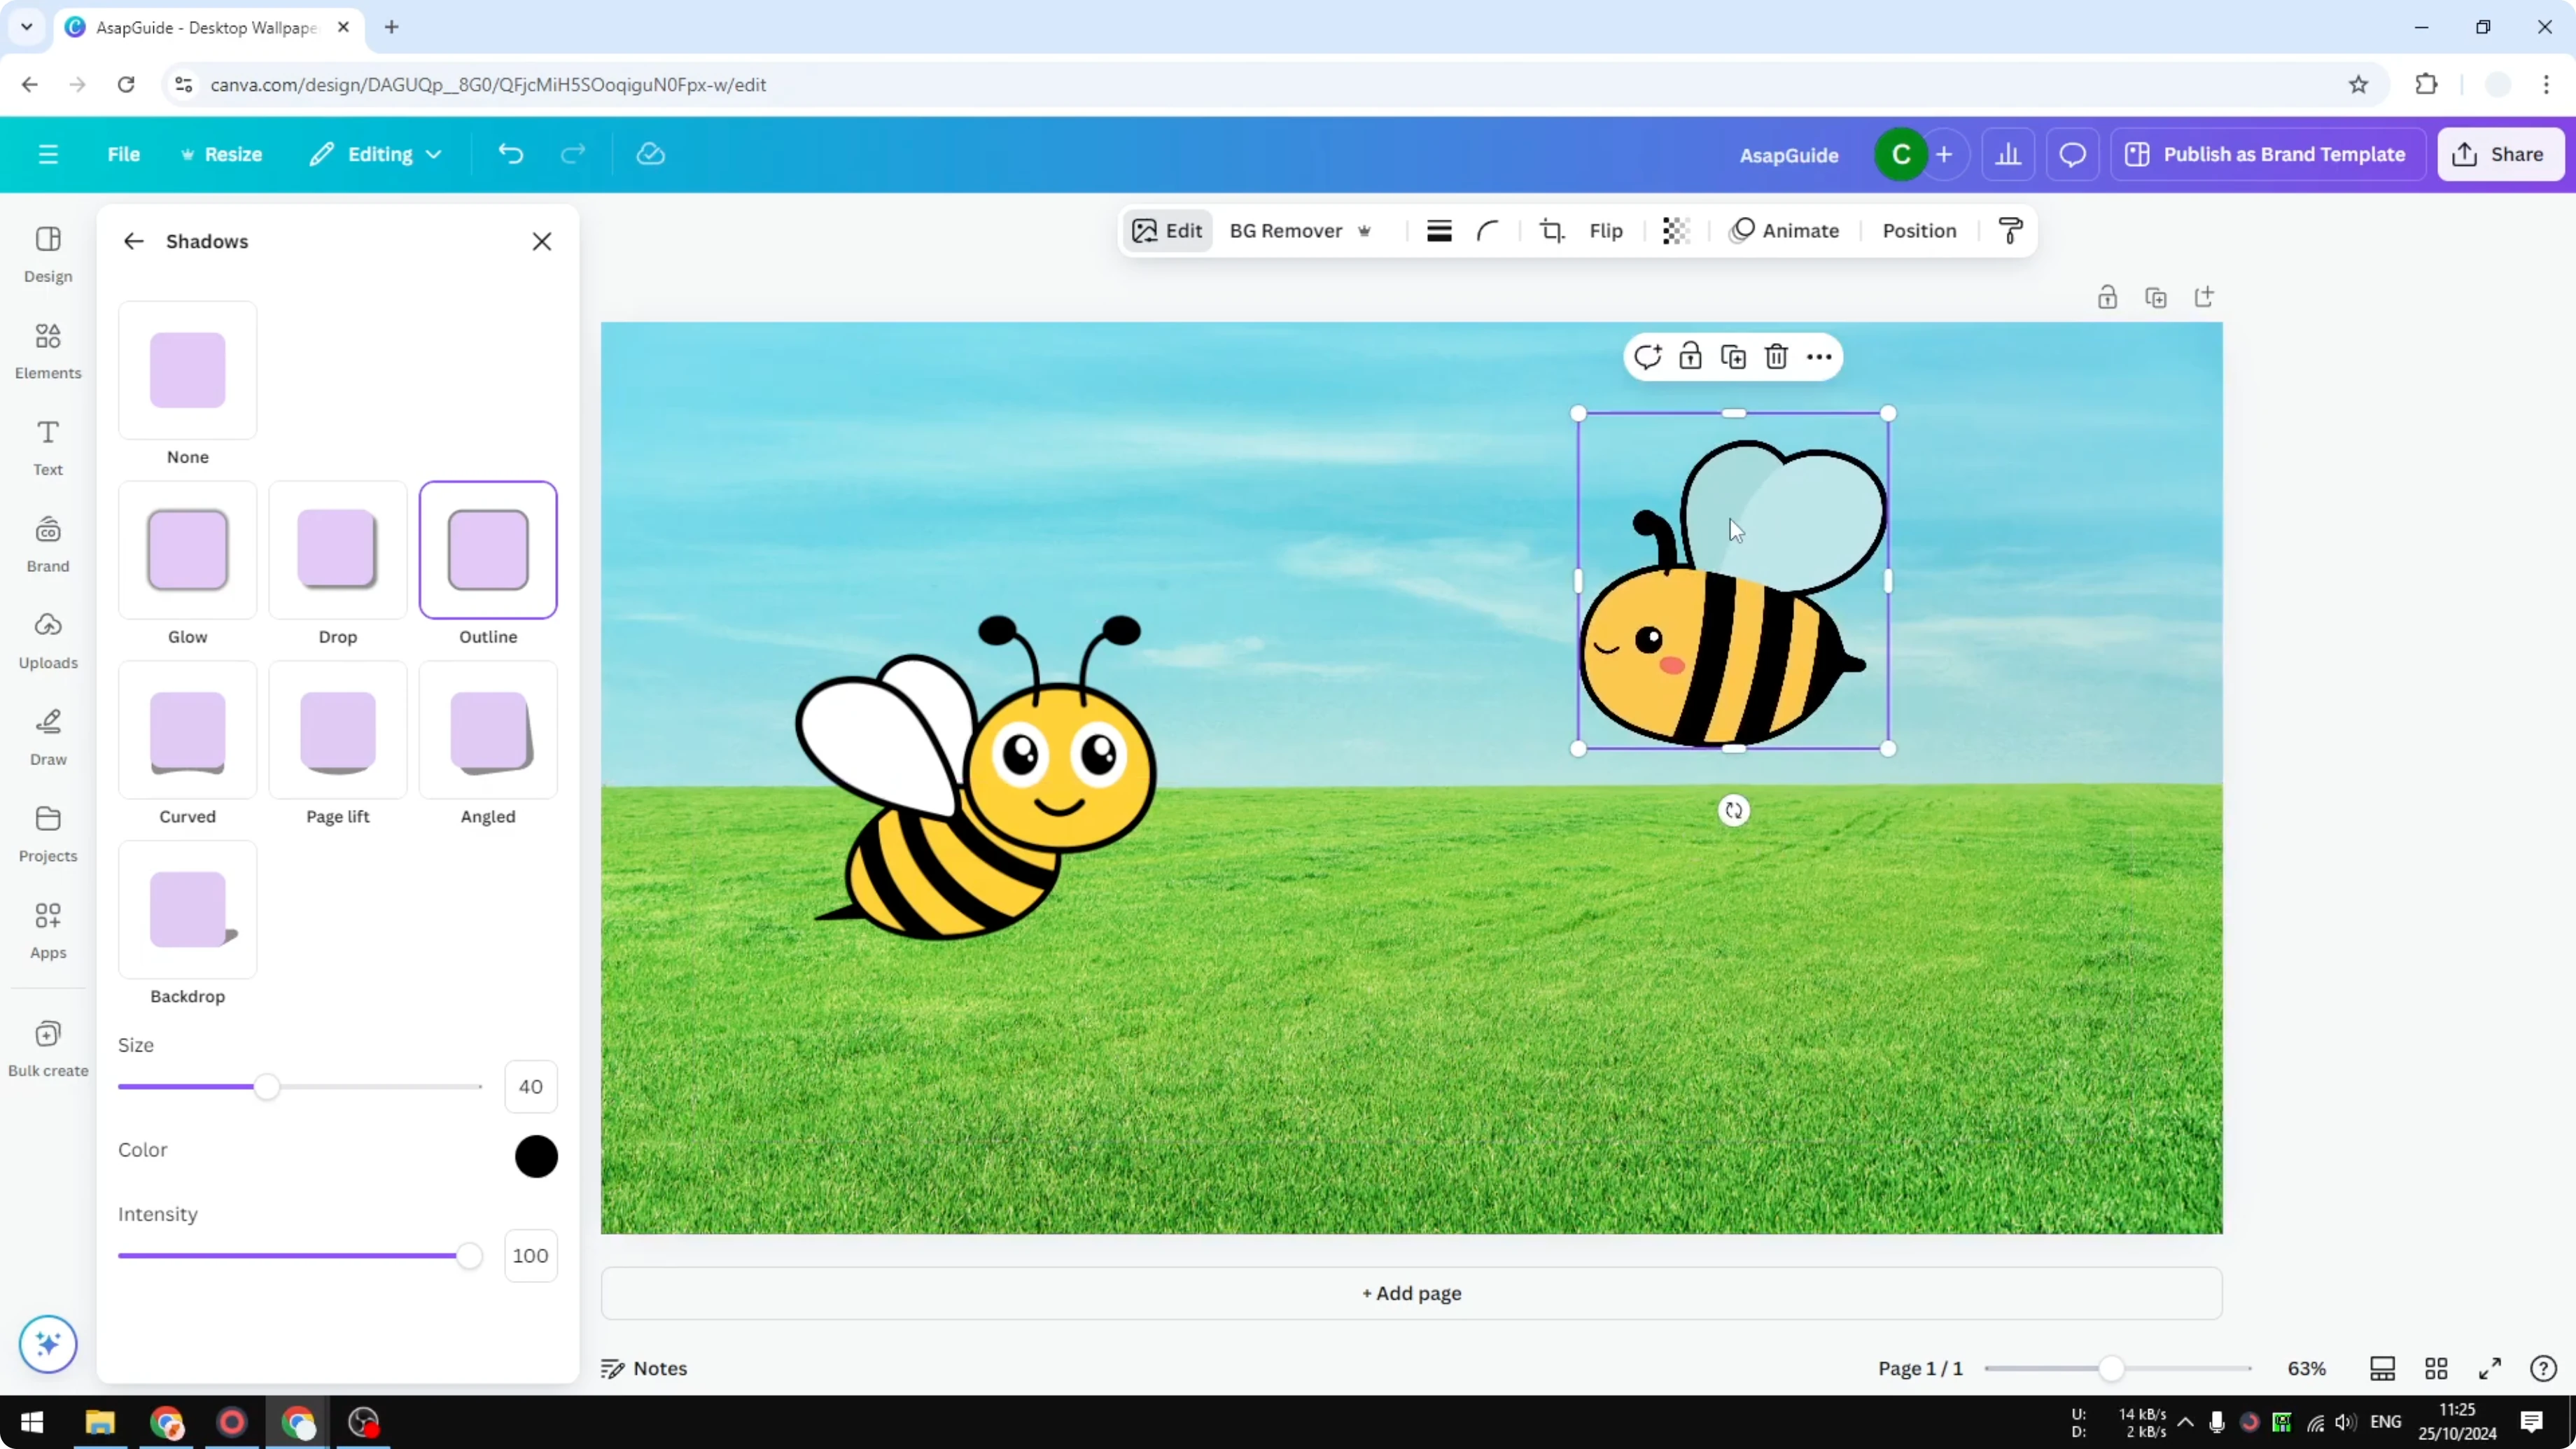
Result
Now you can see the wings are much more prominent. It gives a clean separation between the object and the background.
Read More: Add Accent Marks Canva
Final thoughts on Add Outline to Sticker in Canva
A simple outline can make stickers stand out quickly, especially when colors in the object and background are similar. It improves visibility and clarity with just a few adjustments.
That is how you can add a simple outline to a sticker in Canva.
Recent Posts
How to Visualize Yourself as a Pixelized Character with AI?
How to Visualize Yourself as a Pixelized Character with AI?

How to Revive Faded Memories and Enhance Image Clarity with AI?
How to Revive Faded Memories and Enhance Image Clarity with AI?

How to Visualize Yourself as an Animal Crossing Character with AI?
How to Visualize Yourself as an Animal Crossing Character with AI?