How to Add an Elbow Line in Canva
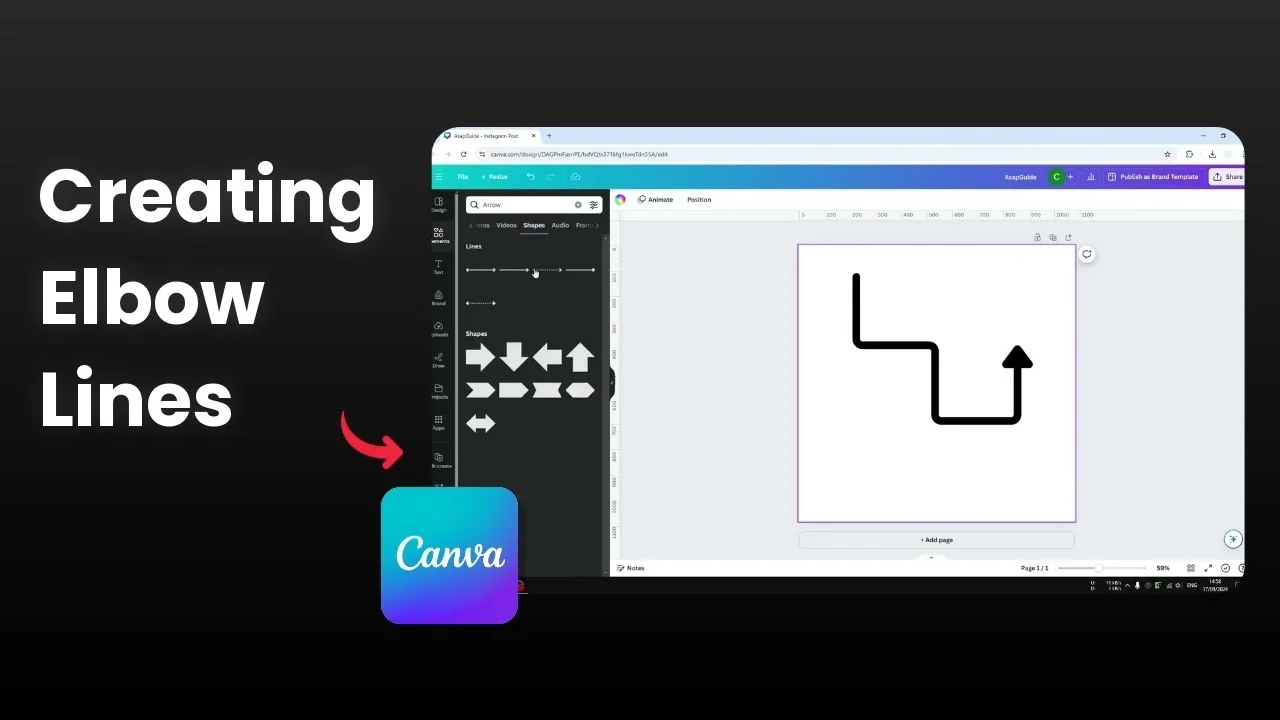
Adding an elbow line creates a straight arrow or line that turns with soft corners. The line stays straight until it bends, and the corners curve. I think it looks pretty, and you can customize the elbows or add more bends as needed.
This works without any third party app. It is available in Canva natively, and Canva adjusts the elbows automatically as you move the points.
Add an Elbow Line in Canva
An elbow line starts from a basic line or arrow in the Elements menu. You can turn any arrow into a regular line, and you can switch its style to elbow with a single setting.
If you are starting with standard arrows and want more options first, check our guide to adding arrow lines.
Start with a line or arrow
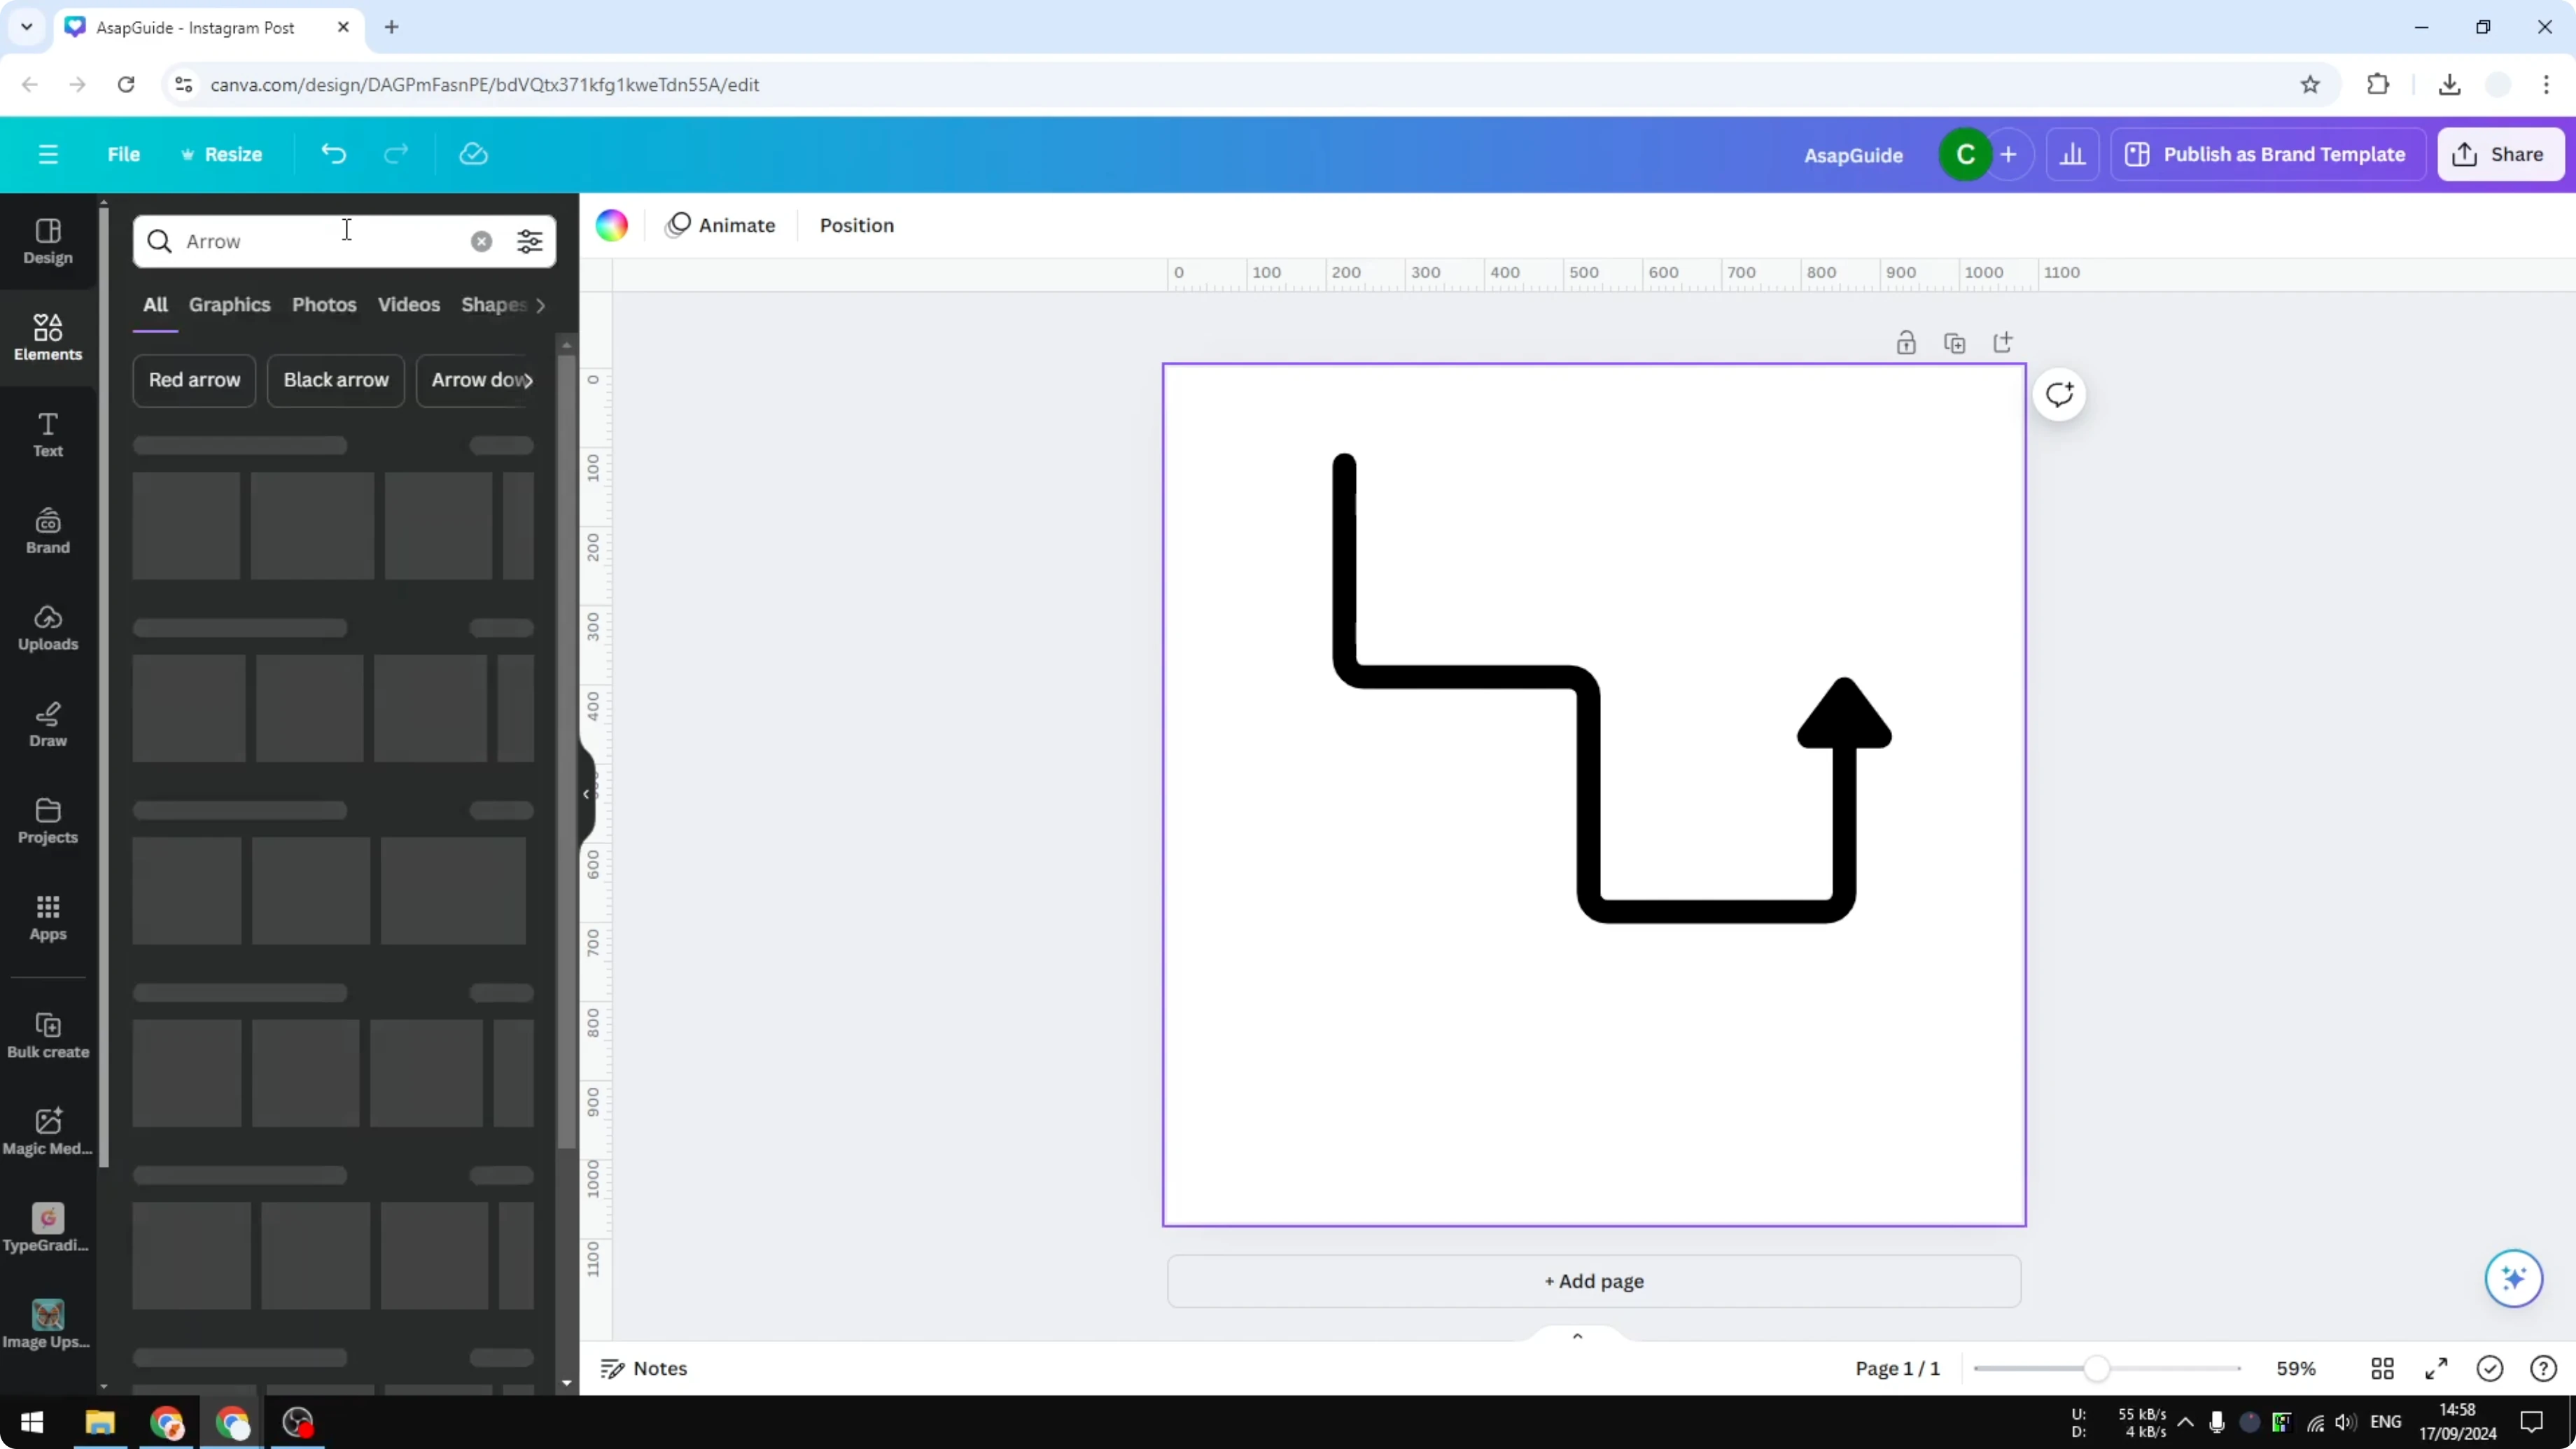
Go to Elements, search for arrow, and in Shapes click See all to open the presets.
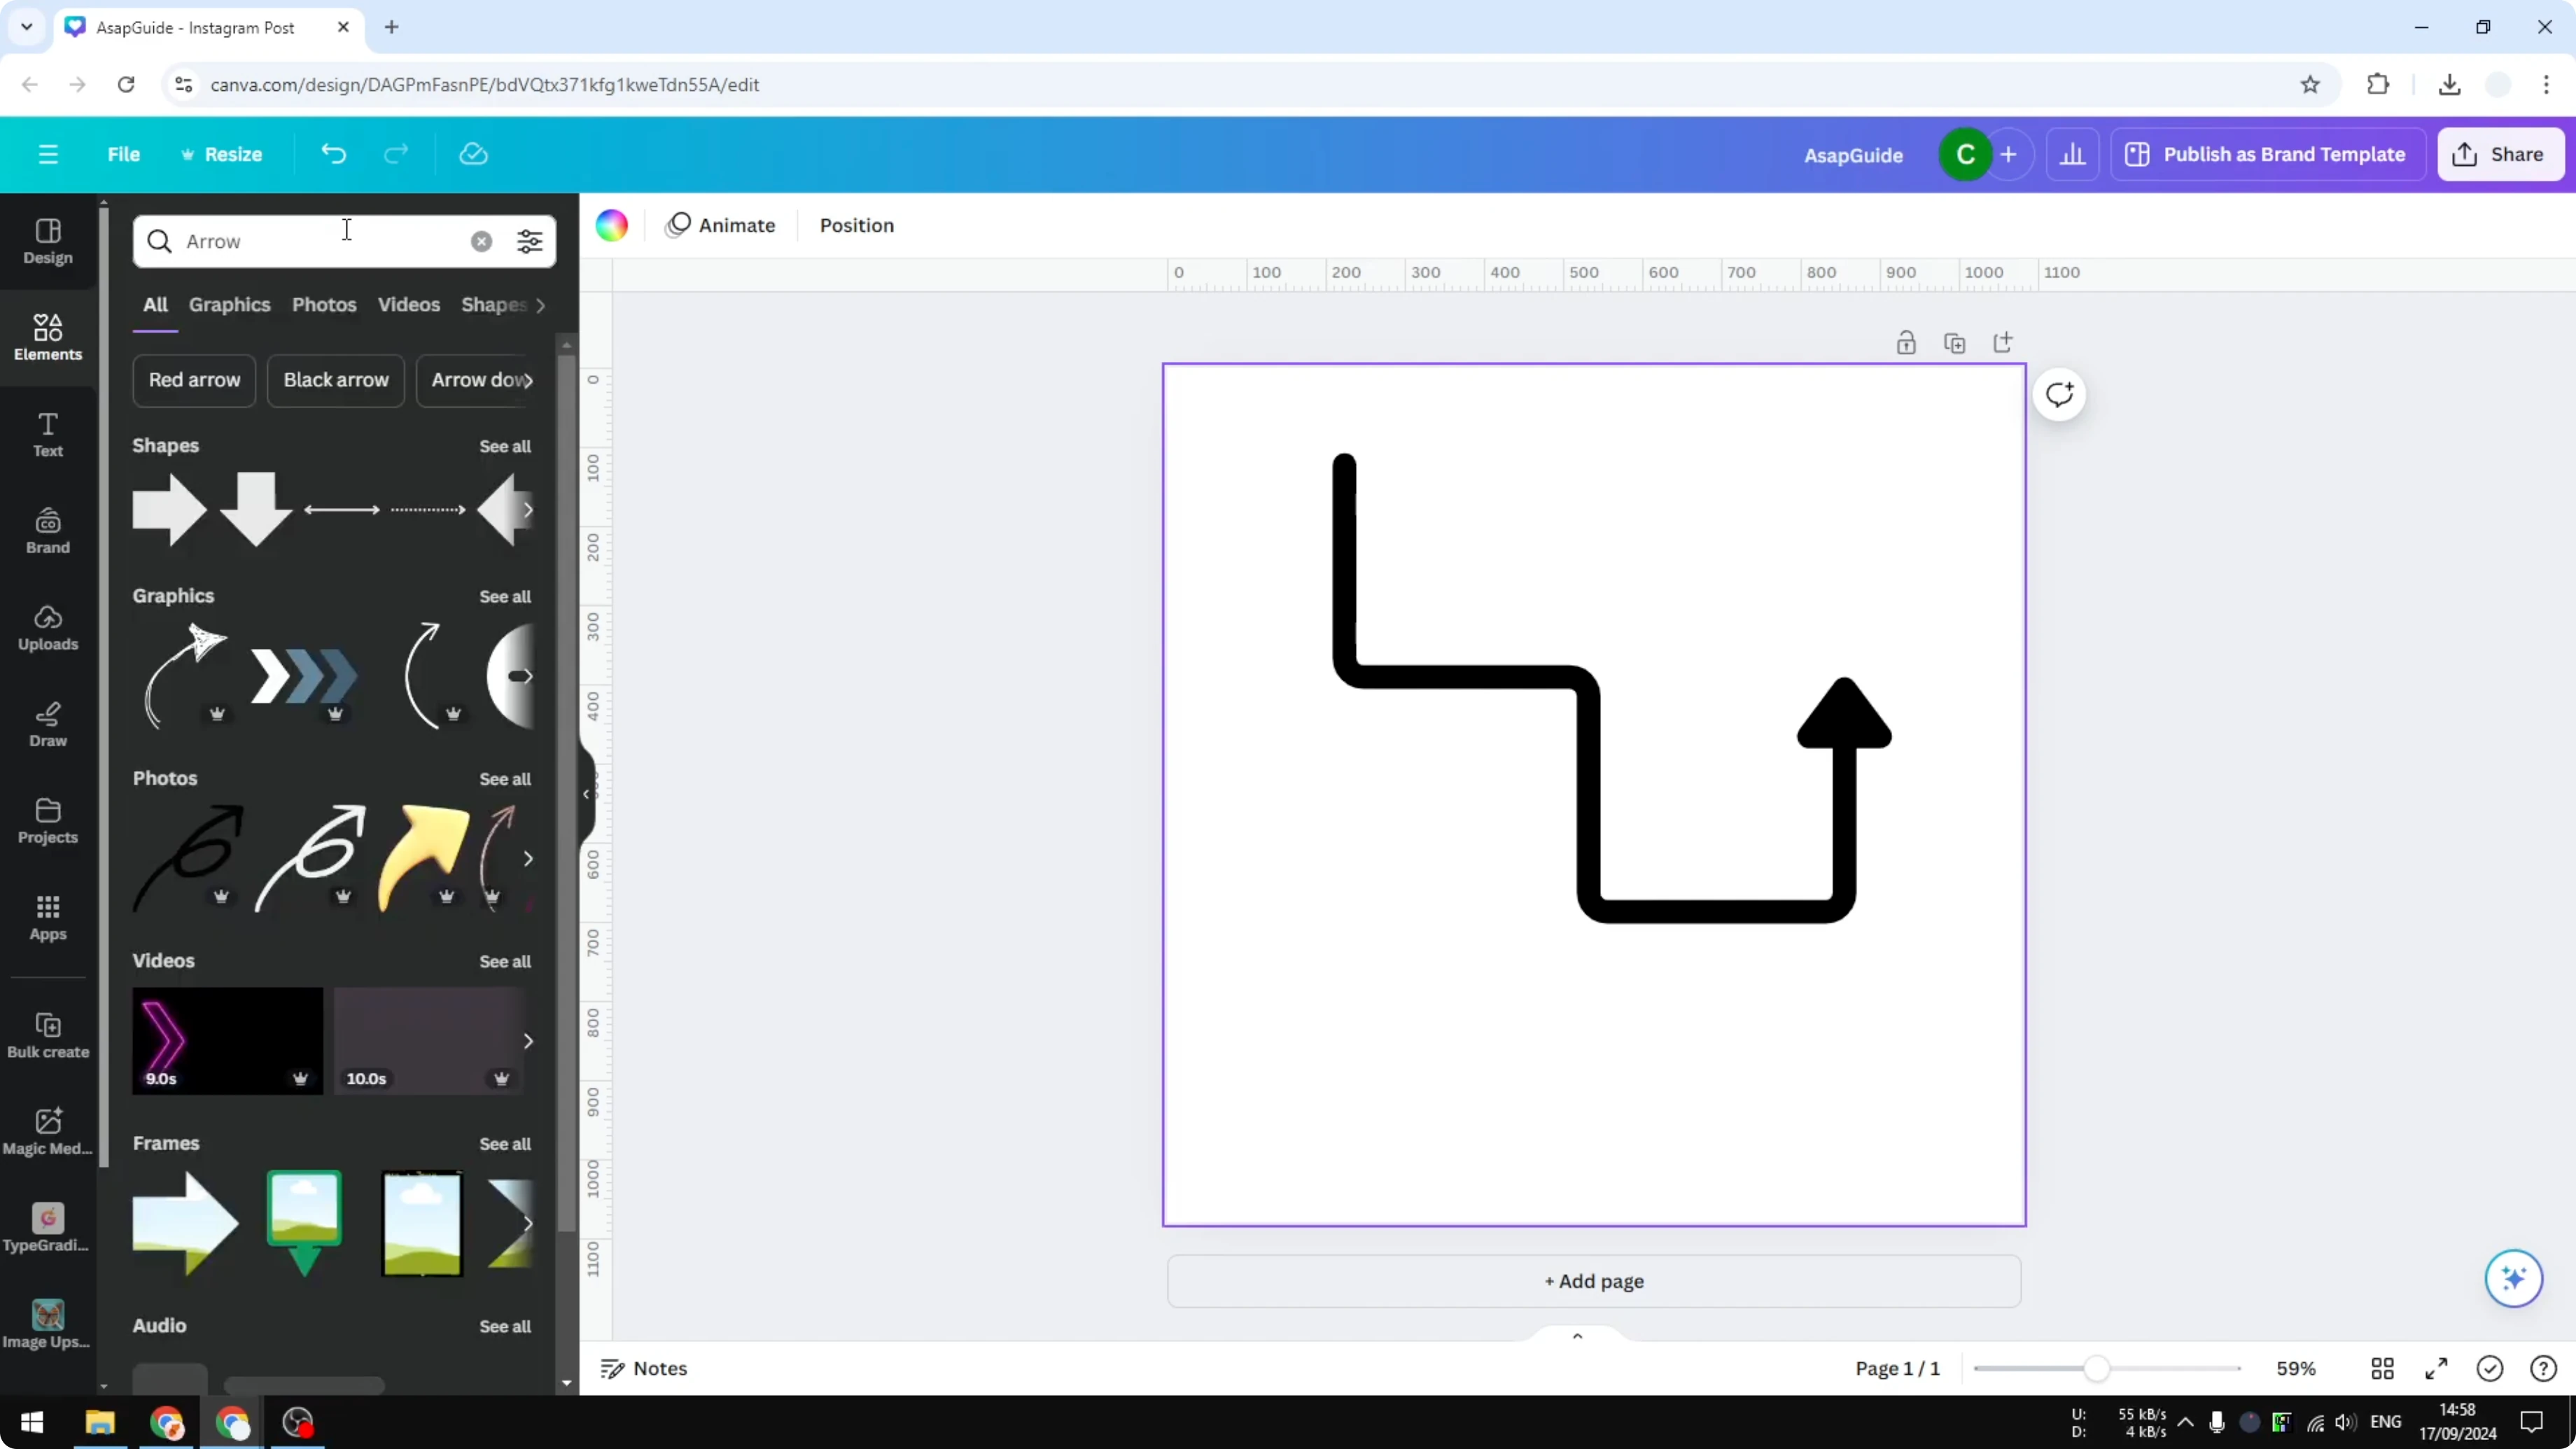
Insert a line or arrow from the presets.
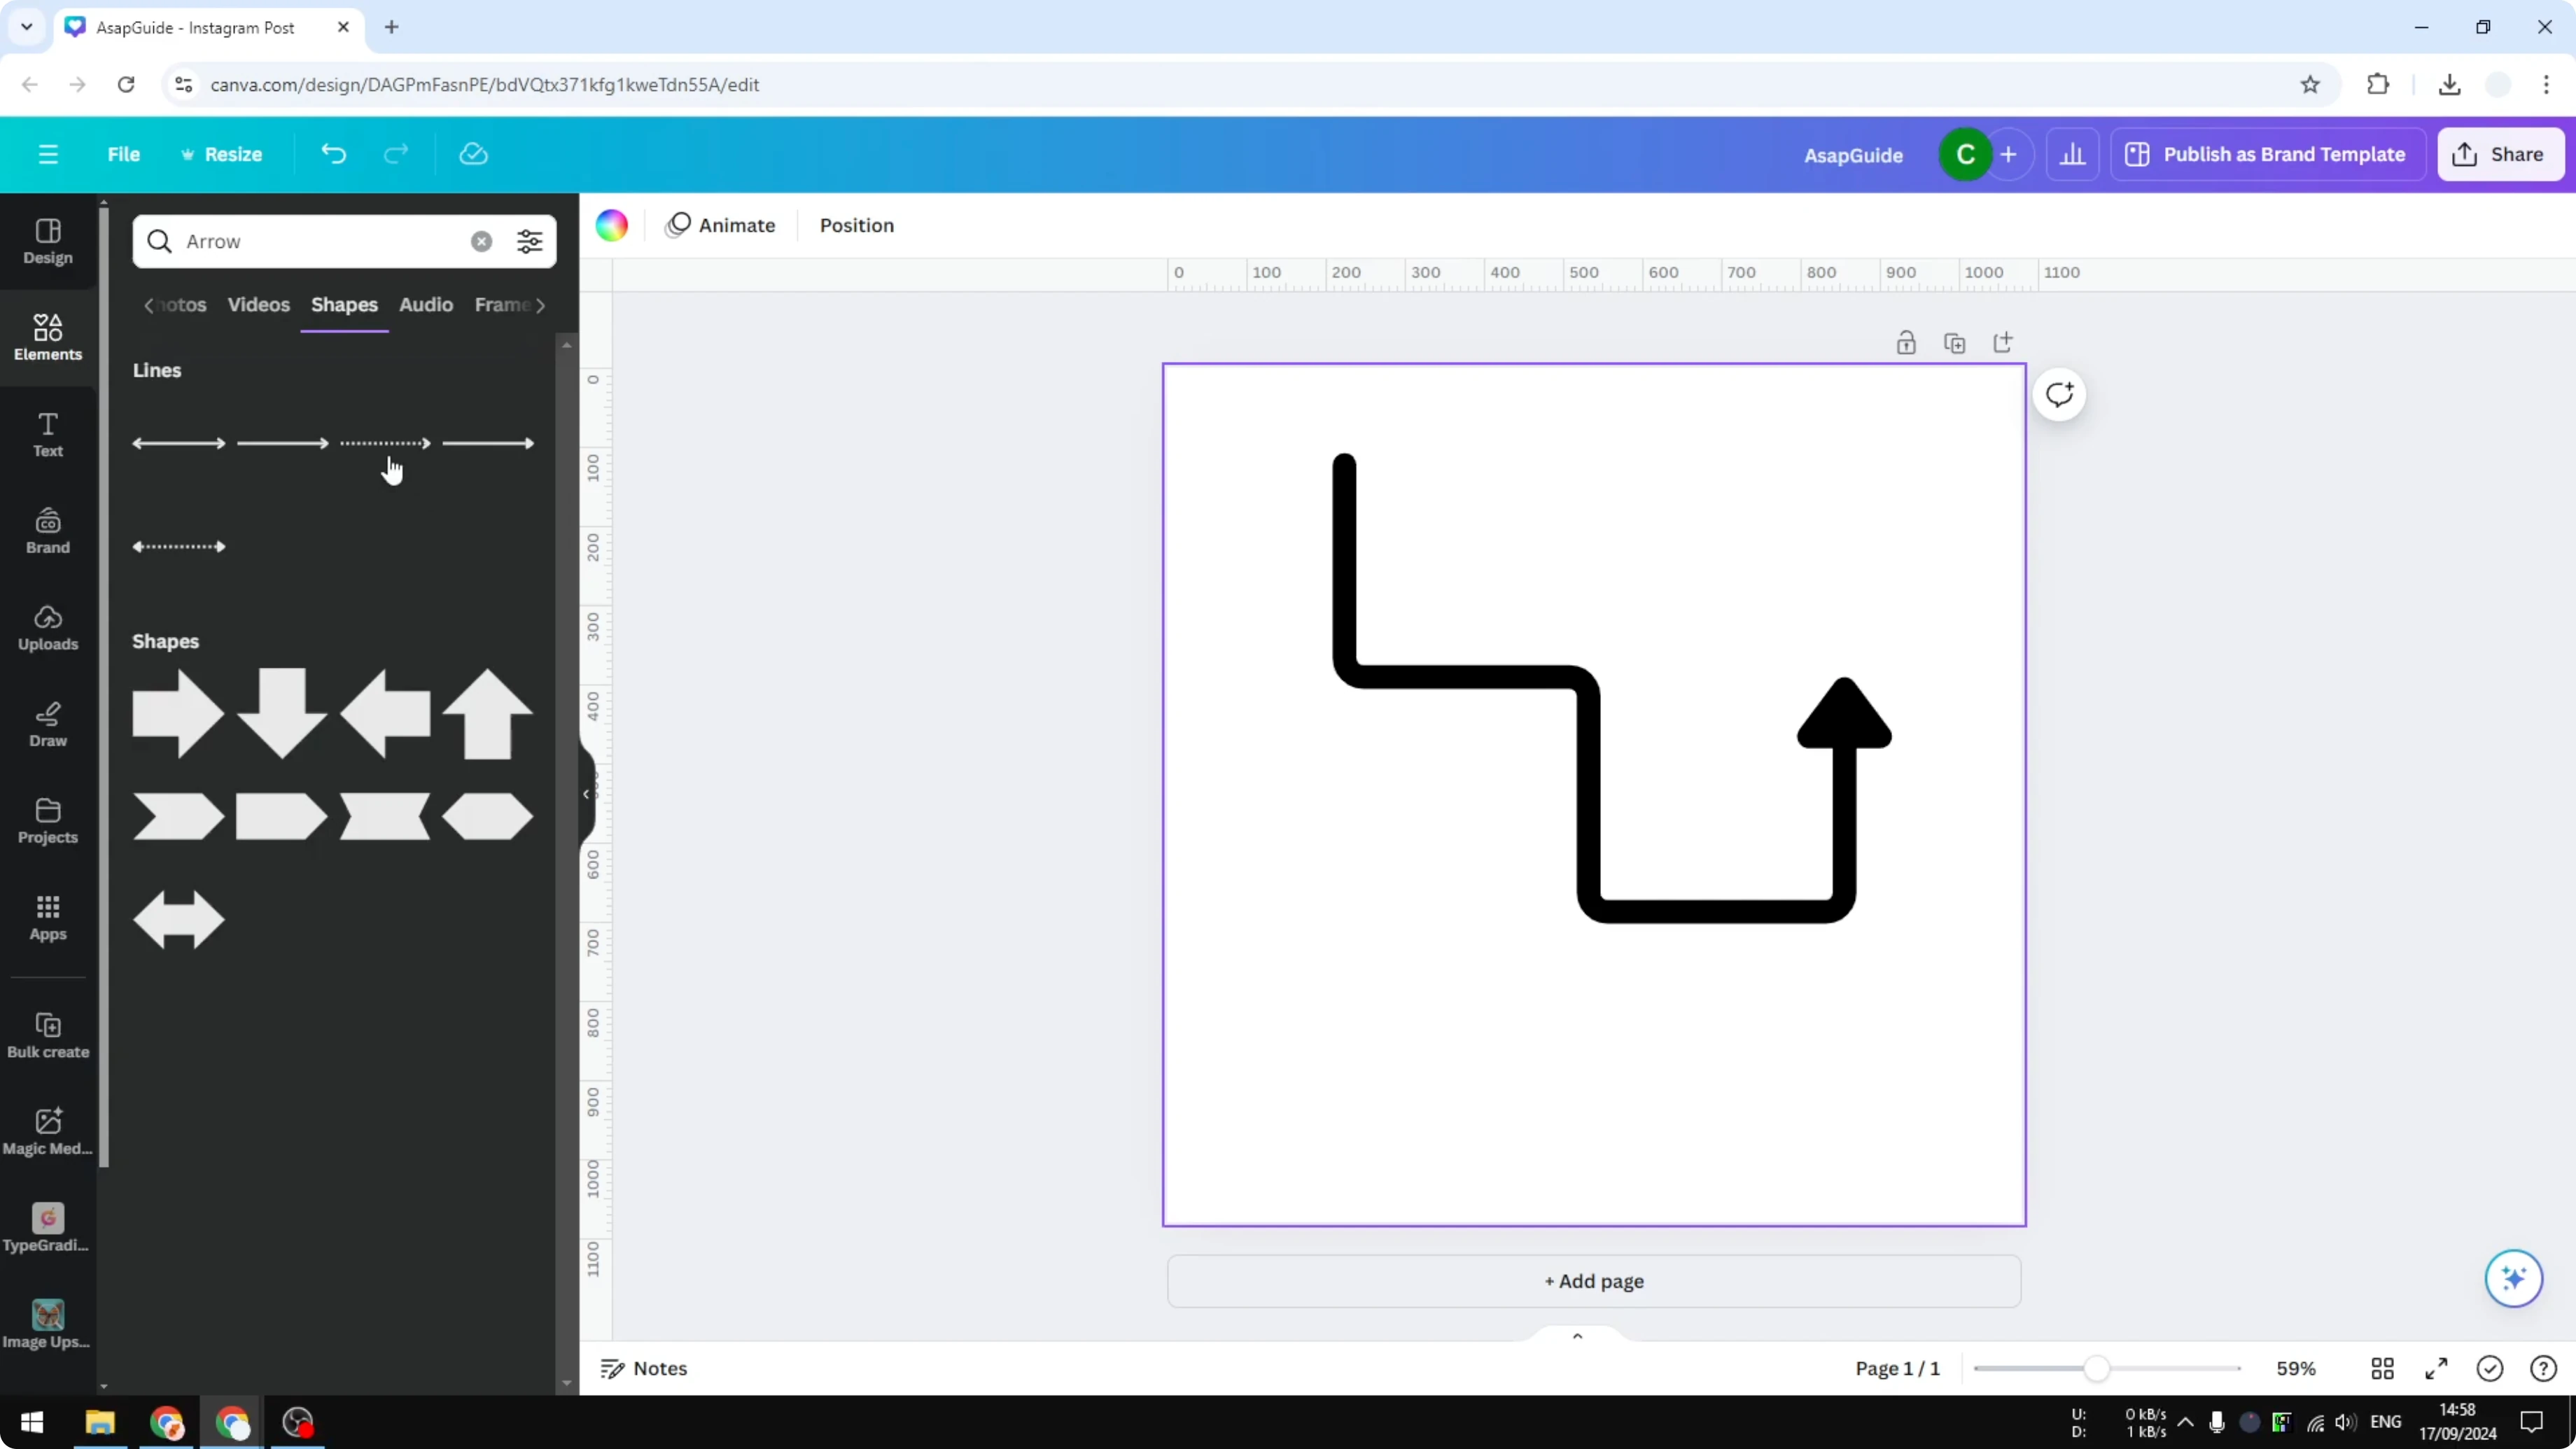
Resize it on the canvas as needed.
Quick setup
Increase the Weight to make the line visible. I find 30 looks fine for a bold line.
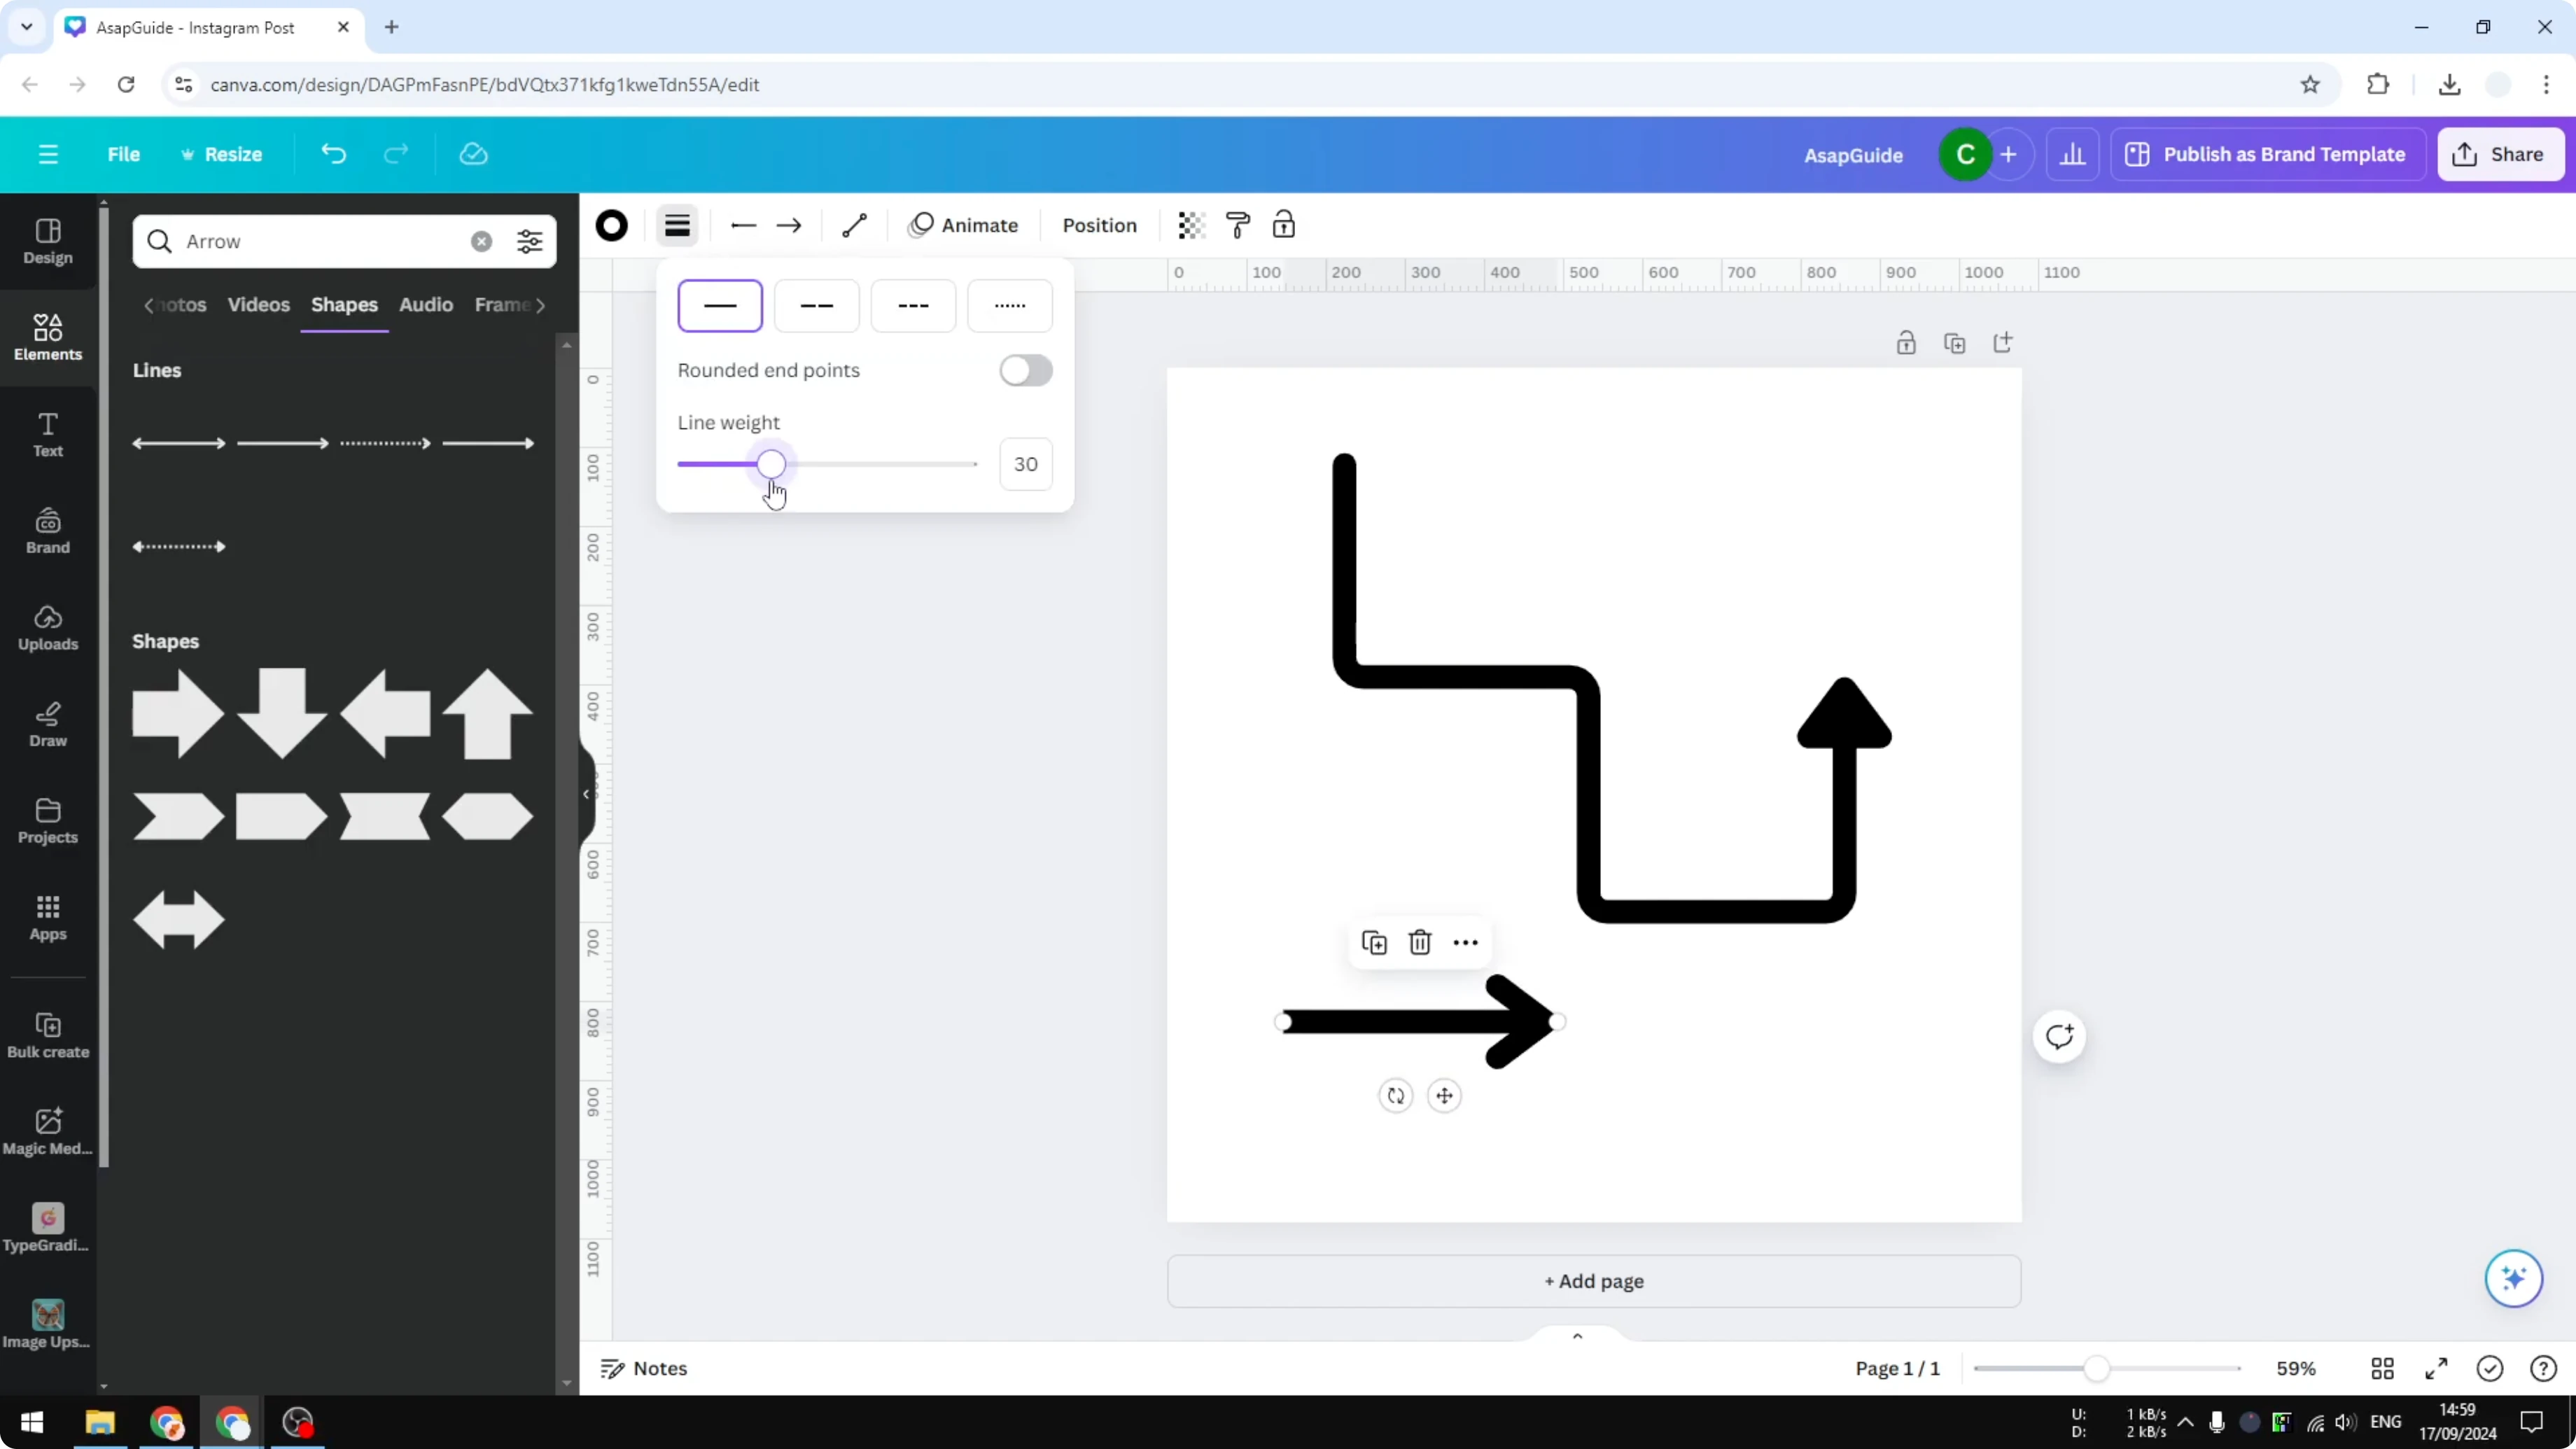
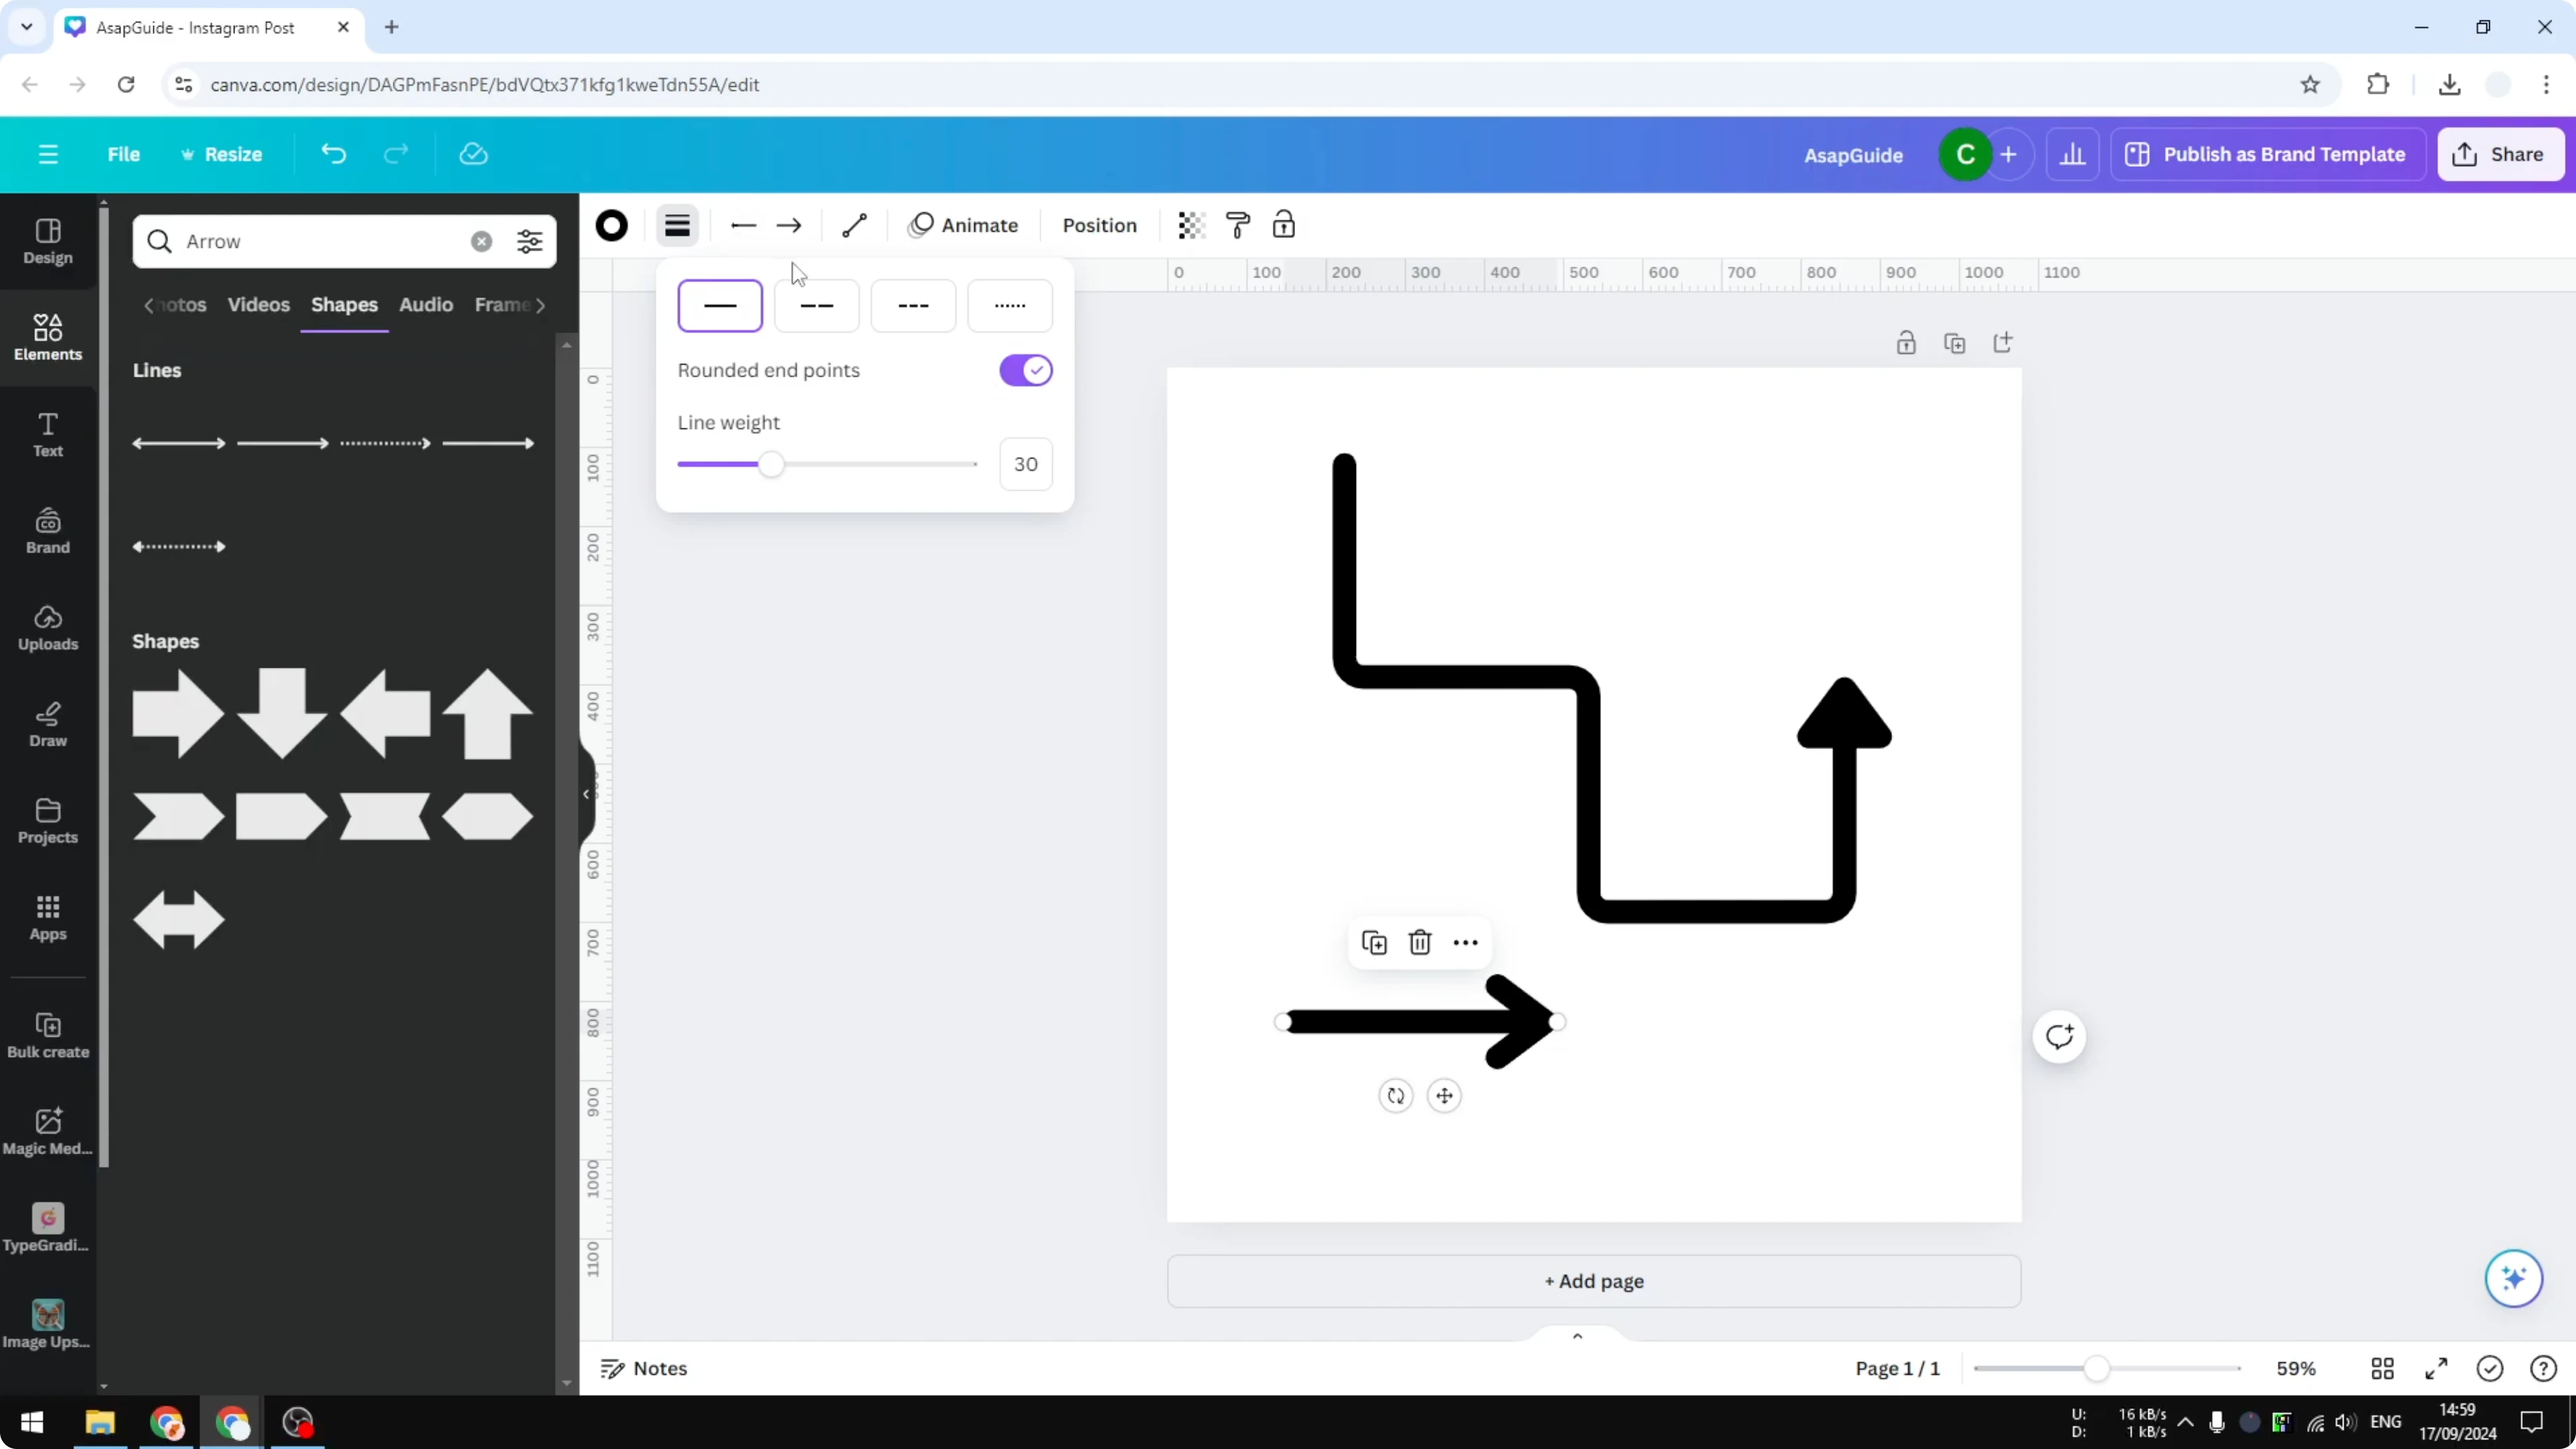
Enable Round endpoints for a smoother look.
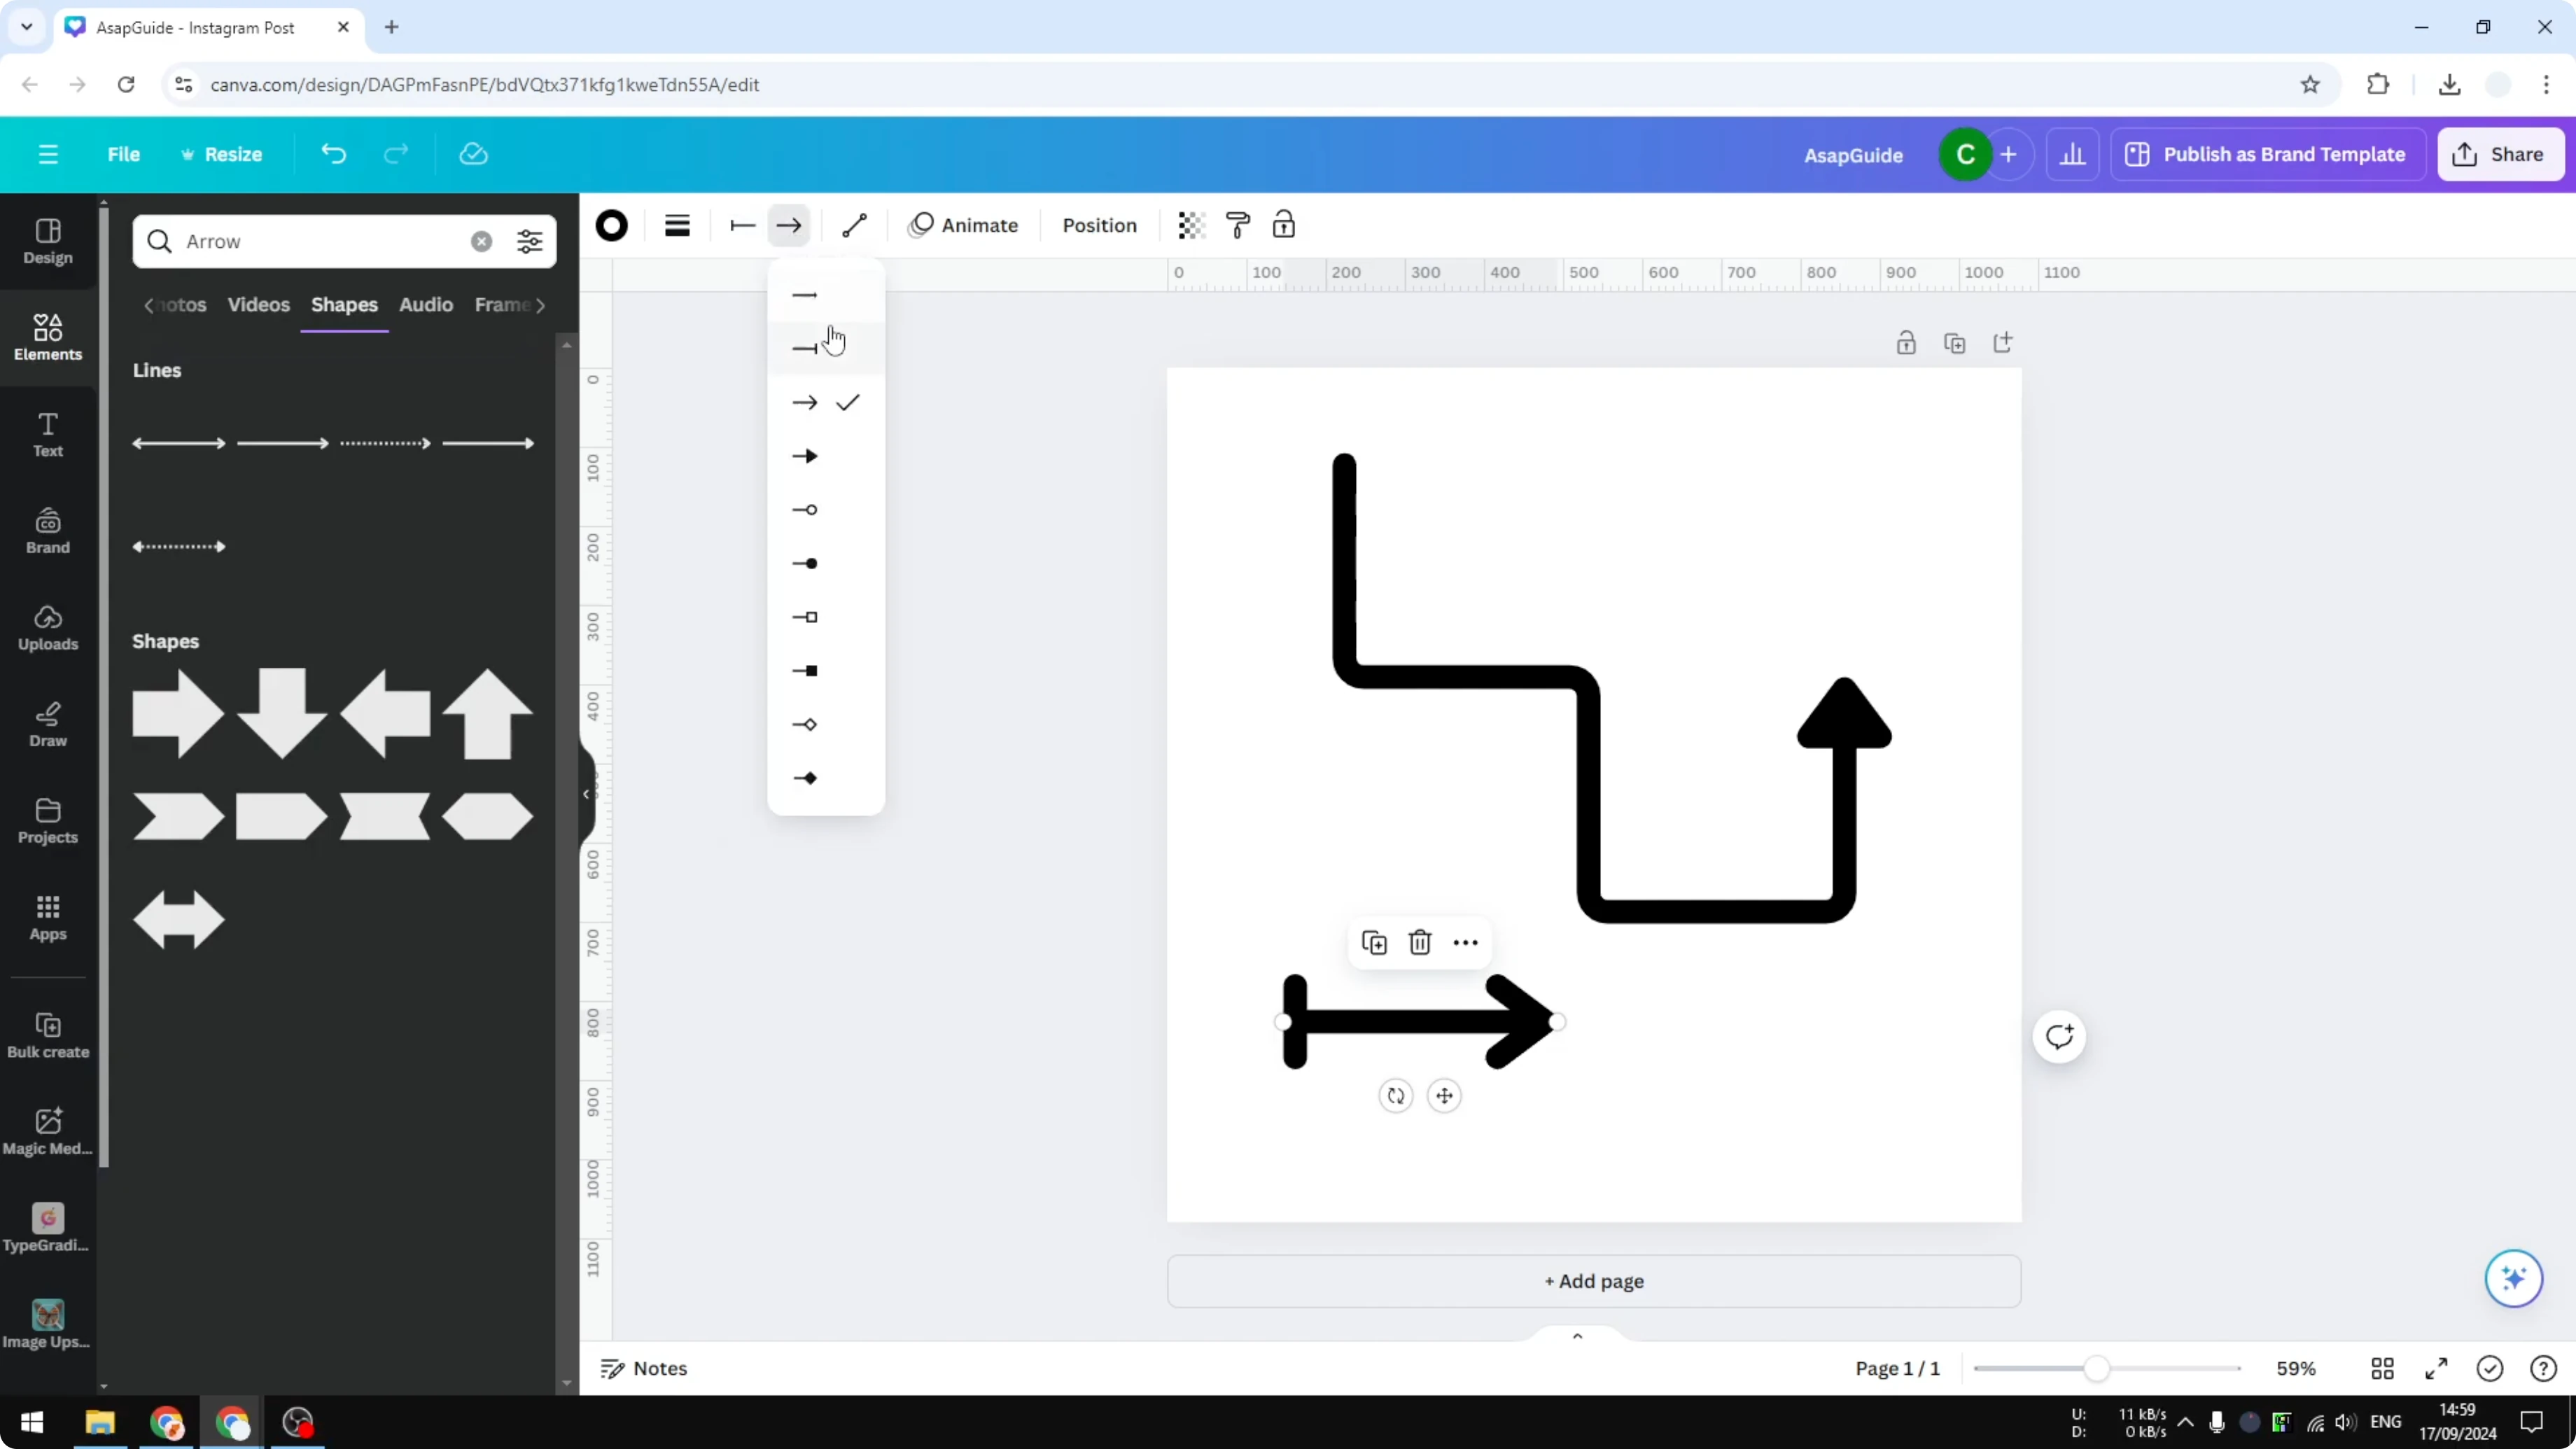
Change the start or end style to remove arrowheads if you want it to look like a regular line.
If your design includes labels or accented characters, you can add accent marks in Canva to keep text accurate.
Switch to the elbow style
Open Line type and select Elbow. Enable Line type: Elbow to turn the straight line into a bendable elbow line.
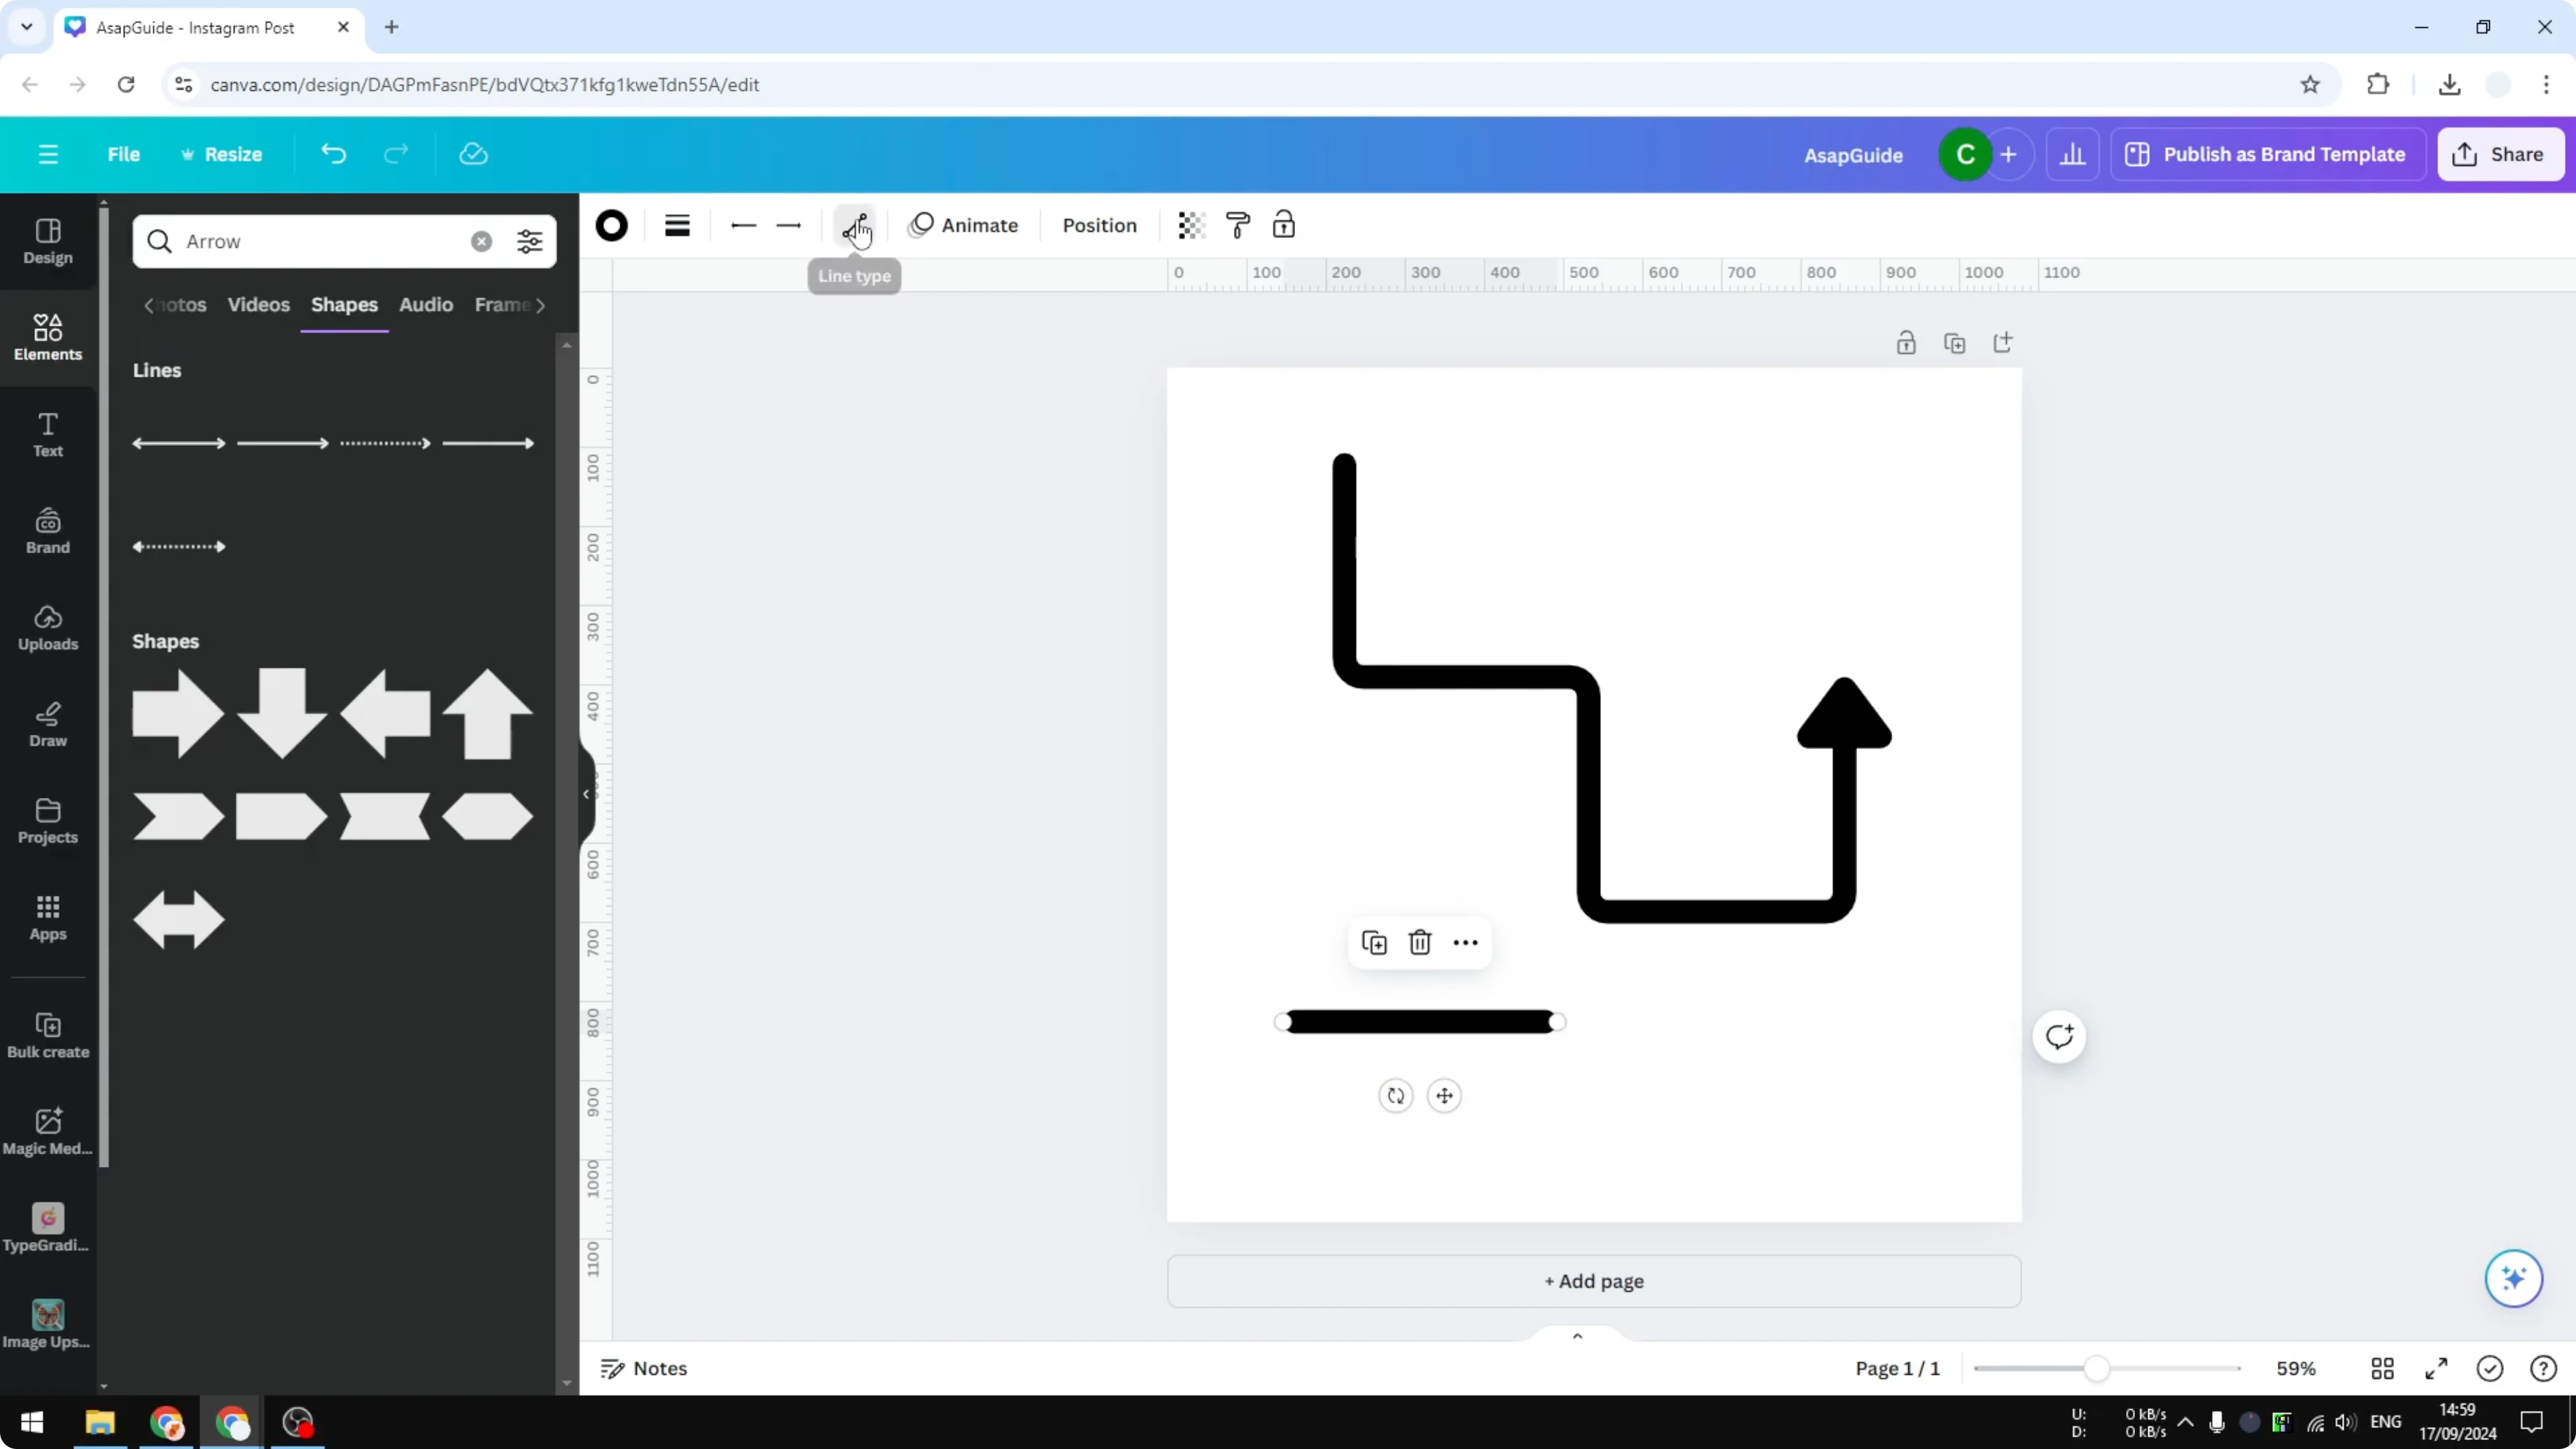
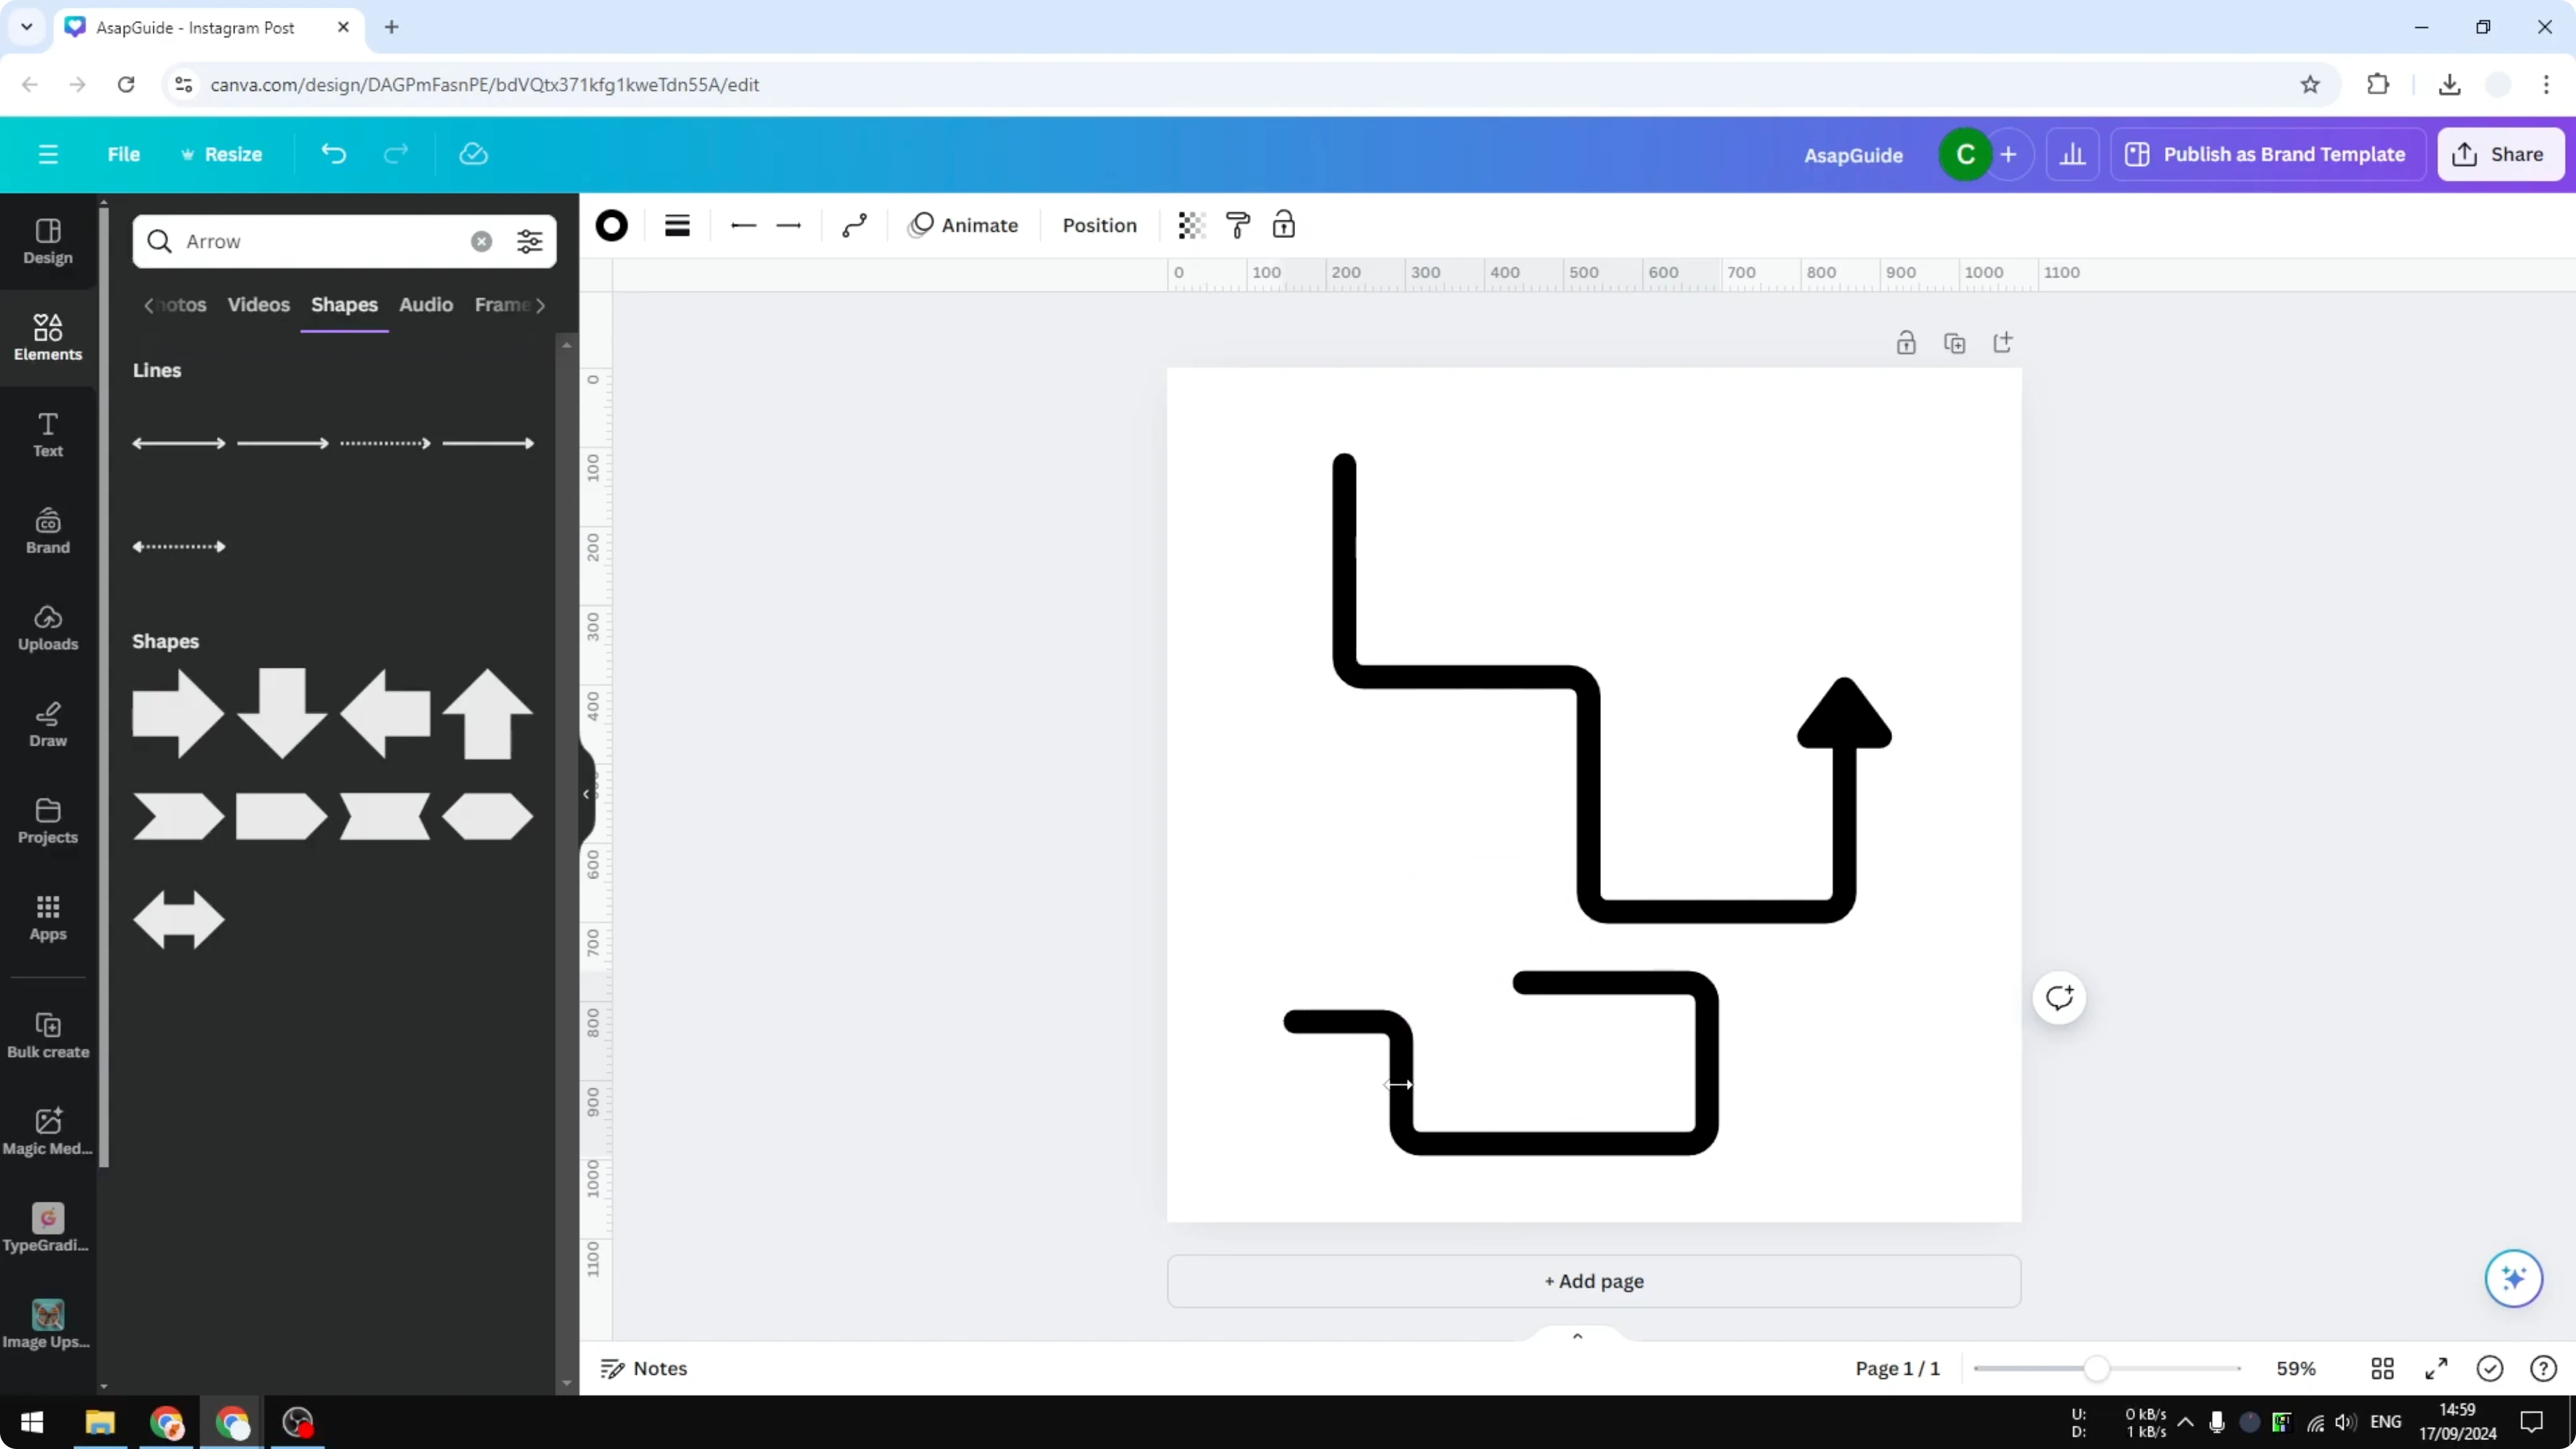
A tiny anchor point appears on the line. Drag this point to reposition the bend and shape the path you want.
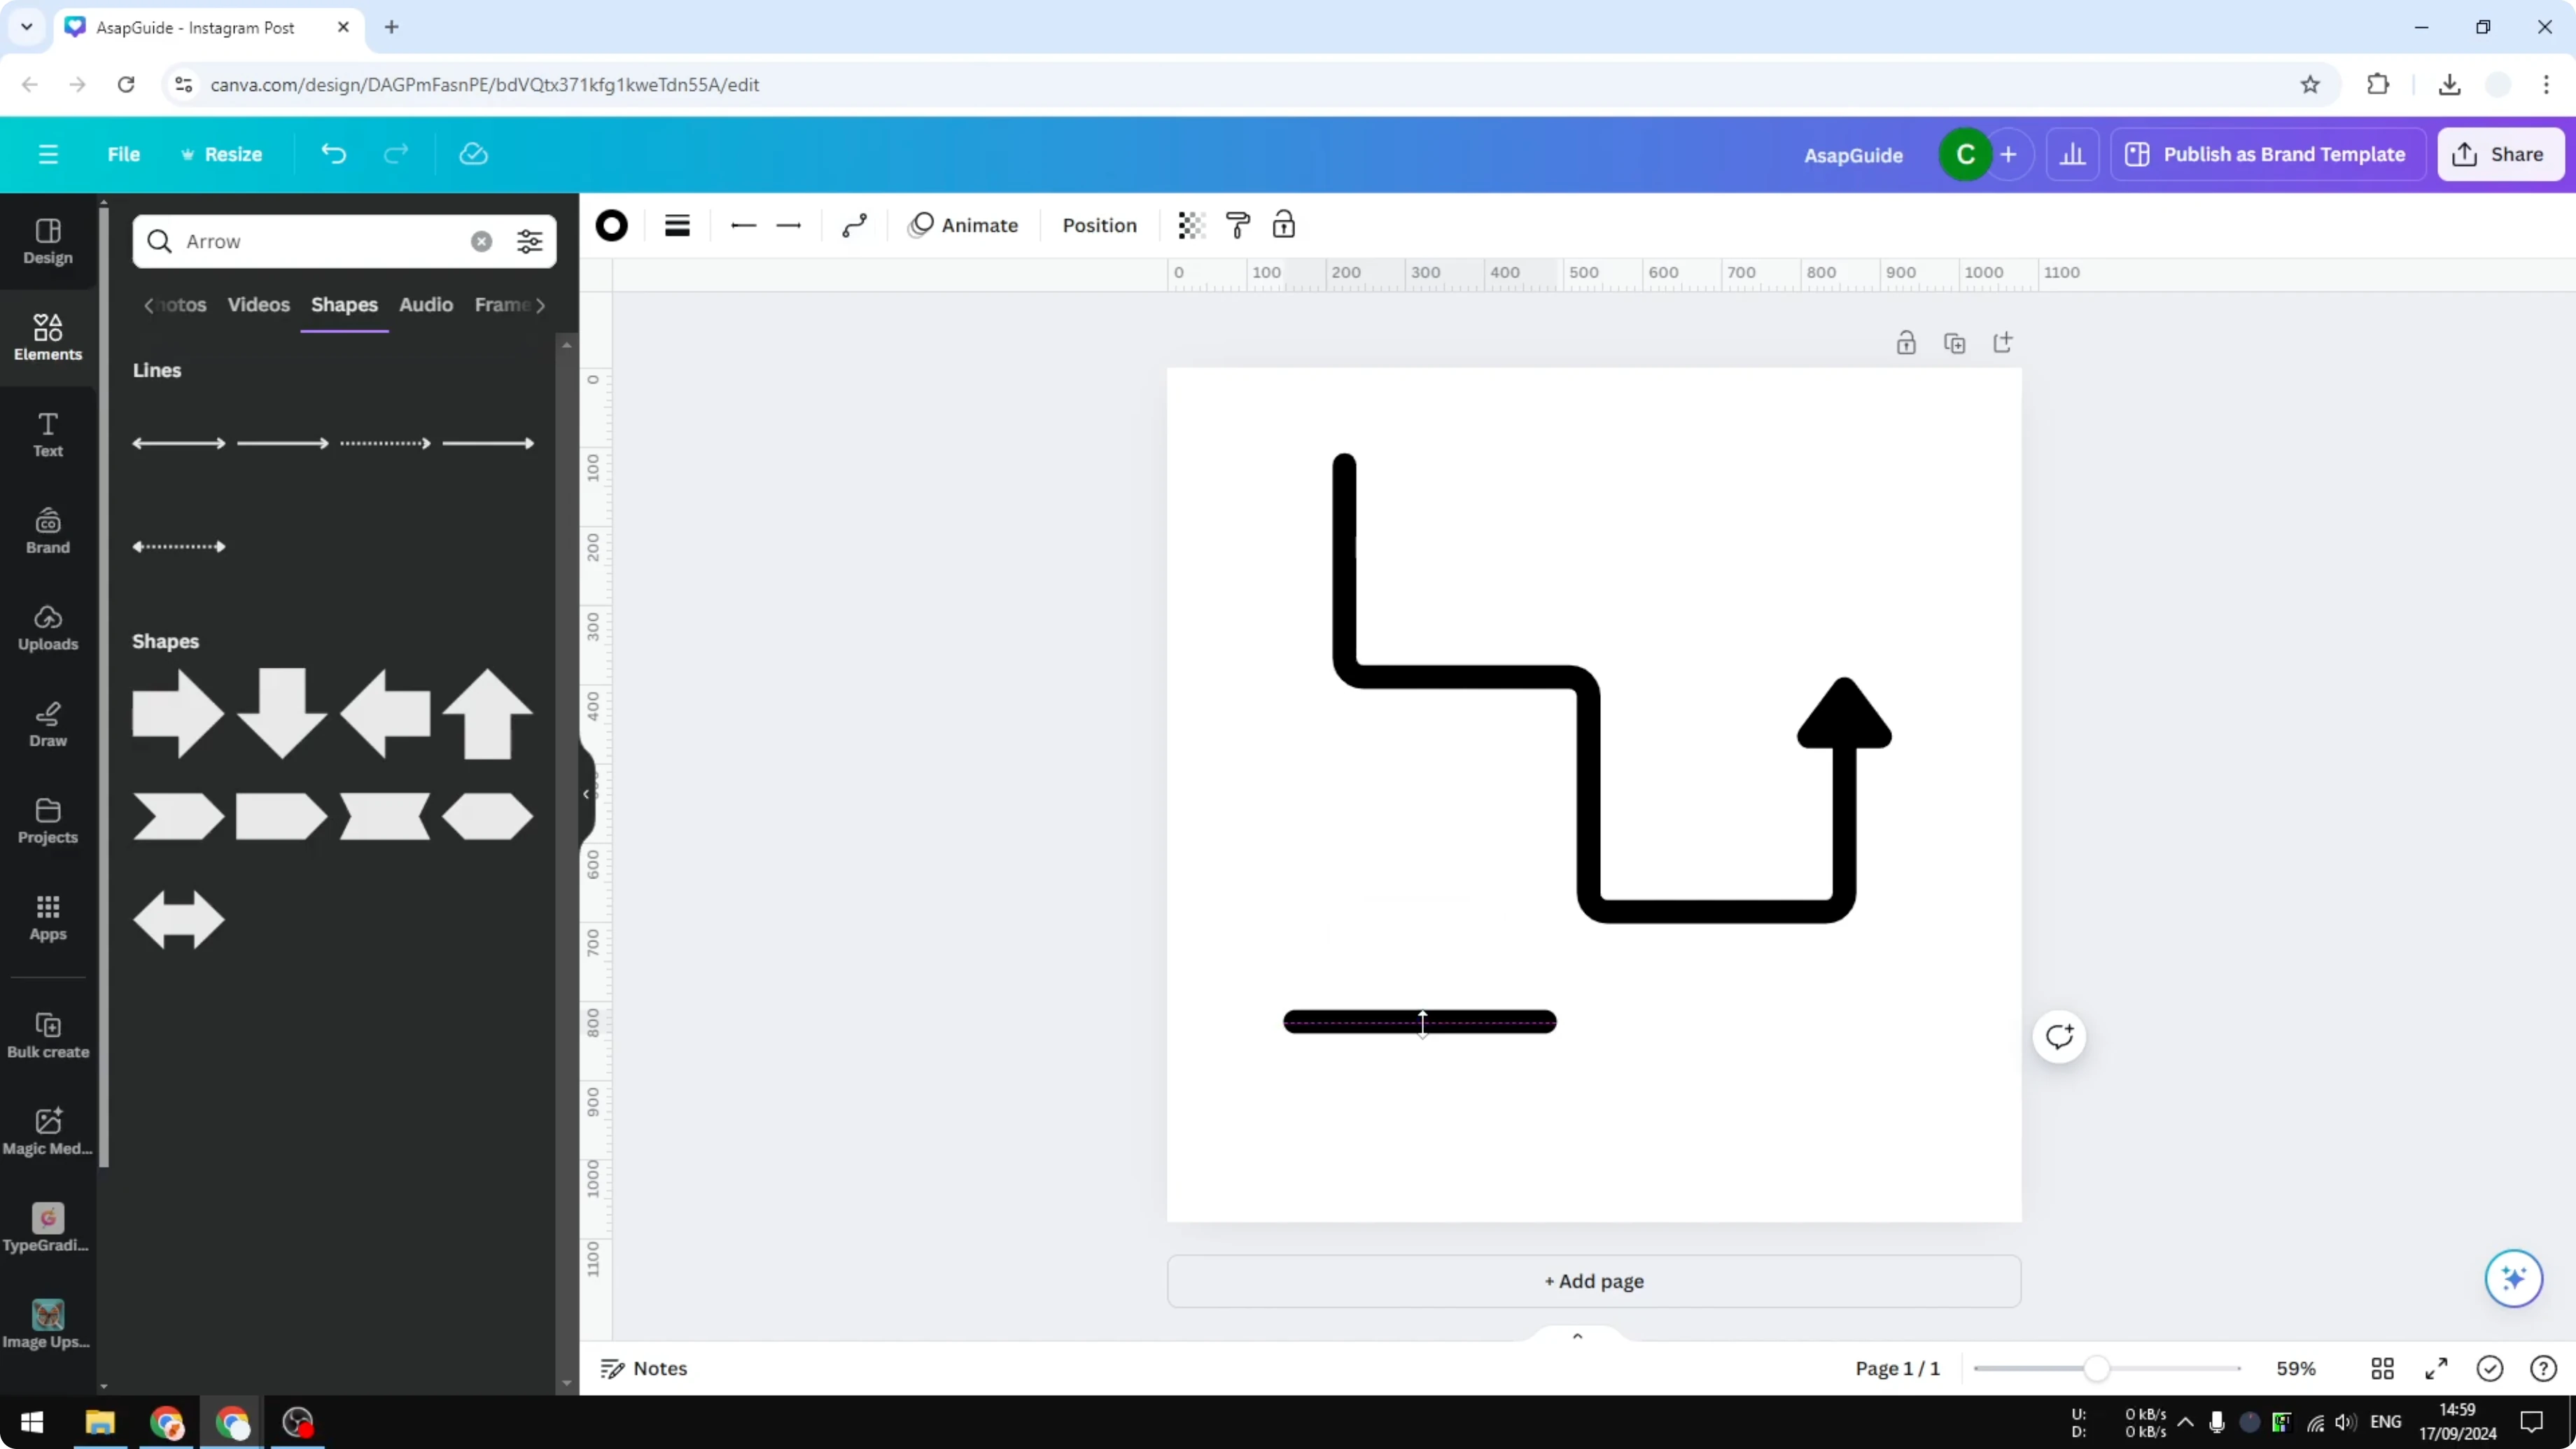
You can add more elbows by adding more points and moving them. You can add as many elbows as you want, and Canva will adjust the corners neatly.
For accessibility, remember to add alt text to pictures so your visual arrows and lines are described clearly.
Final thoughts
Elbow lines in Canva are quick to set up and easy to control. Start with a line or arrow, boost the weight, round the endpoints, and switch the line type to elbow. Drag the anchor points to create clean turns, and add more elbows anytime.
Recent Posts
How to Visualize Yourself as a Pixelized Character with AI?
How to Visualize Yourself as a Pixelized Character with AI?
How to Revive Faded Memories and Enhance Image Clarity with AI?
How to Revive Faded Memories and Enhance Image Clarity with AI?
How to Visualize Yourself as an Animal Crossing Character with AI?
How to Visualize Yourself as an Animal Crossing Character with AI?