How to Add an Arrow Line in Canva
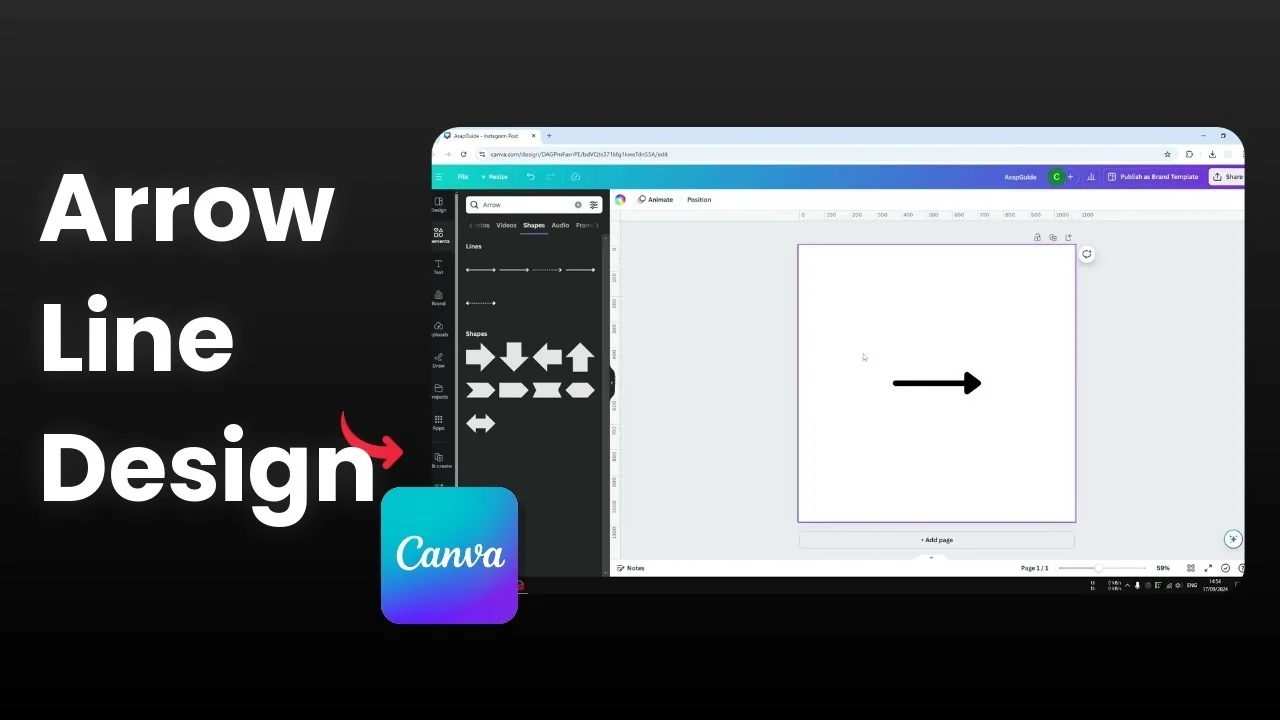
I will show you how to add an arrow line in Canva and customize the start and end of the arrow. The key is to pick the right element so you get full control over thickness, style, and arrowheads.
If your labels need special characters, see how to add accent marks in Canva.
Add an Arrow Line in Canva
Choose the right element
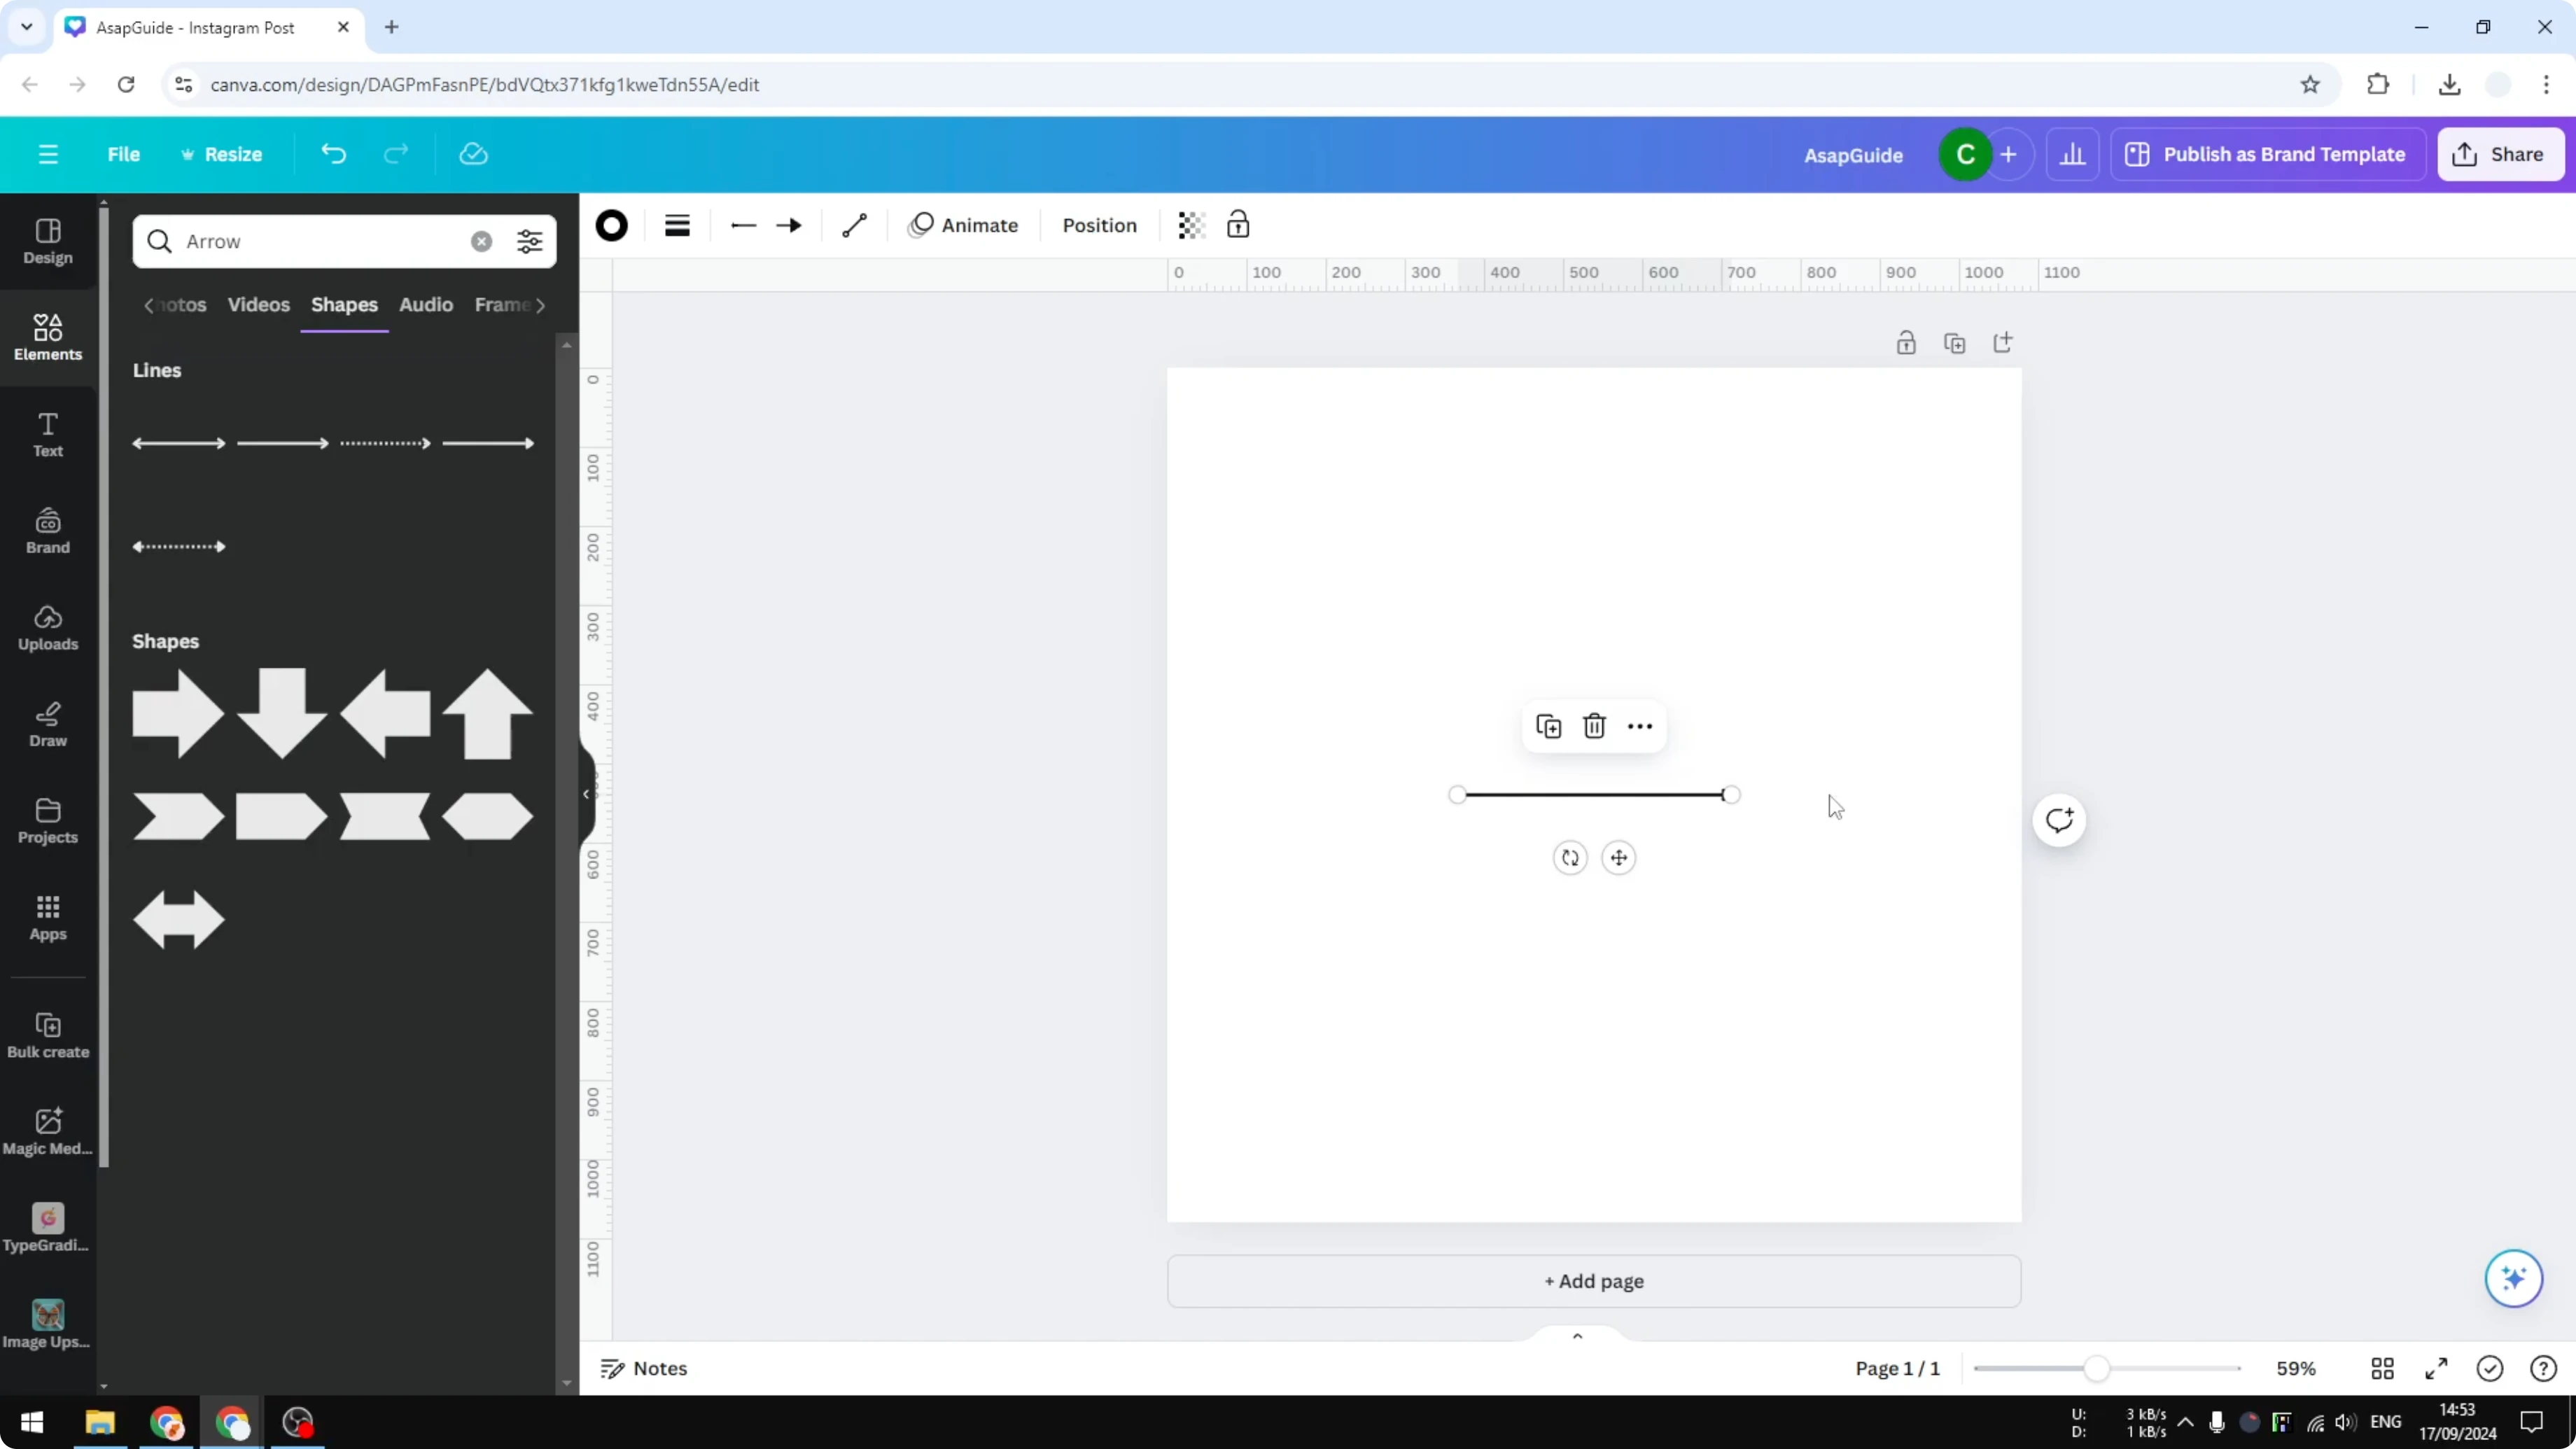
Open Elements.
In the search bar, type arrow.
Go to Shapes, not Graphics or Photos.
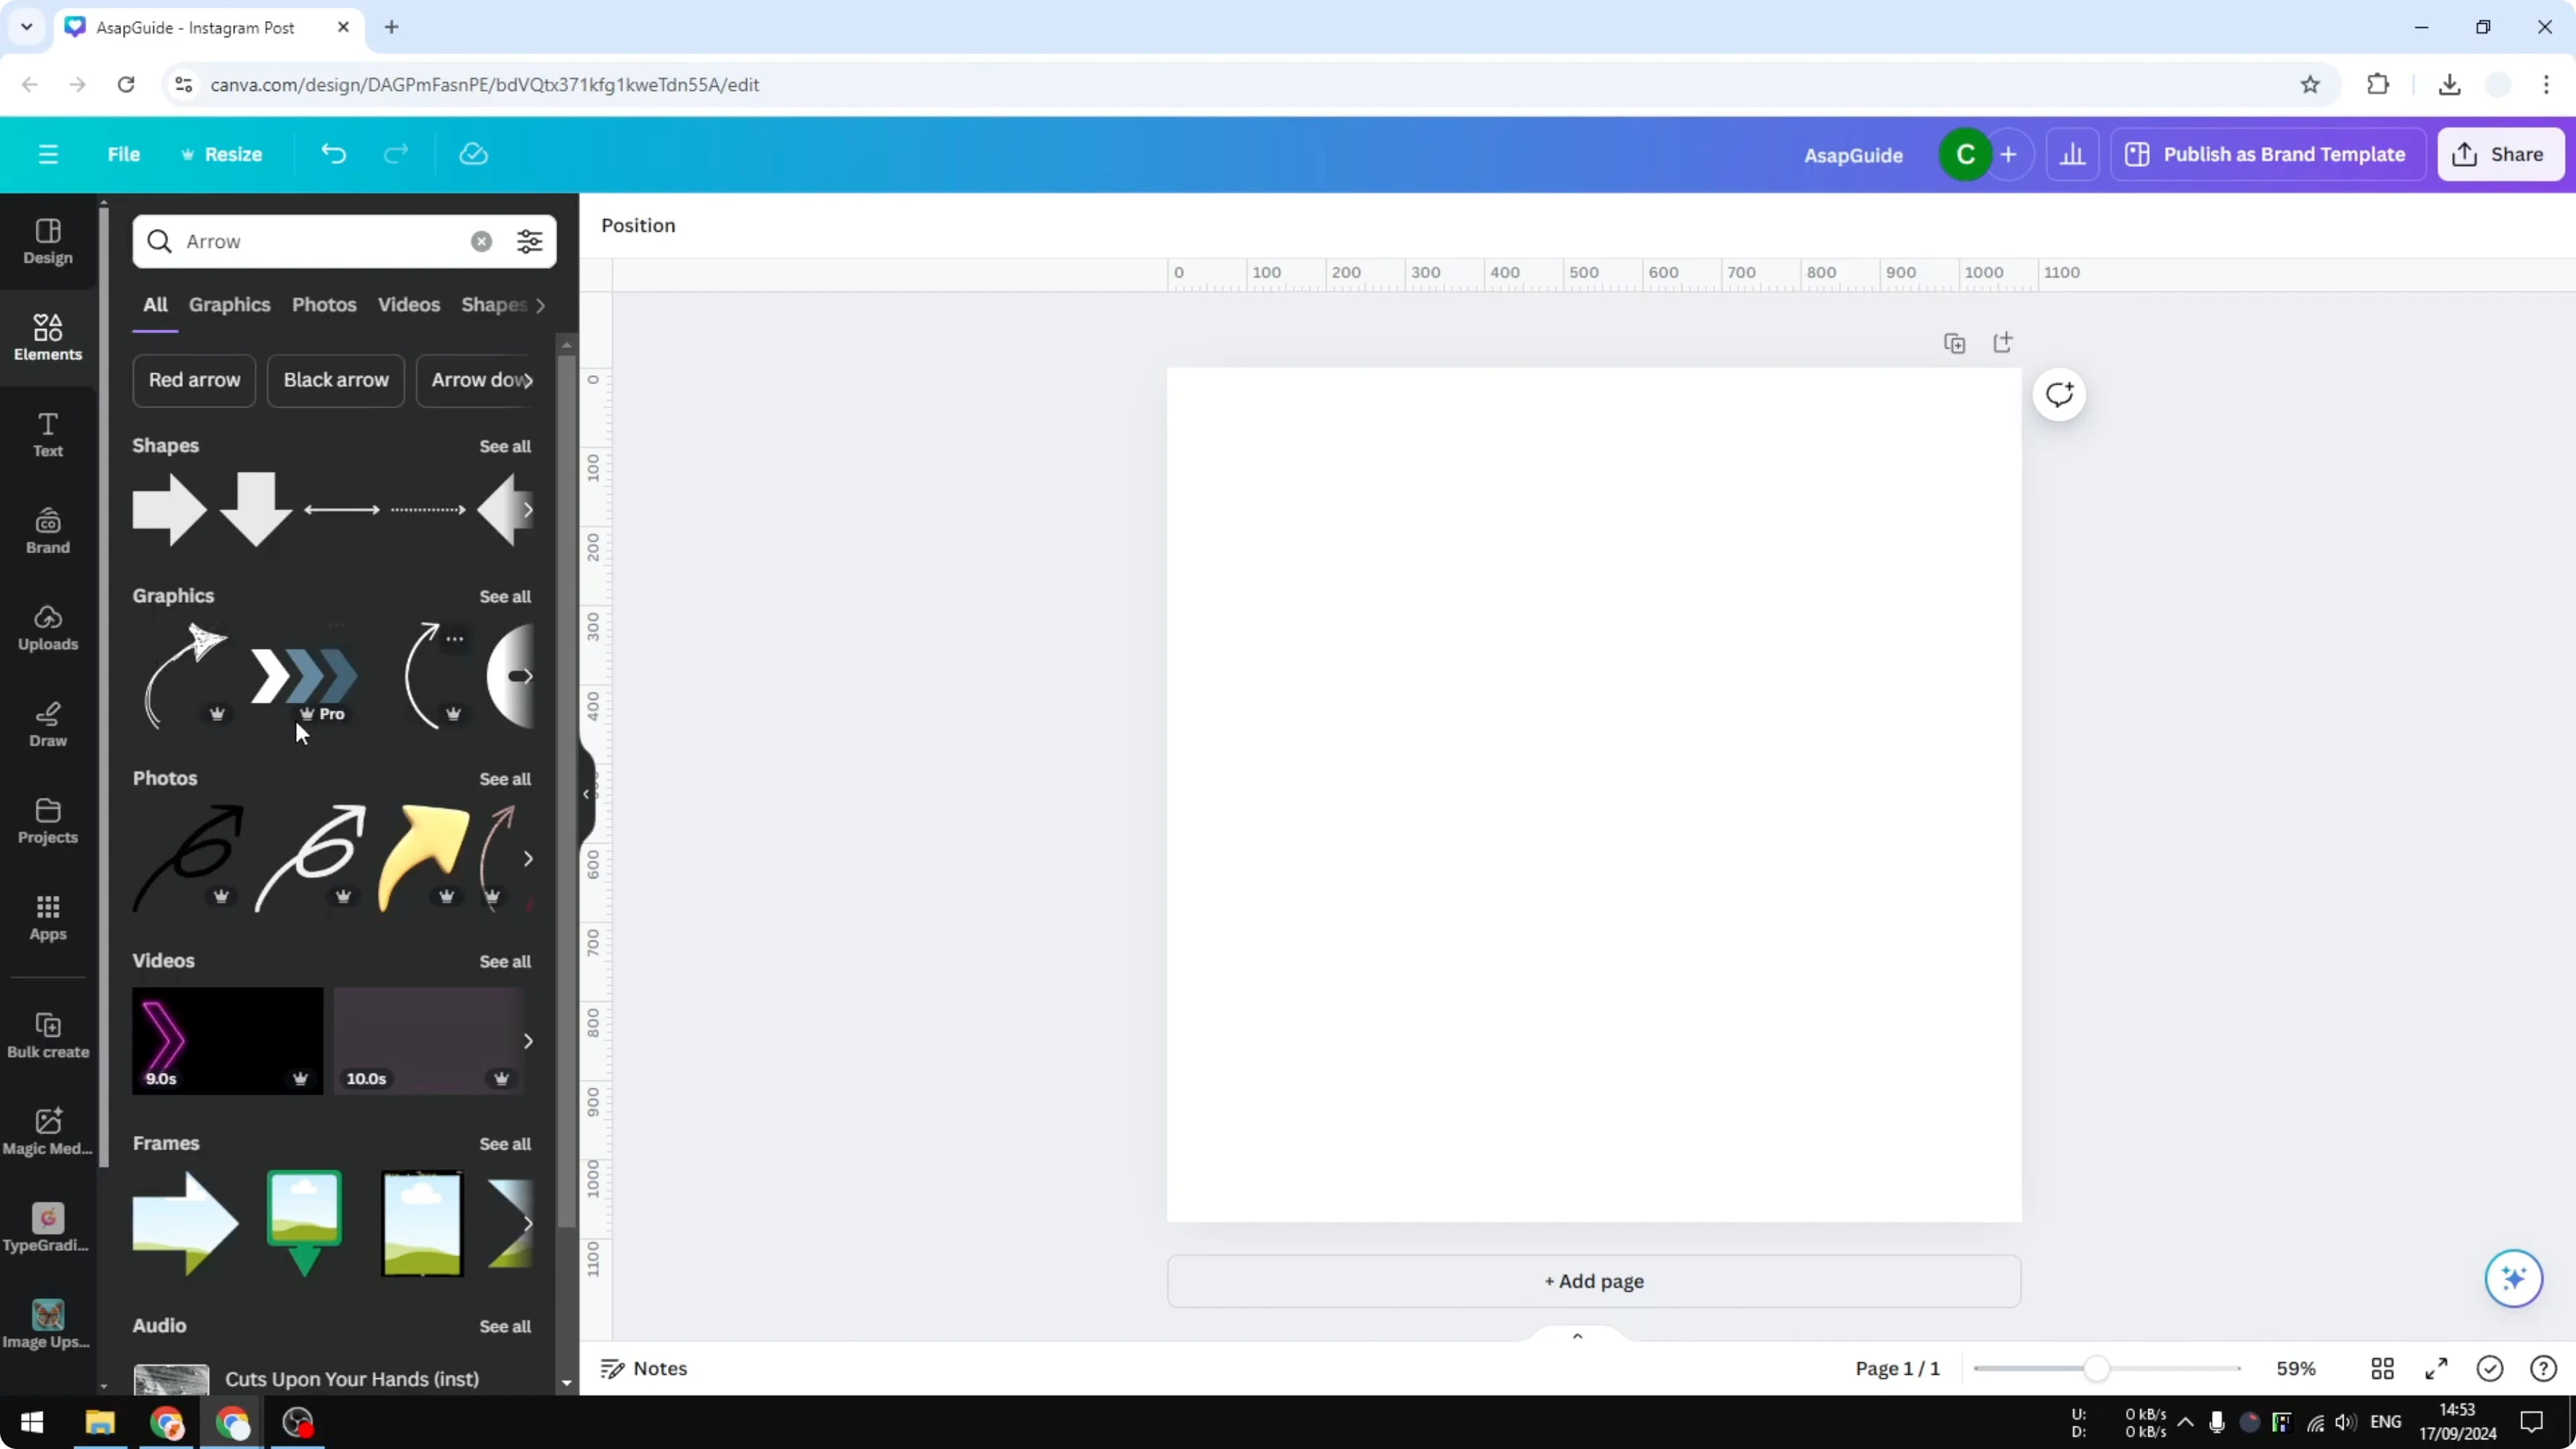
Click See all in Shapes.
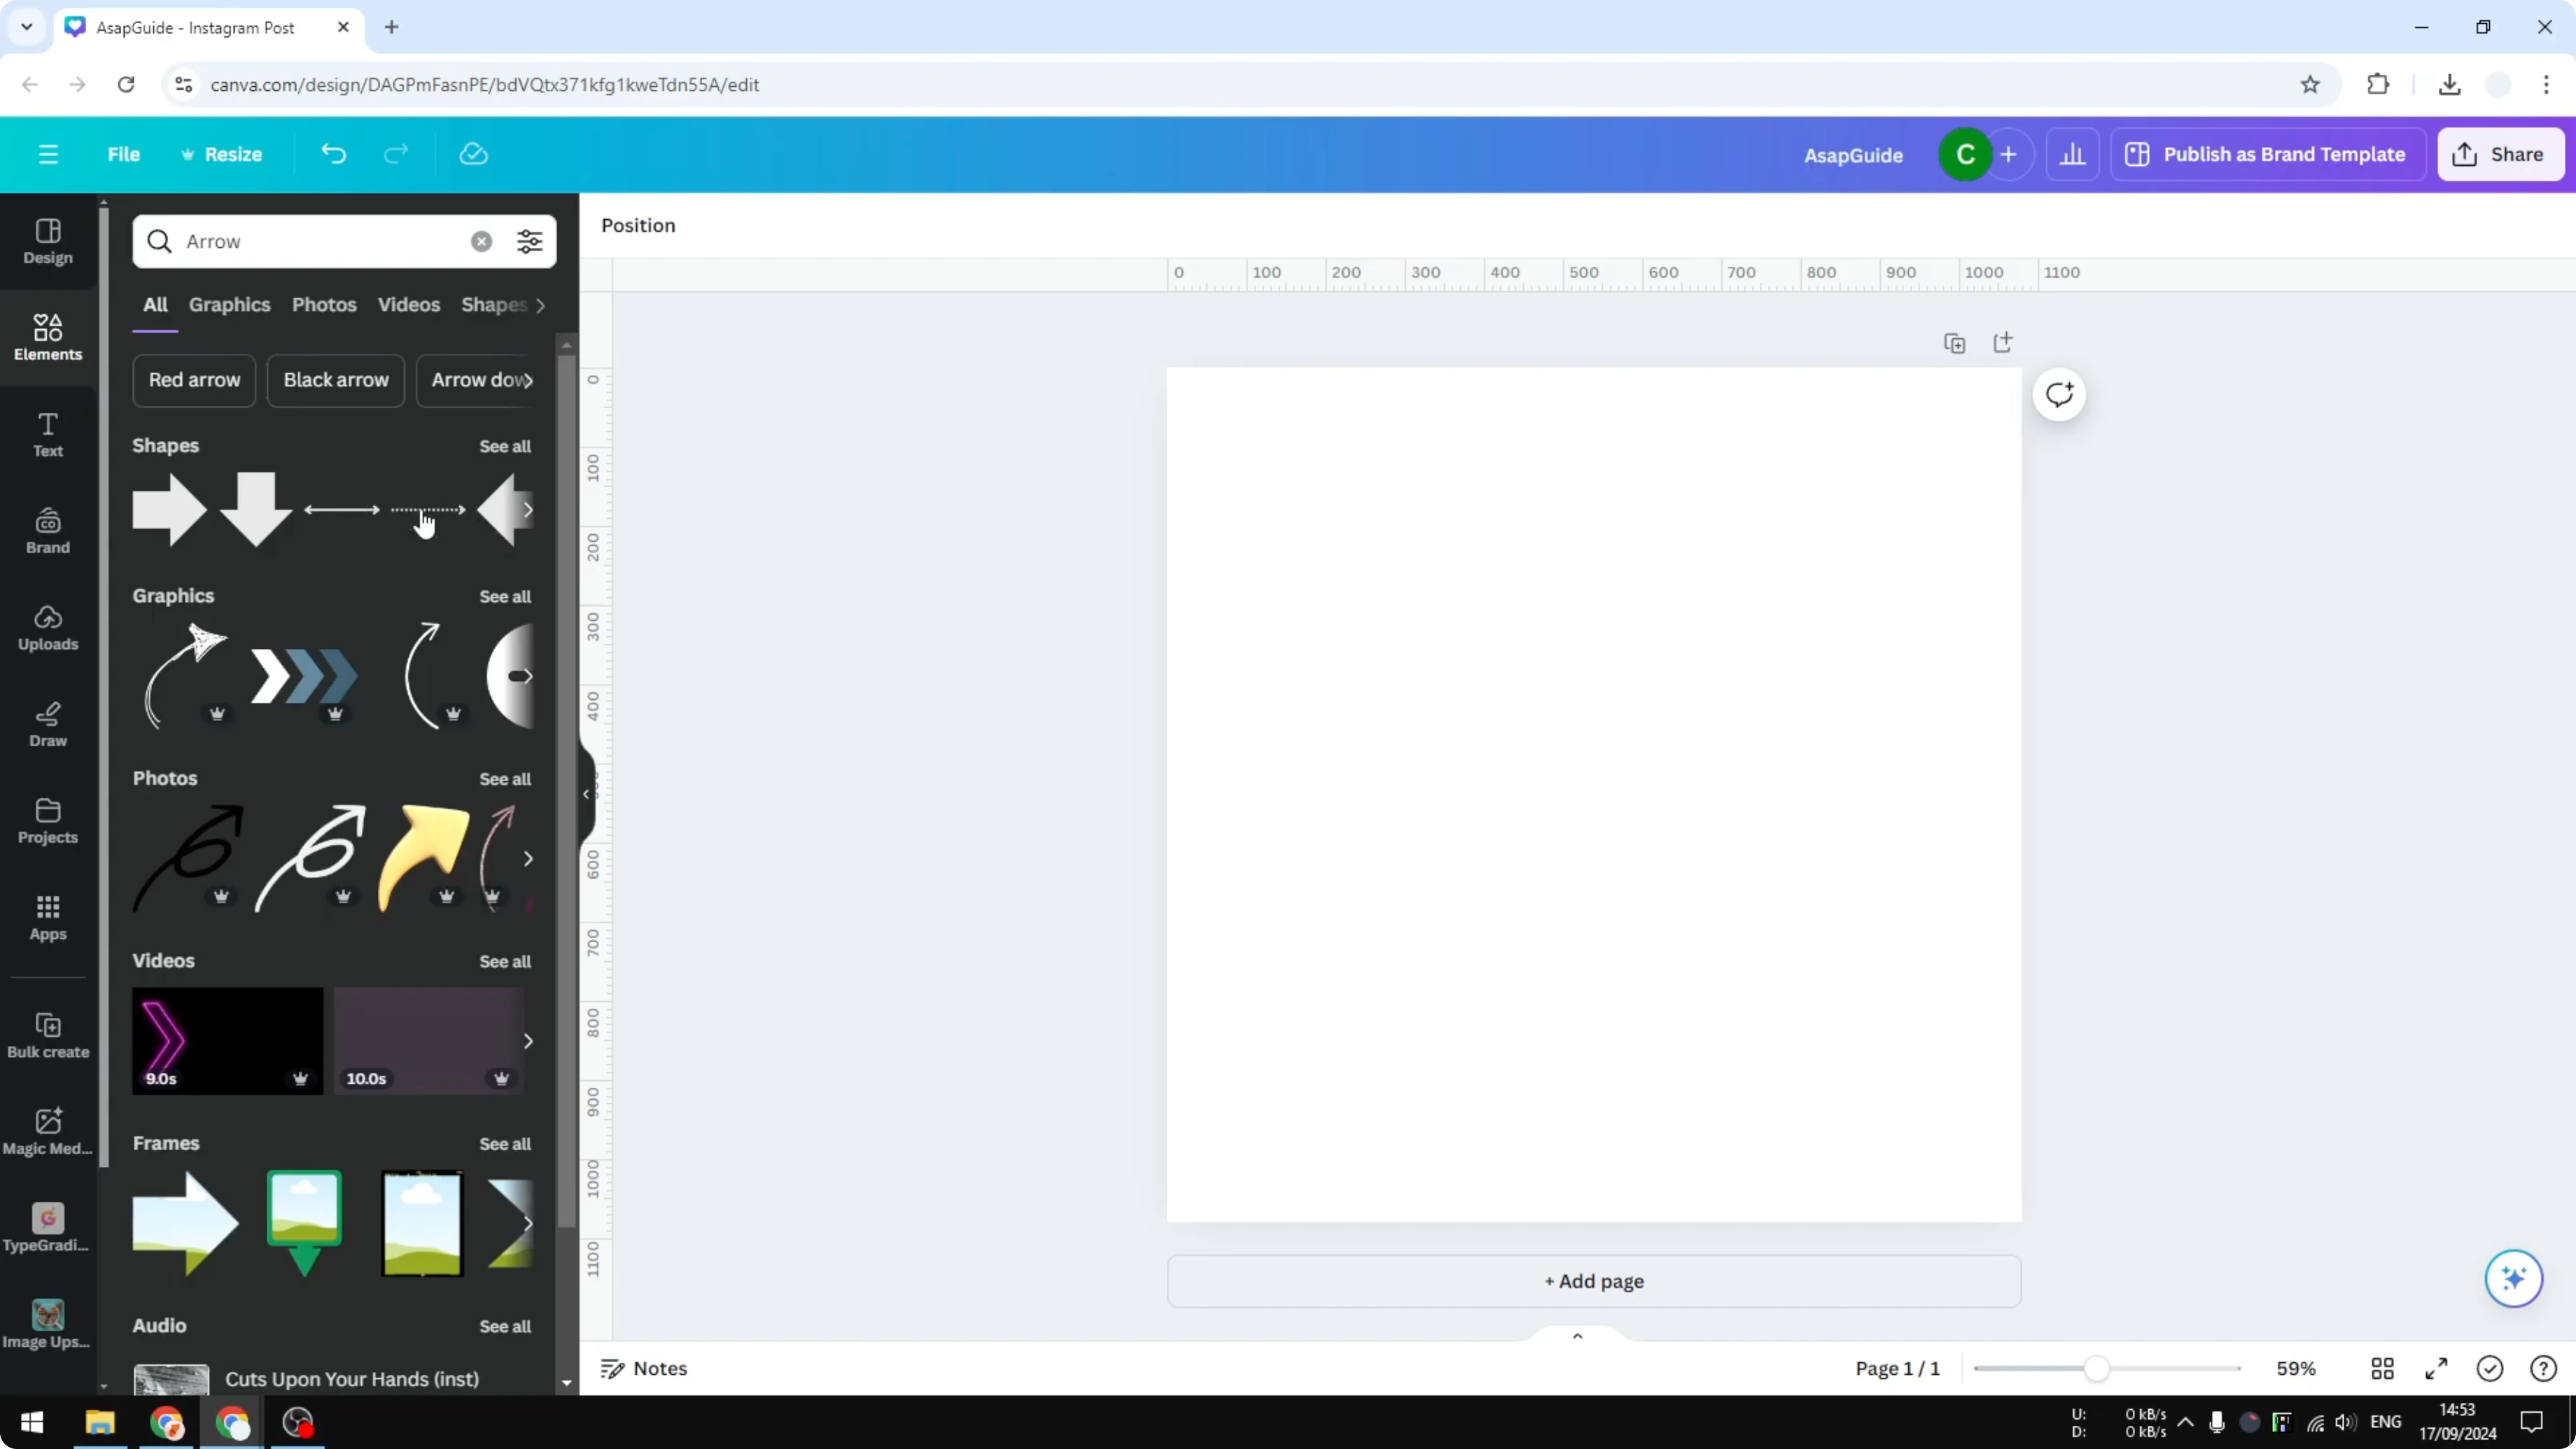
Pick the Lines type and insert a simple arrow.
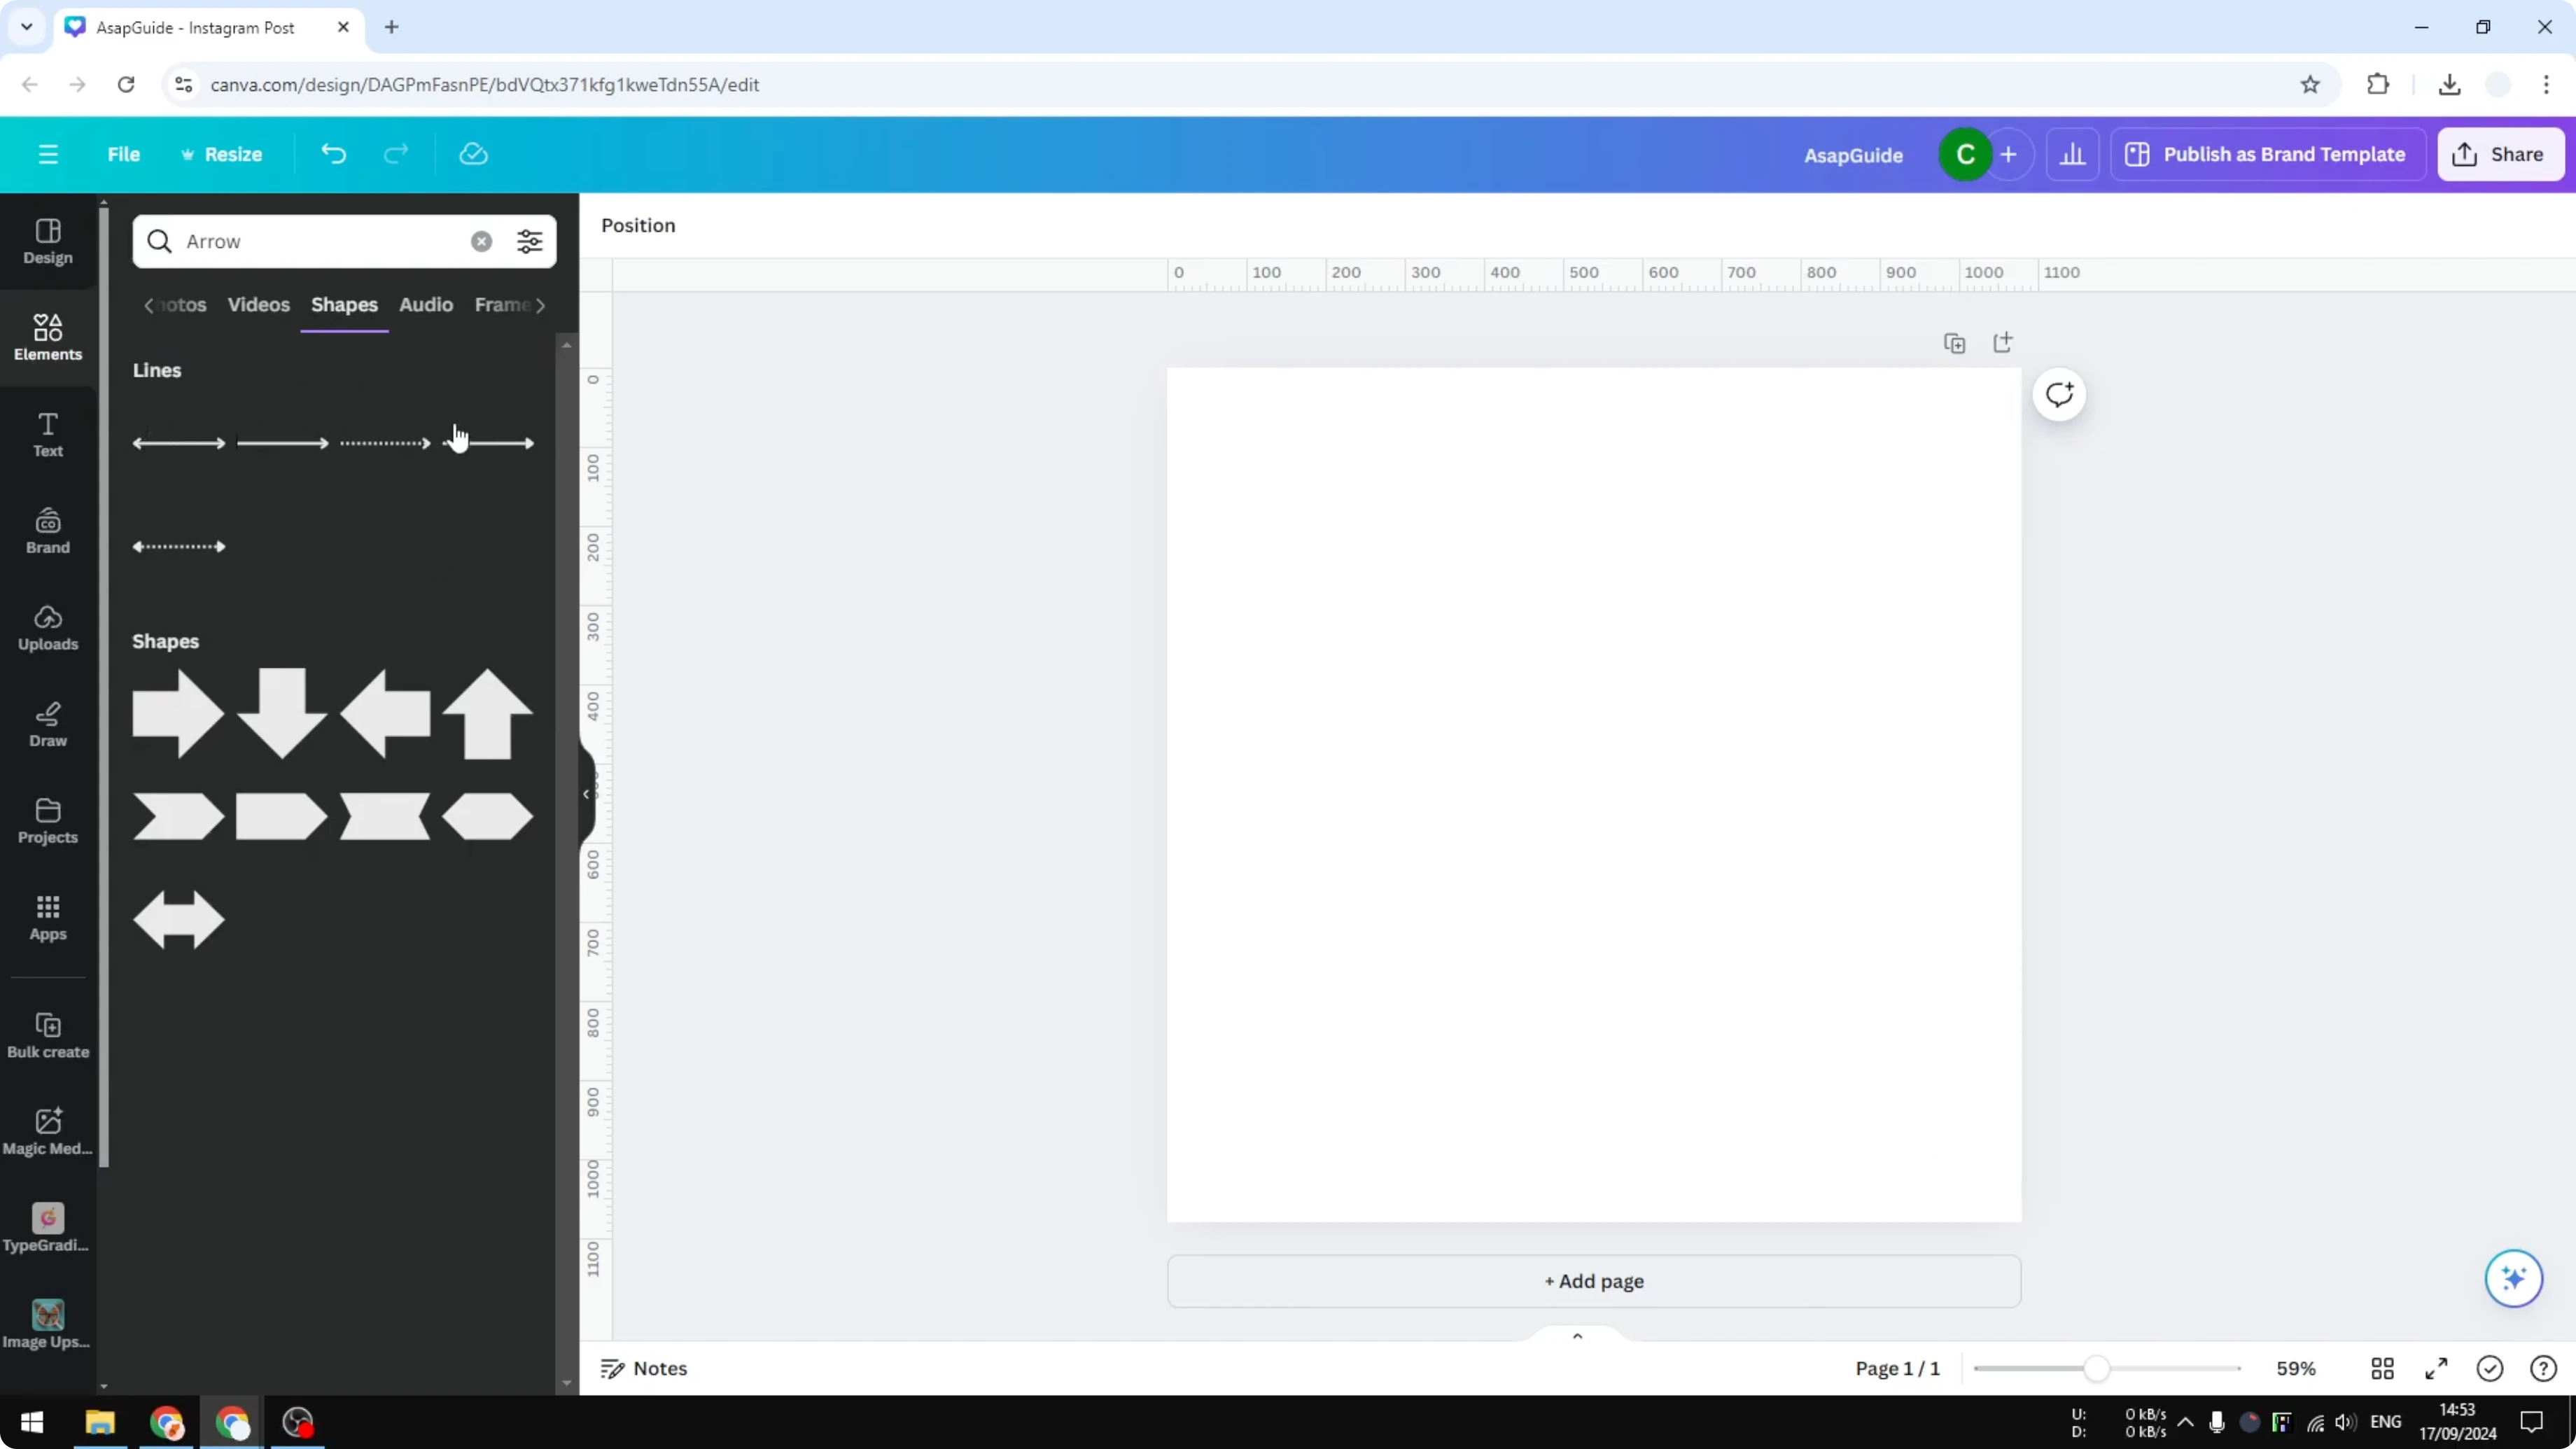
Adjust line style
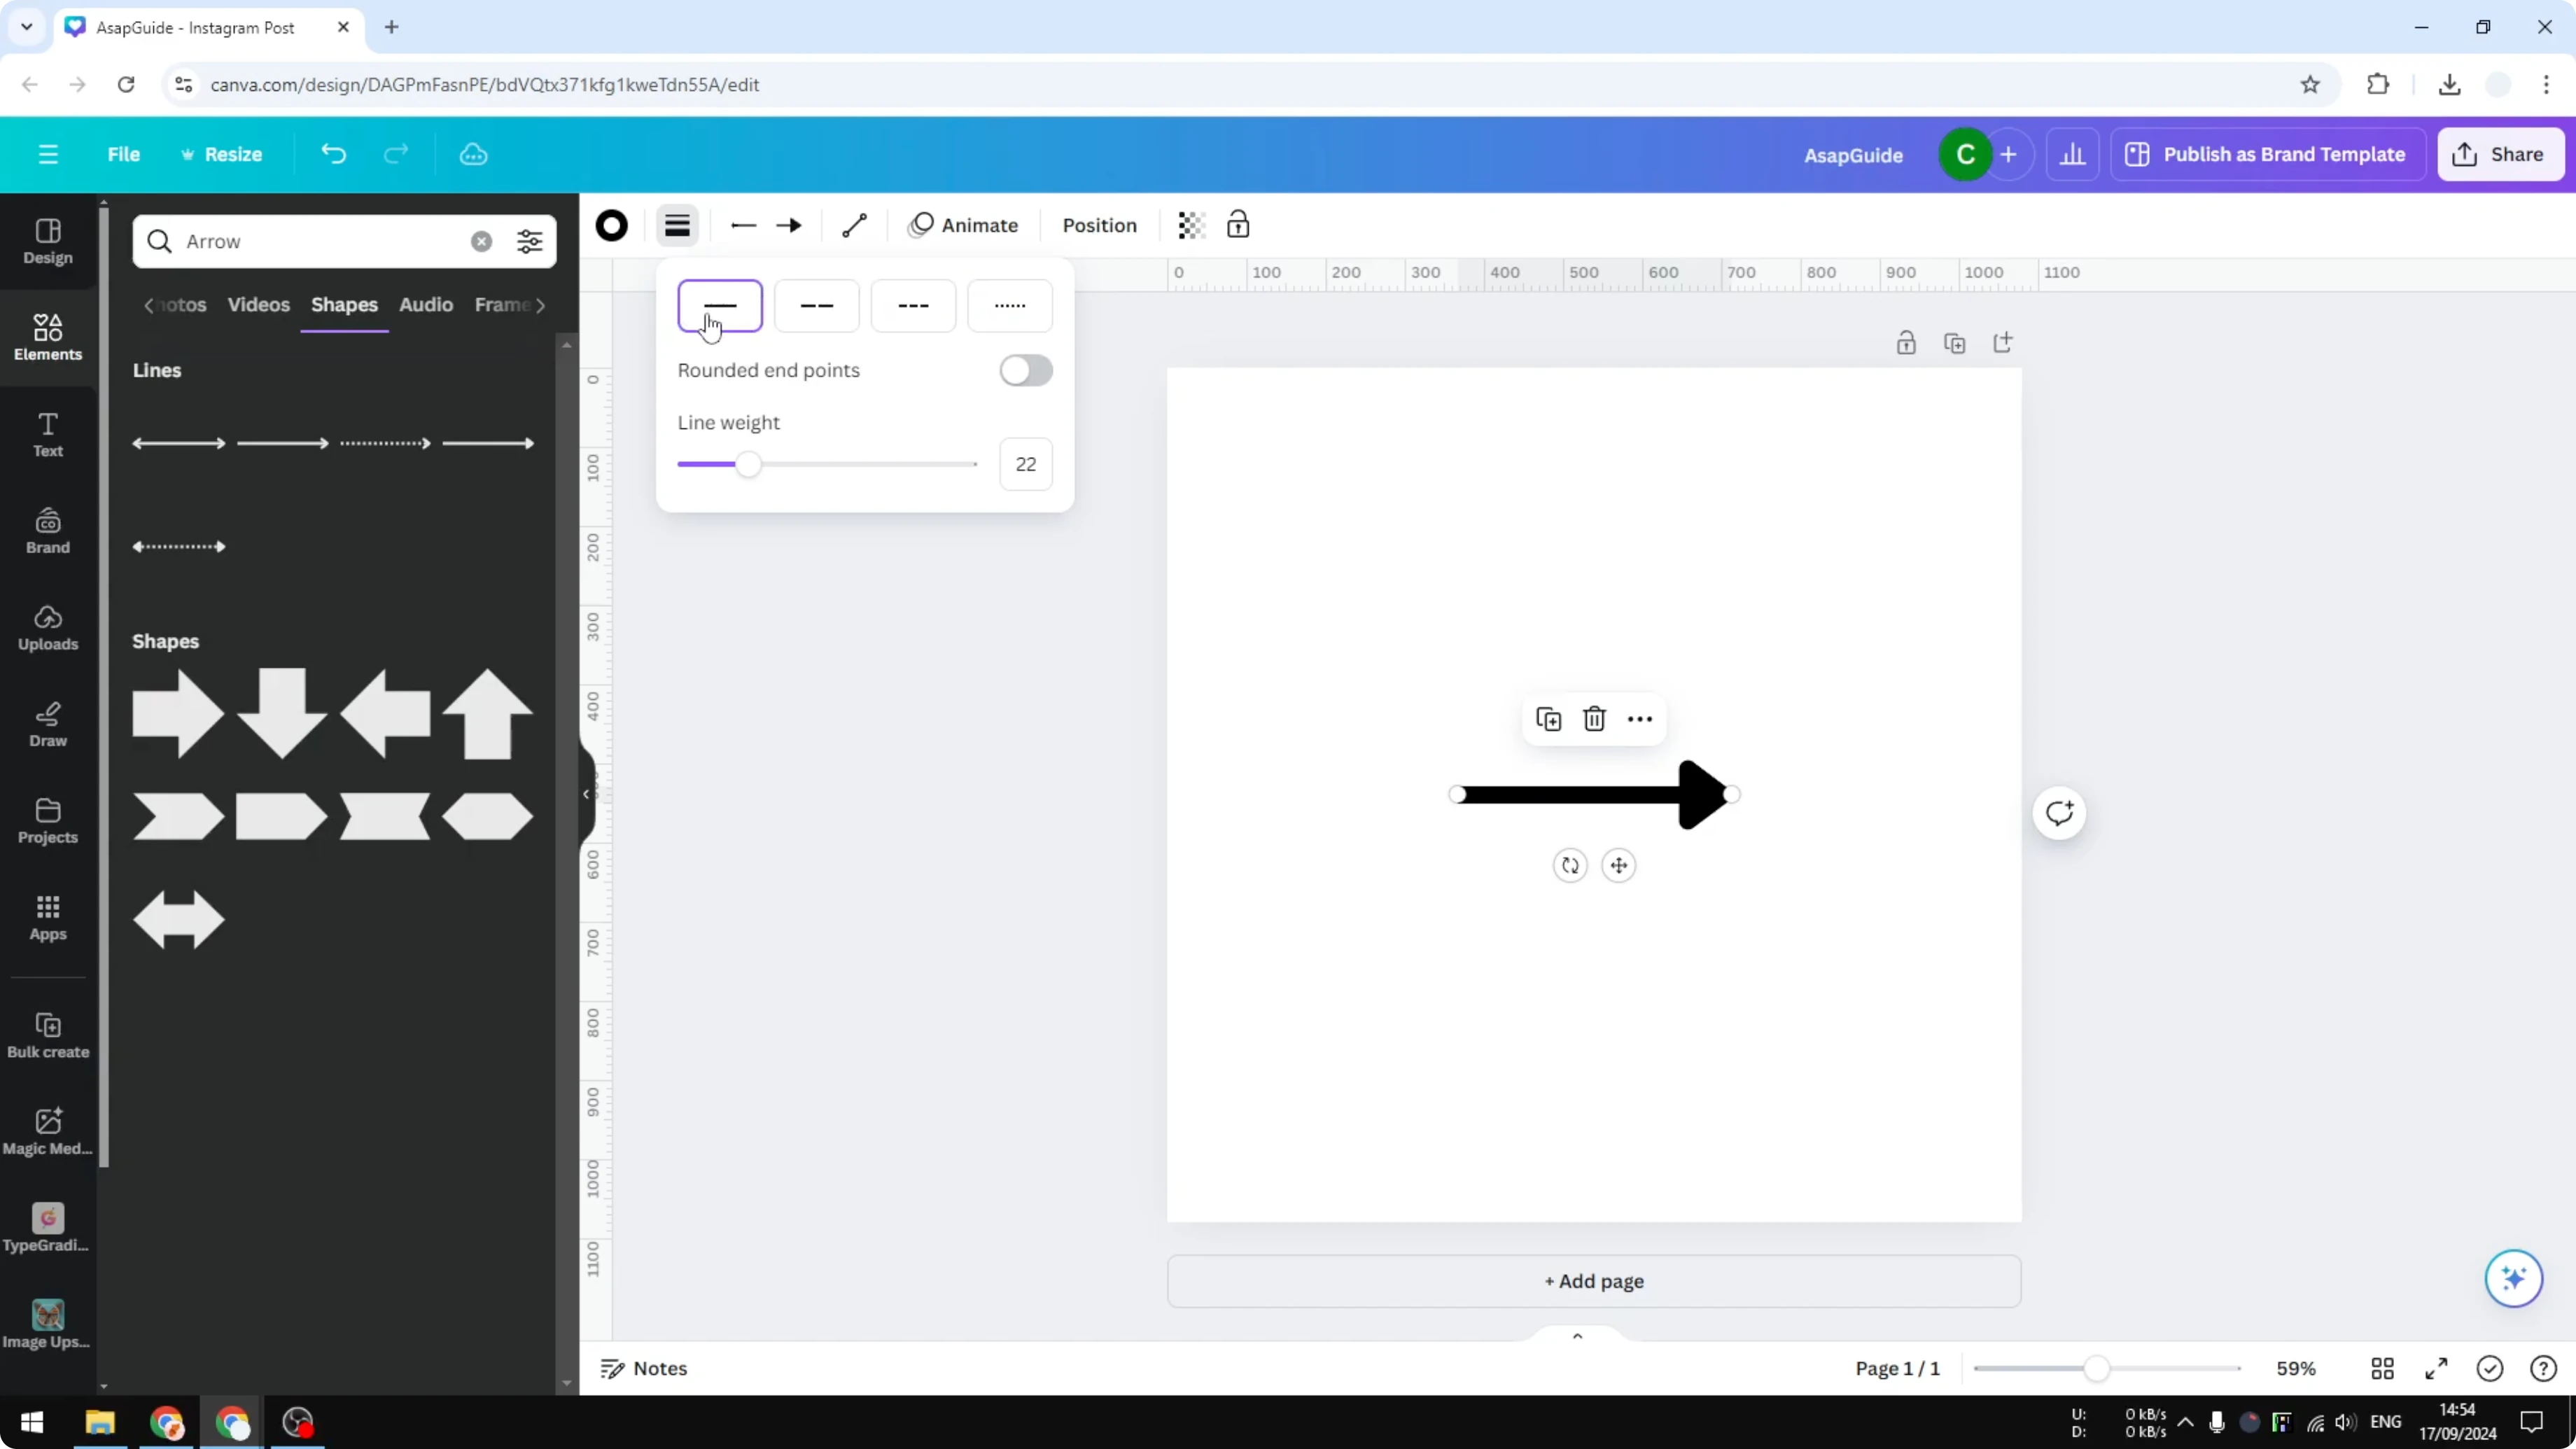
If the arrow looks too small, increase its thickness in Line style.
Drag the thickness slider to make it thicker.
Change the style to dotted or dashed if needed, or keep a solid line.
Placing arrows on photos works best after you set a background photo.
Set arrowheads
Toggle End points to control the tail of the arrow.
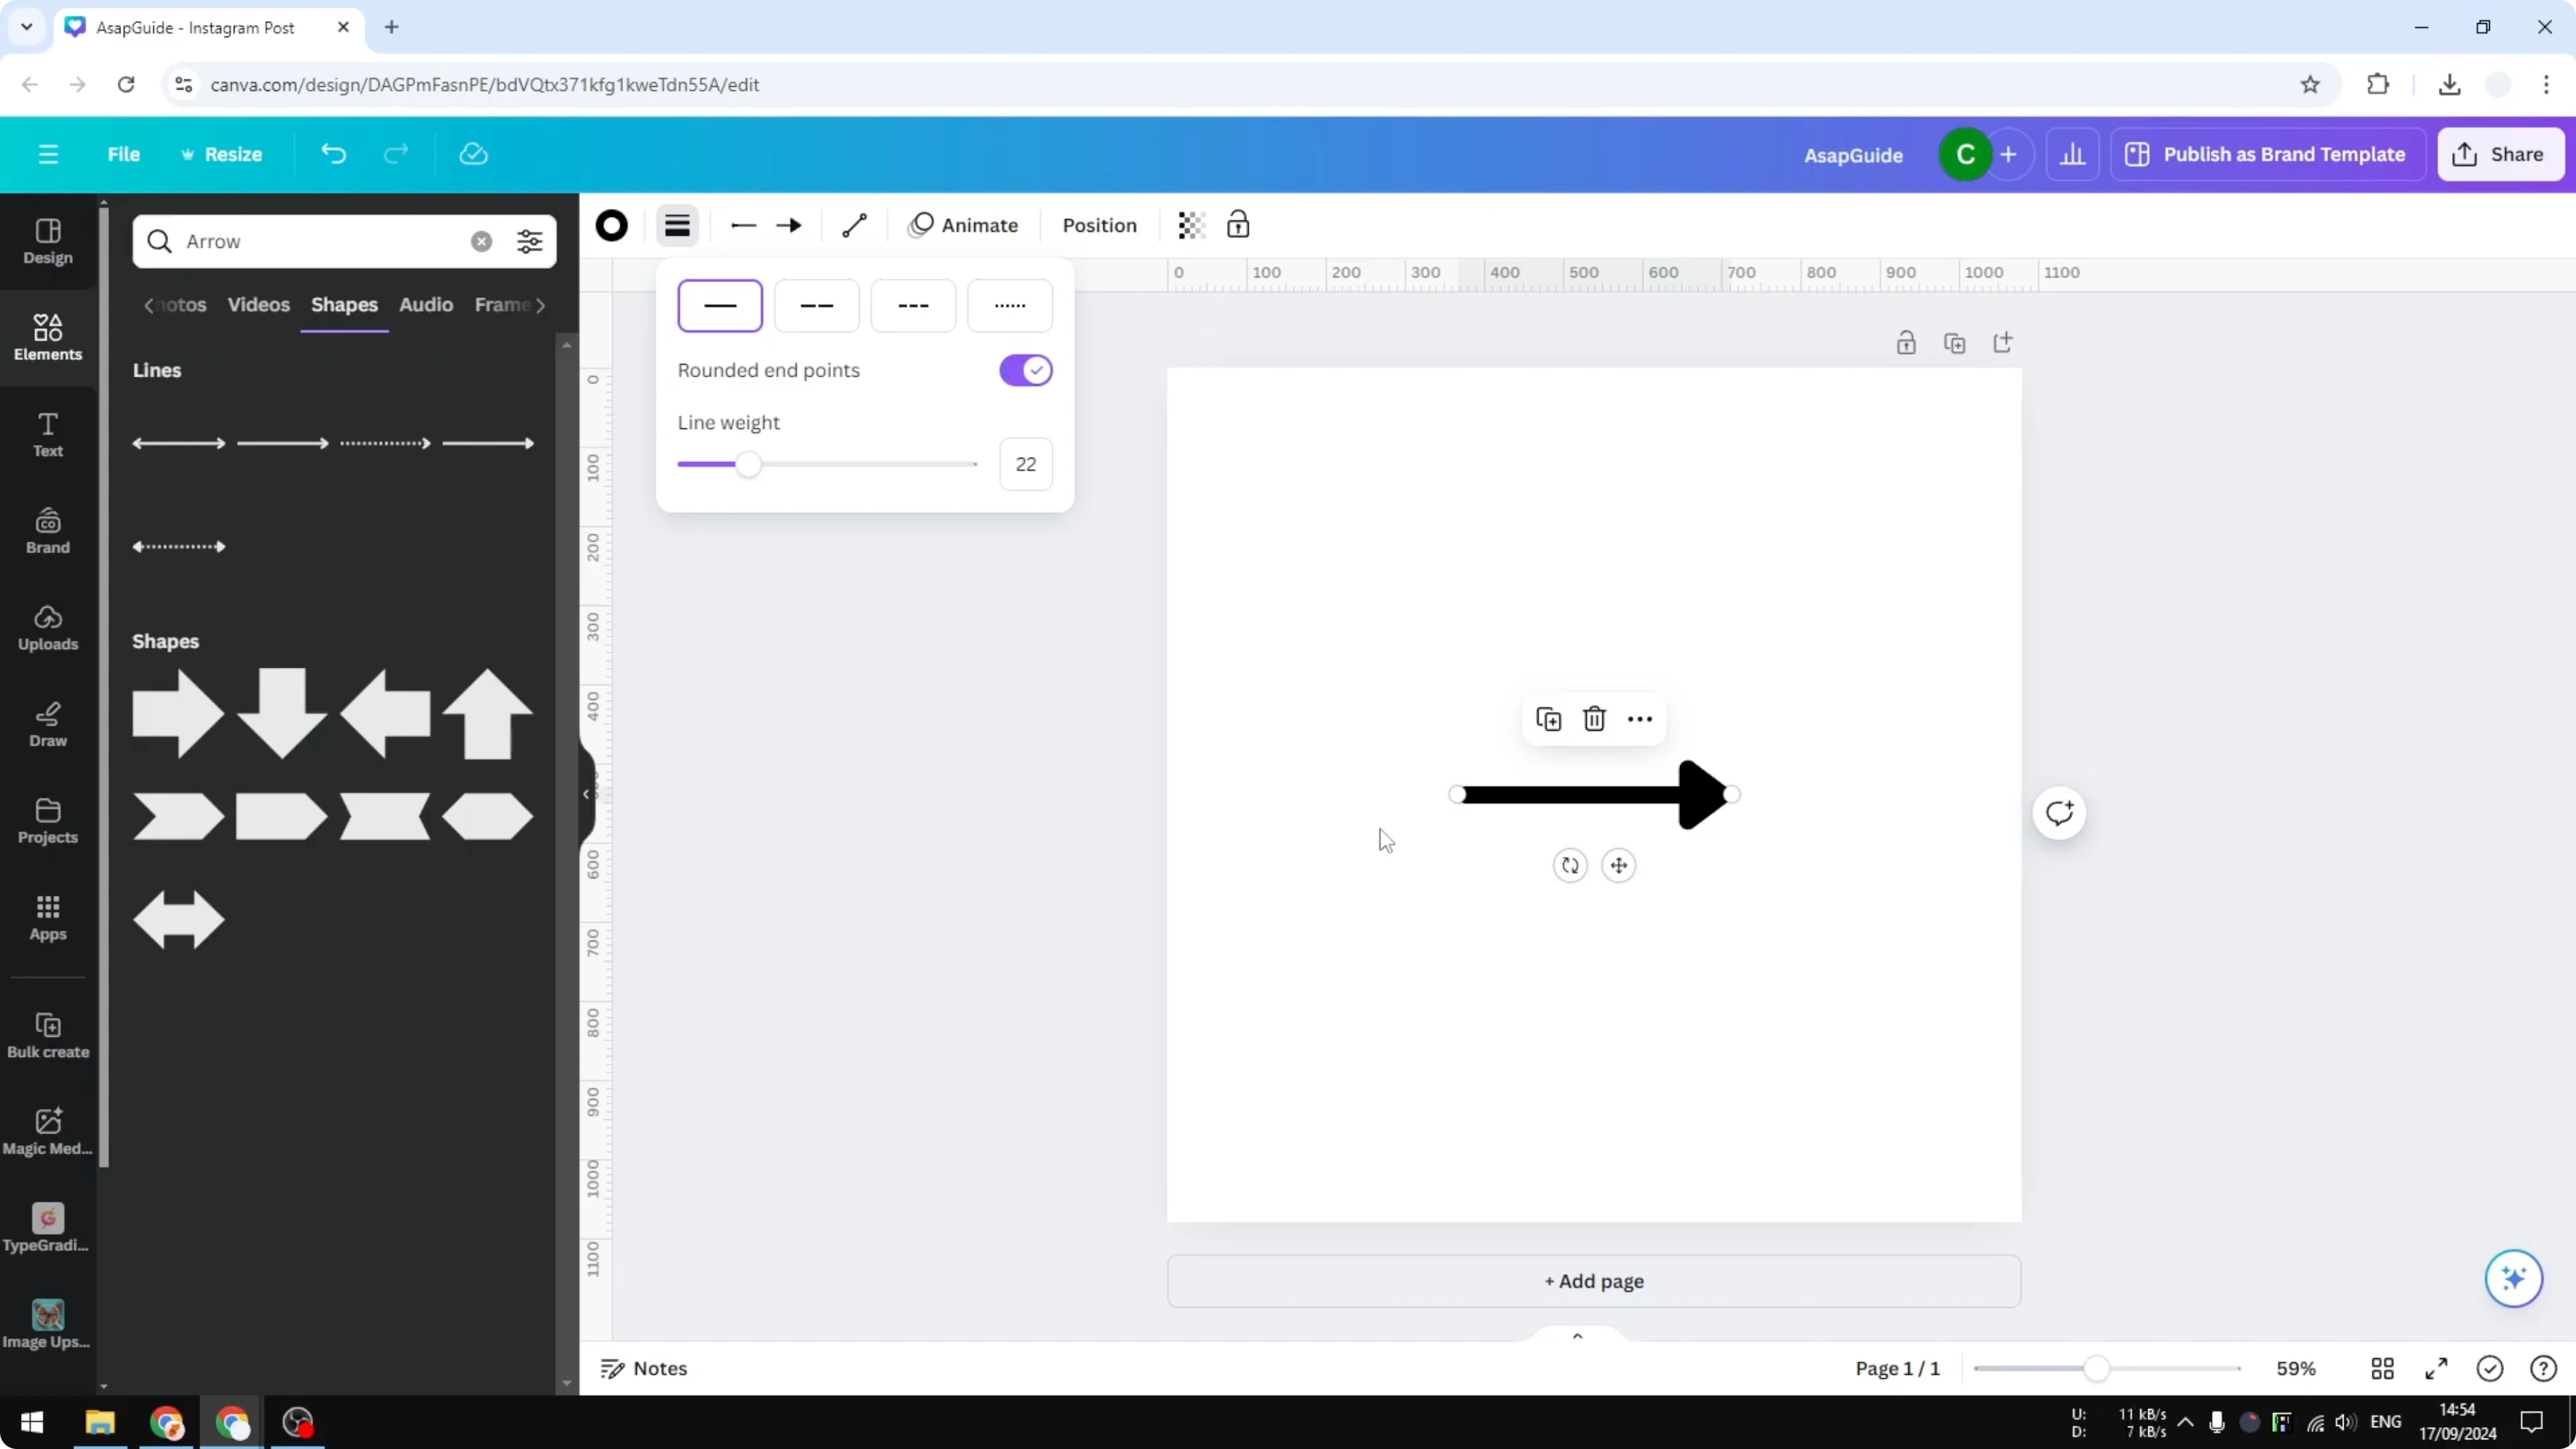
With rounded edges, keeping end points on often looks better.
Adjust Line start to change the start cap style.
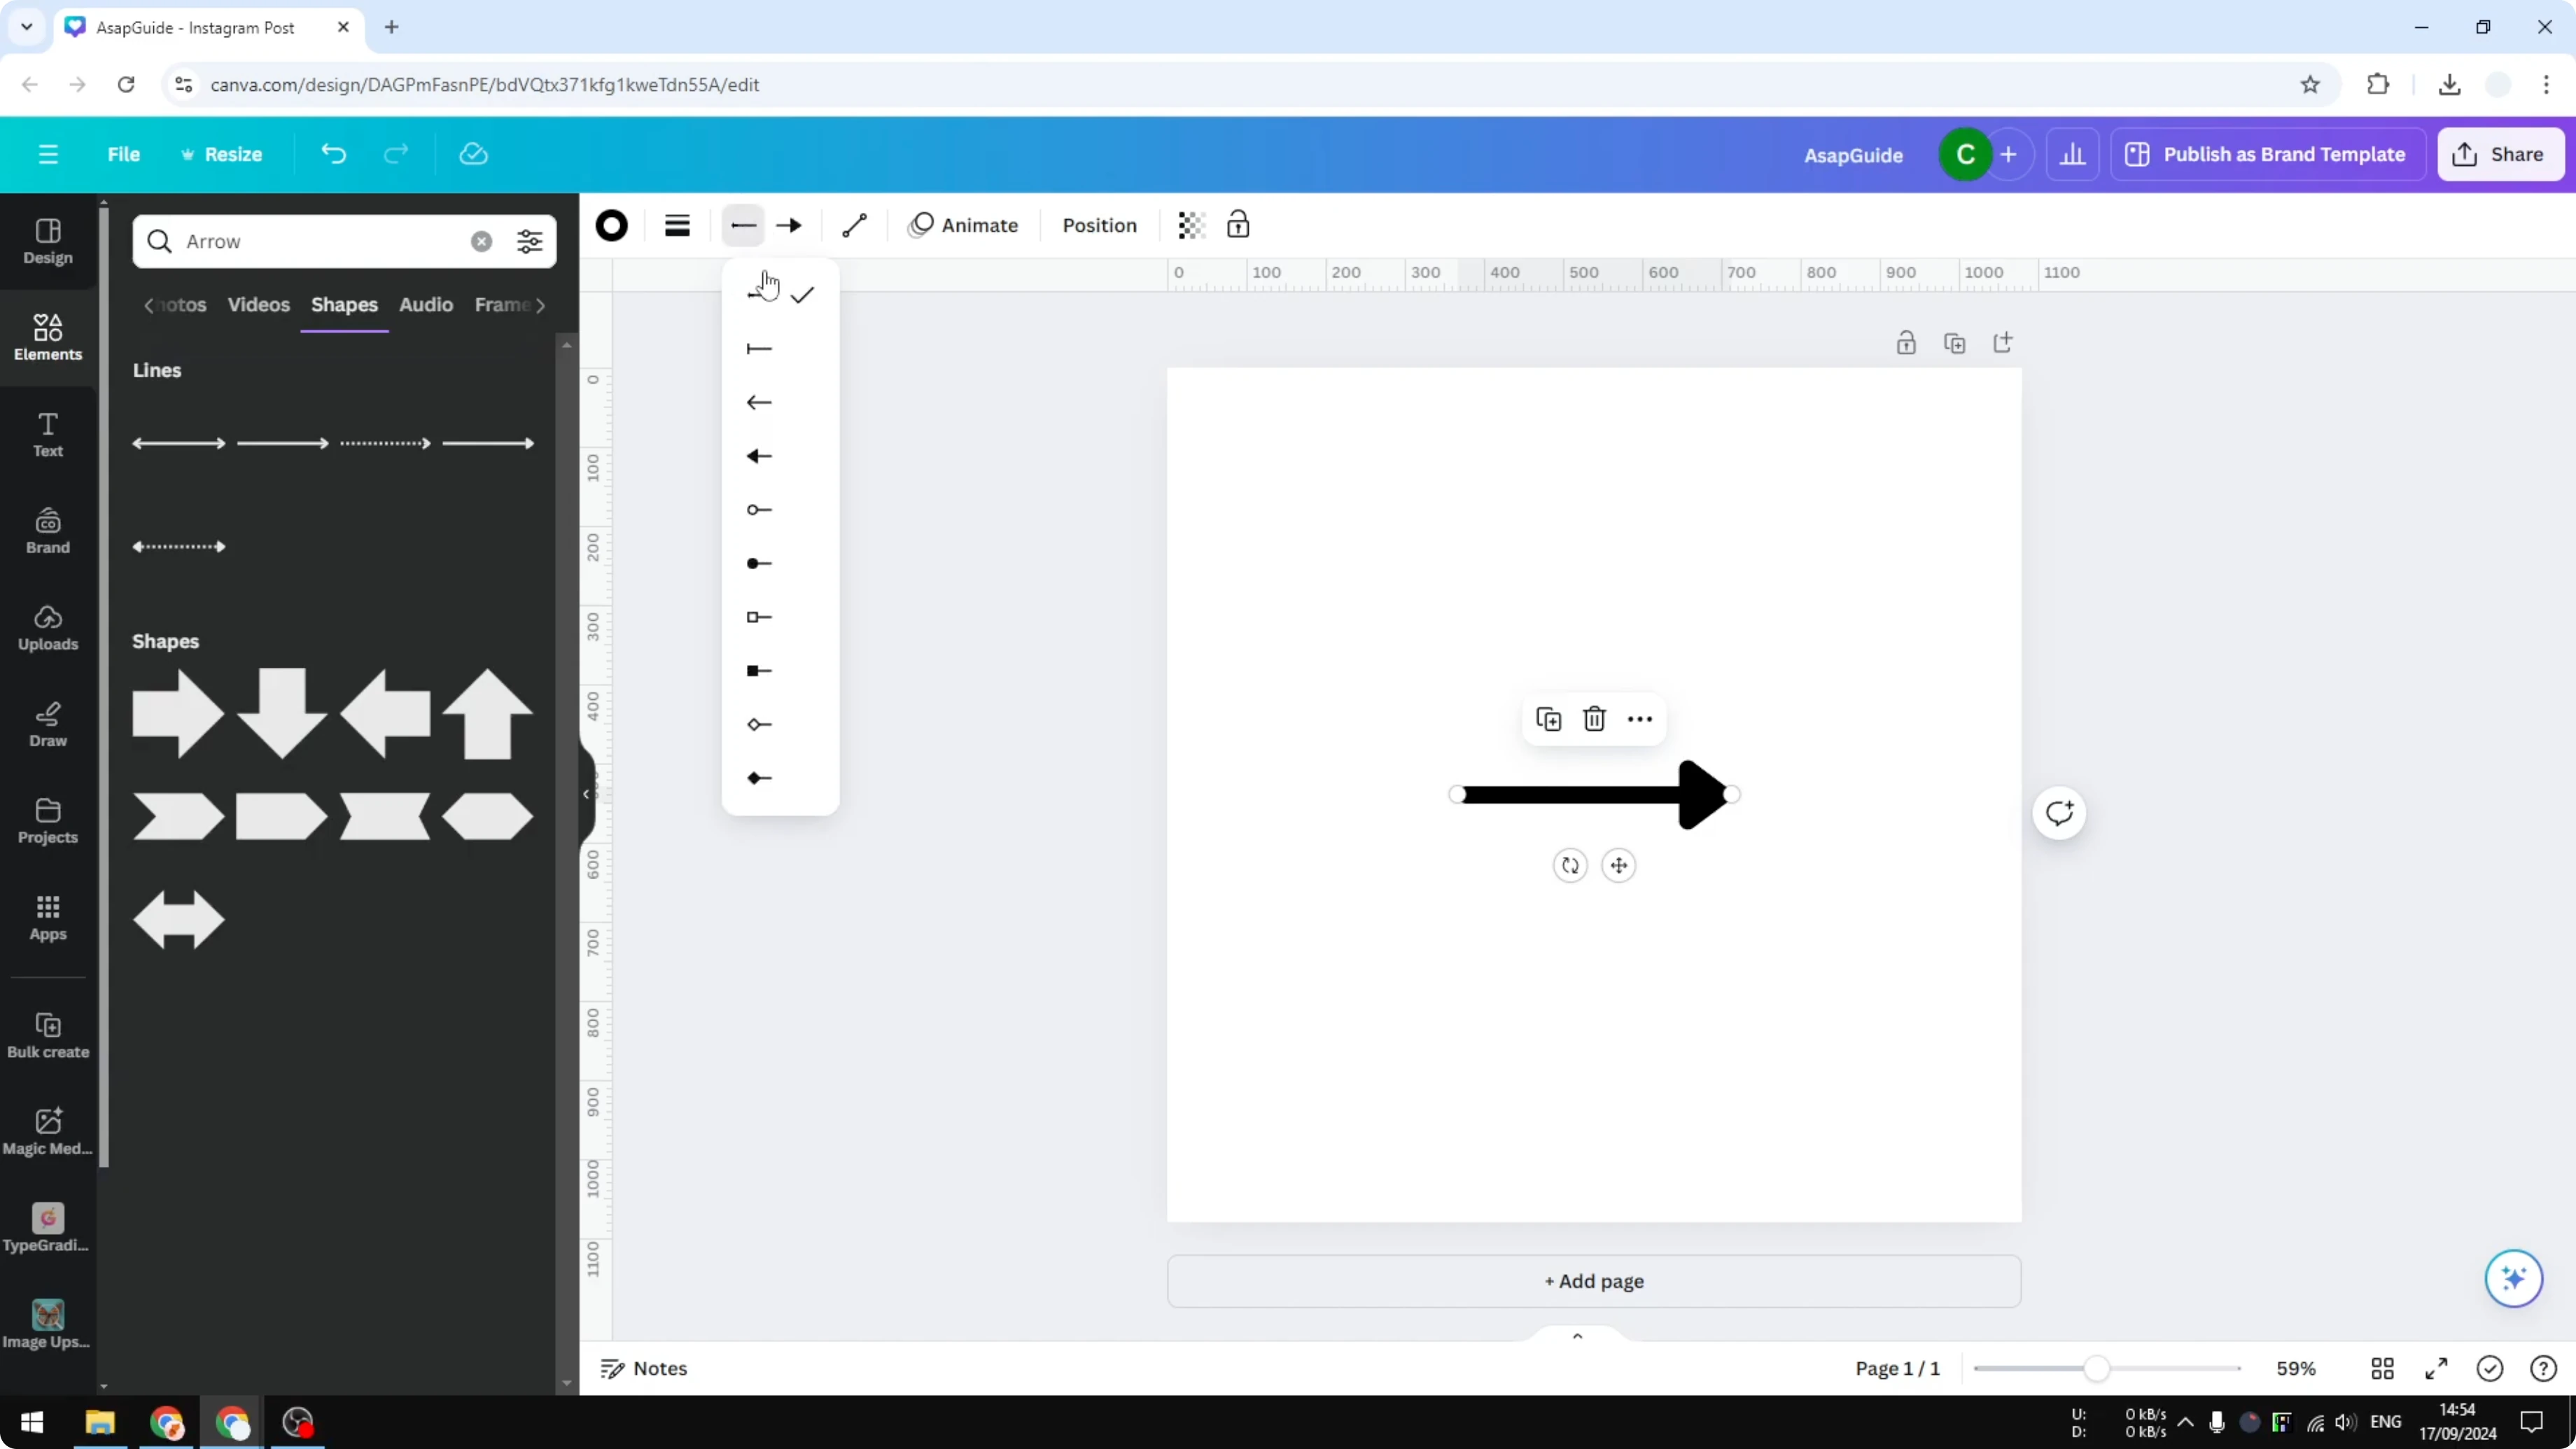
Adjust Line end to pick the arrowhead you prefer.
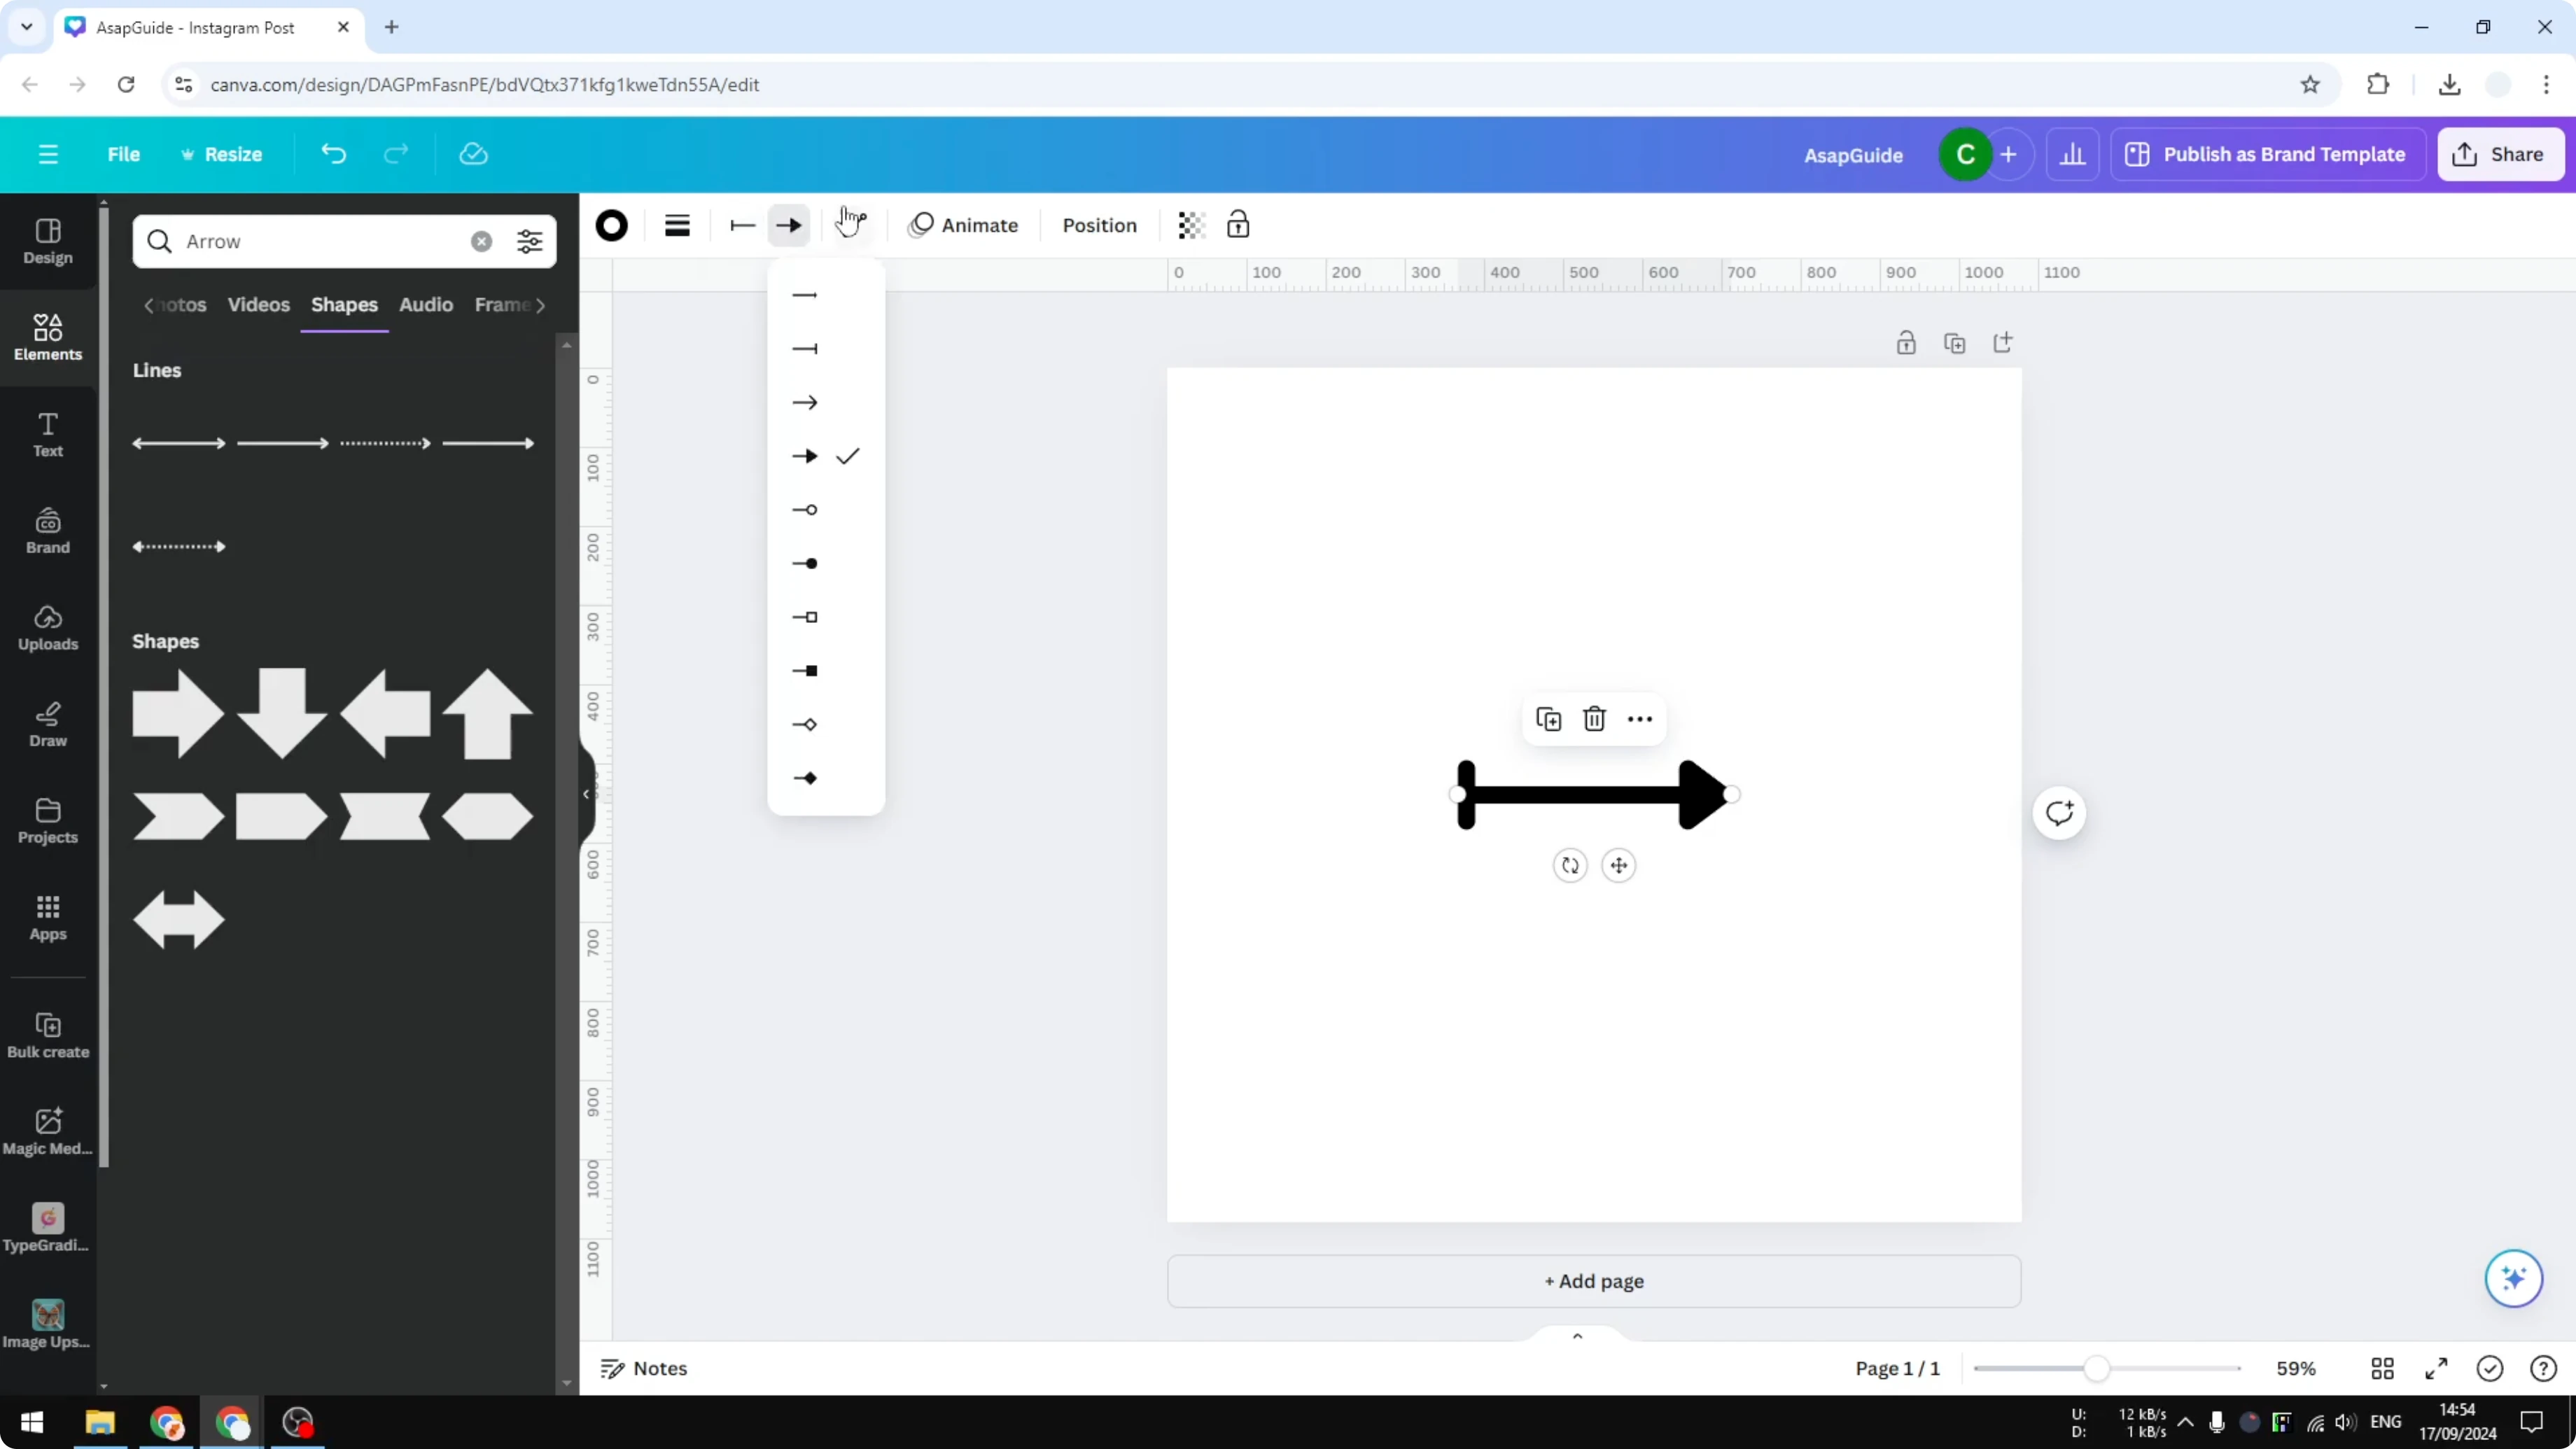
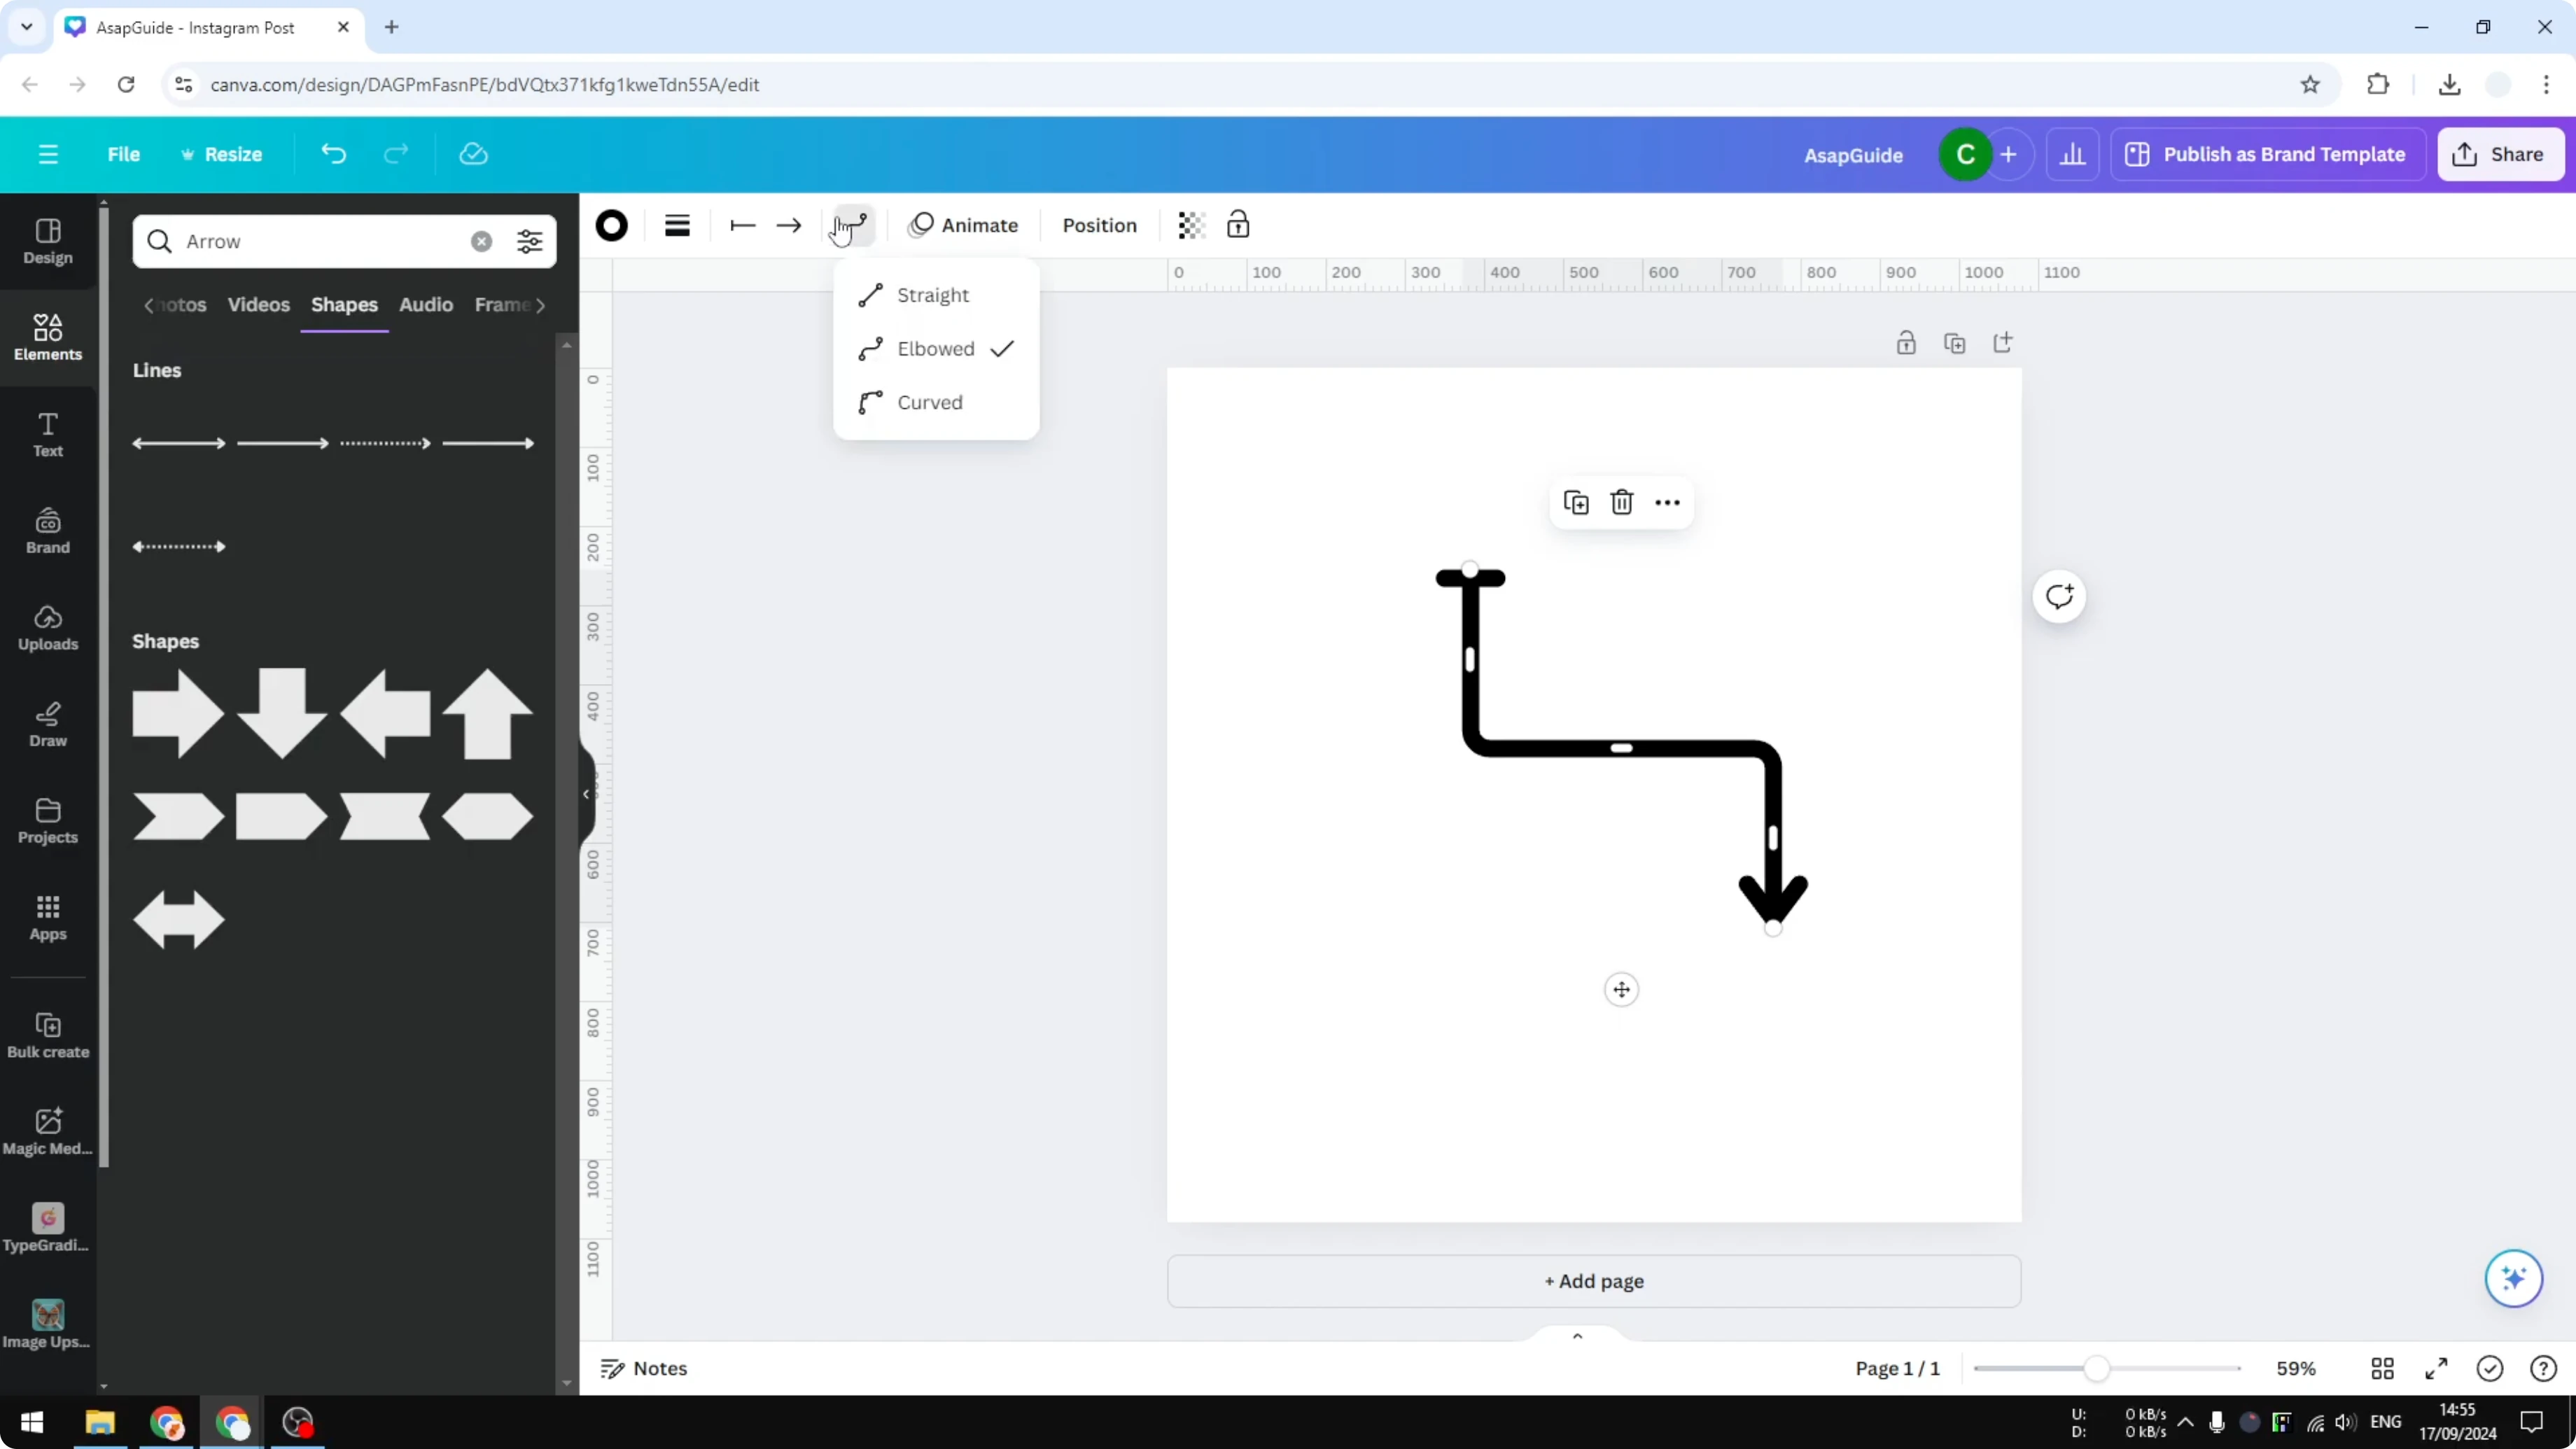
Elbow or curve
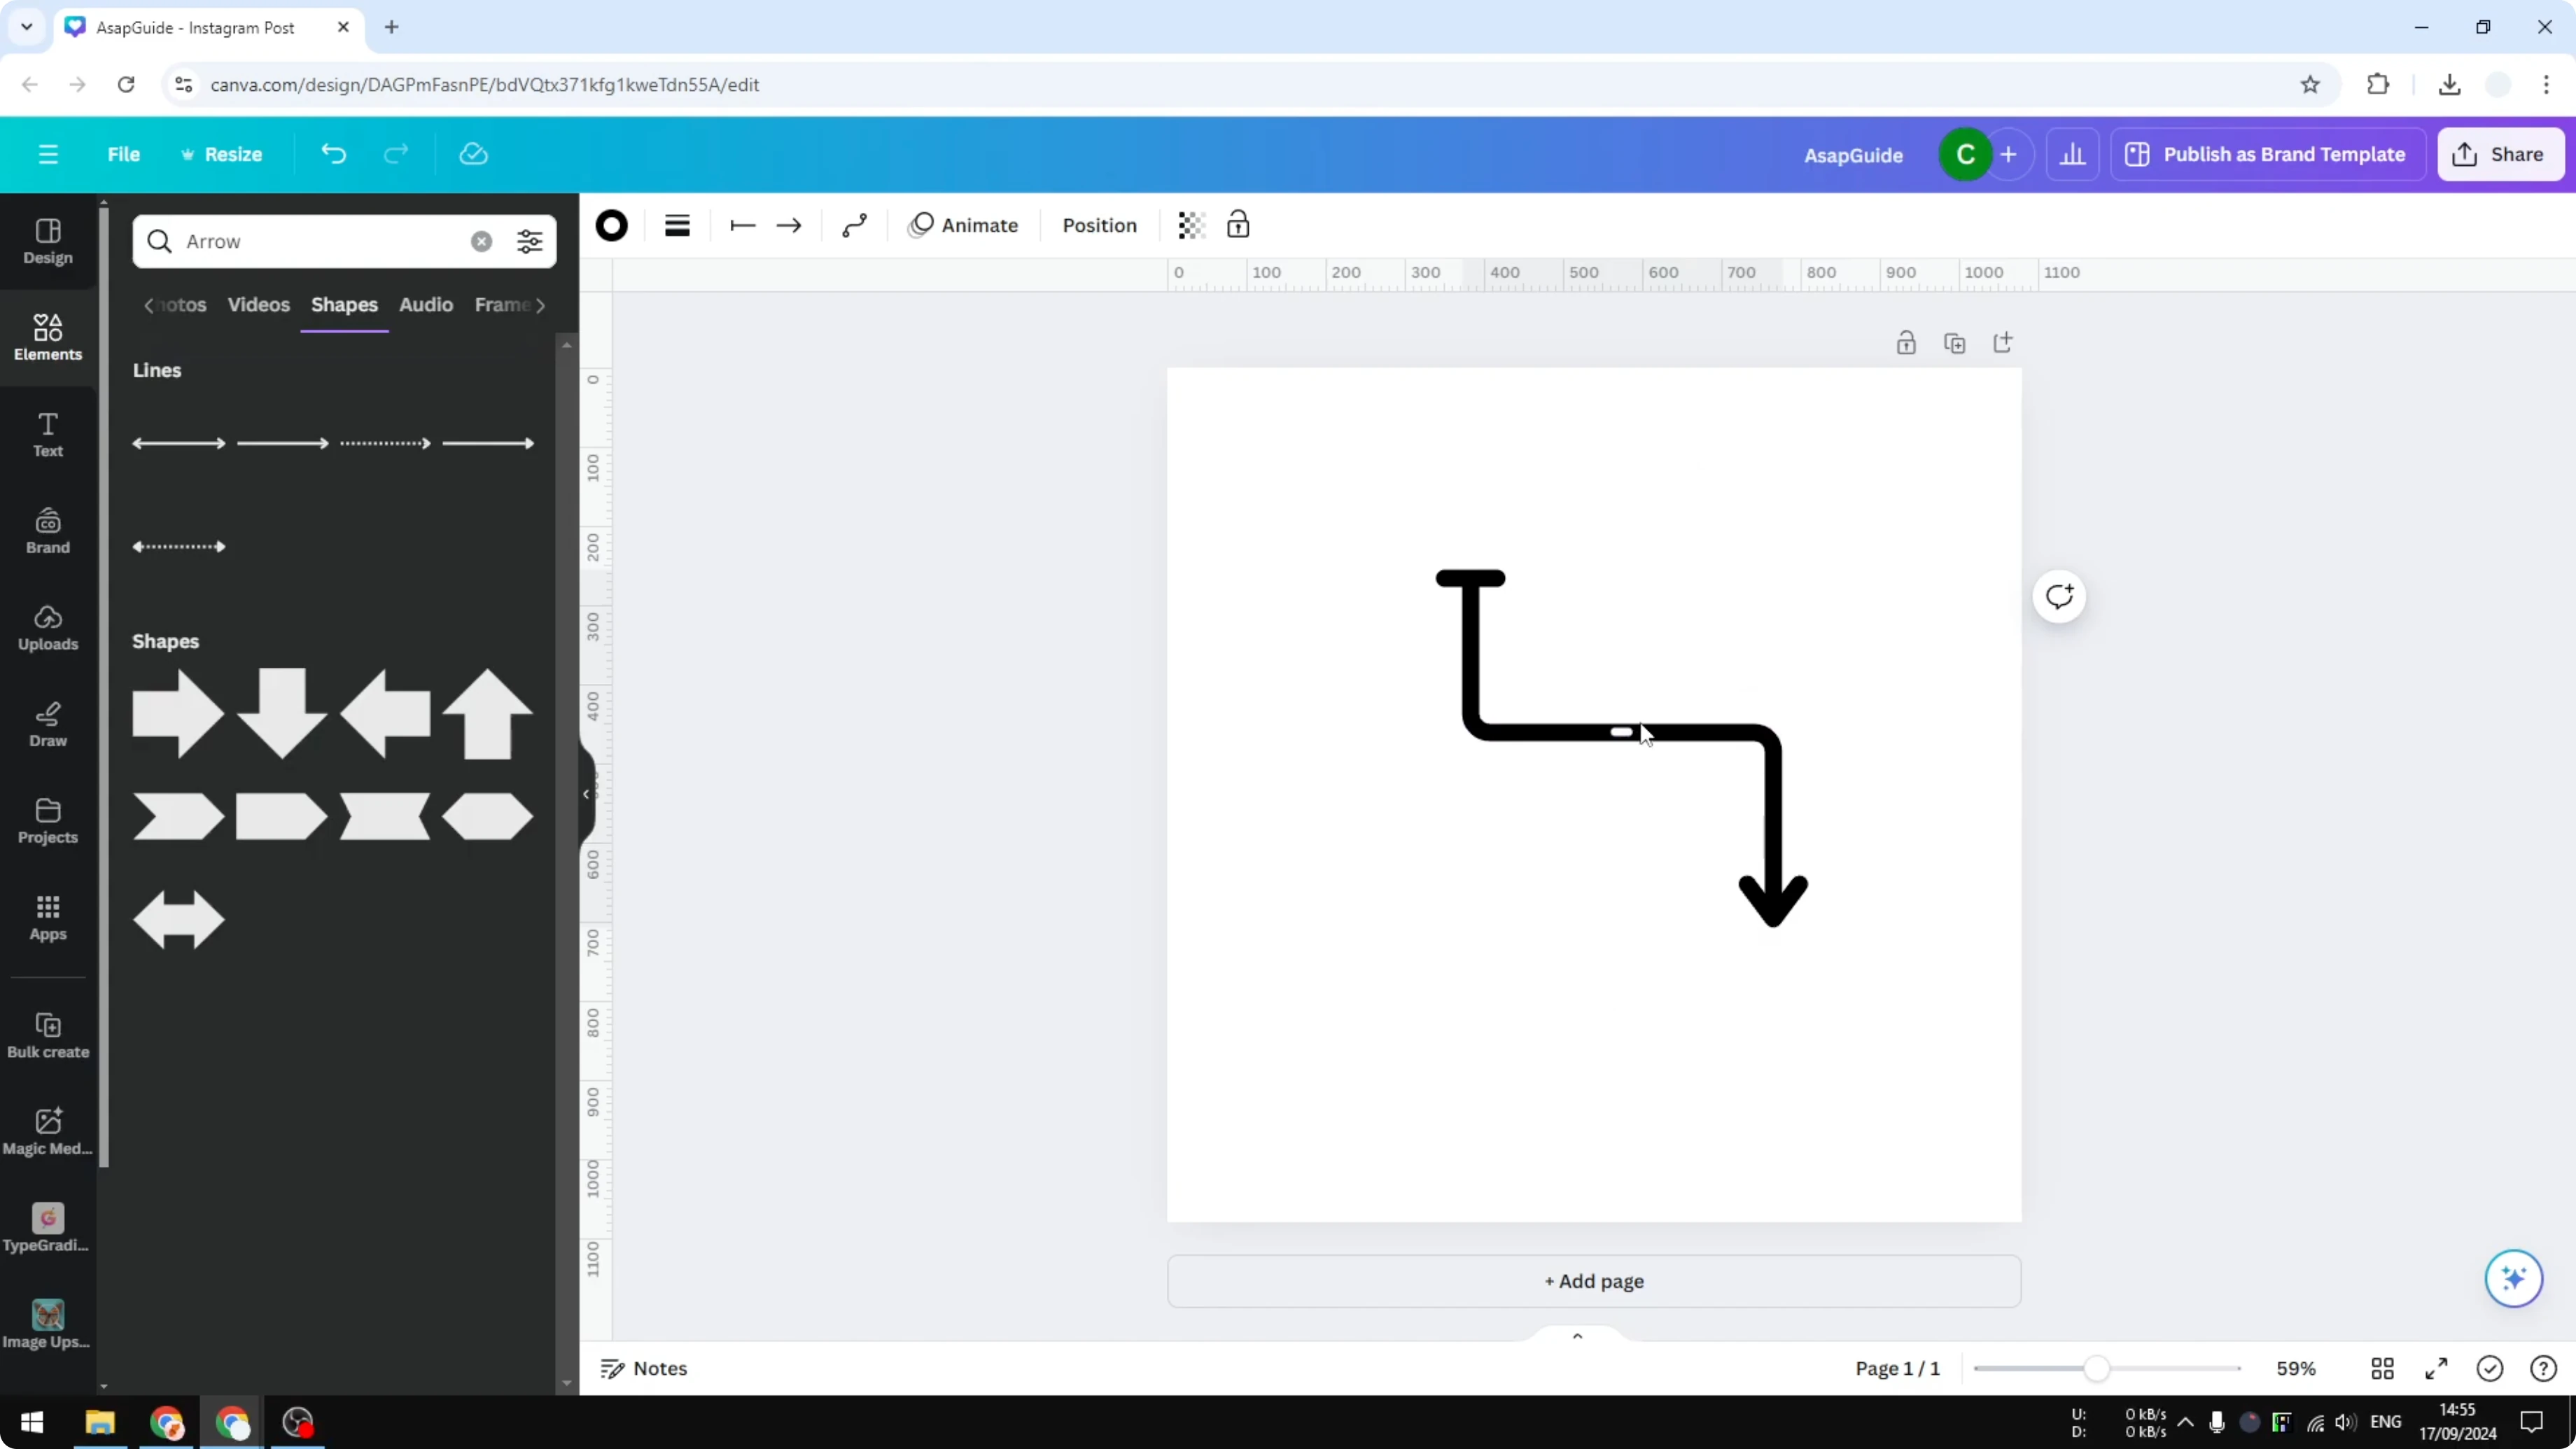
Switch the Line type to Elbow to create right angle turns.
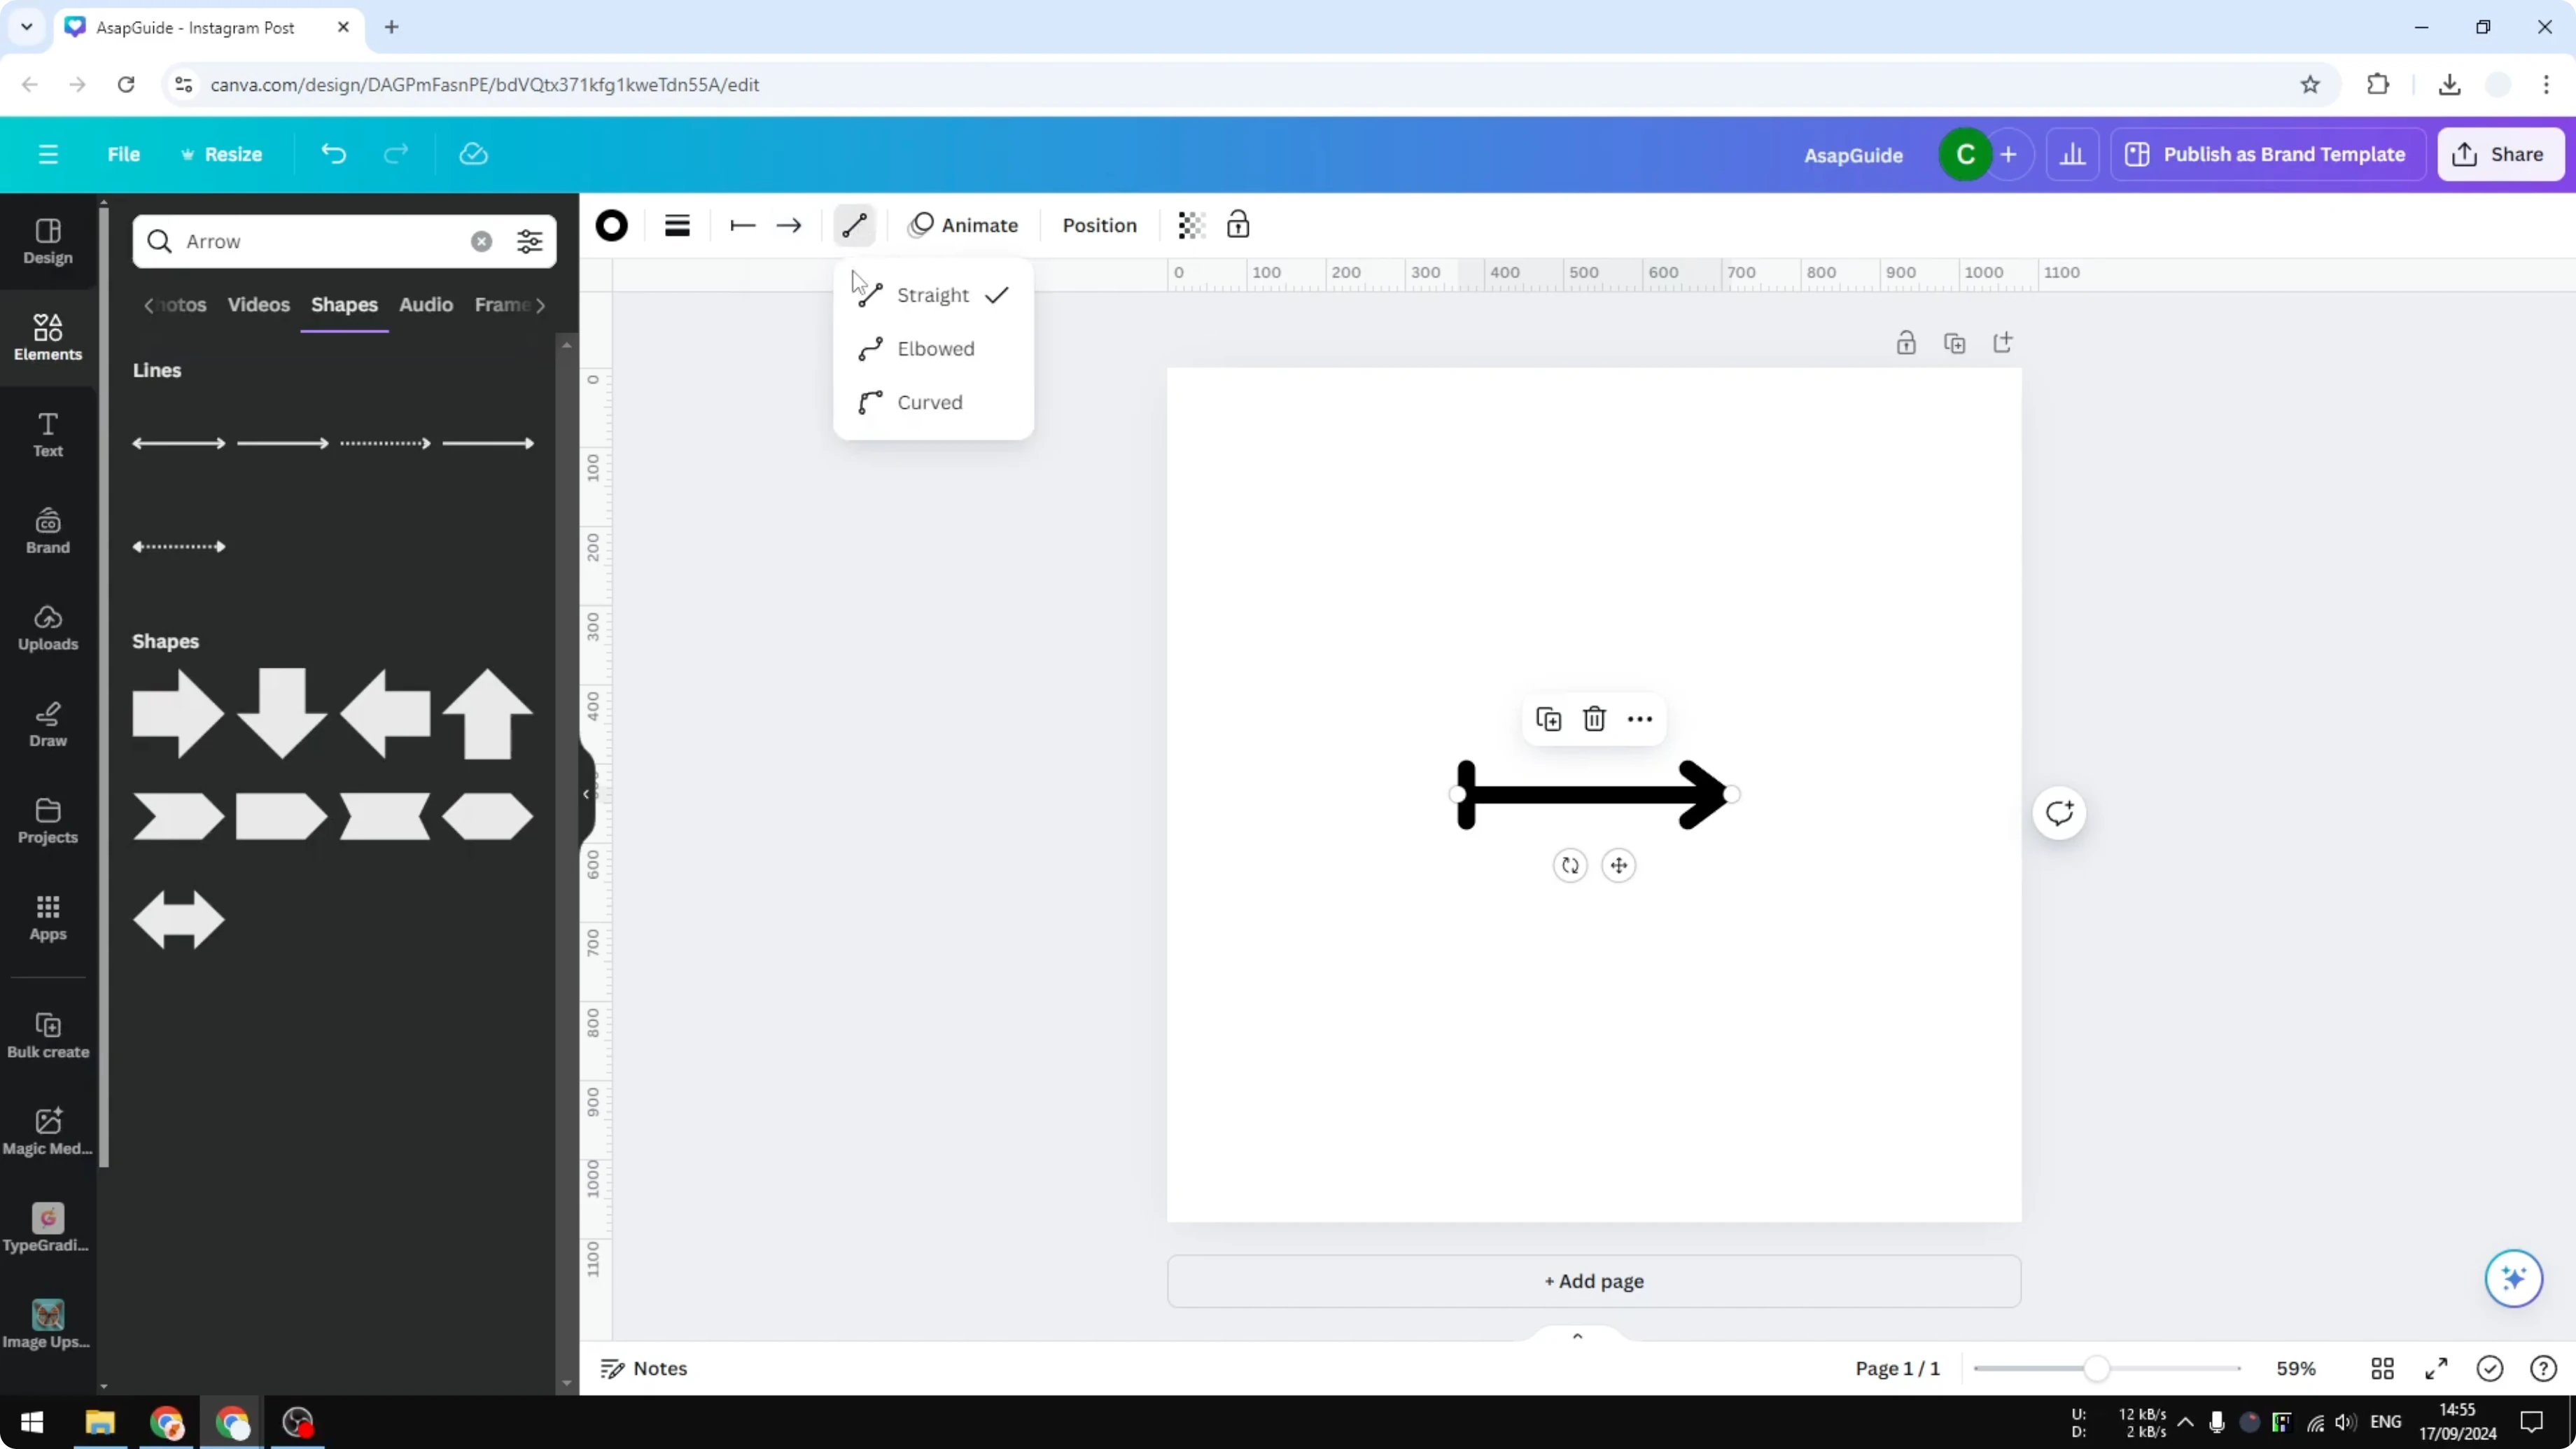
Move the elbow control to reposition the bend based on your layout.
Choose Curve for an arc and drag the handles to set subtle or strong curvature.
Rotate or move the arrow as usual while the curve adapts to the direction.
For accessible exports, remember to add alt text to a picture in Canva.
Final thoughts on Add an Arrow Line in Canva
Pick the Shapes based line, adjust Line style, and set Line start and Line end for the exact look.
Use Elbow or Curve when you need arrows that follow structure or flow.
These options give you a clean arrow that fits your design quickly.
Recent Posts
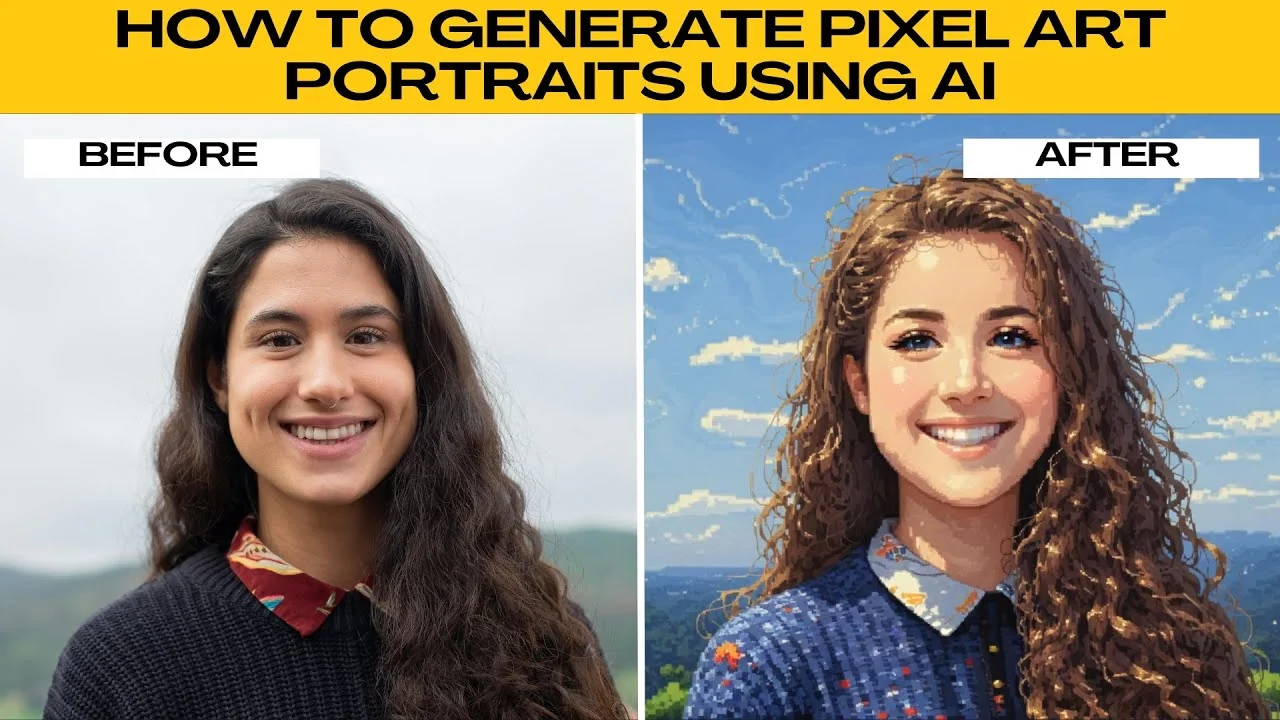
How to Visualize Yourself as a Pixelized Character with AI?
How to Visualize Yourself as a Pixelized Character with AI?
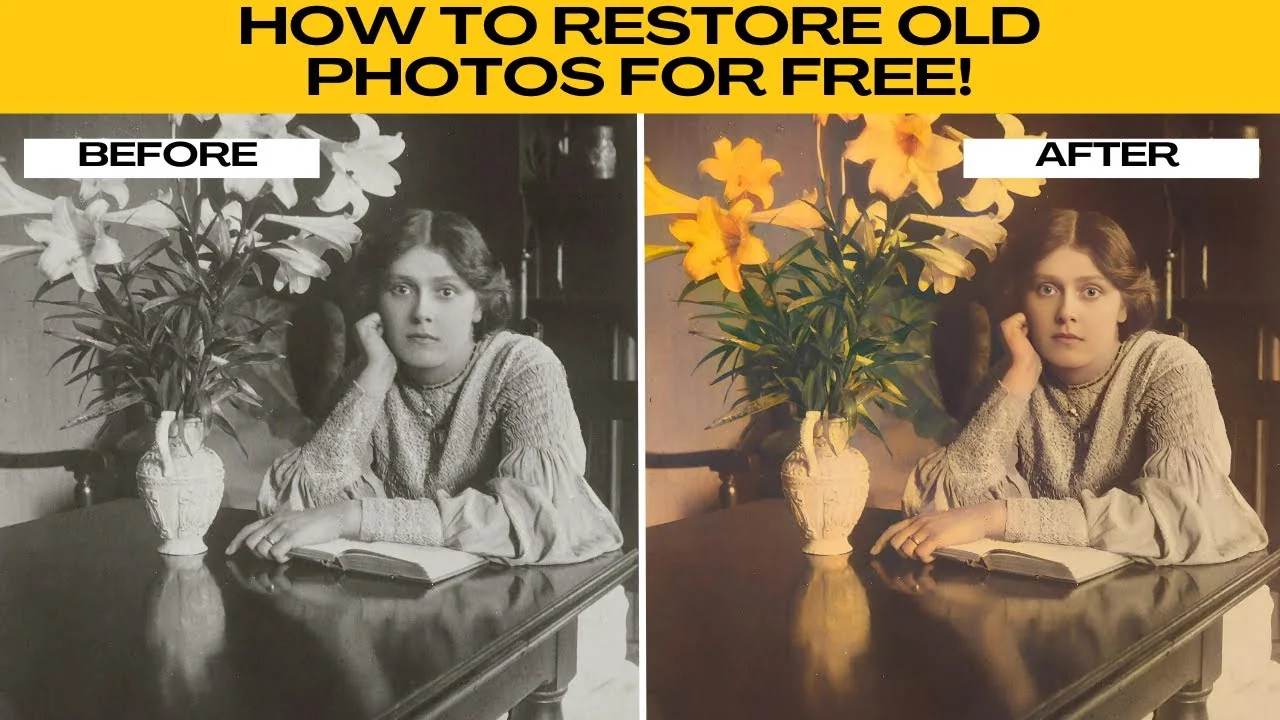
How to Revive Faded Memories and Enhance Image Clarity with AI?
How to Revive Faded Memories and Enhance Image Clarity with AI?
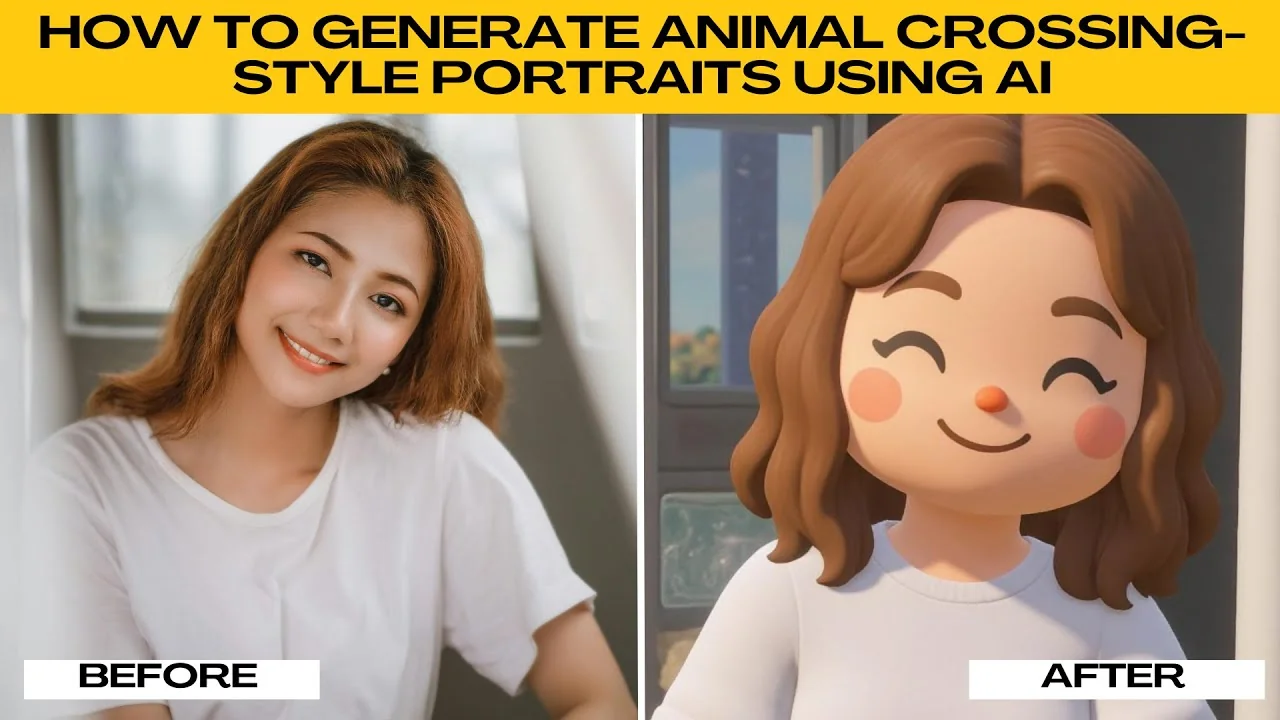
How to Visualize Yourself as an Animal Crossing Character with AI?
How to Visualize Yourself as an Animal Crossing Character with AI?