How to Create a Retro Film Effect in Canva
I’m going to show you how to create a retro film effect on a photo in Canva. The look makes your photo feel like it was taken more than 100 years ago, and I like it because it’s very different from what we have today. Achieving it is not difficult at all.
Create a Retro Film Effect in Canva - setup
Lower the resolution
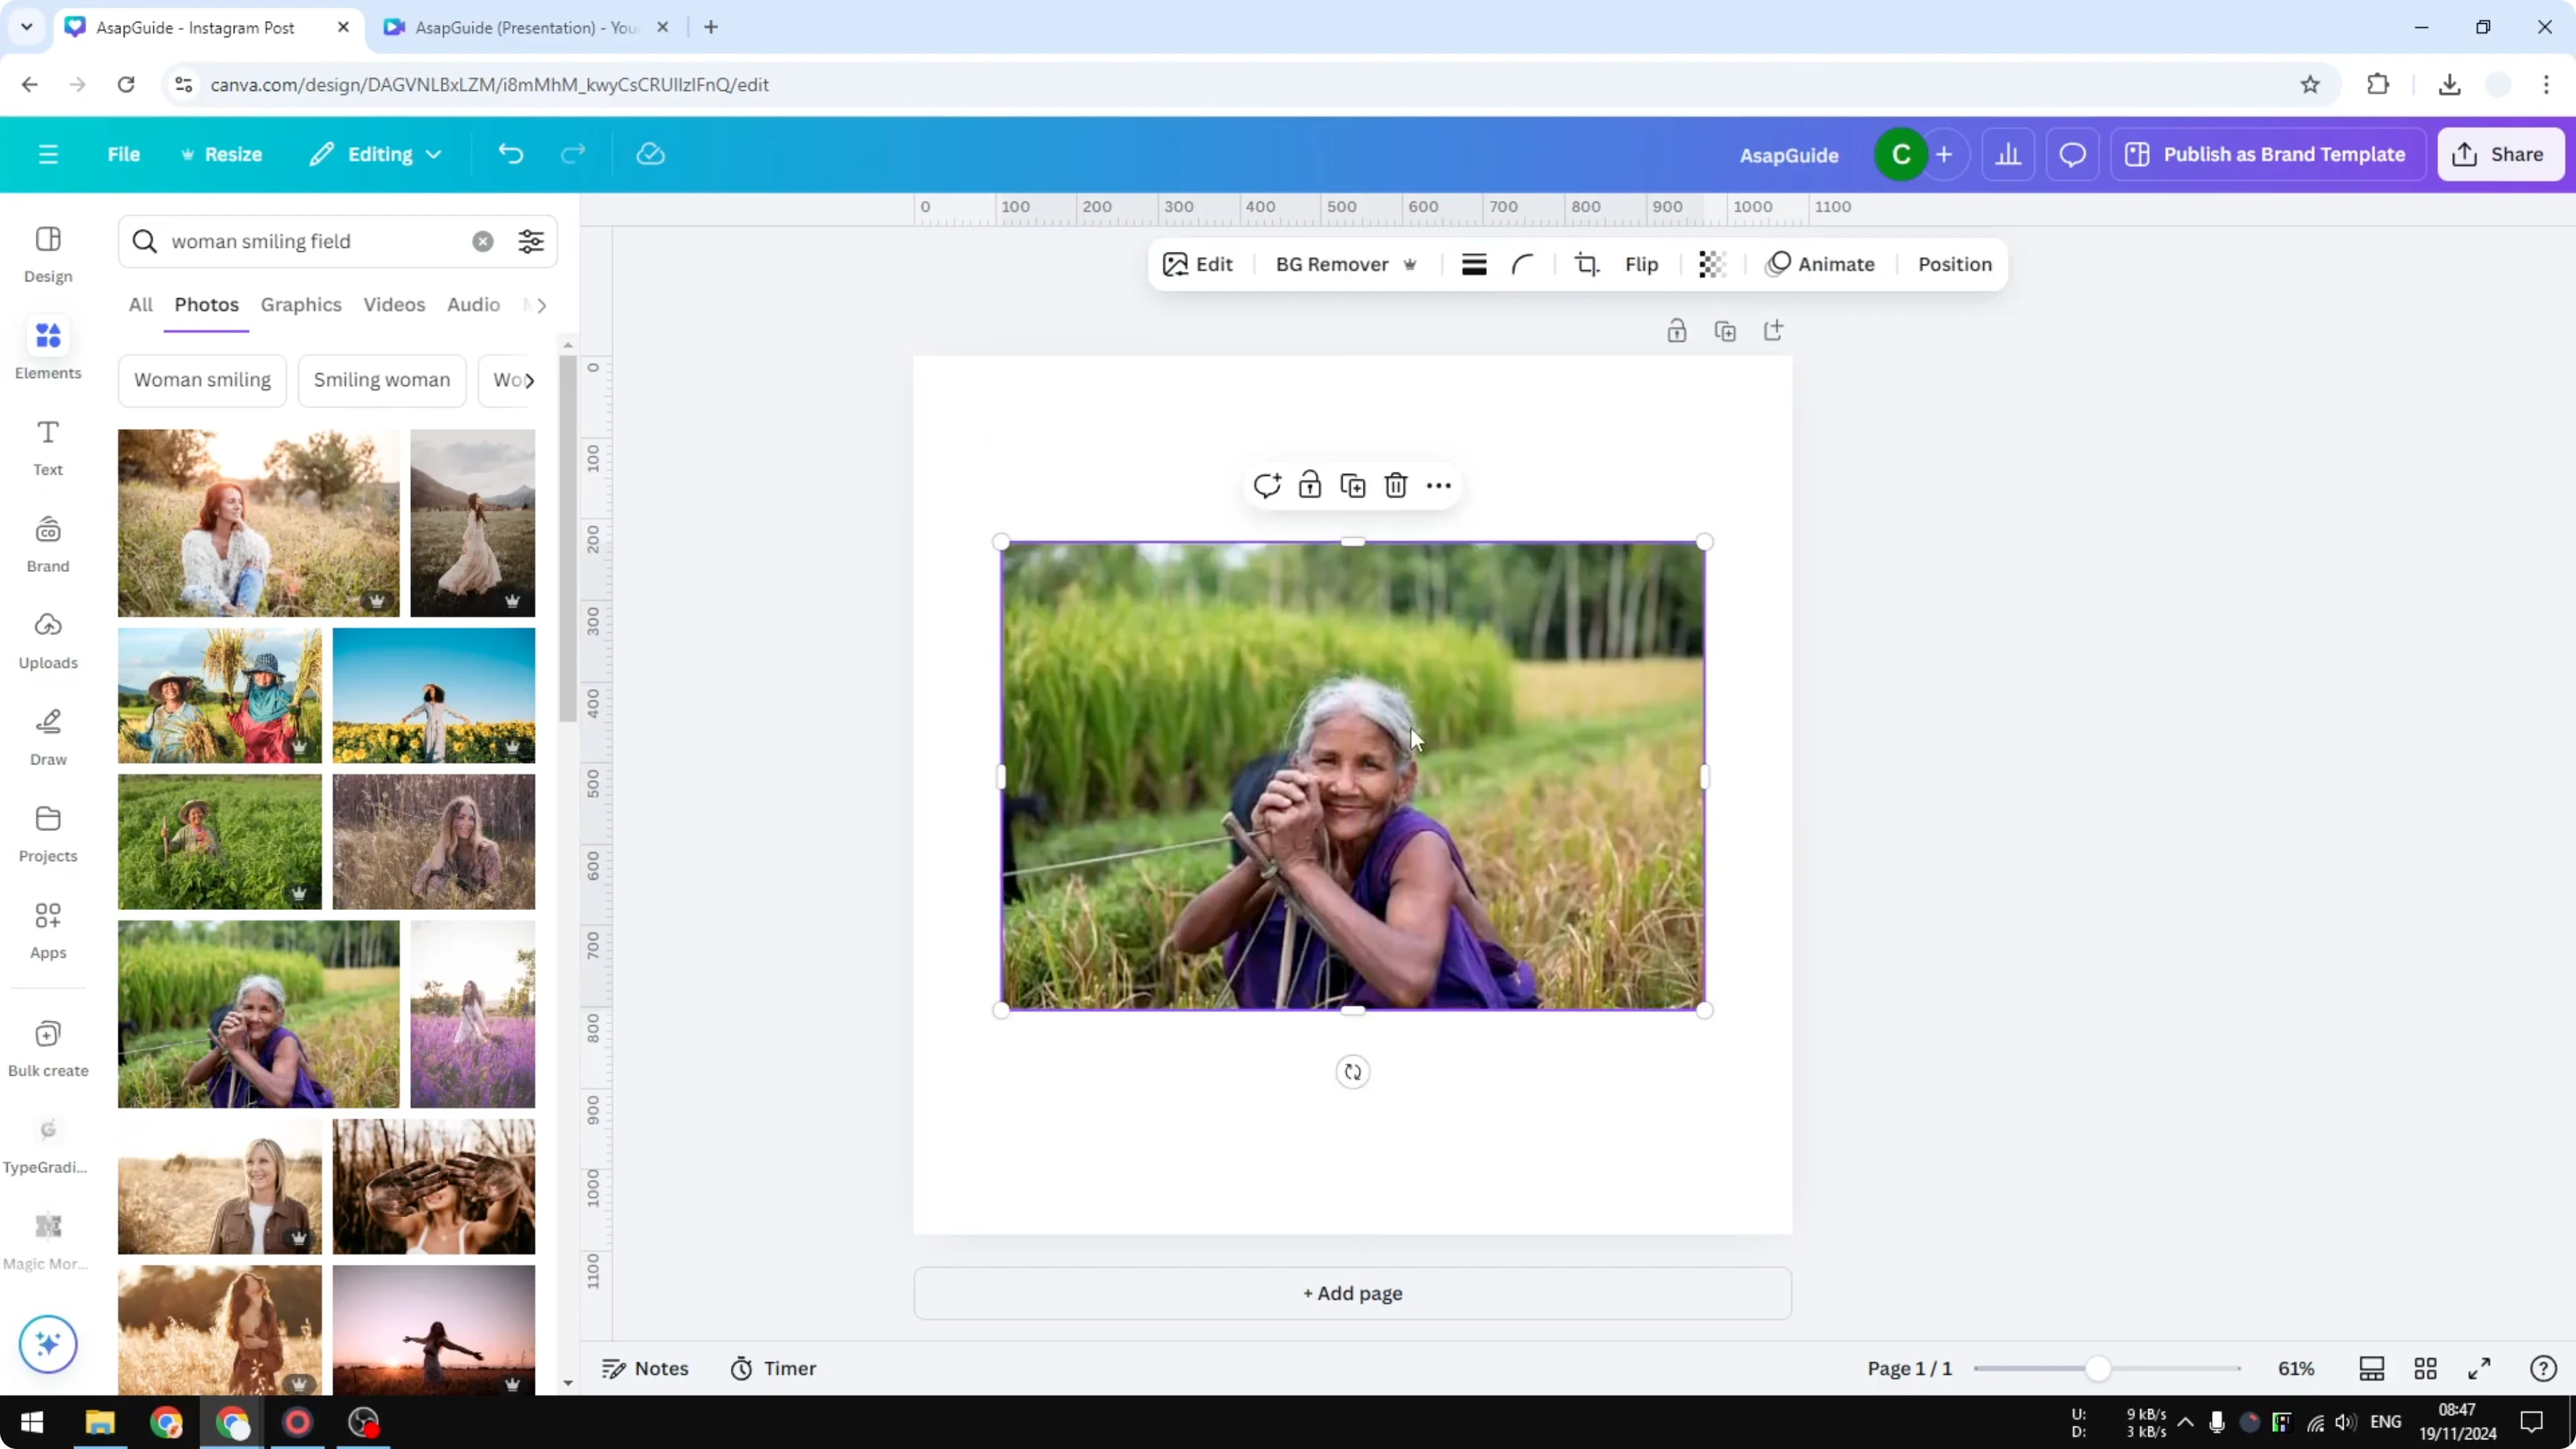
Insert a photo into your Canva document and set it as the background.
Download the photo at a smaller resolution.
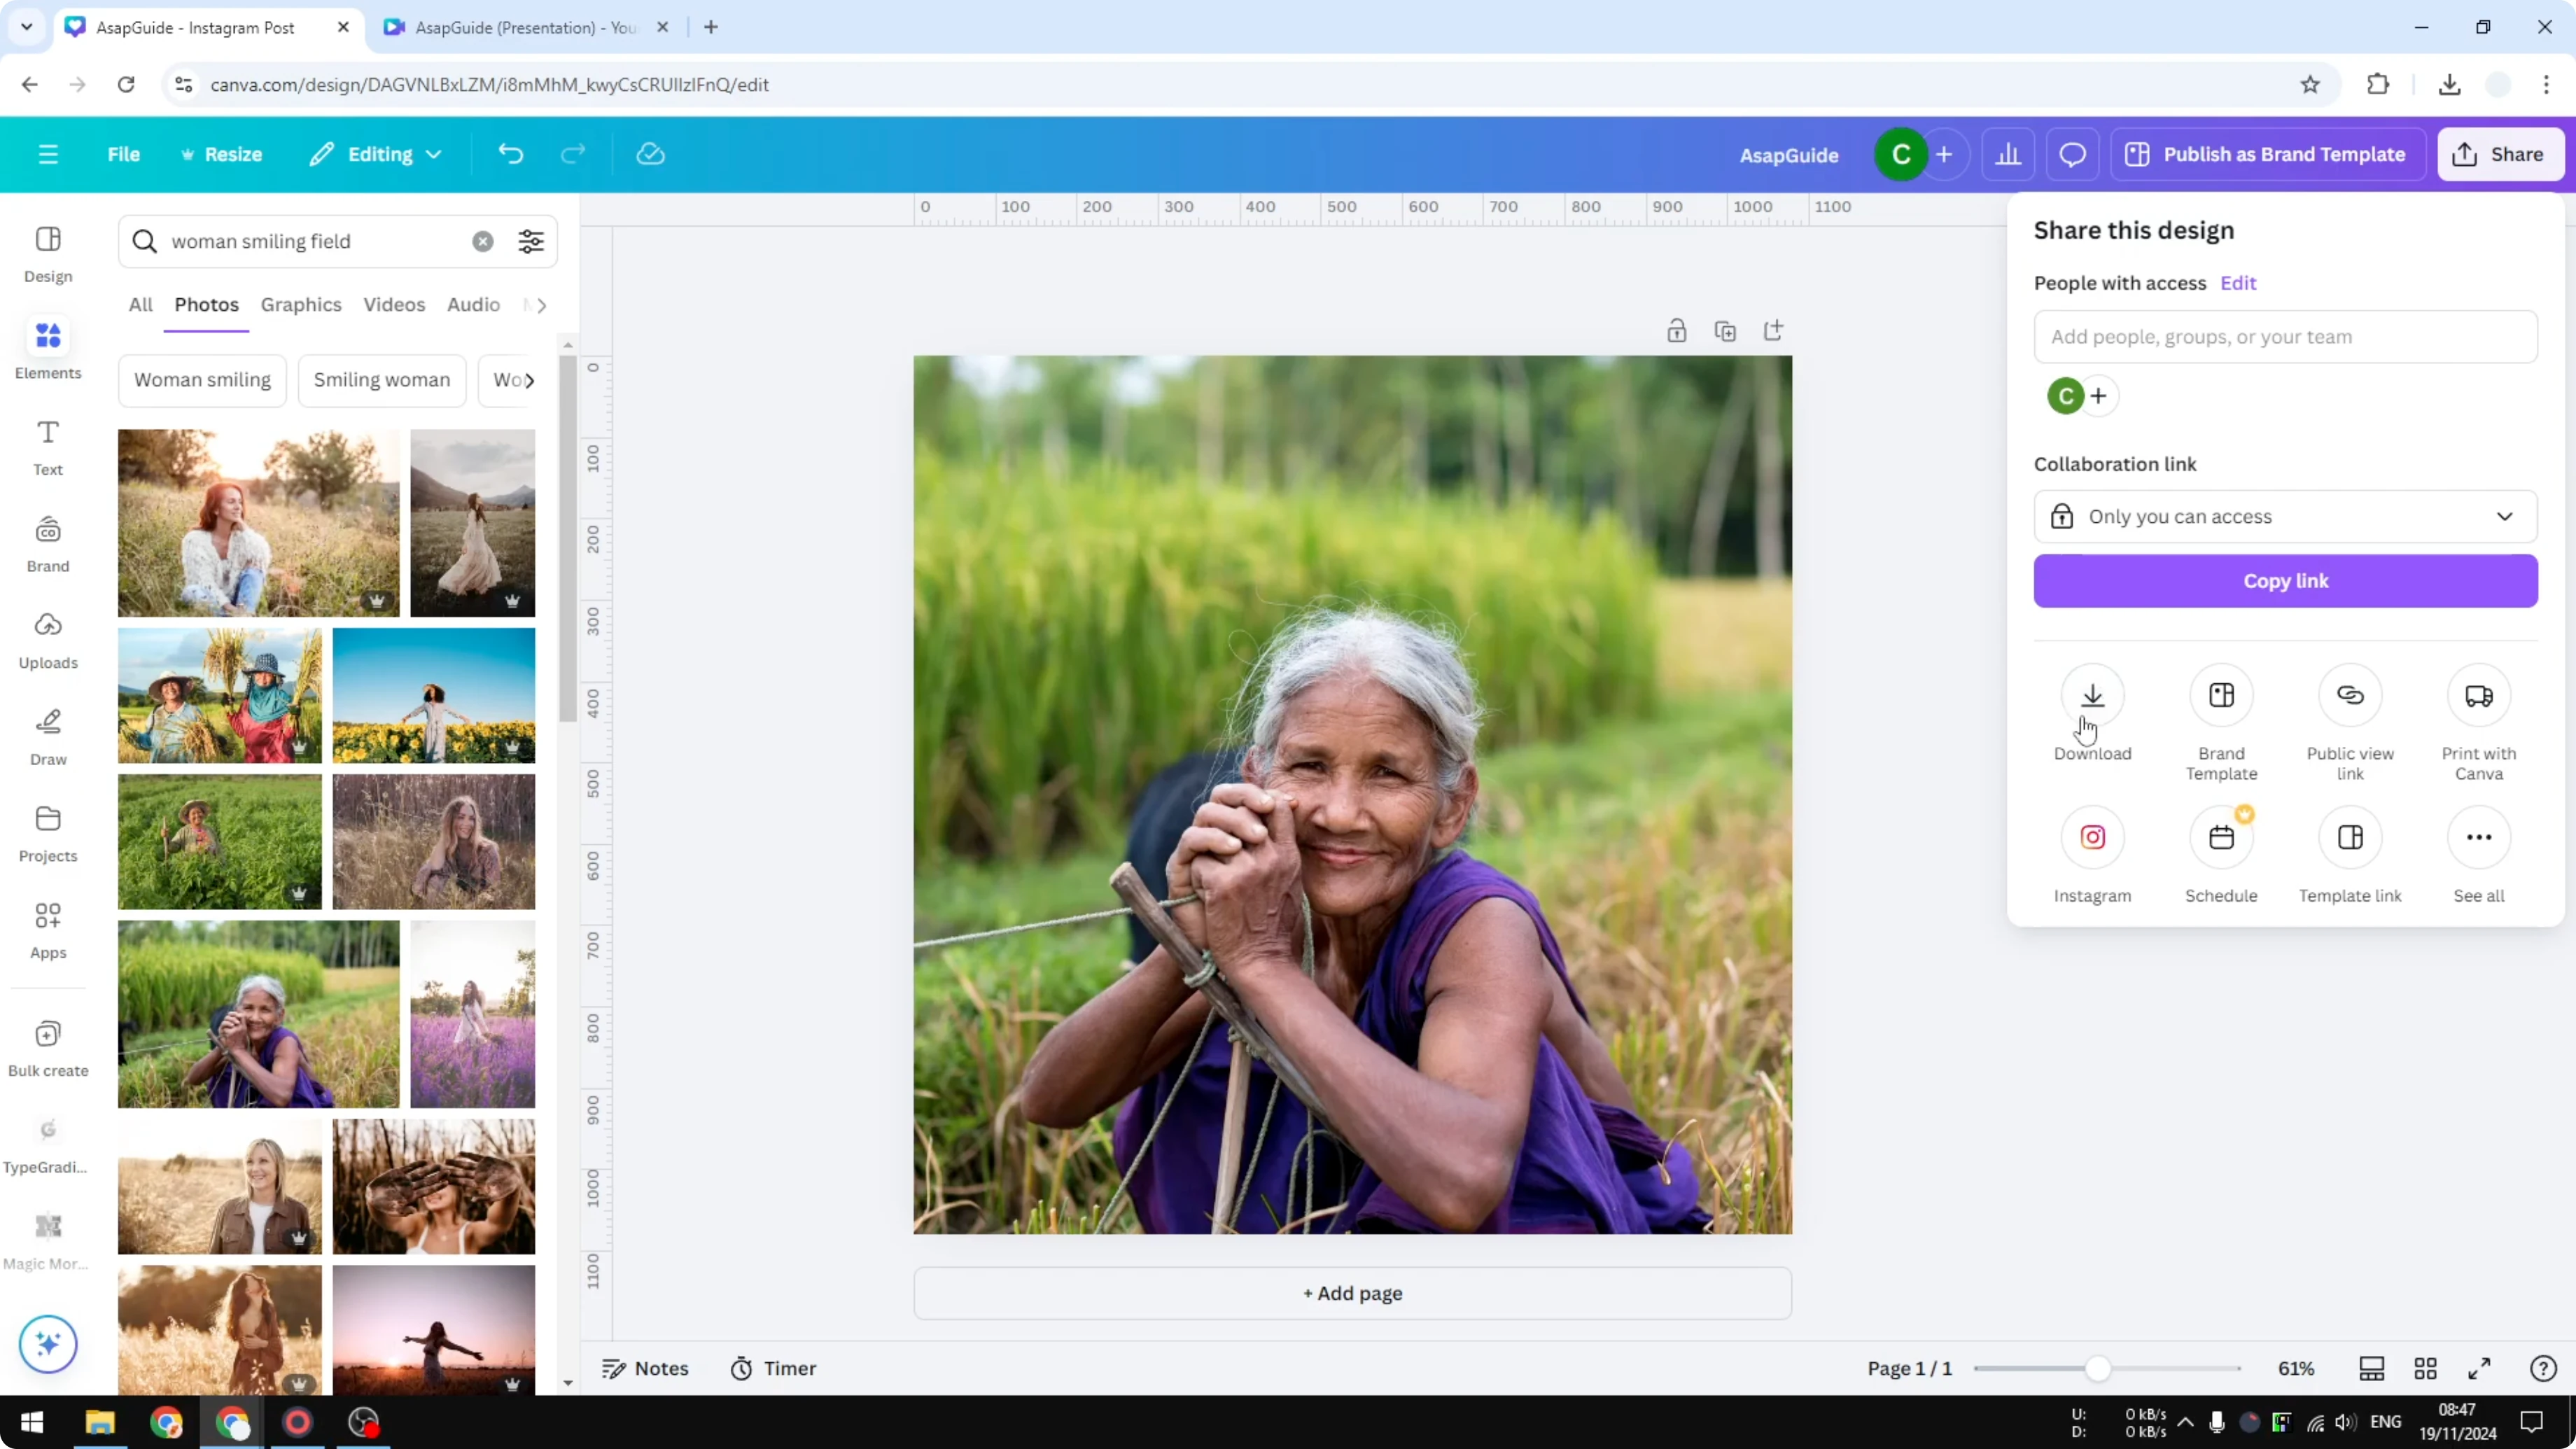
Choose JPG or PNG - I use PNG.
Reduce the resolution to about half of the original size.
Optionally compress the file to make it look a bit lower quality.
Re-upload and place
Upload the reduced image back into Canva.
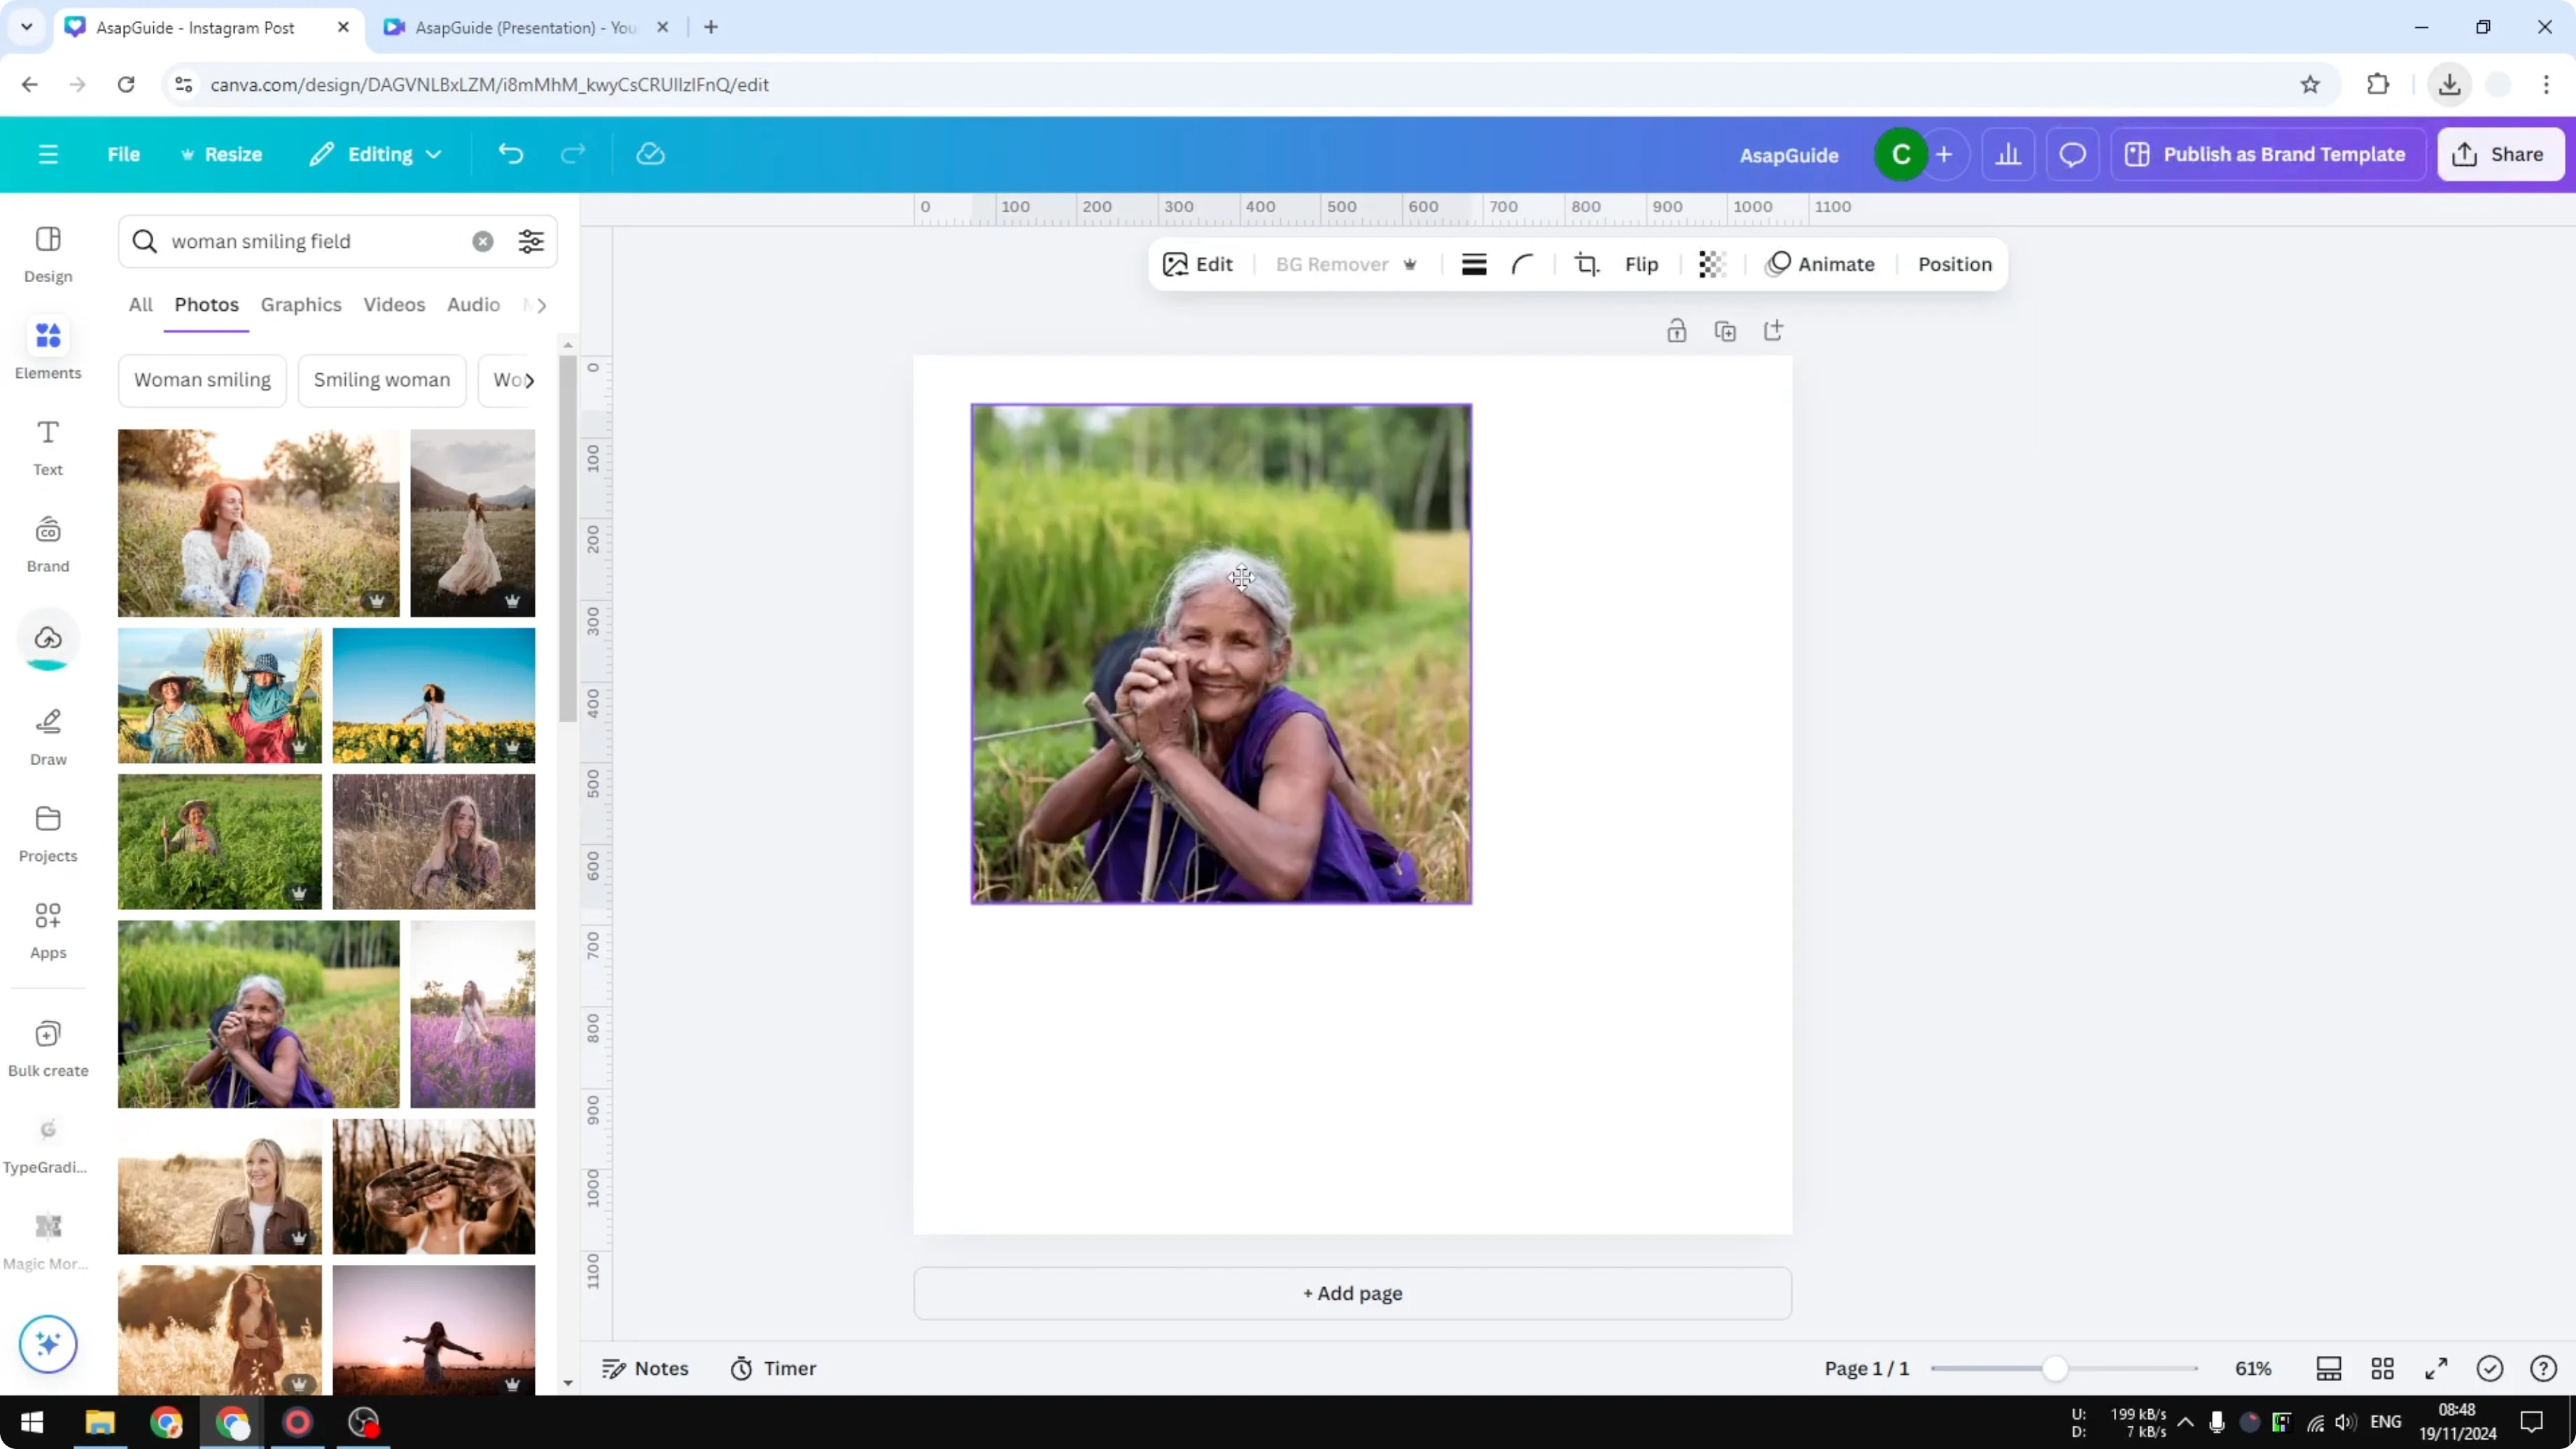
Set it as the background.
It should look less sharp than the original, which is exactly what we want.
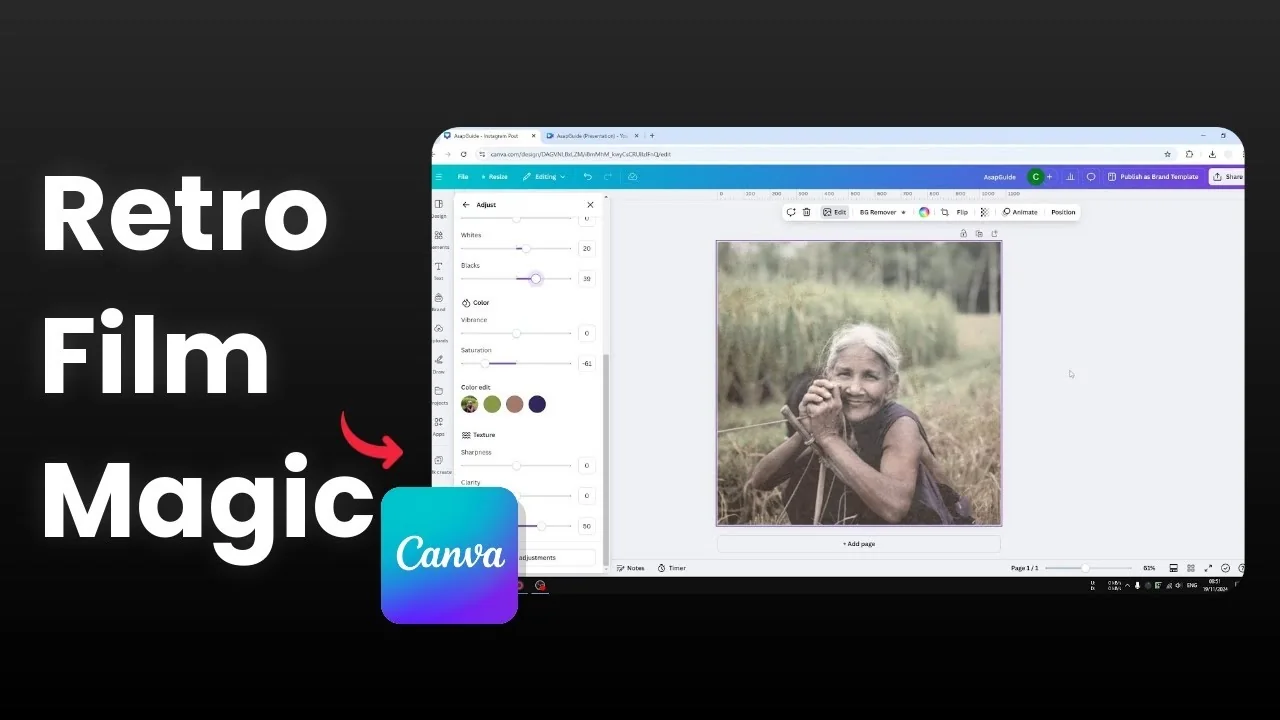
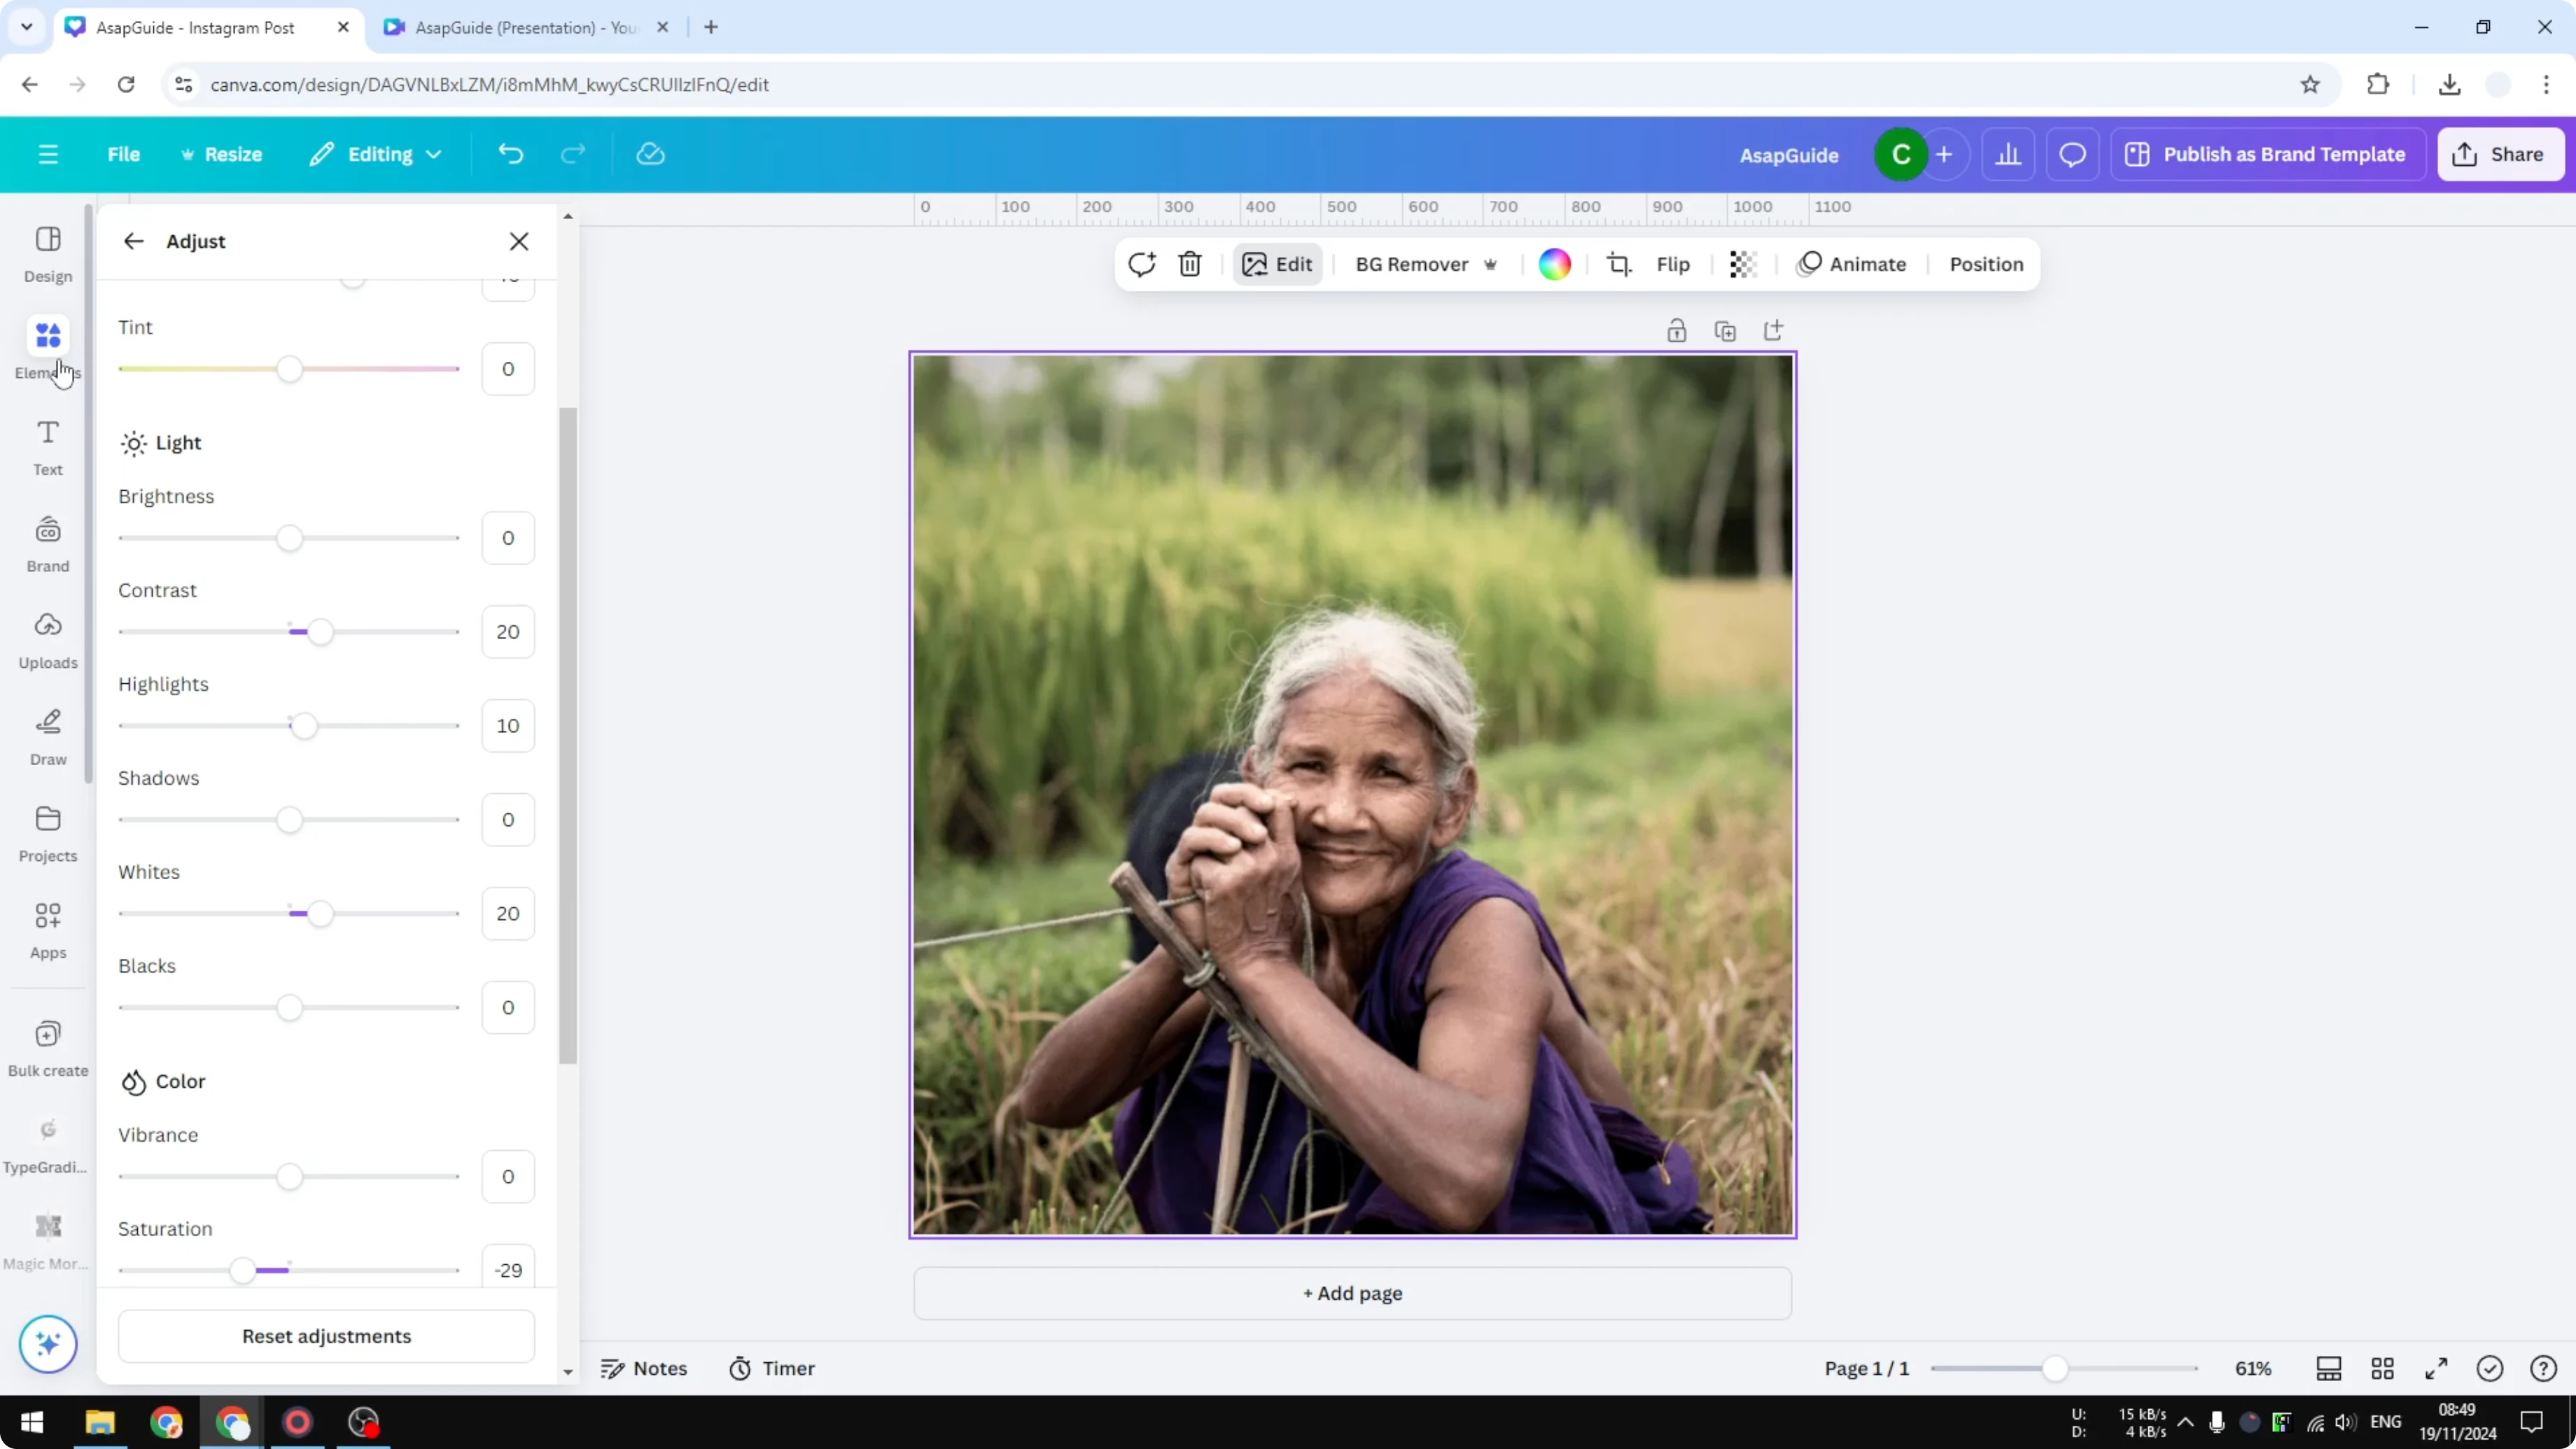
Tone and color adjustments
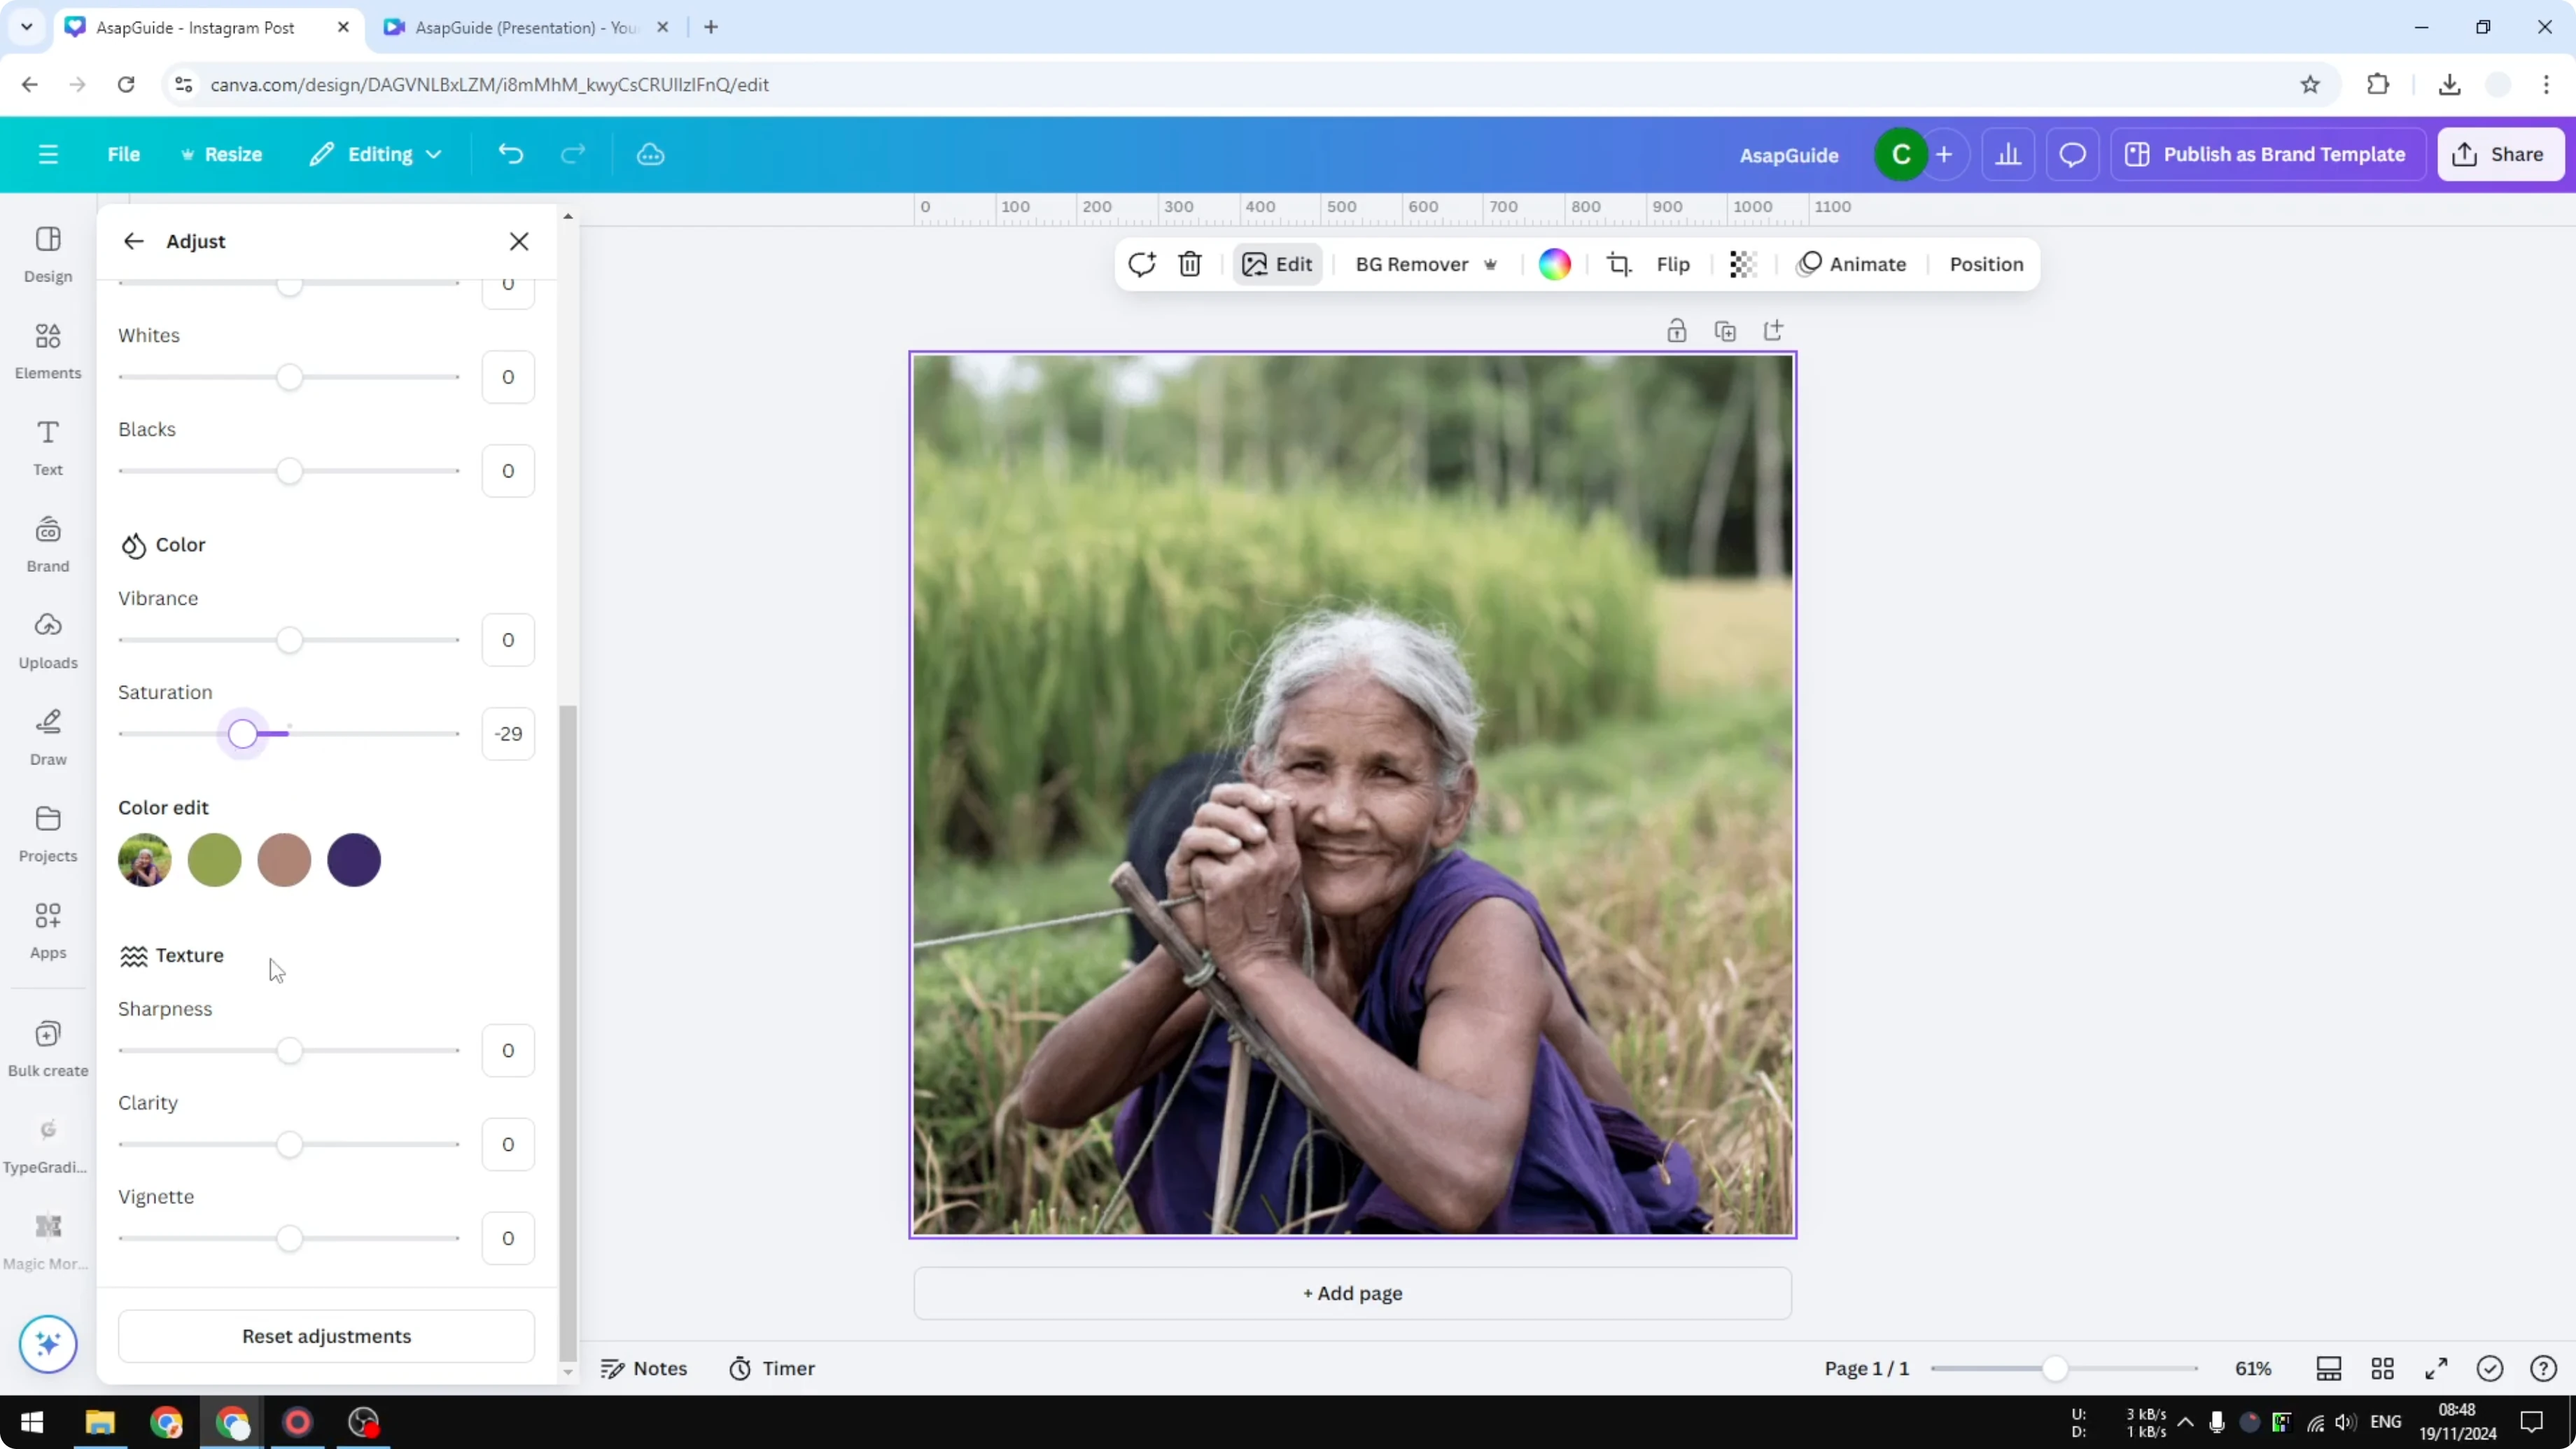
Click Edit, go to Adjust, and start with Saturation.
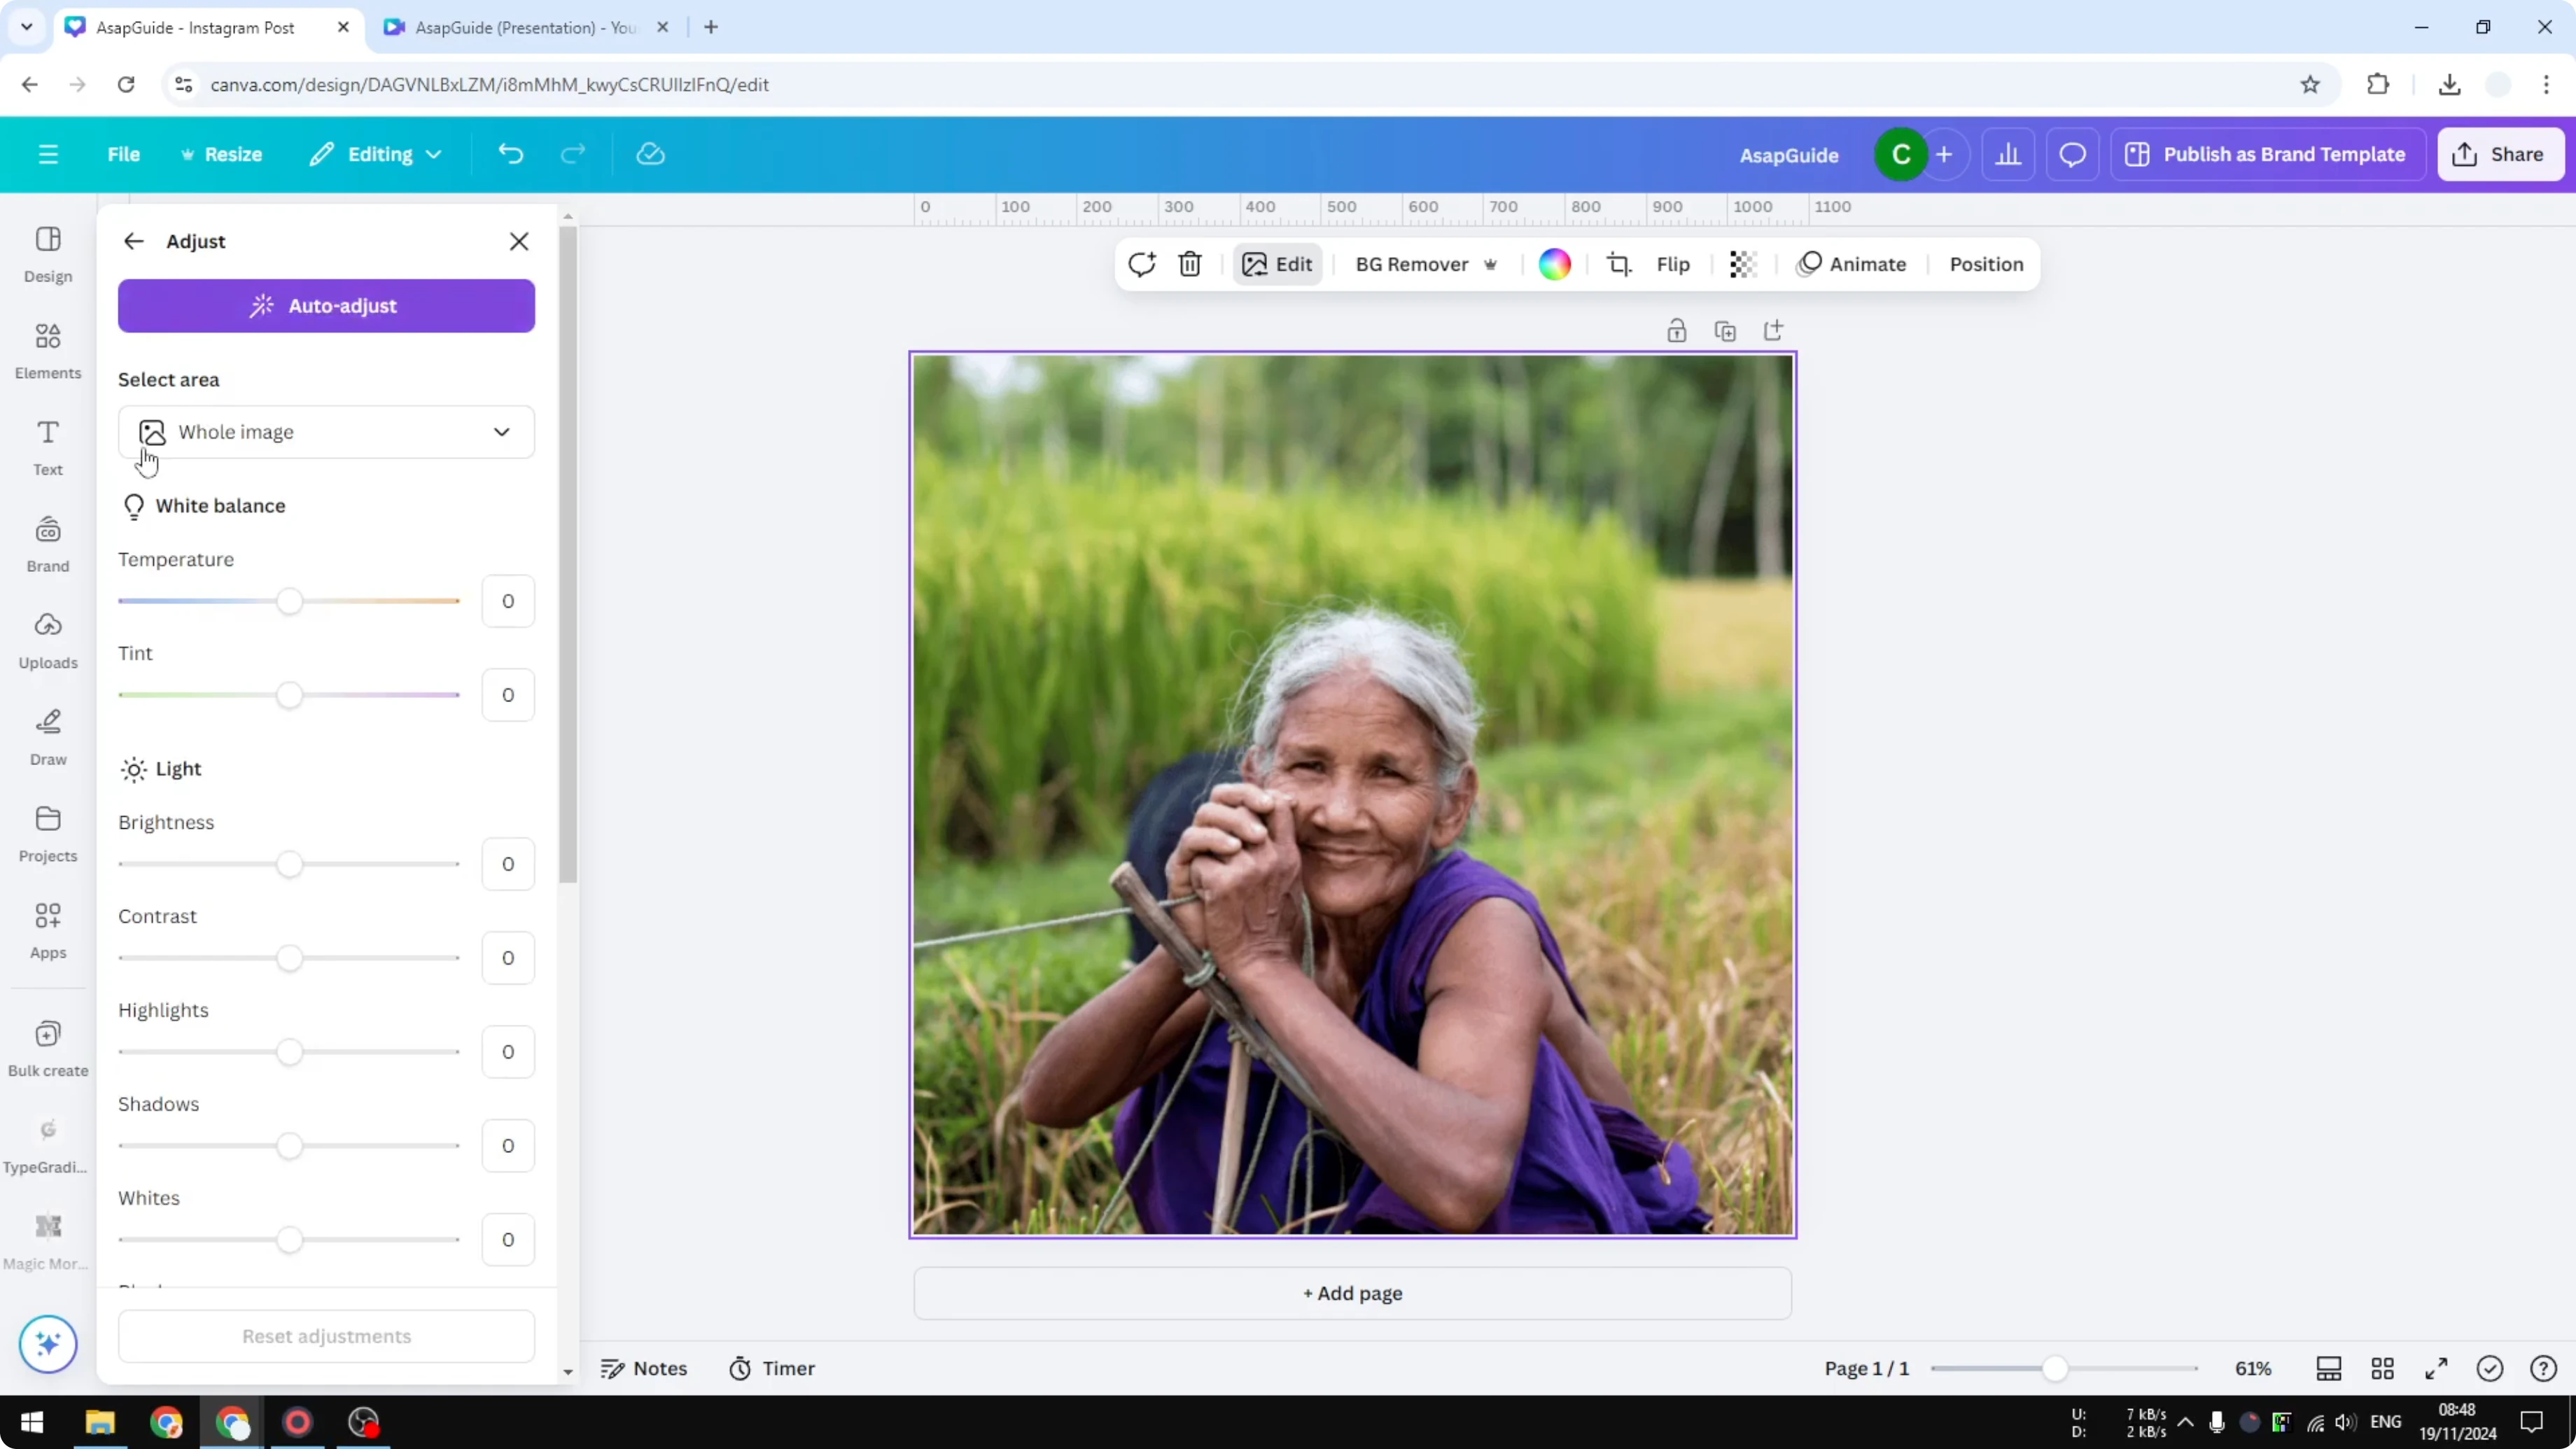
Cameras from more than 100 years ago didn’t show as much color, so reduce the saturation.

If you set it to zero it becomes almost black and white, but you don’t need to go that far - between 30 and 40 is good.
Apply some vignette so there are dark areas surrounding the subject.
Keep it moderate - around 50 works.
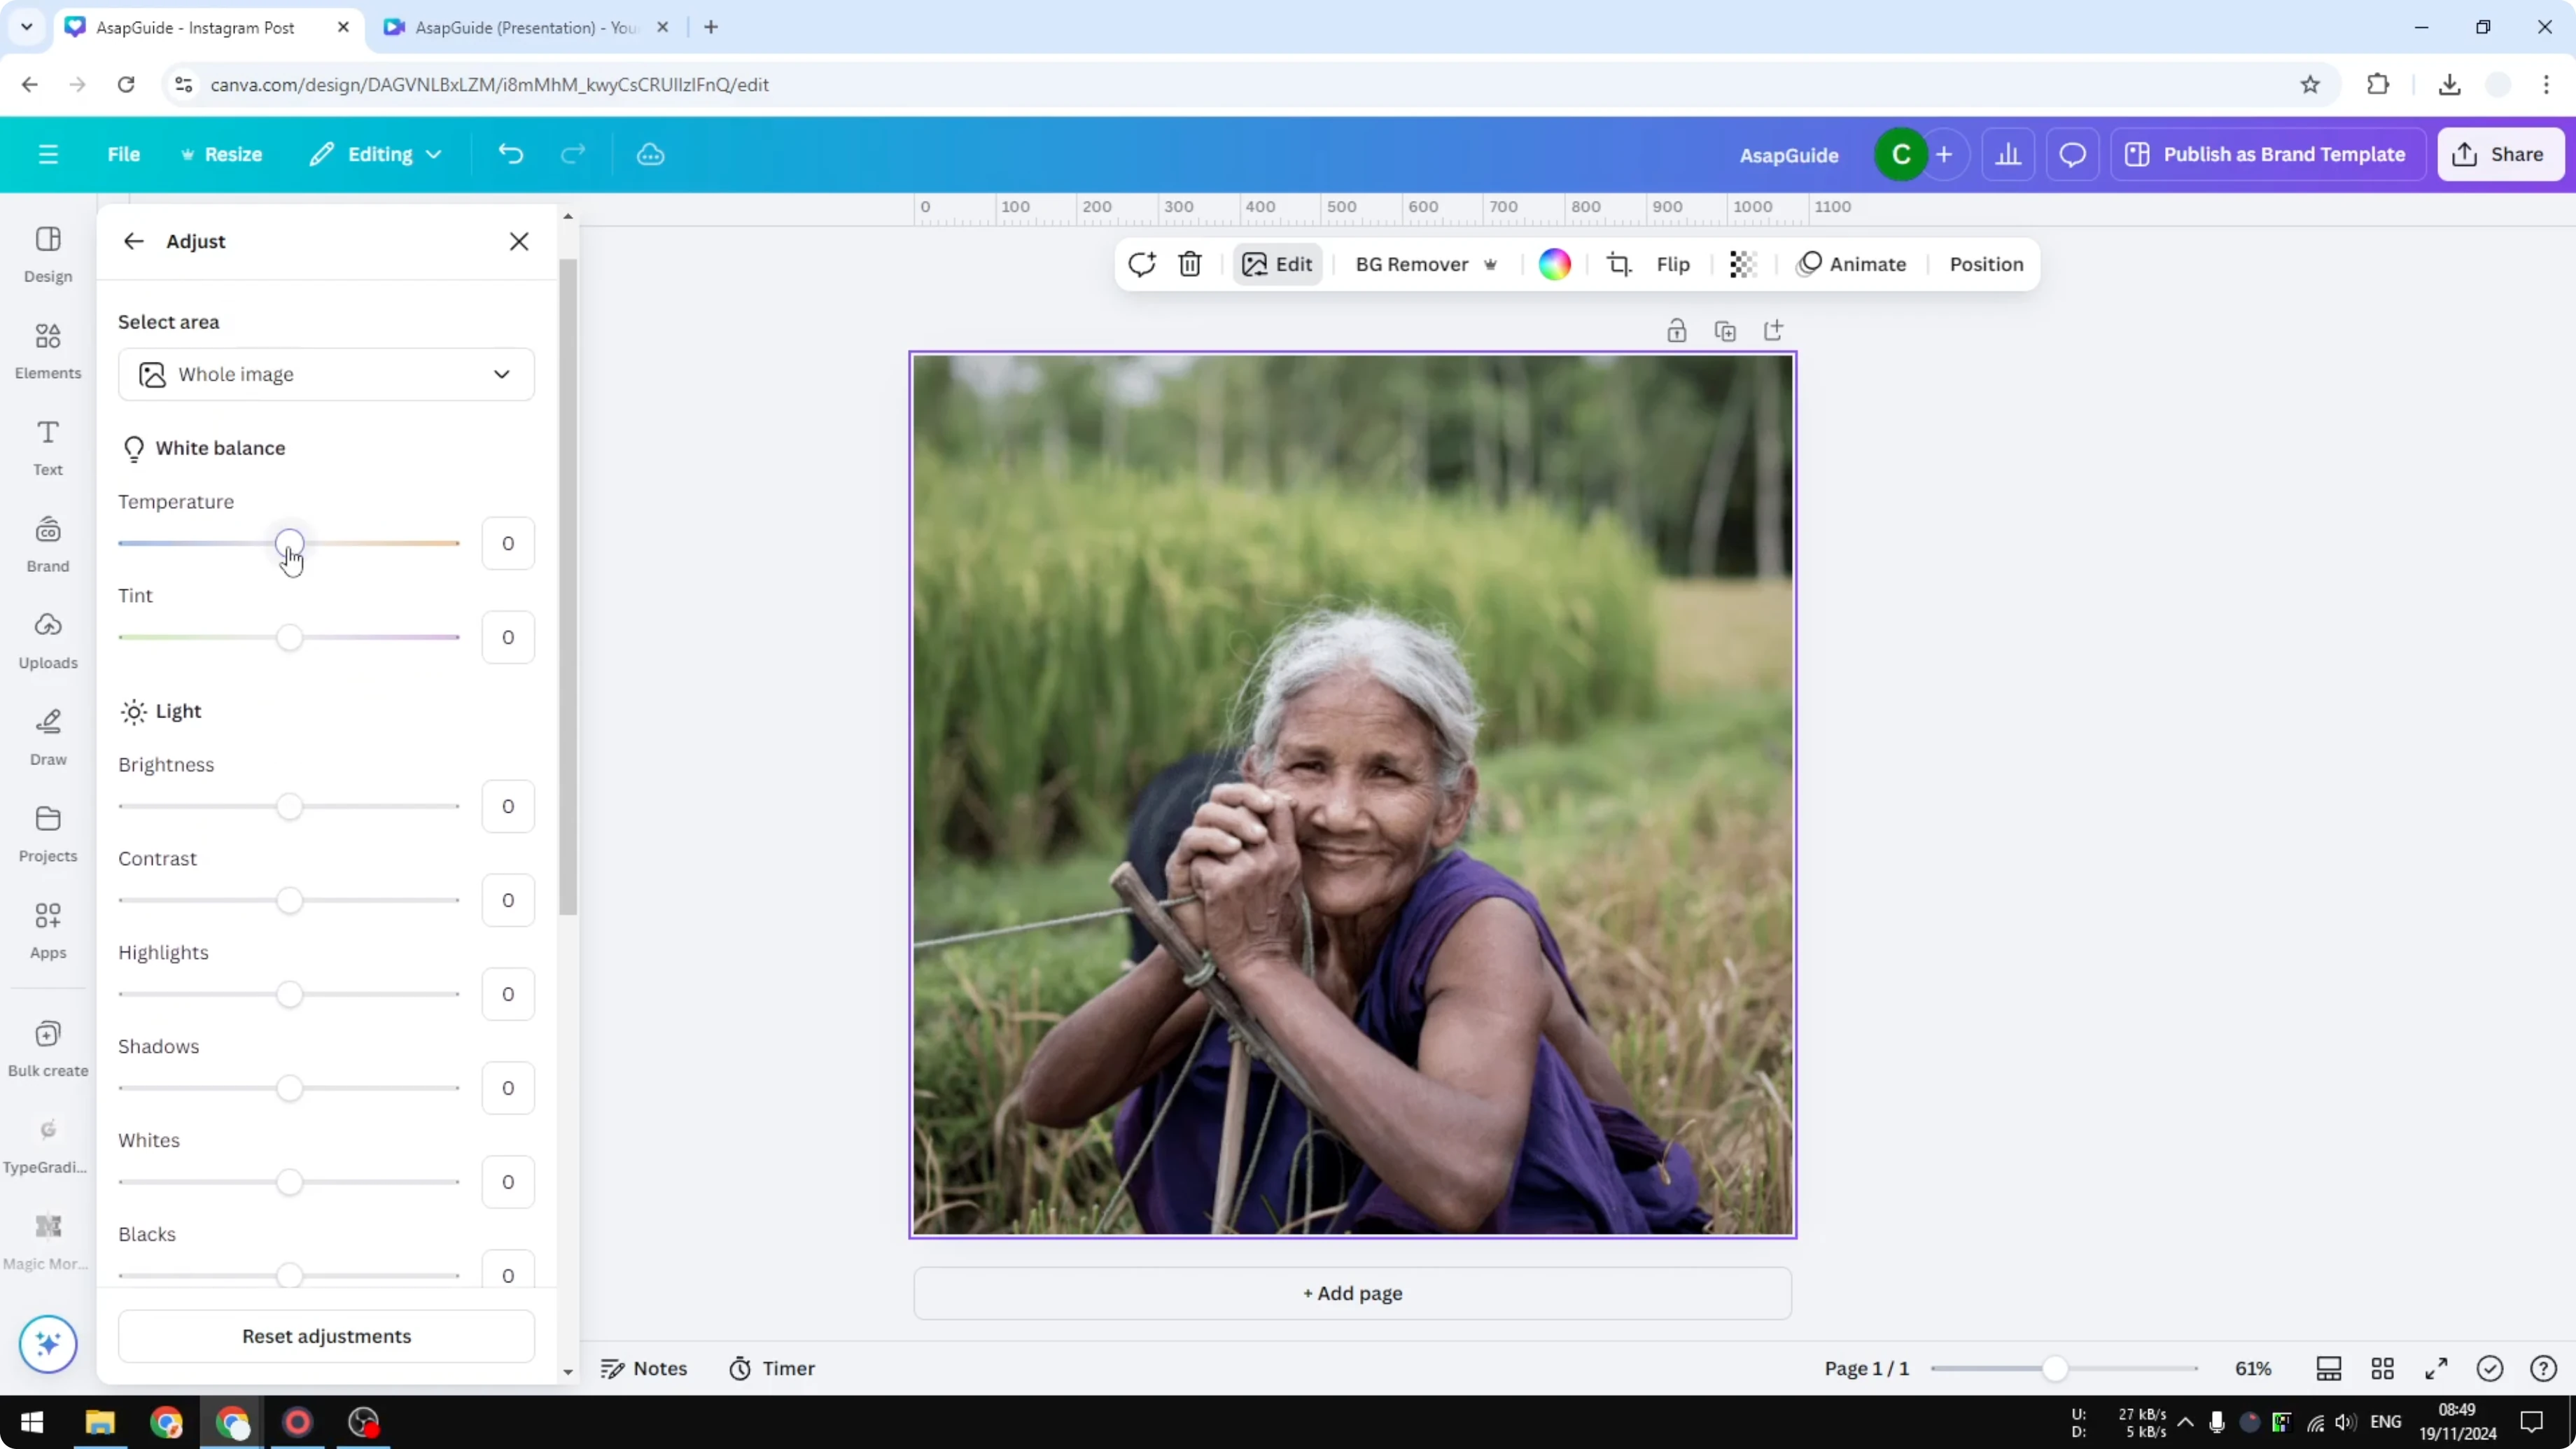
Increase the Temperature to make the image a bit more orange.
Add a small amount of Contrast - around 10 to 20.
Push the old-film feel by adjusting Whites and Highlights.
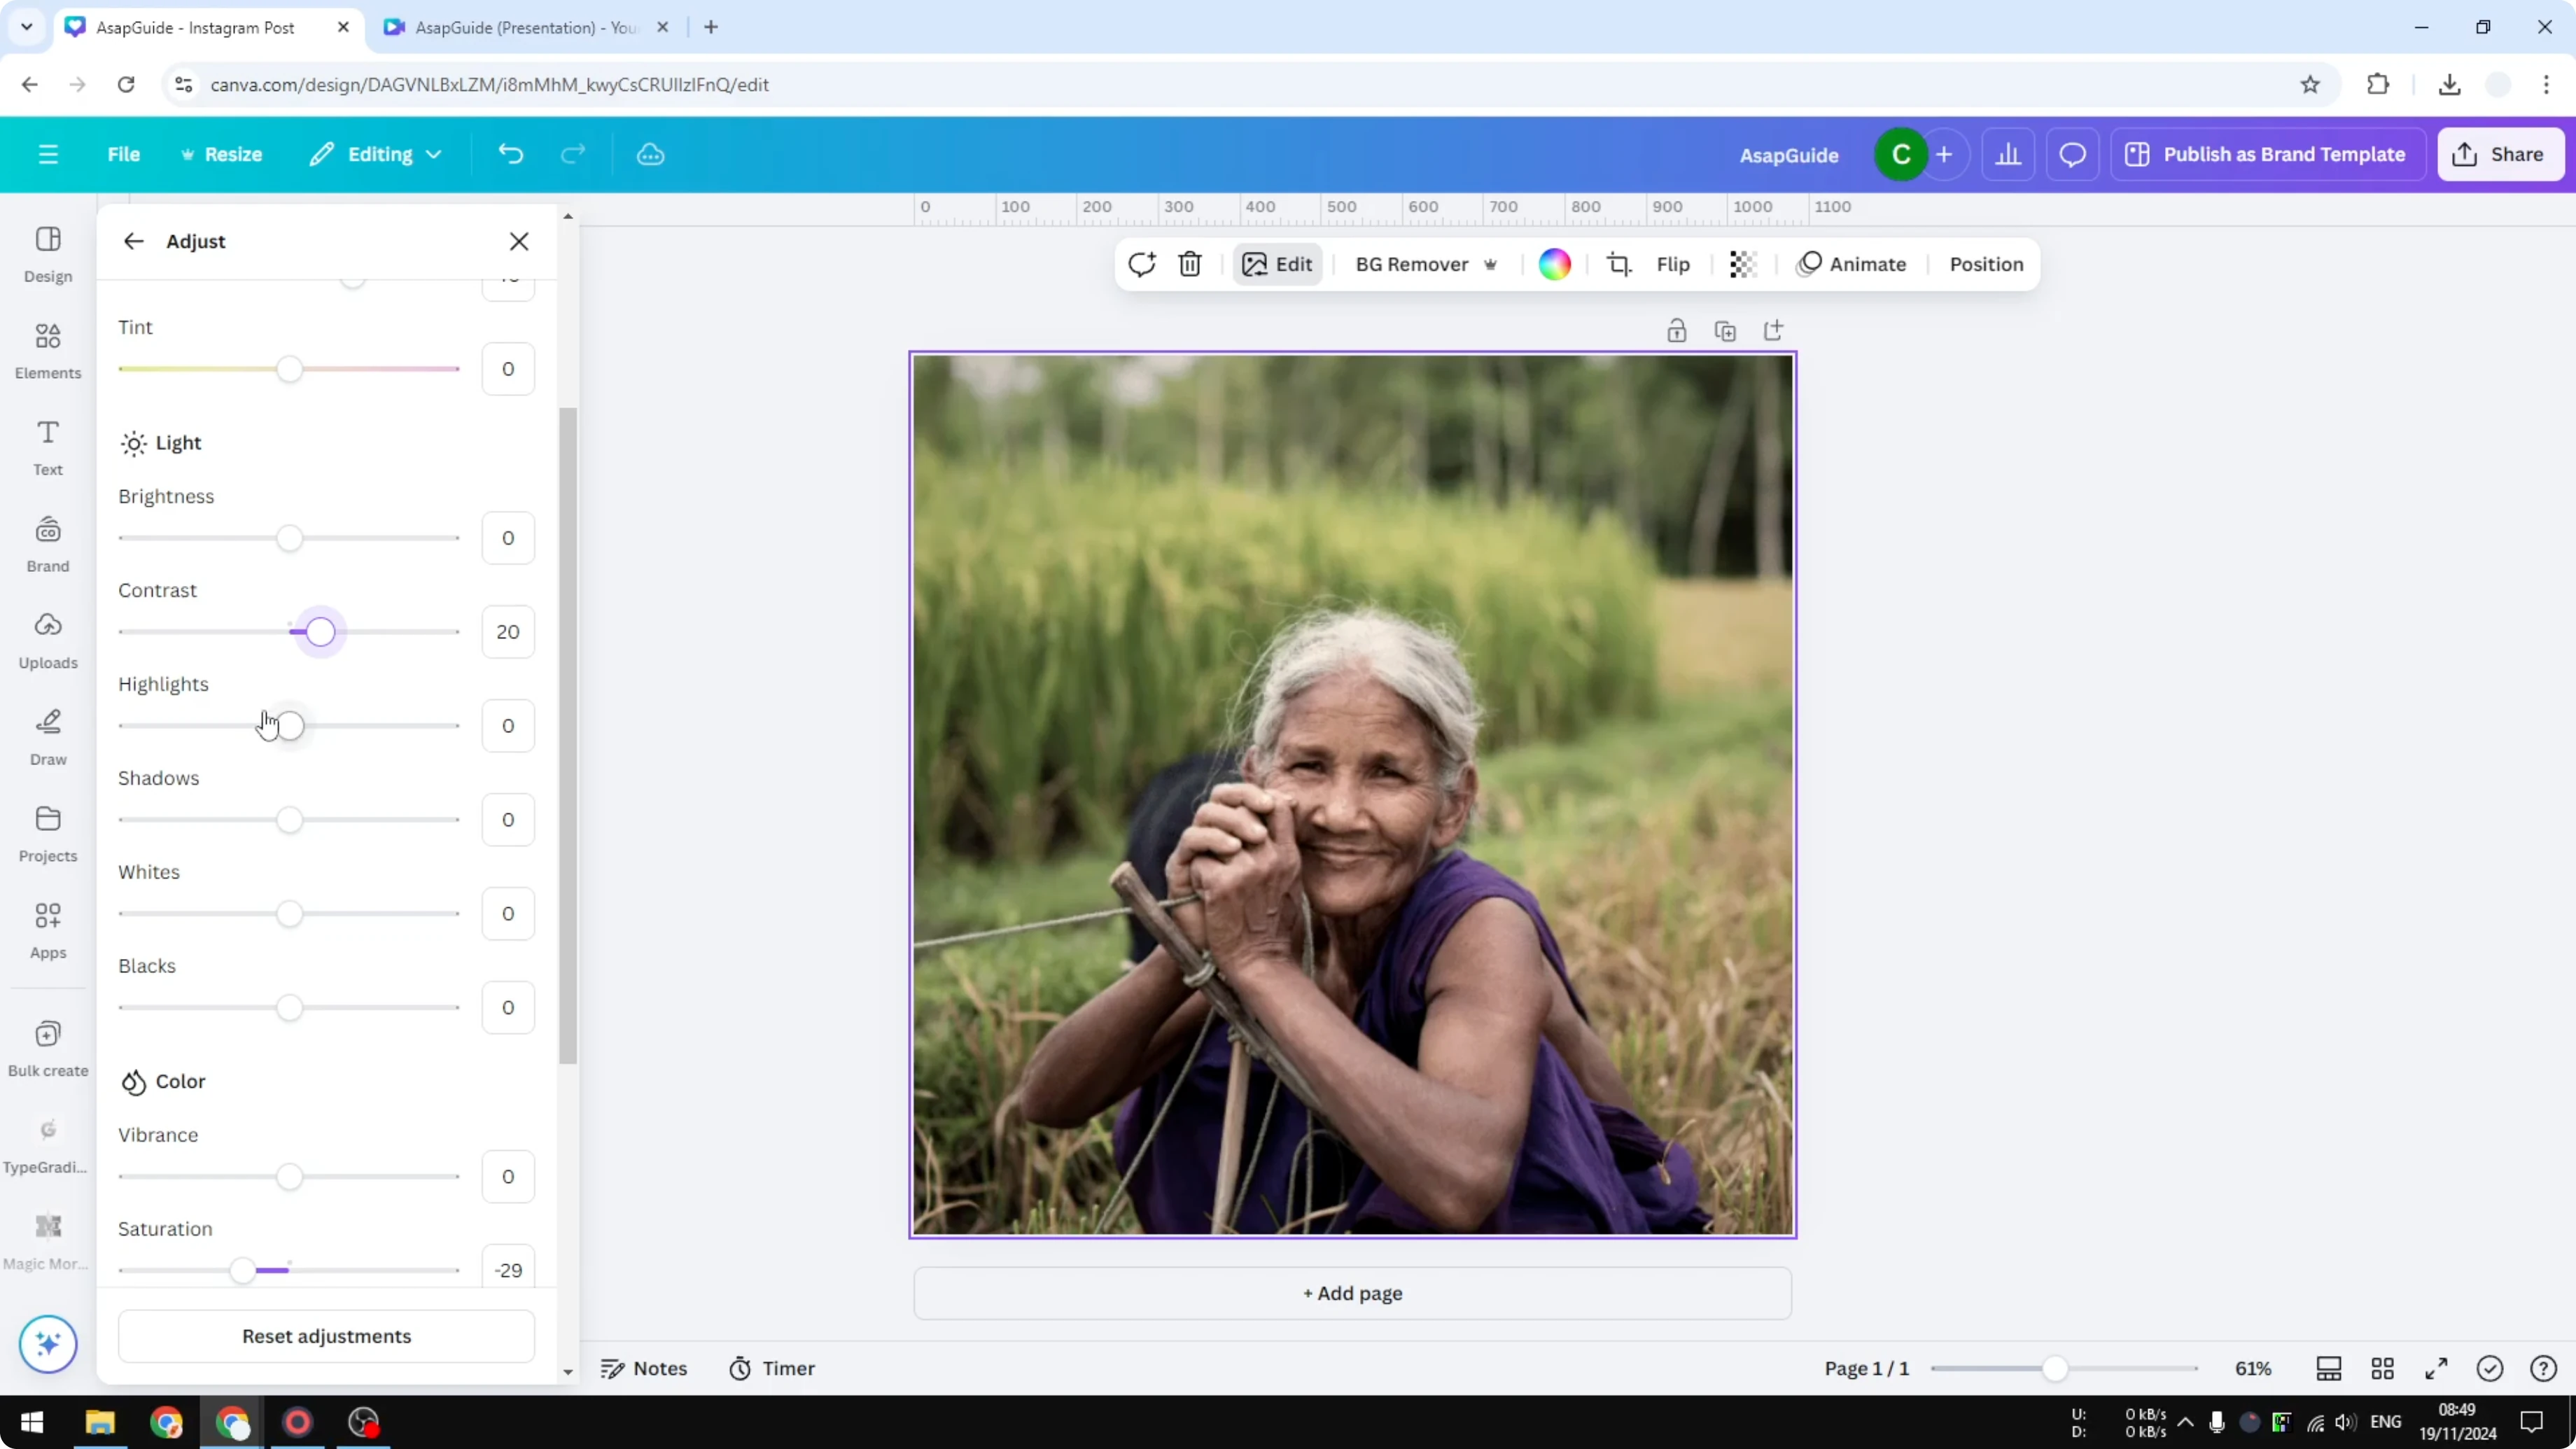
Increase Whites a little, around 20, and Highlights around 10 to get that slightly overexposed look.
If you want a soft, dreamy background that pairs nicely with this style, see this bokeh effect in Canva tutorial.
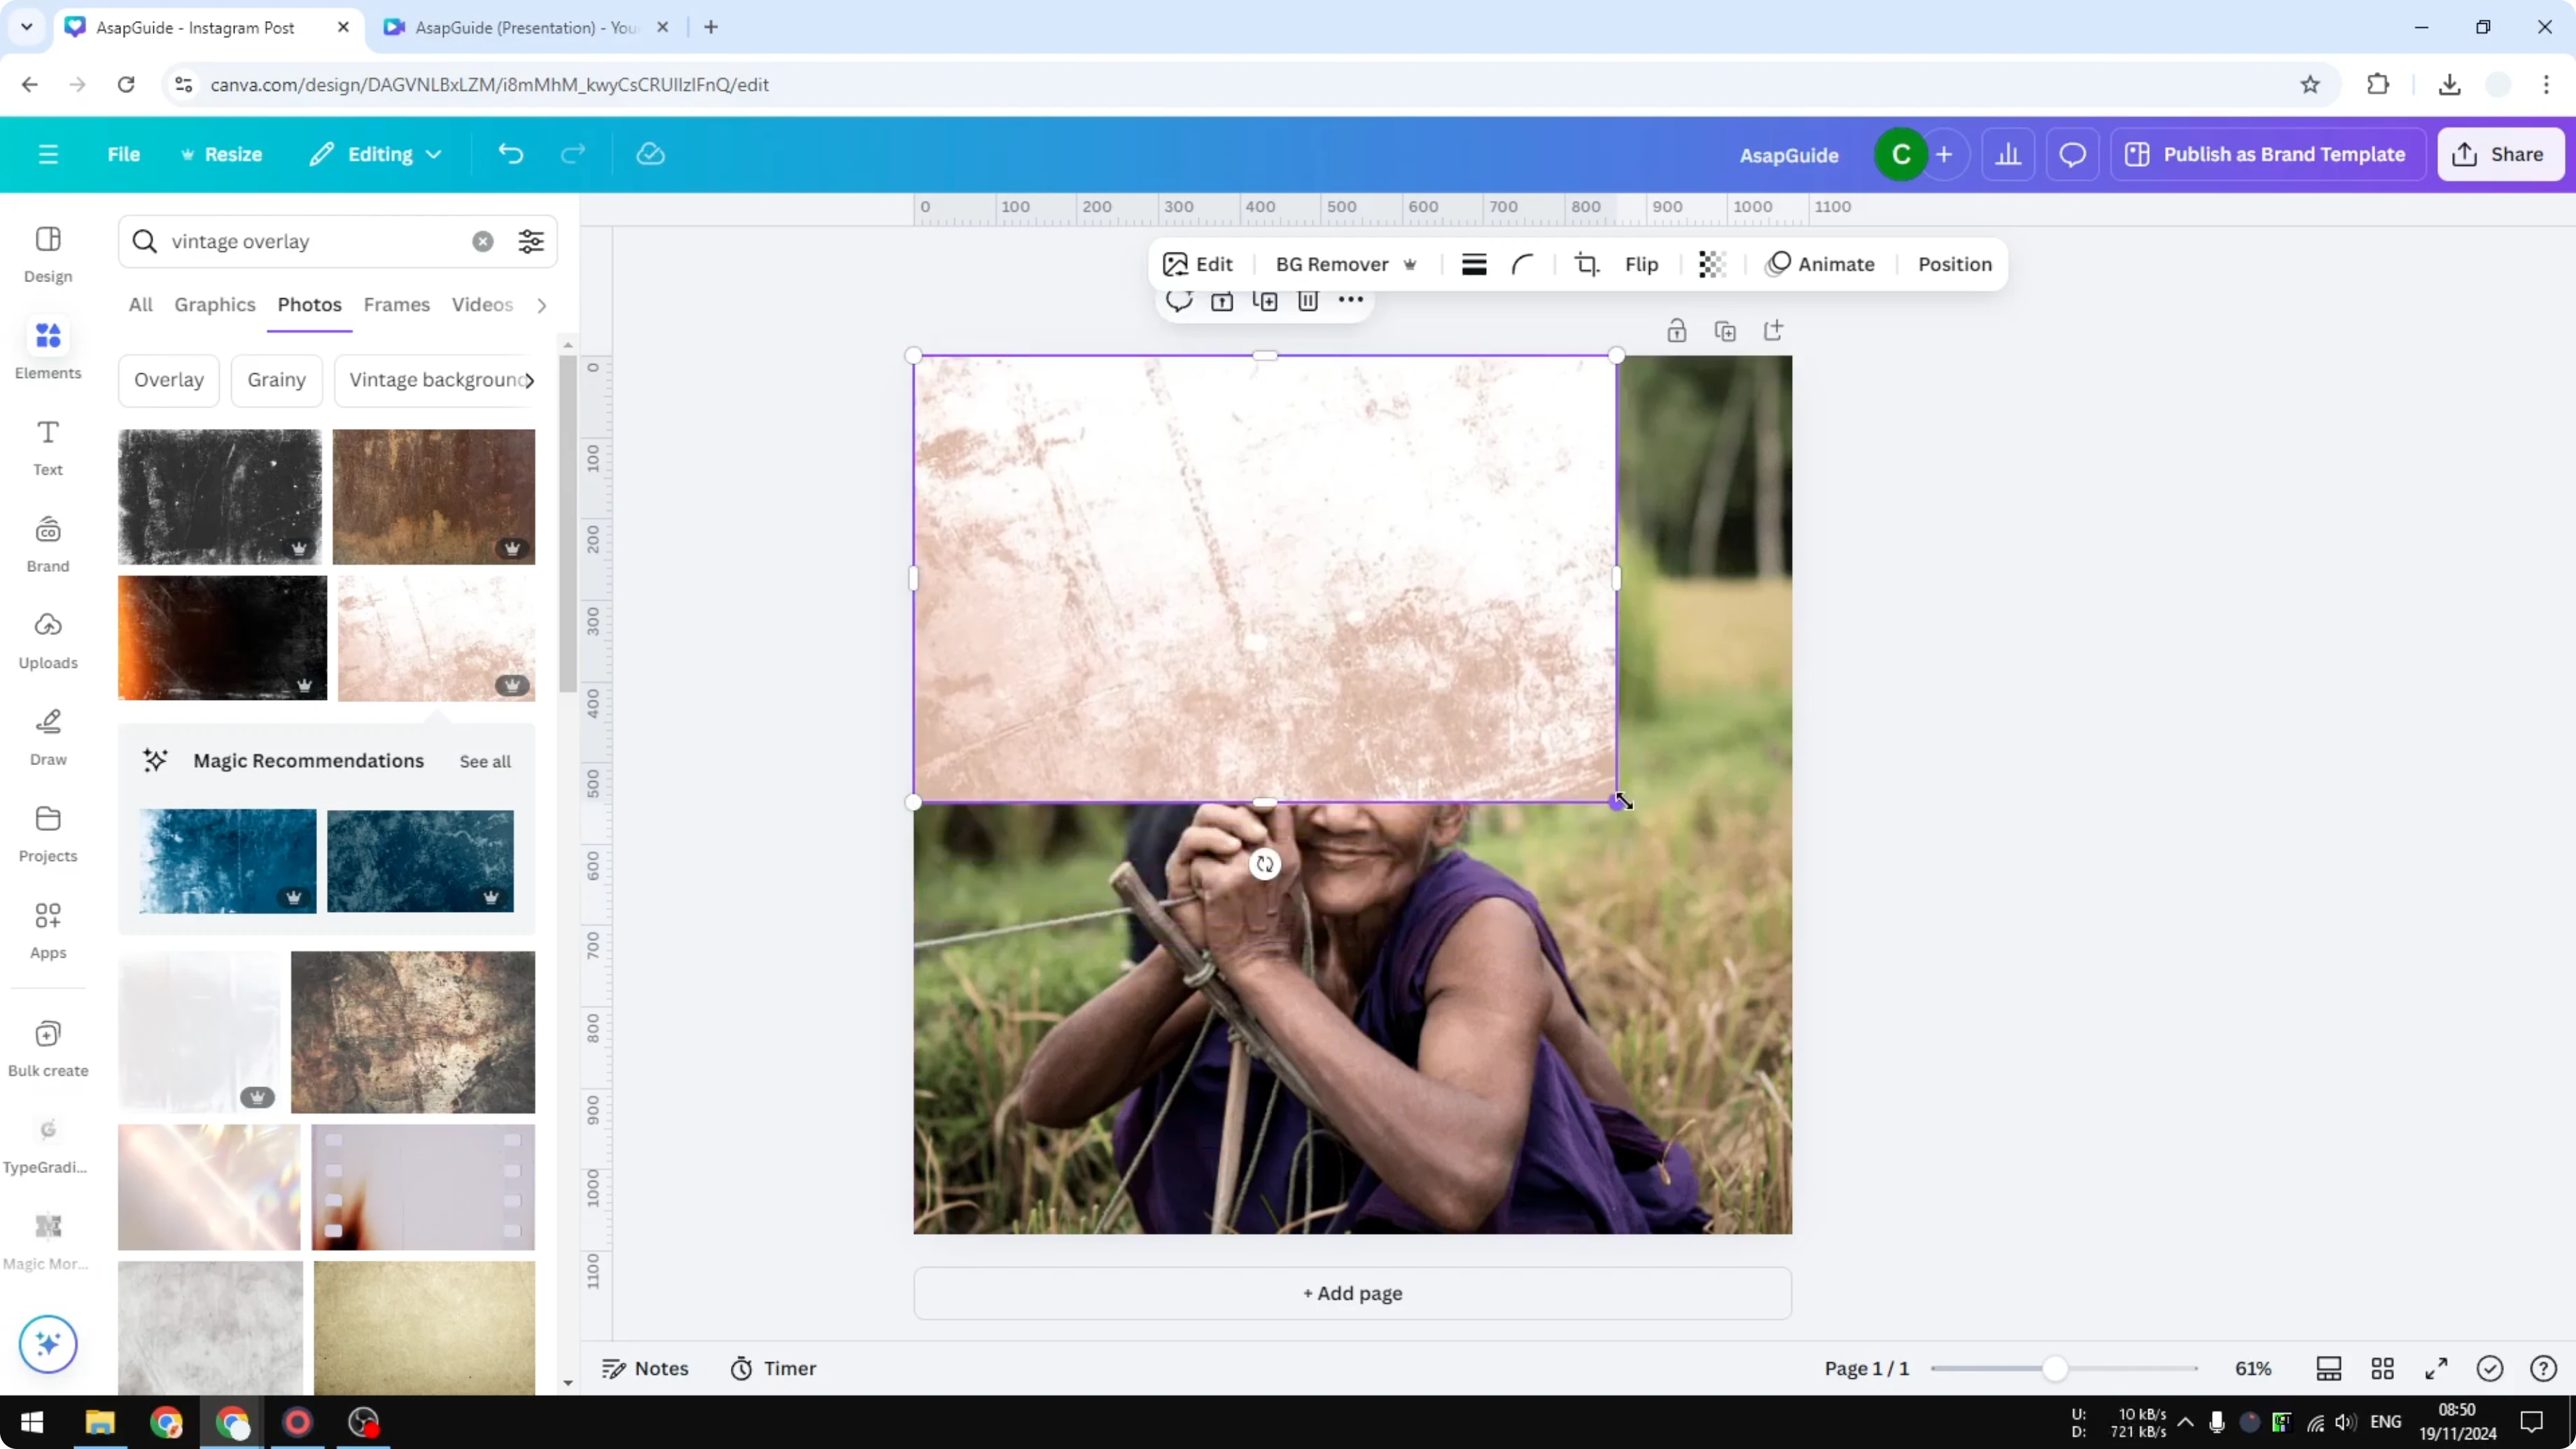
Vintage overlays
Go to Elements and search for the keyword “vintage overlay.”
Explore Graphics or Photos - Graphics are better here because many options have transparency.
Try a few overlays, scale them up, and see which style you prefer.
If you switch to the Photos section for more variety, remember that most are not transparent.
Place the overlay and lower its Transparency to blend it with the photo.
To add more character like warping or scratches, consider learning a subtle warp look with this distortion effect in Canva guide.
Fine-tune with layers
Click Position, then Layers, and select the background if you want to adjust the base image again.
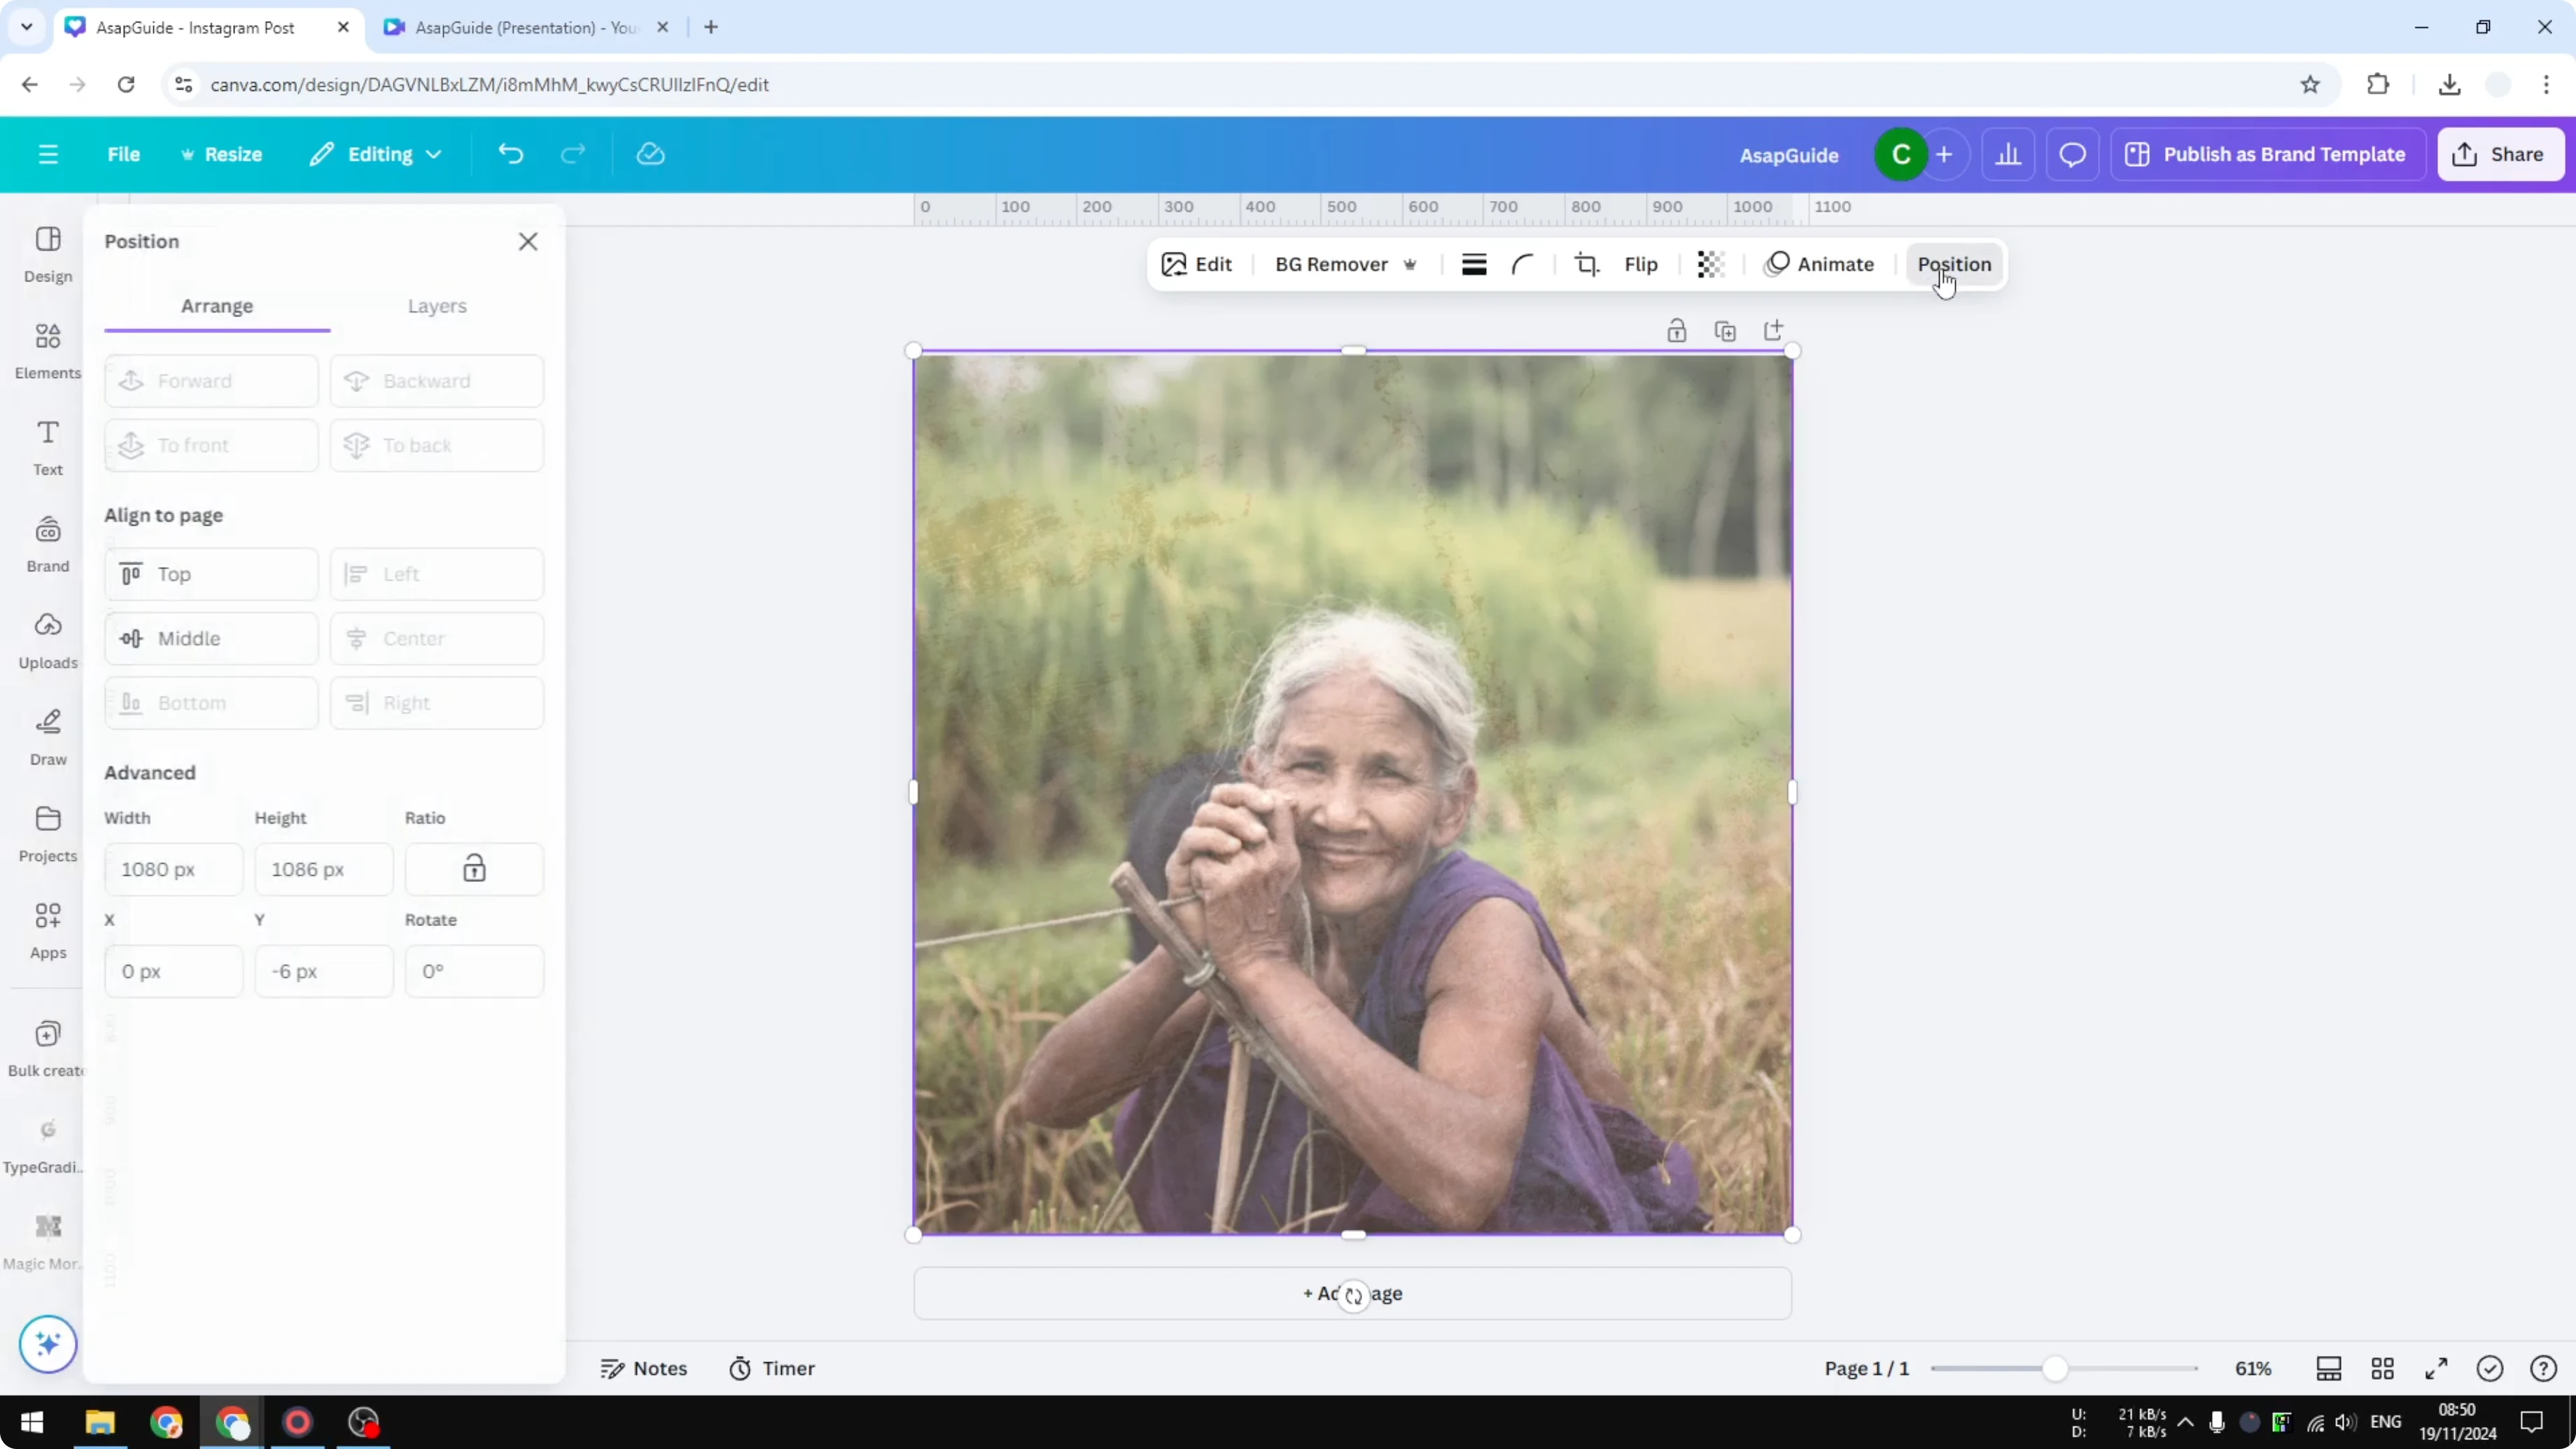
Lower the saturation a bit more if needed.
Increase the vignette to make the dark edges more prominent.
Final thoughts
This photo now looks old enough to pass for a true retro style from more than 100 years ago. The key is lowering resolution, reducing color, adding a balanced vignette, warming the tones, and gently clipping the highlights and whites. If you plan to add titles on top, you can keep the vibe consistent with this faded text effect in Canva.
Recent Posts
How to Visualize Different Hairstyles and Hair Colors with AI?
How to Visualize Different Hairstyles and Hair Colors with AI?

How to Transform Daytime Photos into Realistic Night Scenes with AI?
How to Transform Daytime Photos into Realistic Night Scenes with AI?
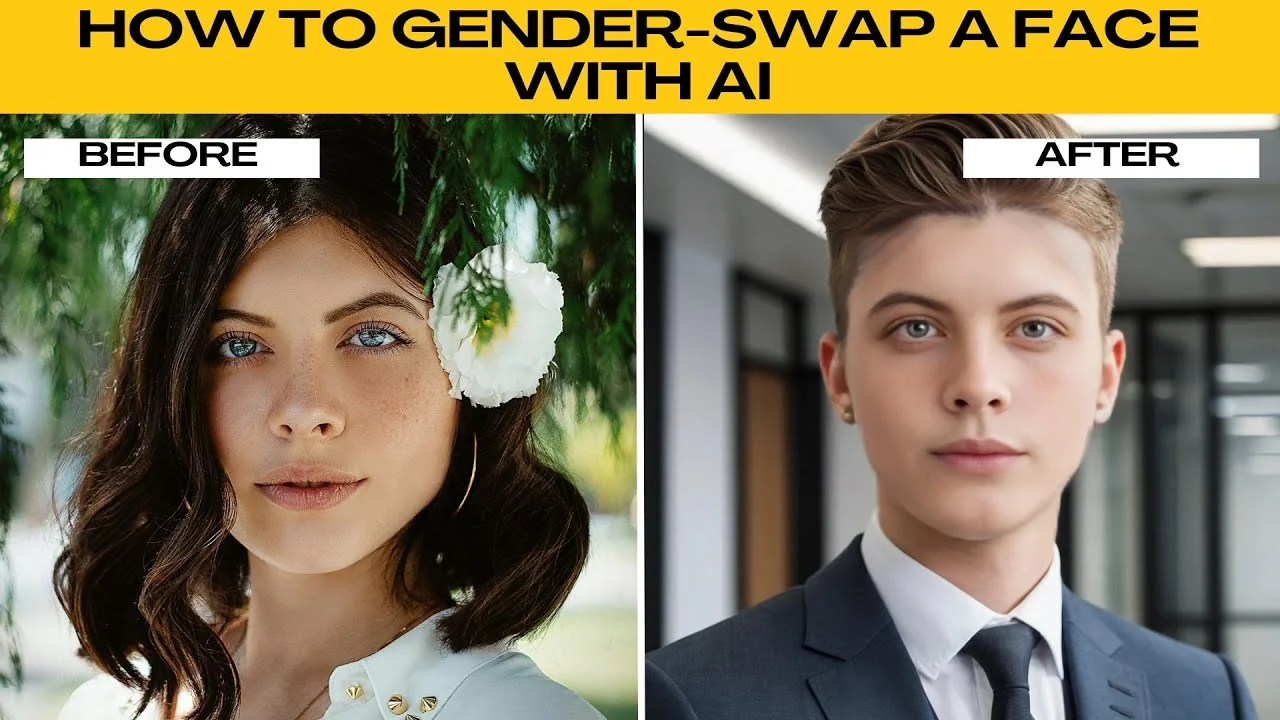
How to Visualize Yourself as the Opposite Gender with AI?
How to Visualize Yourself as the Opposite Gender with AI?