How to Brighten and Reduce Under-Eye Dark Circles with AI?
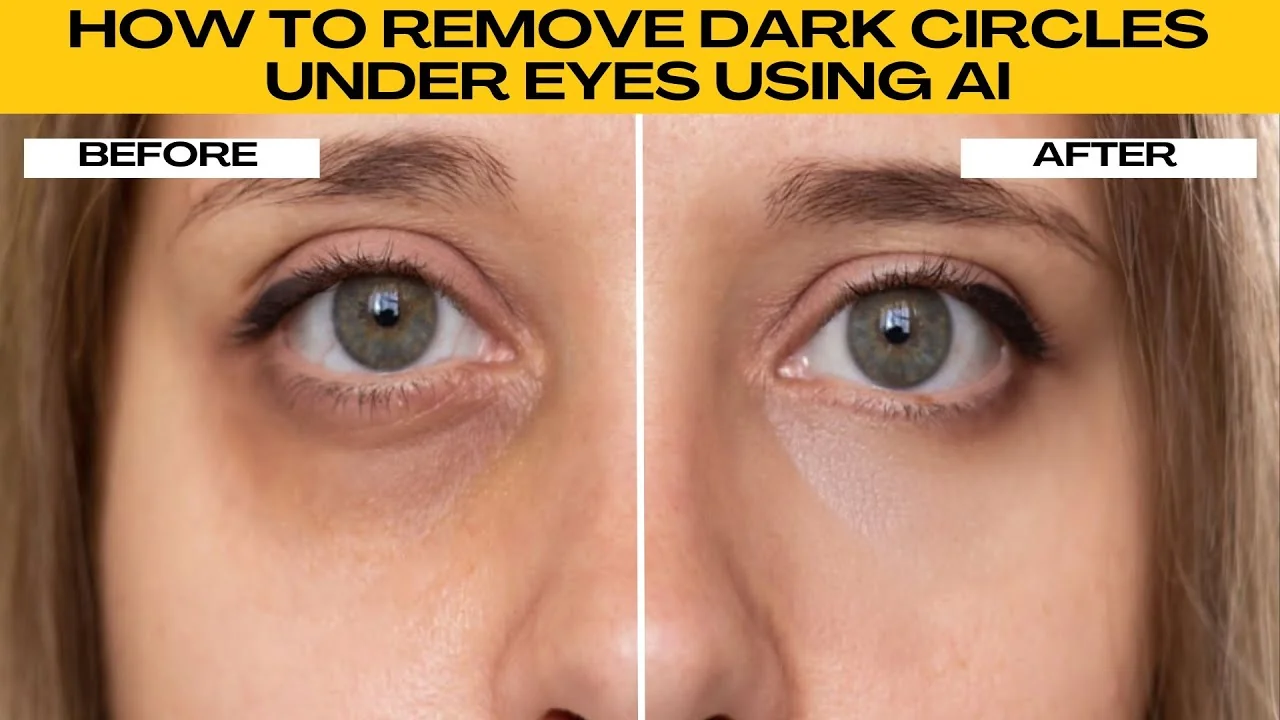
I will teach you how to remove dark circles under your eyes using AI. Dark circles or under eye blemishes can make an otherwise great portrait look tired or dull. With Adobe Firefly Generative Fill, you can retouch portraits in just a few clicks.

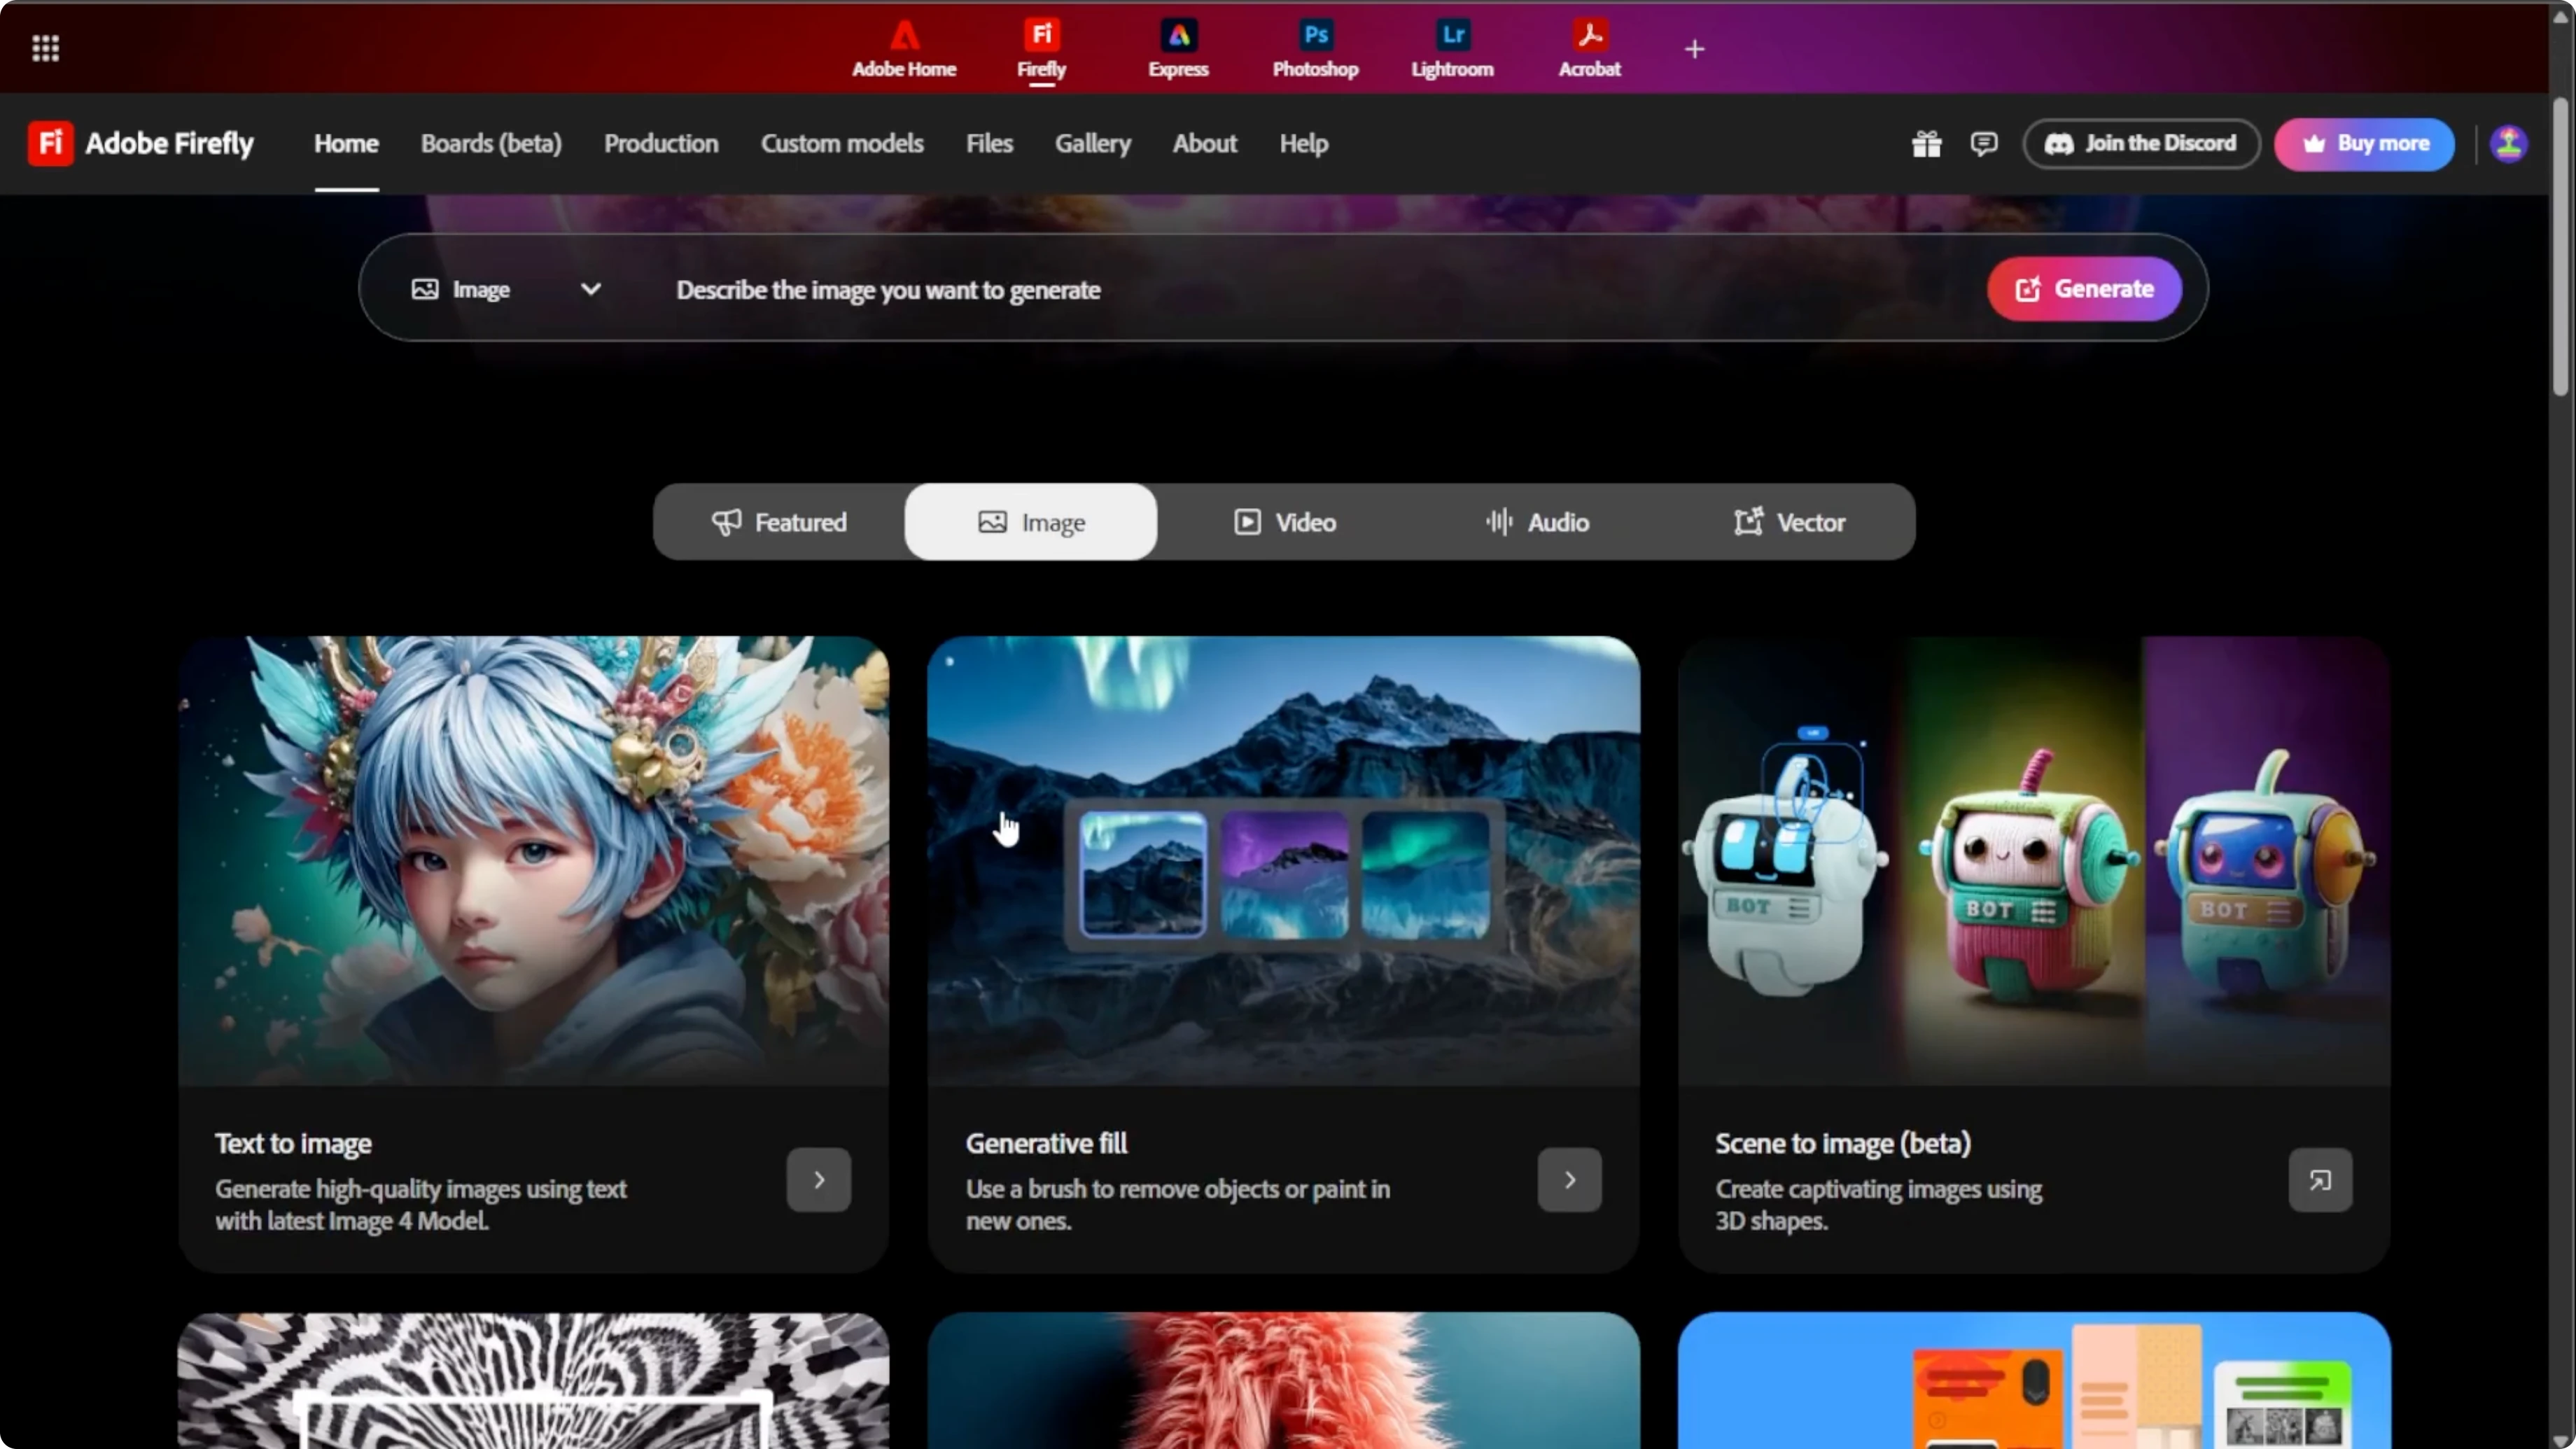
Open Adobe Firefly
Go to firefly.adobe.com. Log in using your Adobe ID. If you do not have one yet, create a free account.
Launch Generative Fill
From the homepage, look for Generative Fill under the Image category. Click it to launch the Generative Fill editor.
If you are enhancing portraits, you may also want to change eye color with AI for a cohesive look.
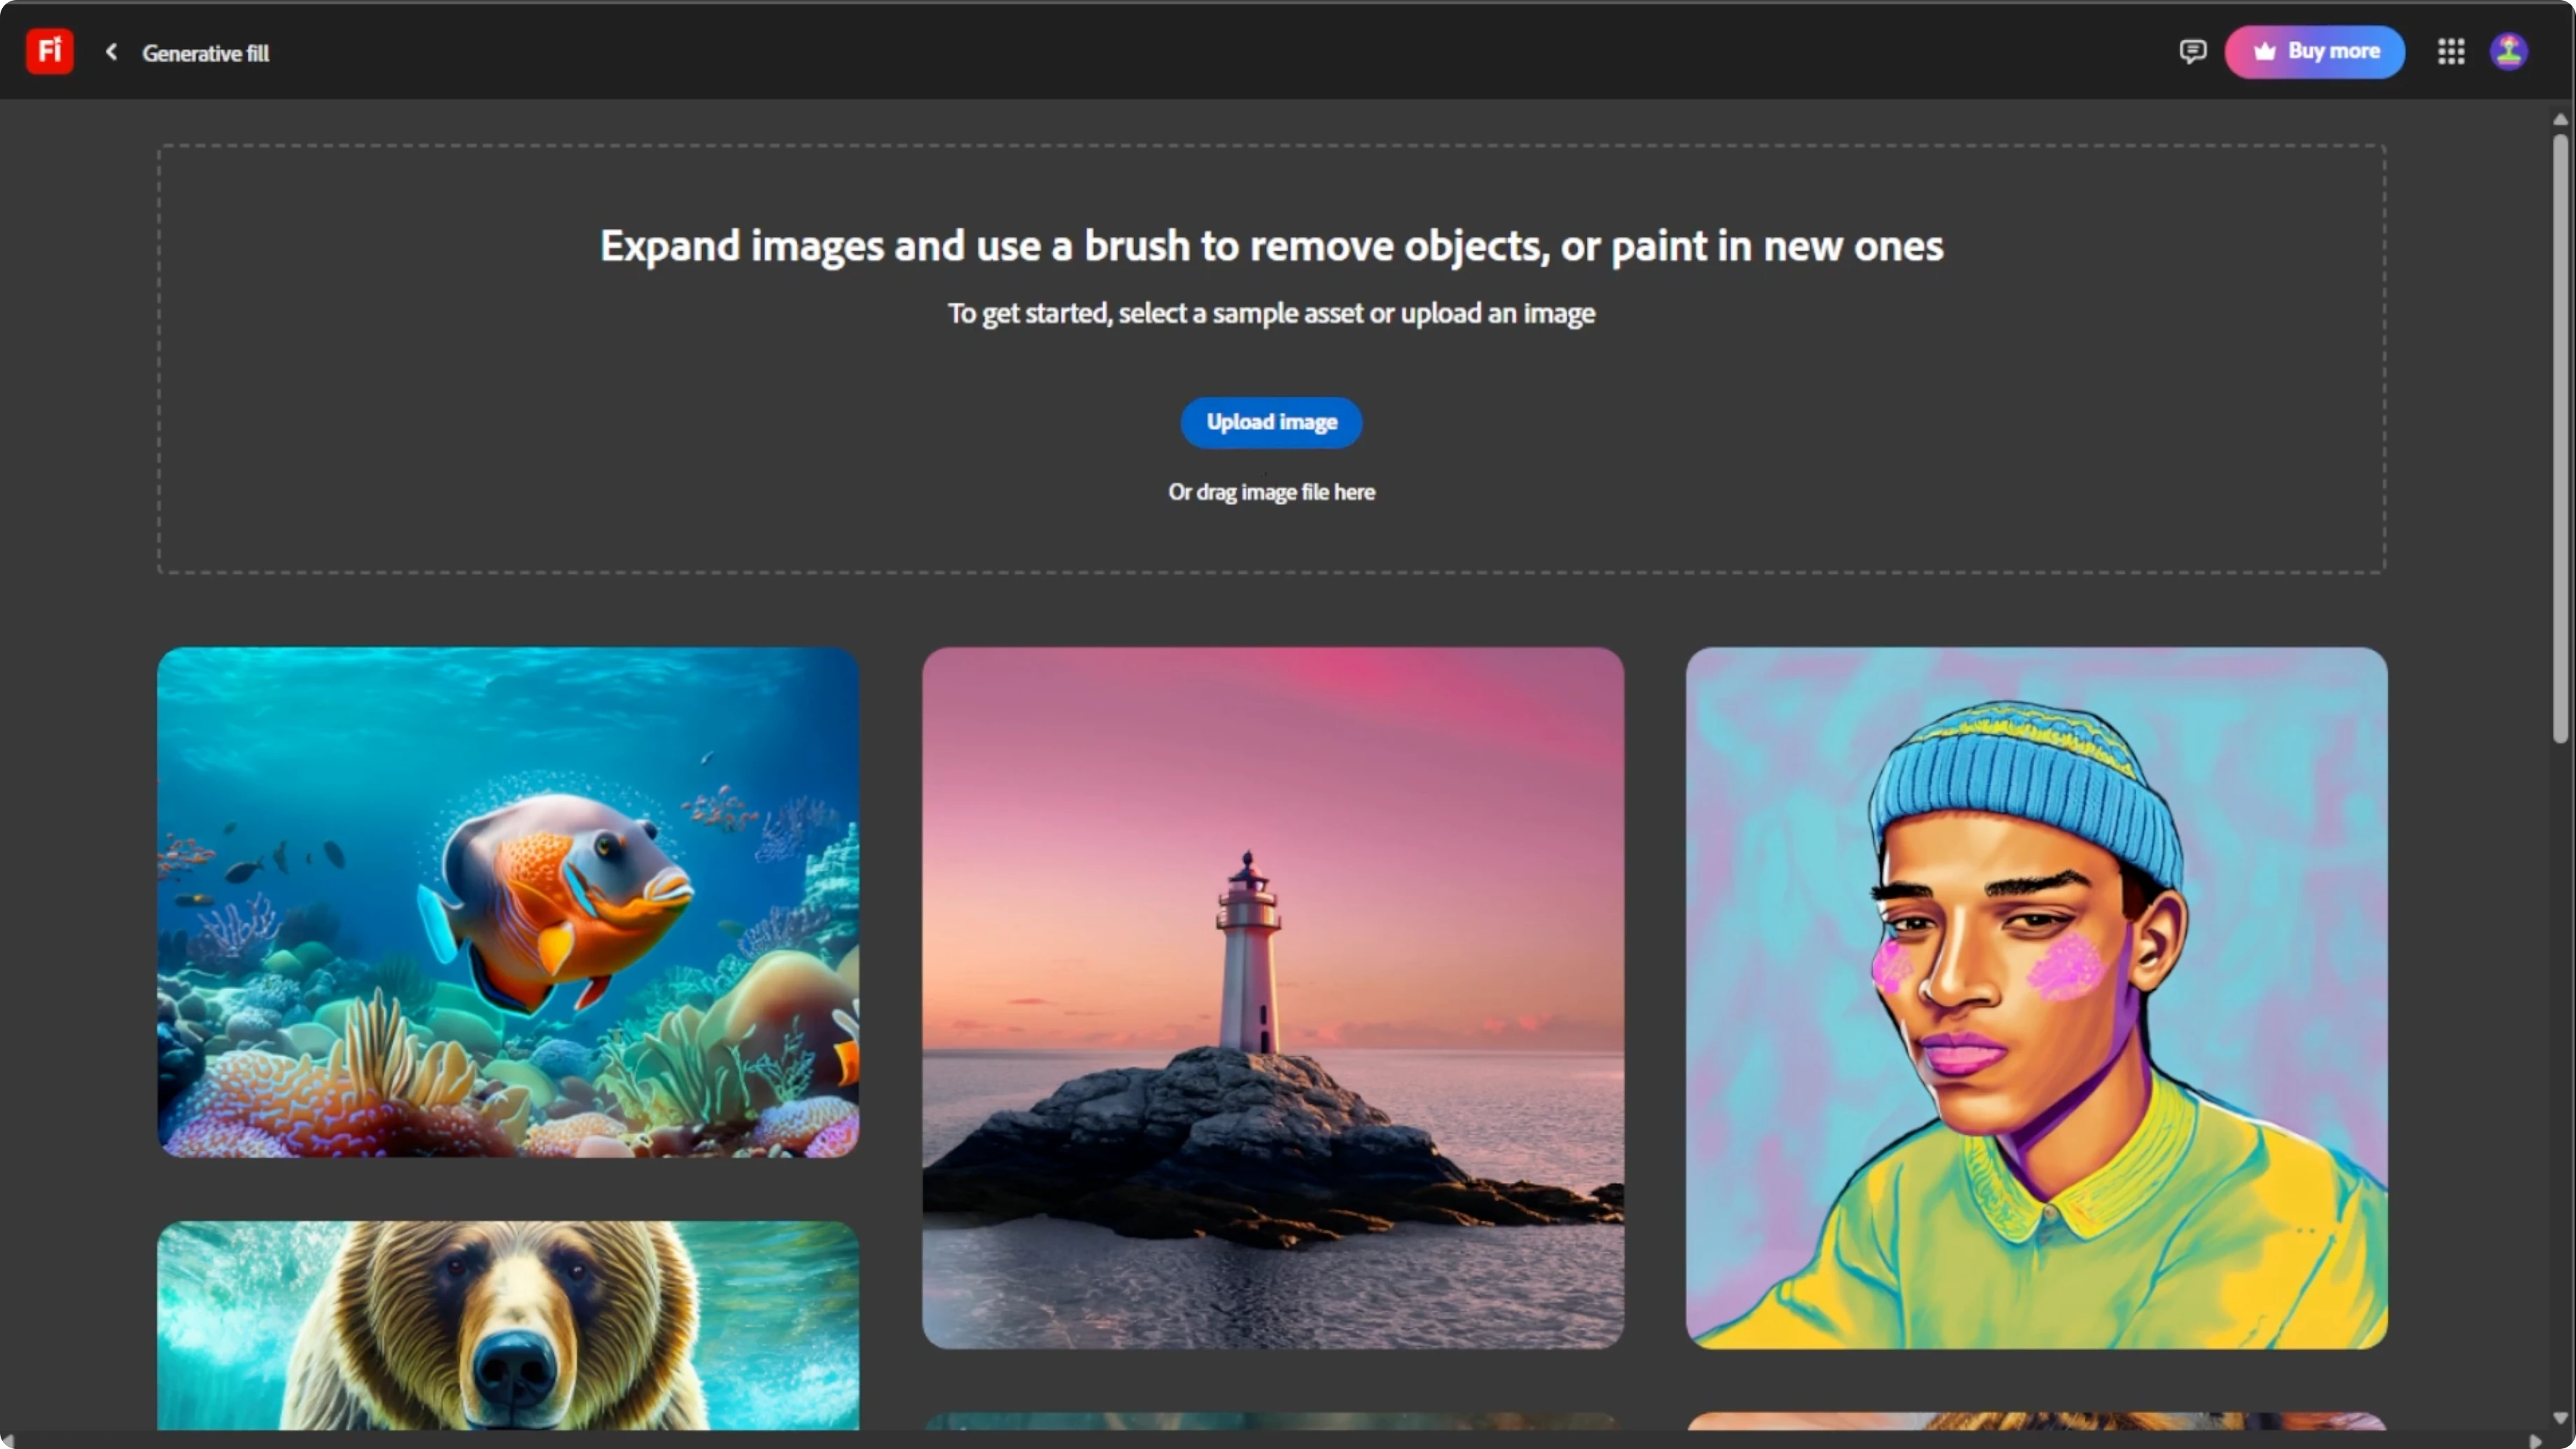
Upload your image
On the Generative Fill page, click Upload Image or drag and drop your image into the upload box. Supported formats include JPG, PNG, and WEBP. After uploading, your image will appear in the editing workspace.
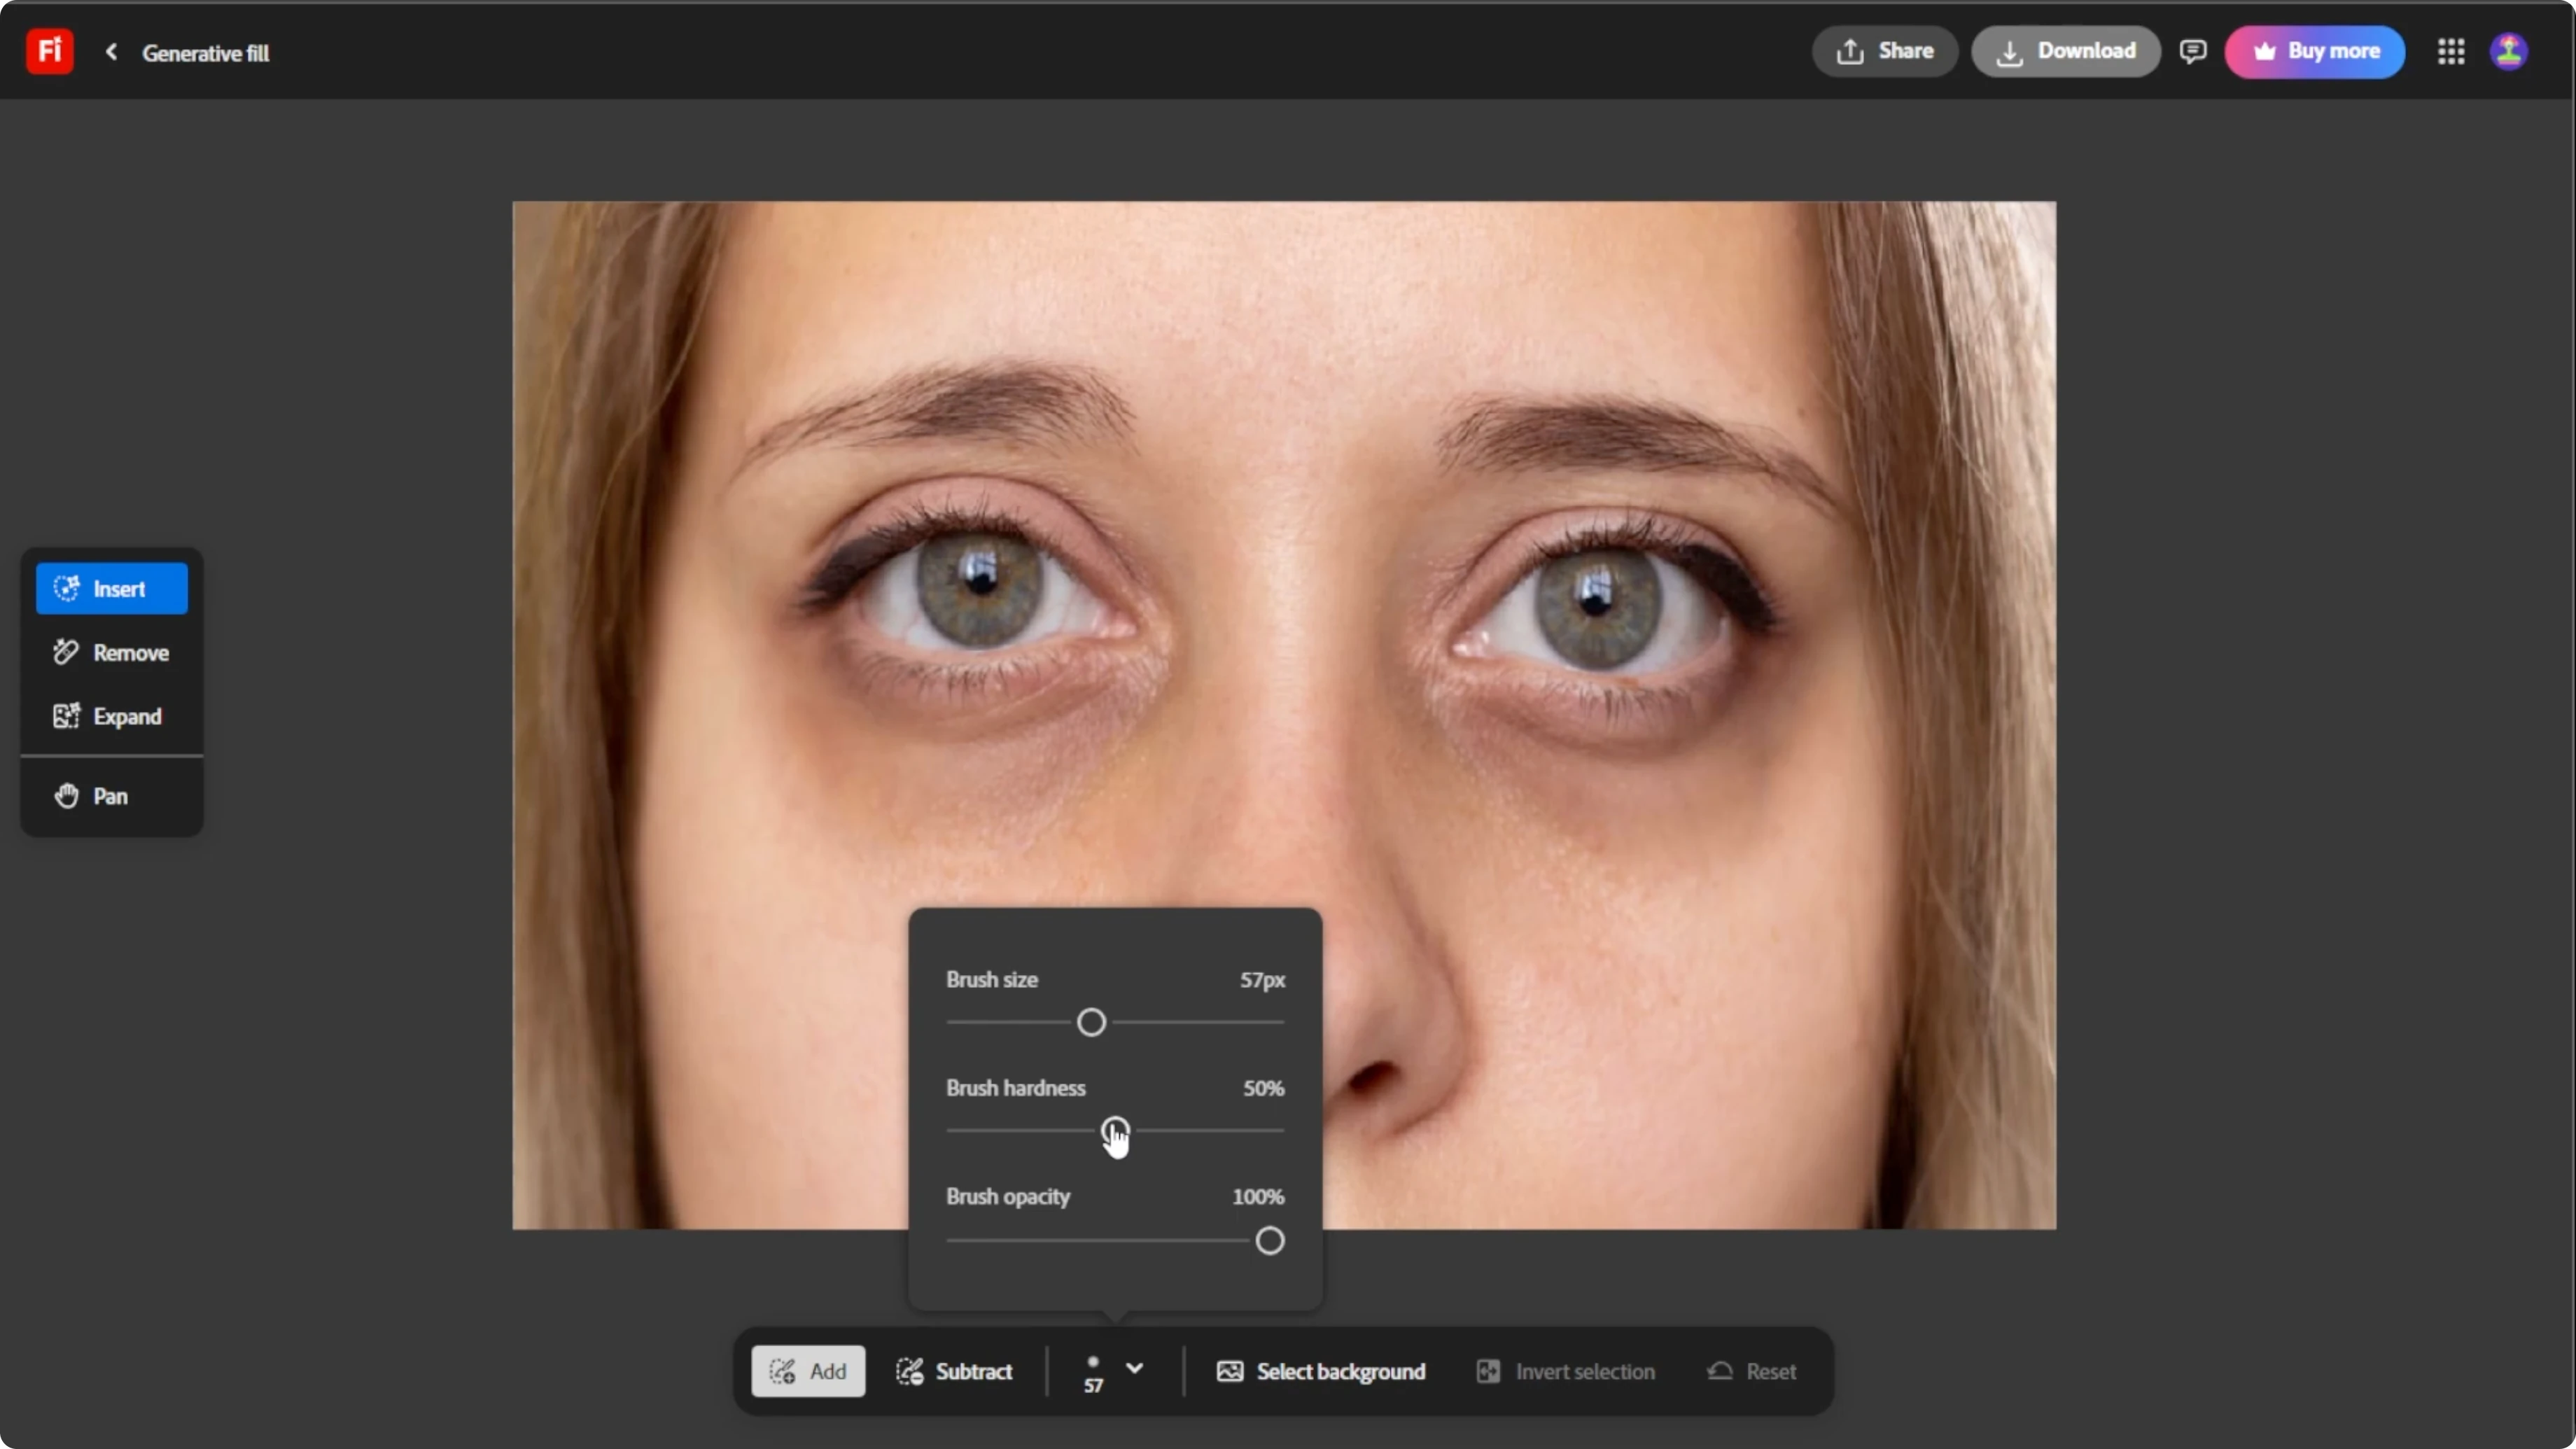
Prepare your selection
On the left toolbar, select the Insert mode to begin selecting areas of your photo. On the bottom toolbar, make sure Add mode is selected. Adjust the brush size, hardness, and opacity sliders to suit the precision needed.
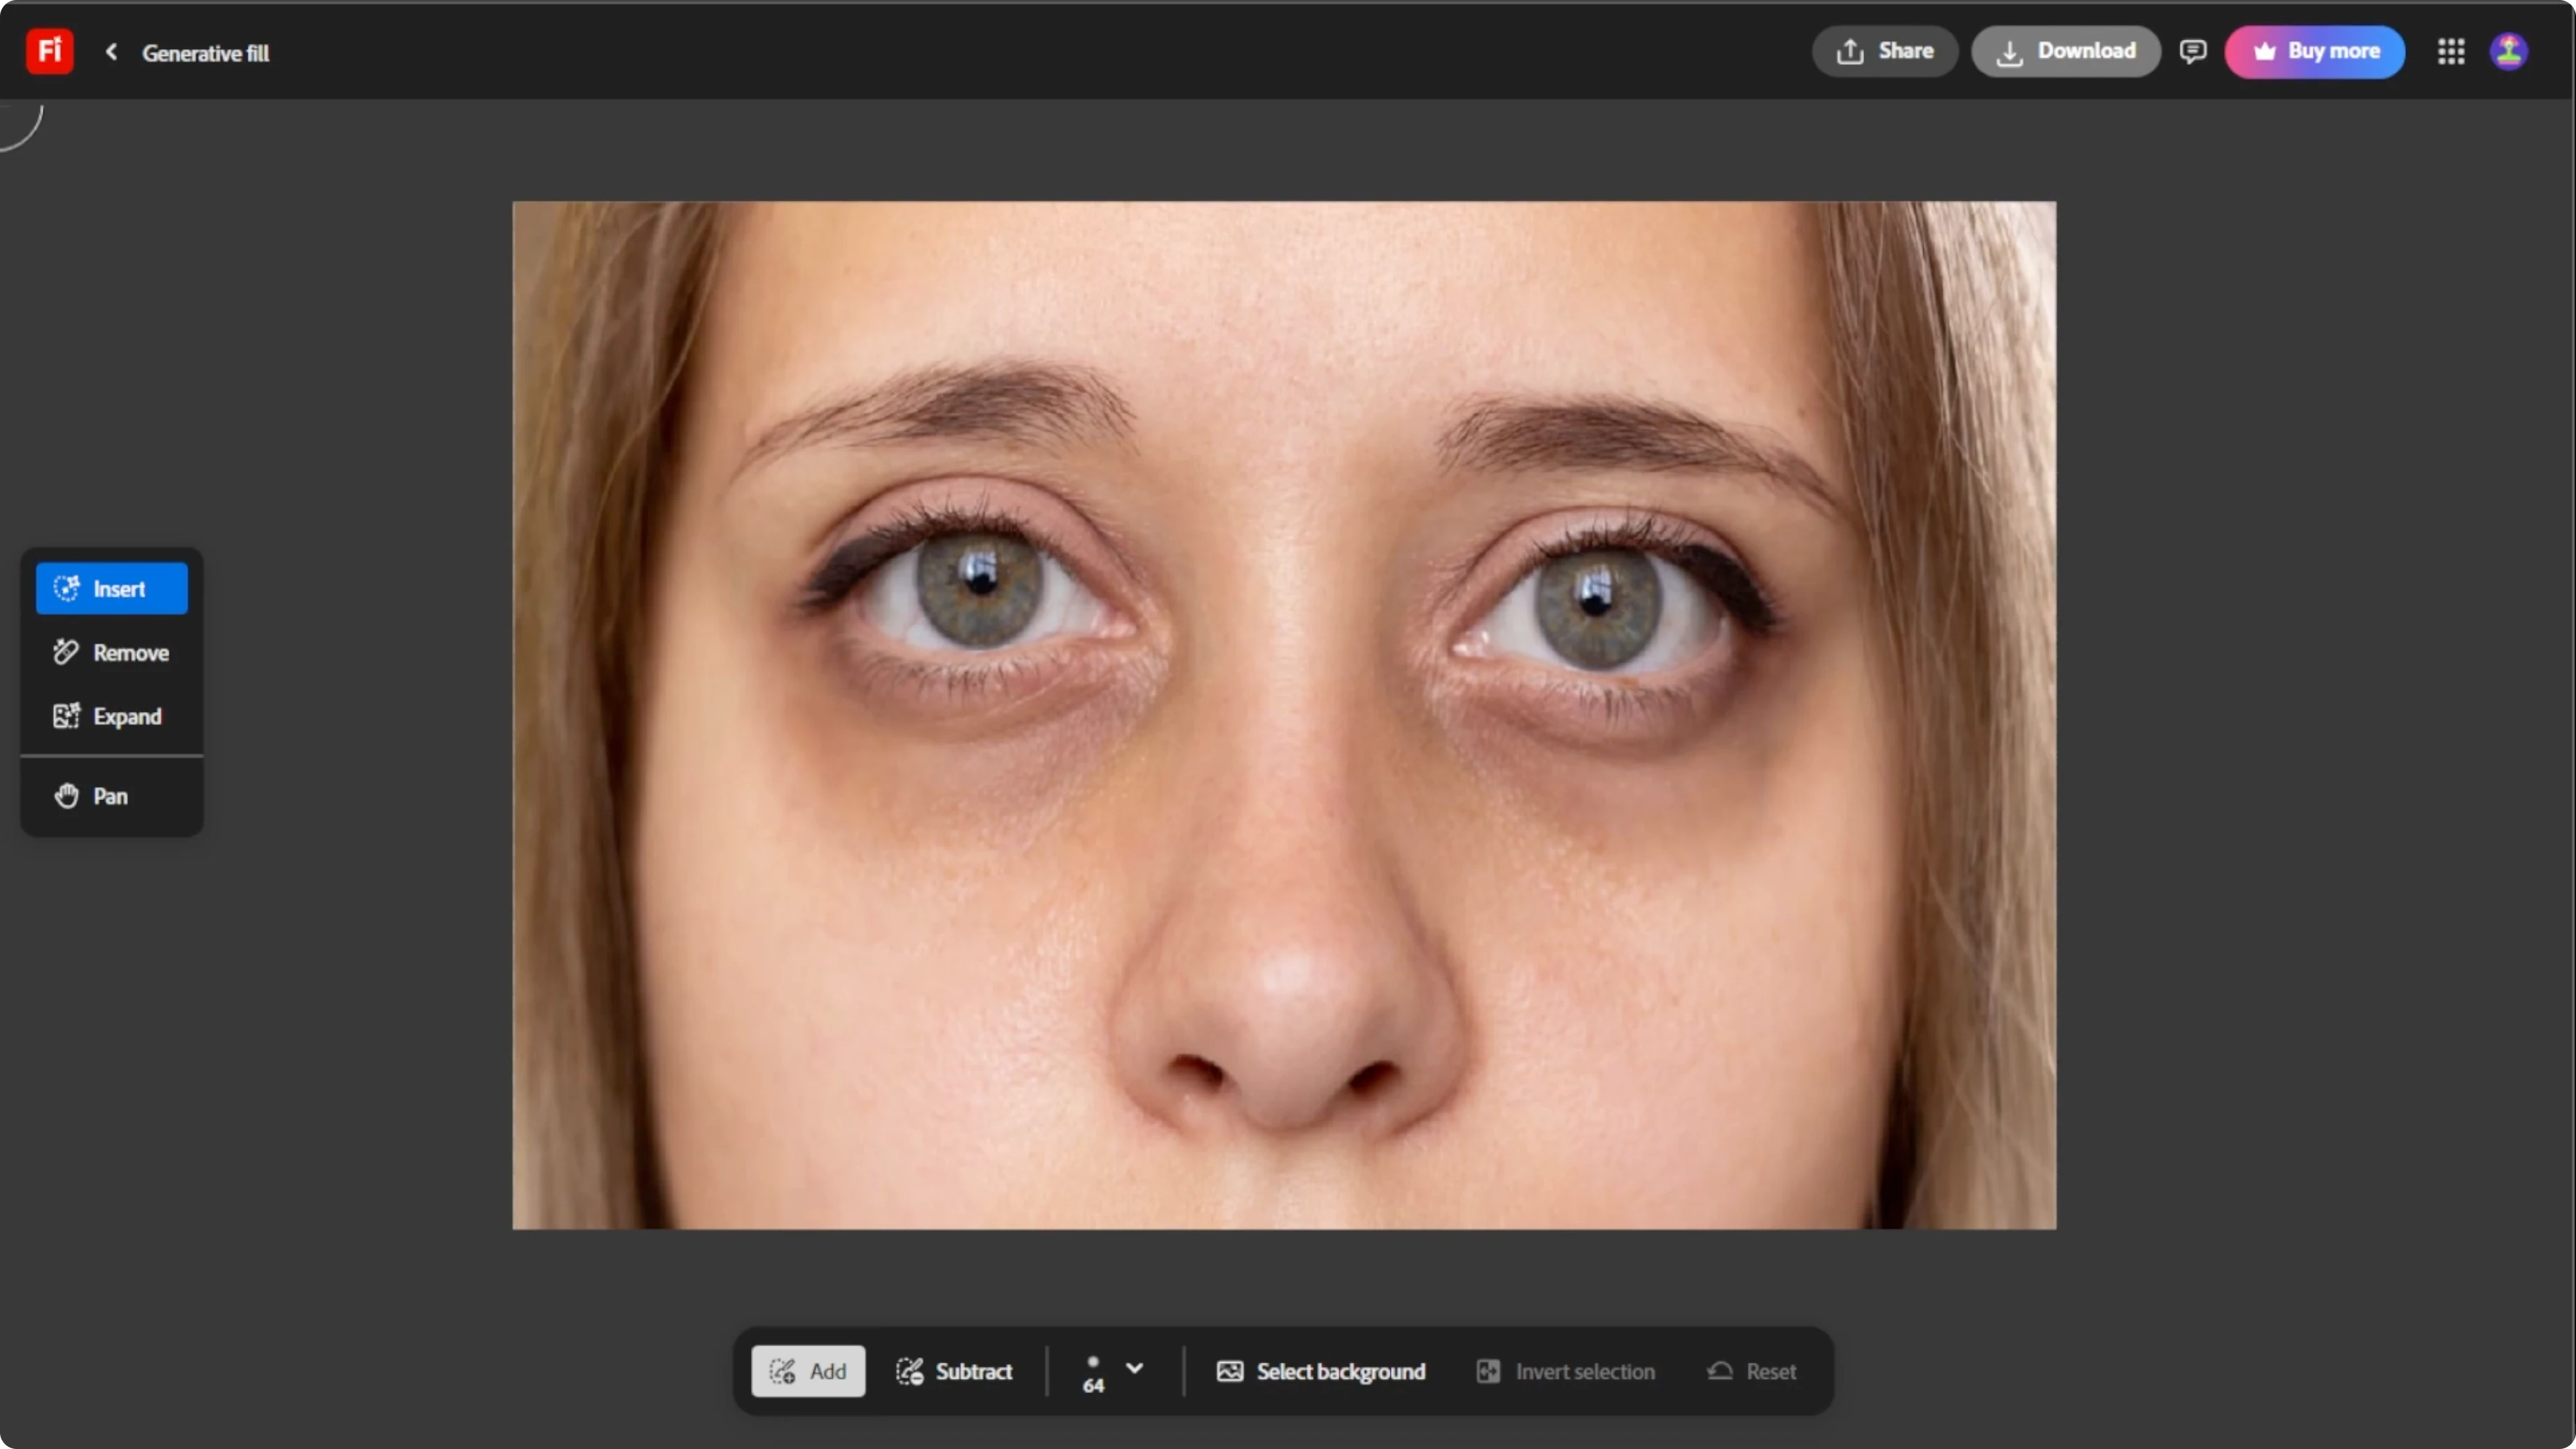
A small soft edge brush works best for facial retouching. To zoom in, hold Control or Command on Mac and scroll up with your mouse wheel. To zoom out, hold Control, then scroll down.
You can pan around the image in two ways. Click the Pan tool on the left toolbar. Or hold the space bar, then click and drag on the image to move it around the canvas.
For quick eyes fixes in portraits, see how to remove red eye using AI alongside your retouching.
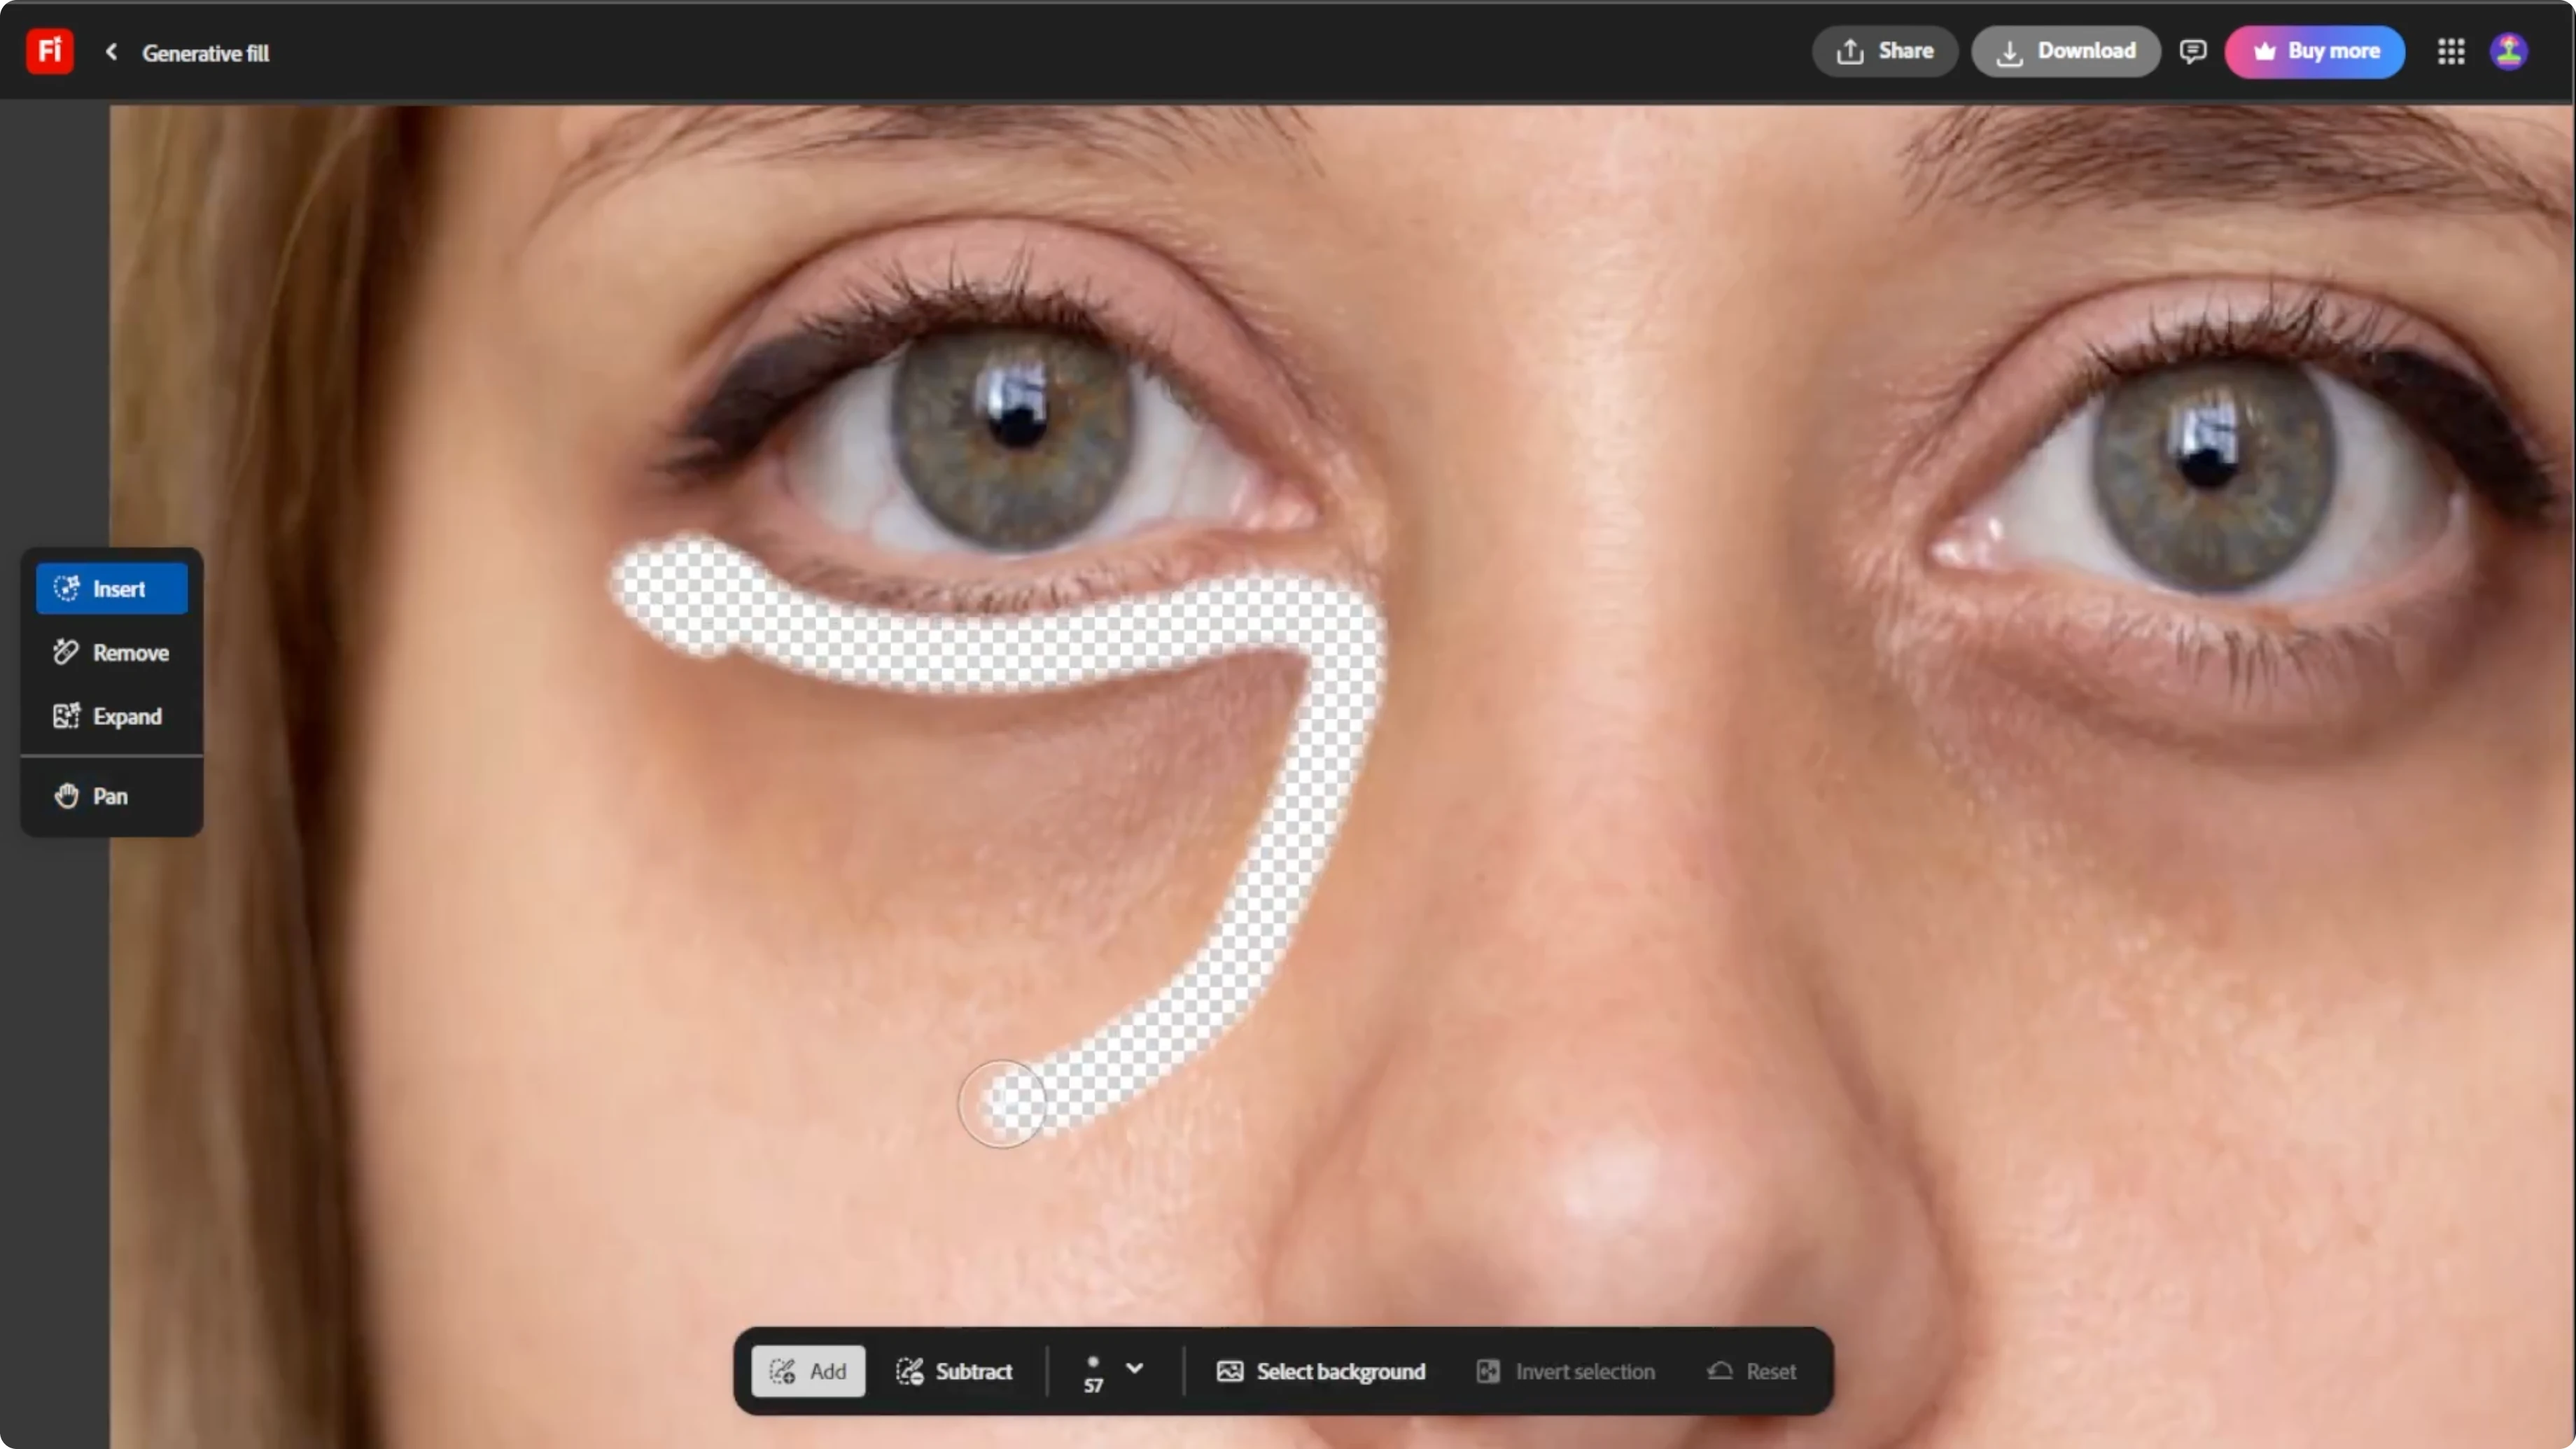
Select the under eye area
Use the brush to carefully highlight the dark circles under the eyes. You can also brush over blemishes, fine lines, or wrinkles if you want them retouched in the same process. Avoid selecting too much of the skin to preserve natural texture and structure.
Write a precise prompt
In the prompt box below the canvas, enter a precise AI prompt and avoid vague terms. Specificity helps the AI understand your intent better.
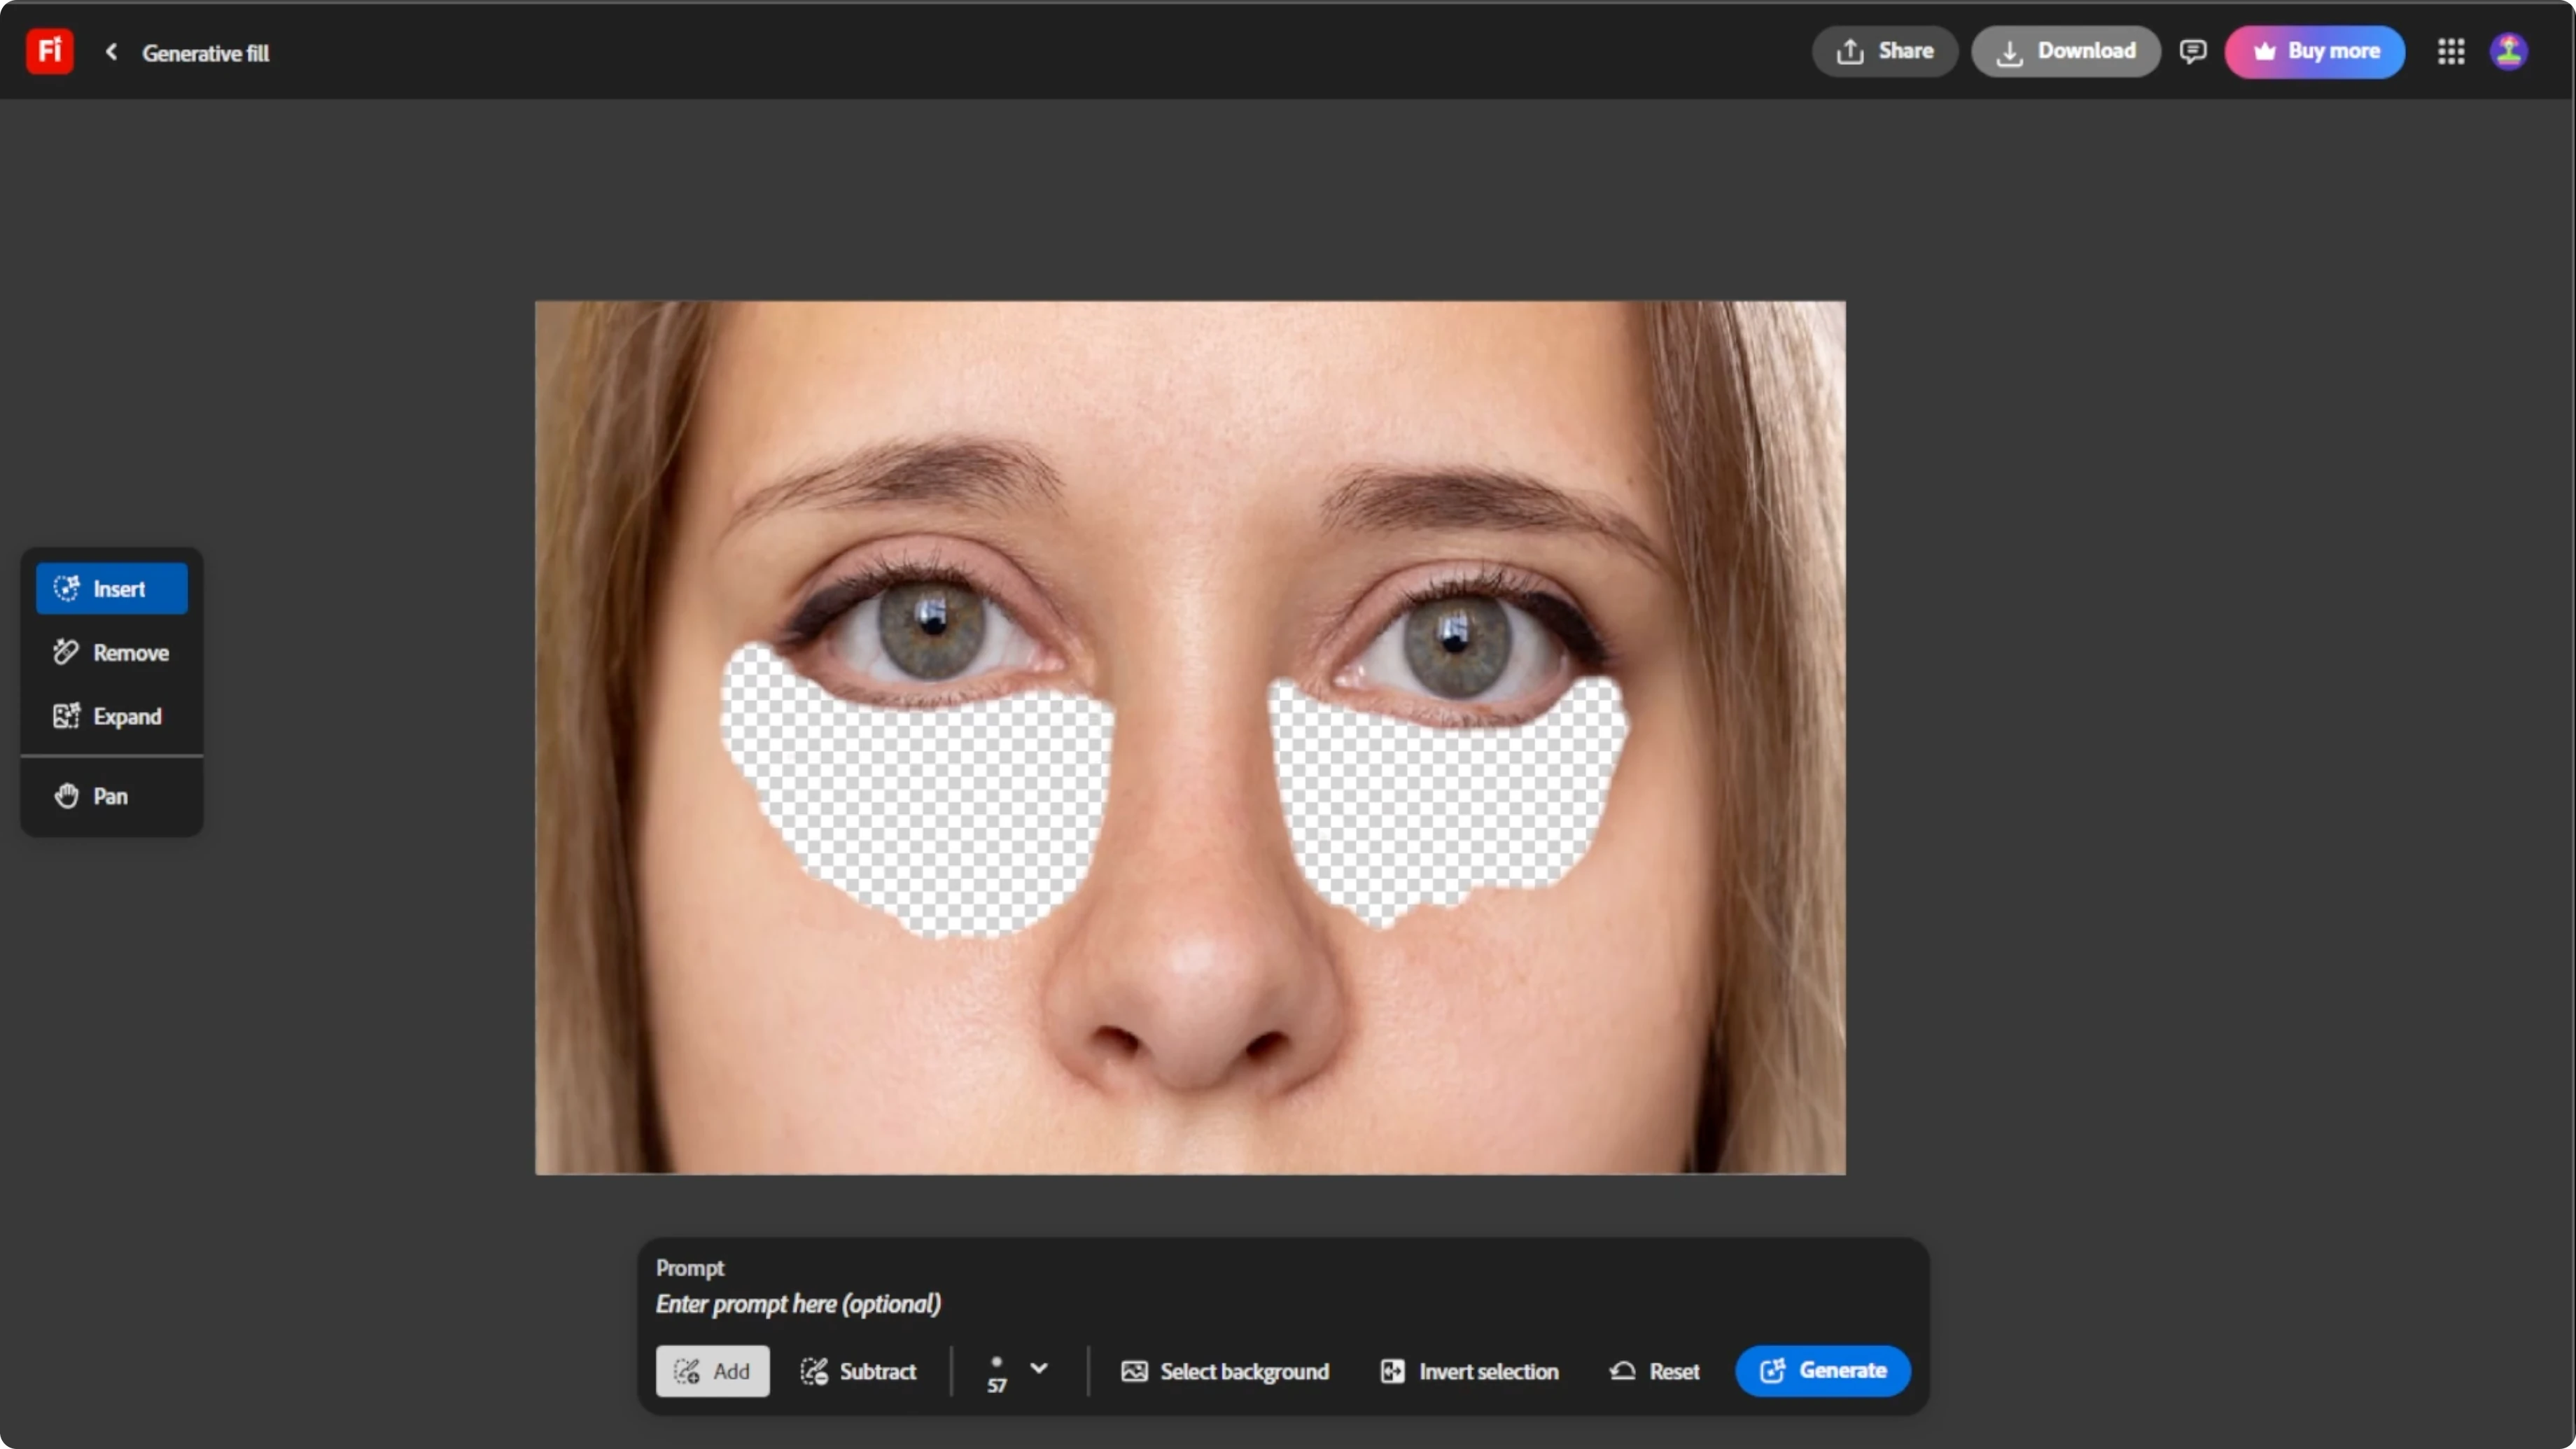
Example prompts you can paste:
reduce dark circles under eyes, preserve natural skin texture, soften fine lines
remove under eye bags and dark shadows, keep pores and detail natural
For a broader workflow inside an AI editor, check this guide on image editing with ICEdit AI.
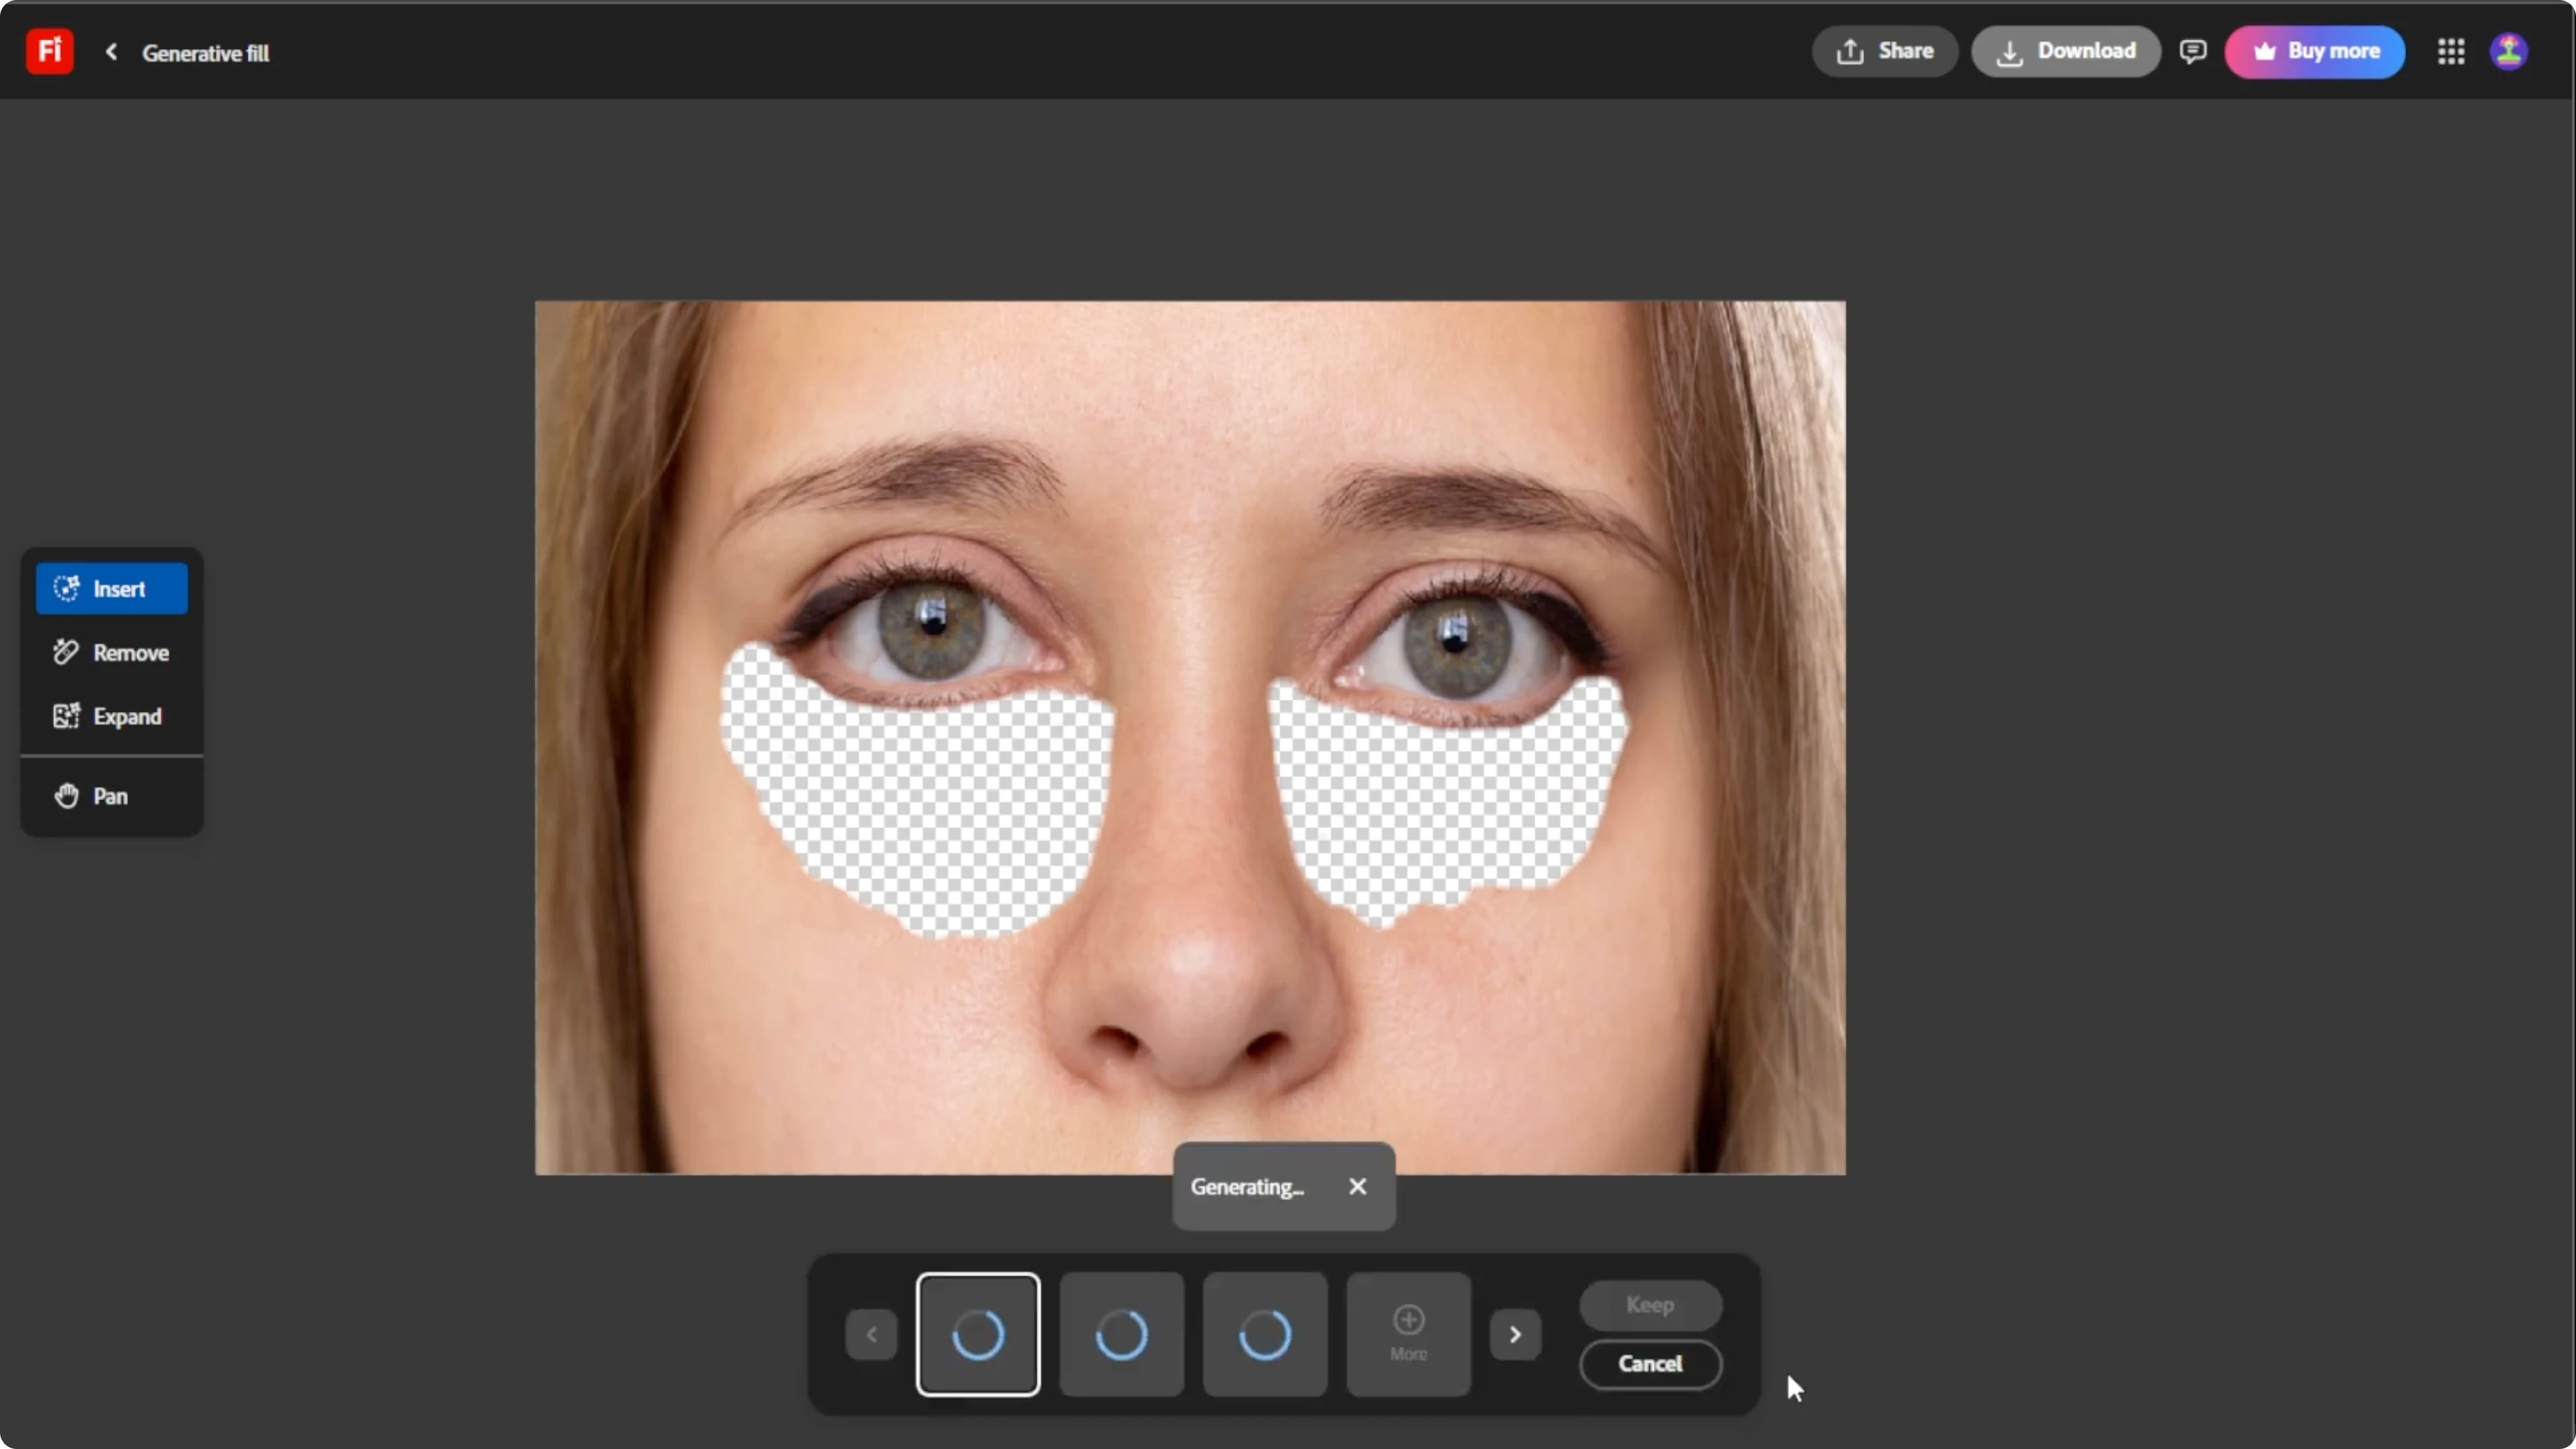
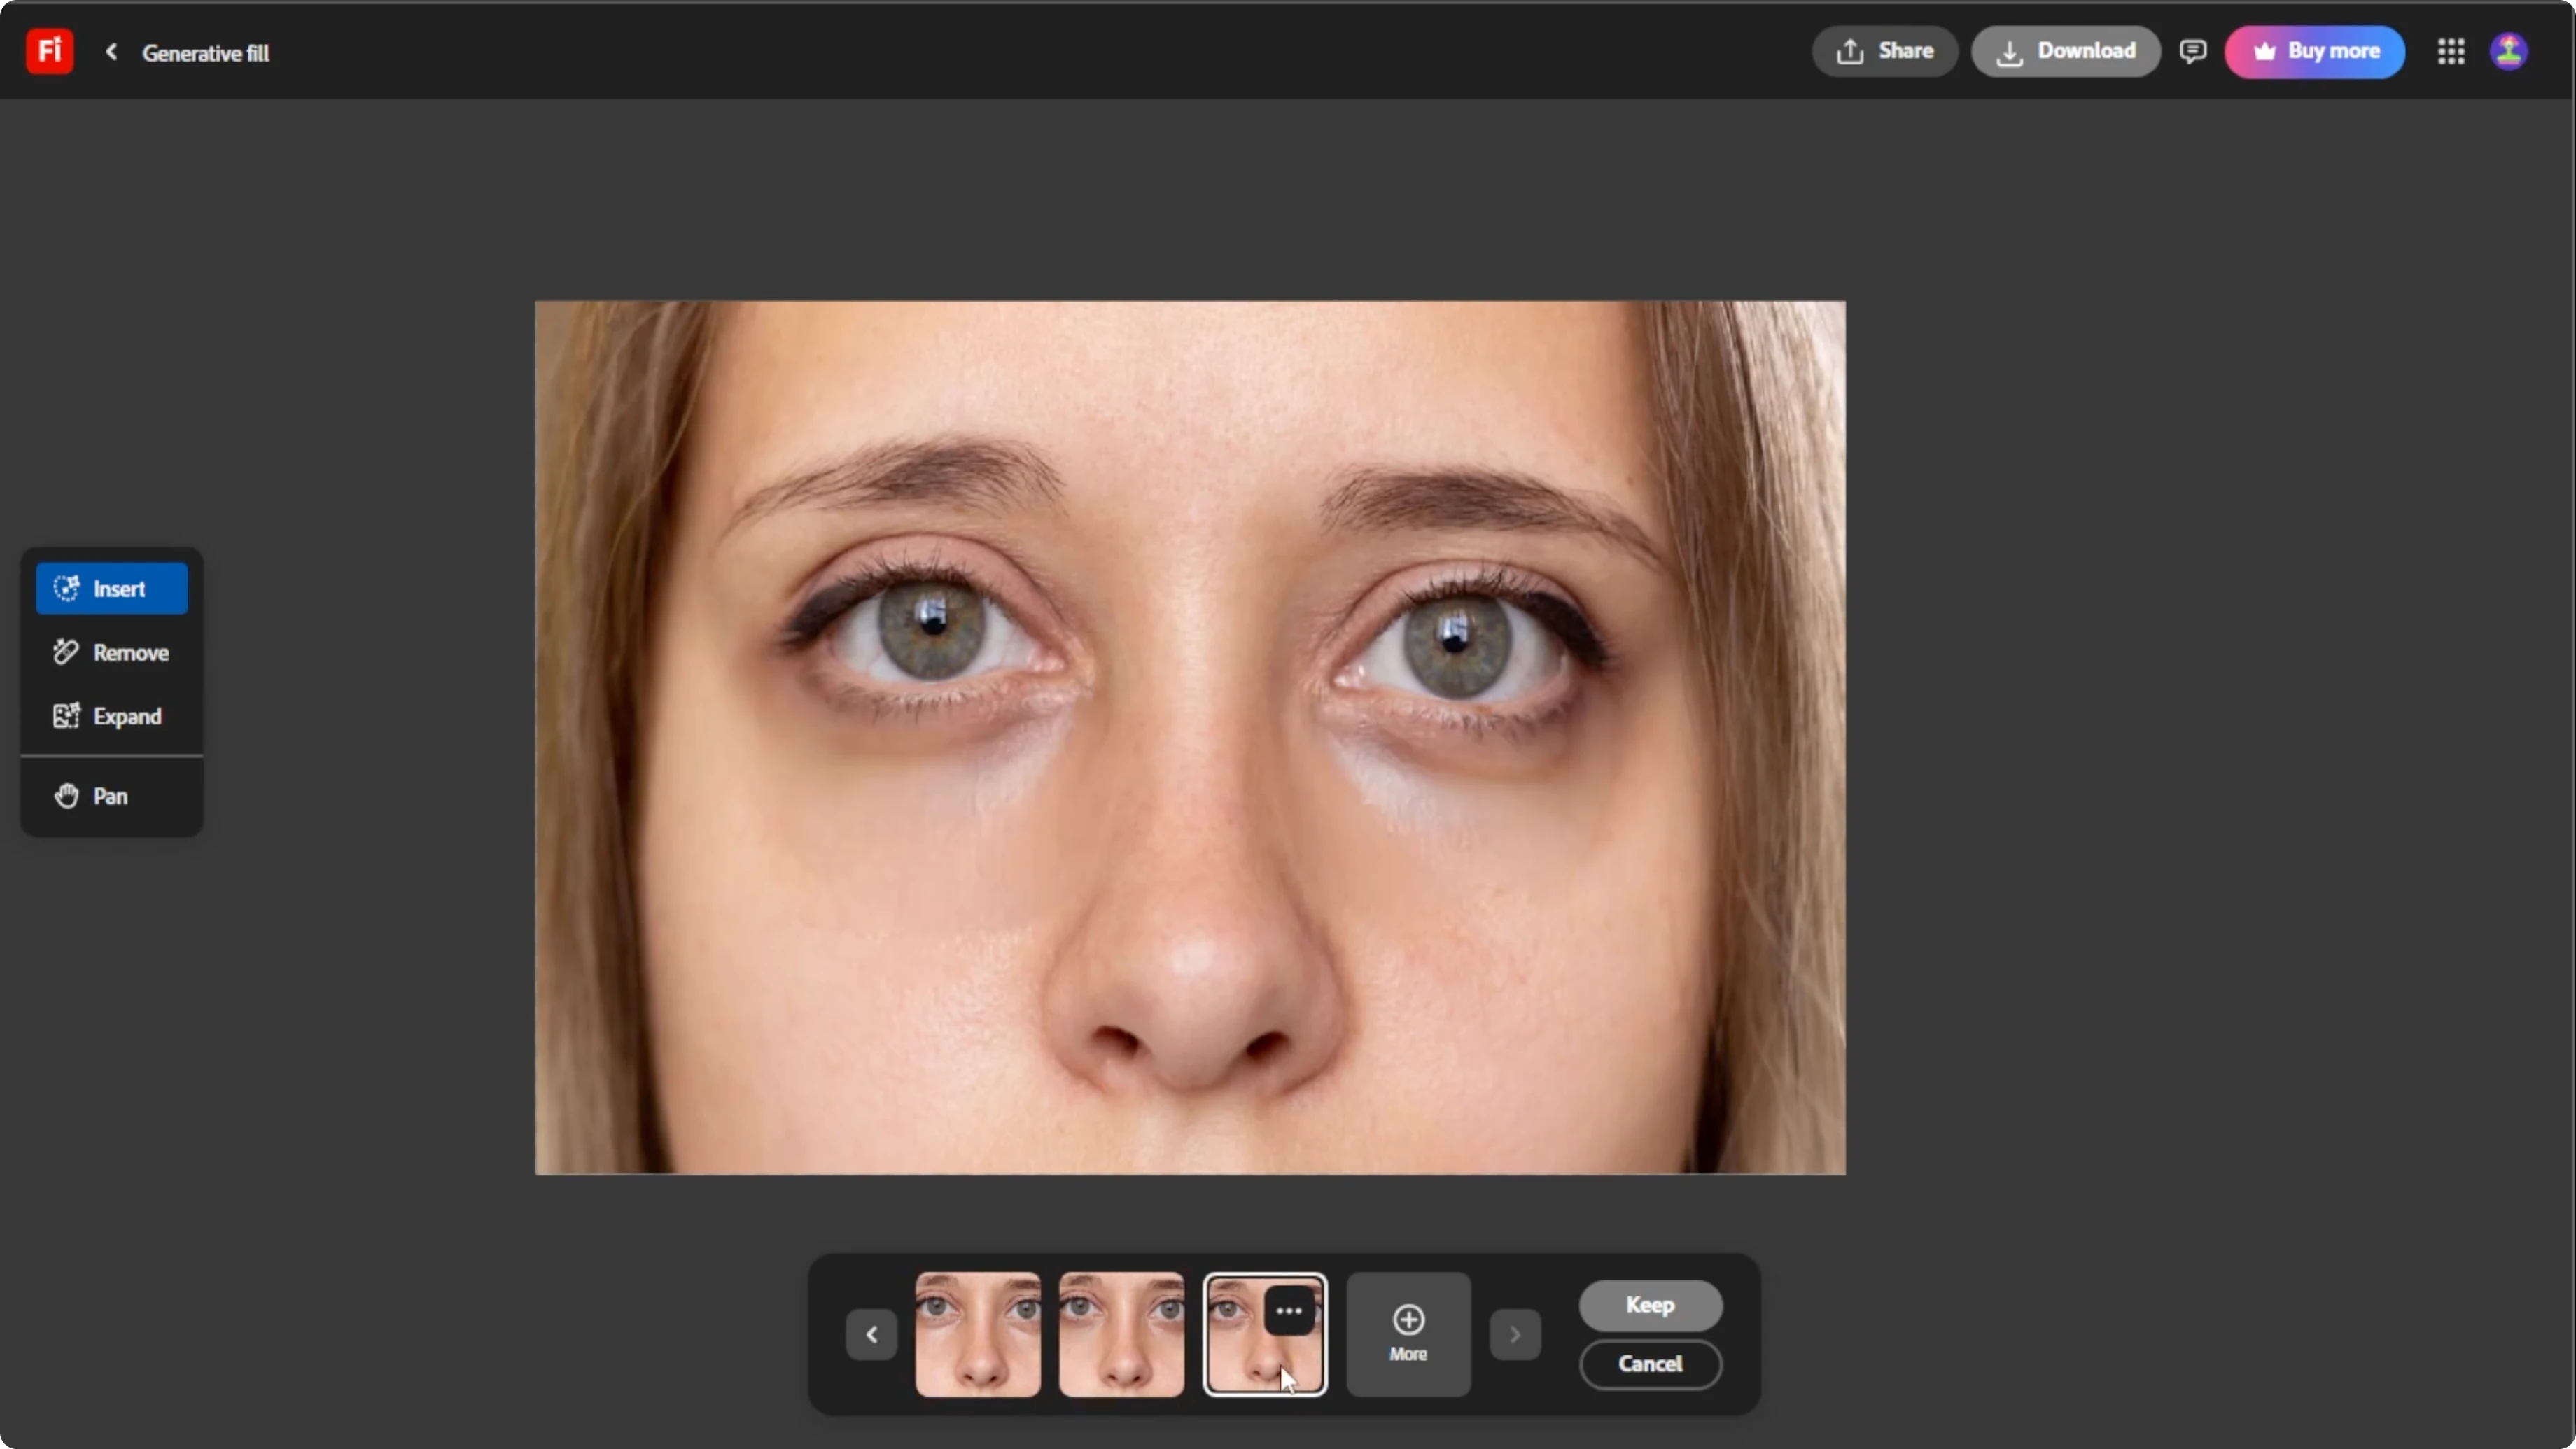
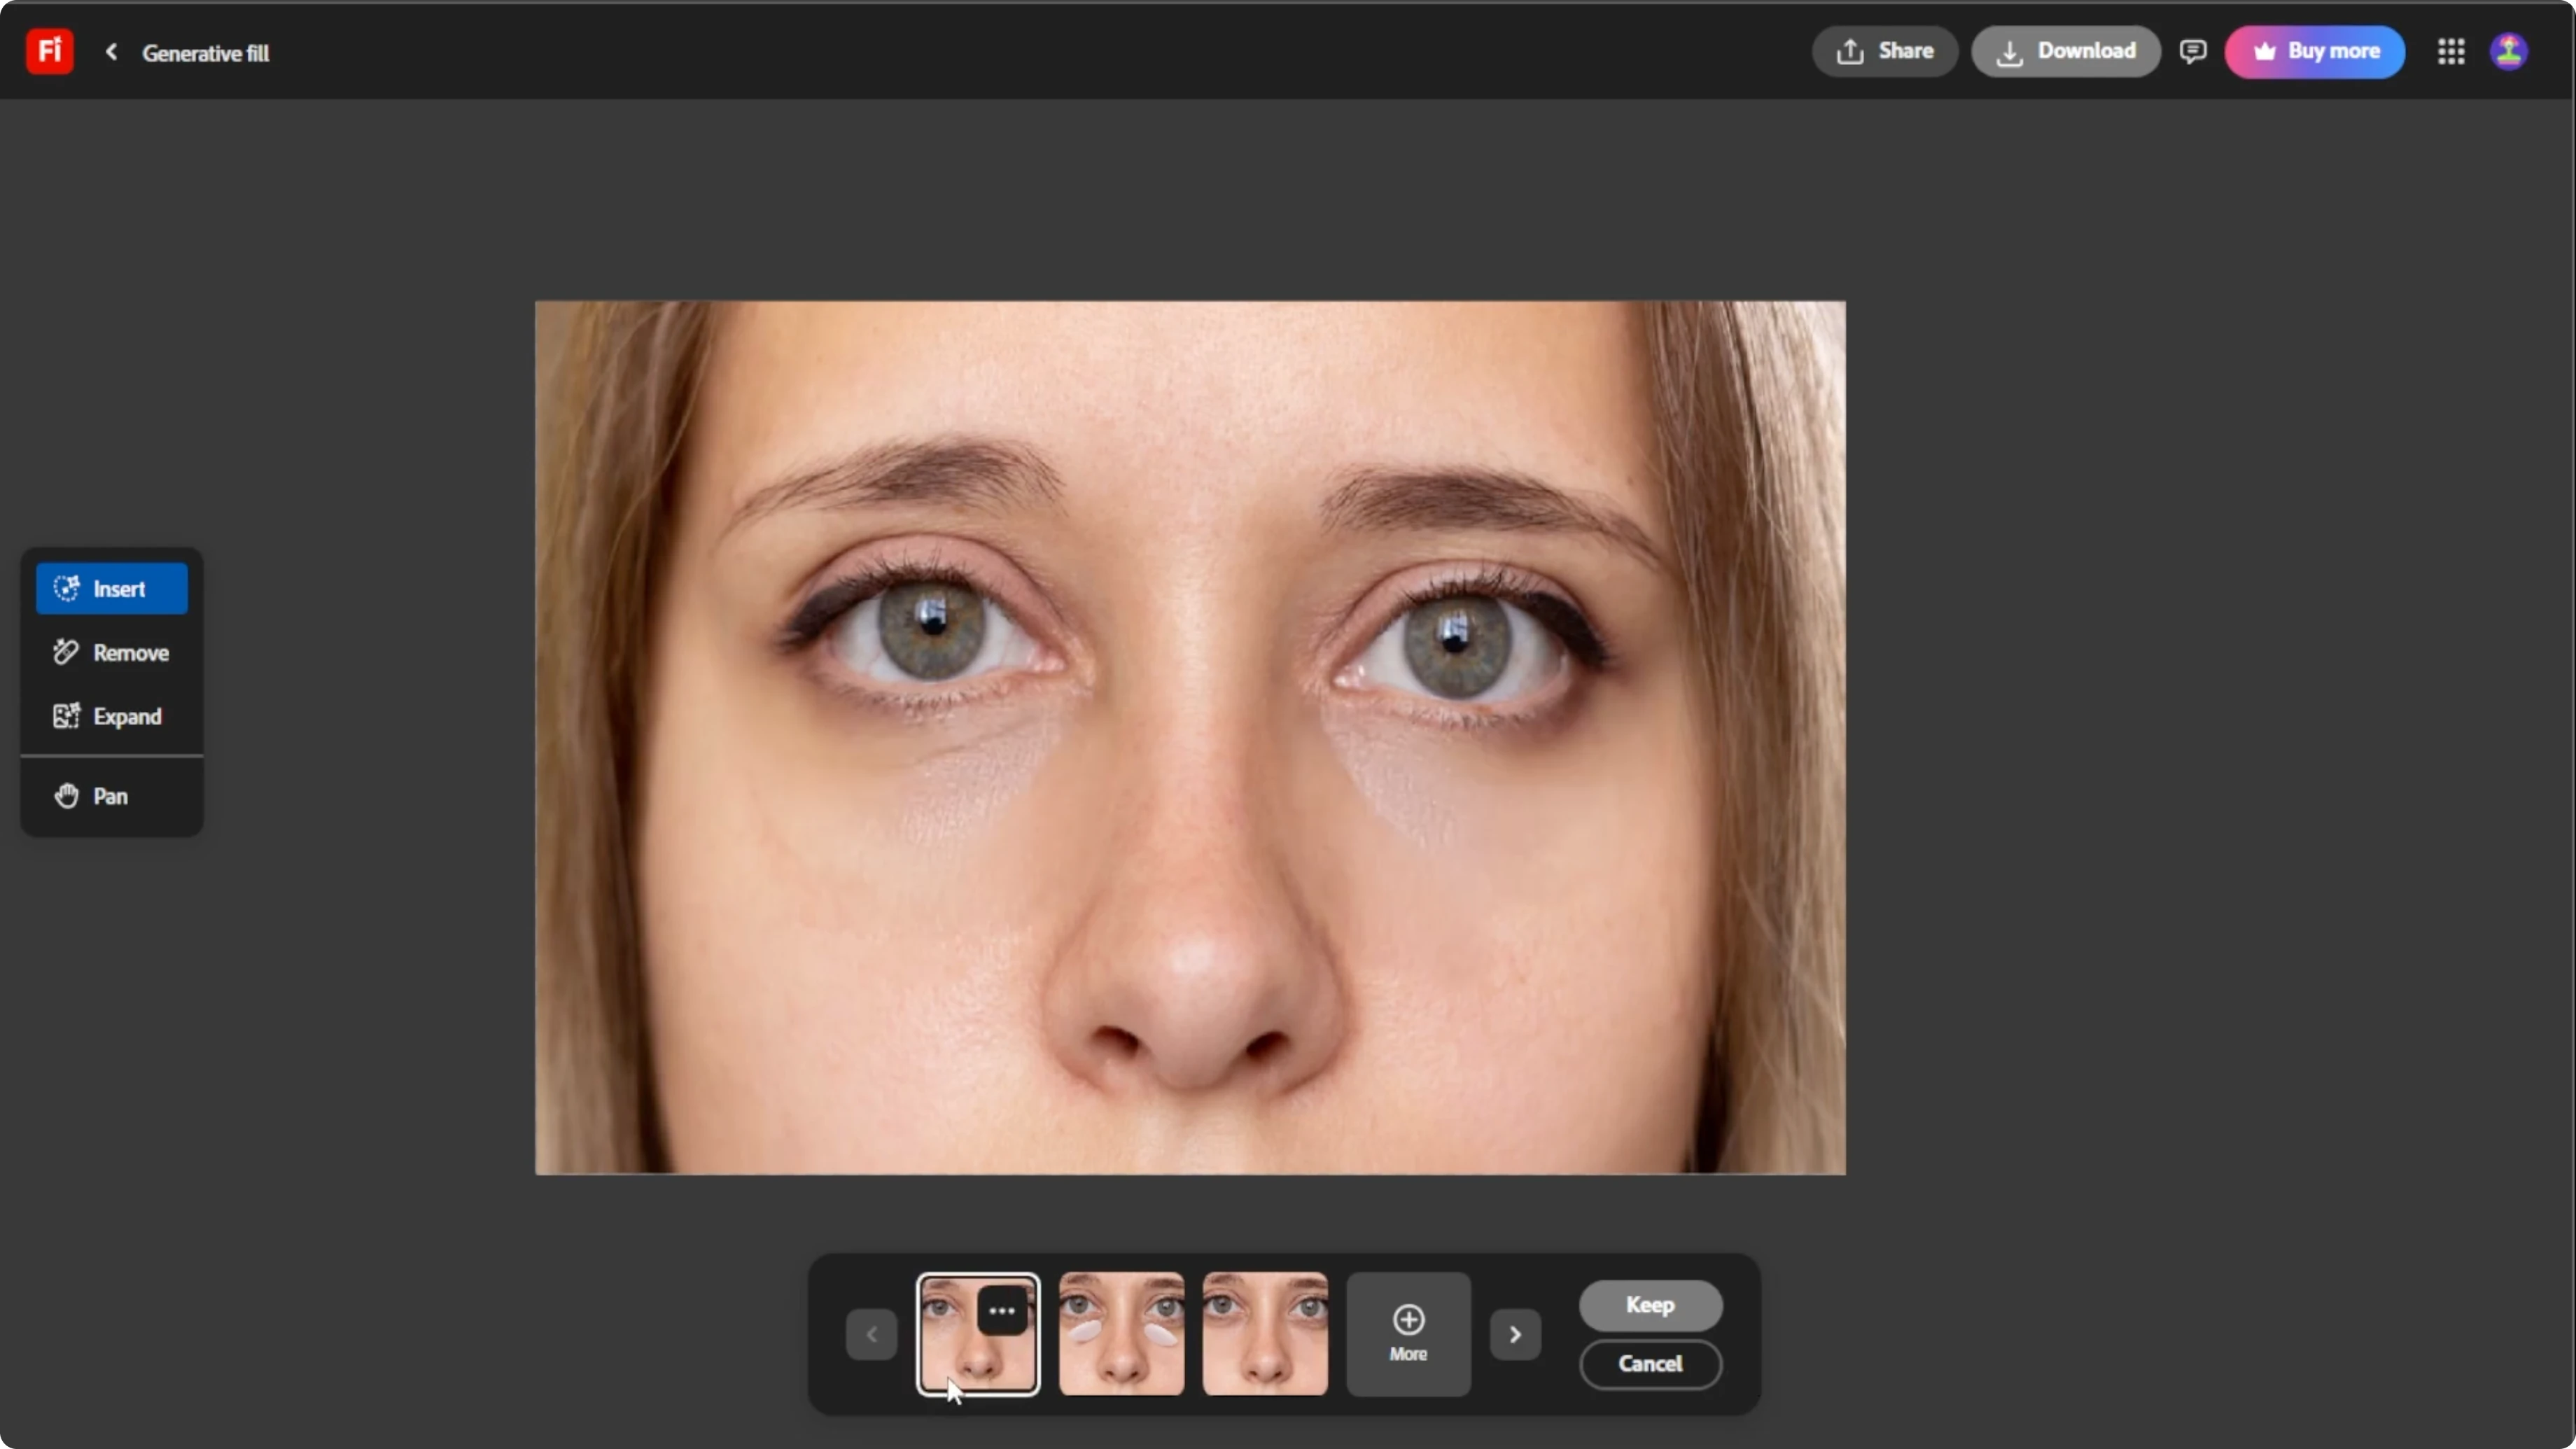
Generate and refine
Click Generate and wait 5 to 10 seconds. Adobe Firefly will create three different results using your prompt. Click each preview to see it applied.
If you are not satisfied, you can revise your prompt or selection. Click Generate again.
Save your image
Once you are happy with the result, click Keep to confirm your choice. Click the Download icon at the top right corner to save your image.
Final thoughts
Target a precise selection and a clear prompt to keep skin texture looking natural. Review all three variations and regenerate until the under eye area blends smoothly with surrounding skin. These steps give you a clean portrait without the tired look of dark circles.
Recent Posts

How to Visualize Your Advertisement on an Outdoor Display with AI?
How to Visualize Your Advertisement on an Outdoor Display with AI?
How to Create a Seamless Transparent Logo Using AI?
How to Create a Seamless Transparent Logo Using AI?
How to Extend and Expand Image Borders Seamlessly with AI?
How to Extend and Expand Image Borders Seamlessly with AI?