How to Fix Red Eye and Restore Natural Eye Color with AI?
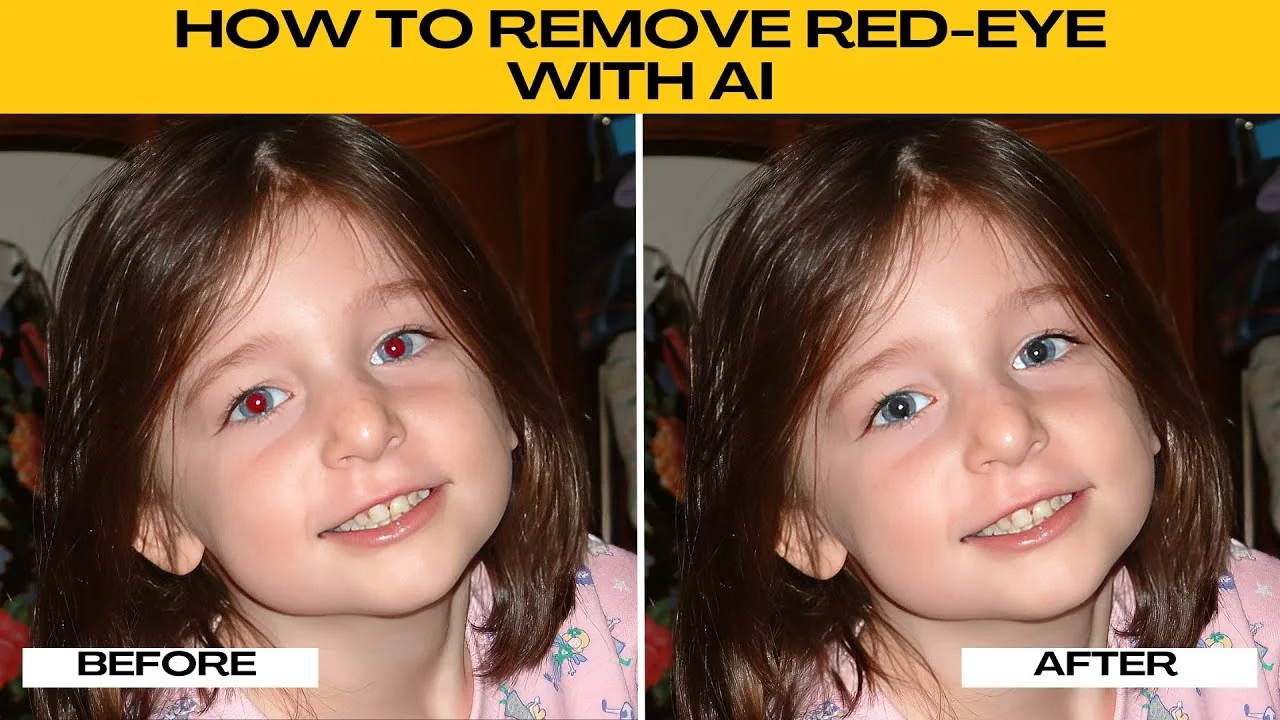
Flash photography often causes a common problem known as red eye, where the subject's pupils appear unnaturally red. This usually happens in low light settings when the camera flash reflects off the retina. You do not need advanced editing skills to fix it.
If you are correcting other eye issues too, see this guide on fixing closed eyes with AI for a fast rescue: How to fix open or closed eyes.
Why it happens
Red eye appears when the flash fires directly into the eyes and reflects off the blood rich retina. The pupil is wide open in dim environments, which makes the effect more visible. Understanding this helps you target the right area quickly.
Start editing
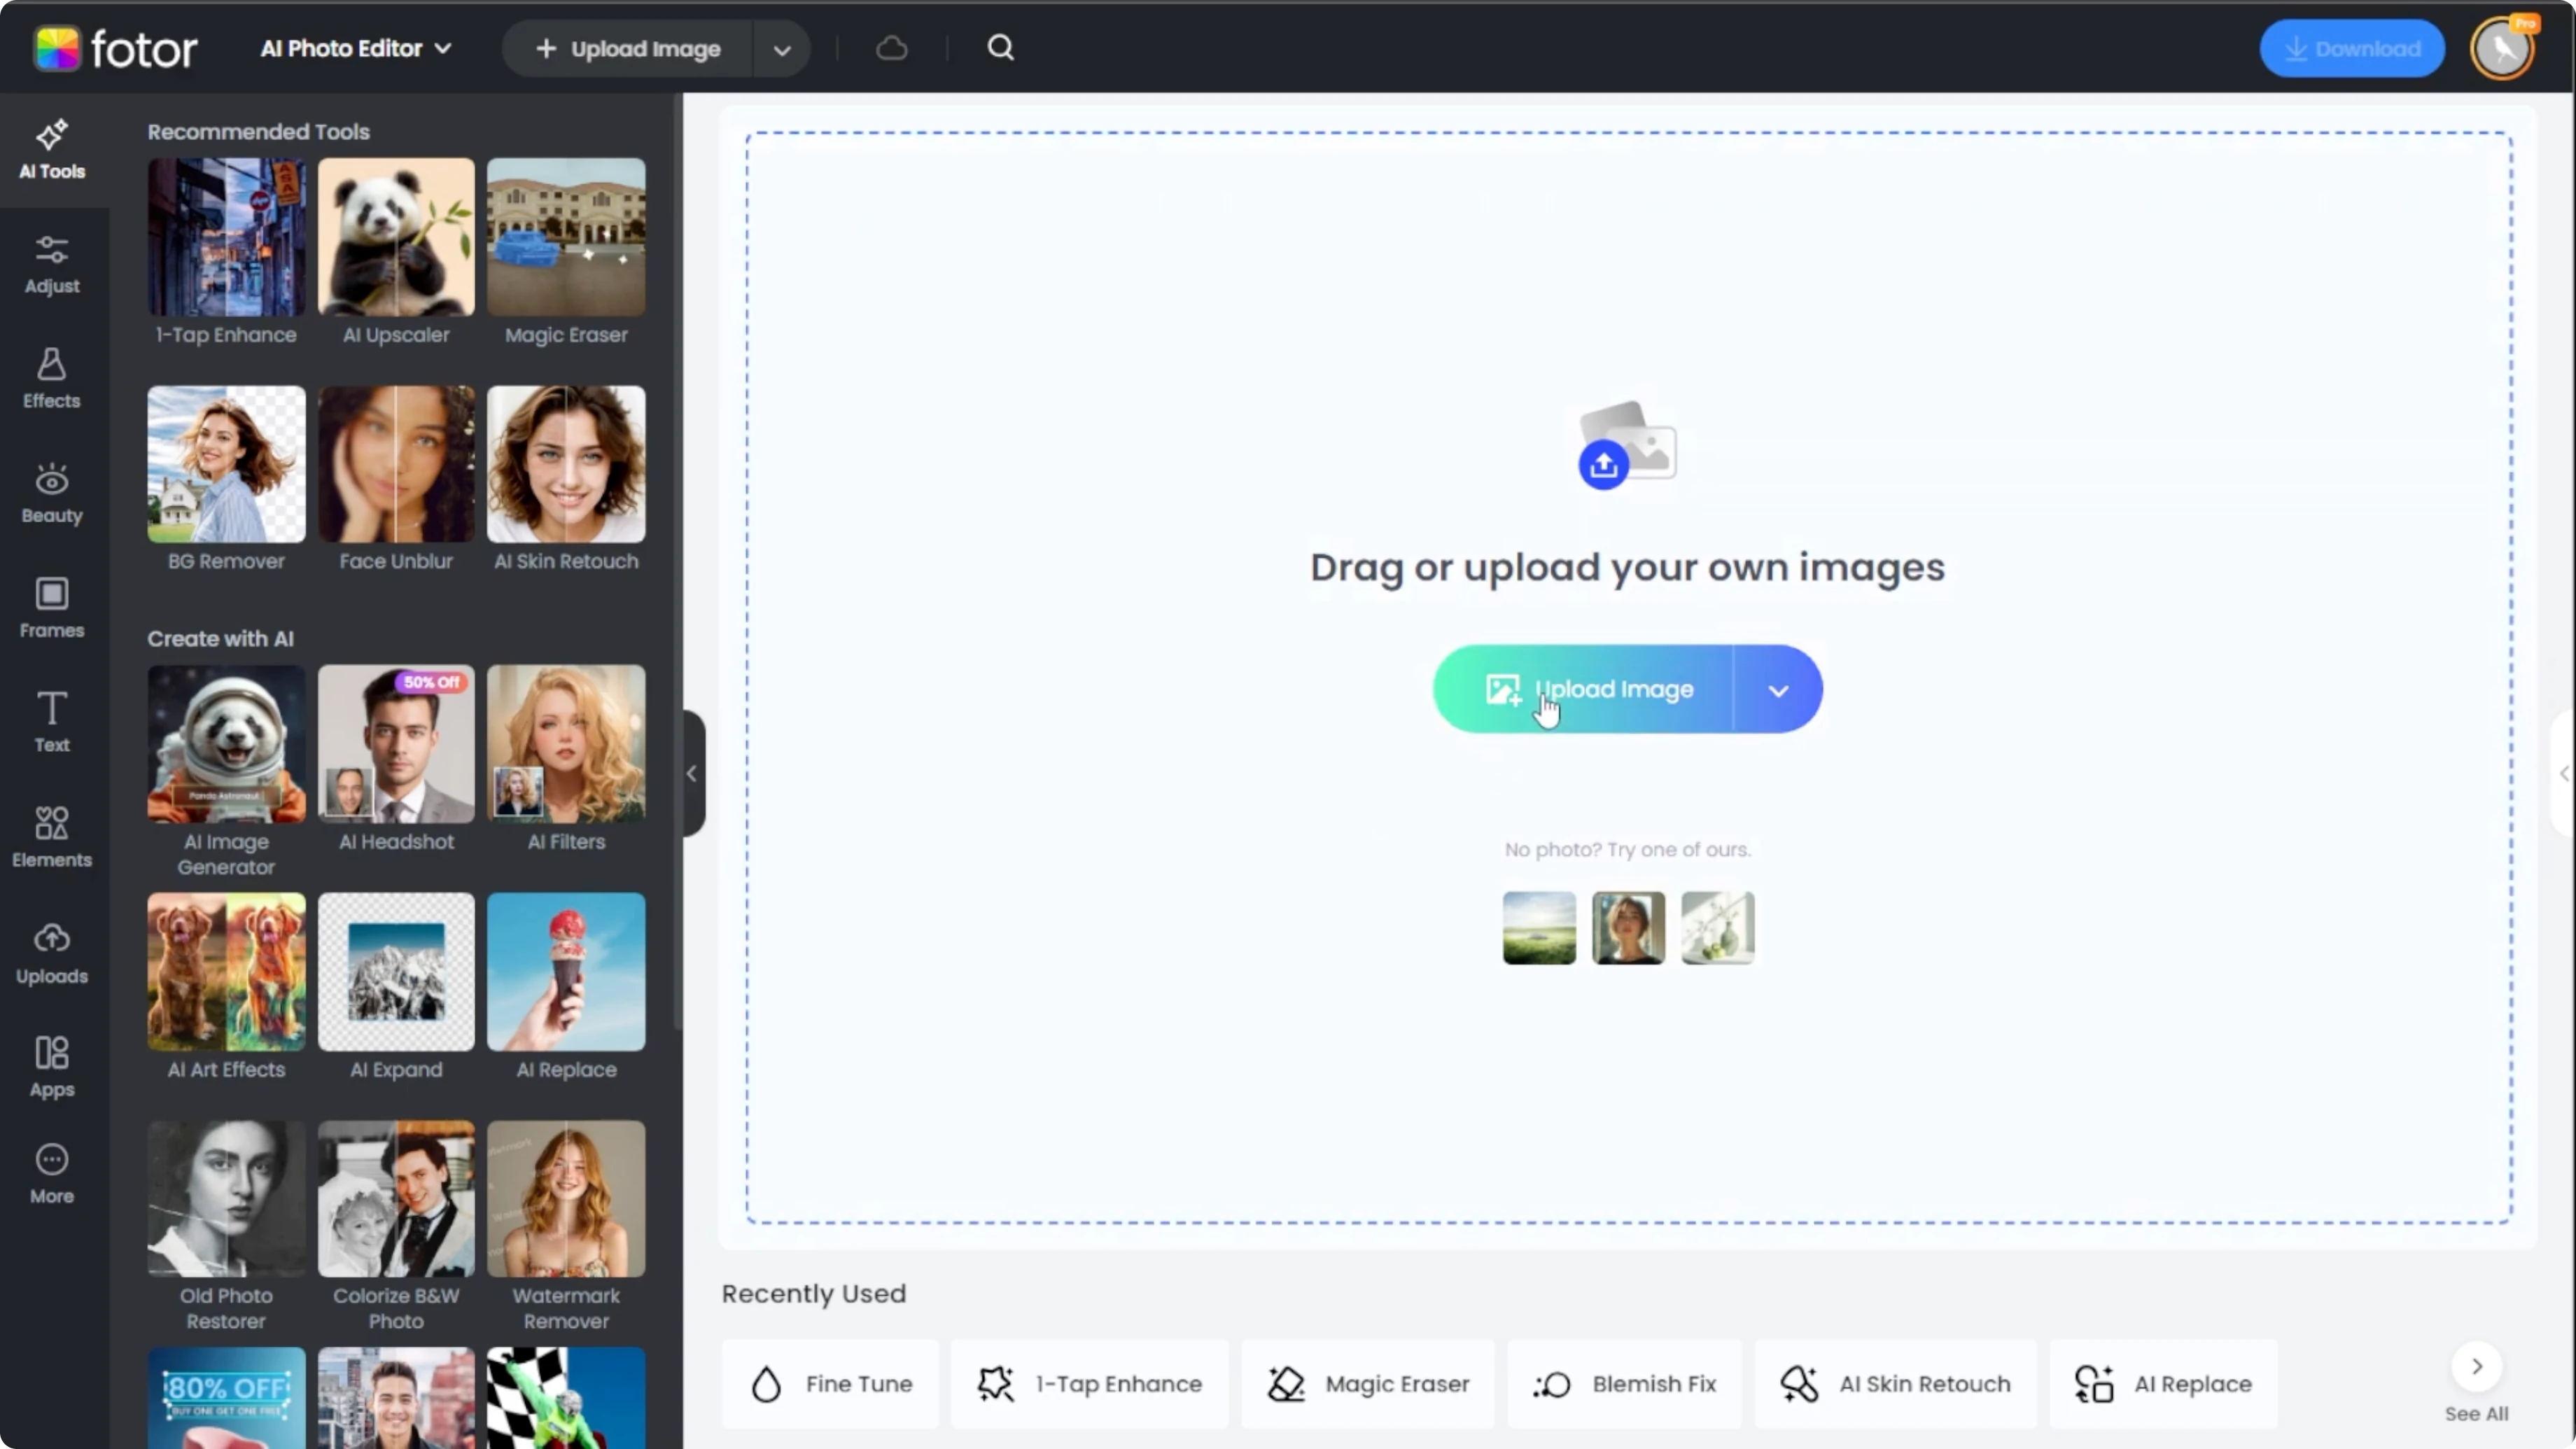
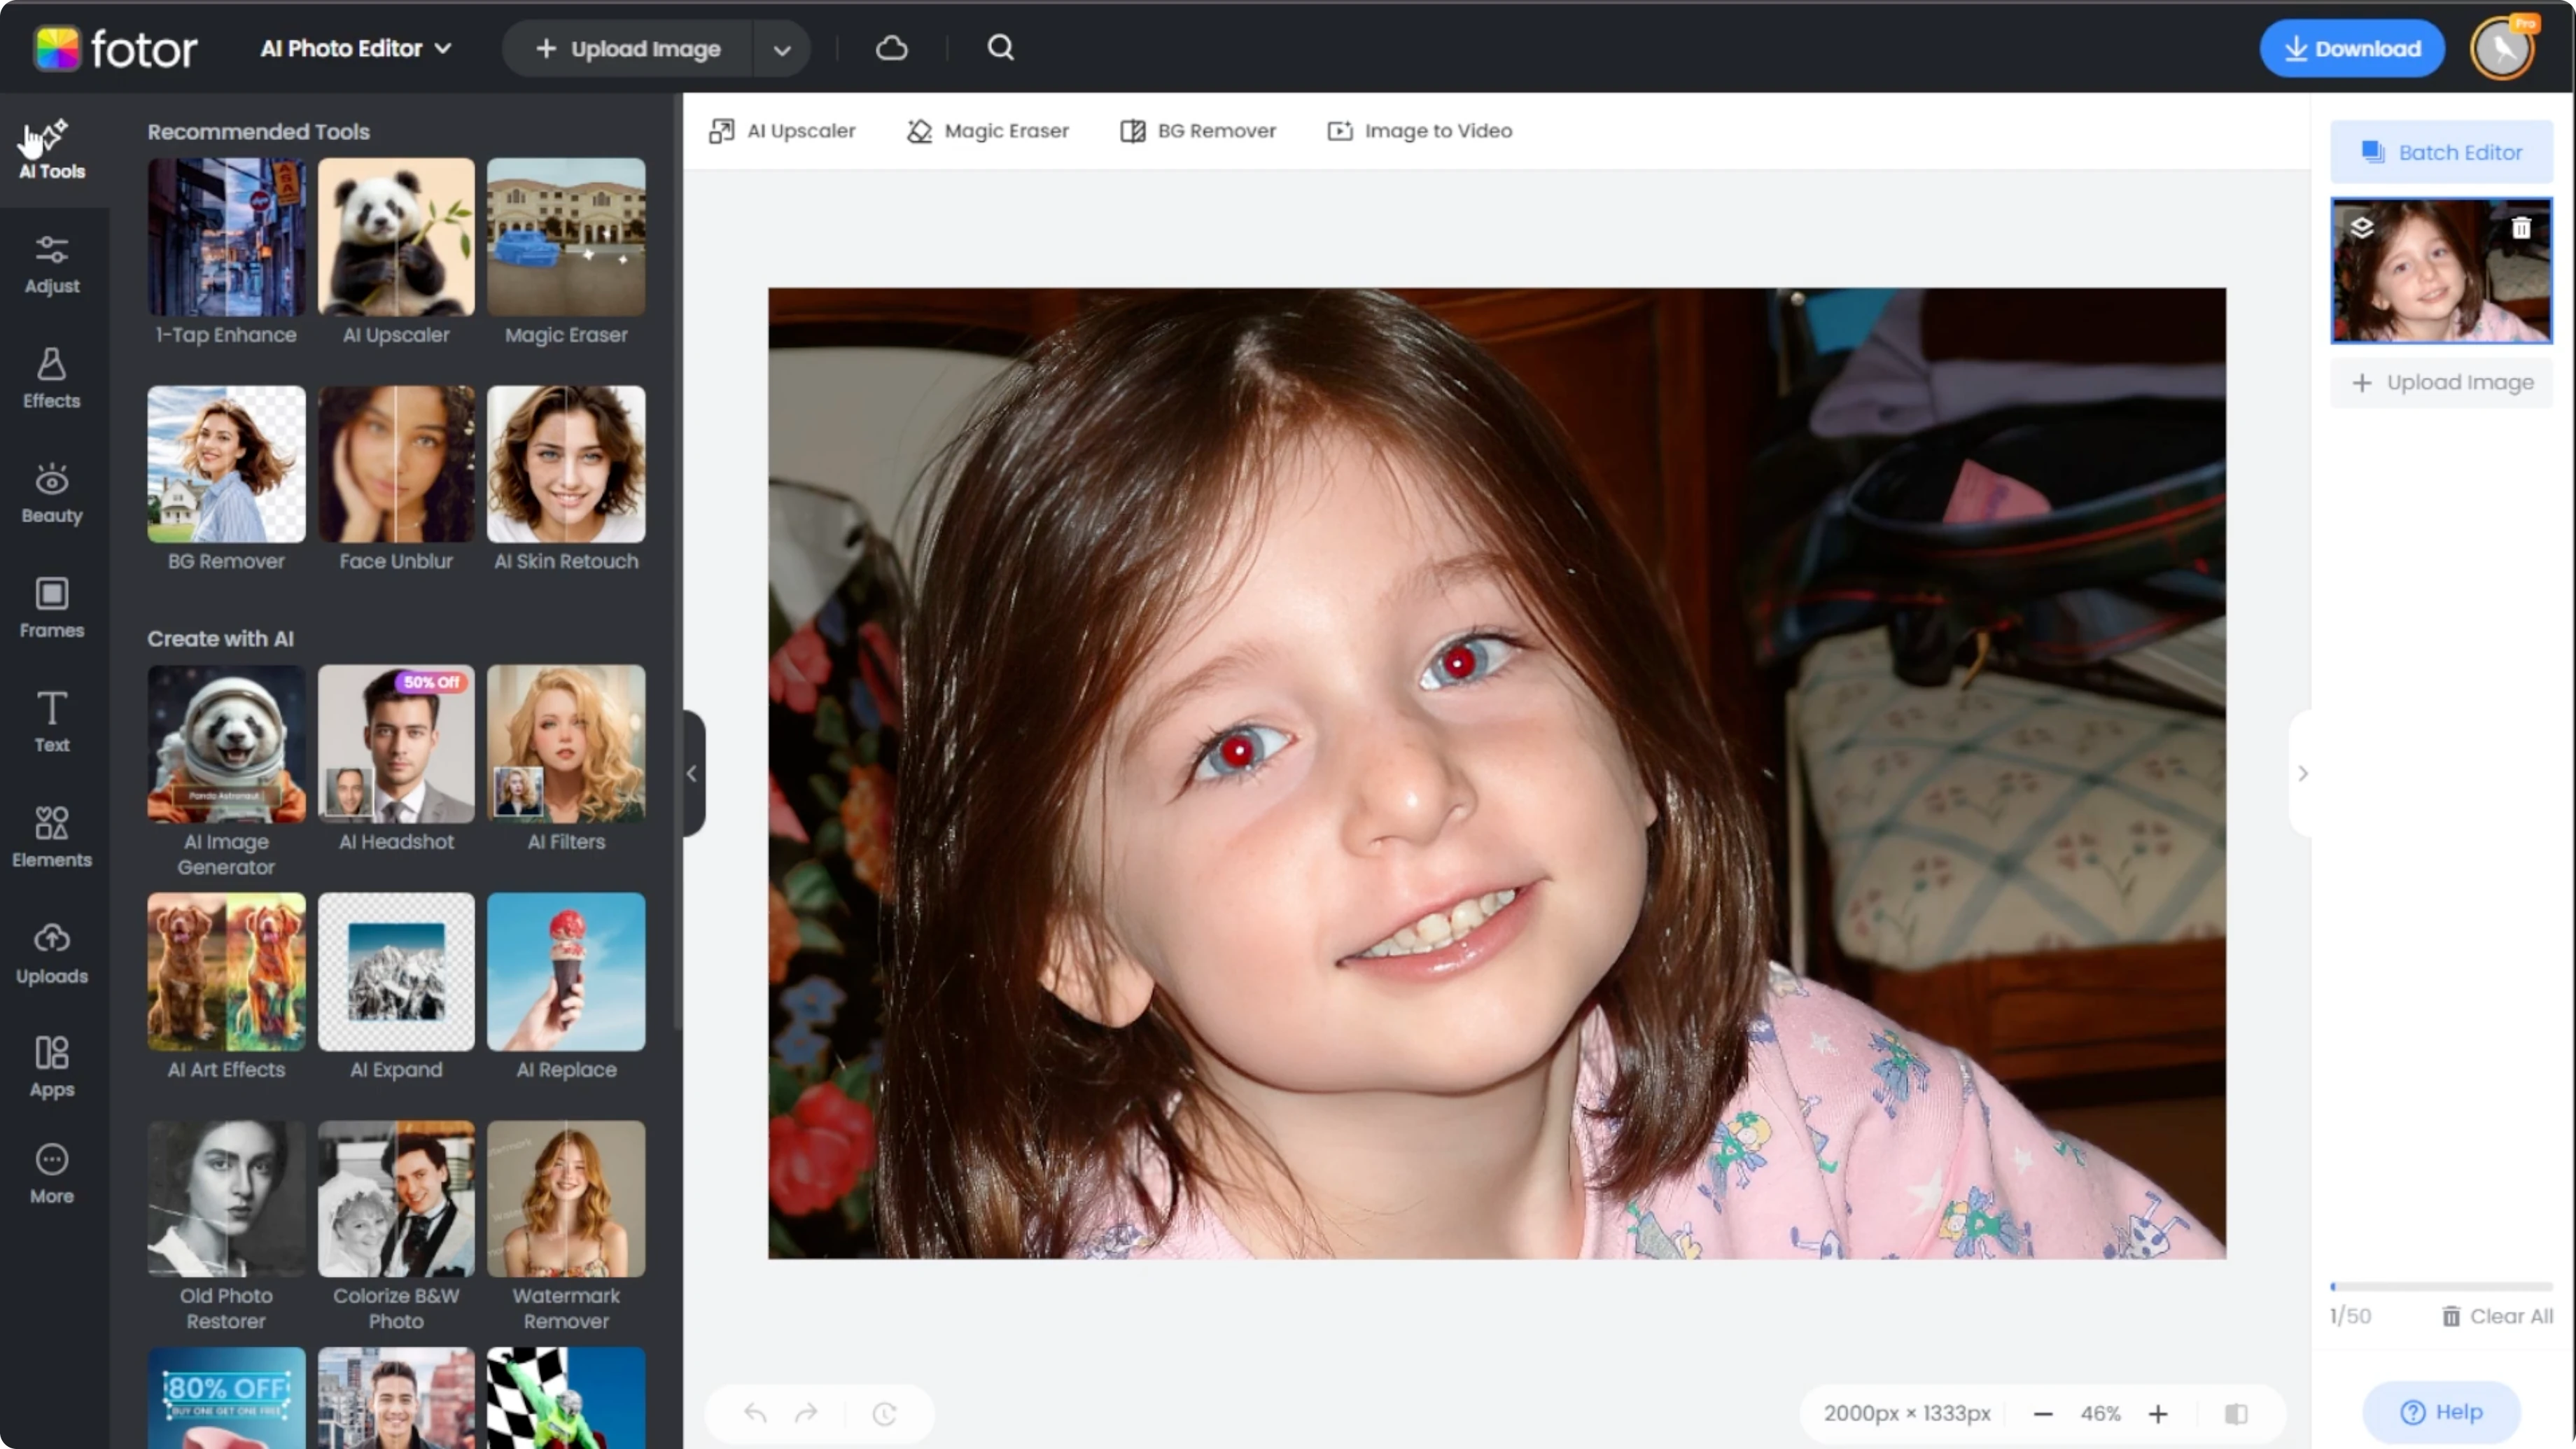
Open your browser and go to Photo AI photo editor. Click the upload button or drag and drop your photo into the editor workspace. Choose a photo where the red eye effect is clearly visible for best results.
For broader edits beyond red eye, you can explore image editing with Icedit AI to clean up entire portraits efficiently: Image editing using Icedit AI.
Use the beauty tools
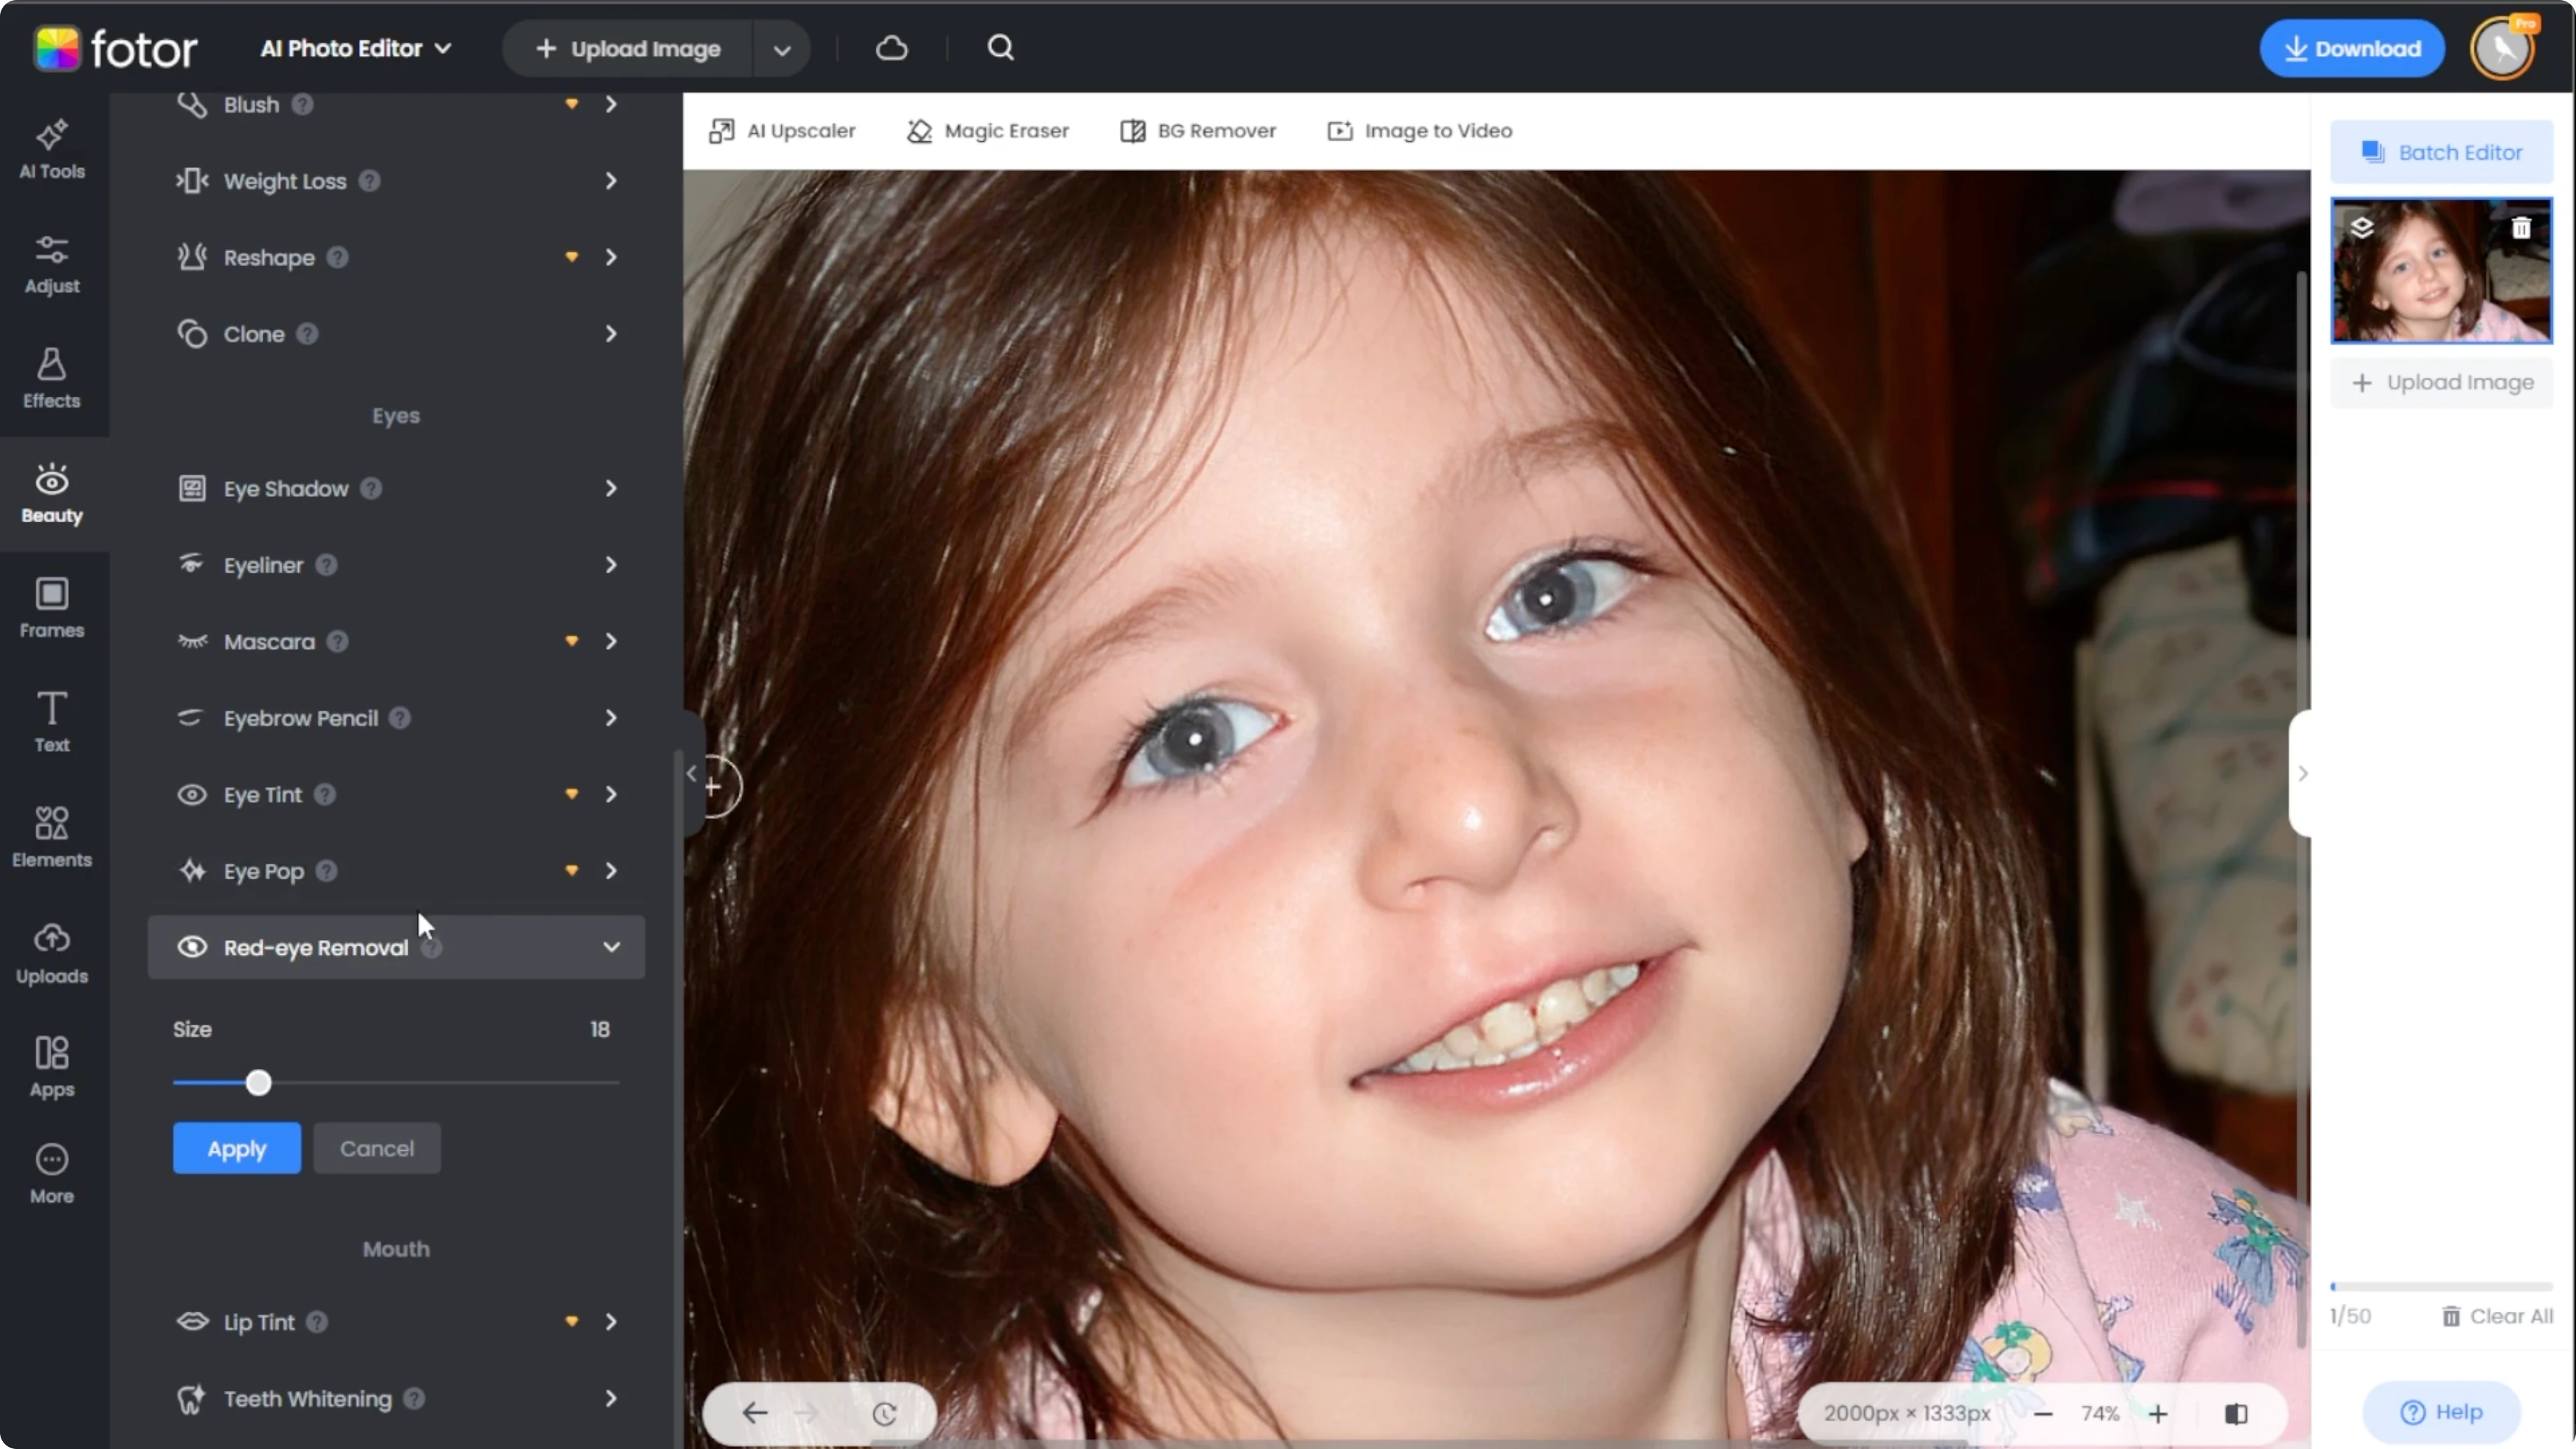
On the left hand panel, switch to the Beauty tab. Scroll down to the eyes category. Select Red Eye Removal.

This tool allows you to precisely target and remove red in the pupil with just a click. Use the brush size slider to match the size of the red area in the eye. Aim for a brush size slightly larger than the red spot for better coverage.
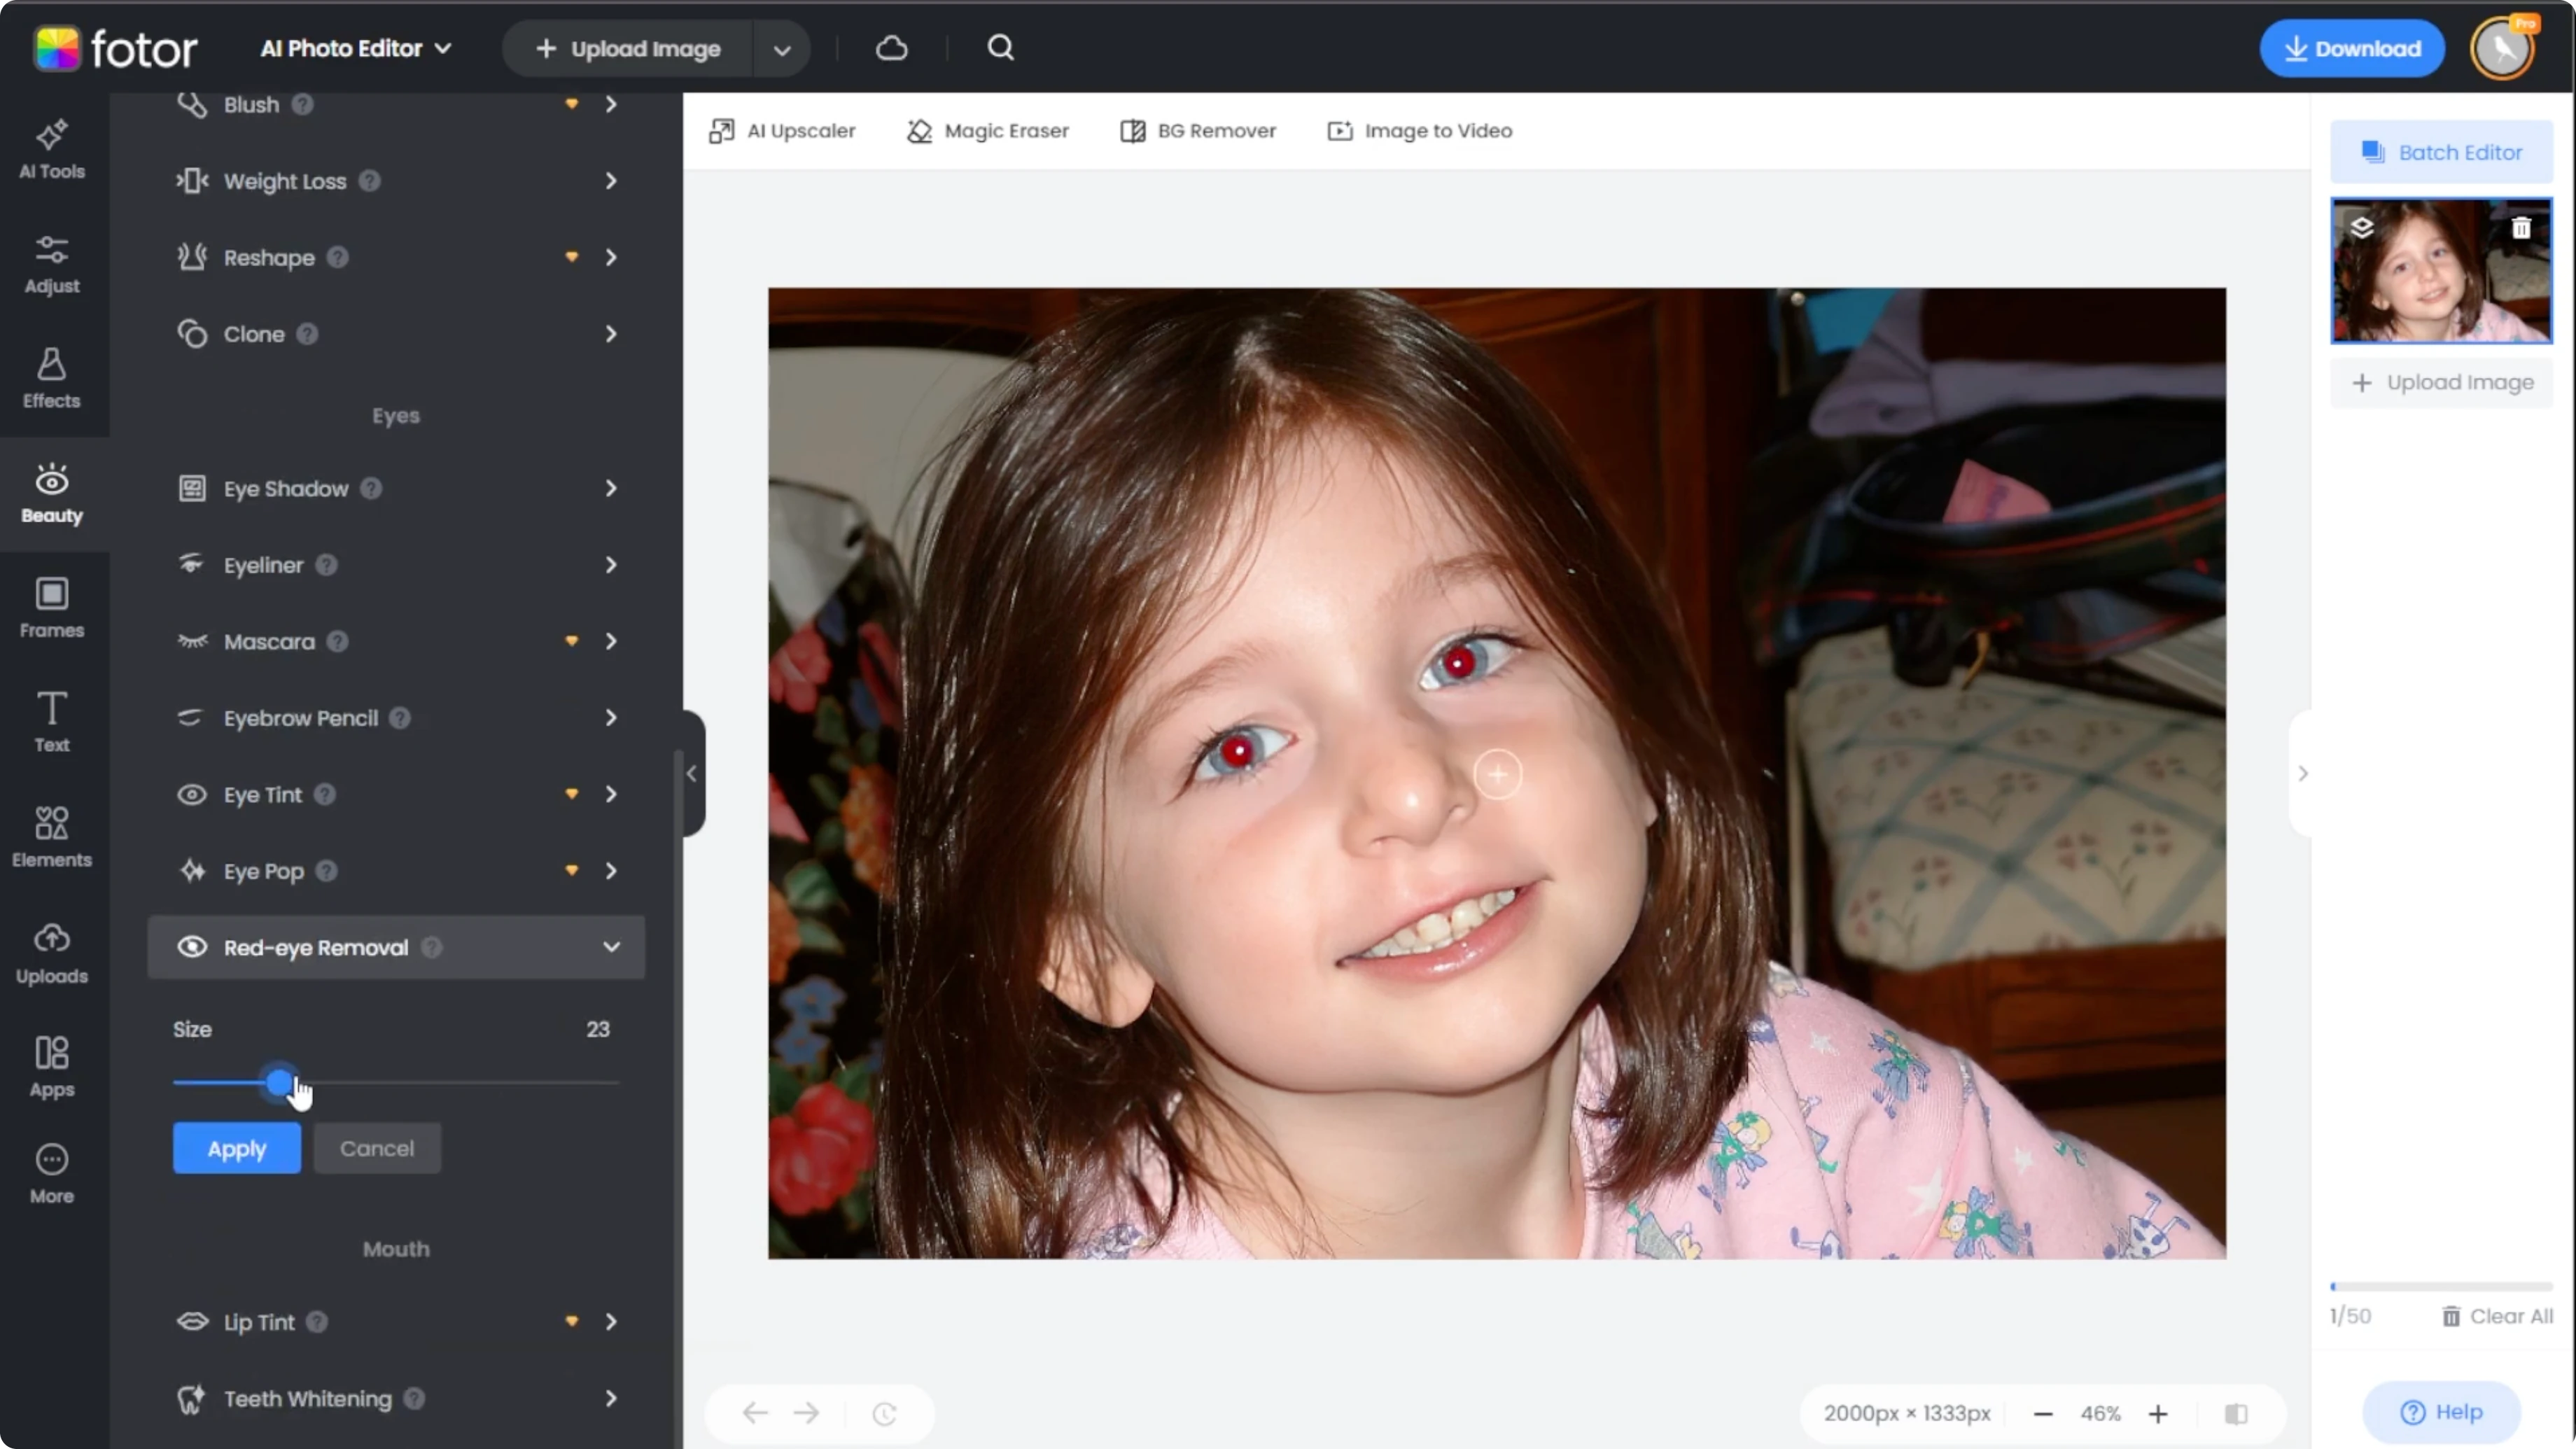
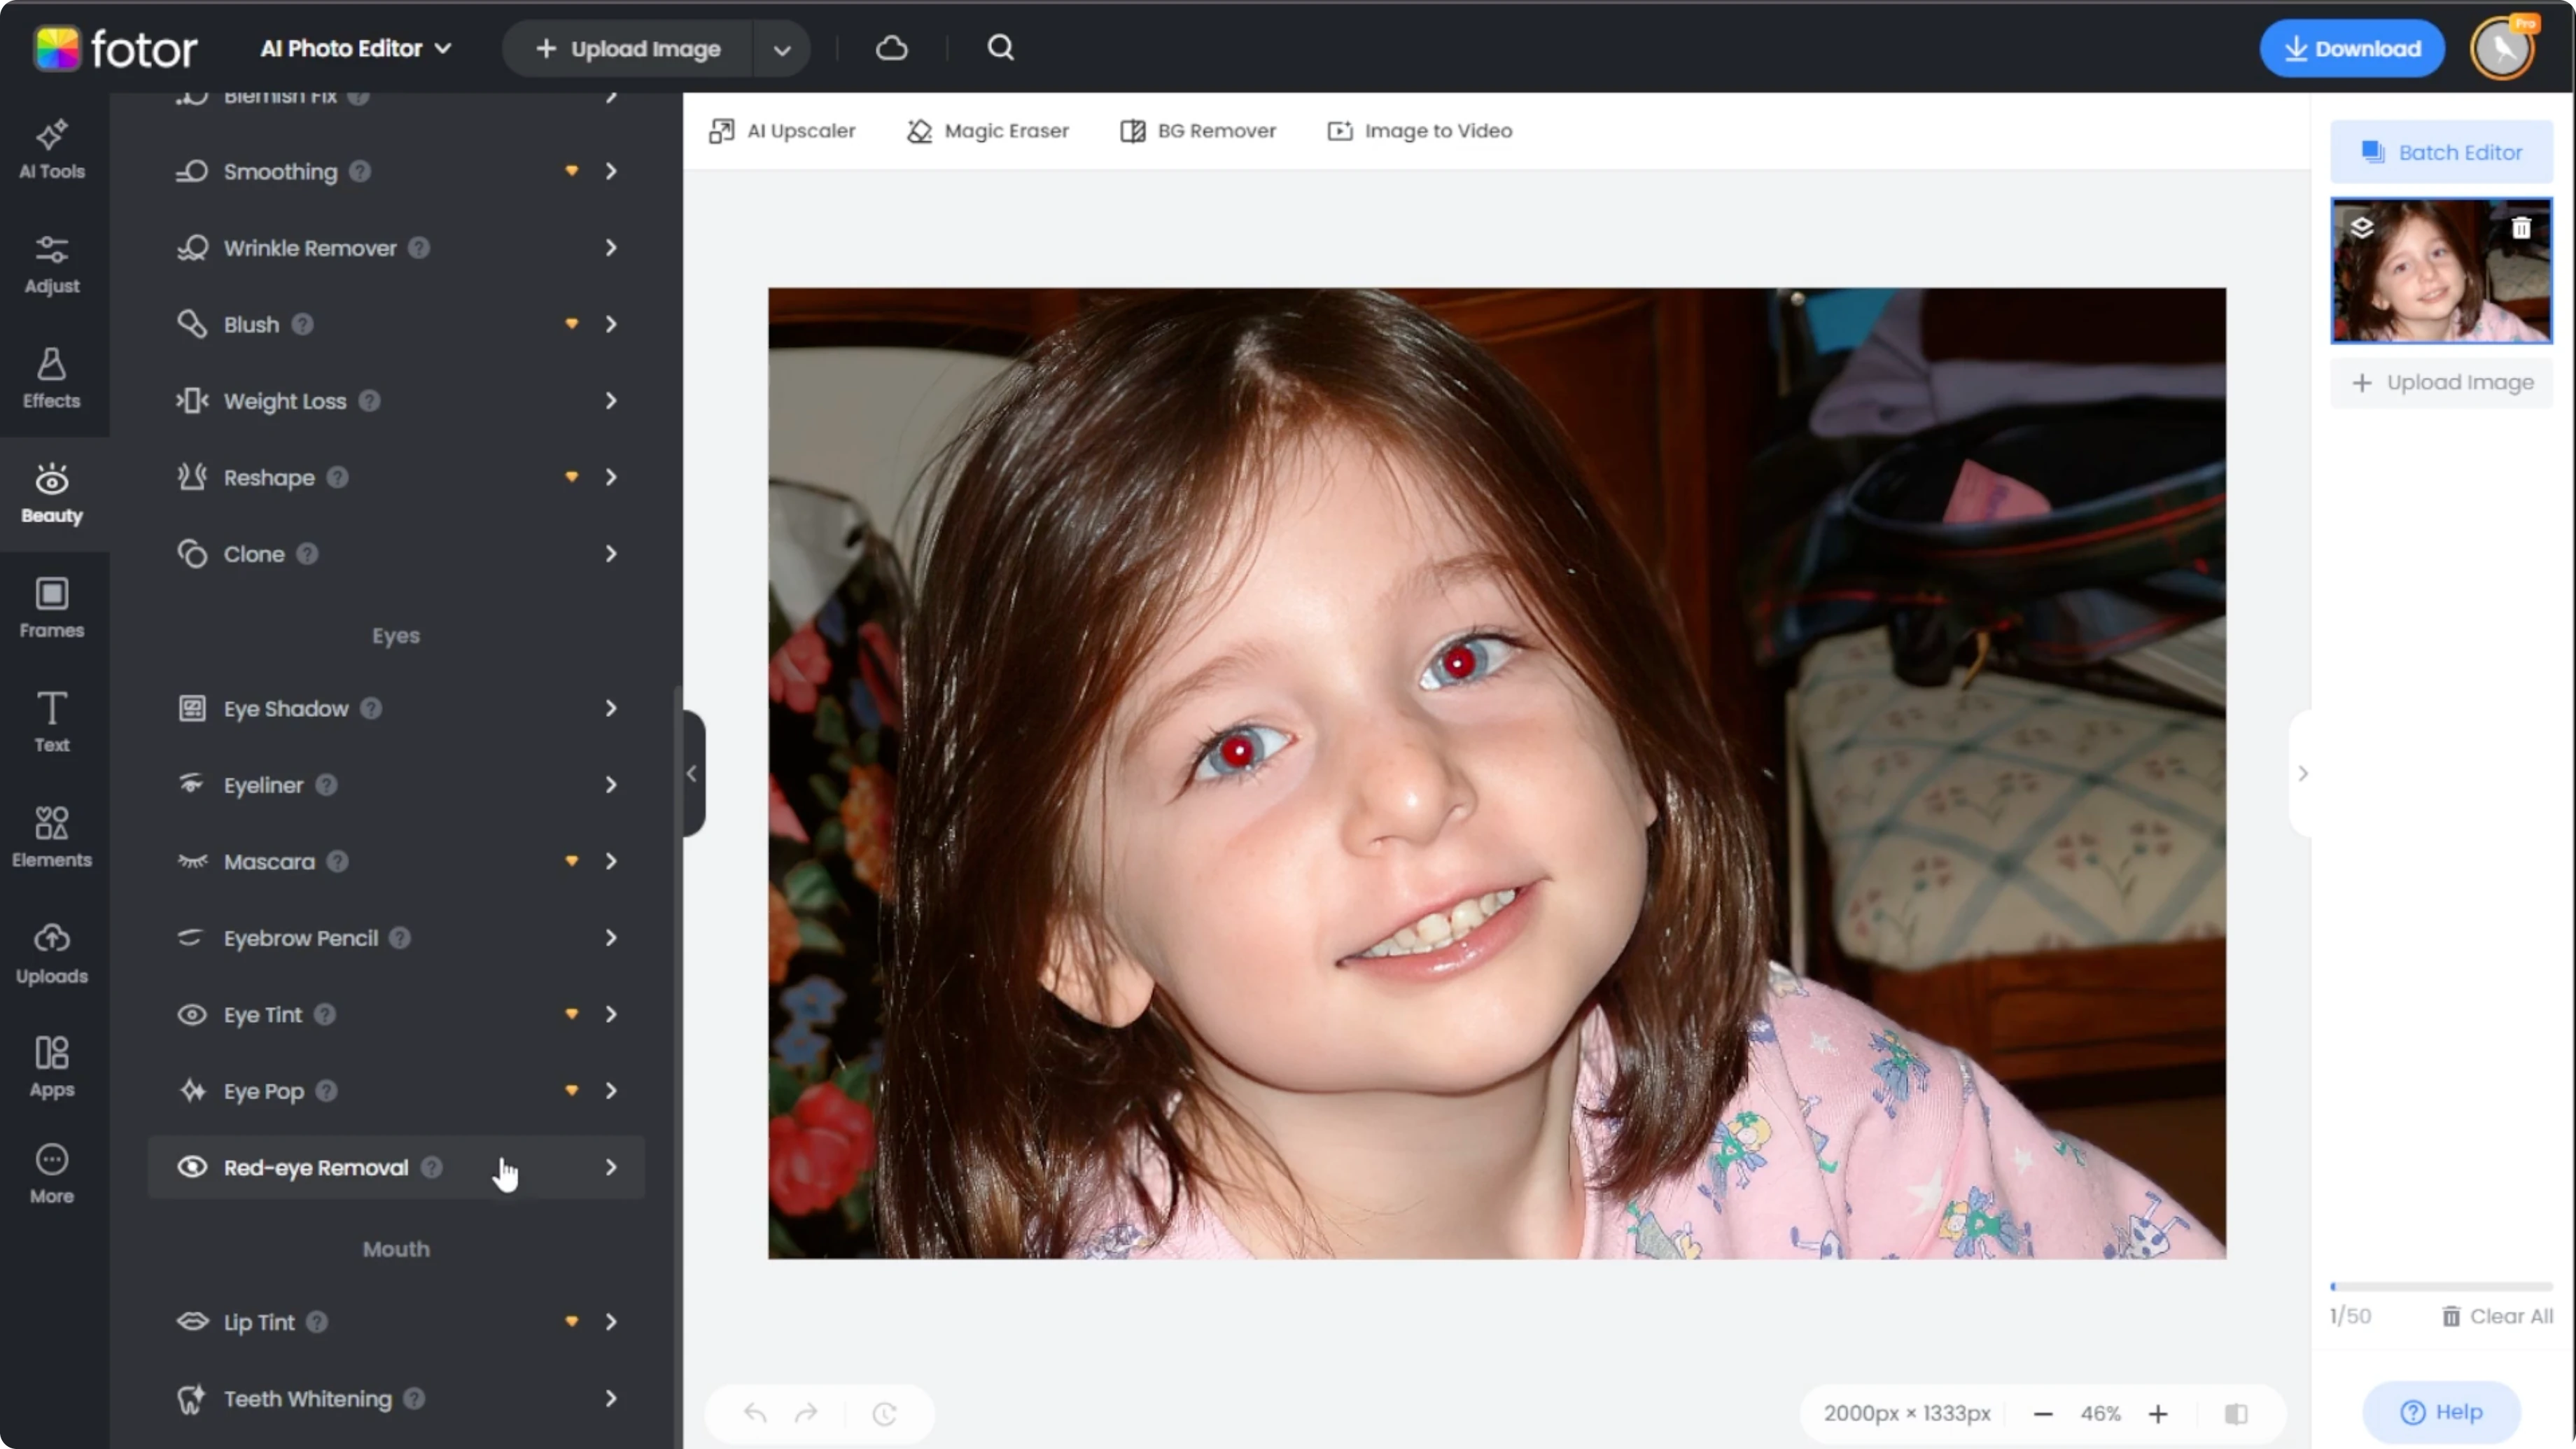
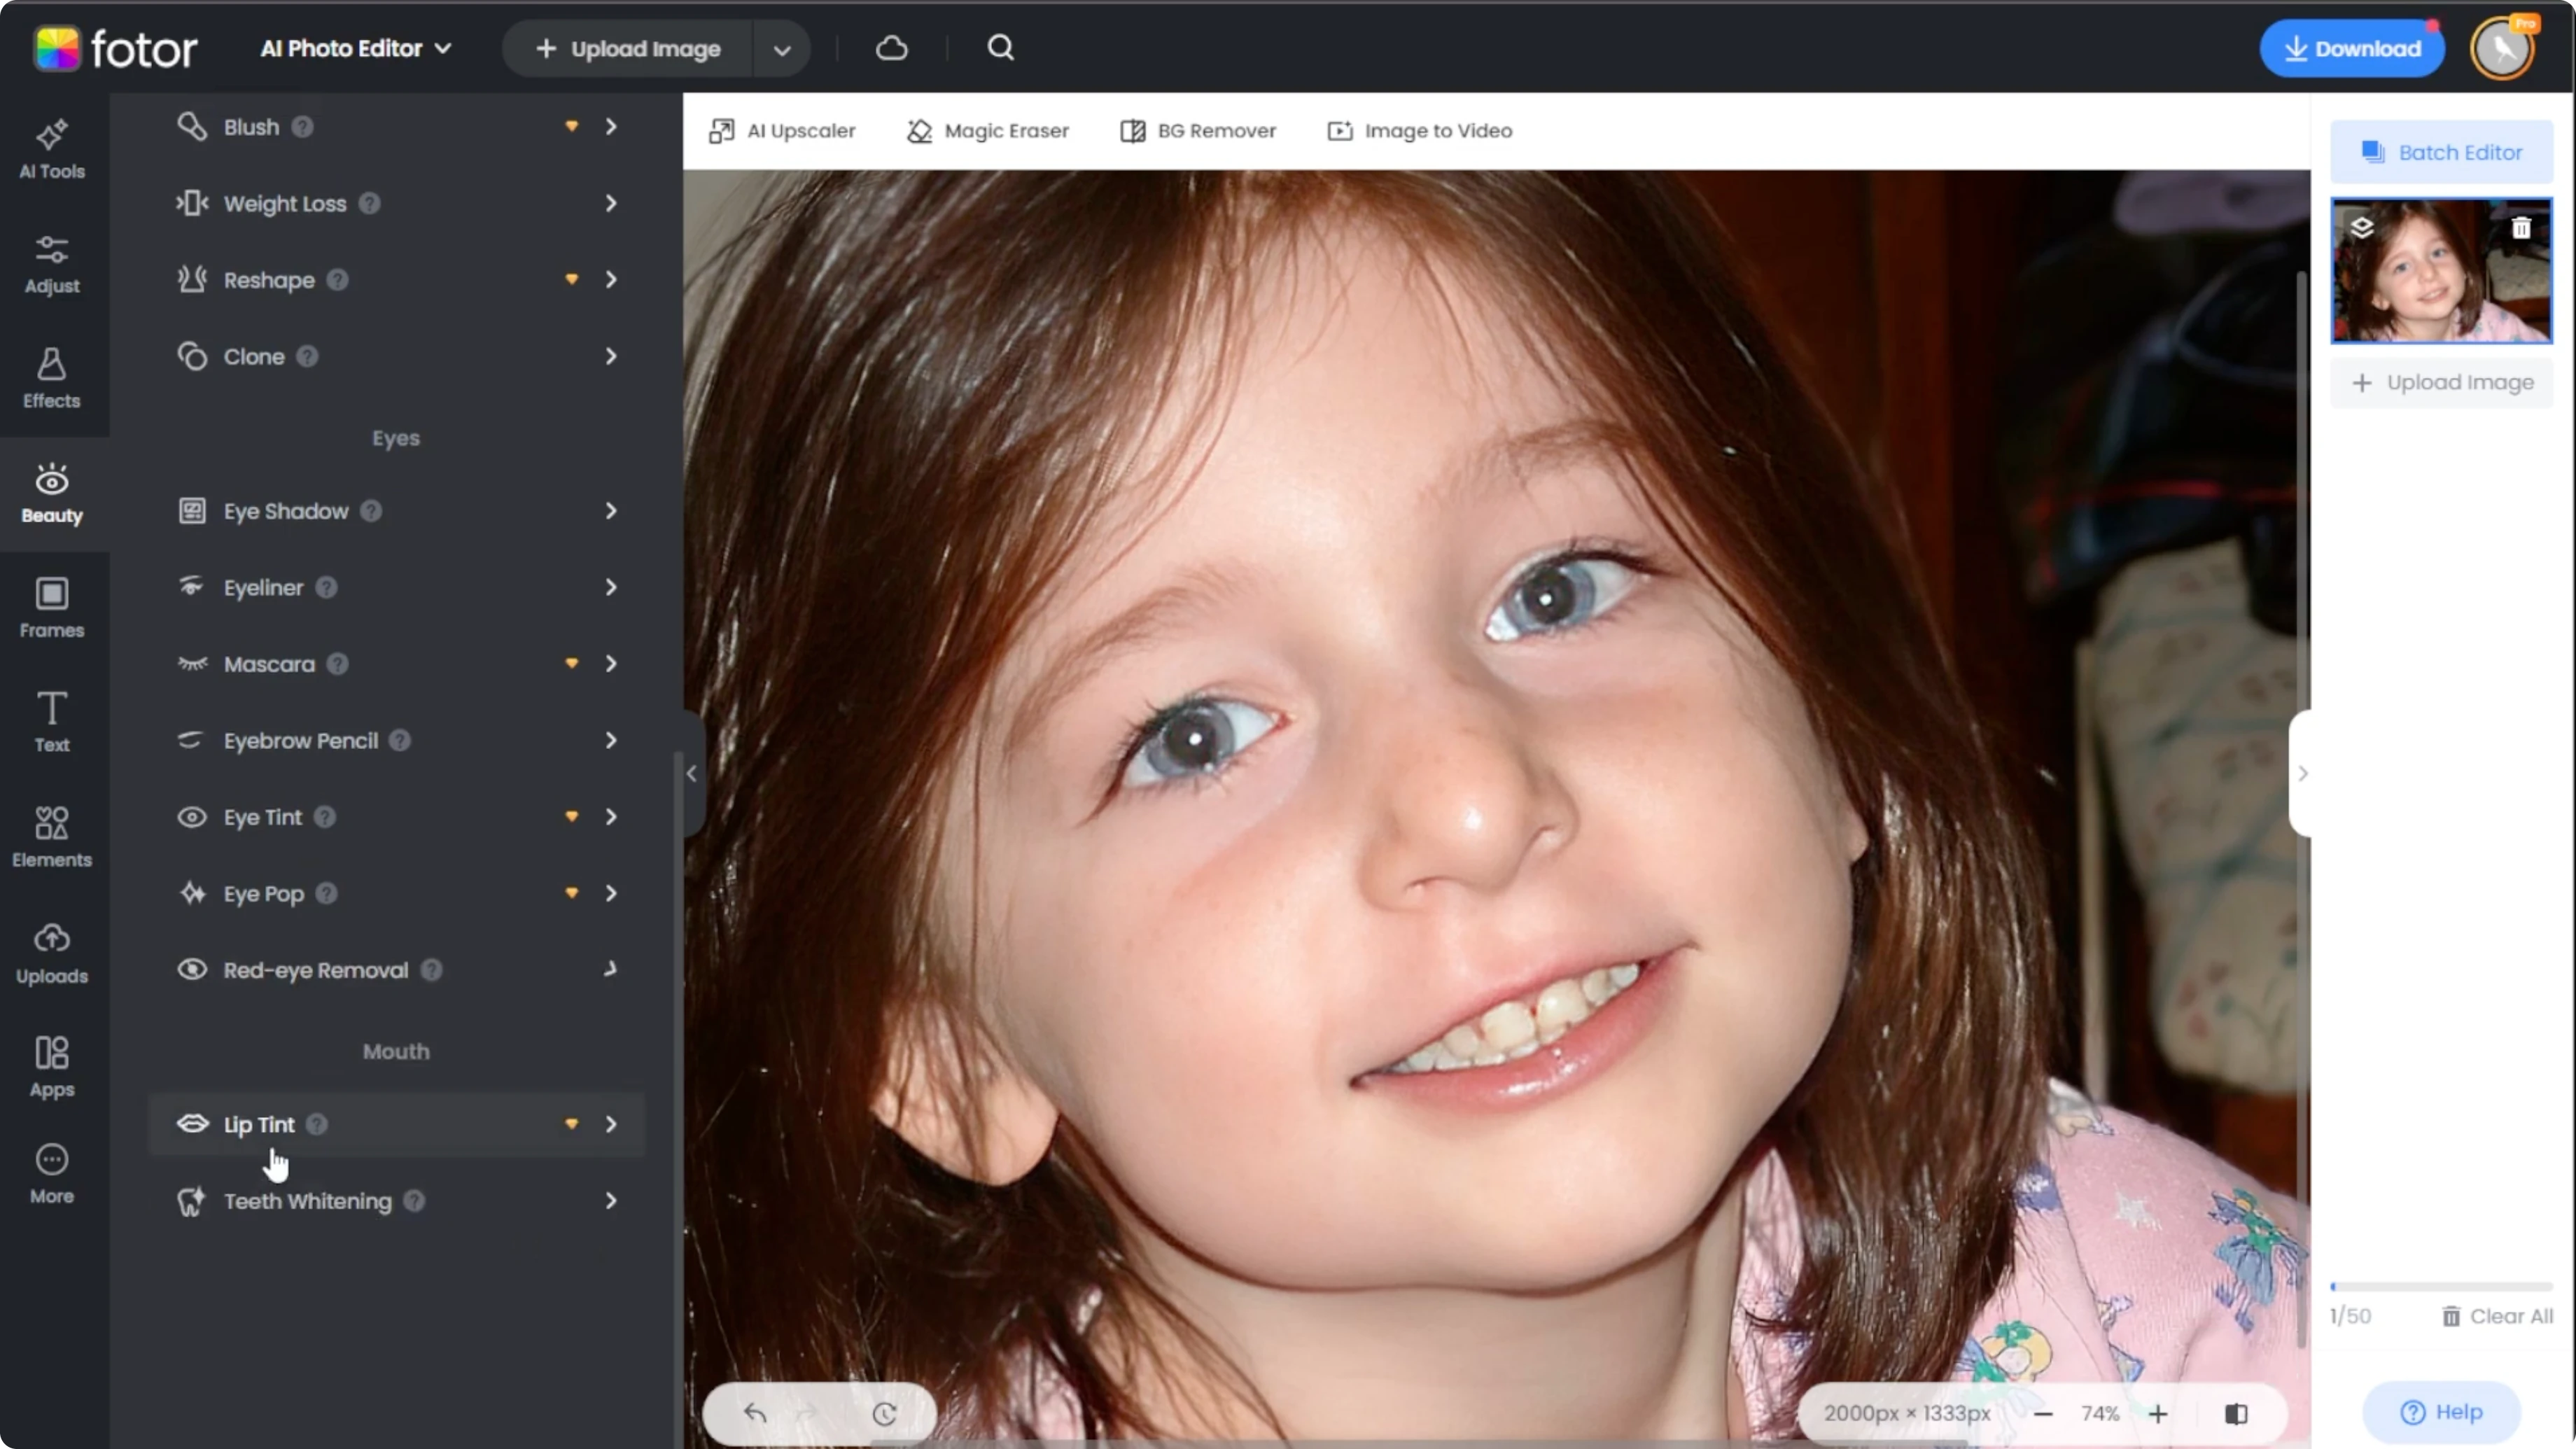
Hover over the red part of one eye and click once. The red eye effect should disappear instantly. If some red remains, click on the leftover areas again.

Repeat the same process for the other eye. The brush uses soft feathered edges. If it does not remove everything at once, click again as needed.
Review your correction
Click and hold the Compare button at the bottom right to see the original image versus the fixed version. If satisfied, click Apply to confirm the red eye correction. This locks in your changes.
Optional enhancement
If the eyes look a little flat or faded after removing the red, you can enhance them with the Eye Pop tool. Still in the Beauty tab, select Eye Pop and ensure the brush is set to Add mode. Adjust the brush size and set the intensity around 50 percent.
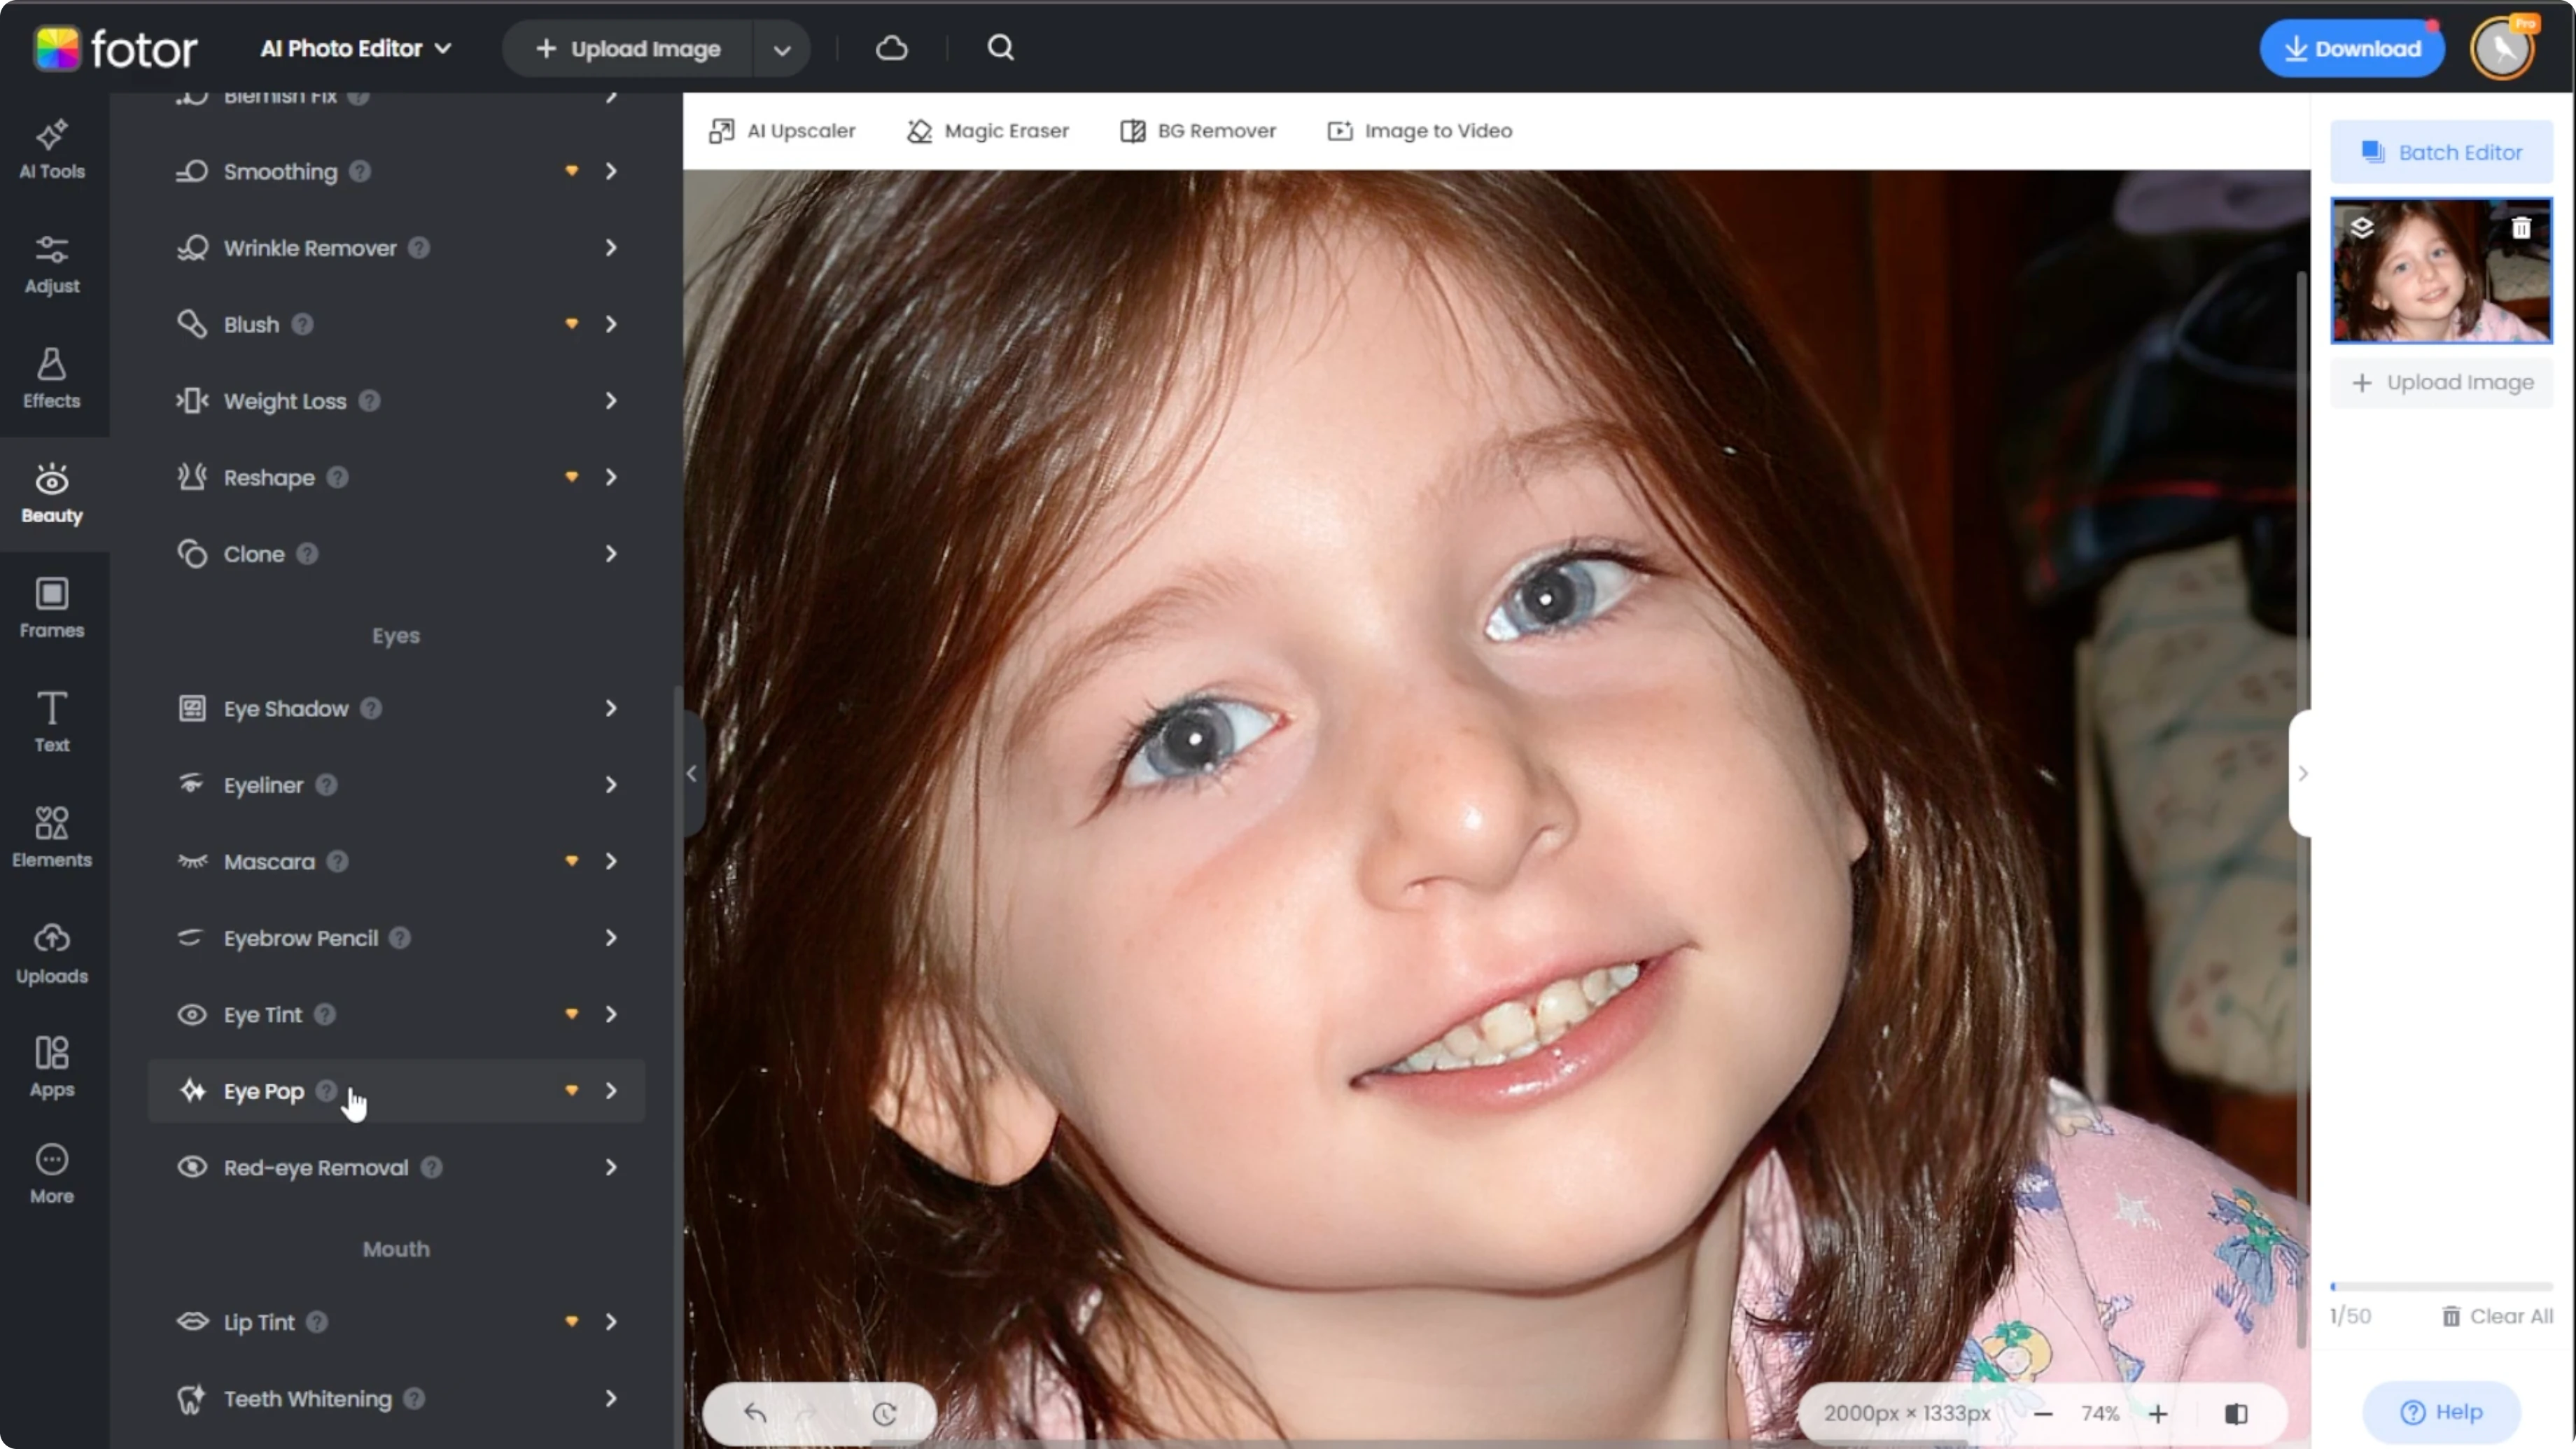
Slightly brush over the iris or the entire eye area to restore contrast and highlight detail. Compare the before and after using the Compare button. Click Apply when done.
Save your edit
When your edits are complete, click the Download button at the top right of the editor. Choose the file format and resolution. Save it to your computer.

If you want a creative look after fixing the eyes, you can add a cartoon effect to the same photo without extra hassle: Add a cartoon effect in Canva AI.
Final thoughts
Red eye removal is fast with the right tool and a careful brush size. Confirm changes with Compare, then Apply and Download. Optional enhancements like Eye Pop bring back natural detail for a polished result.
Recent Posts
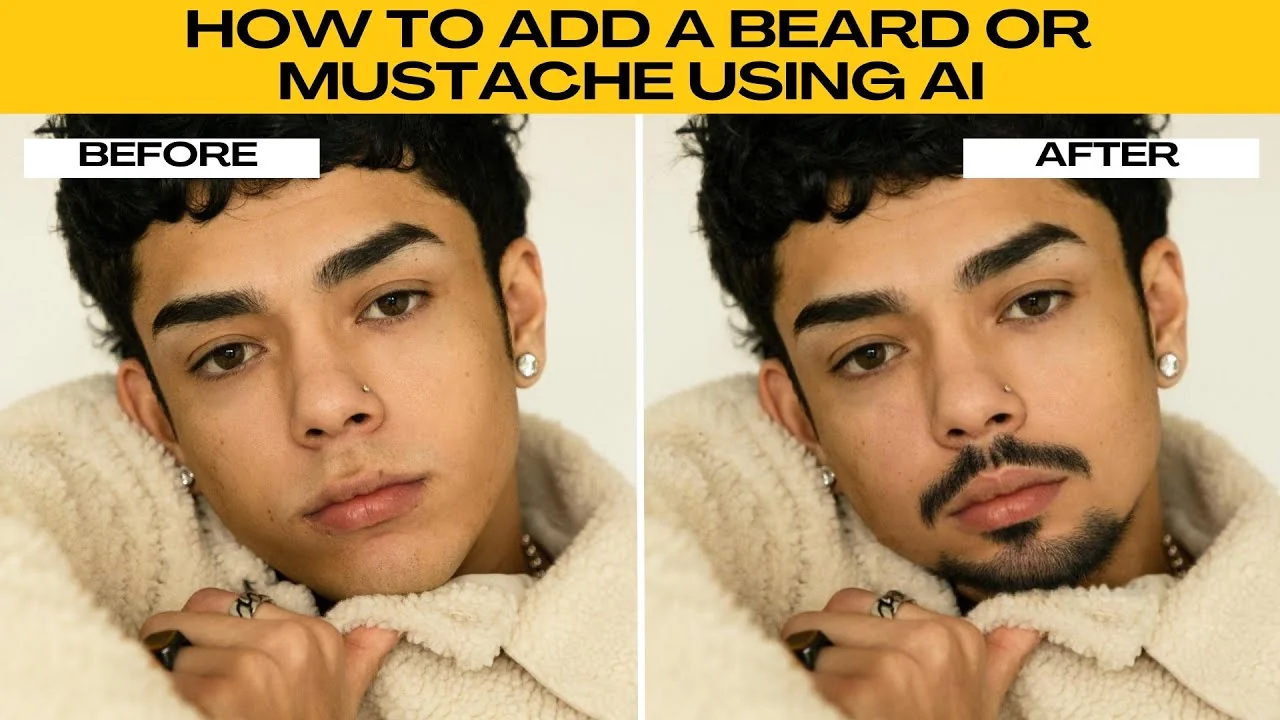
How to Visualize Yourself with Facial Hair and Try Different Beard Styles with AI?
How to Visualize Yourself with Facial Hair and Try Different Beard Styles with AI?
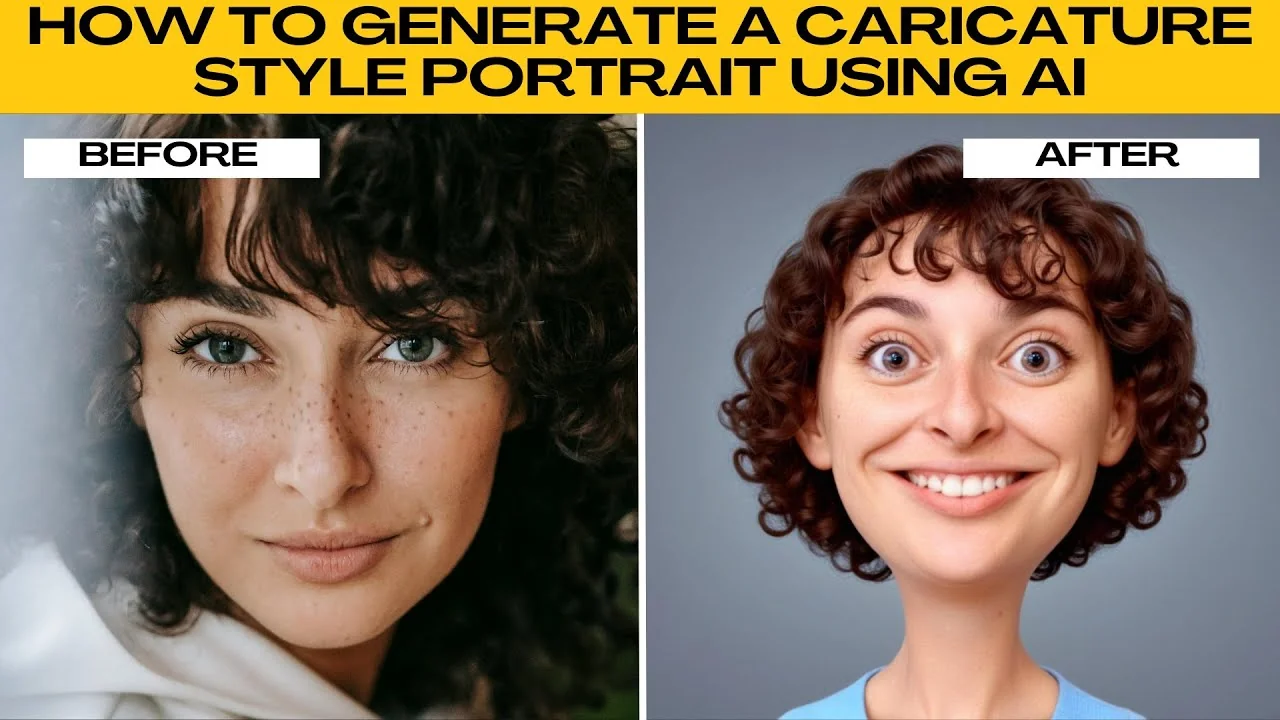
How to Turn Yourself into a Fun, Exaggerated Caricature with AI?
How to Turn Yourself into a Fun, Exaggerated Caricature with AI?
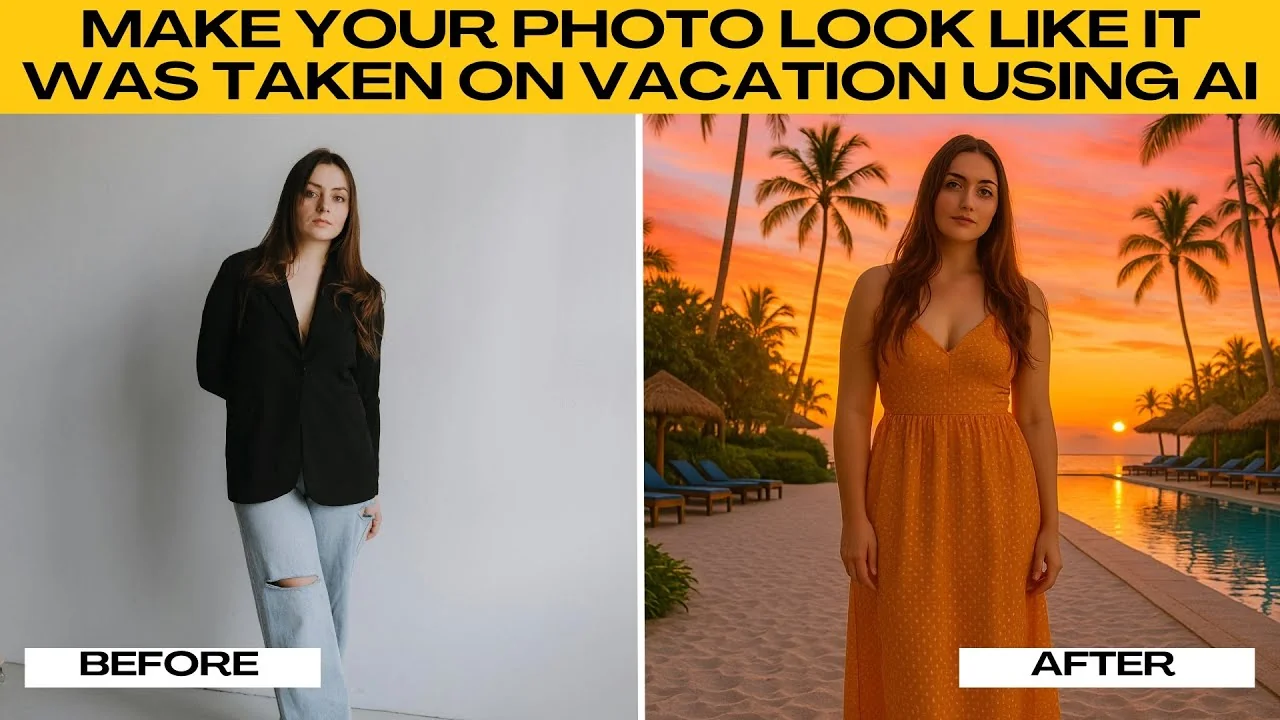
How to Generate Realistic Vacation Portraits with AI?
How to Generate Realistic Vacation Portraits with AI?