How to Whiten Teeth and Brighten Your Smile Naturally with AI?
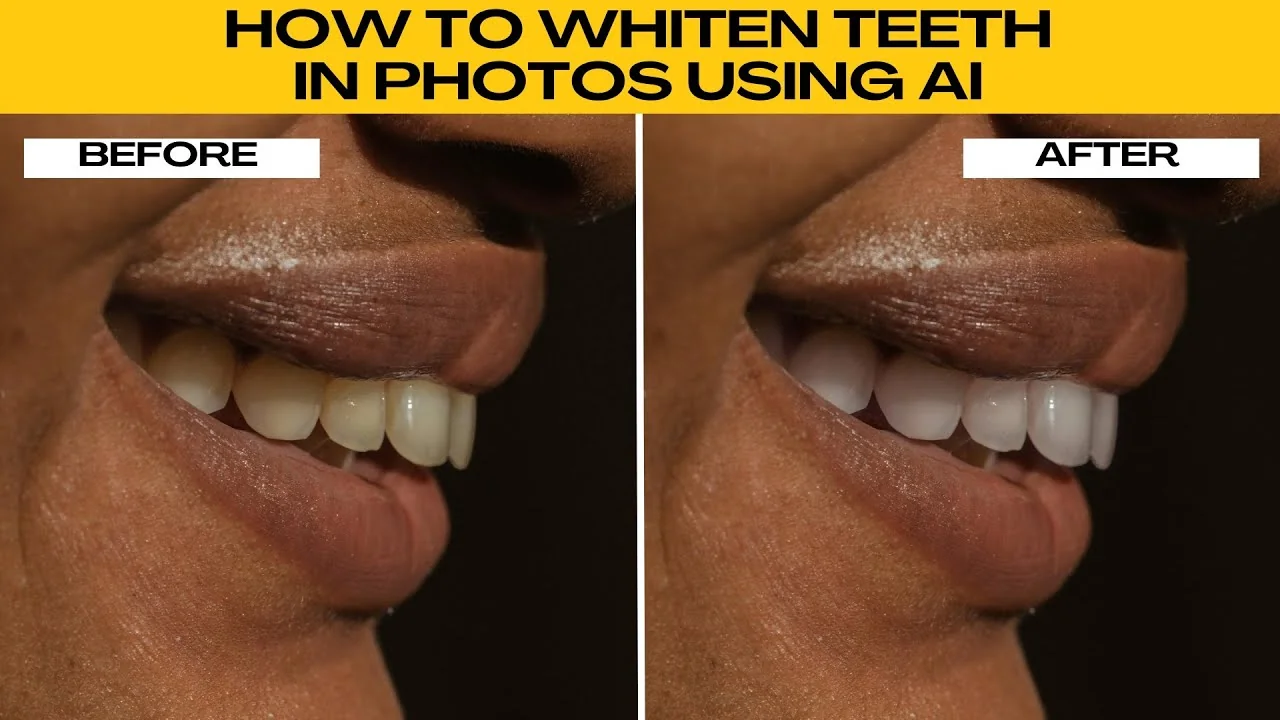
I will teach you how to whiten teeth in photos using photo AI tools. These steps keep results clean and natural.
For a quick refresher on broader edits, see our AI image editing guide.
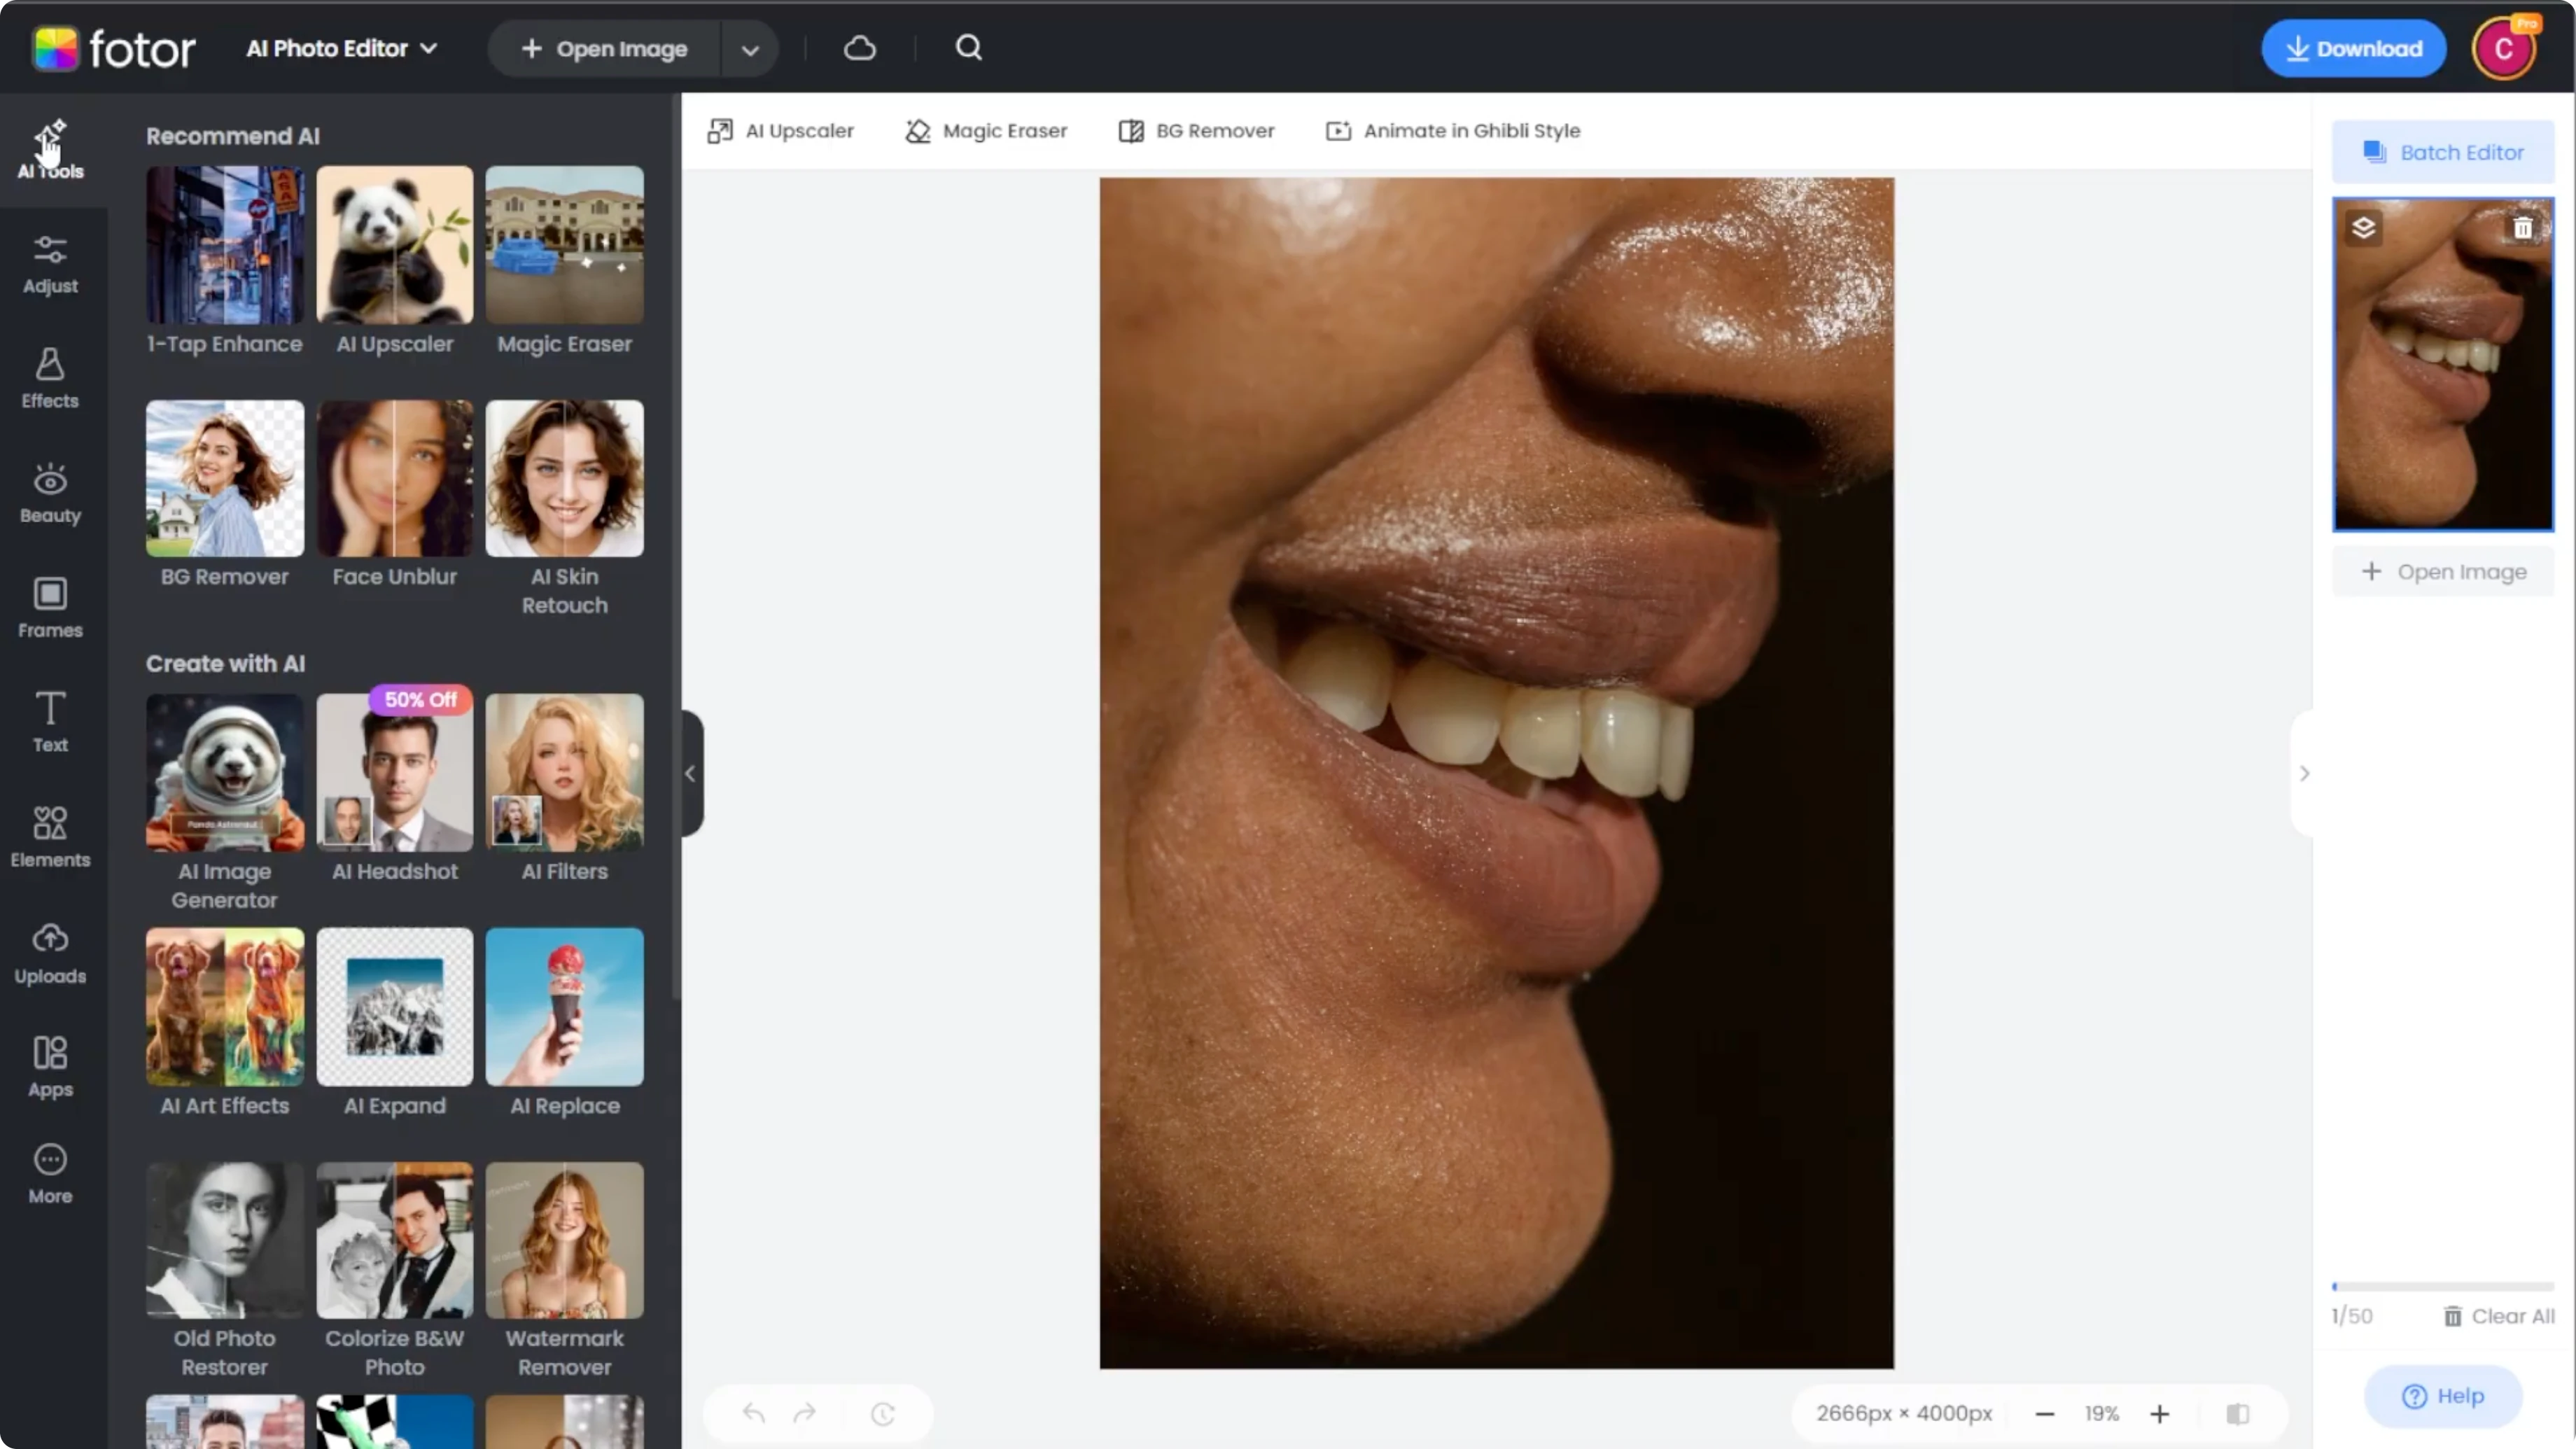
Open the editor
Open the Photo AI photo editor. Use one of the sample images to test the tool or click Upload to work with your own photo.

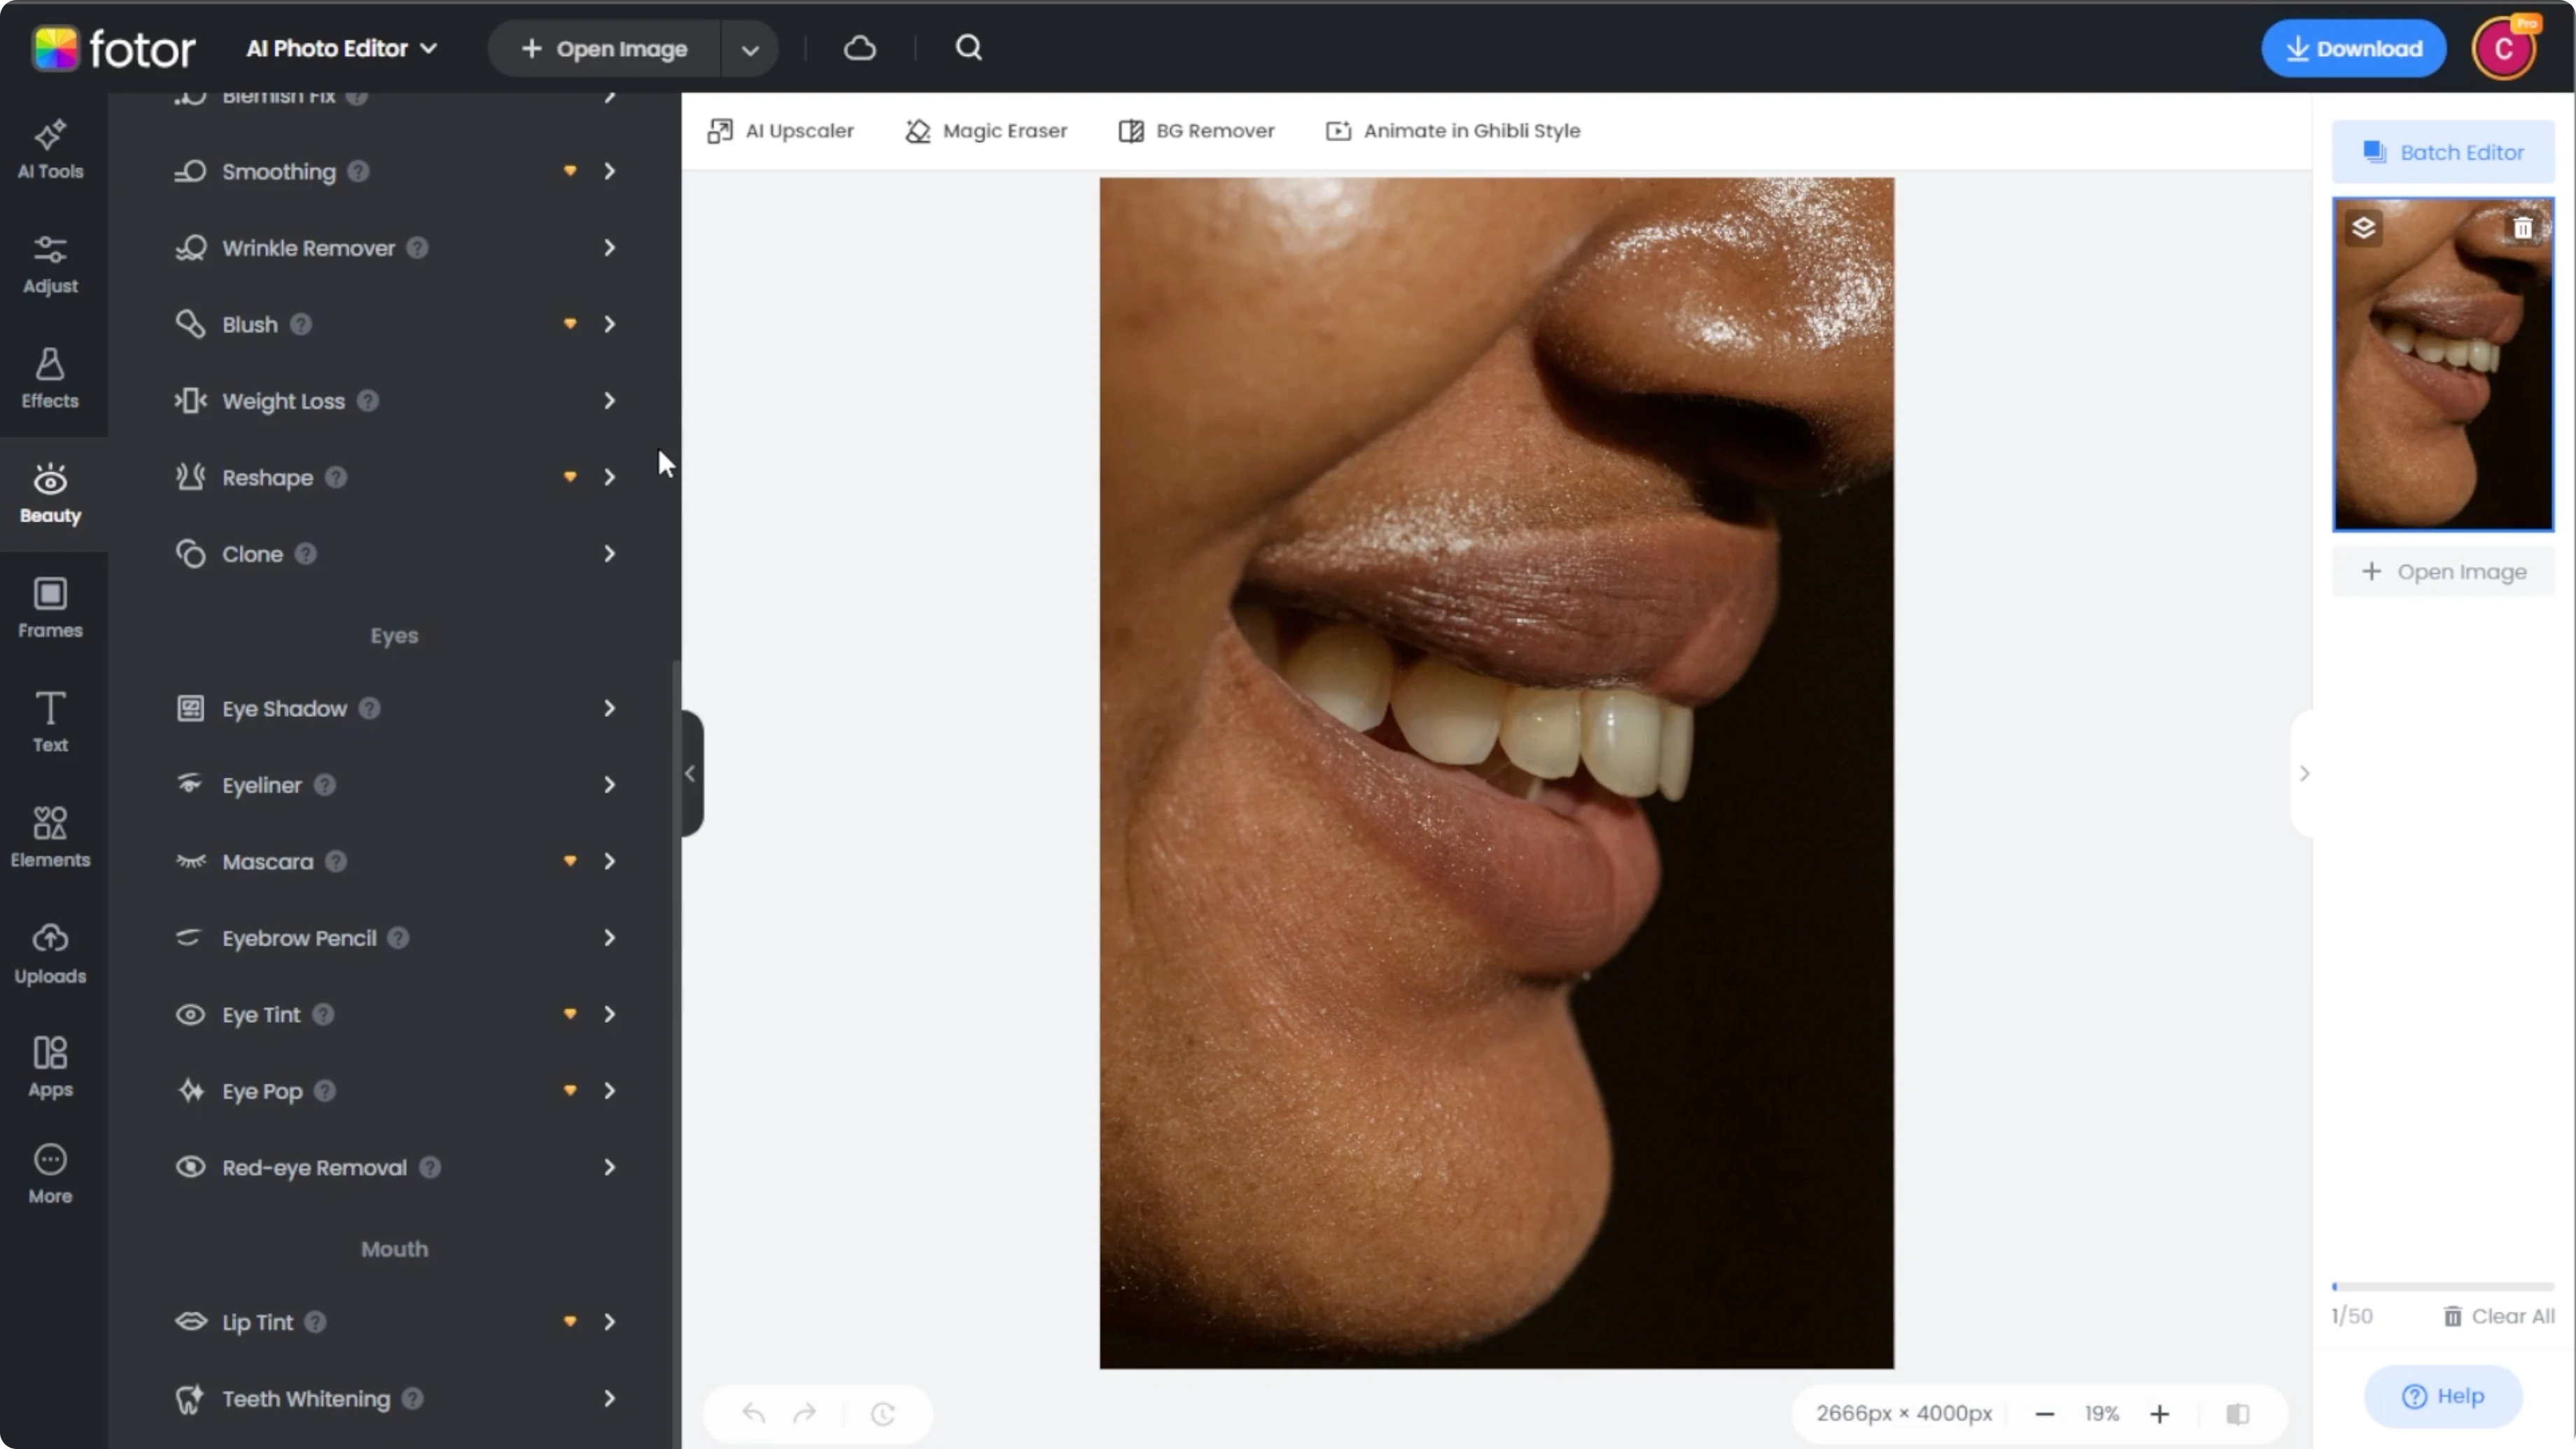
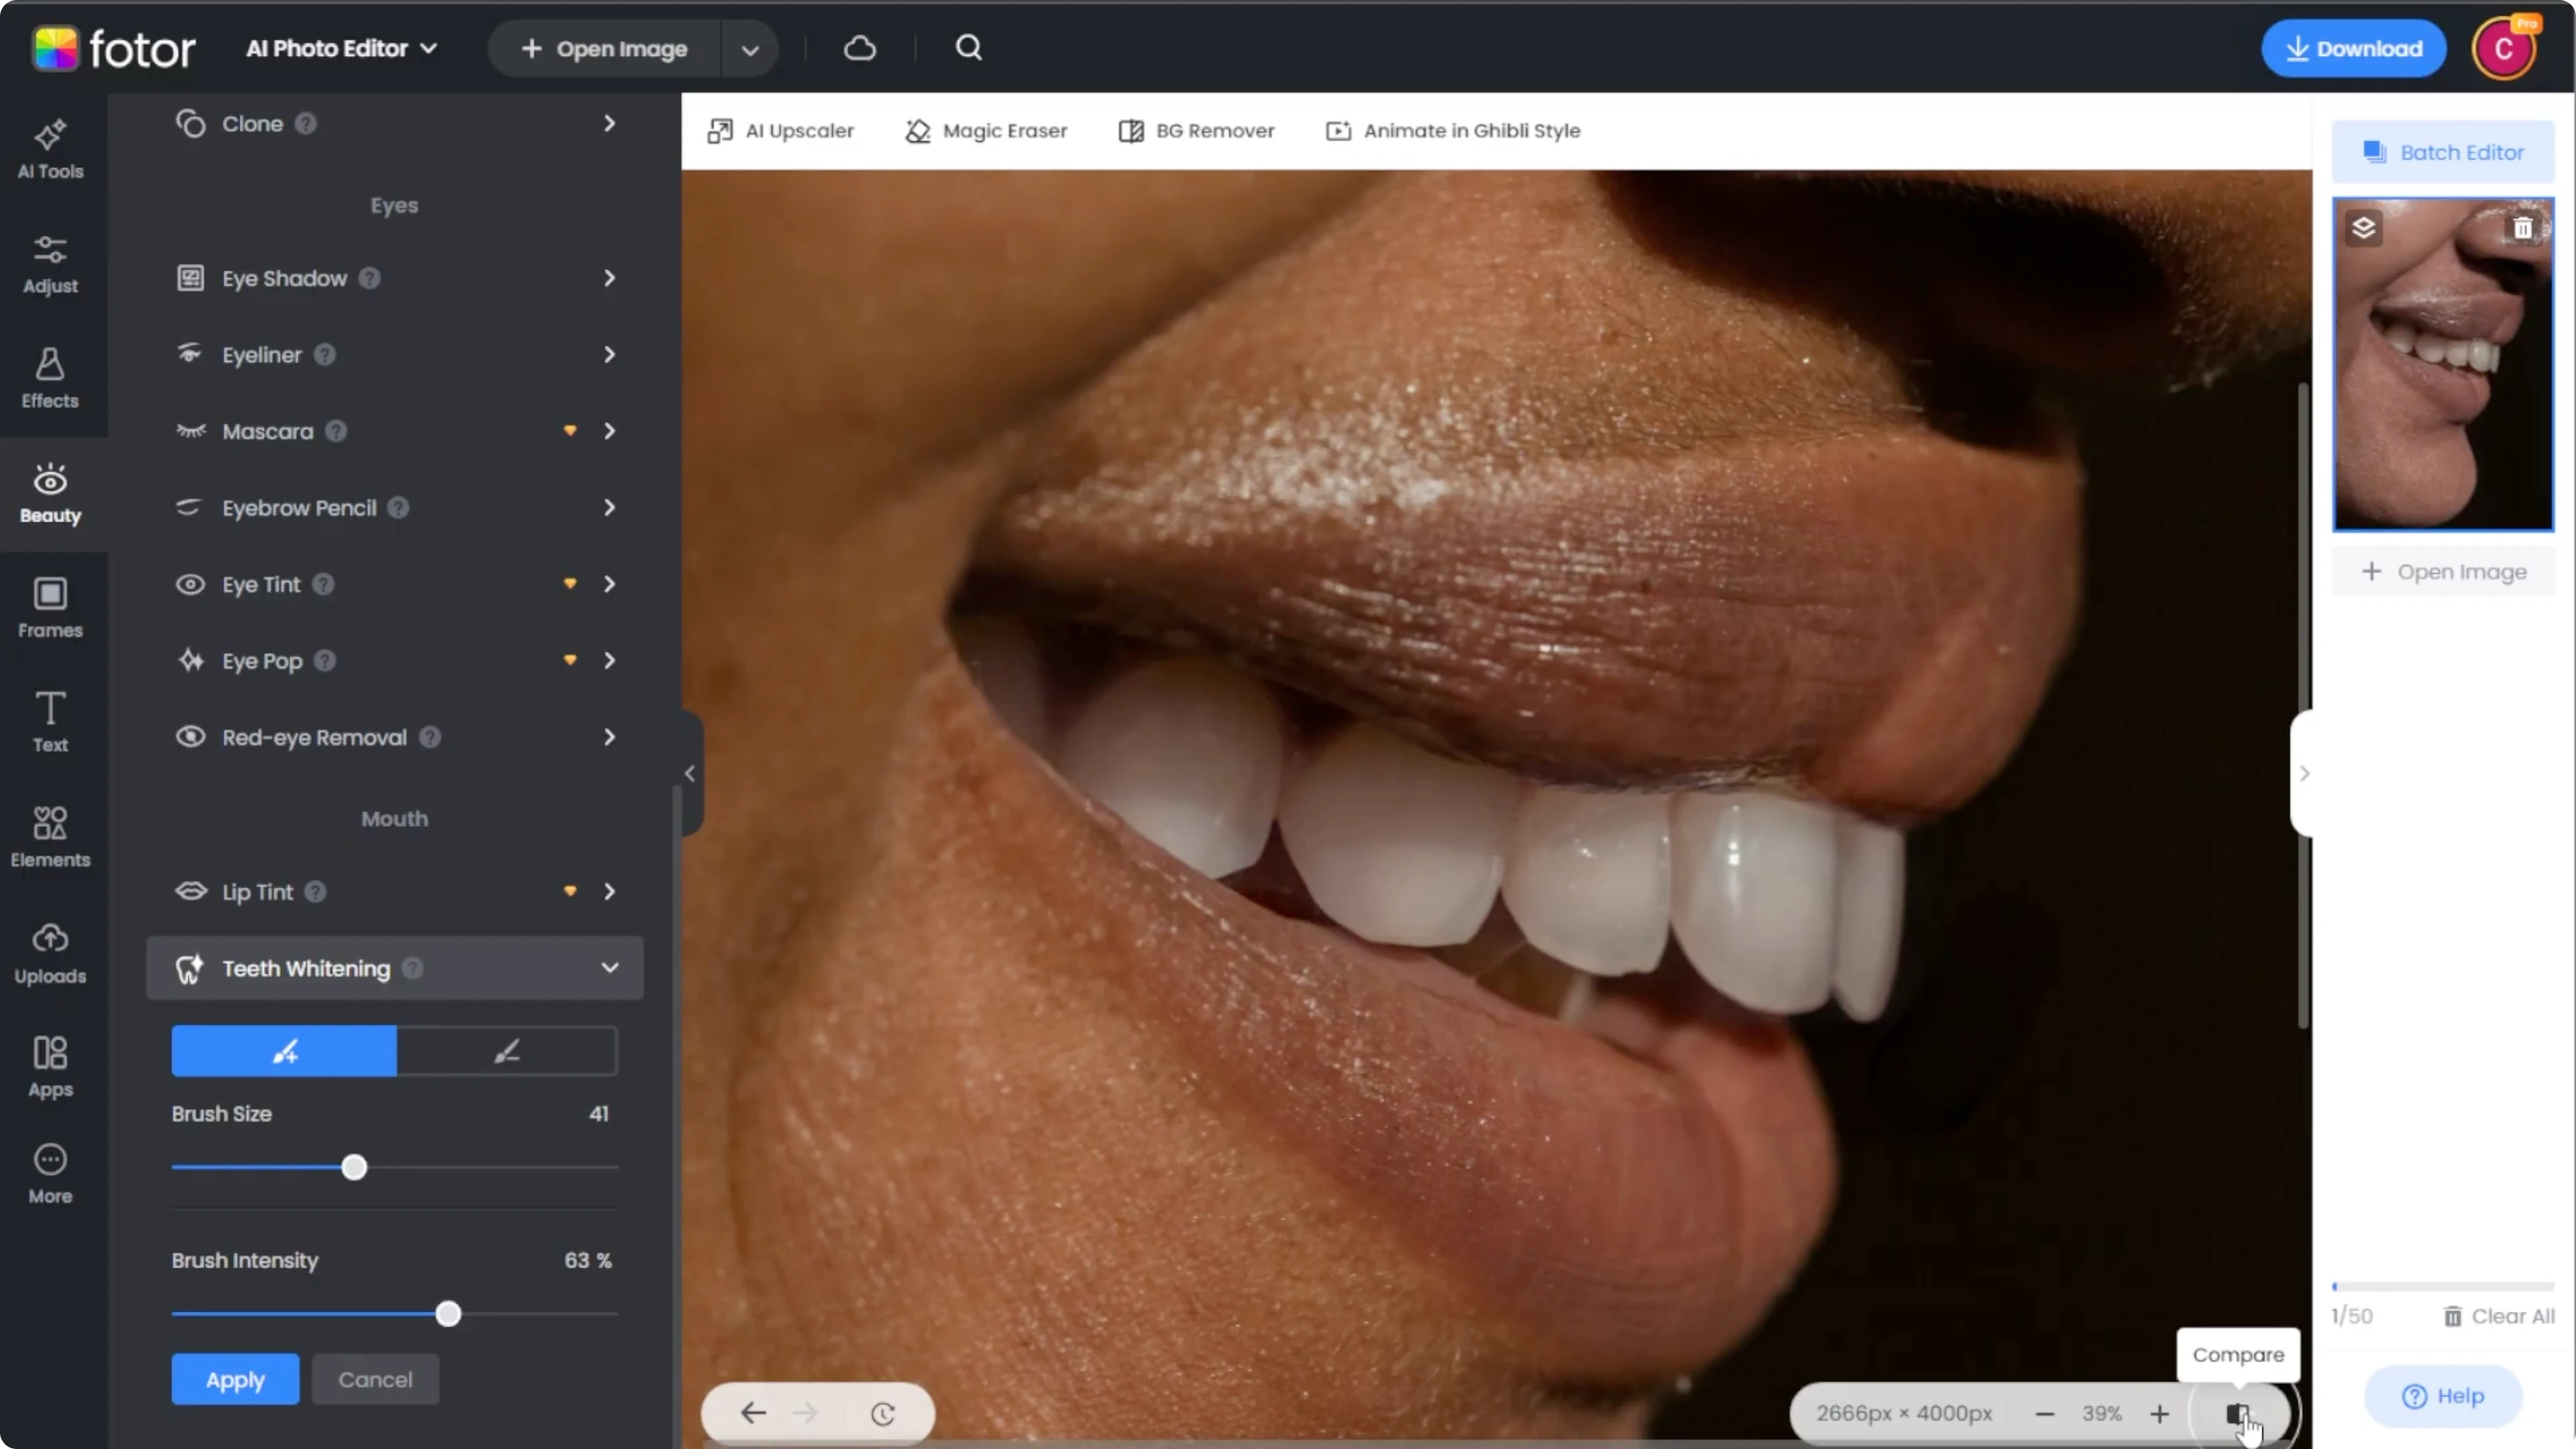
Once your image is loaded, go to the left panel. Click the Beauty tab, scroll to the Mouth section, and select Teeth Whitening.
Set your brush
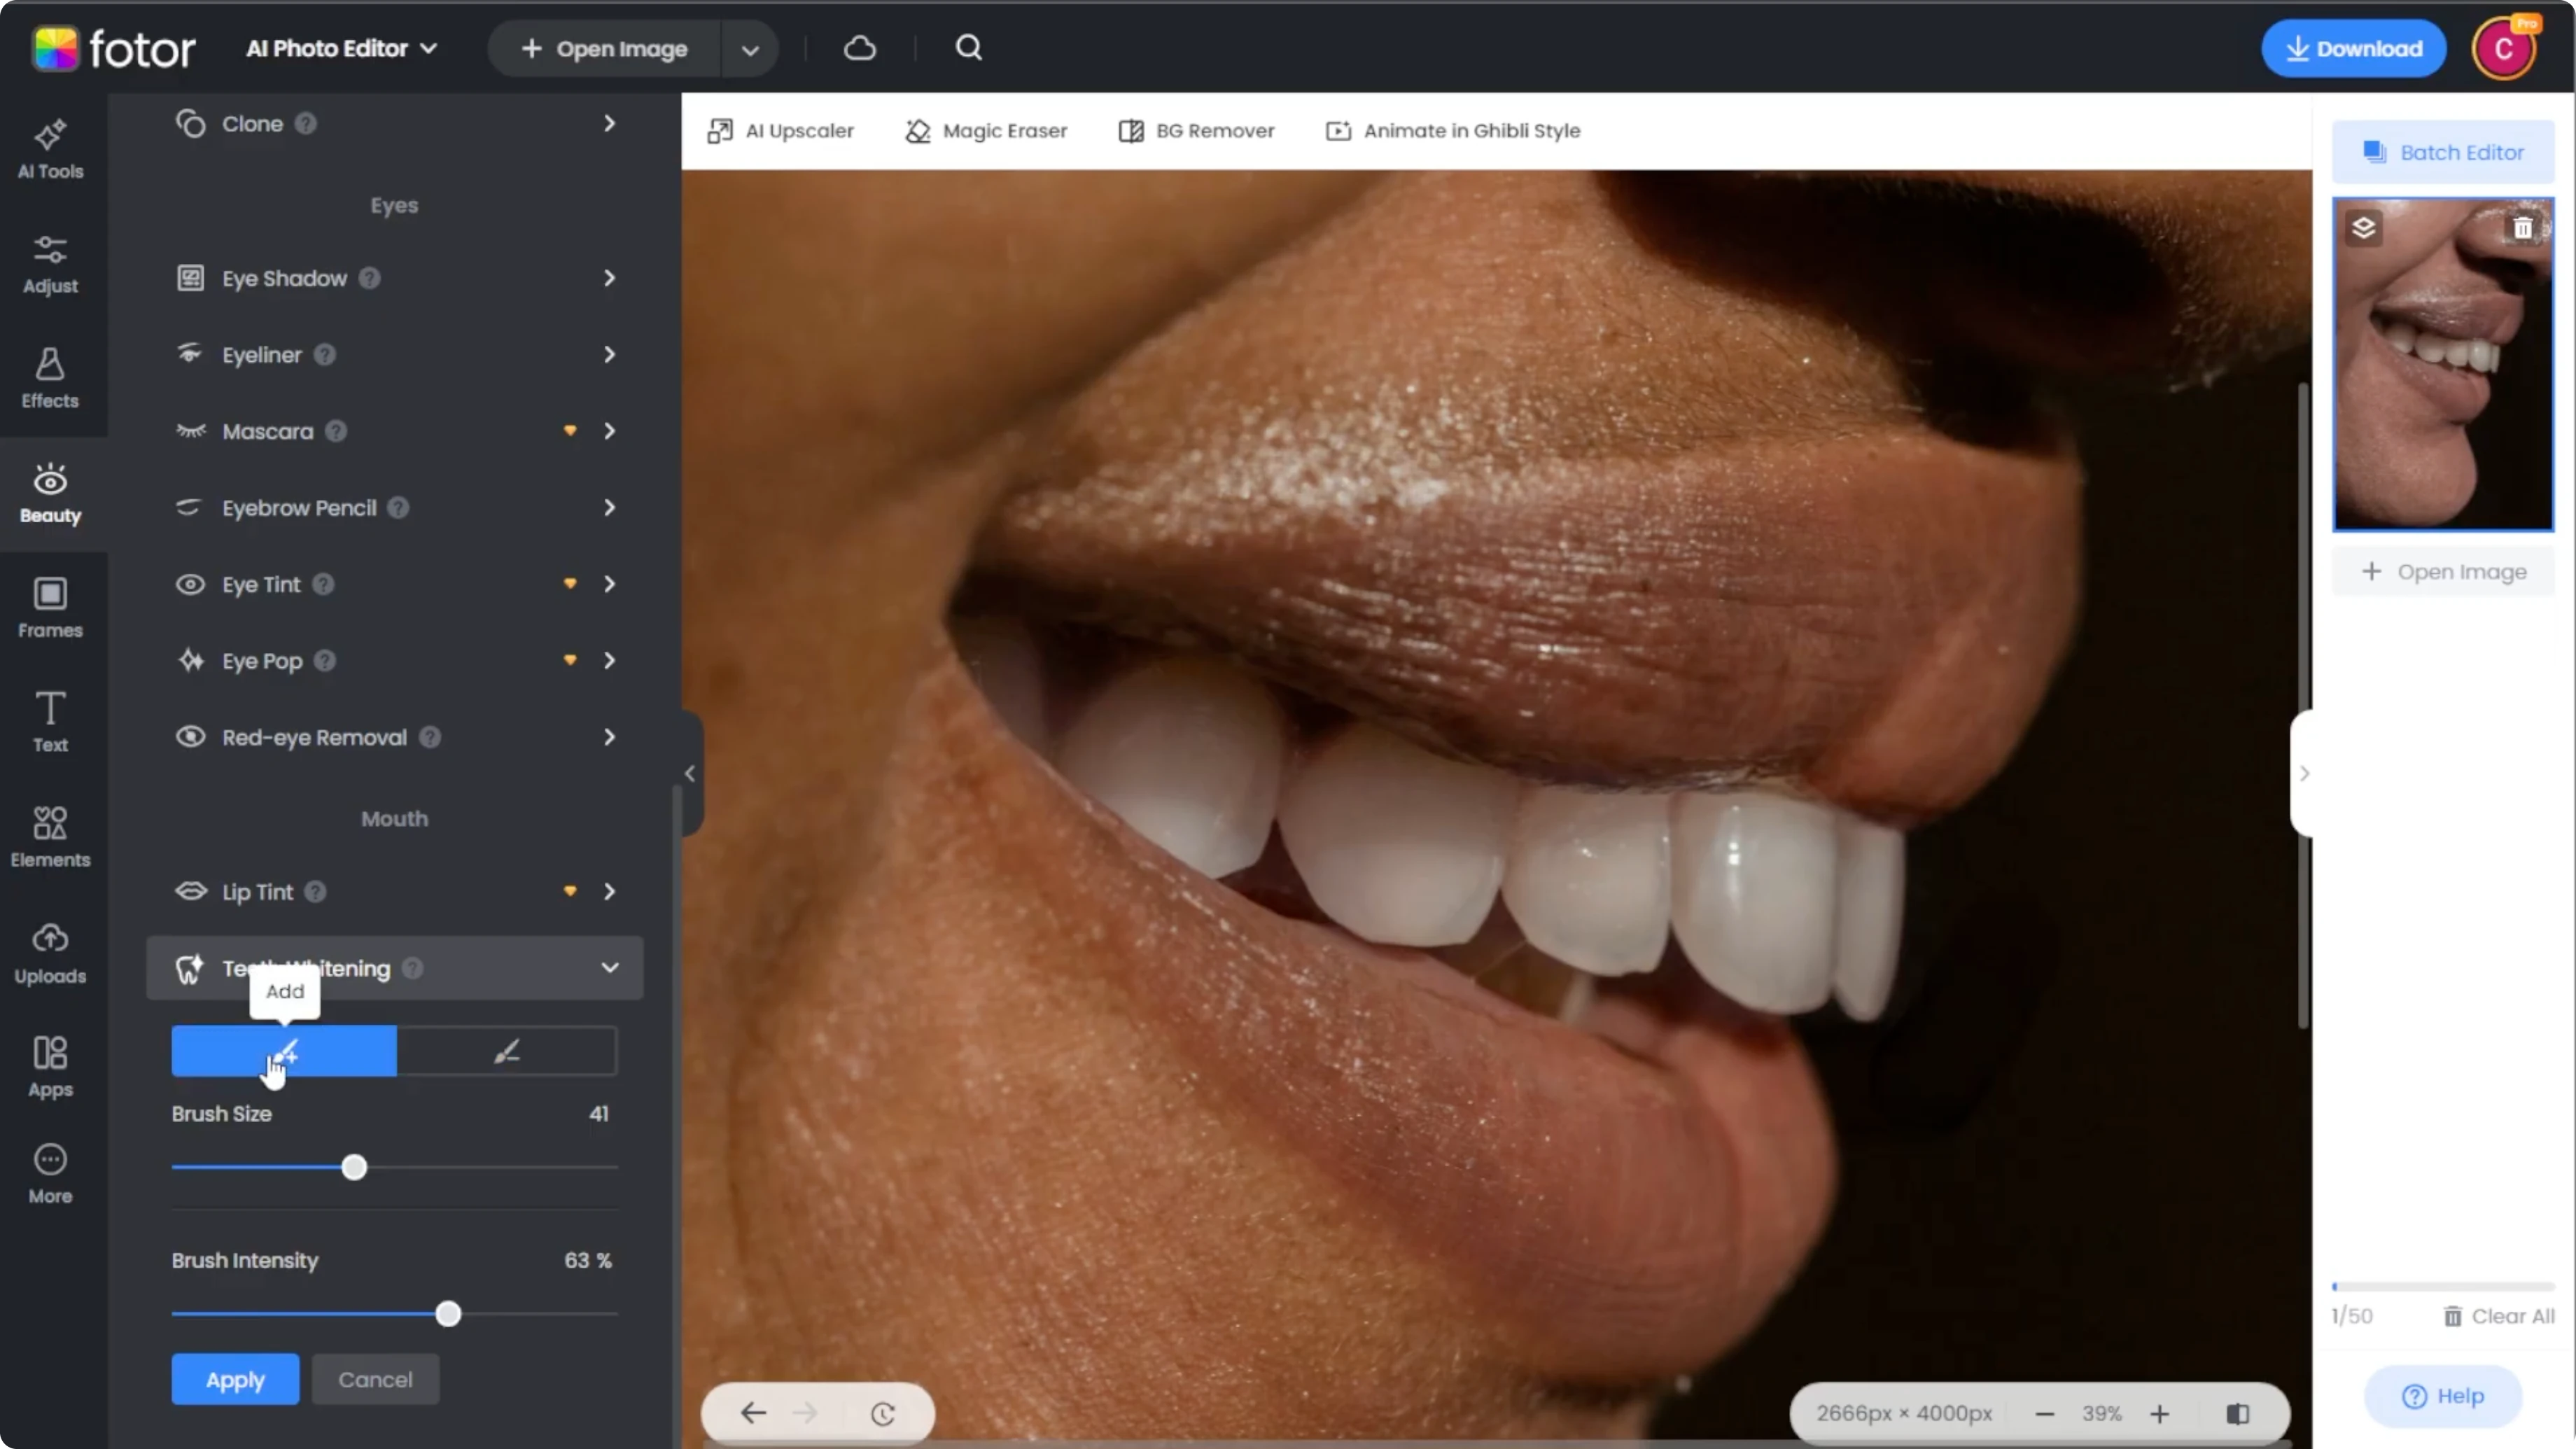
Adjust the brush settings. Make sure the Add Brush option is selected.

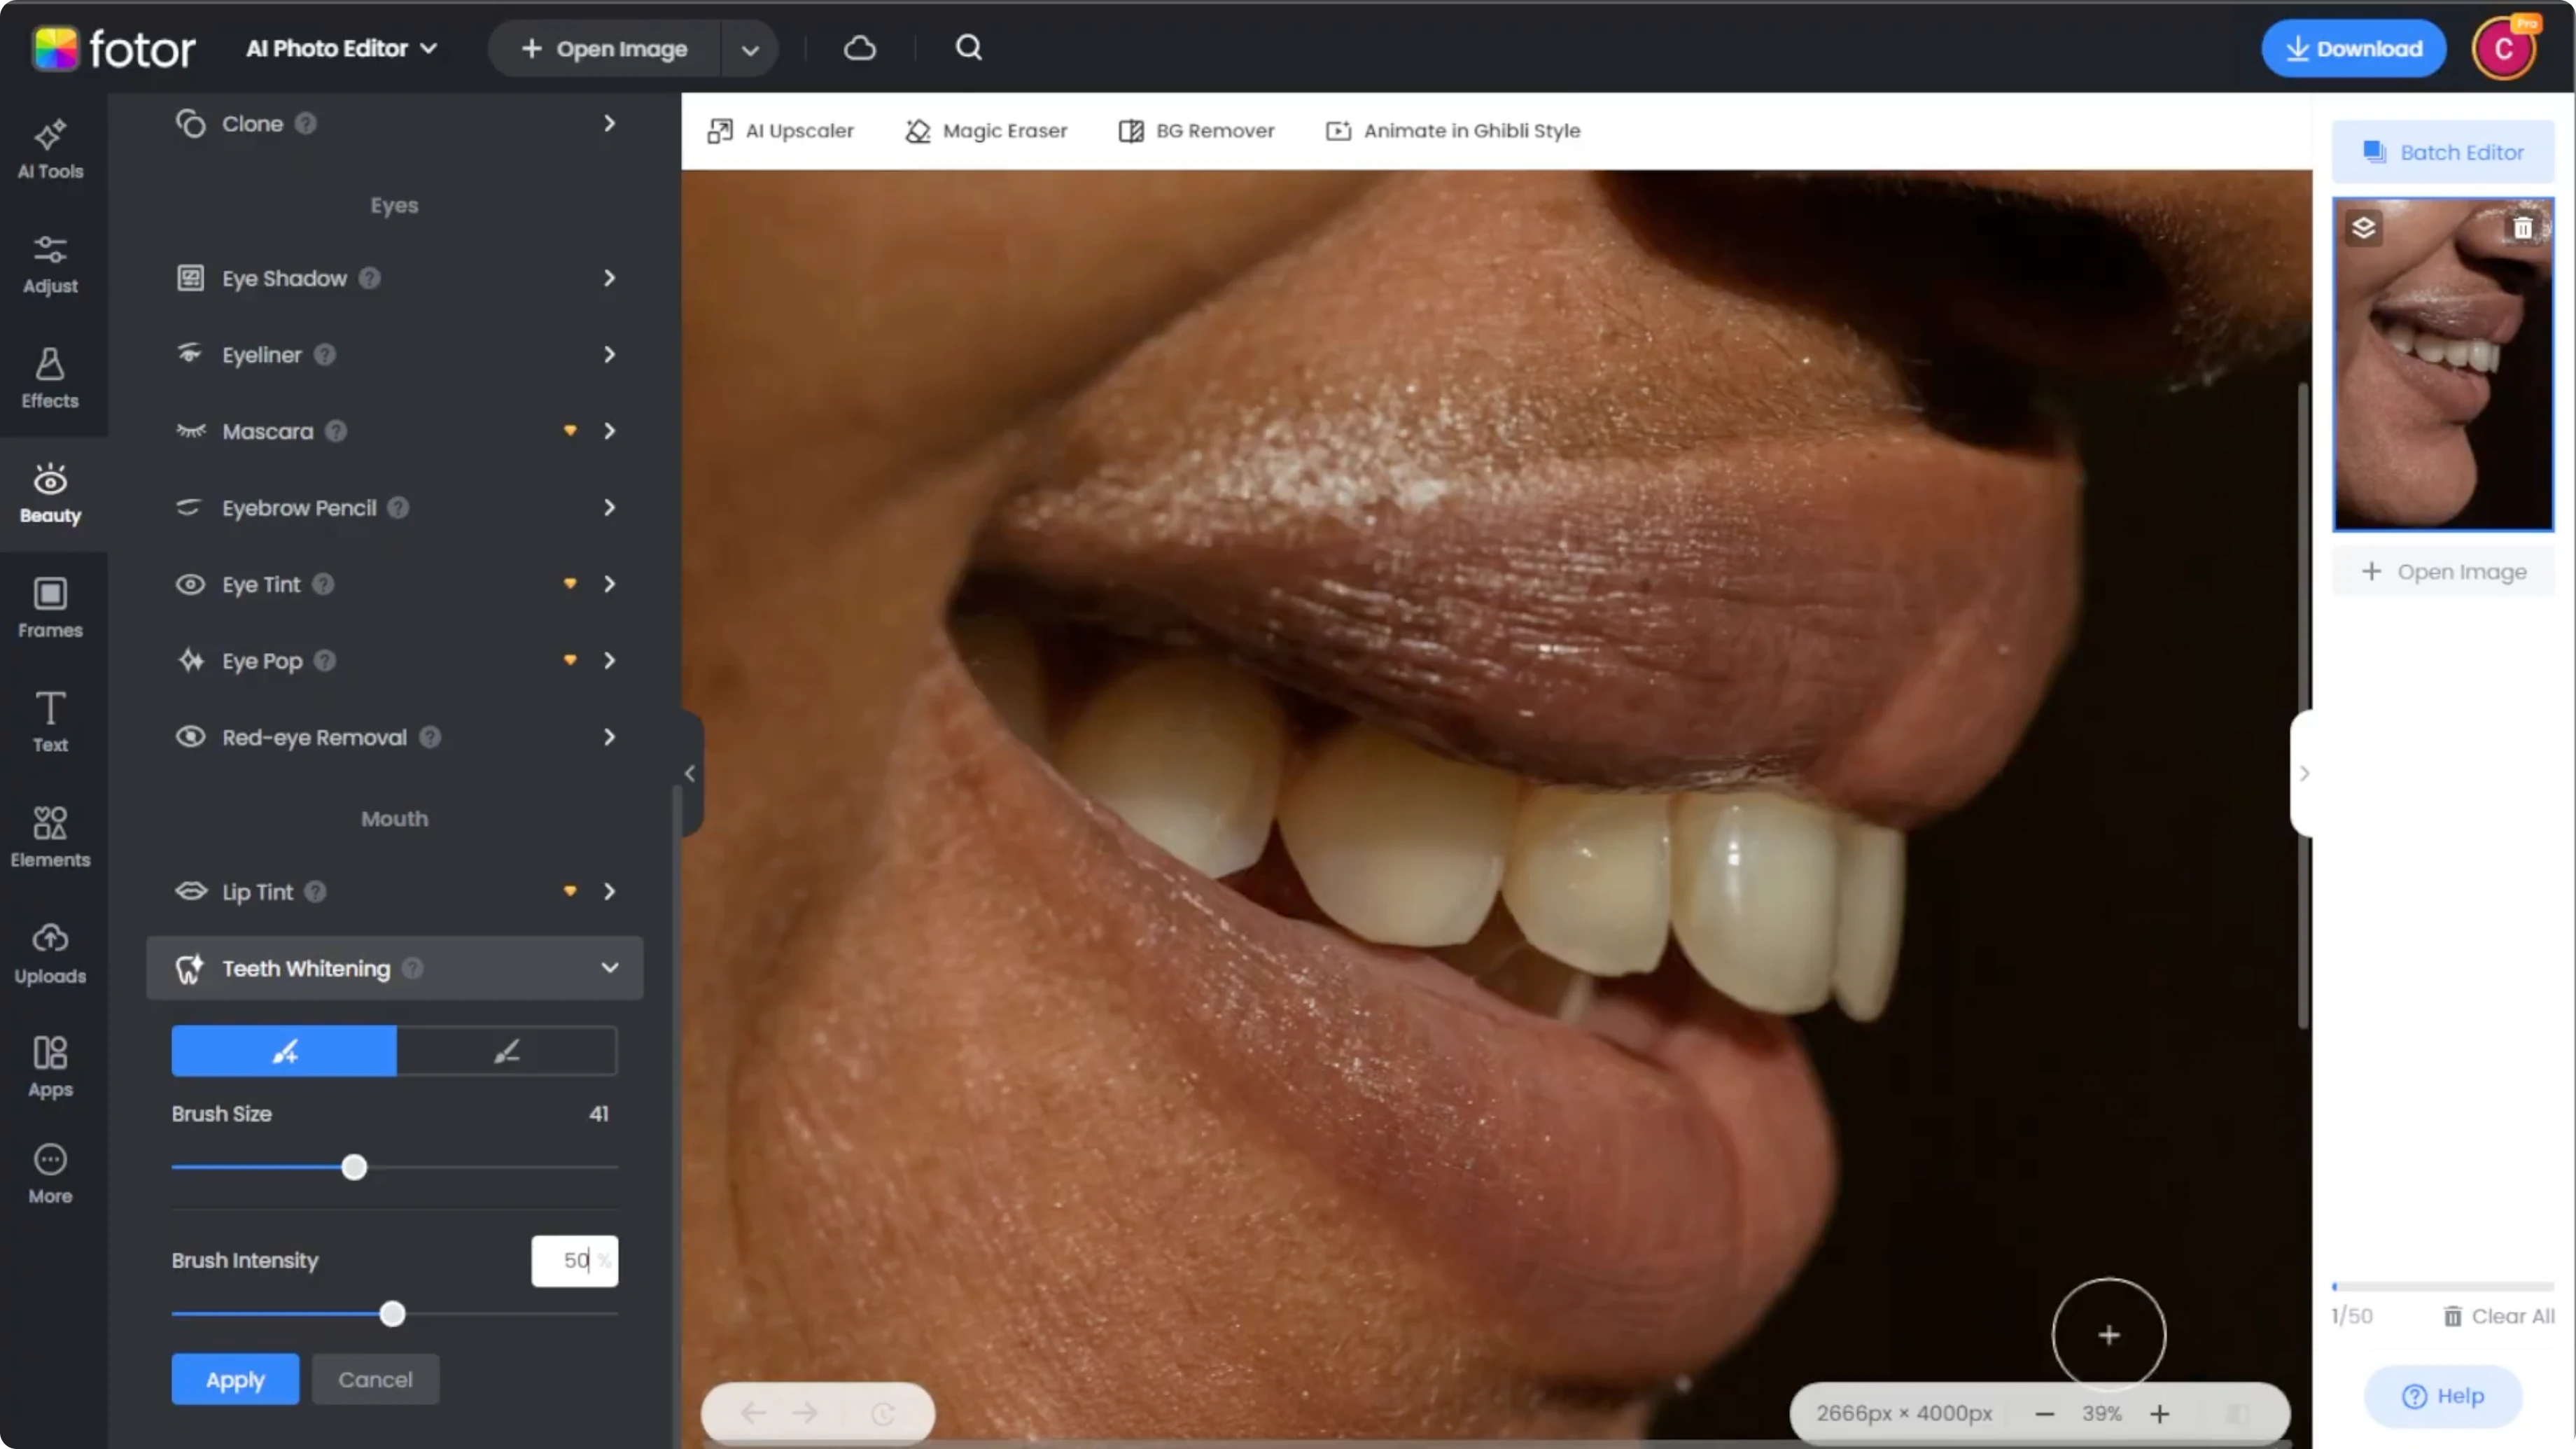
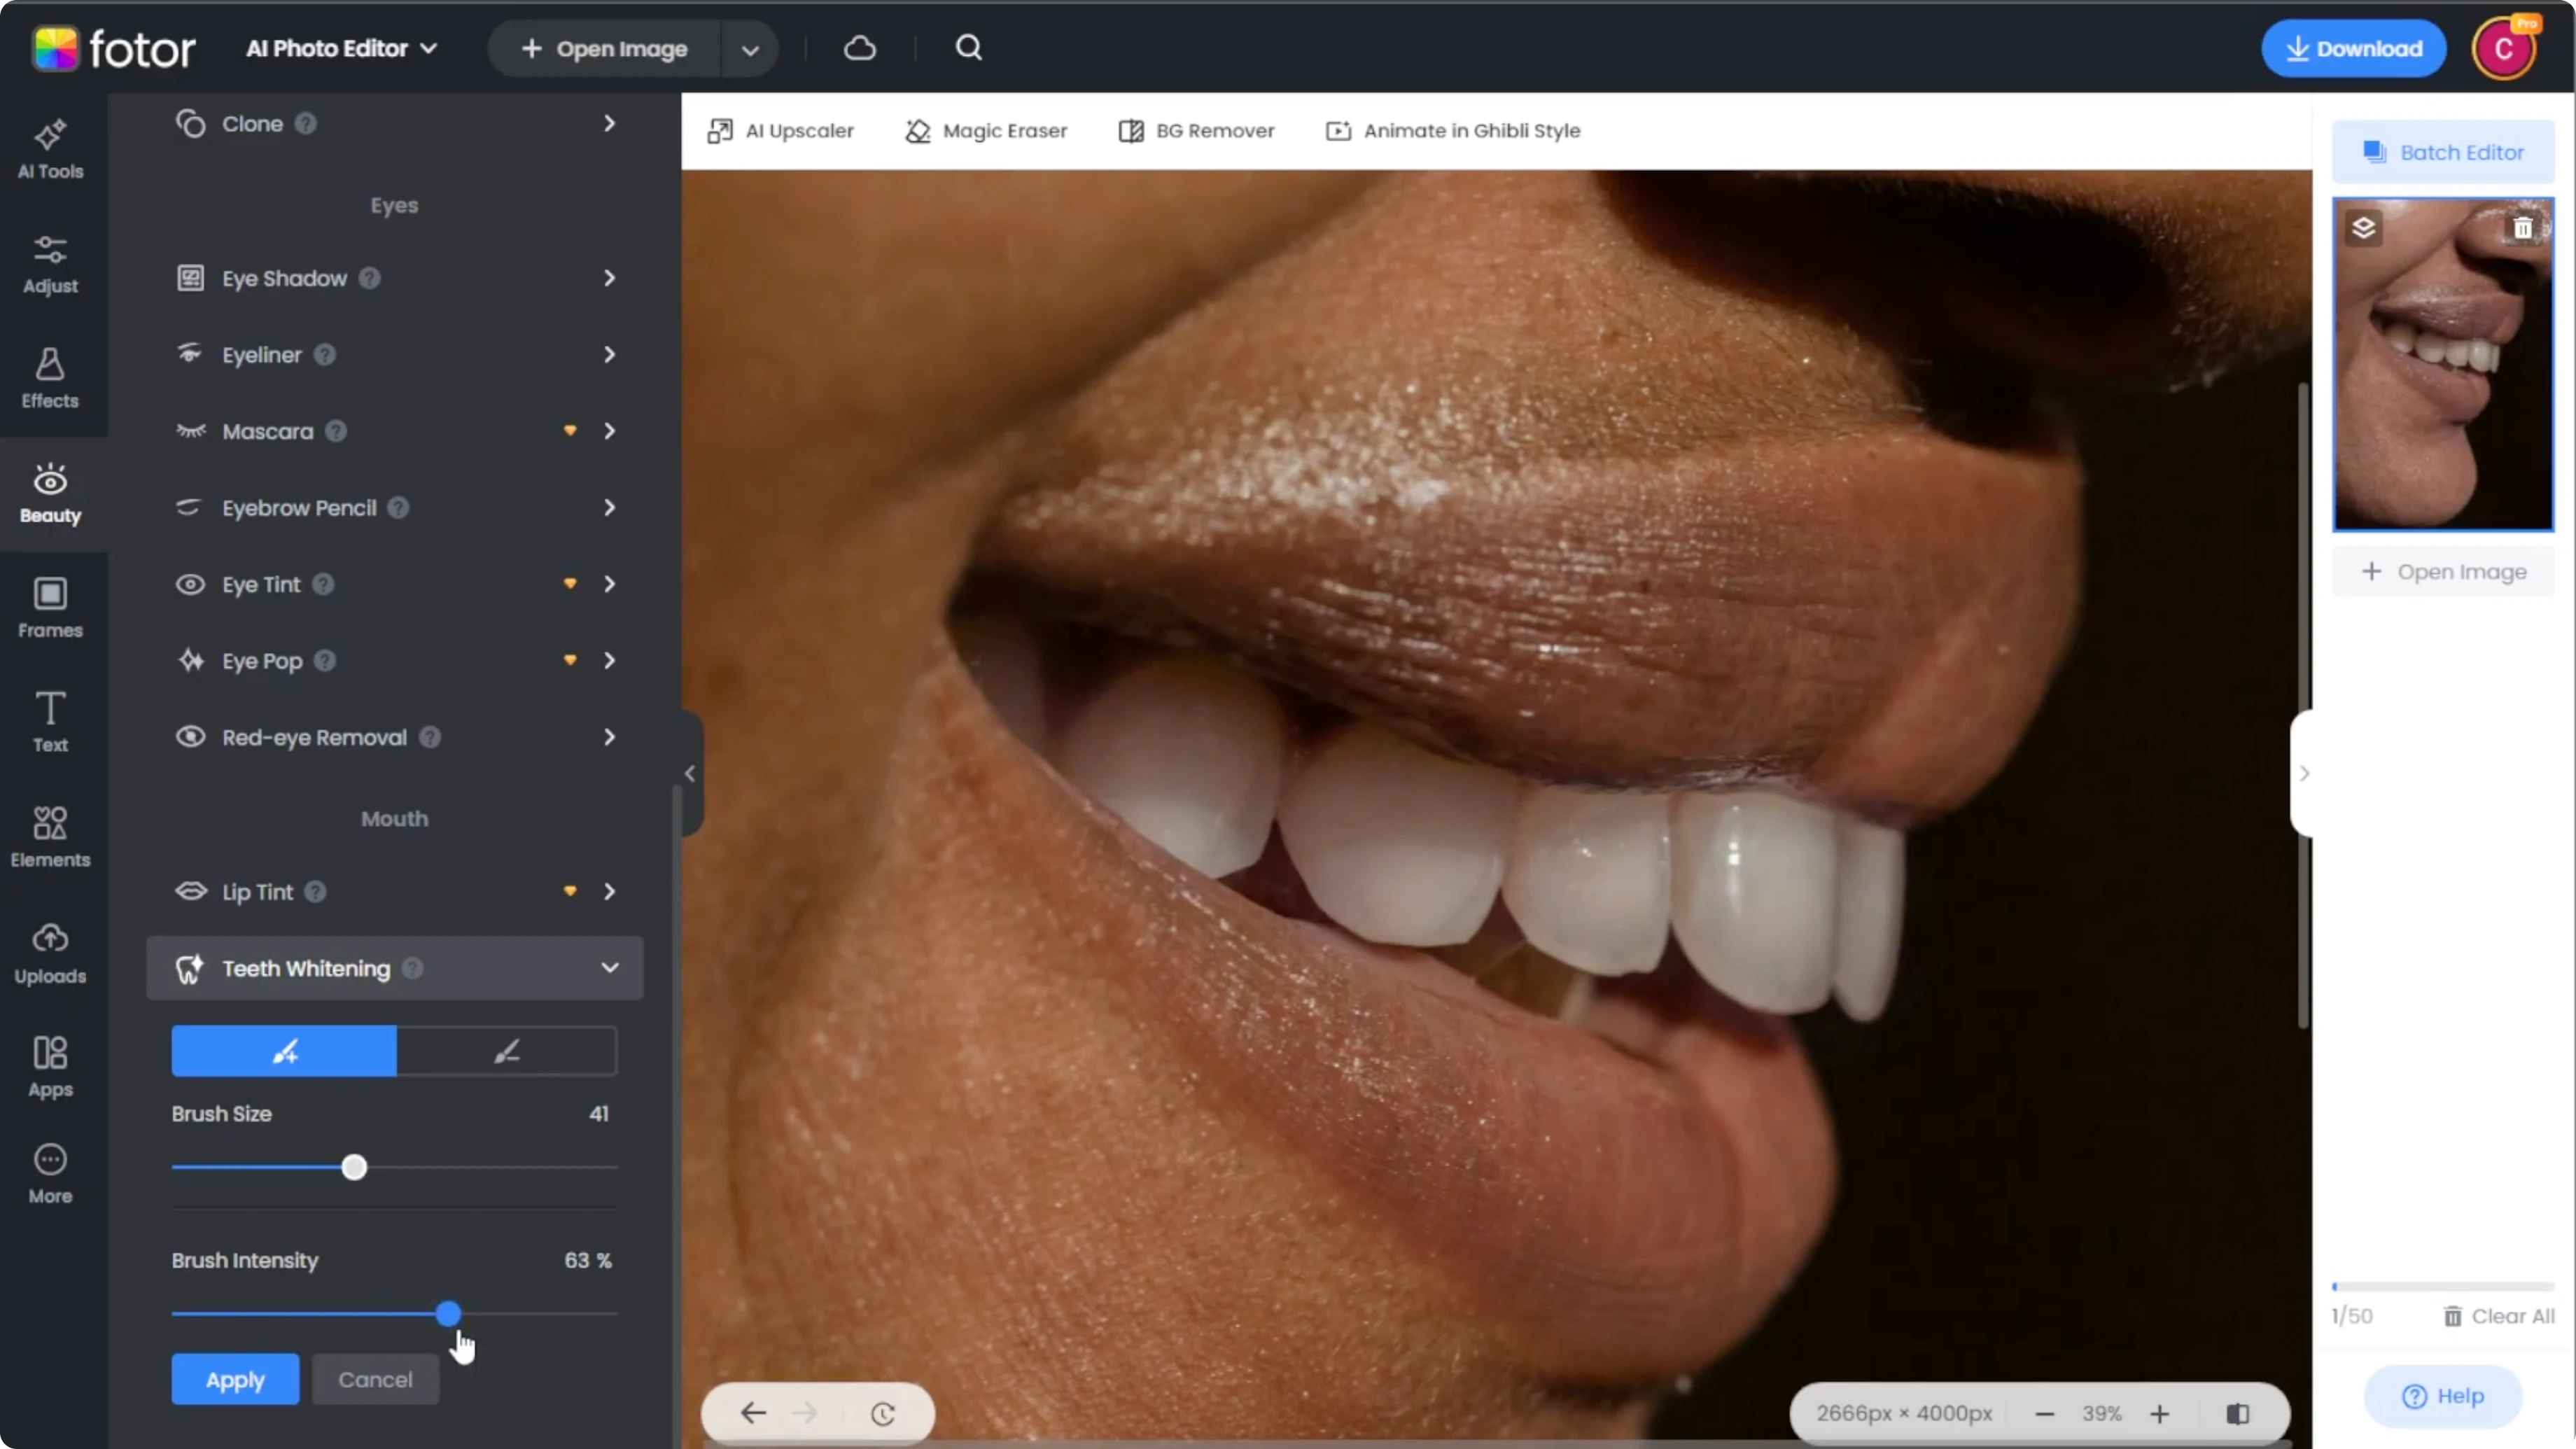
Adjust the brush size to fit the subject's teeth. Set the whitening intensity. Starting around 50% is ideal, and you can fine tune it as needed.
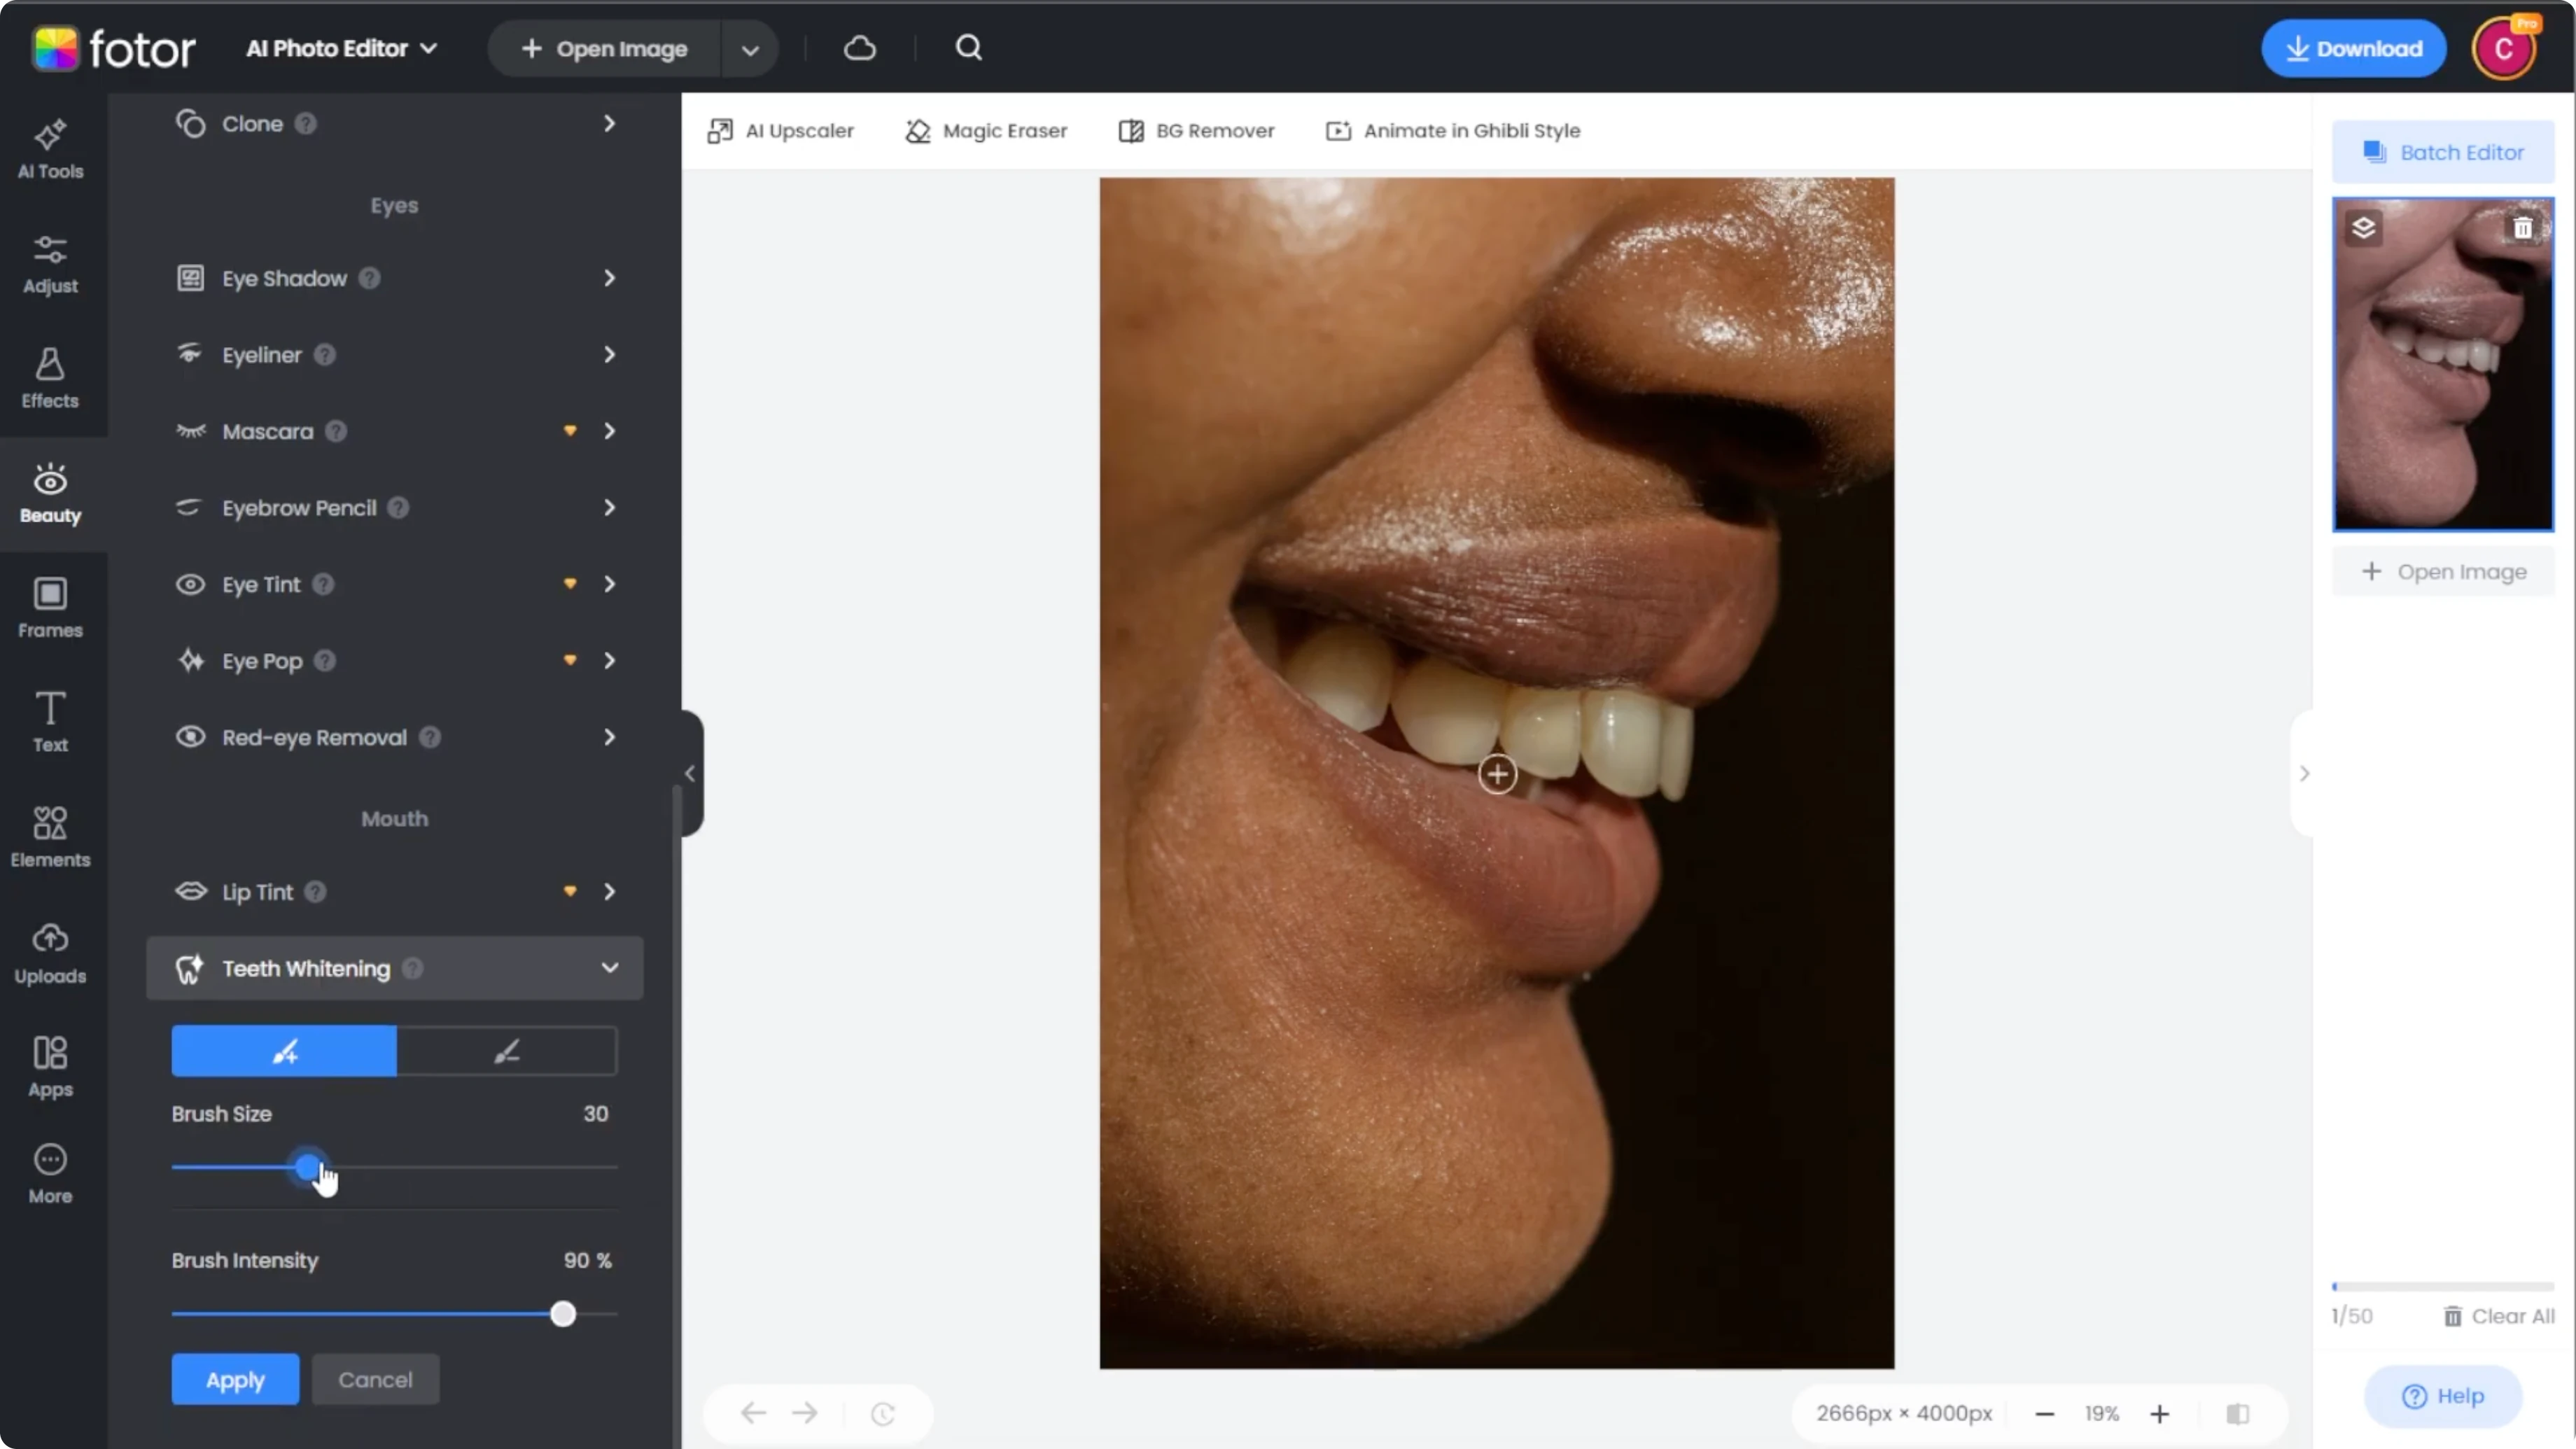
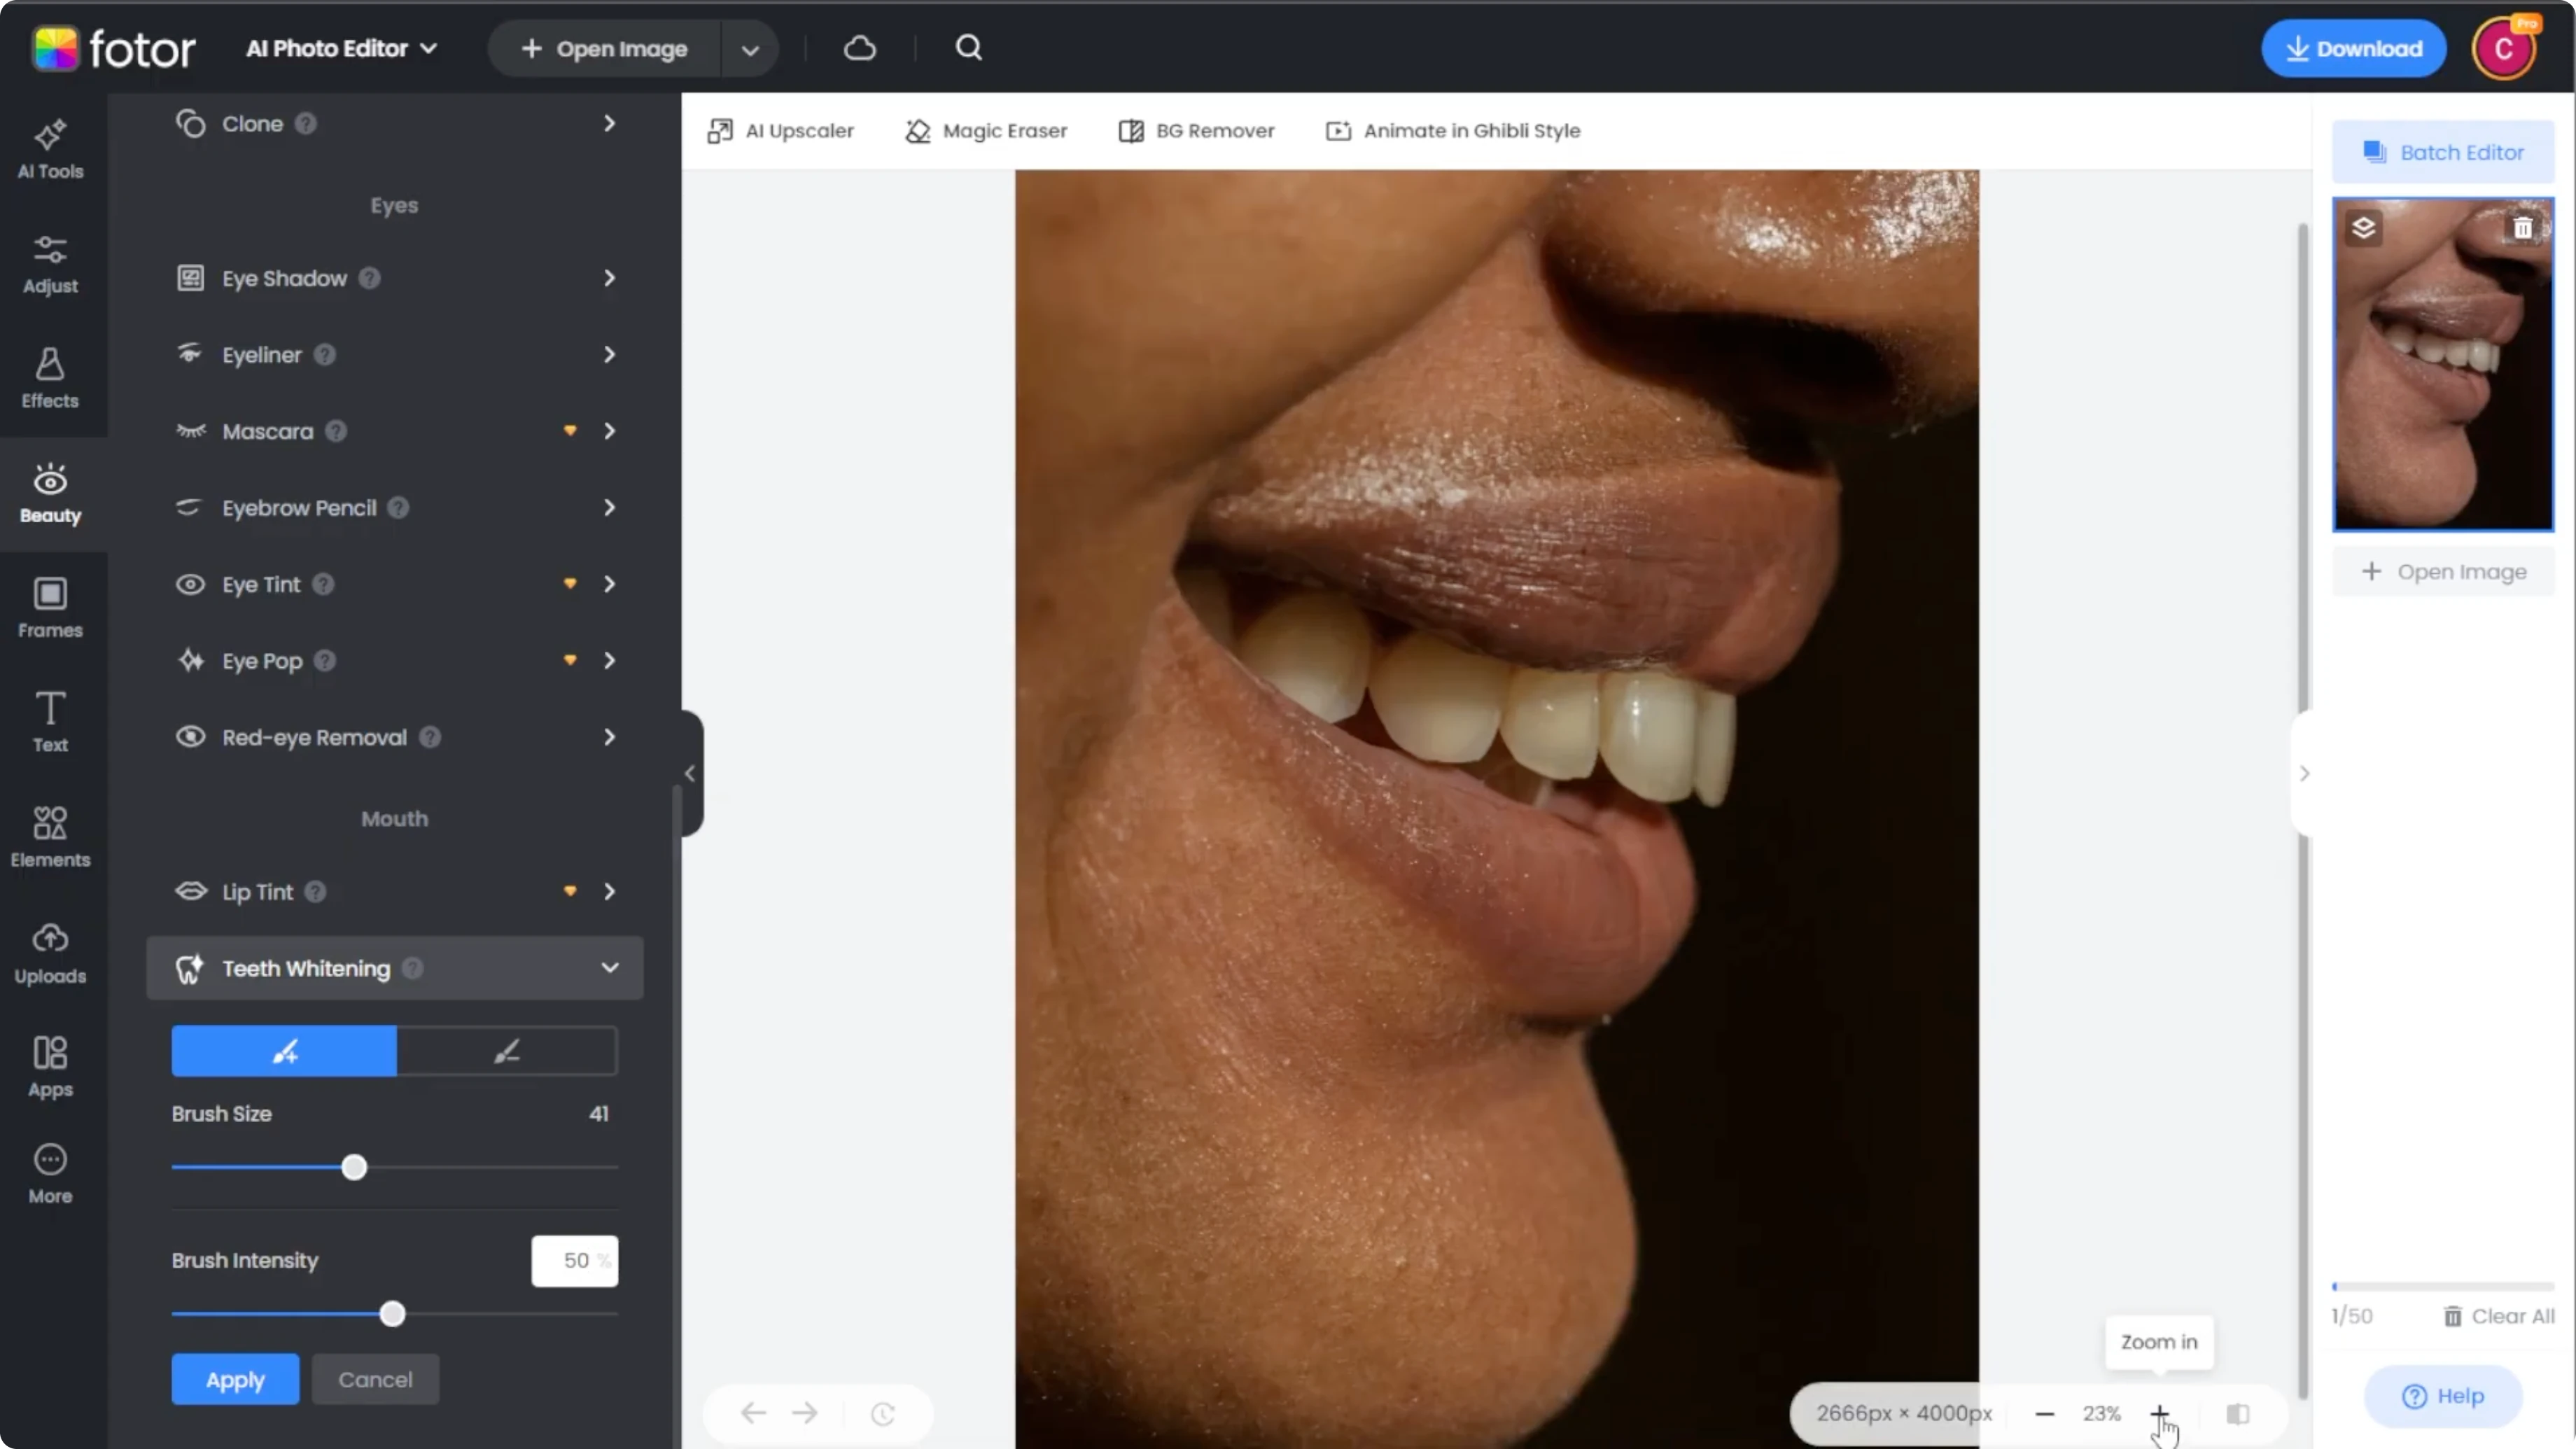
Use the zoom feature for a more accurate application. Zooming helps you stay inside the enamel and away from gums and lips.
Paint the teeth
Carefully paint over the subject's teeth with the brush. For natural looking results, avoid maxing out the intensity.
If you accidentally whiten the lips or skin, switch to Subtract mode to erase unwanted areas. Clean the edges and keep the effect inside the teeth.
Read More: Change your hairstyle with AI
Review and save
Click the Compare button at the bottom to view the before and after of your edit. Look for even color, no halos on the gums, and consistent brightness.
Once you are happy with the whitening effect, click Download to save the photo to your computer or device. Keep a copy of the original if you want to revisit settings later.
Quick tips
Subtle whitening looks more natural, so make sure to not overdo it. This tool is ideal for portraits, profile pictures, or client edits.

You can also combine this effect with skin smoothing and blemish removal for a full beauty touch up. Tweak in small steps and compare often to keep everything looking real.
Read More: See what your future child might look like
Final thoughts
Whitening teeth with AI is fast when you set a moderate intensity, paint precisely, and use Compare to check your work. Keep the effect subtle, correct any spillover with Subtract, and export a clean result.
Recent Posts
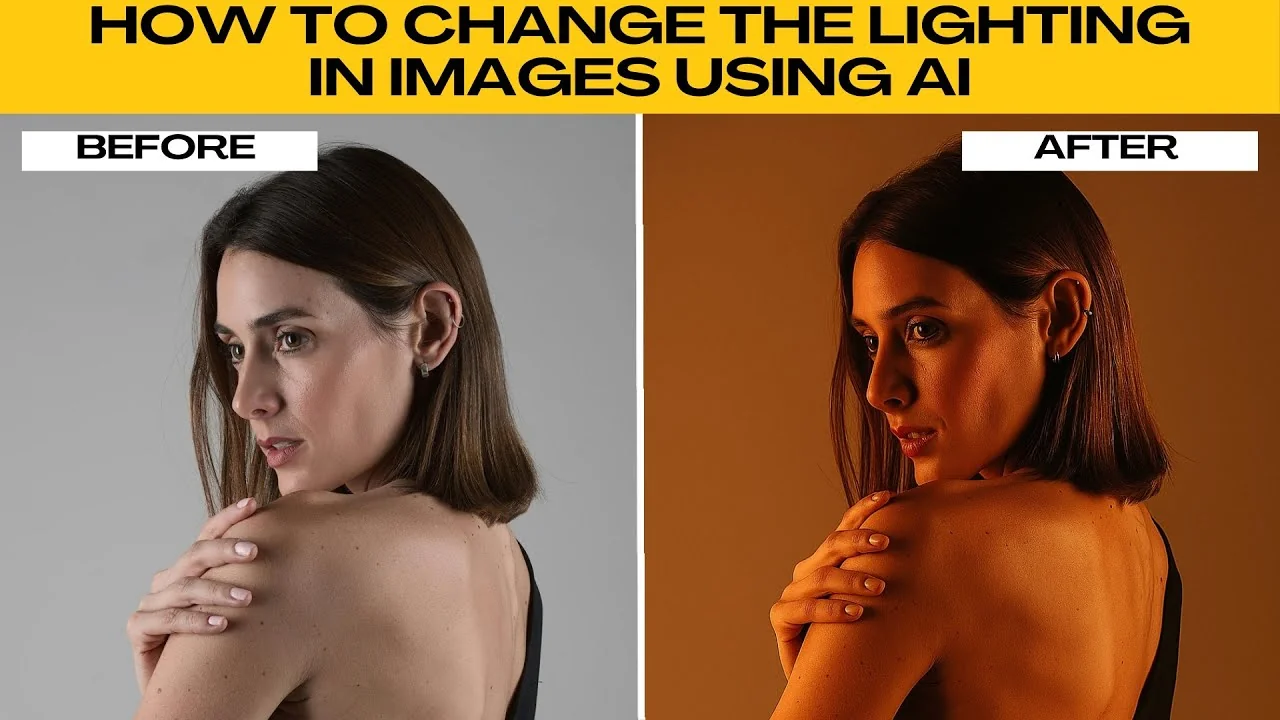
How to Adjust and Control Image Lighting with AI?
How to Adjust and Control Image Lighting with AI?
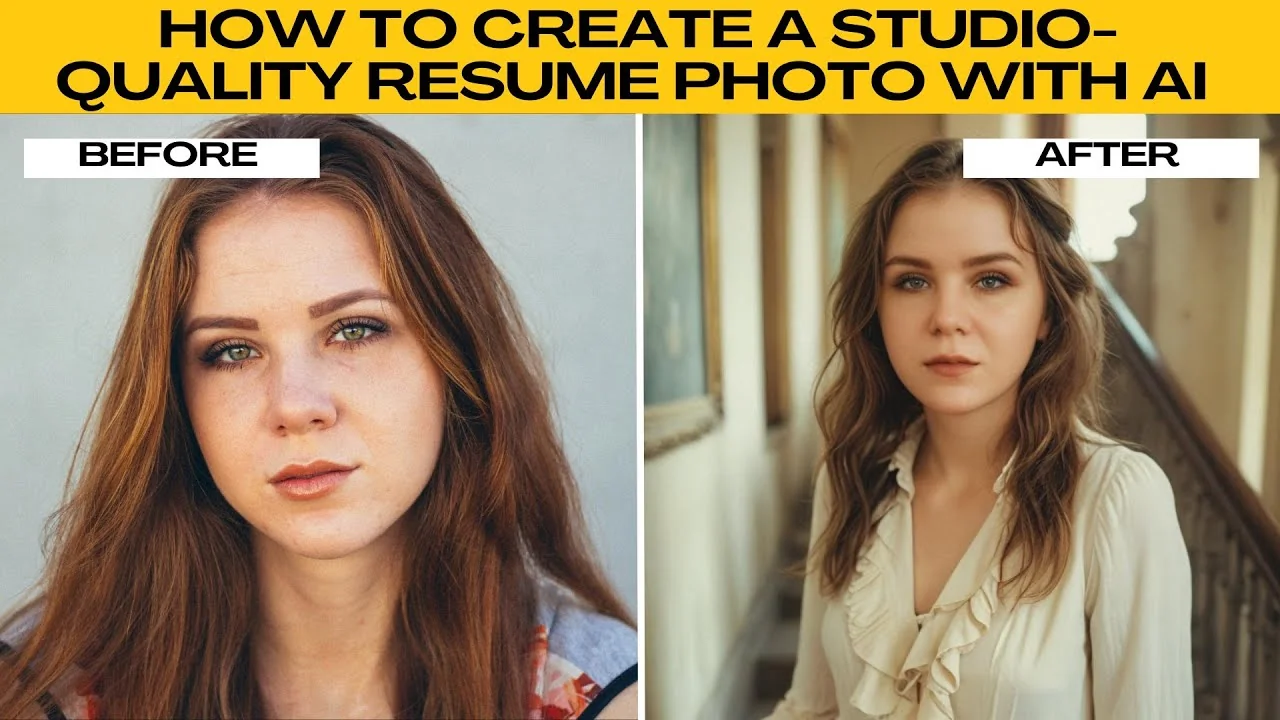
How to Generate a Studio-Quality Professional Headshot with AI?
How to Generate a Studio-Quality Professional Headshot with AI?
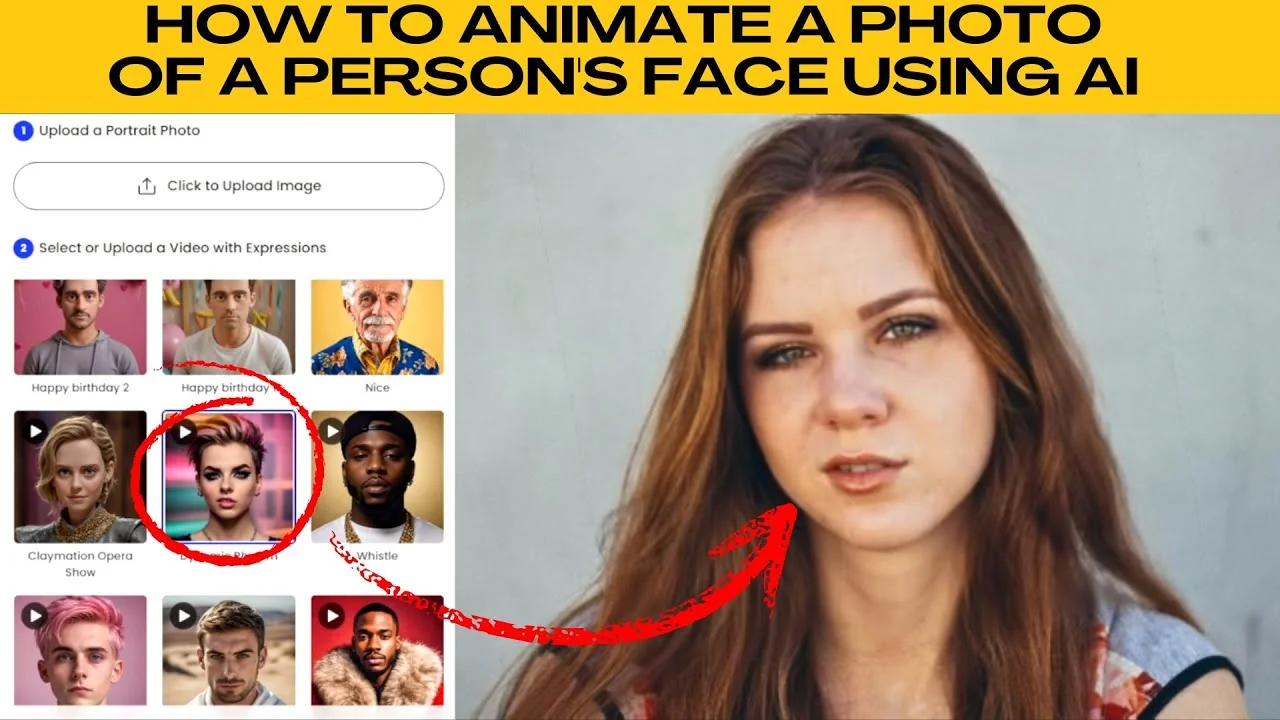
How to Bring Still Portraits to Life and Animate Faces with AI?
How to Bring Still Portraits to Life and Animate Faces with AI?