How to Restore lost Details and Enhance Image Clarity with AI?
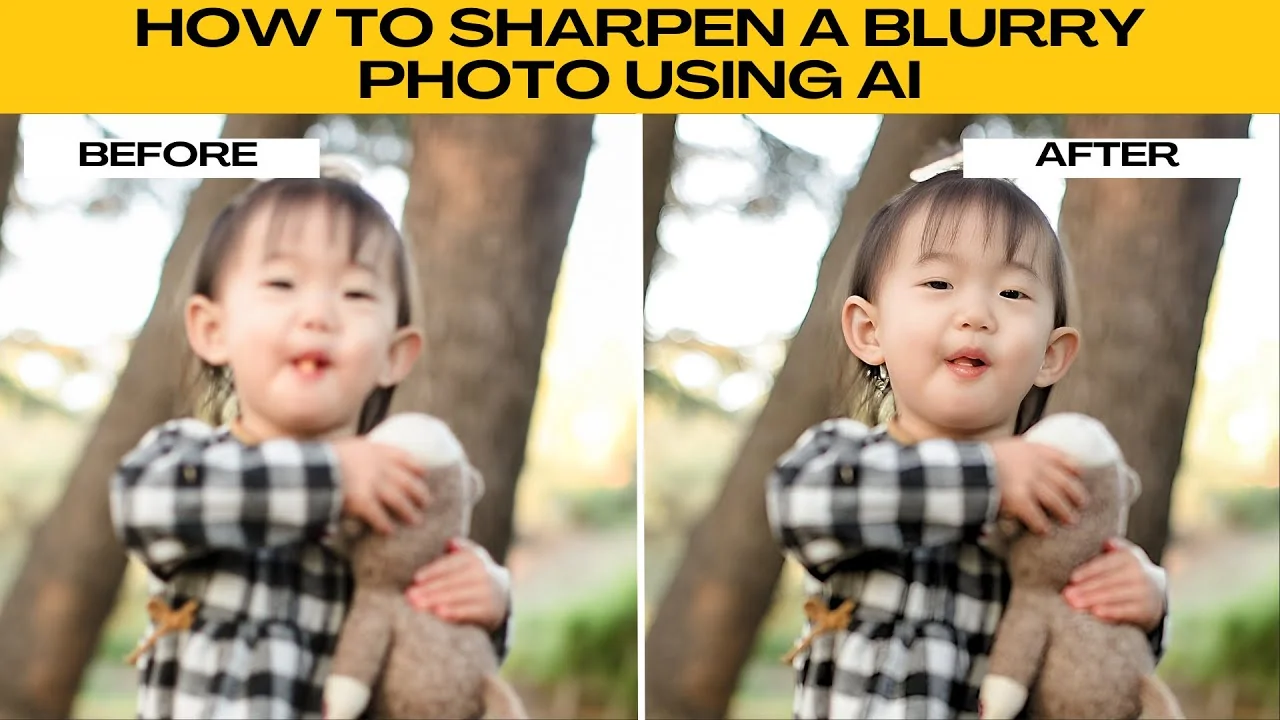
I will teach you how to sharpen a blurry photo using AI.
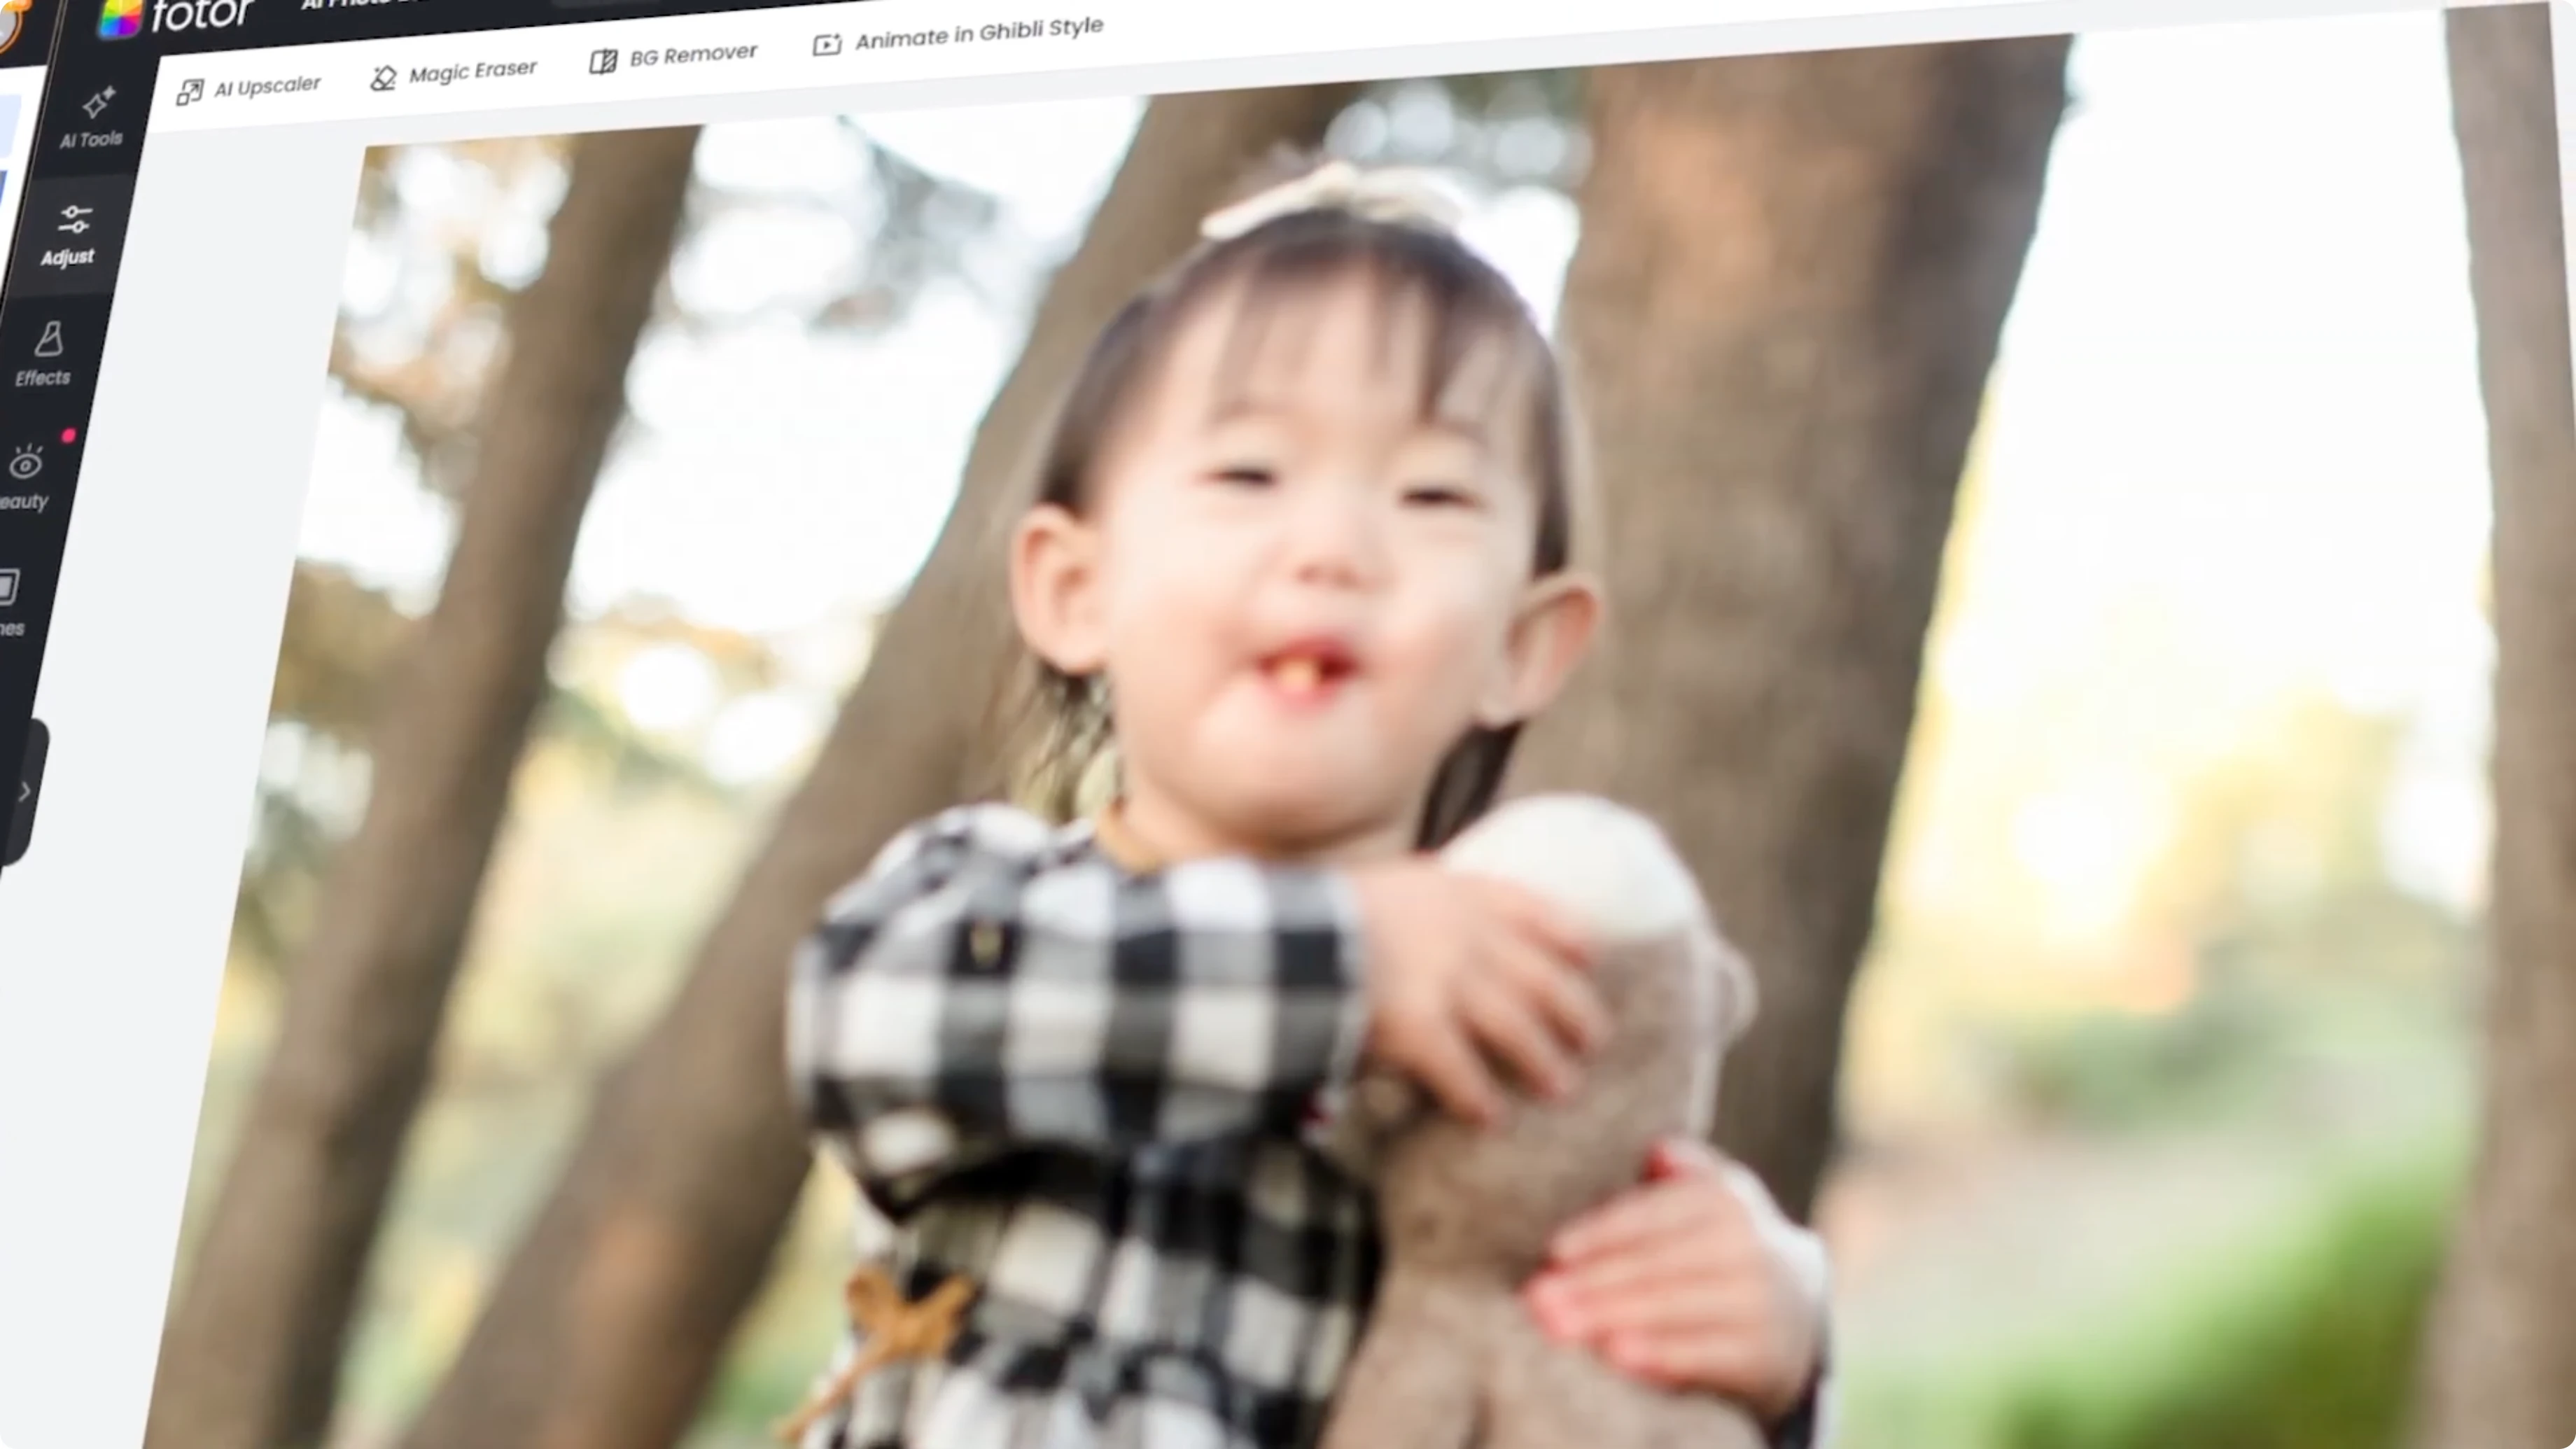
Photo AI setup
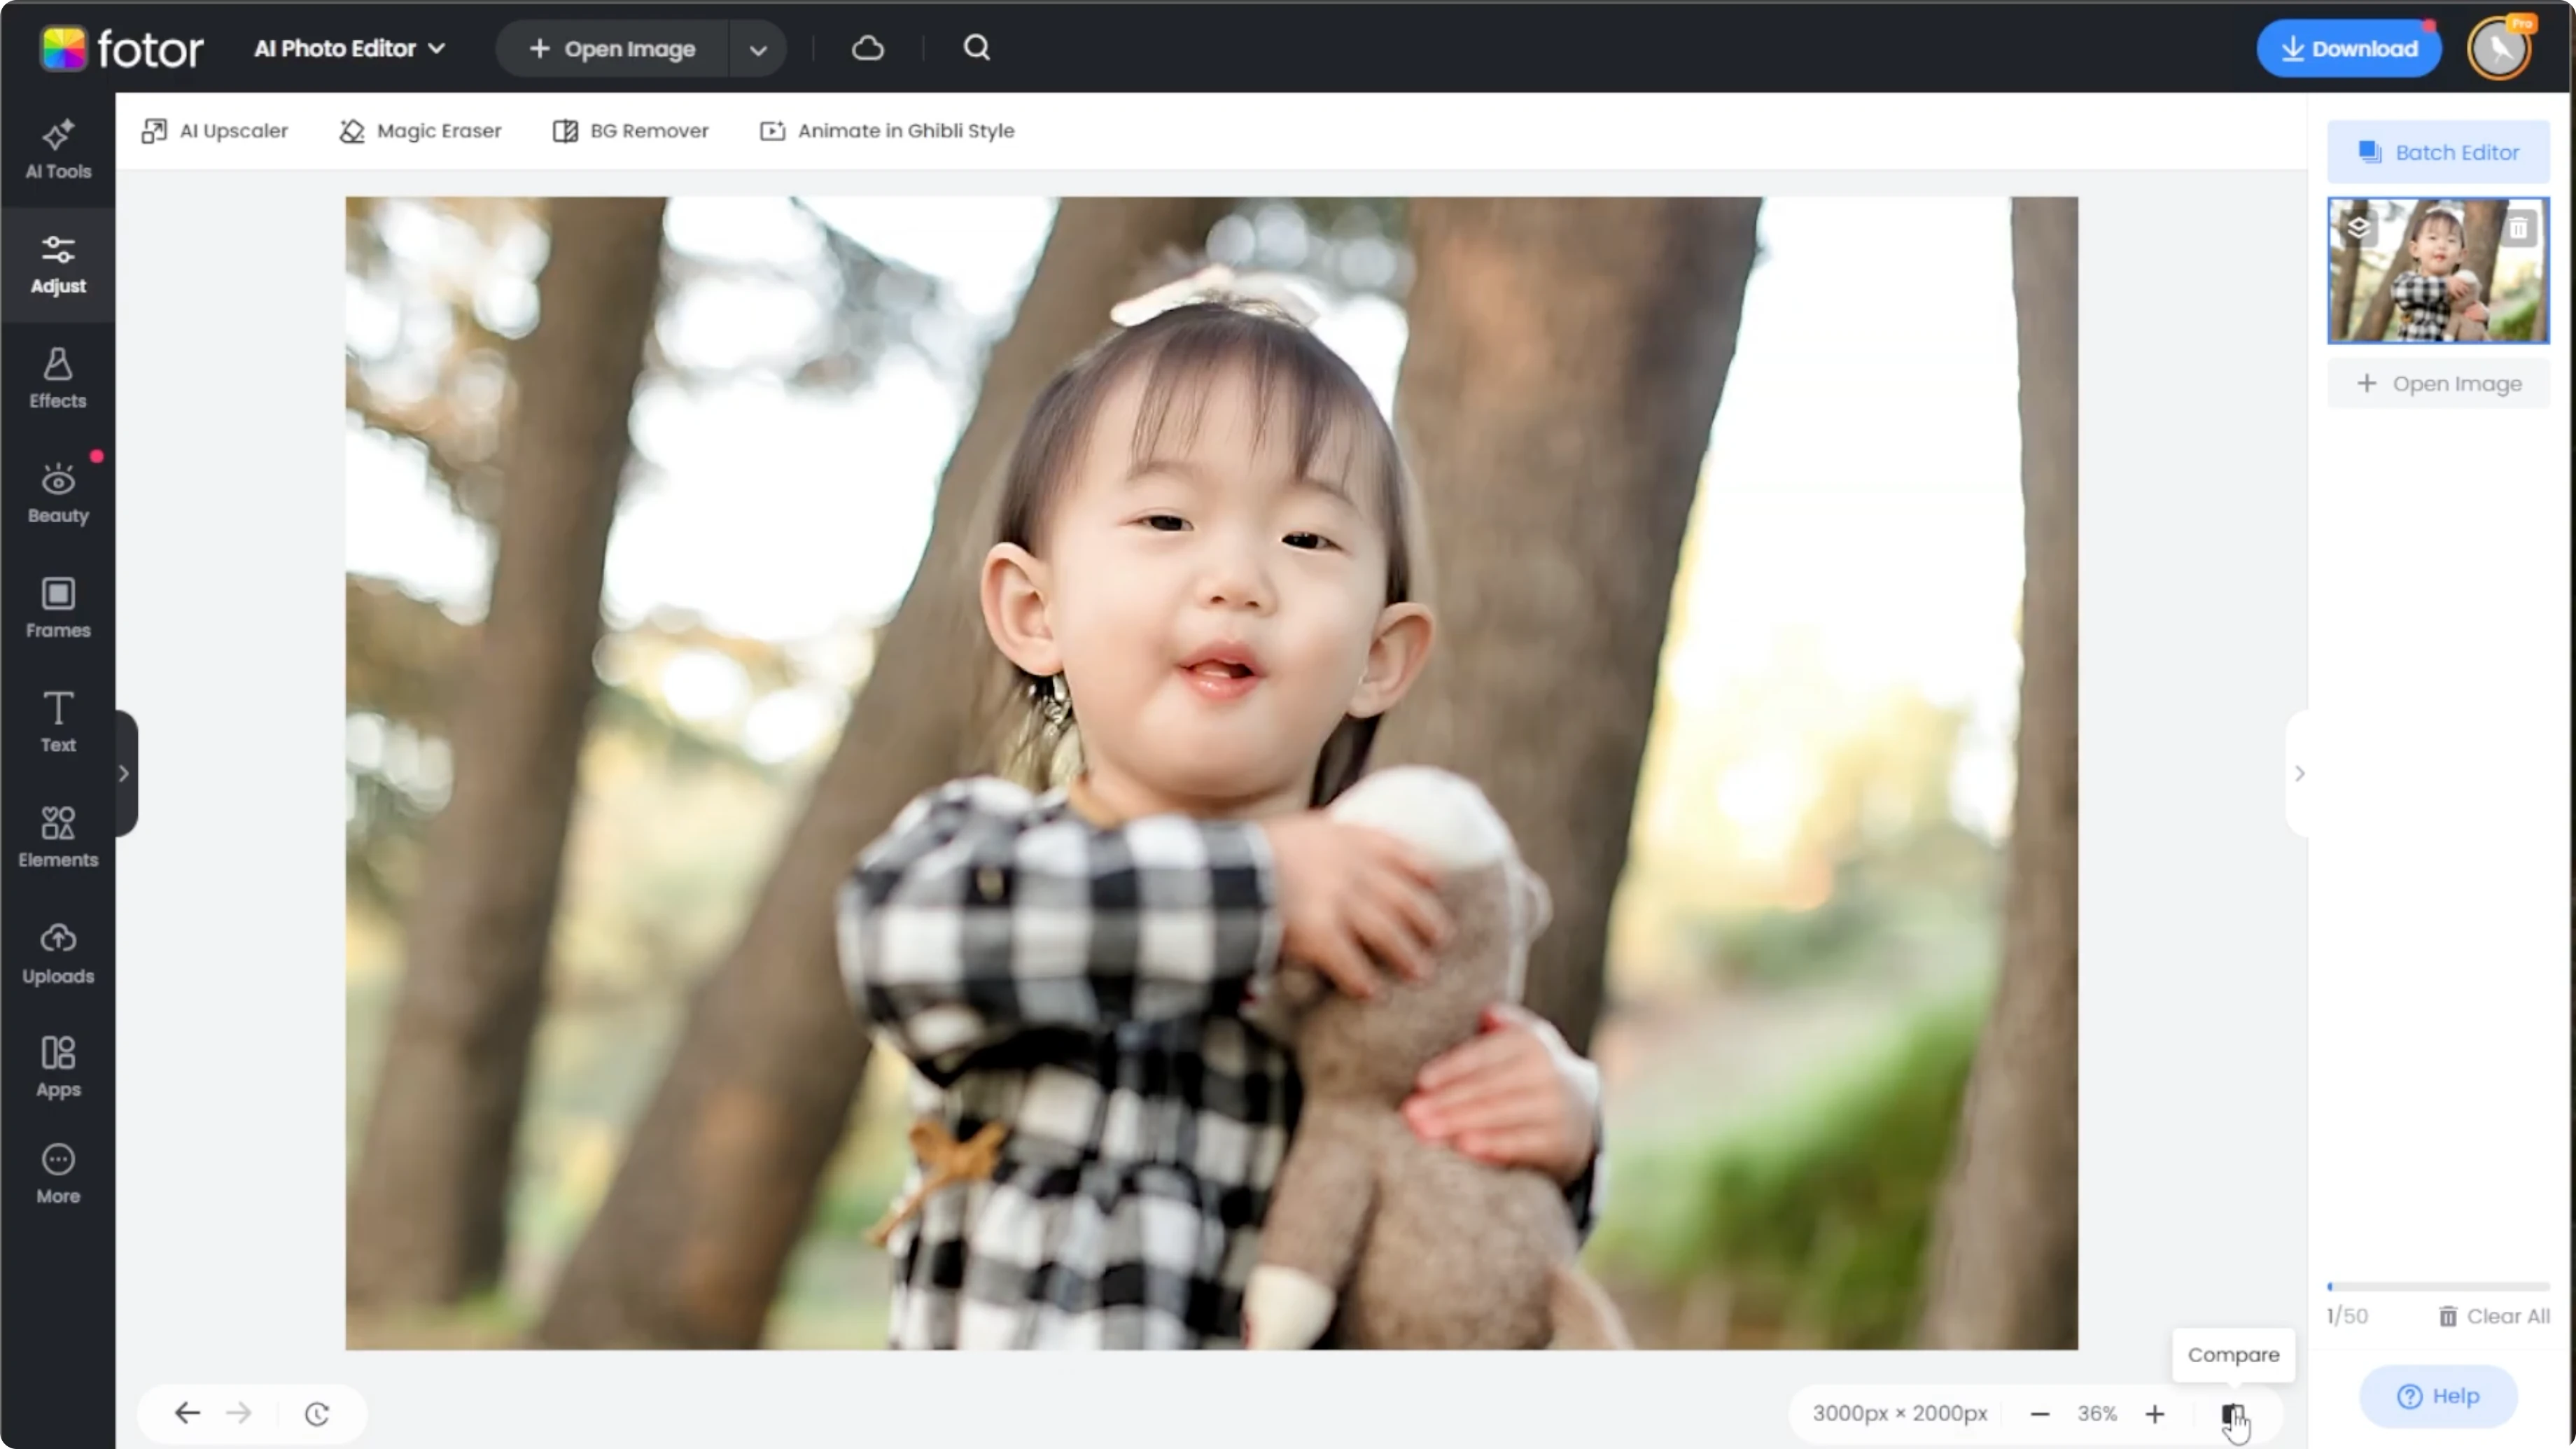
Head to Photo AI photo editor.

Click upload to import your own image.
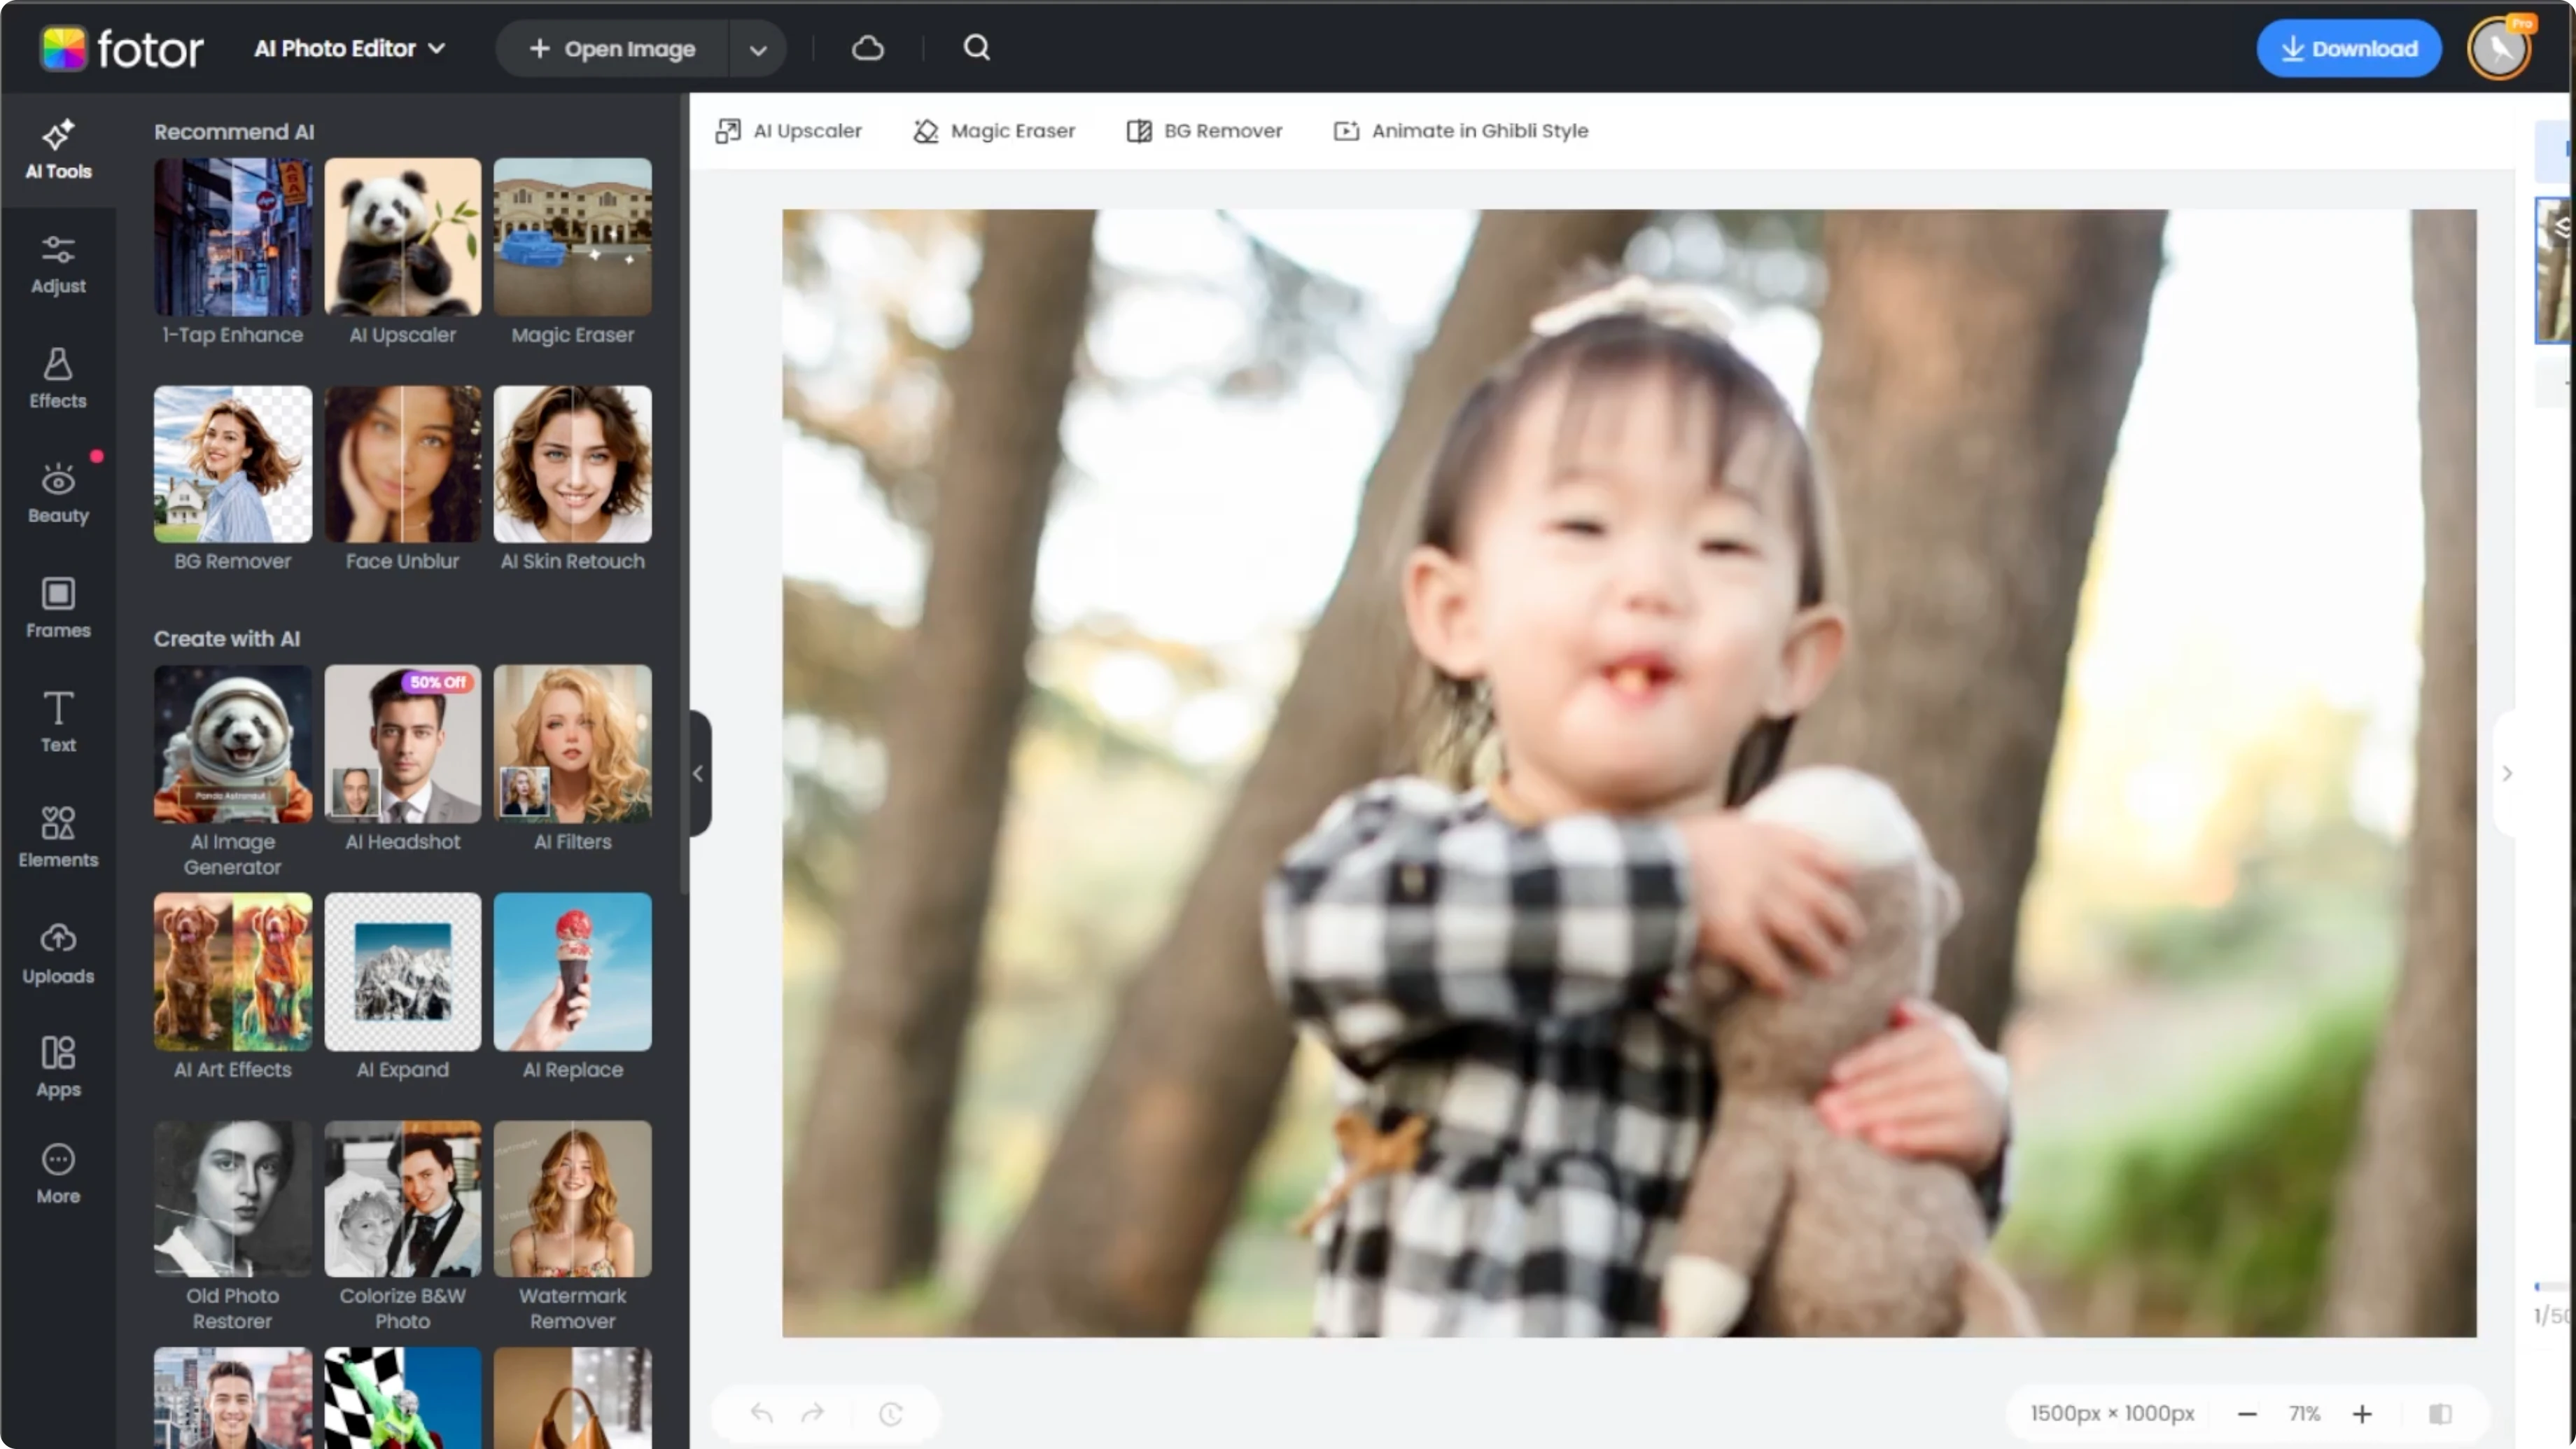
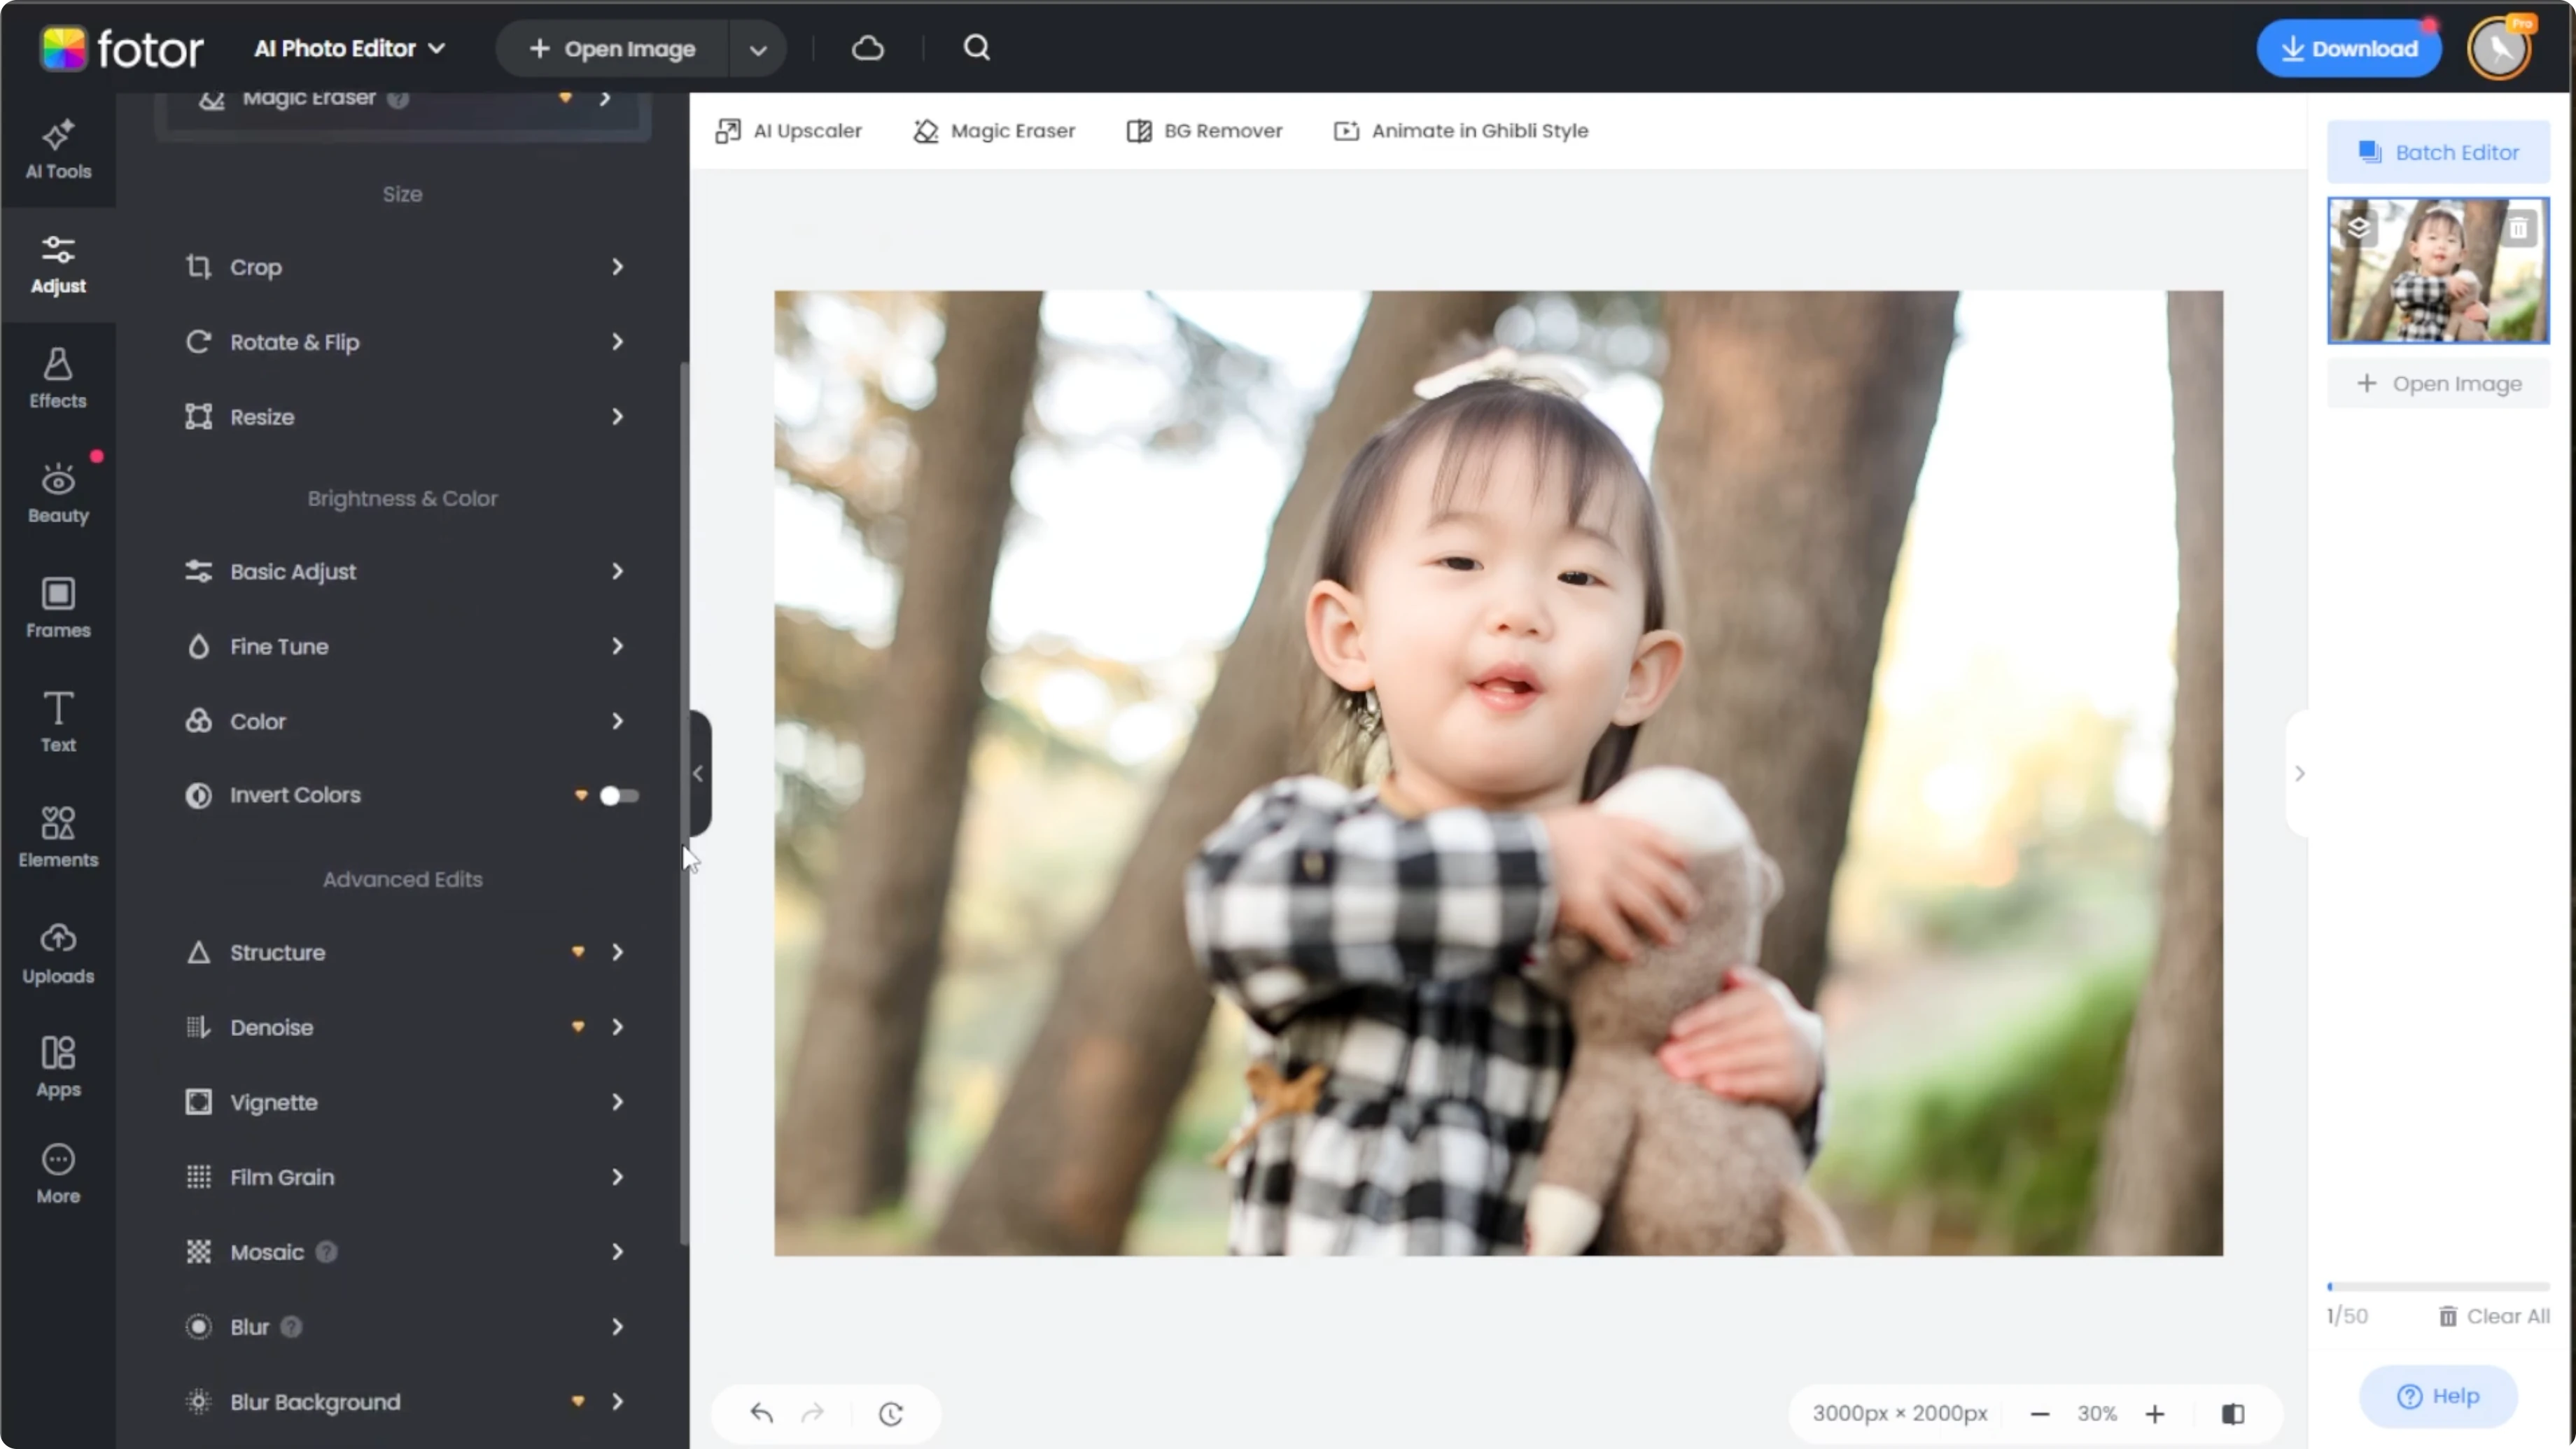
On the left panel, go to adjust.
Select face and blur to automatically sharpen facial features.

Take note that this is a pro feature and using it without a subscription will add a watermark.
However, a 7 day free trial is available, so you can test out the feature first and decide later.
Read More: Image Editing Using Icedit Ai
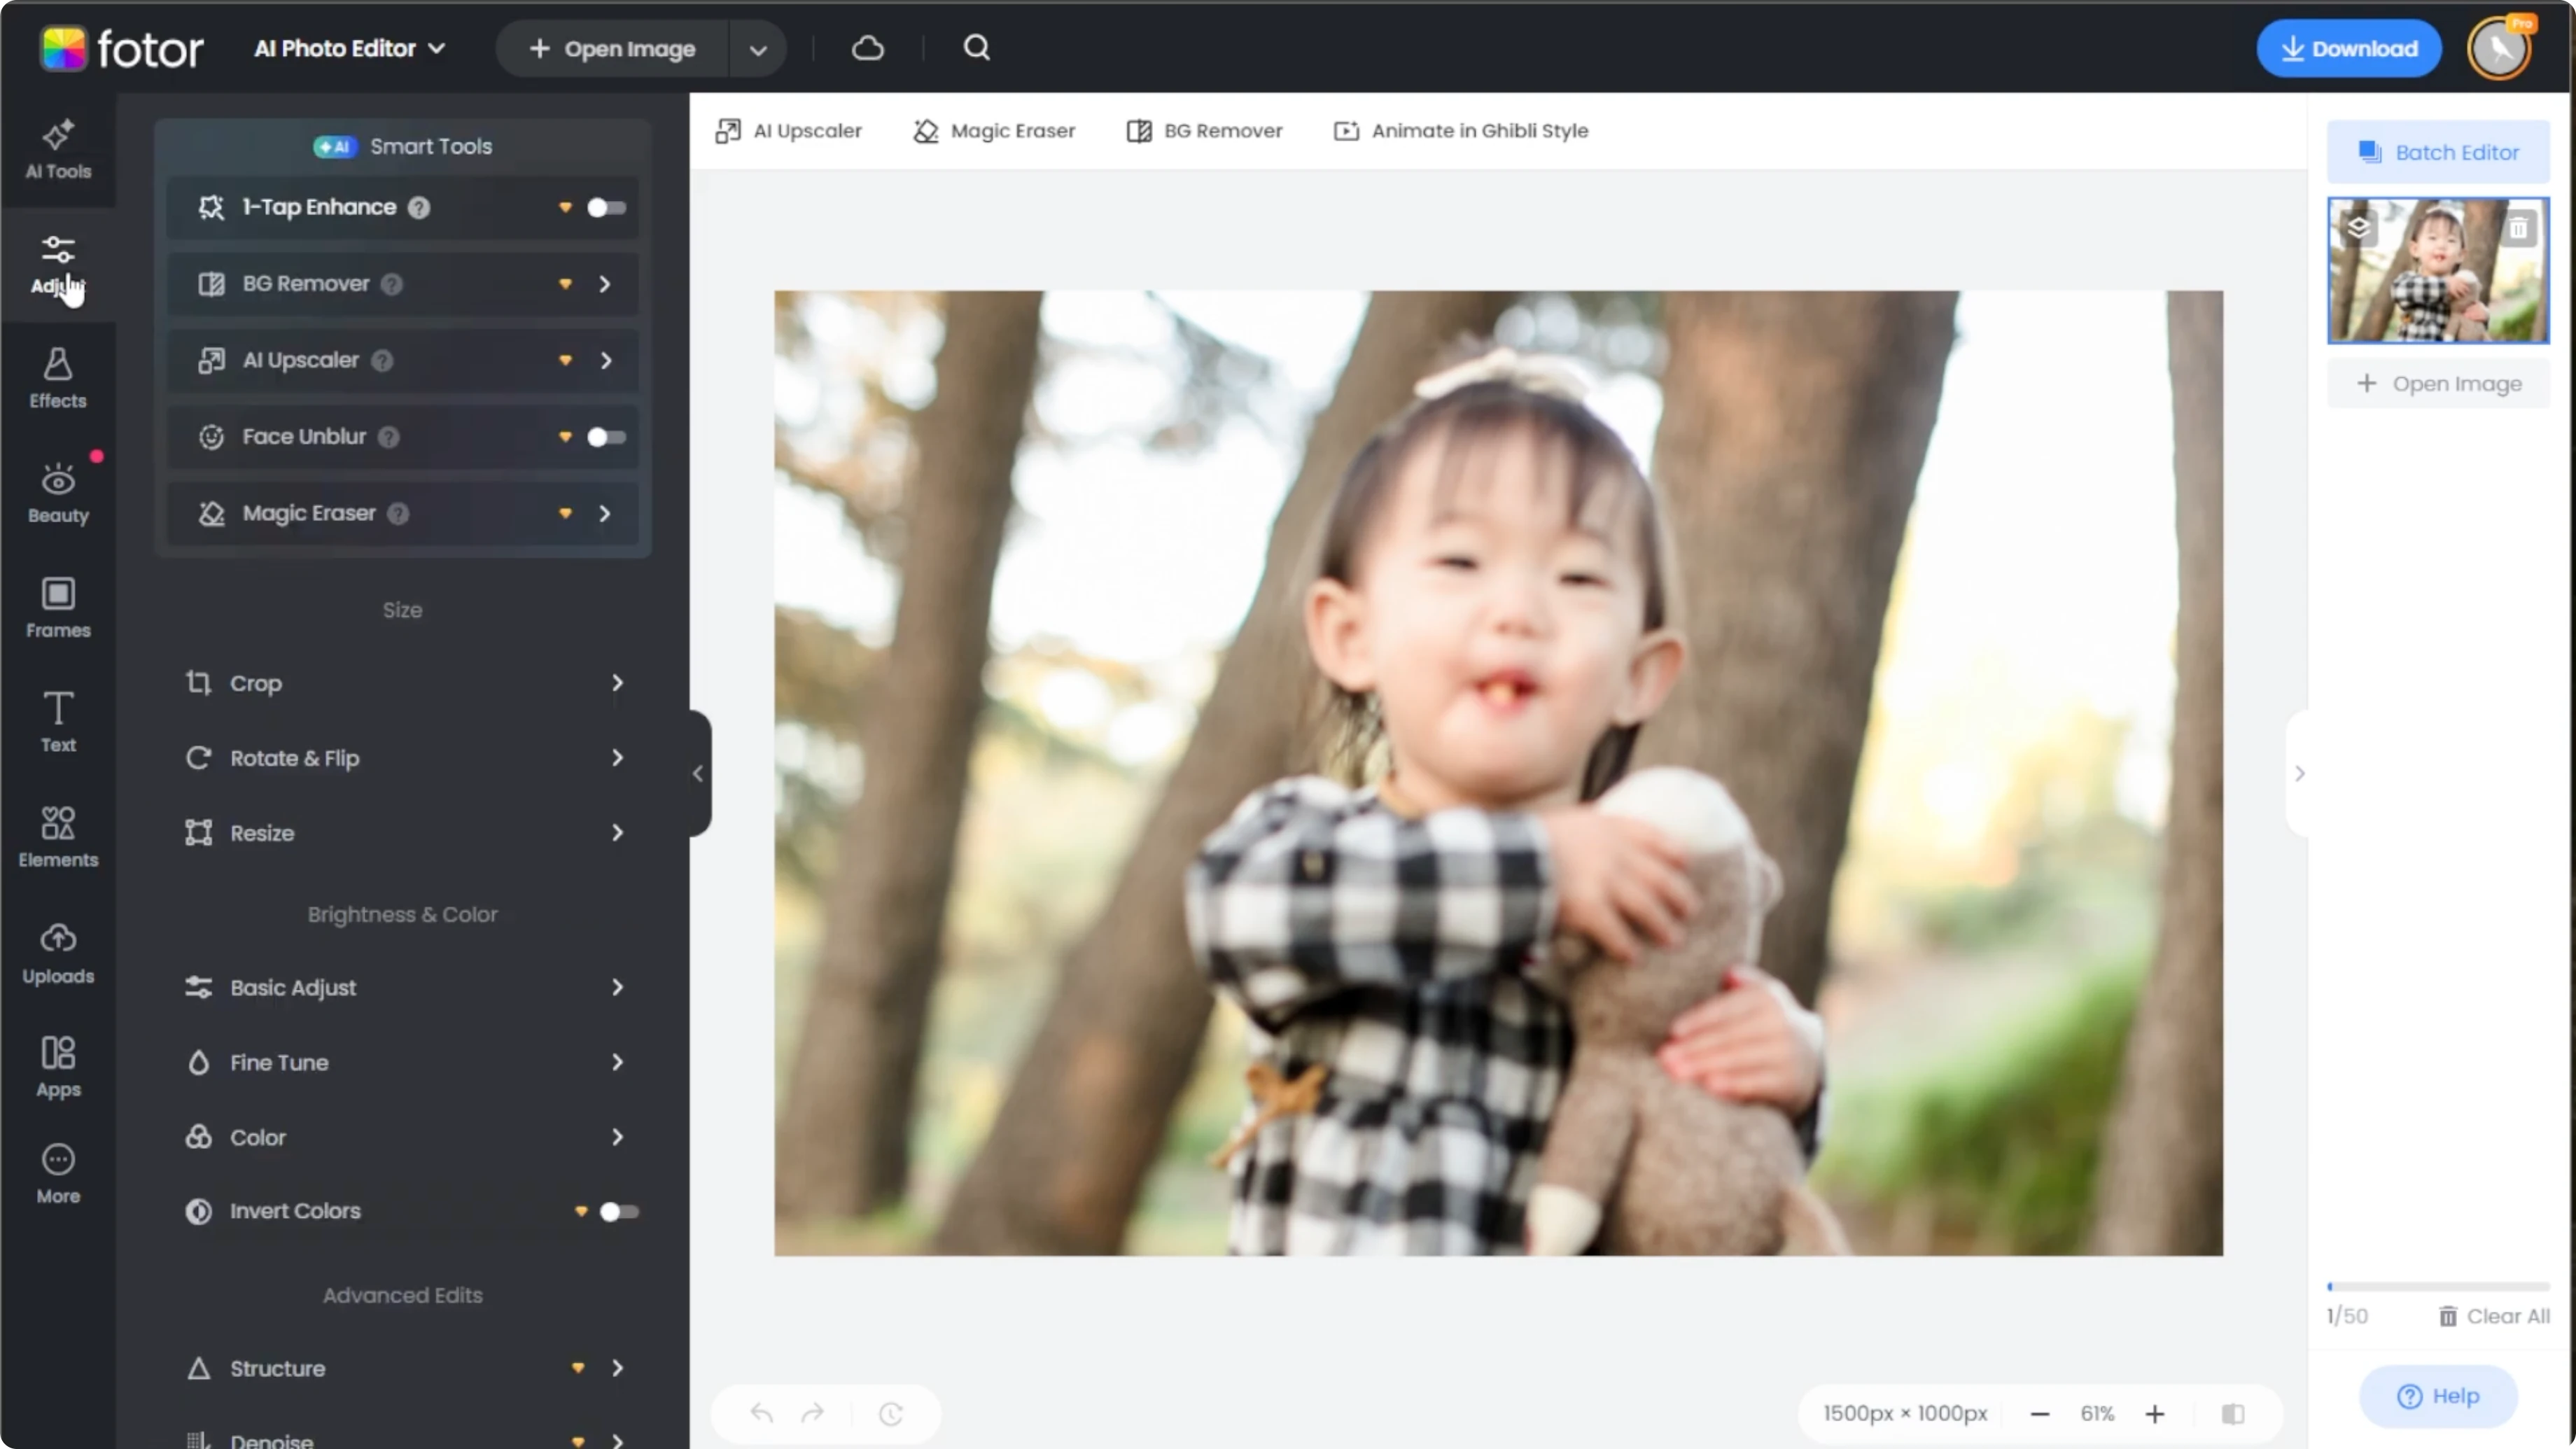
Basic adjust
Scroll down to the brightness and color section and open the basic adjust drop down.
Adjust the sharpness slider to enhance the details.
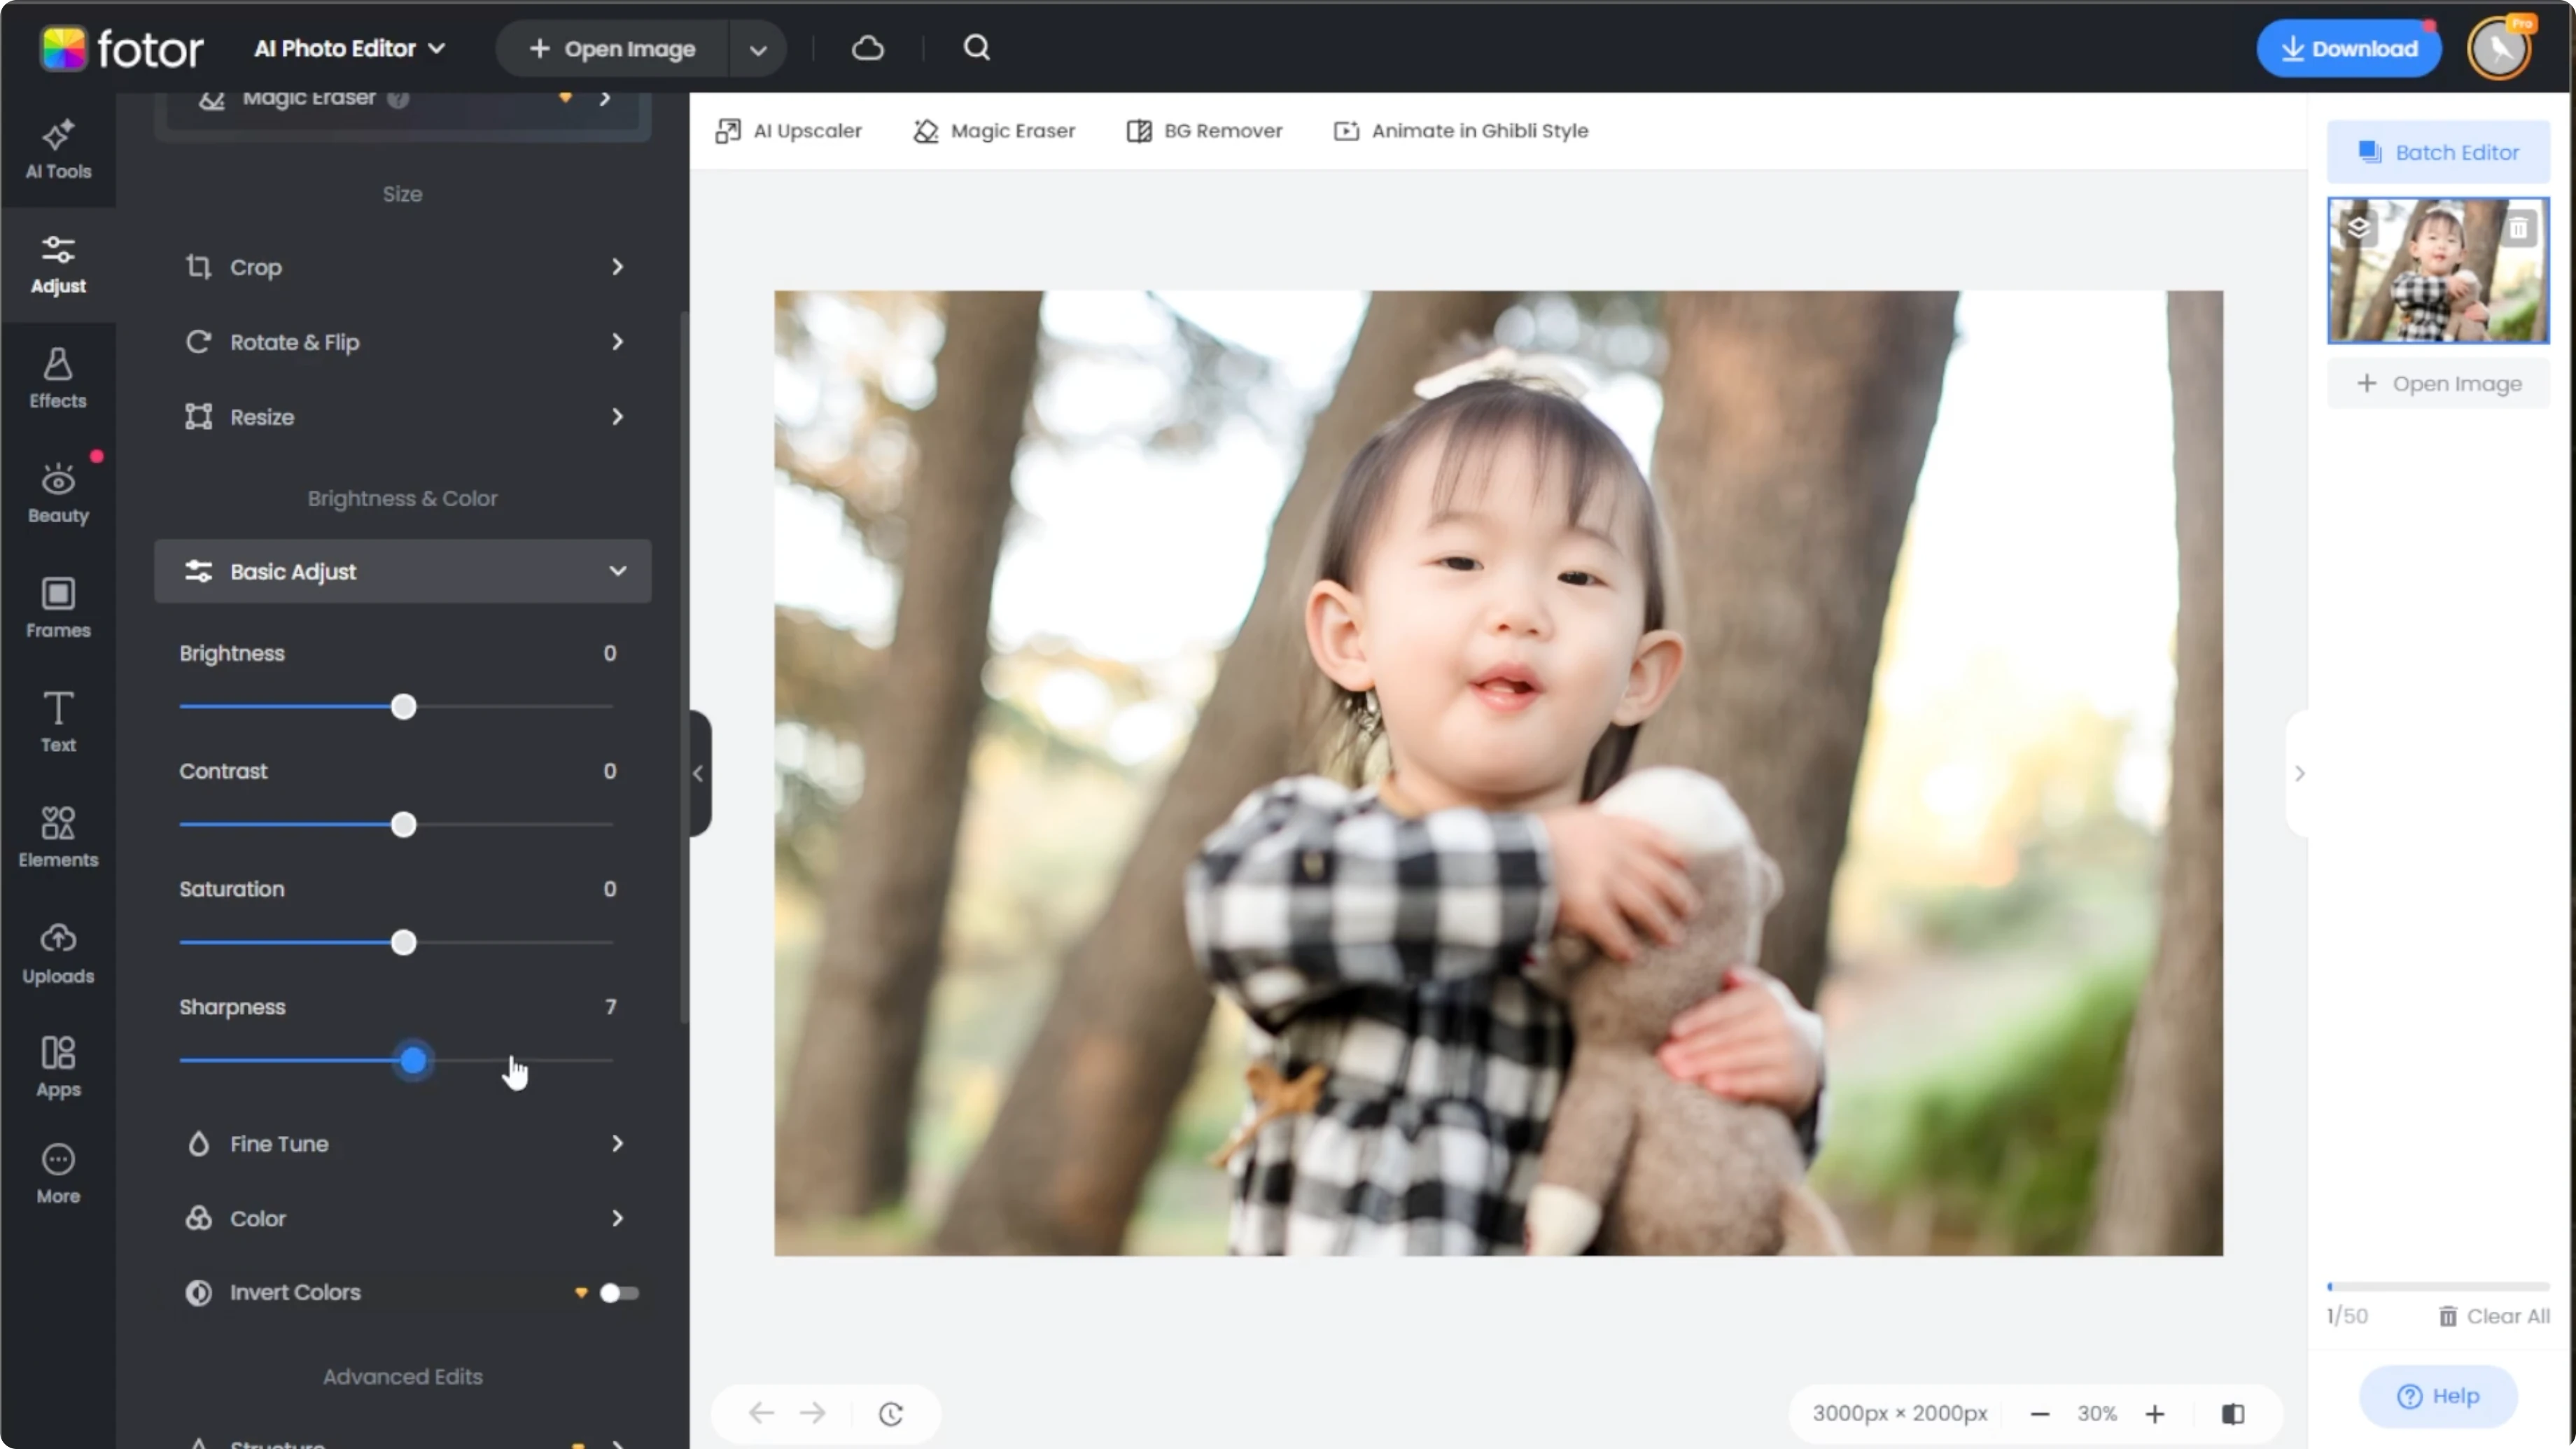
Make sure to use subtle increments to avoid oversharpening.
For dark scenes, see how to enhance low light photos with AI.
Structure and clarity
We are going to refine with advanced structure tools.
If you still need more clarity, scroll to the advanced edit section.
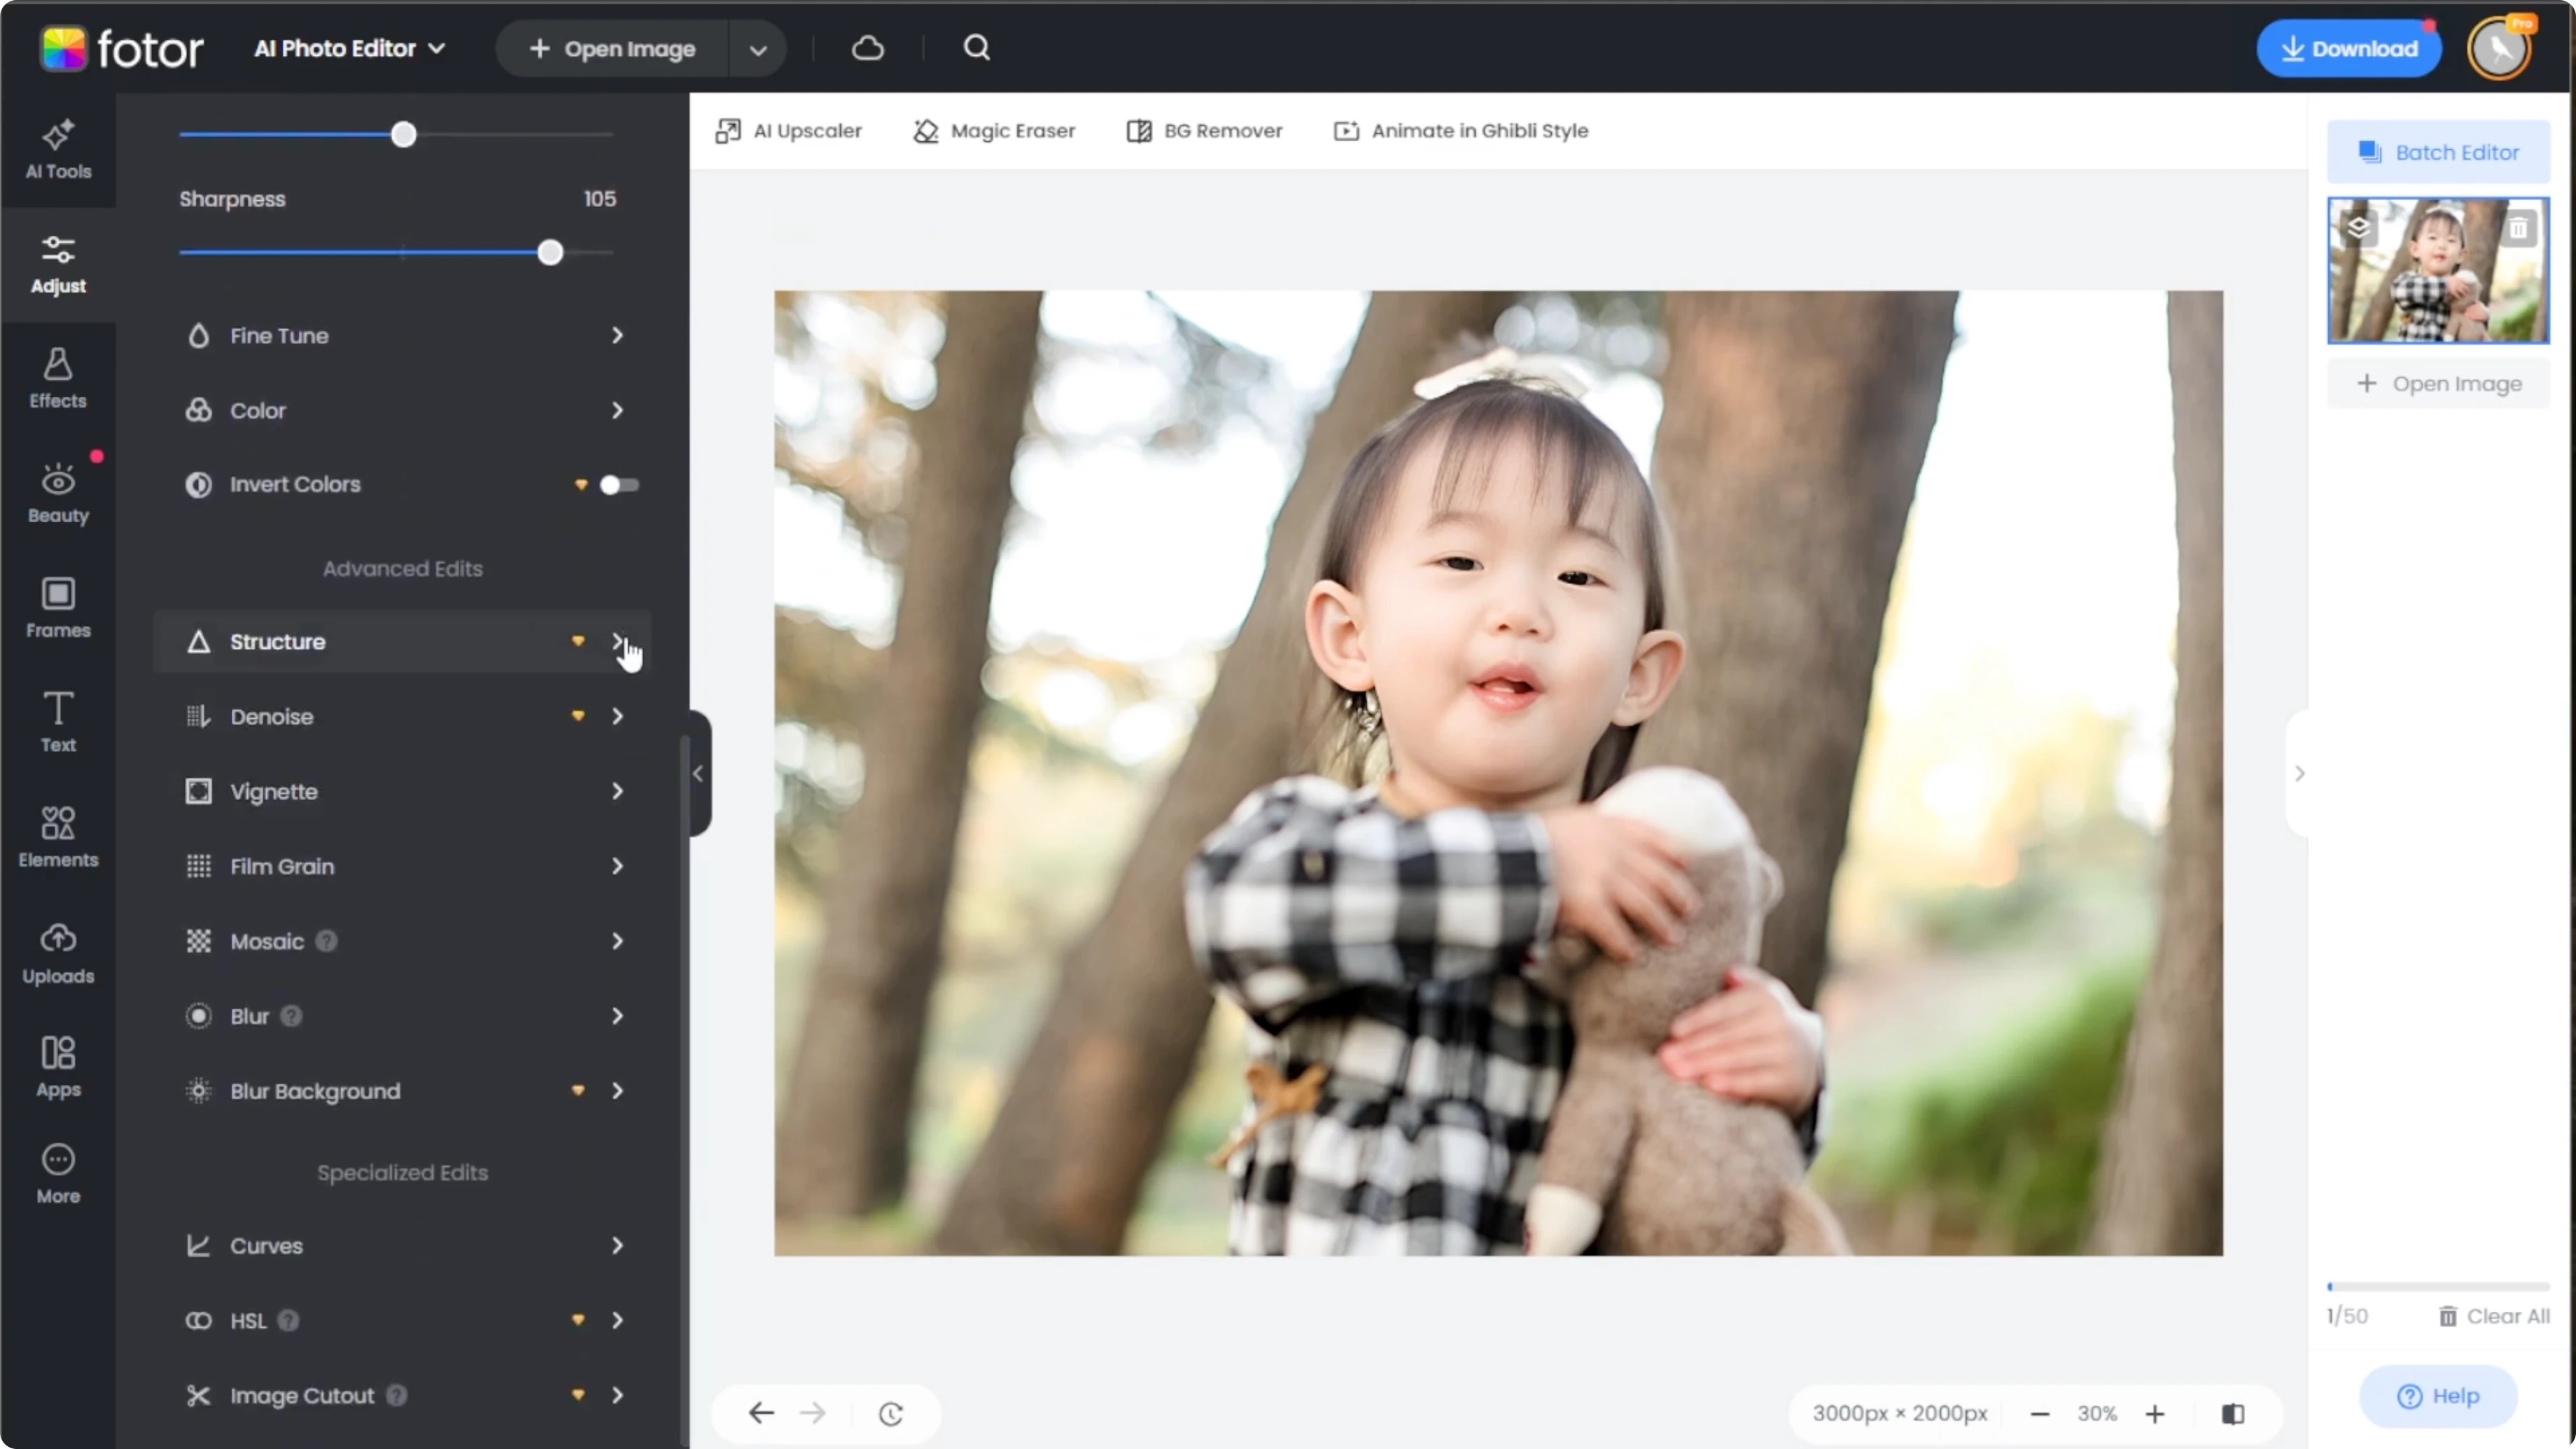
Open the structure dropdown, then adjust the detail and gradation sliders to fine tune the texture and contrast.
Click and hold the compare button at the bottom right of the editor to view your original image side by side with the edited version.
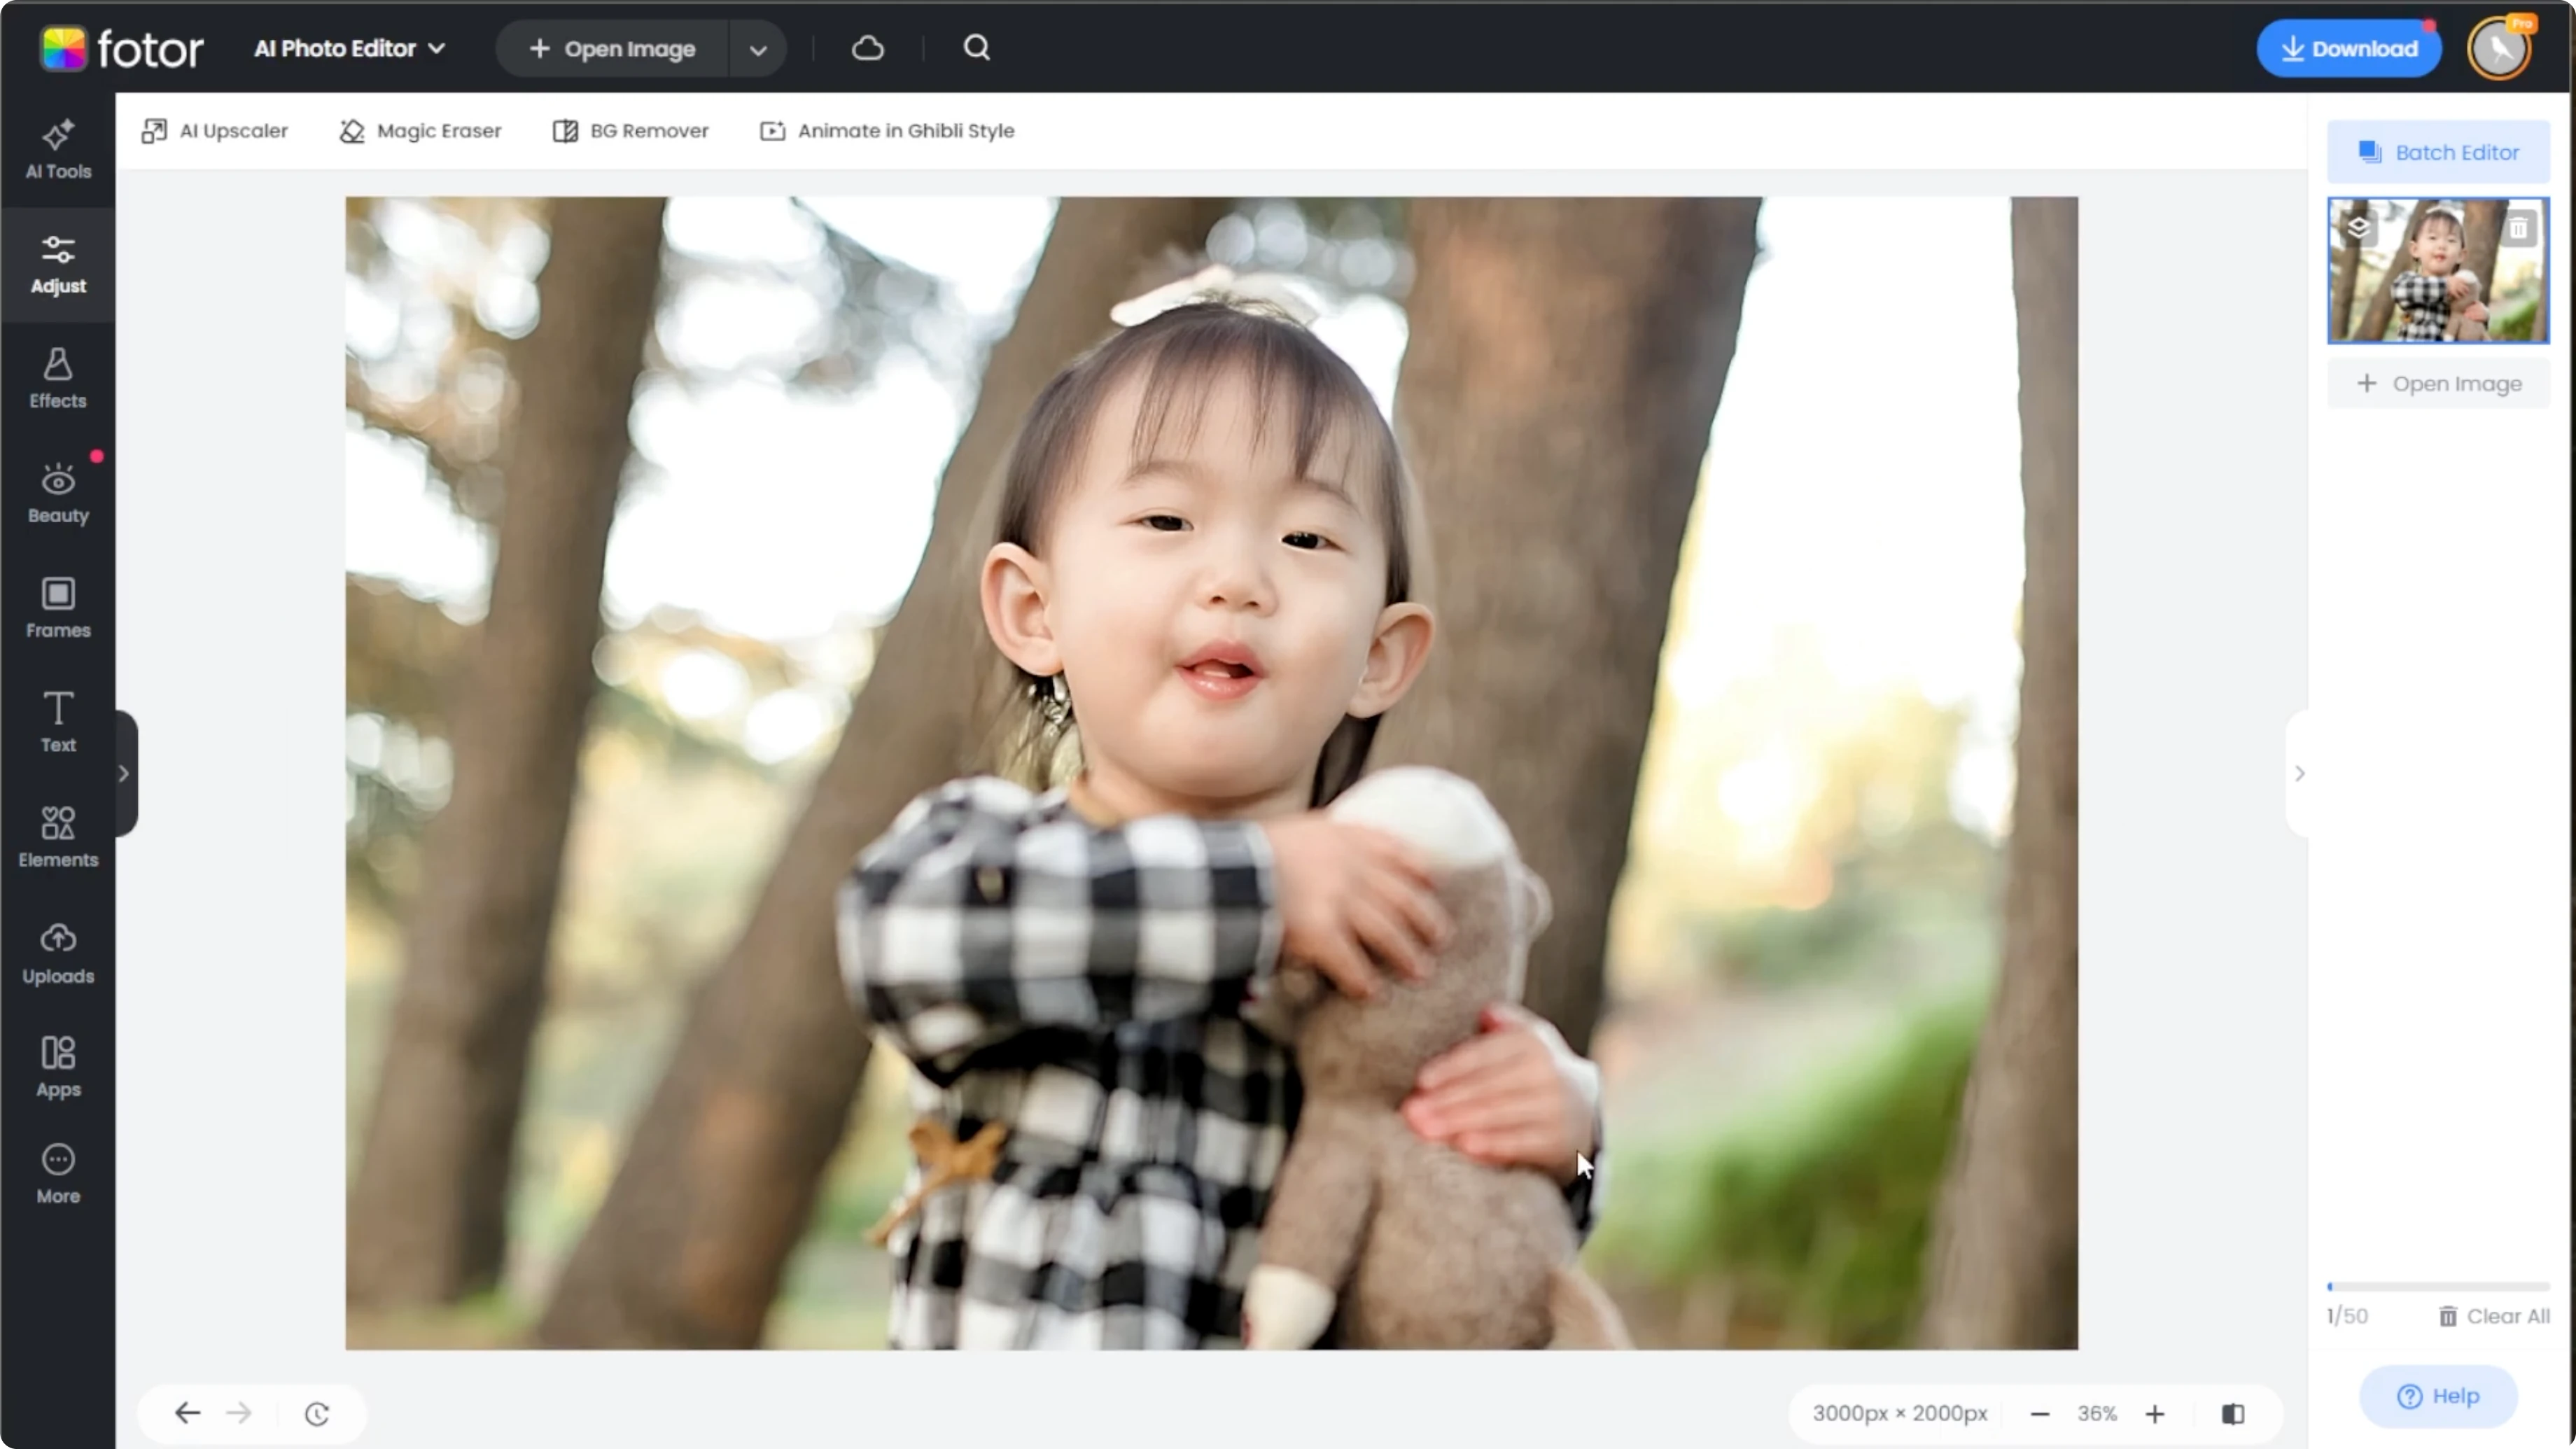
Once you are happy with the results, click download at the top right to save your edited image.
Read More: Add Cartoon Effect Photo Canva Ai
Best practices
For best results, avoid maxing out sliders.
Sharpening works best in moderation to preserve a natural look.
You are done.
Final thoughts
This process combines targeted face enhancement with careful global sharpening for a natural finish. Keep adjustments small, check the compare view often, and save once the details look clean and realistic.
Recent Posts
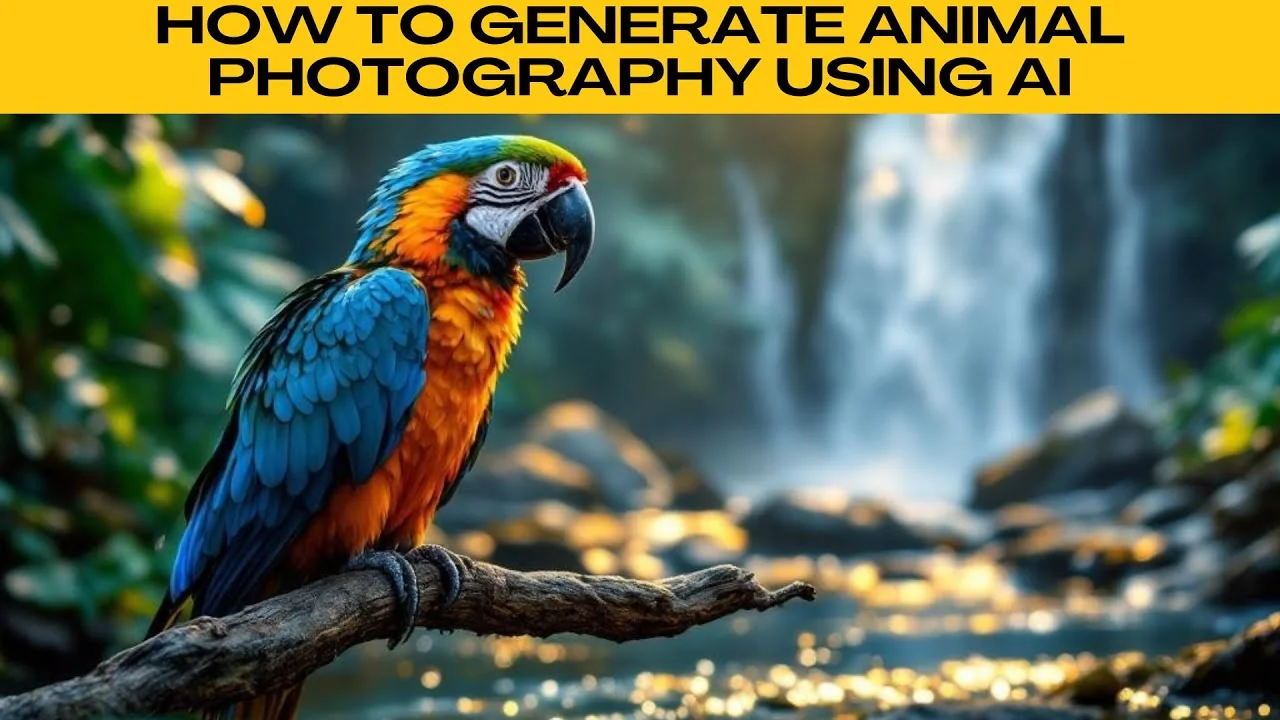
How to Generate Lifelike and Photorealistic Animal Images with AI?
How to Generate Lifelike and Photorealistic Animal Images with AI?
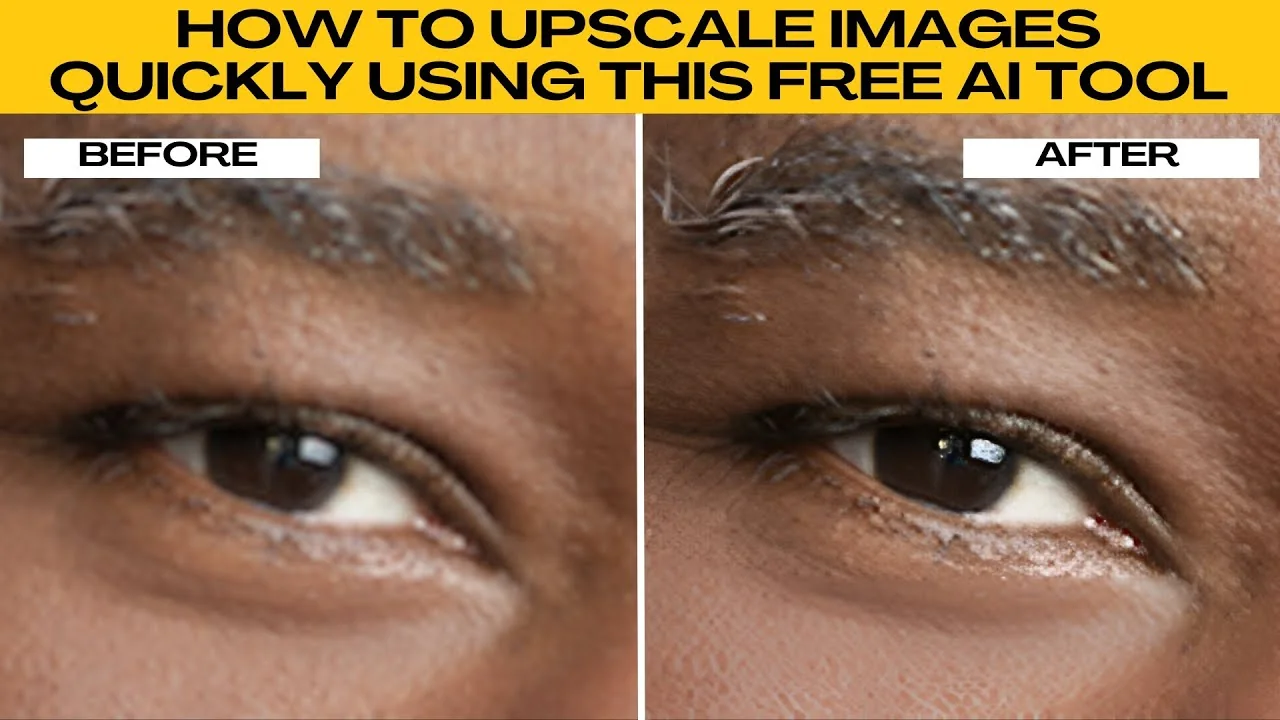
How to Instantly Upscale Images and Enhance Quality with AI?
How to Instantly Upscale Images and Enhance Quality with AI?
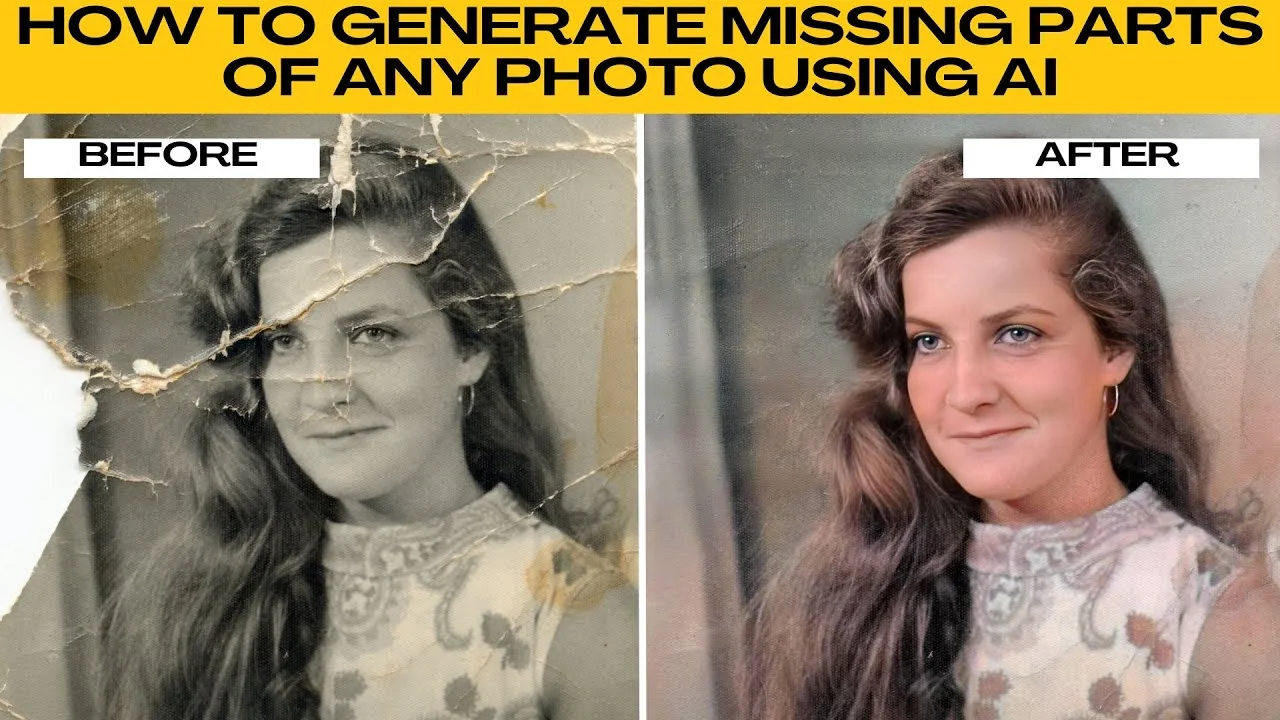
How to Reconstruct and Fill Missing Parts of Damaged Photos with AI?
How to Reconstruct and Fill Missing Parts of Damaged Photos with AI?