How to Clean Up Group Photos by Erasing Unwanted People with AI?
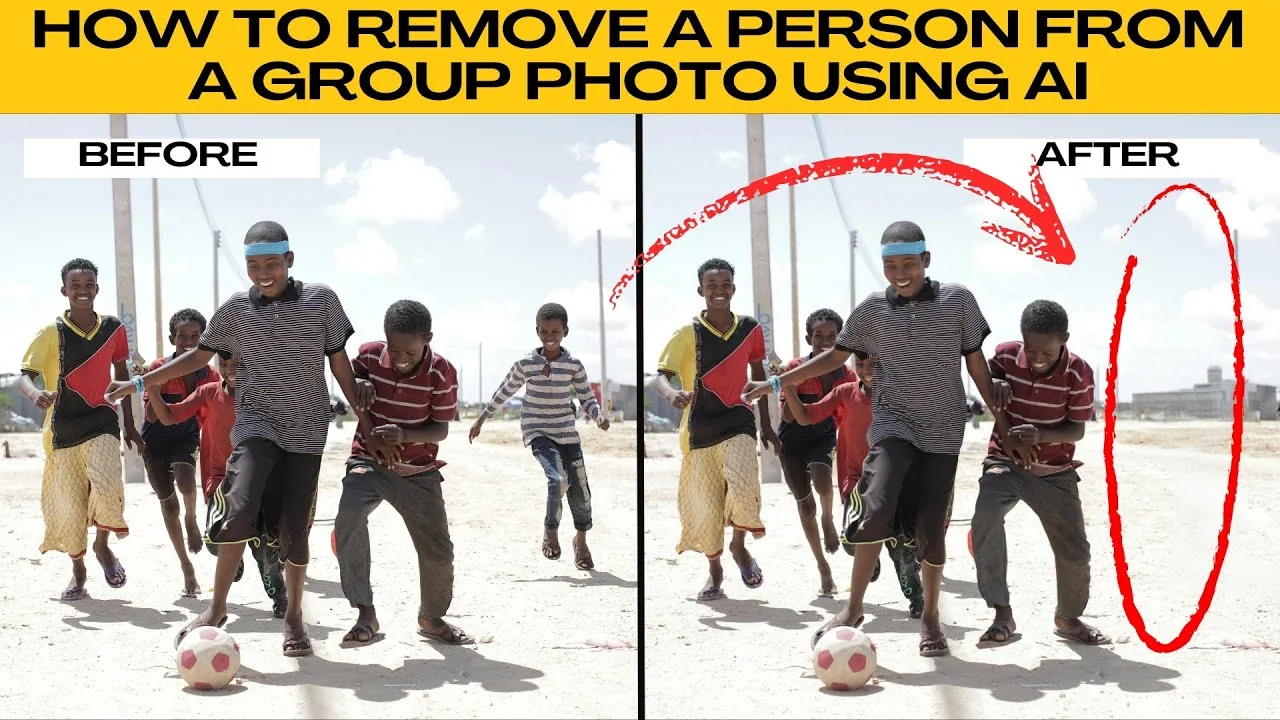
I will teach you how to remove a person from a group photo using AI. Follow these steps to get a clean result.
If you are new to the tool or want a quick refresher, see this short guide to image editing with Icedit AI.
Start
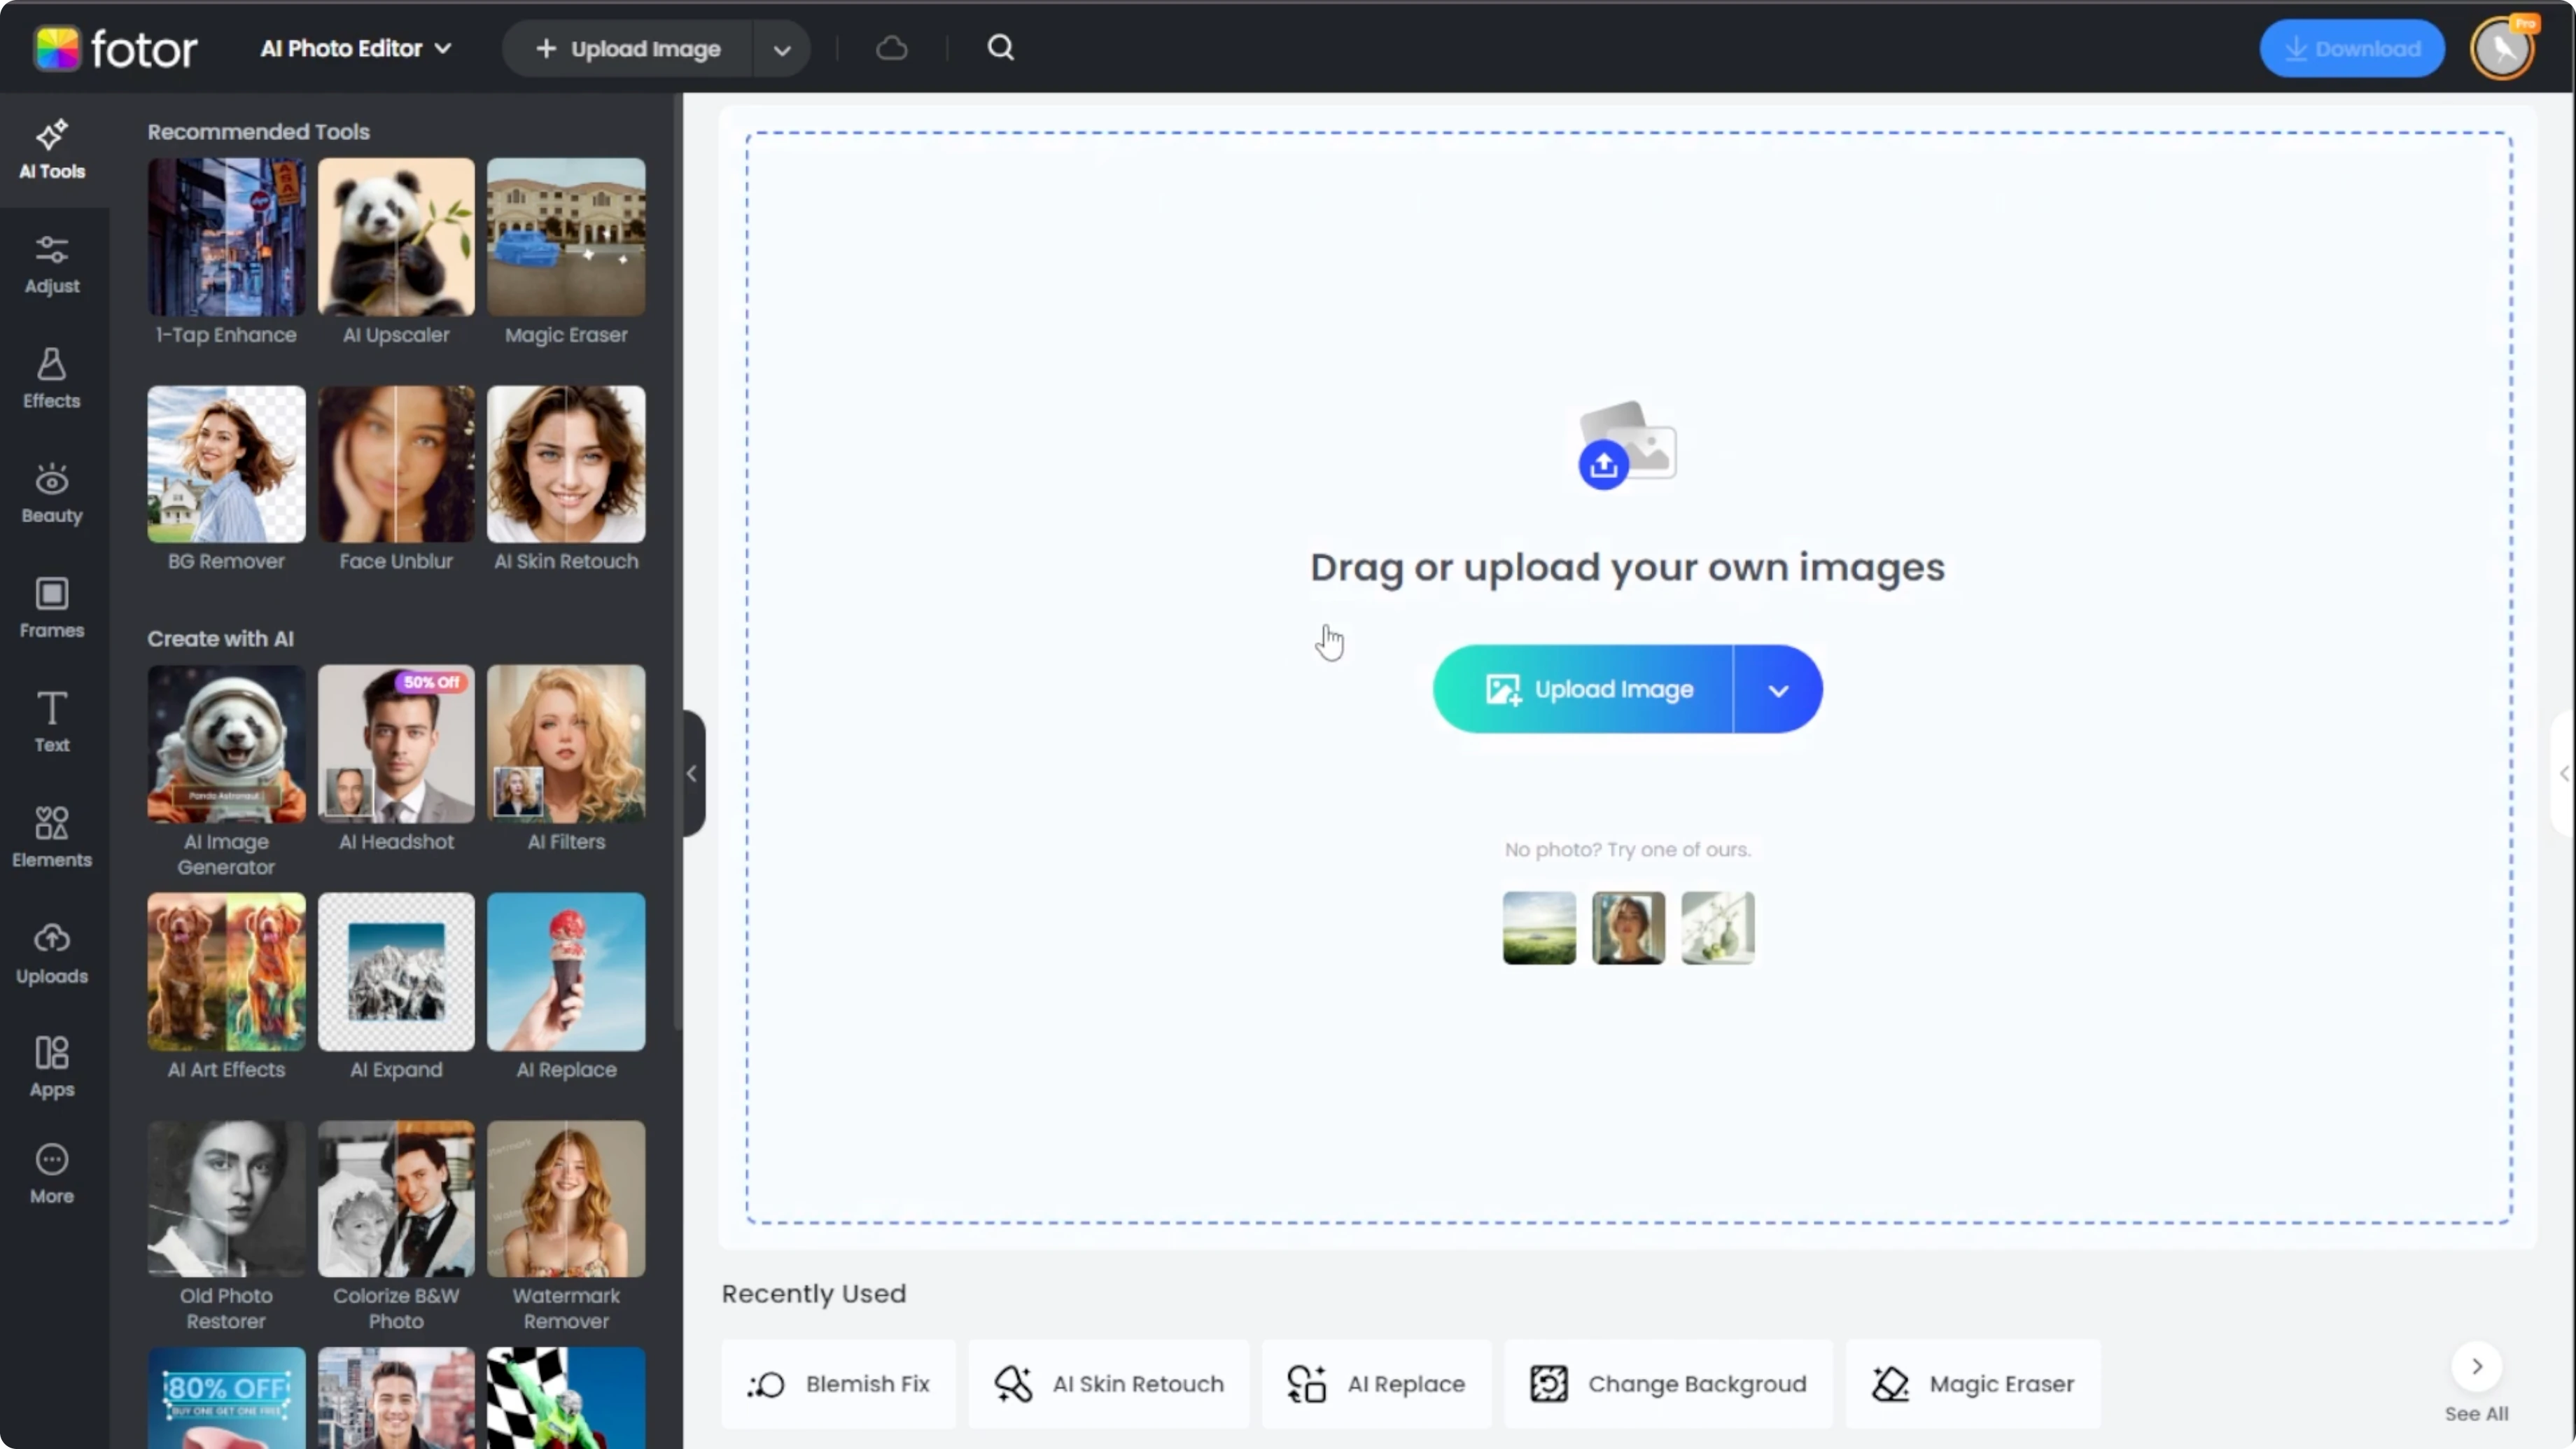
Go to Photo, then open the AI photo editor.
Upload your image by dragging and dropping it into the window or click Upload.
You can also try one of the sample images to test the effect first.
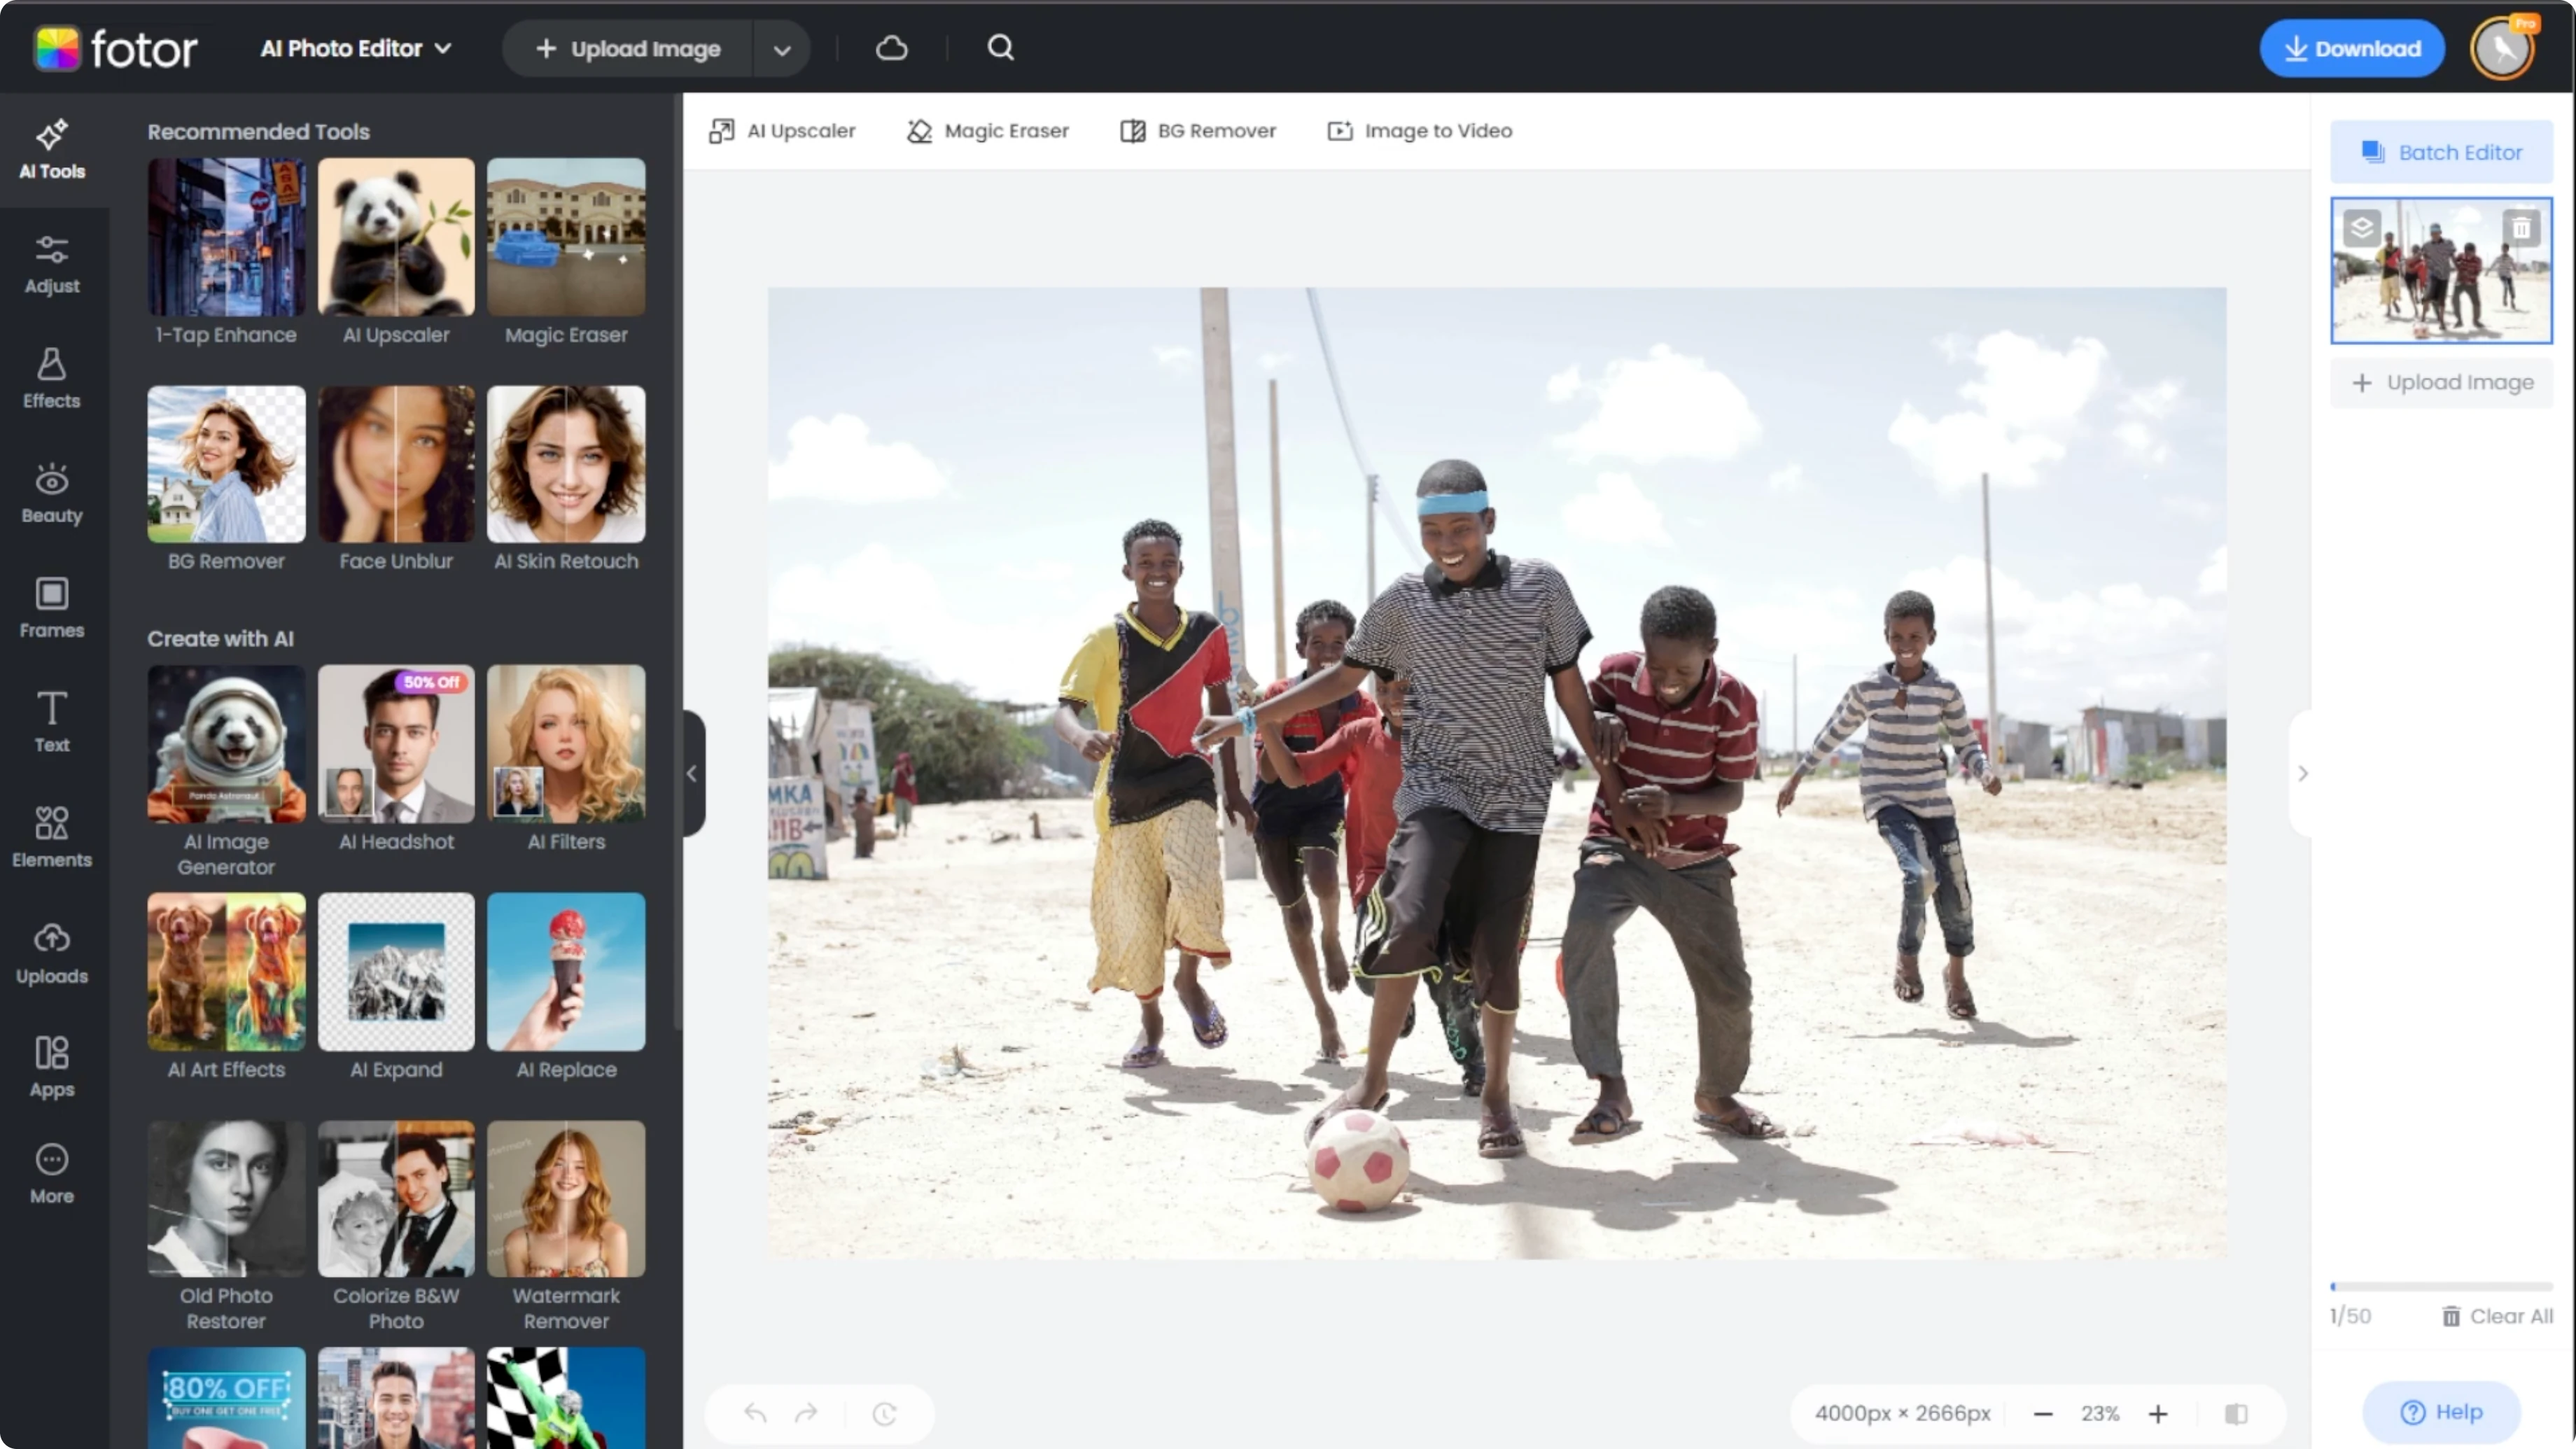
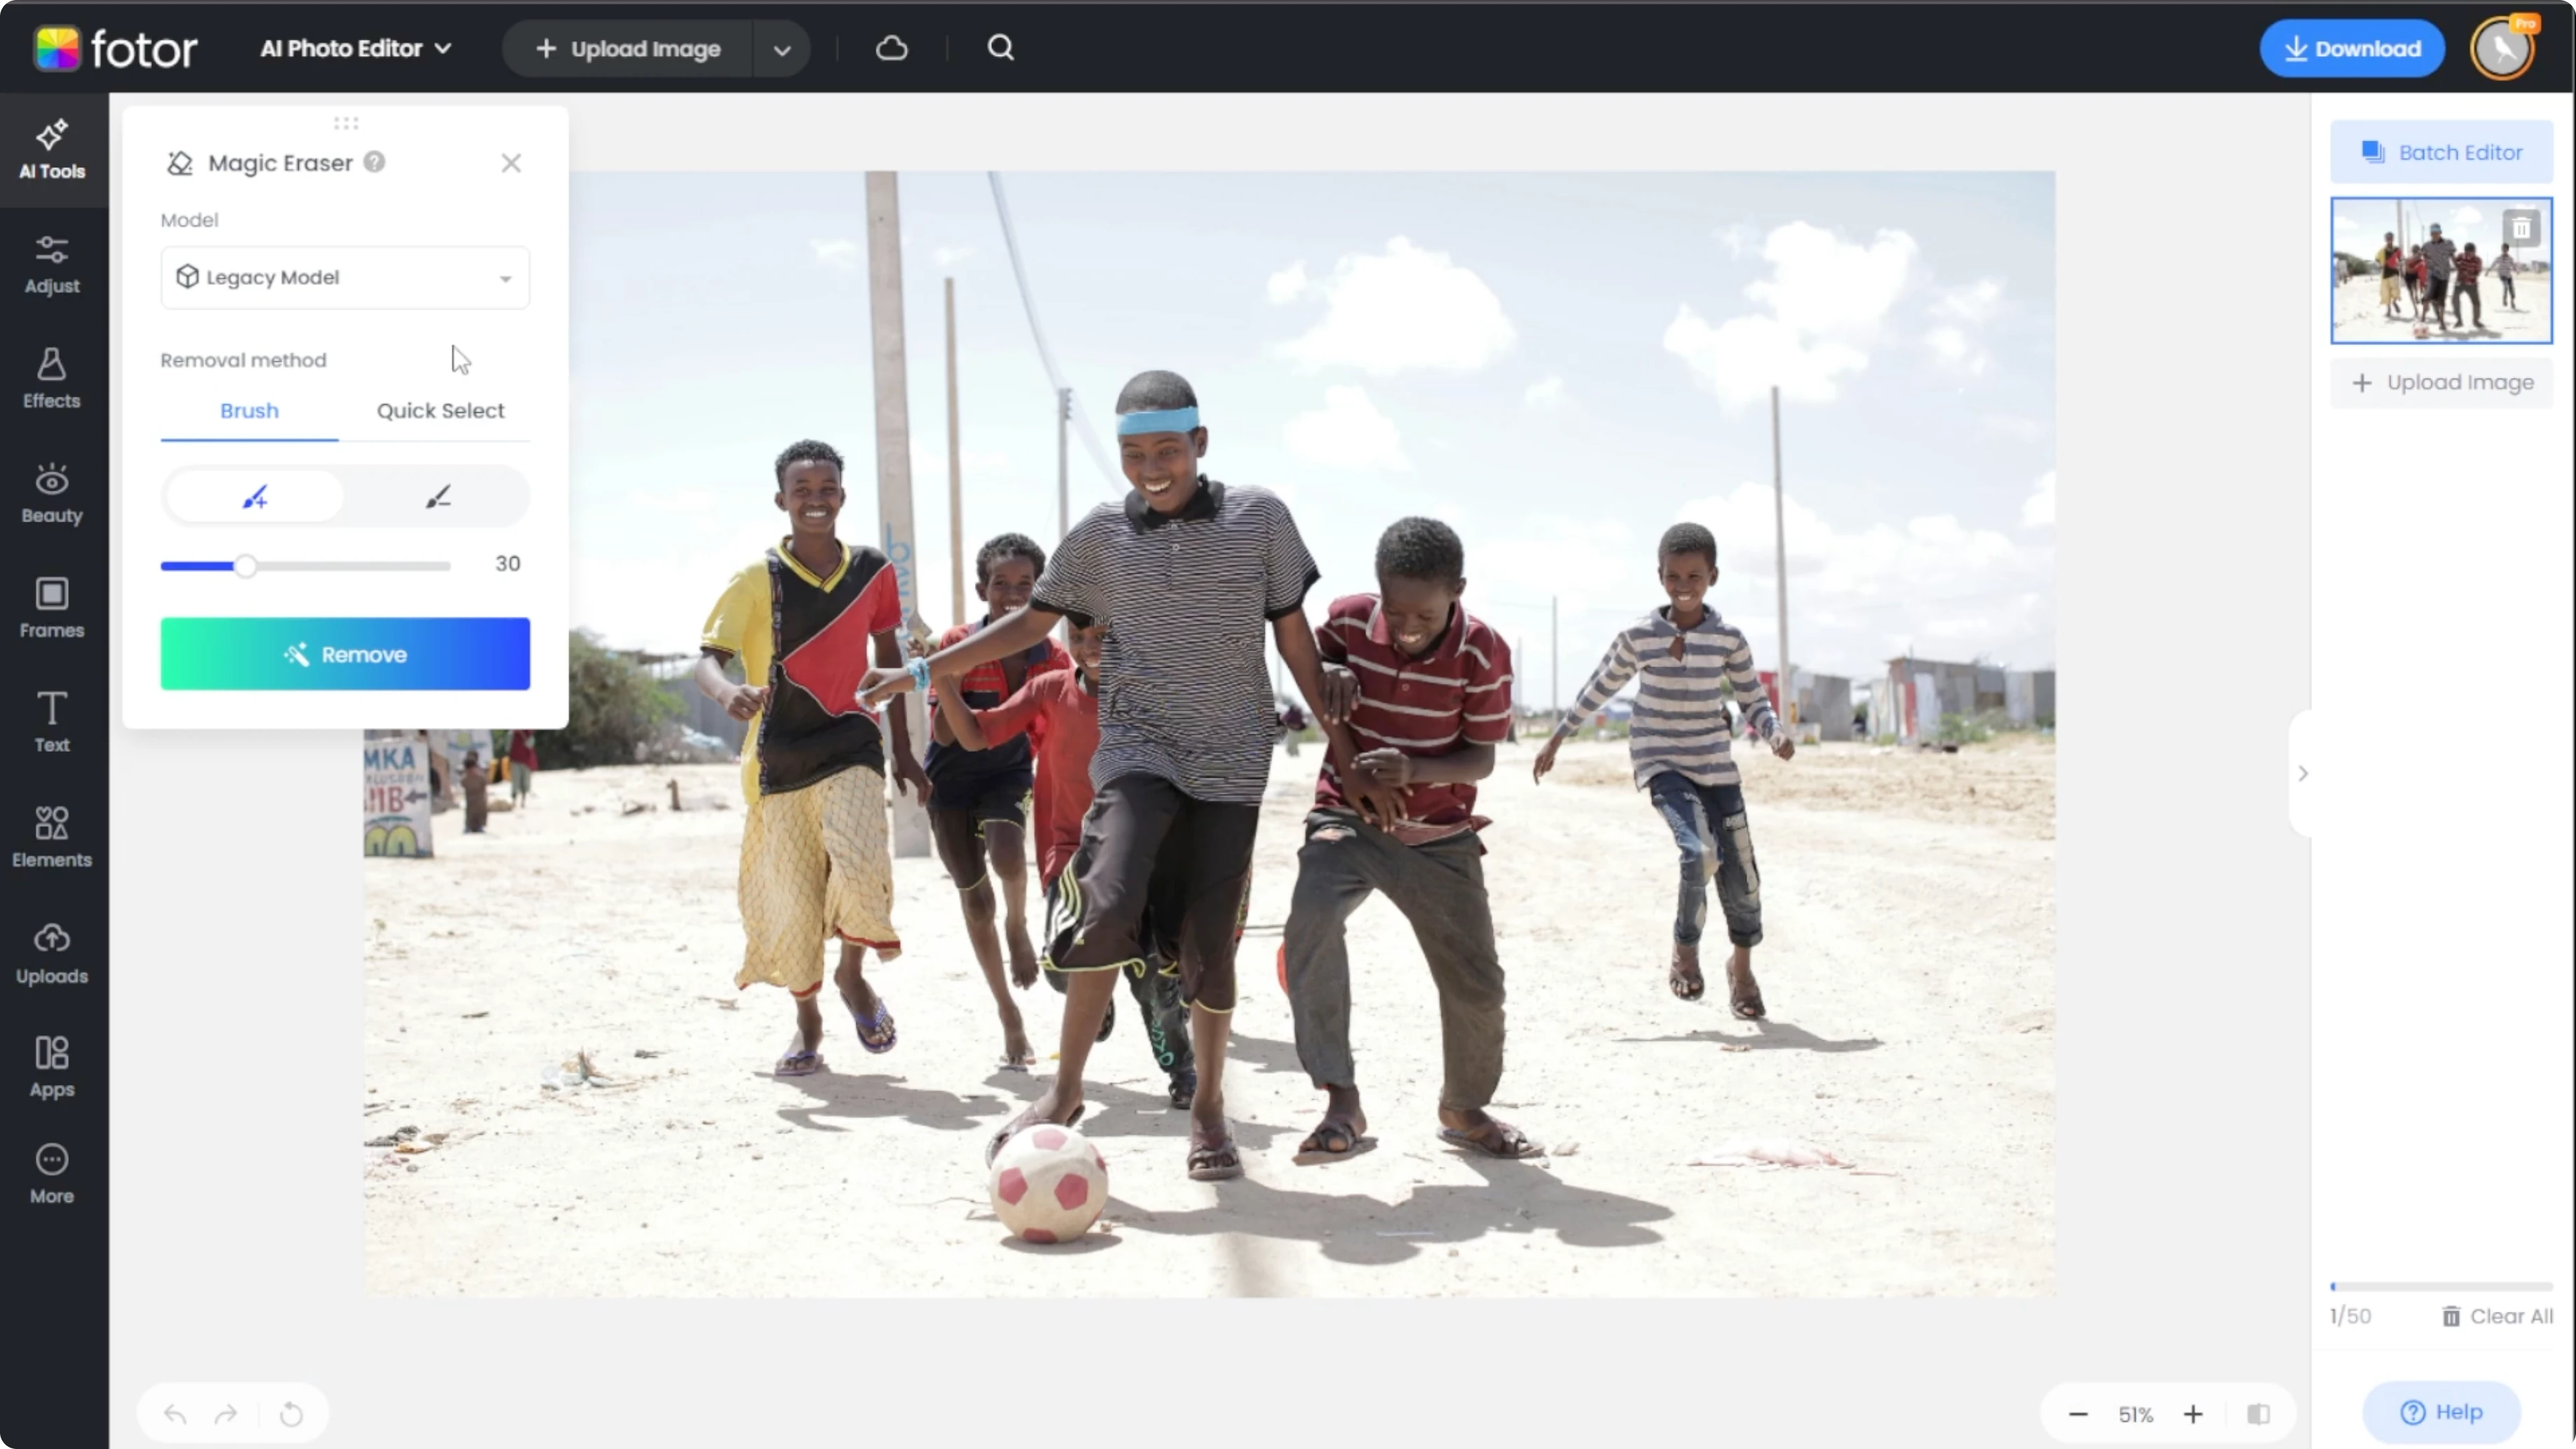
Once your image loads, look at the left side panel.
Open the AI Tools tab and select Magic Eraser.
This will display two AI models you can pick from.
Choose AI model
You will see the legacy model, which is best for simple object removal.
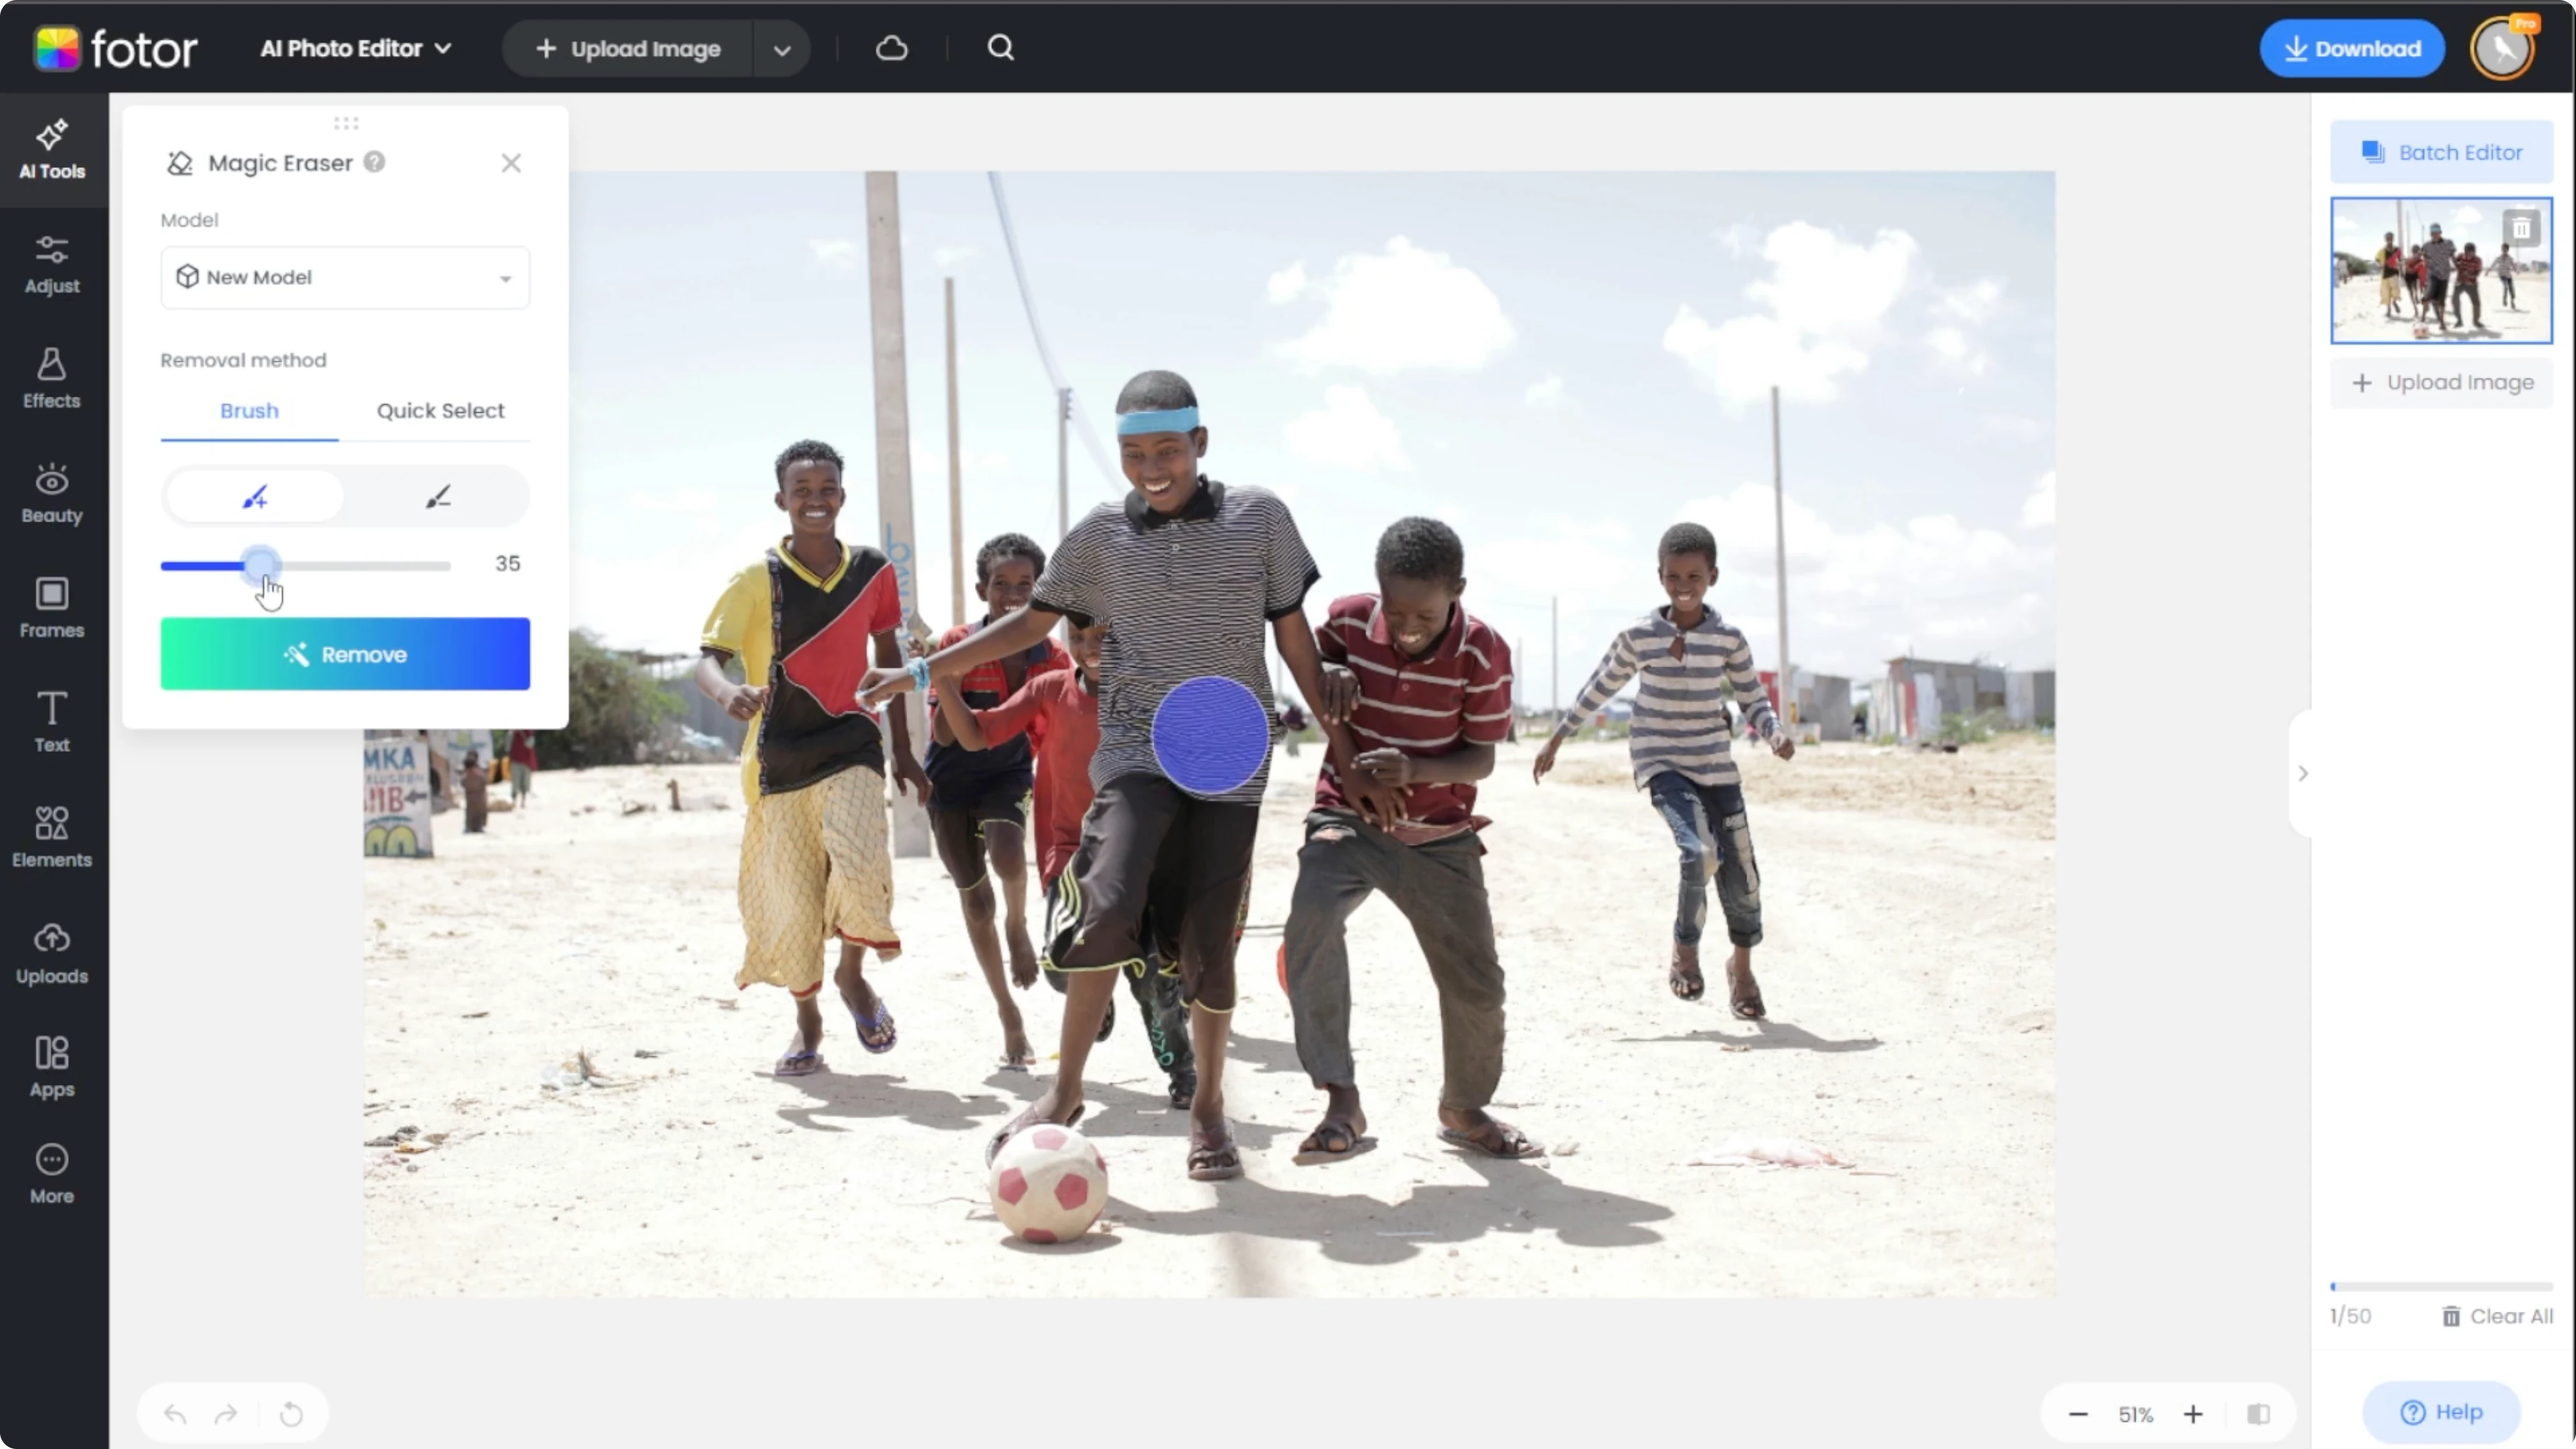
You will also see the new model, which is more advanced and better at blending complex backgrounds.
Select the option that best suits your image.
If you are removing a person in front of a complex or patterned background, try the new model for best results.
This helps preserve textures and keeps the background looking natural.
Make your choice before you start the selection.

For creative edits beyond cleanup, you can also change your hairstyle in photos using similar AI tools.
Selection methods
You can choose from two methods to mark the person you want to erase.
Pick the one that gives you the right mix of control and speed.
You can switch methods at any time before removal.
Brush tool
Use the brush tool, which is best for precision.
Choose Add and paint over the person you want to remove.
Adjust the brush size for accuracy.
If you over select, switch to Subtract to clean up the selection.
Zoom in to refine tricky edges like hair or hands.
Keep the brush slightly larger than small gaps to cover them cleanly.
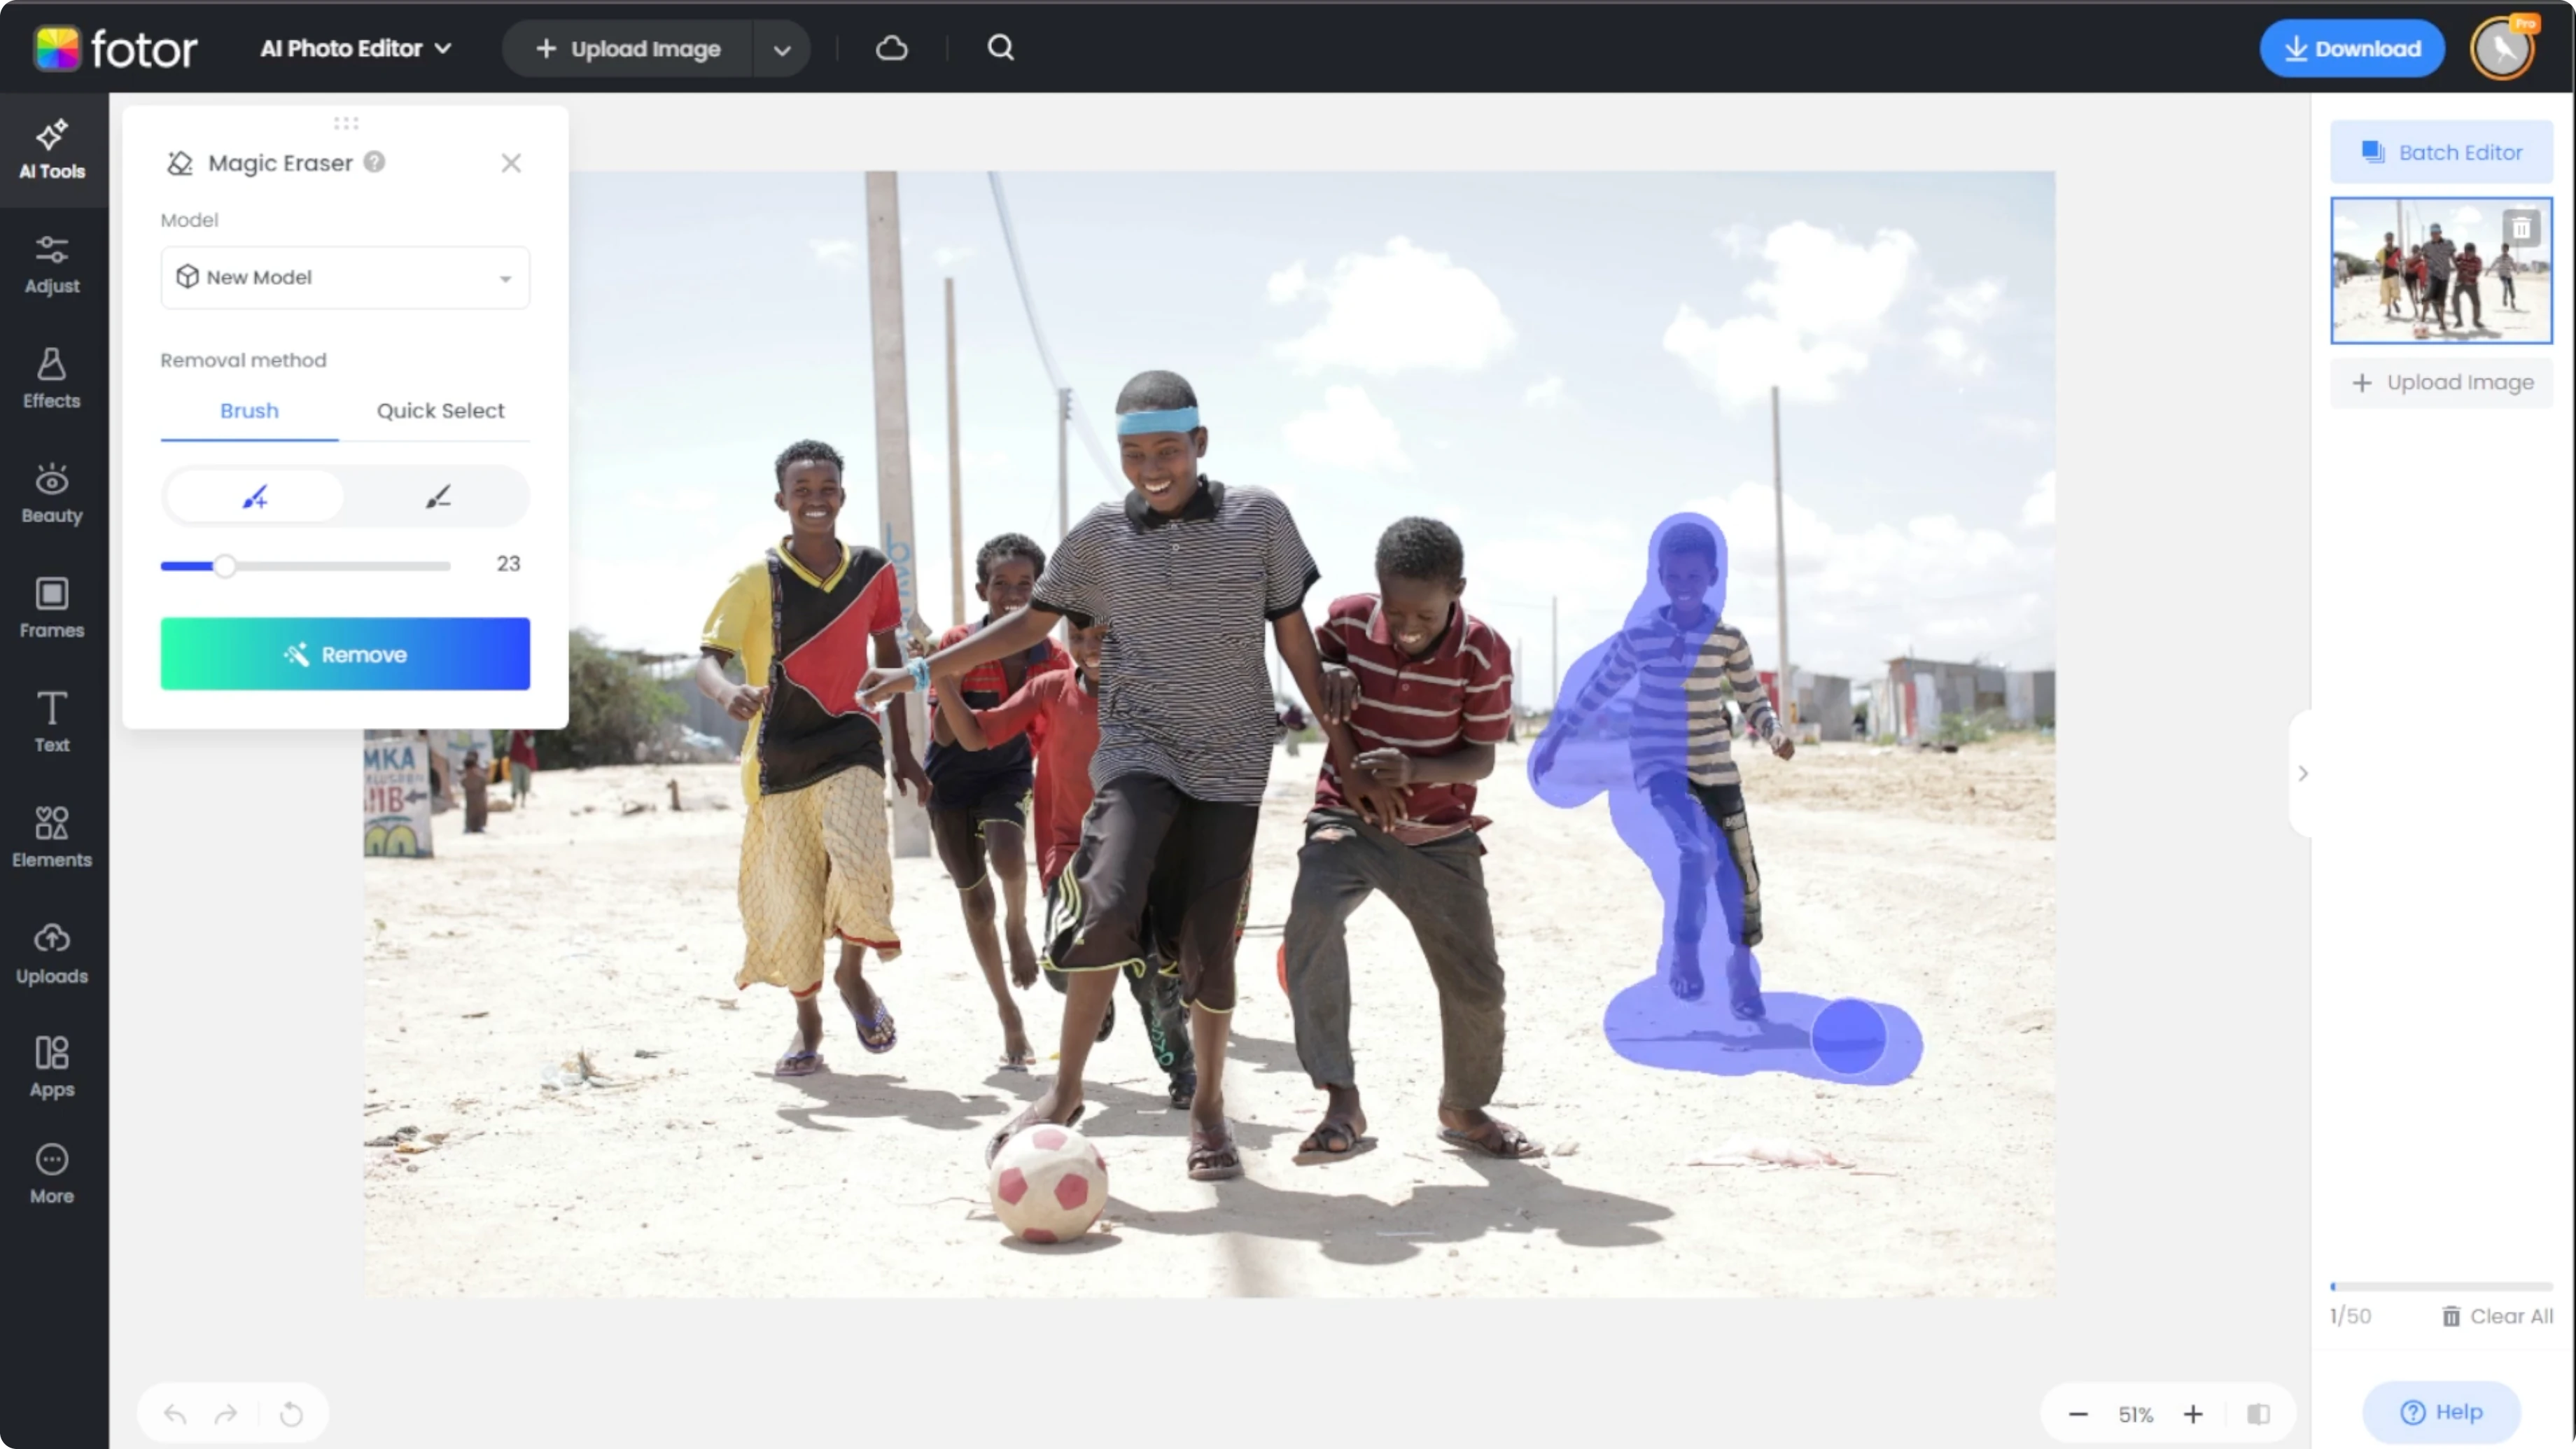
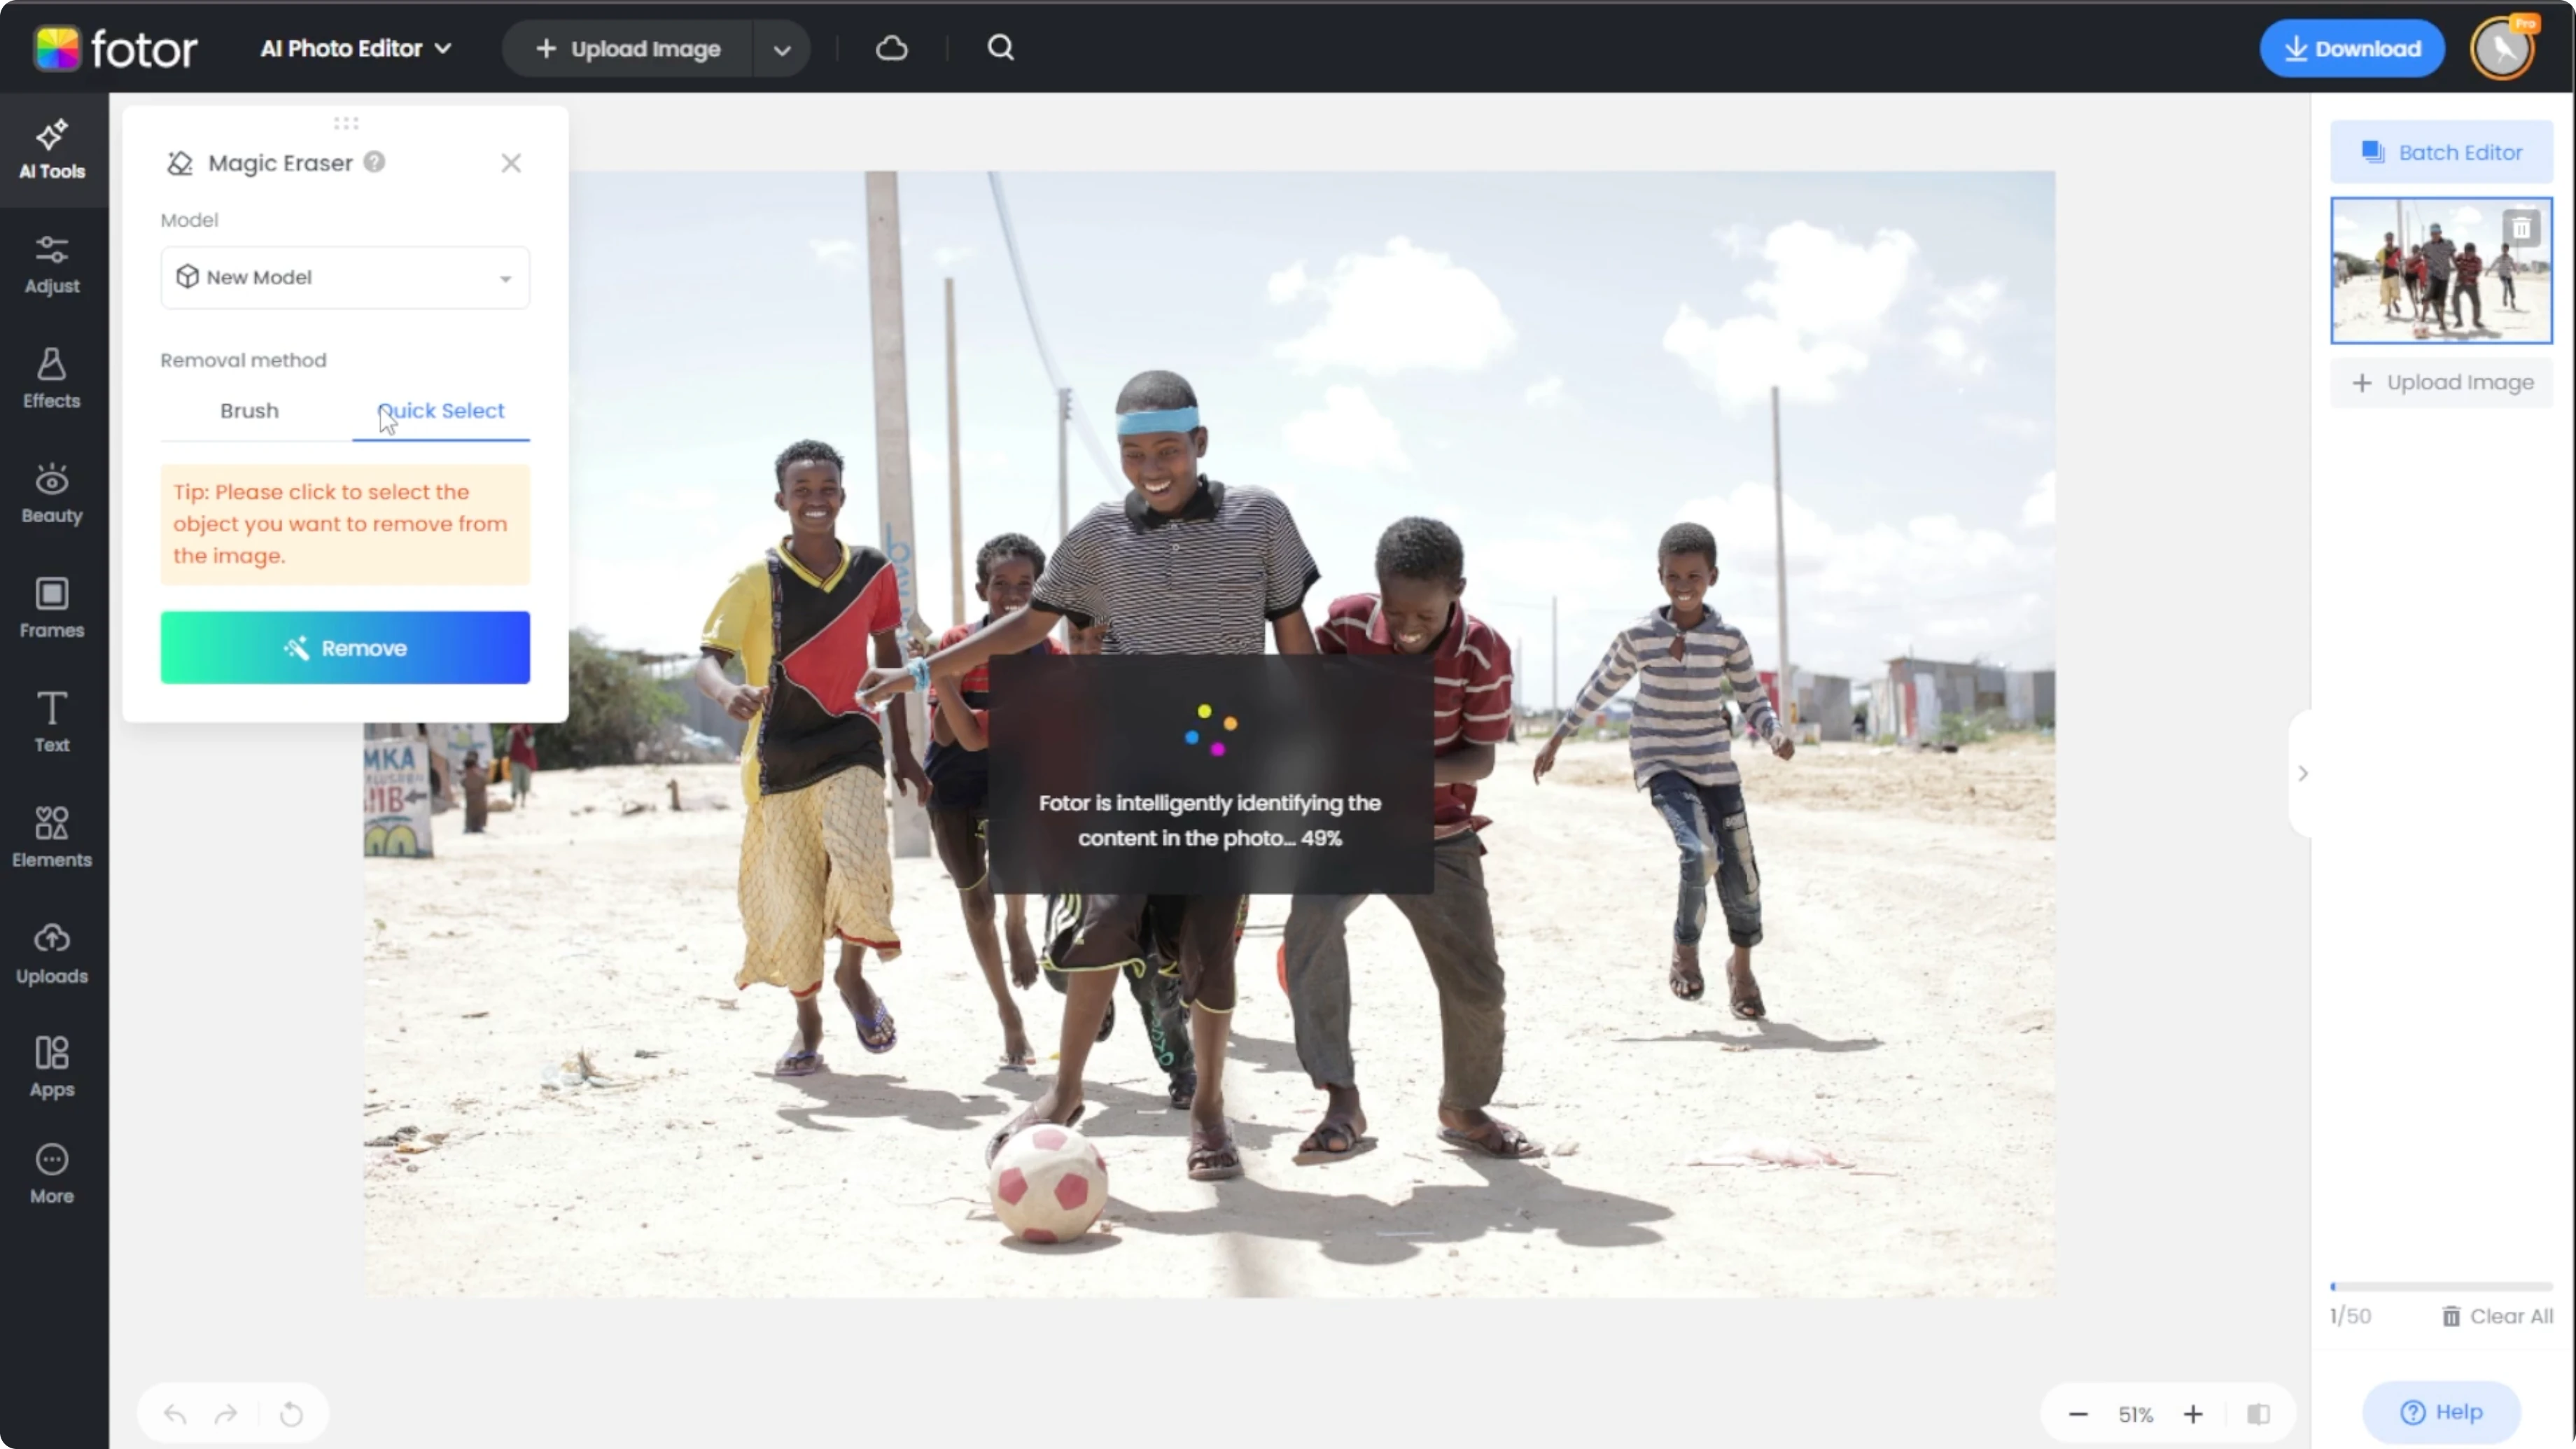
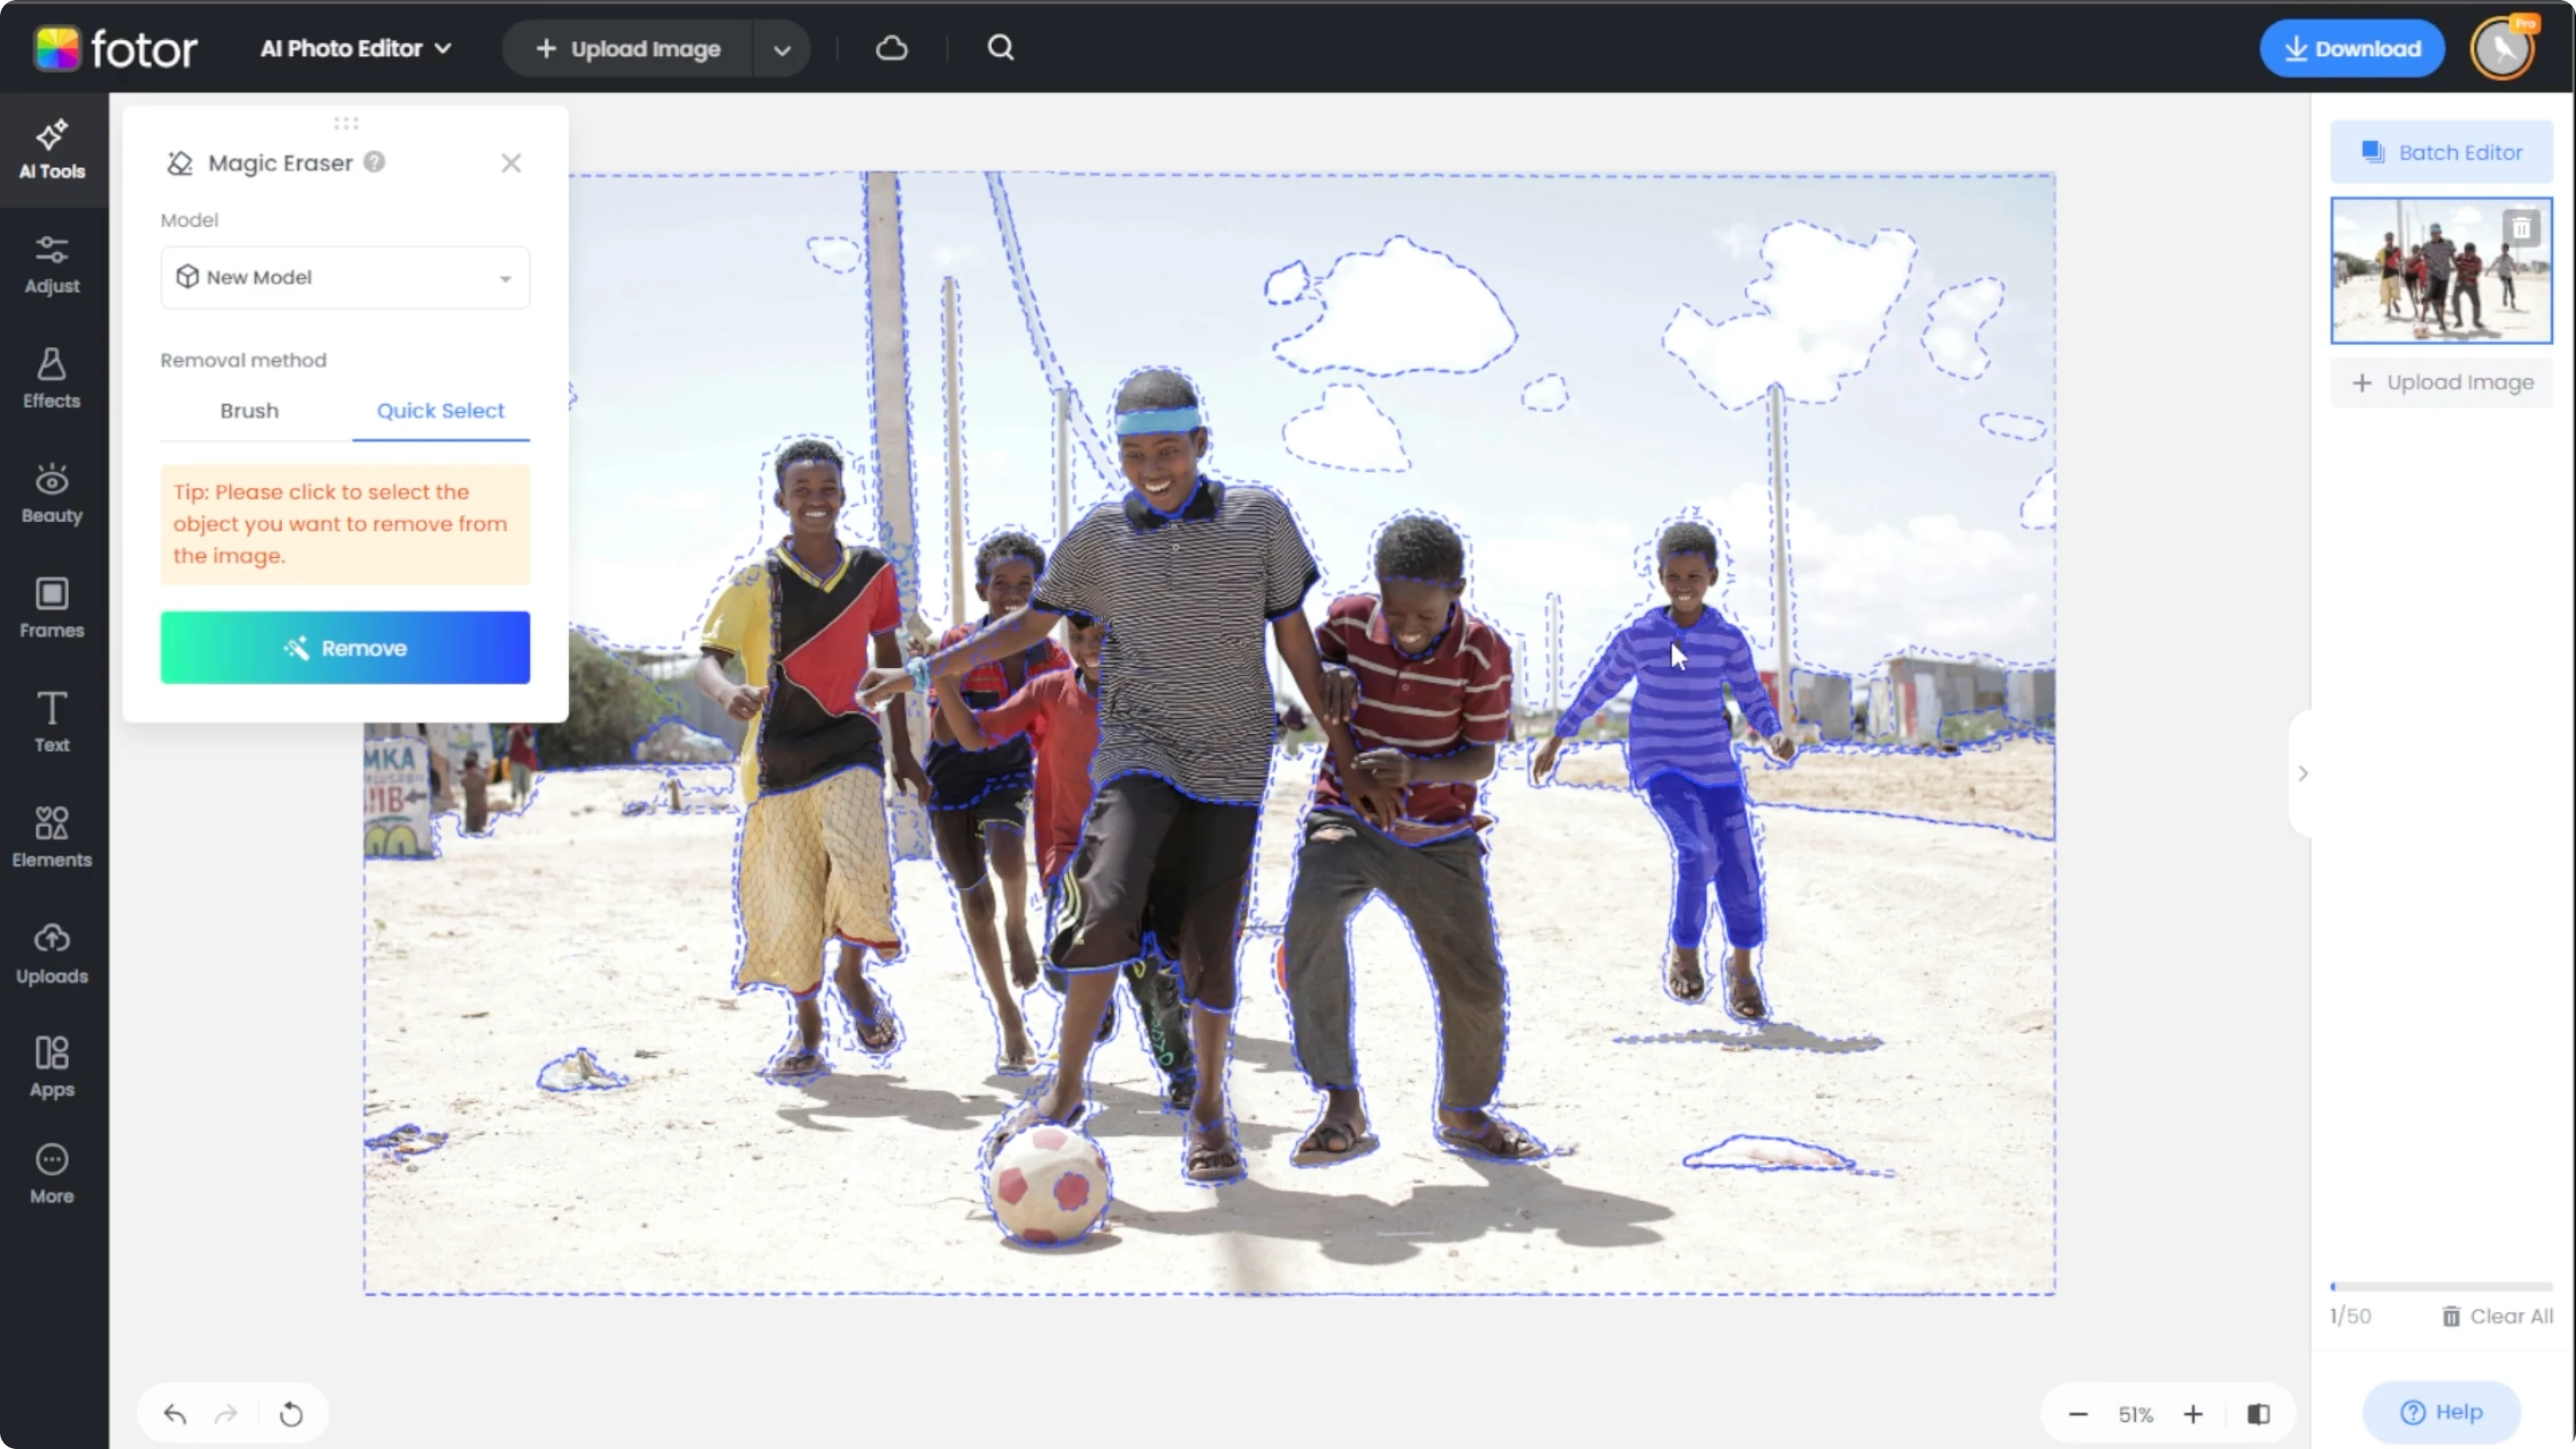
Quick selection
Use the quick selection tool, which is best for speed.
AI detects objects or people in your image.
Click on the person you want to remove and a blue overlay will highlight the selection.
Be aware this may select imperfect edges.
Switch to the brush tool if you want more control.
Combine both methods for detailed results.
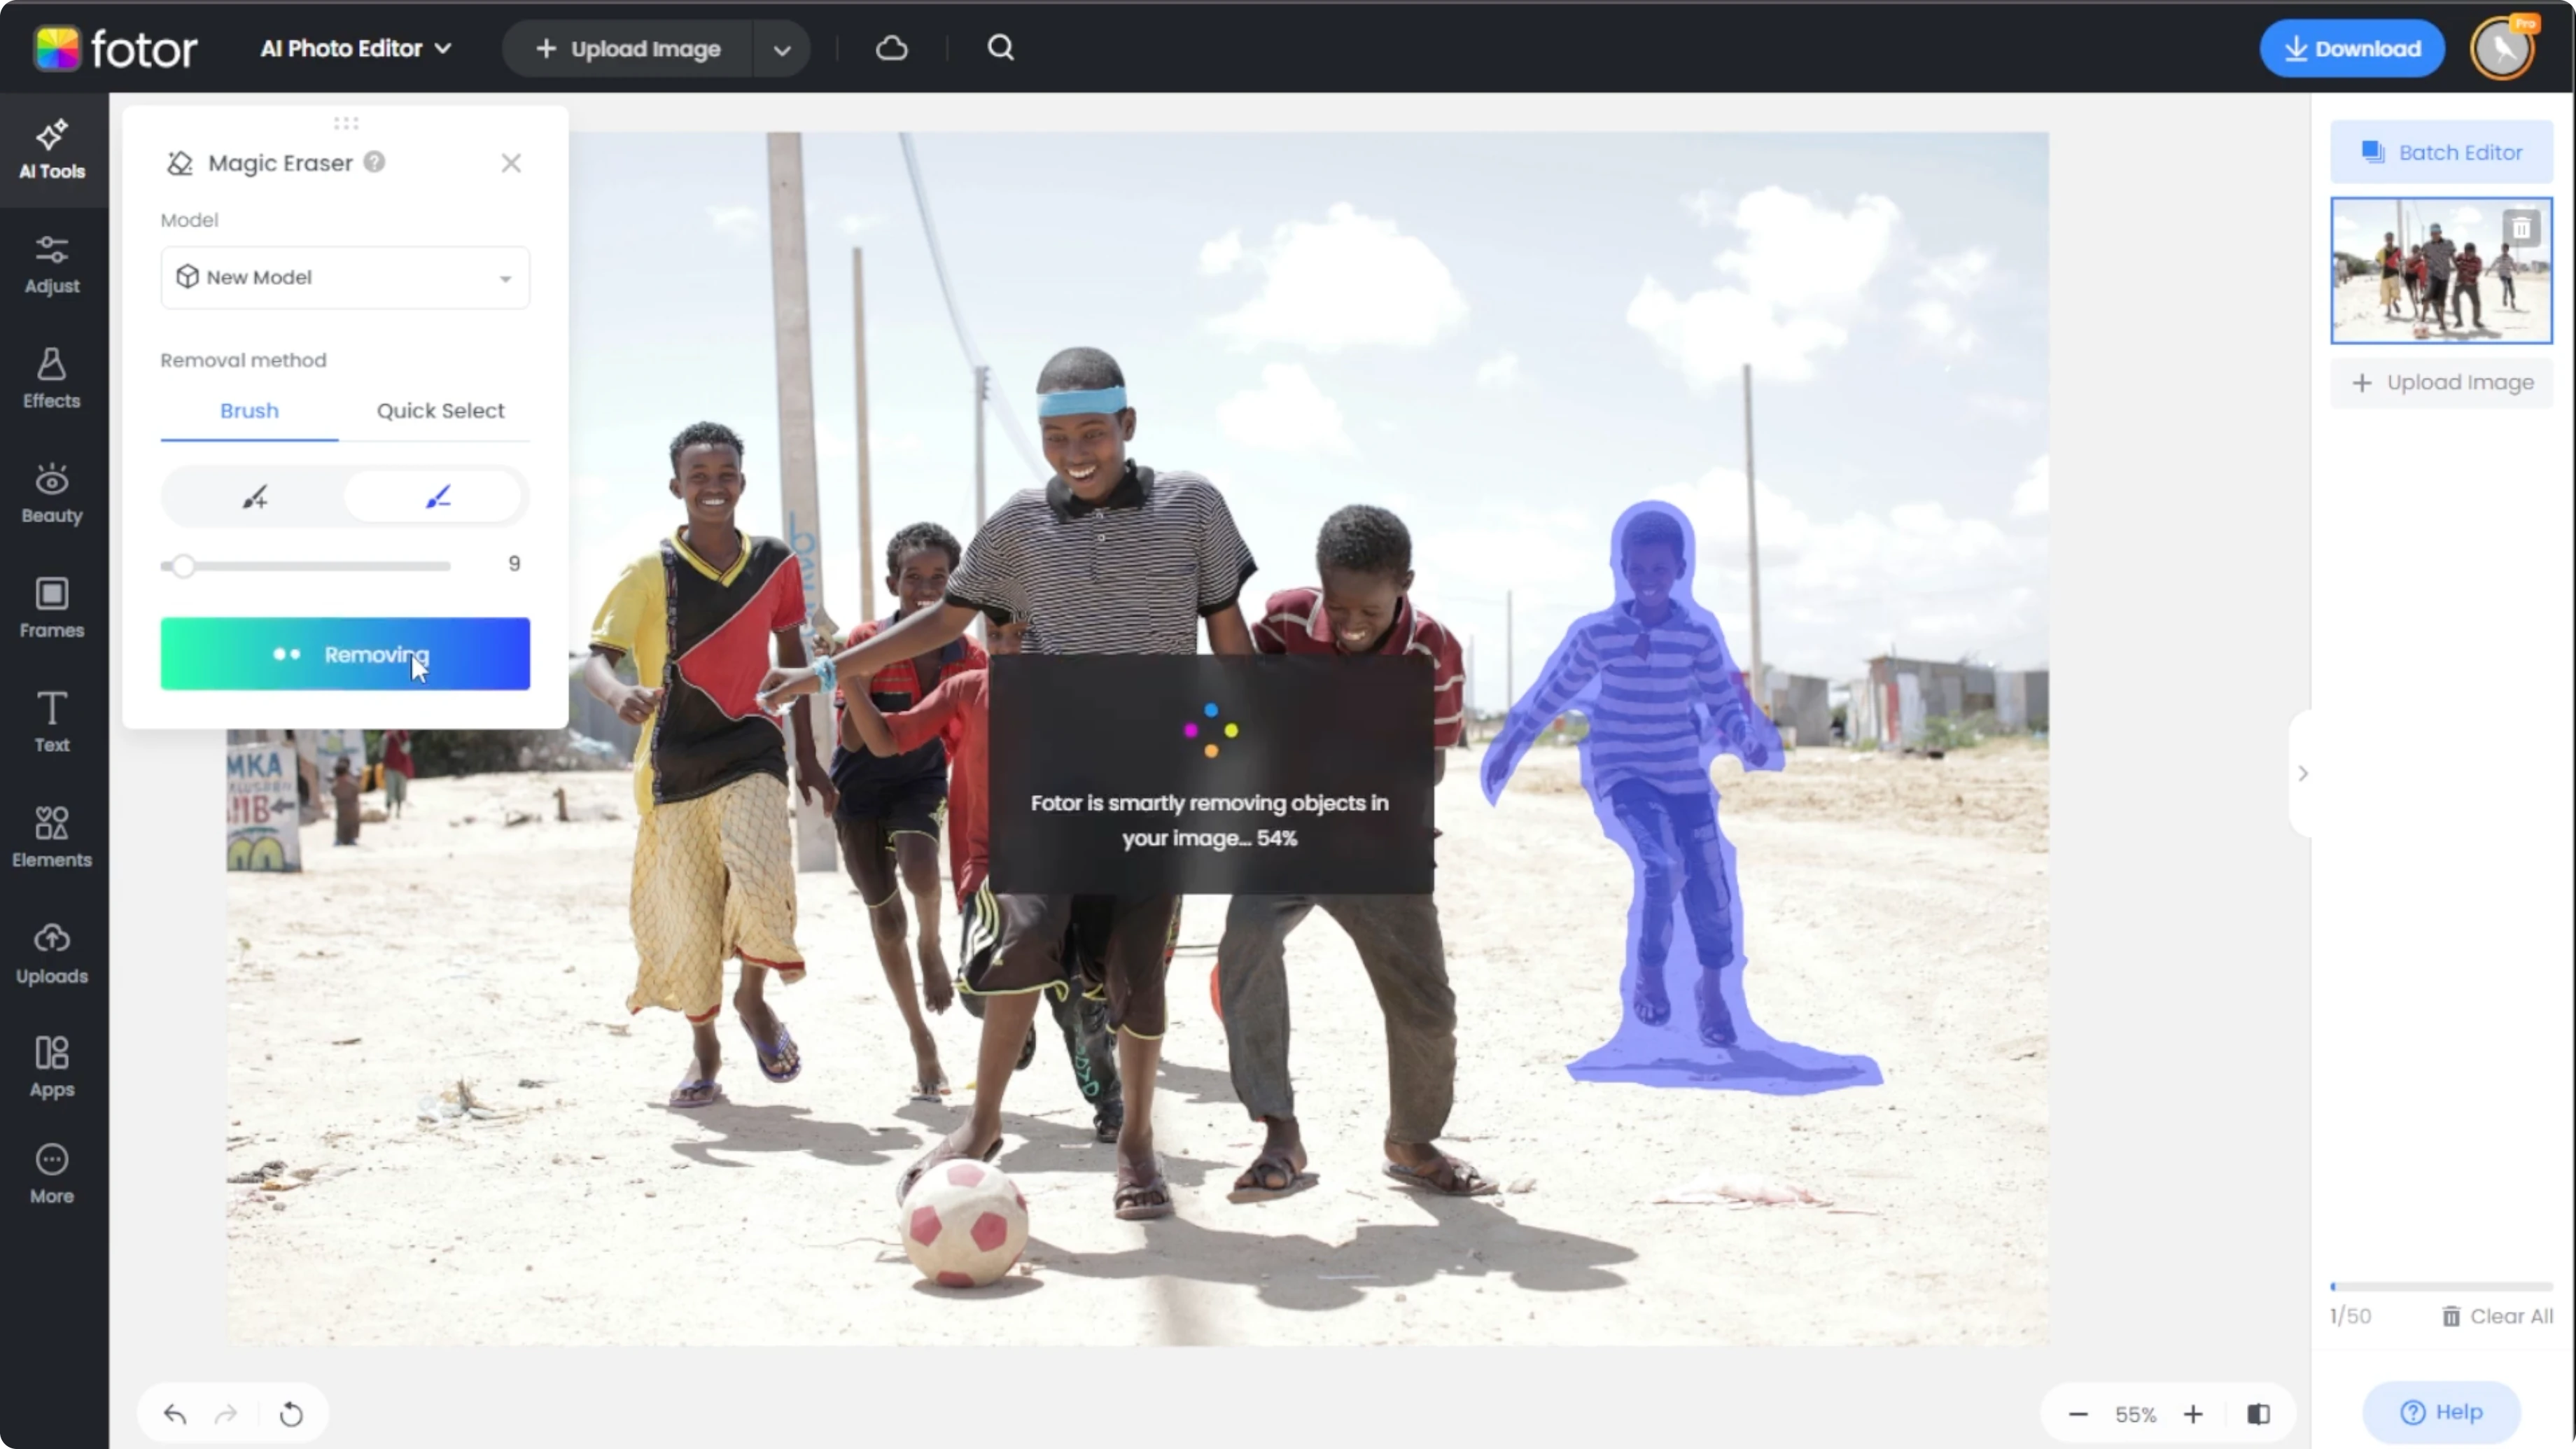
Remove and refine
When your selection is ready, hit Remove.
AI will analyze and erase the selected person.
This can take a few seconds depending on image complexity.
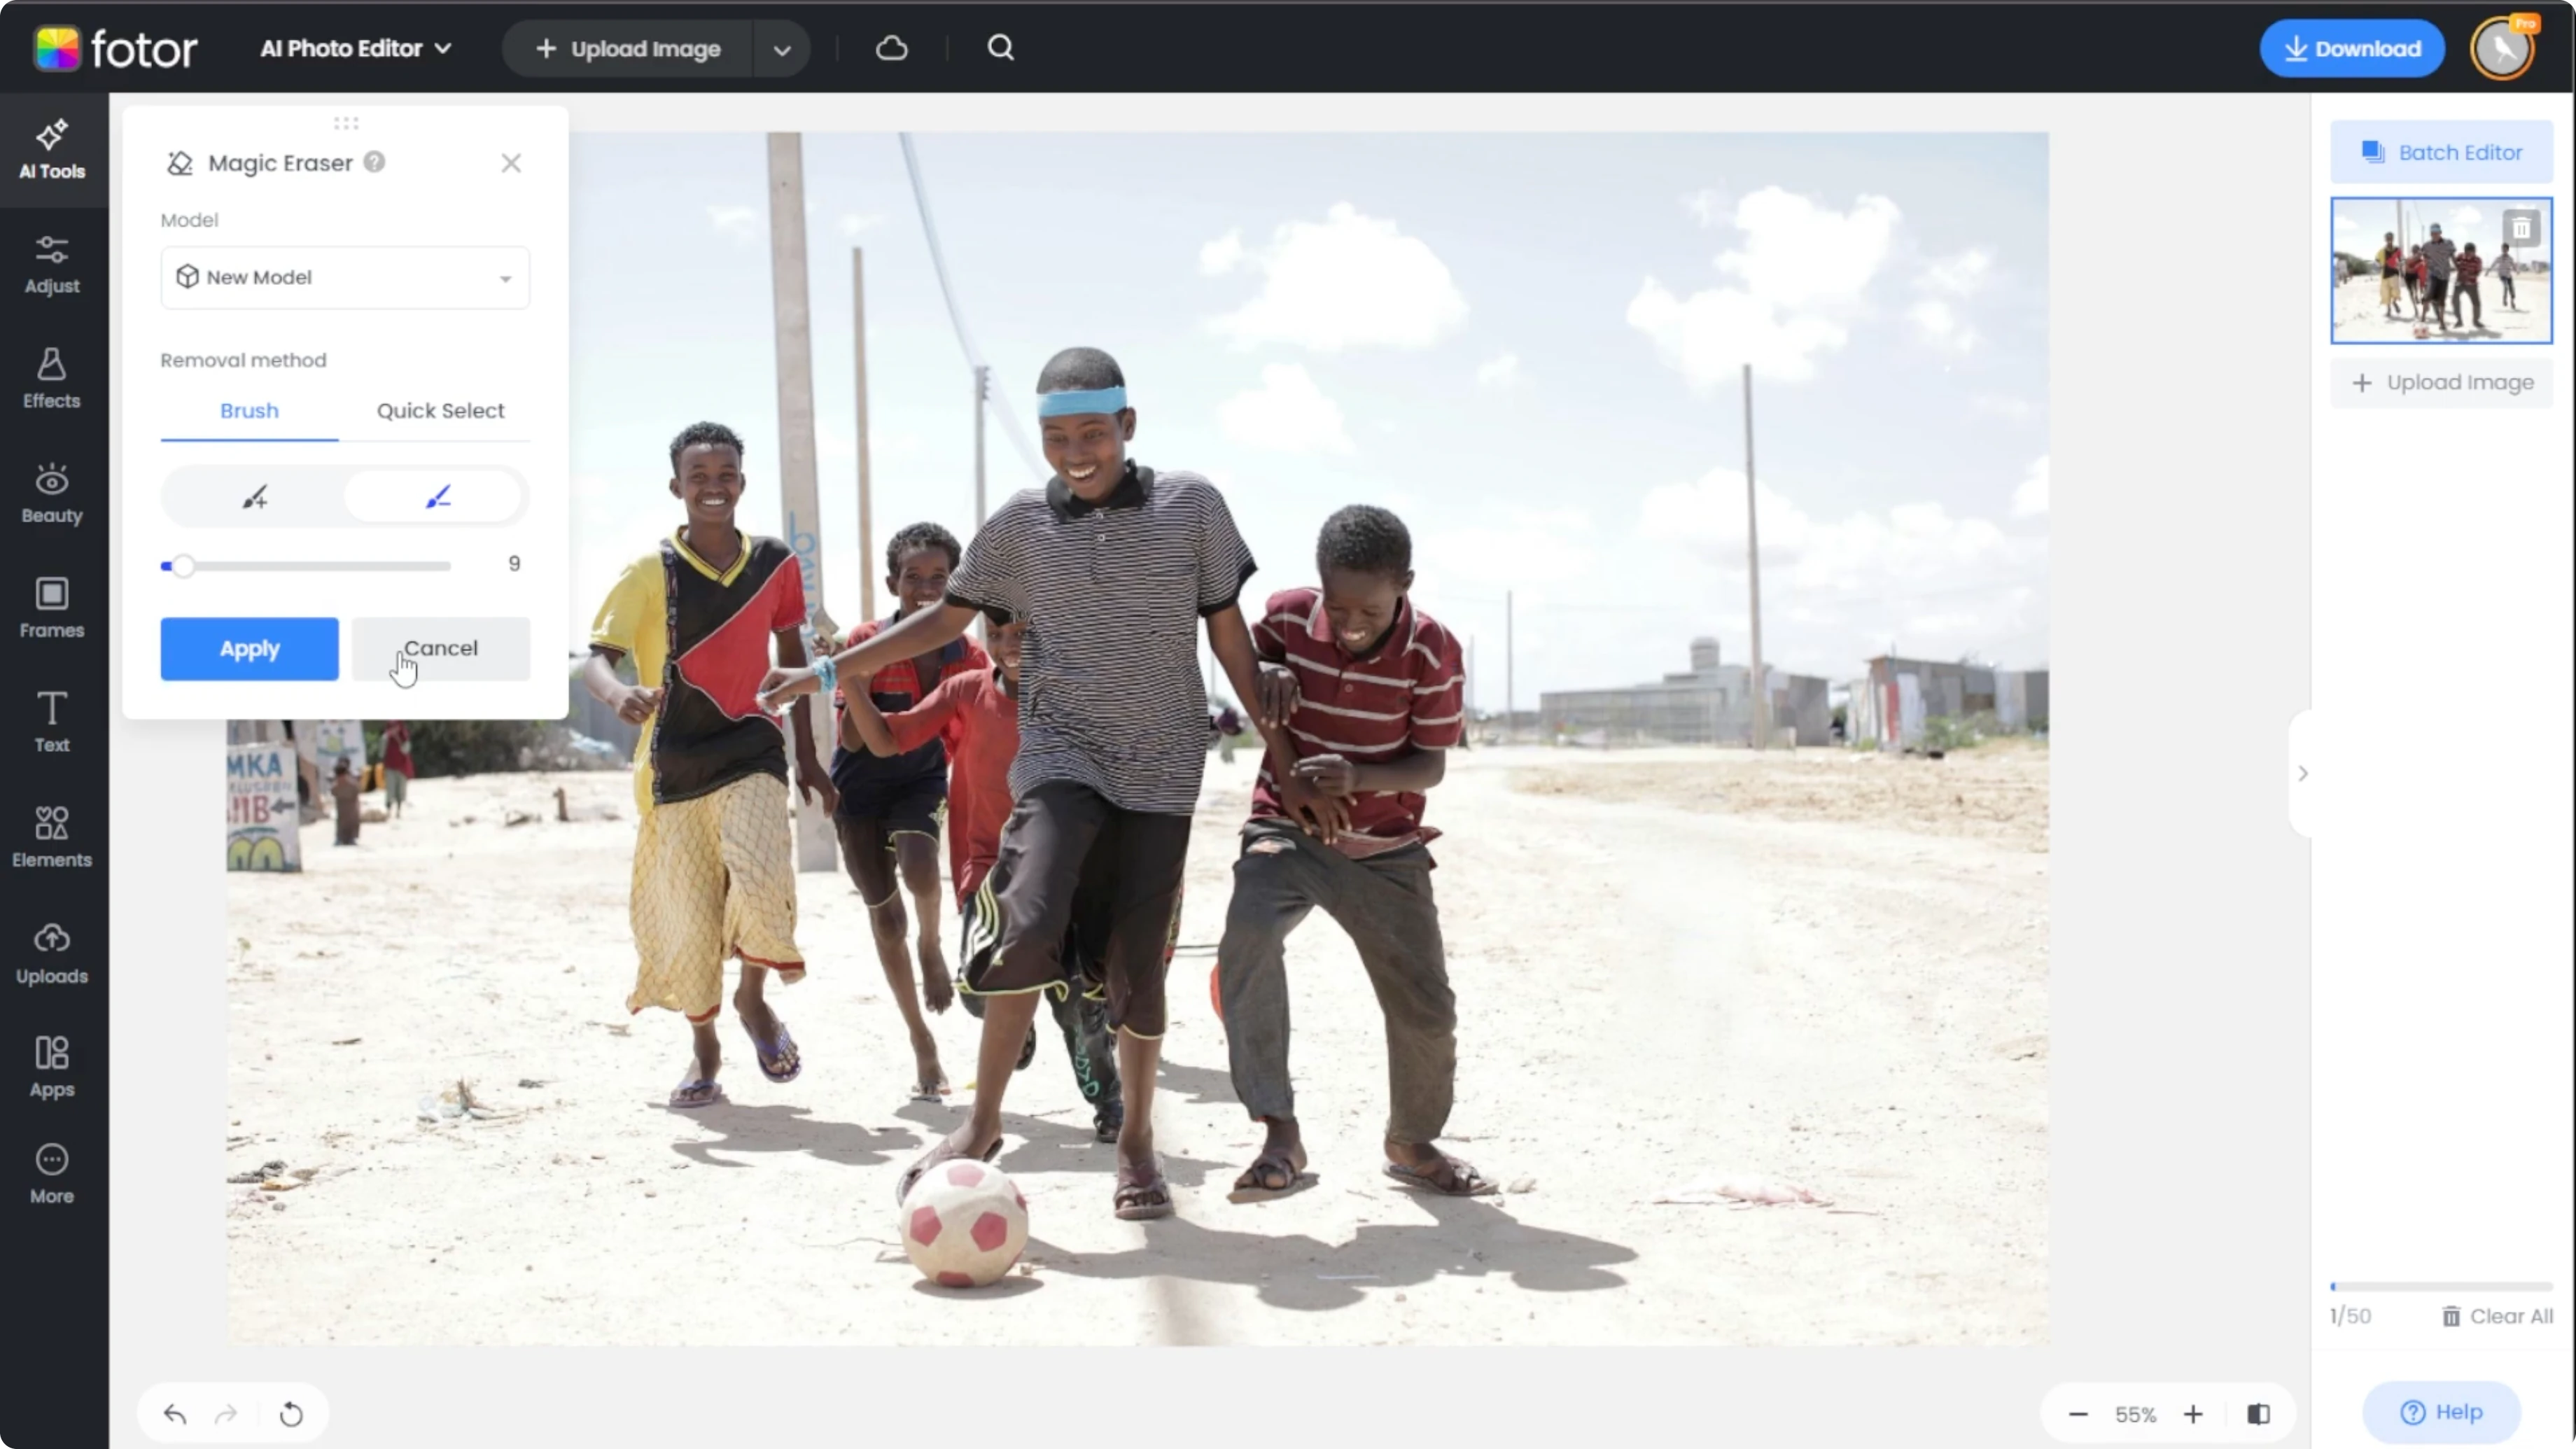
After the removal, click Apply to save the change.
Hit Compare at the bottom right to view the before and after side by side.
If the result is not perfect, use Undo and retry with a better selection.
For dramatic scene changes after cleanup, you can also convert daytime photos into night scenes using AI.
Export
Once you are happy with the edit, click Download at the top.
Choose your file format and resolution.
You are done.

Final thoughts
Use the new model for complex backgrounds and the legacy model for simple removals.
Start with quick selection for speed, then refine with the brush tool for clean edges.
Always Compare results and Undo to iterate until the background looks natural.
Recent Posts
How to Recolors Clothes, Hair, and Other Objects with AI?
How to Recolors Clothes, Hair, and Other Objects with AI?

How to Virtually Travel and Place Yourself in Famous Landmarks with AI?
How to Virtually Travel and Place Yourself in Famous Landmarks with AI?

How to Design Eye-Catching Posters Quickly and Easily with AI?
How to Design Eye-Catching Posters Quickly and Easily with AI?