How to Build Muscle Visually and Enhance Your Body Tone with AI?
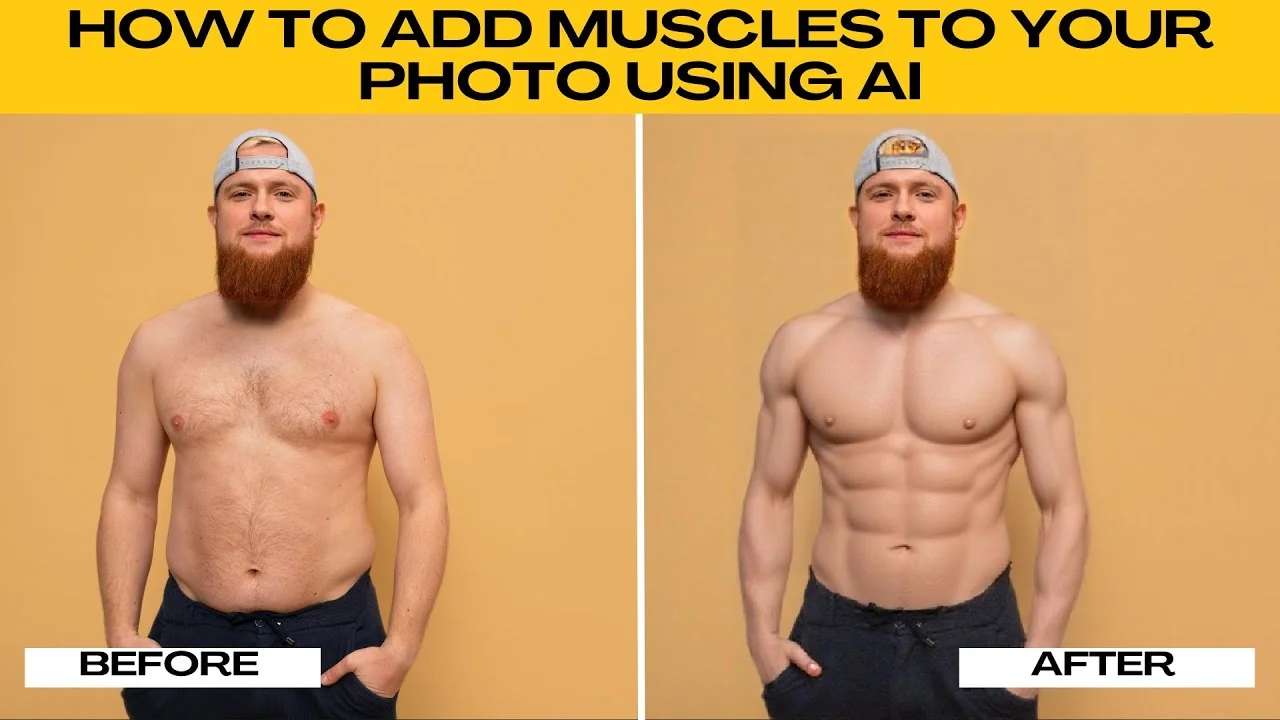
Add muscles to your photos with the AI muscle tool in the Photo AI editor. I will walk you through the exact steps and settings to get a natural, defined look that matches your photo.
If you want broader AI photo editing beyond muscle toning, see our AI photo editing guide for more options and workflows.
Photo requirements
For best results, use a front-facing full body photo with arms down, face and torso visible, and good lighting. Avoid side views, cropped images, group shots, or blurry photos. Avoid shadows or poor lighting that can confuse the effect.

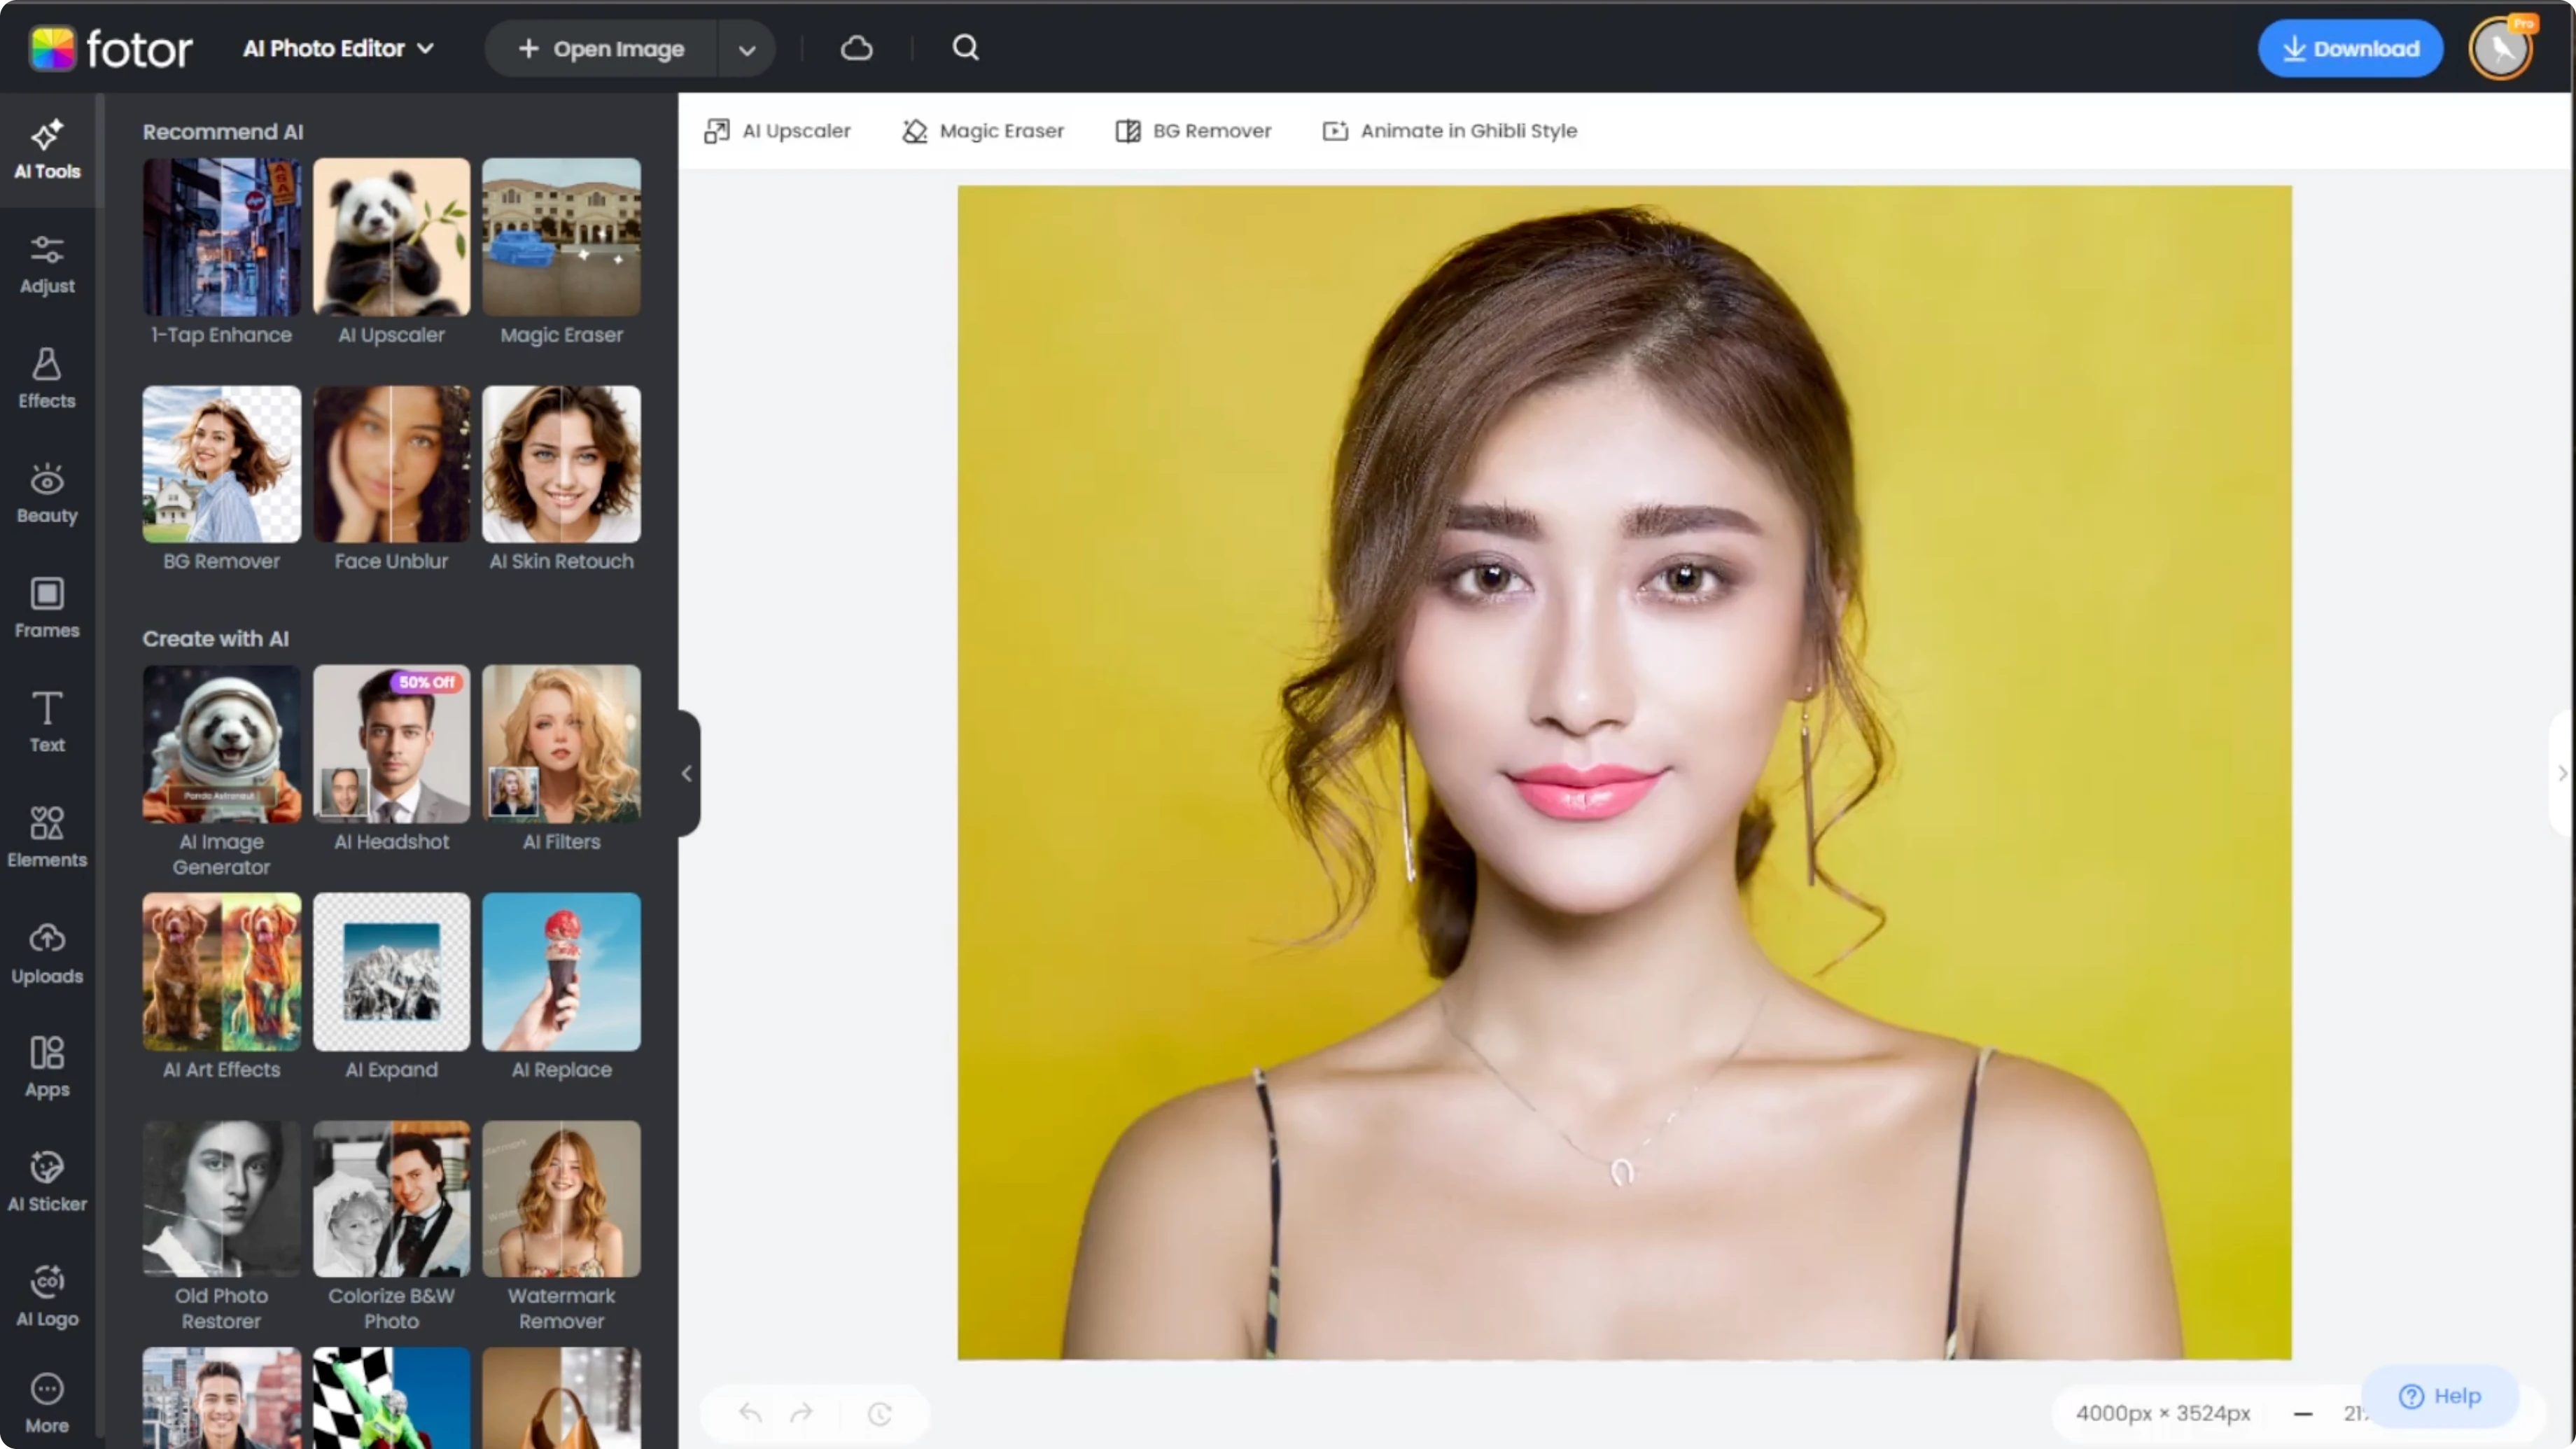
Get started
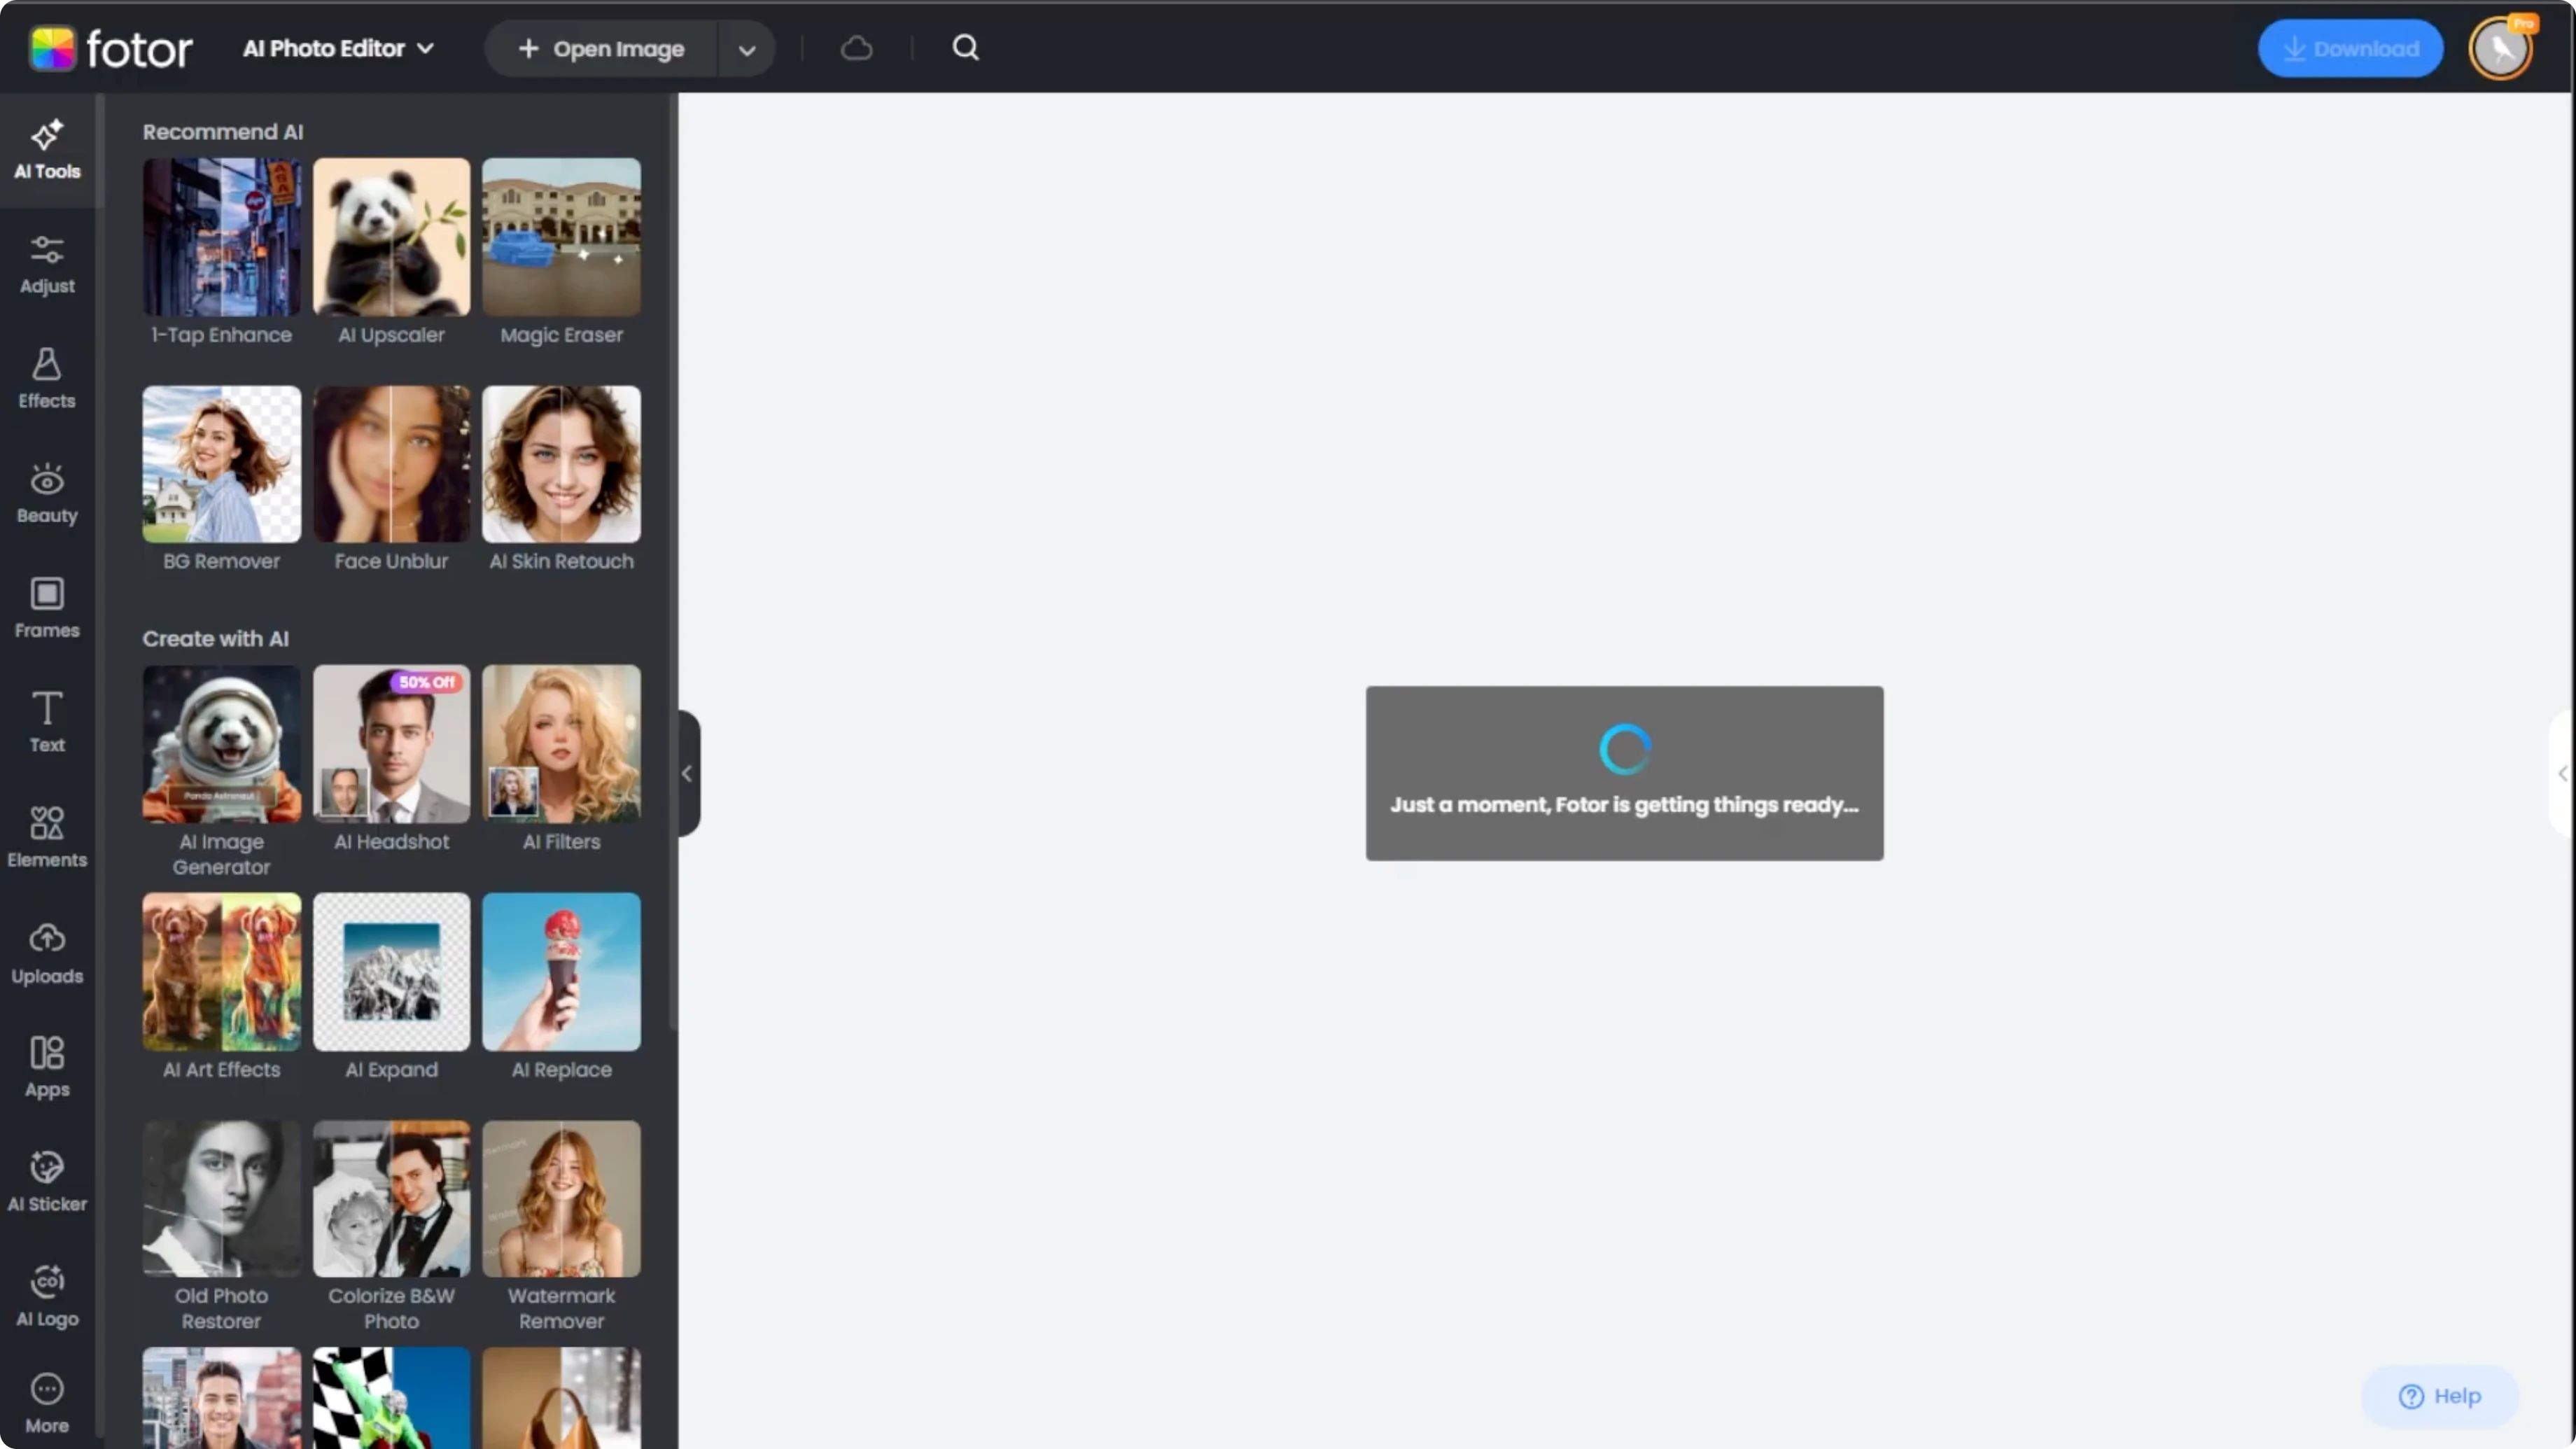
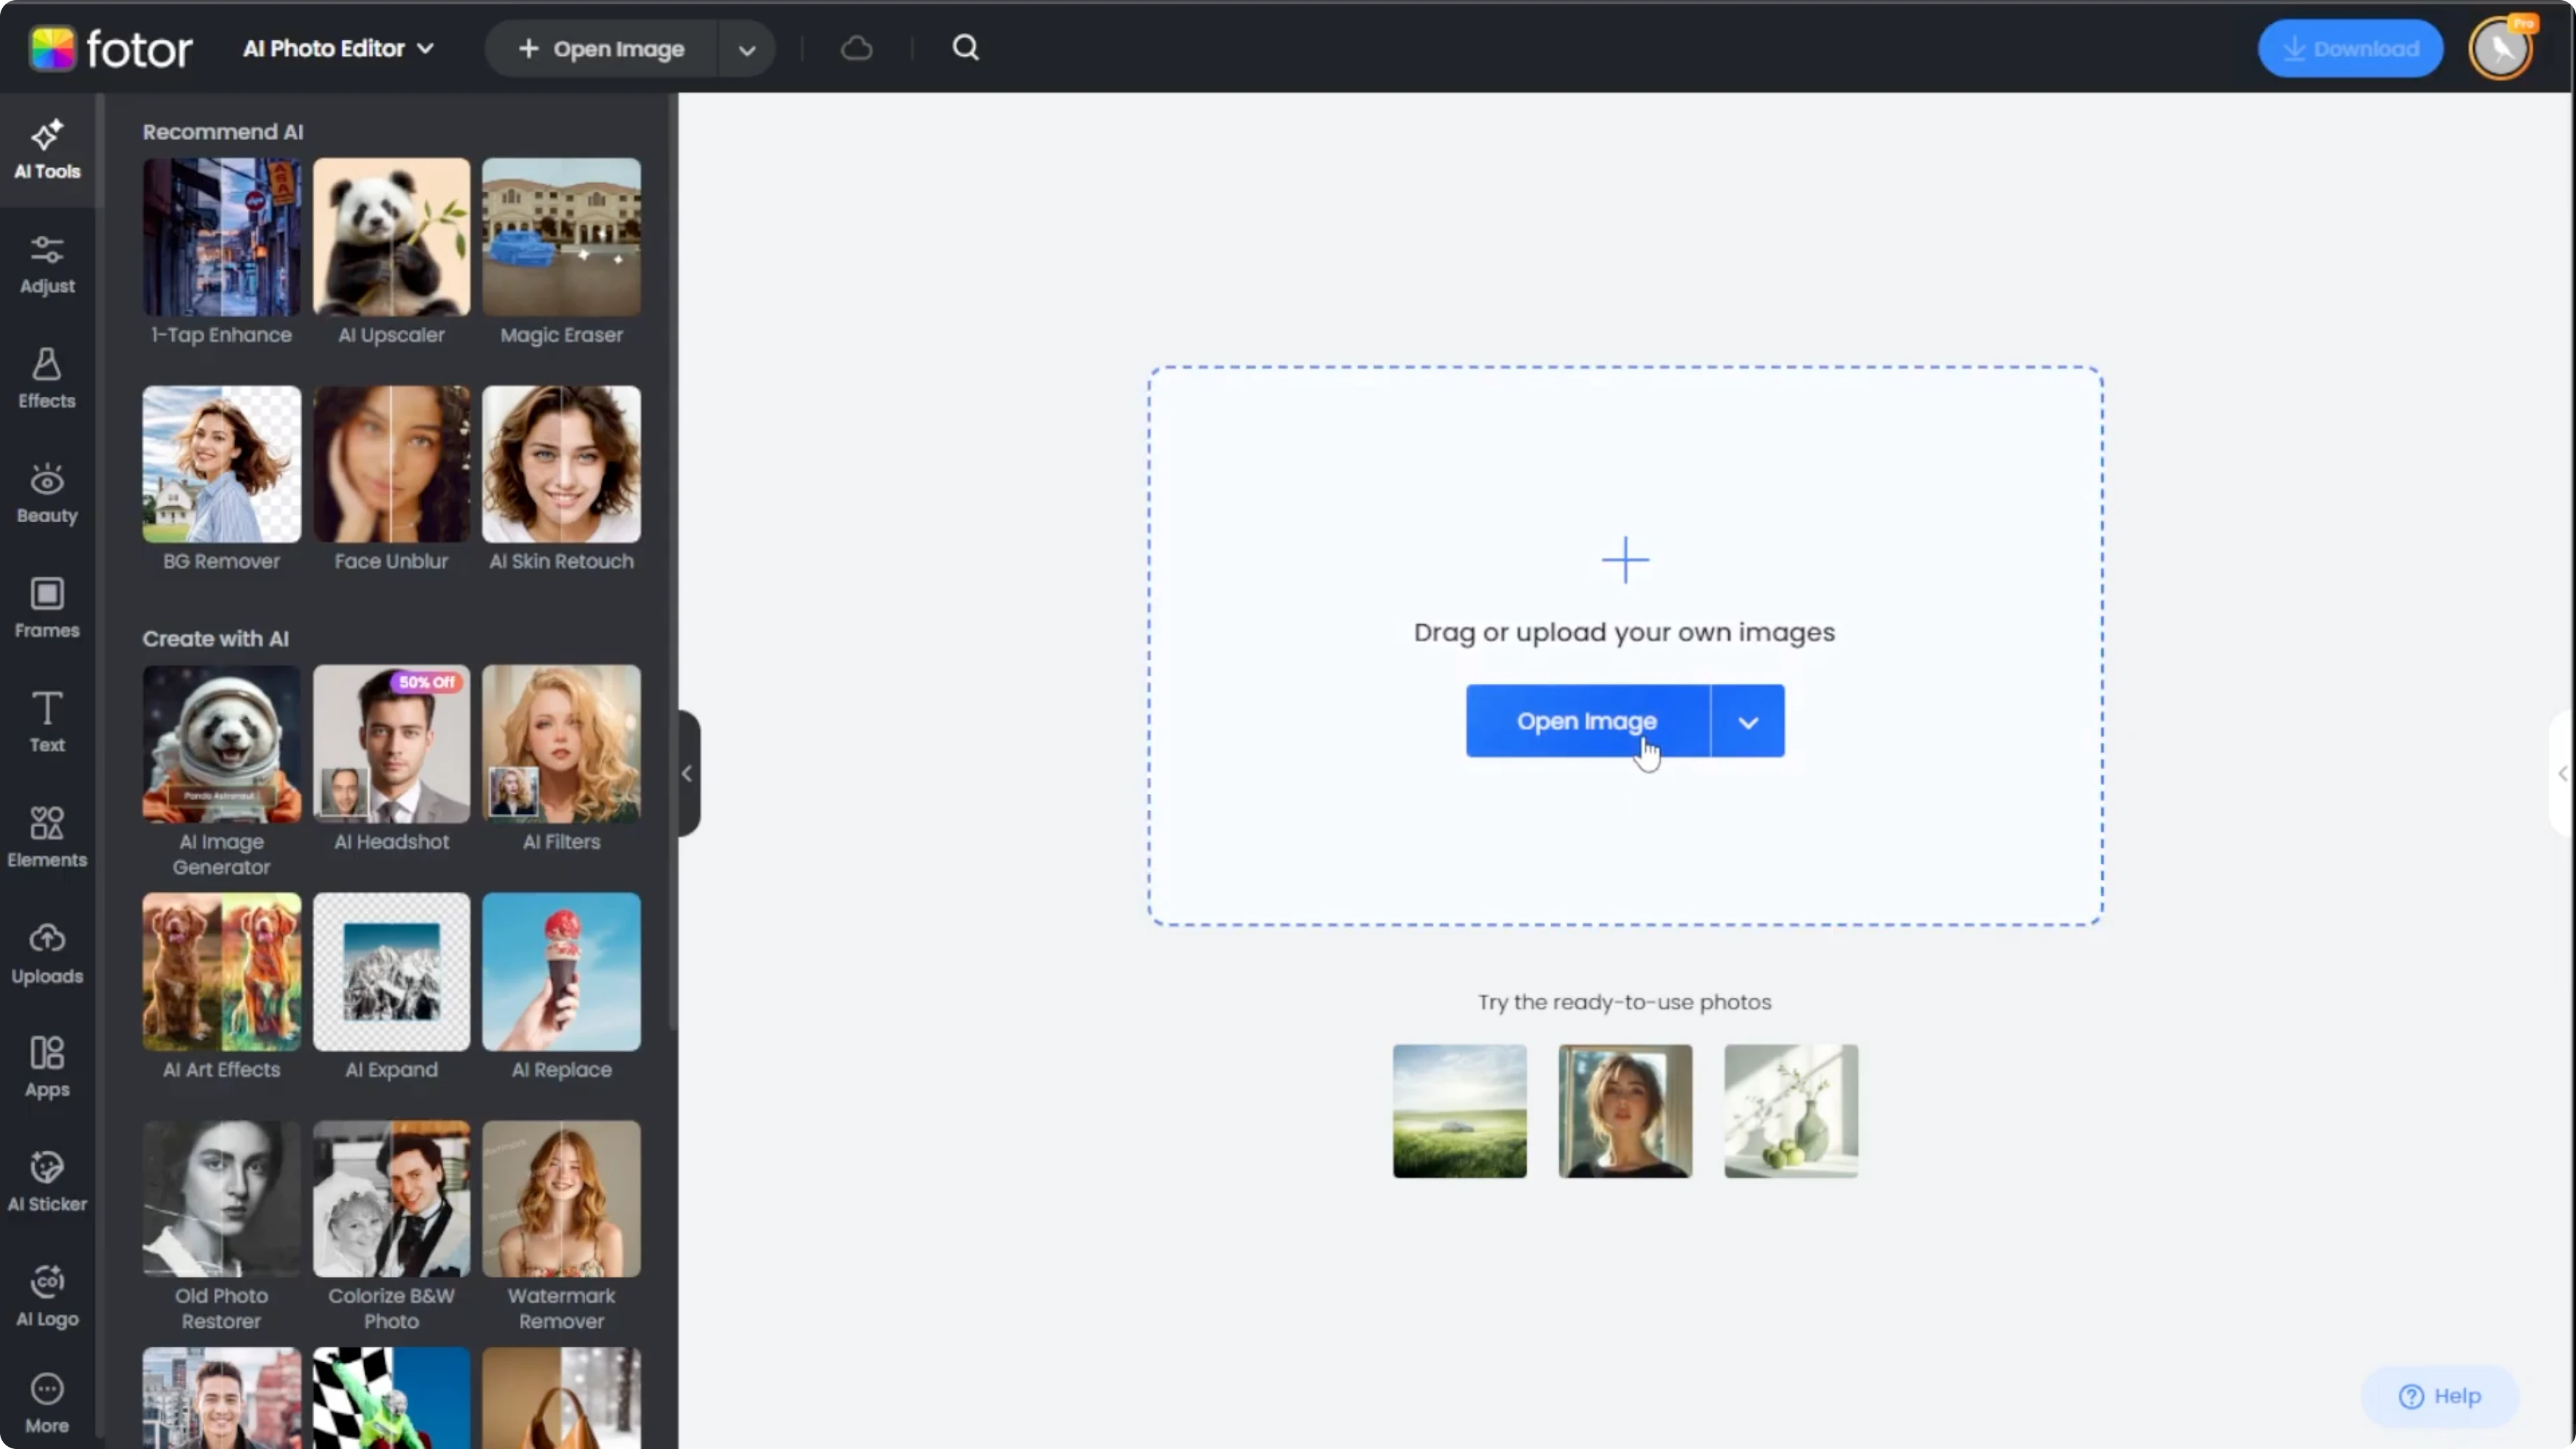
Open your browser and go to the Photo AI photo editor. Upload your photo to the editor.
On the left panel, switch to the beauty tab. Under the AI smart tools, click the AI muscle option.

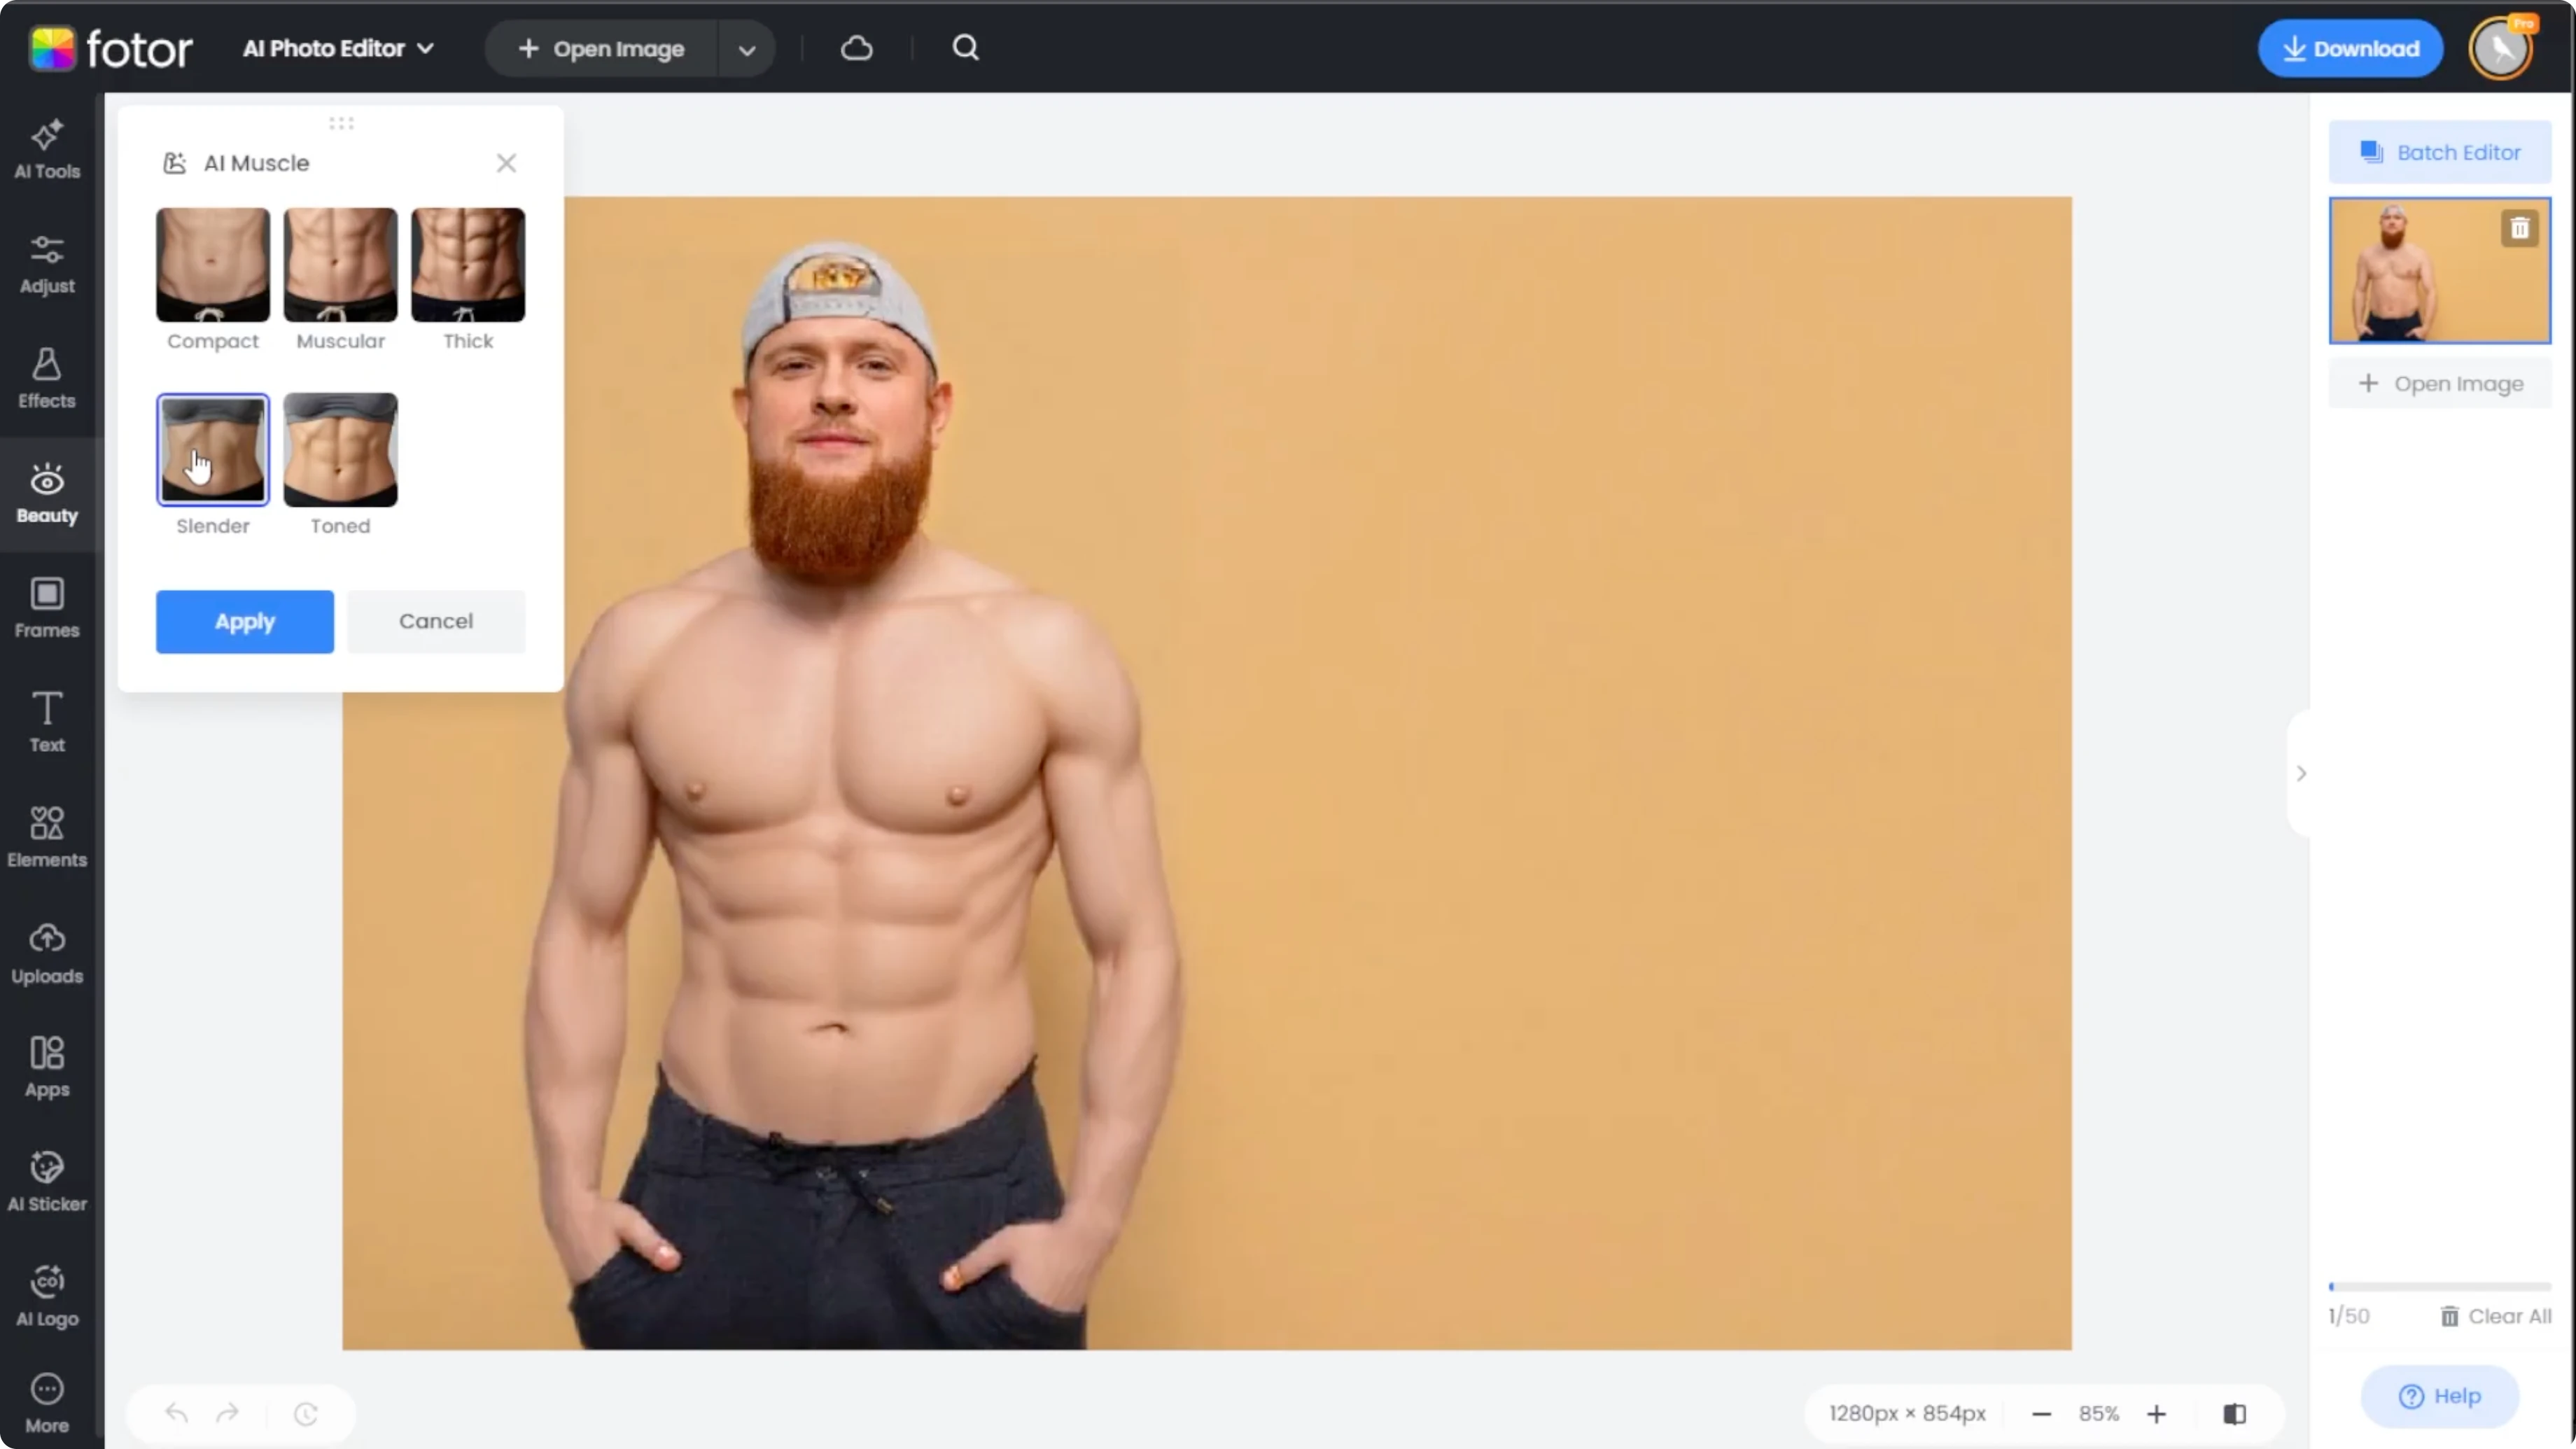
Pick a style
You will see five muscle enhancing styles designed for different goals. Click through the options to preview how each one looks on your photo. Effects don't stack, so feel free to experiment.
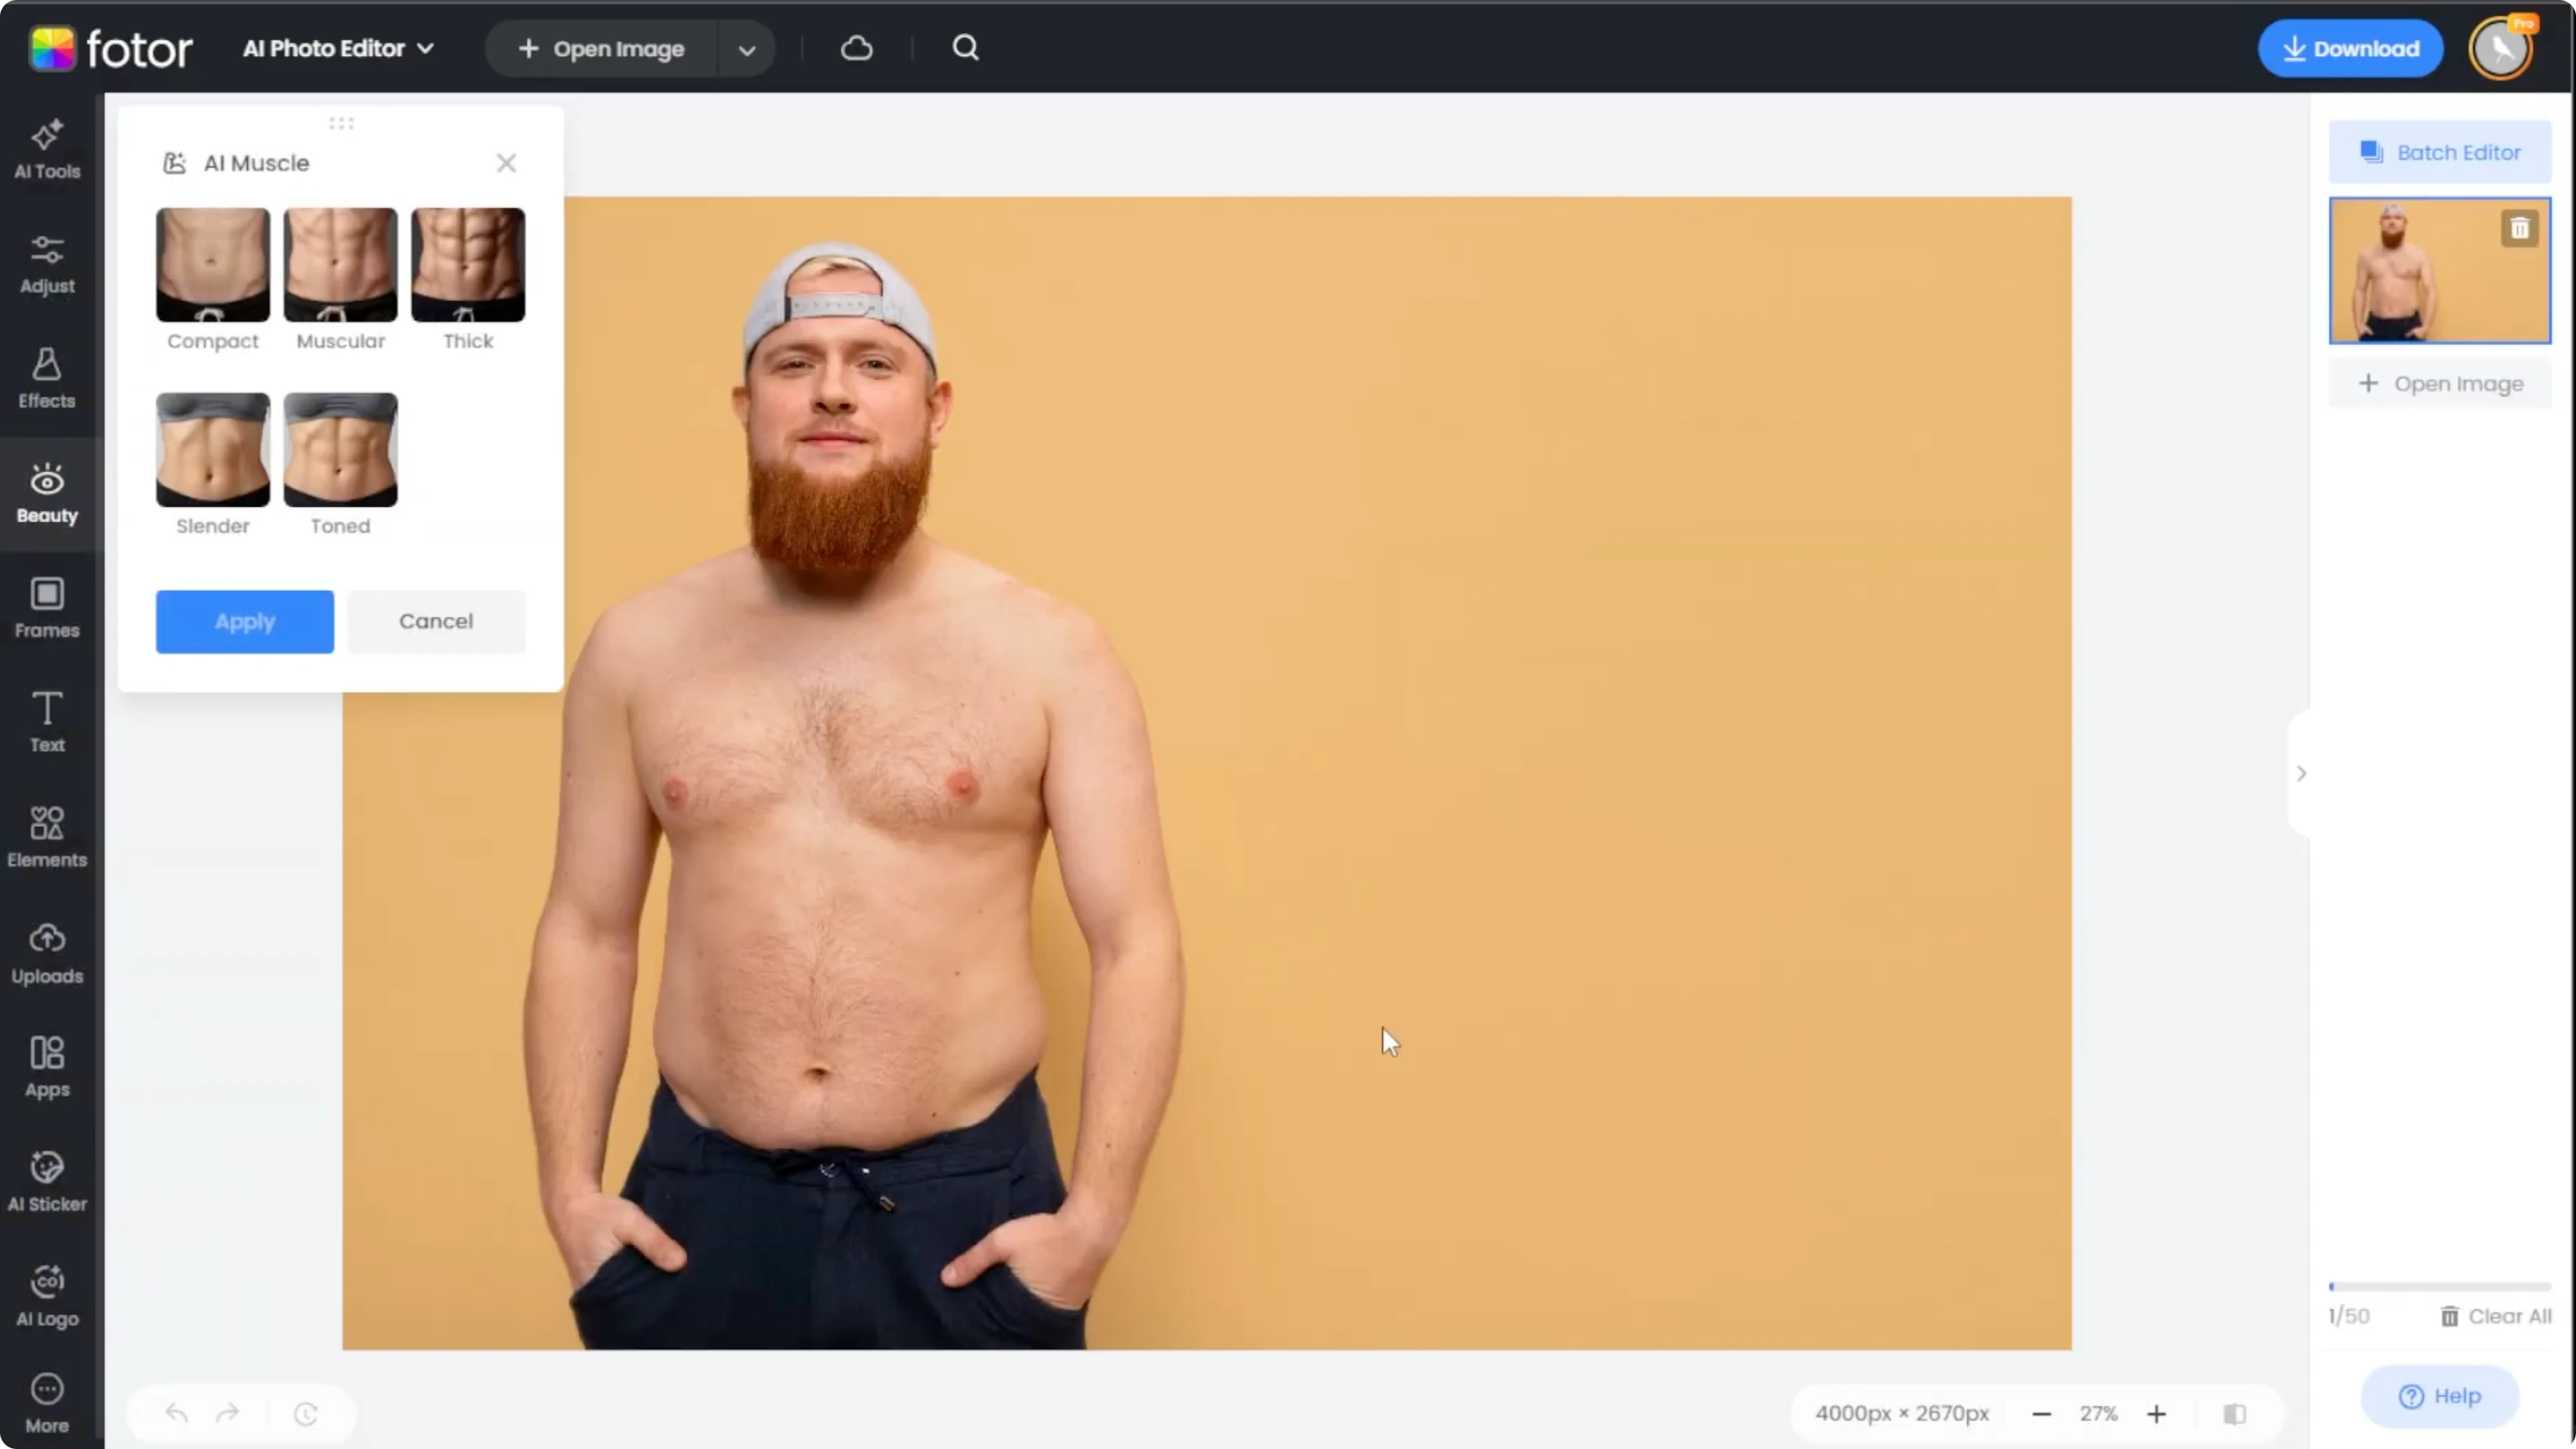
Style options
Compact gives subtle definition. This is ideal for a light enhancement that keeps everything natural.

Muscular creates a noticeably built muscle. Use this when you want a stronger, athletic look.
Thick adds bulkier body mass. Choose this for a bigger overall frame while keeping proportions in check.
Slender offers a lean and fit look. This works well when you want definition without size.
Toned gives a defined but natural muscle. It is a balanced choice for everyday photos and profiles.
For creative edits beyond realism, you can try a stylized approach like a cartoon effect in Canva after you export your image.
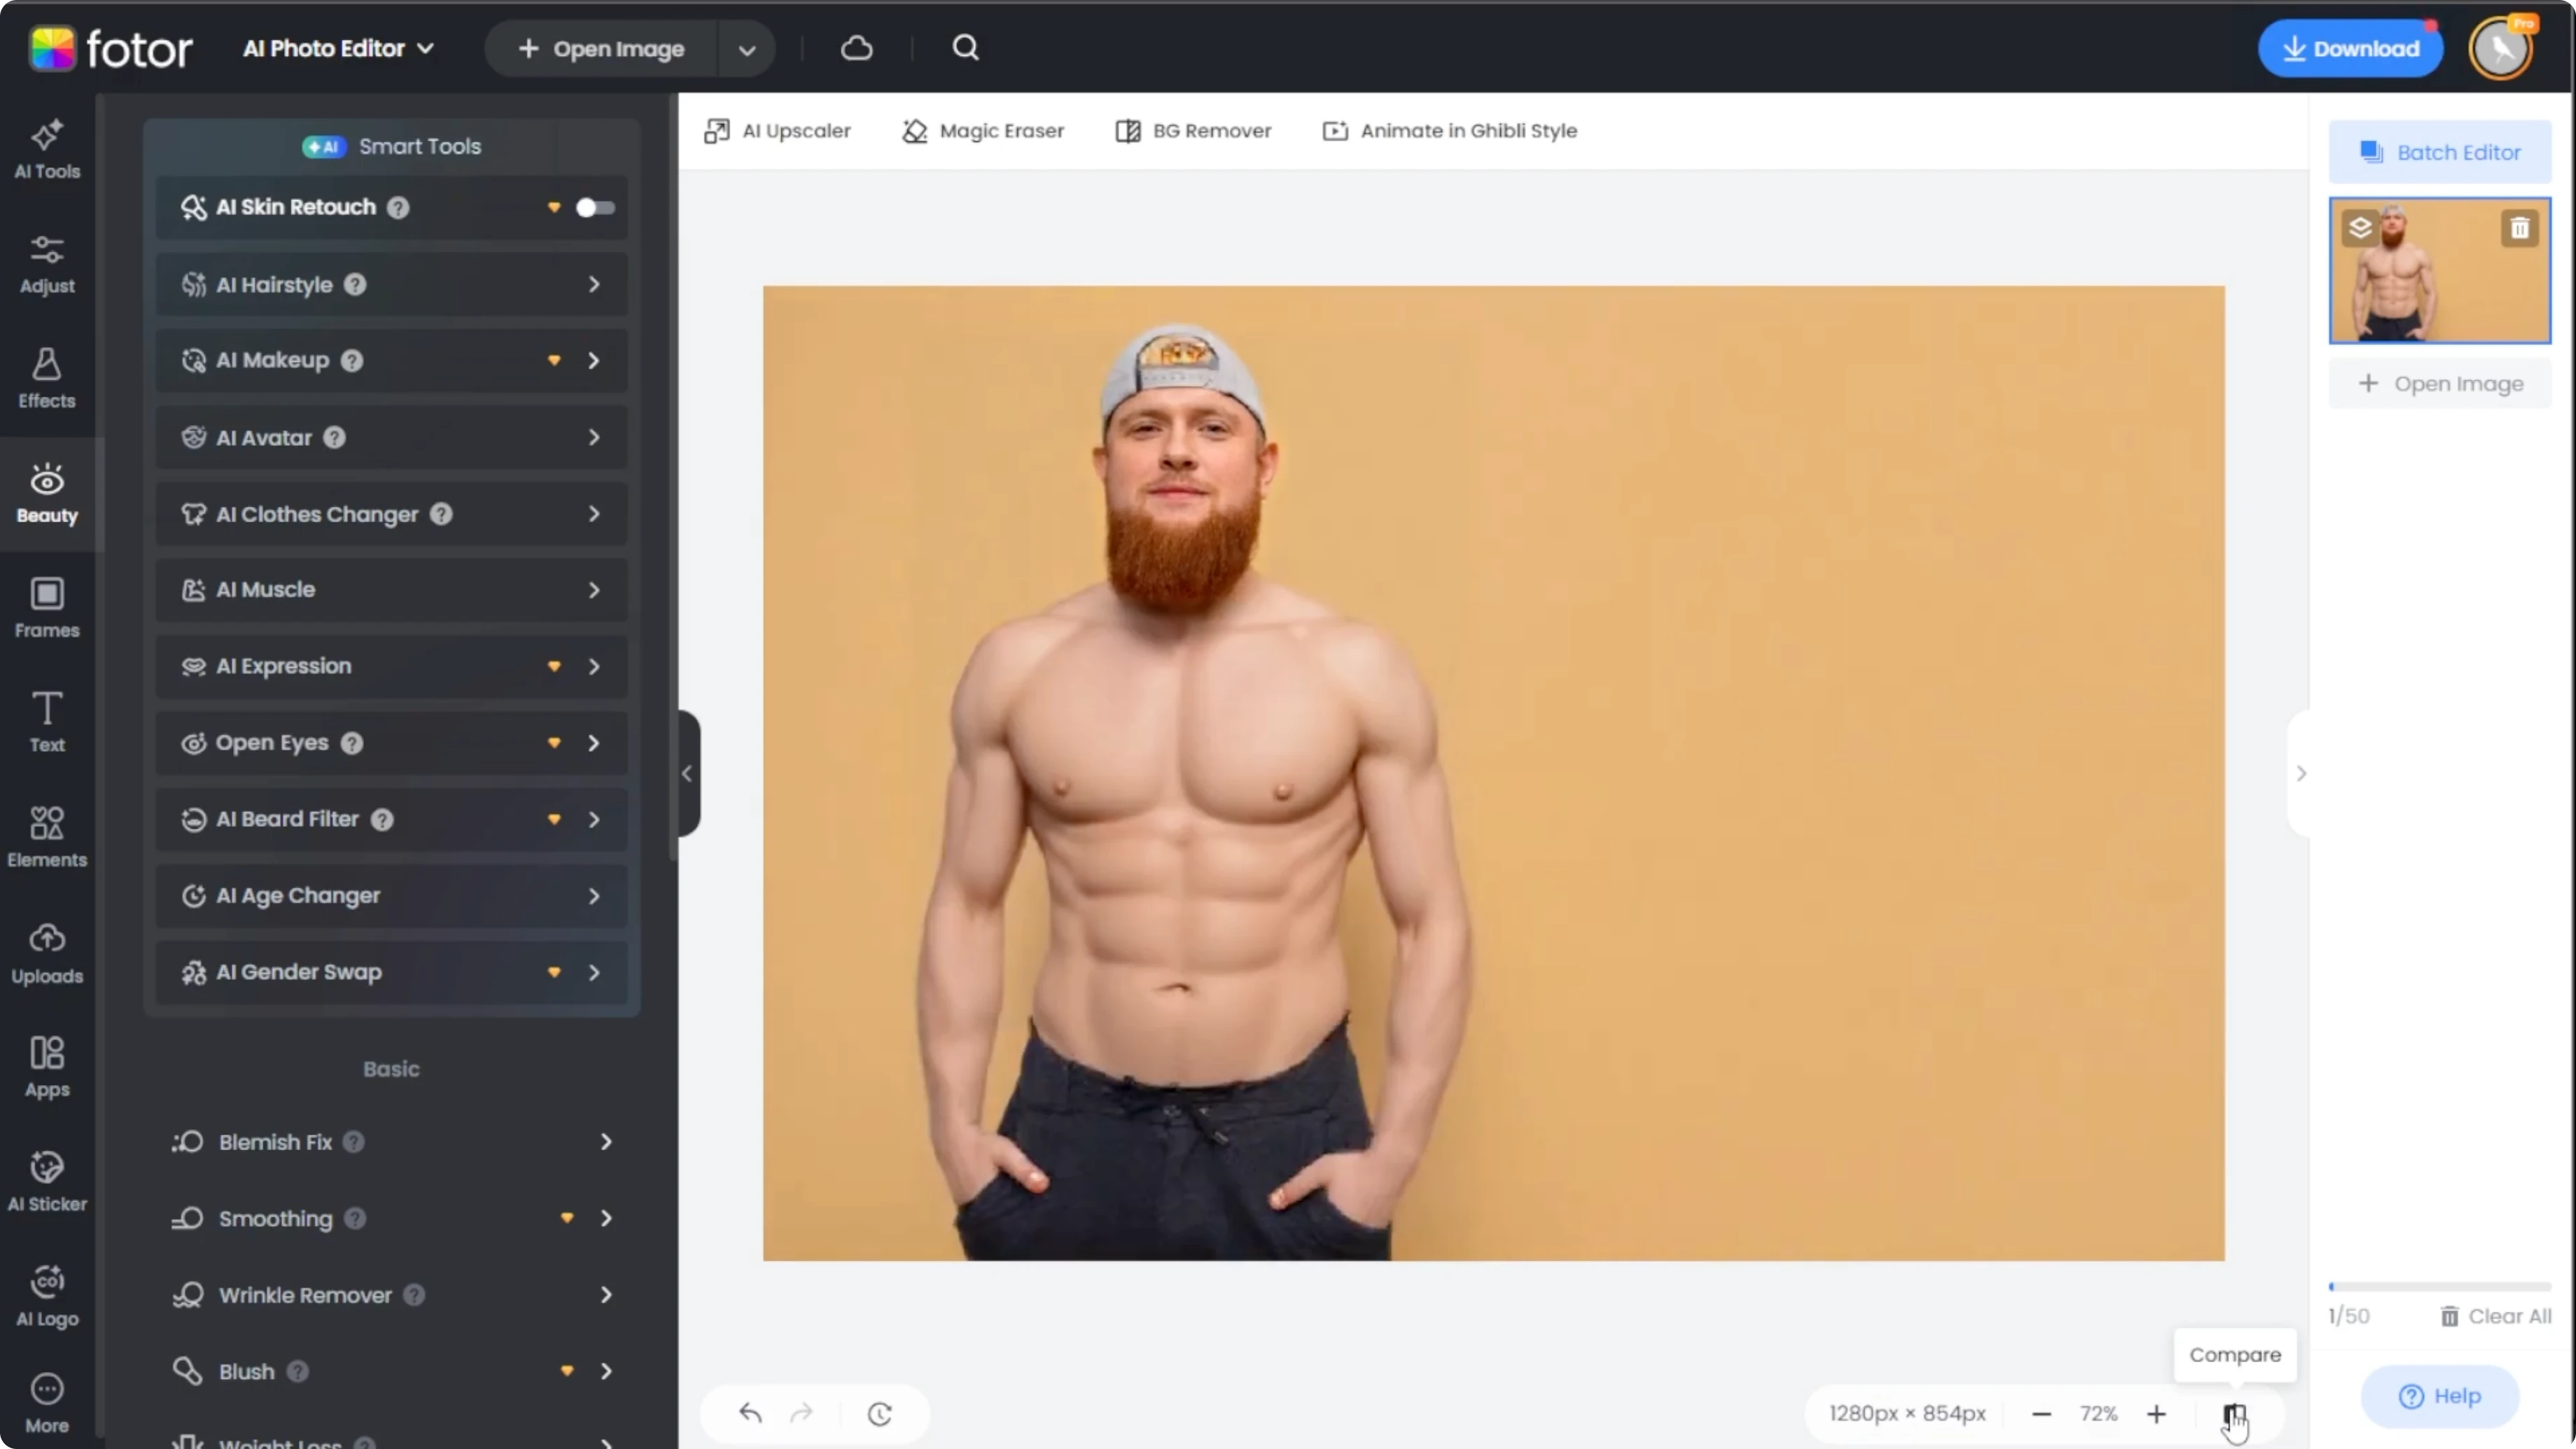
Apply and compare
When you find the look you like, click Apply. Click and hold the compare button at the bottom right to see your before and after.

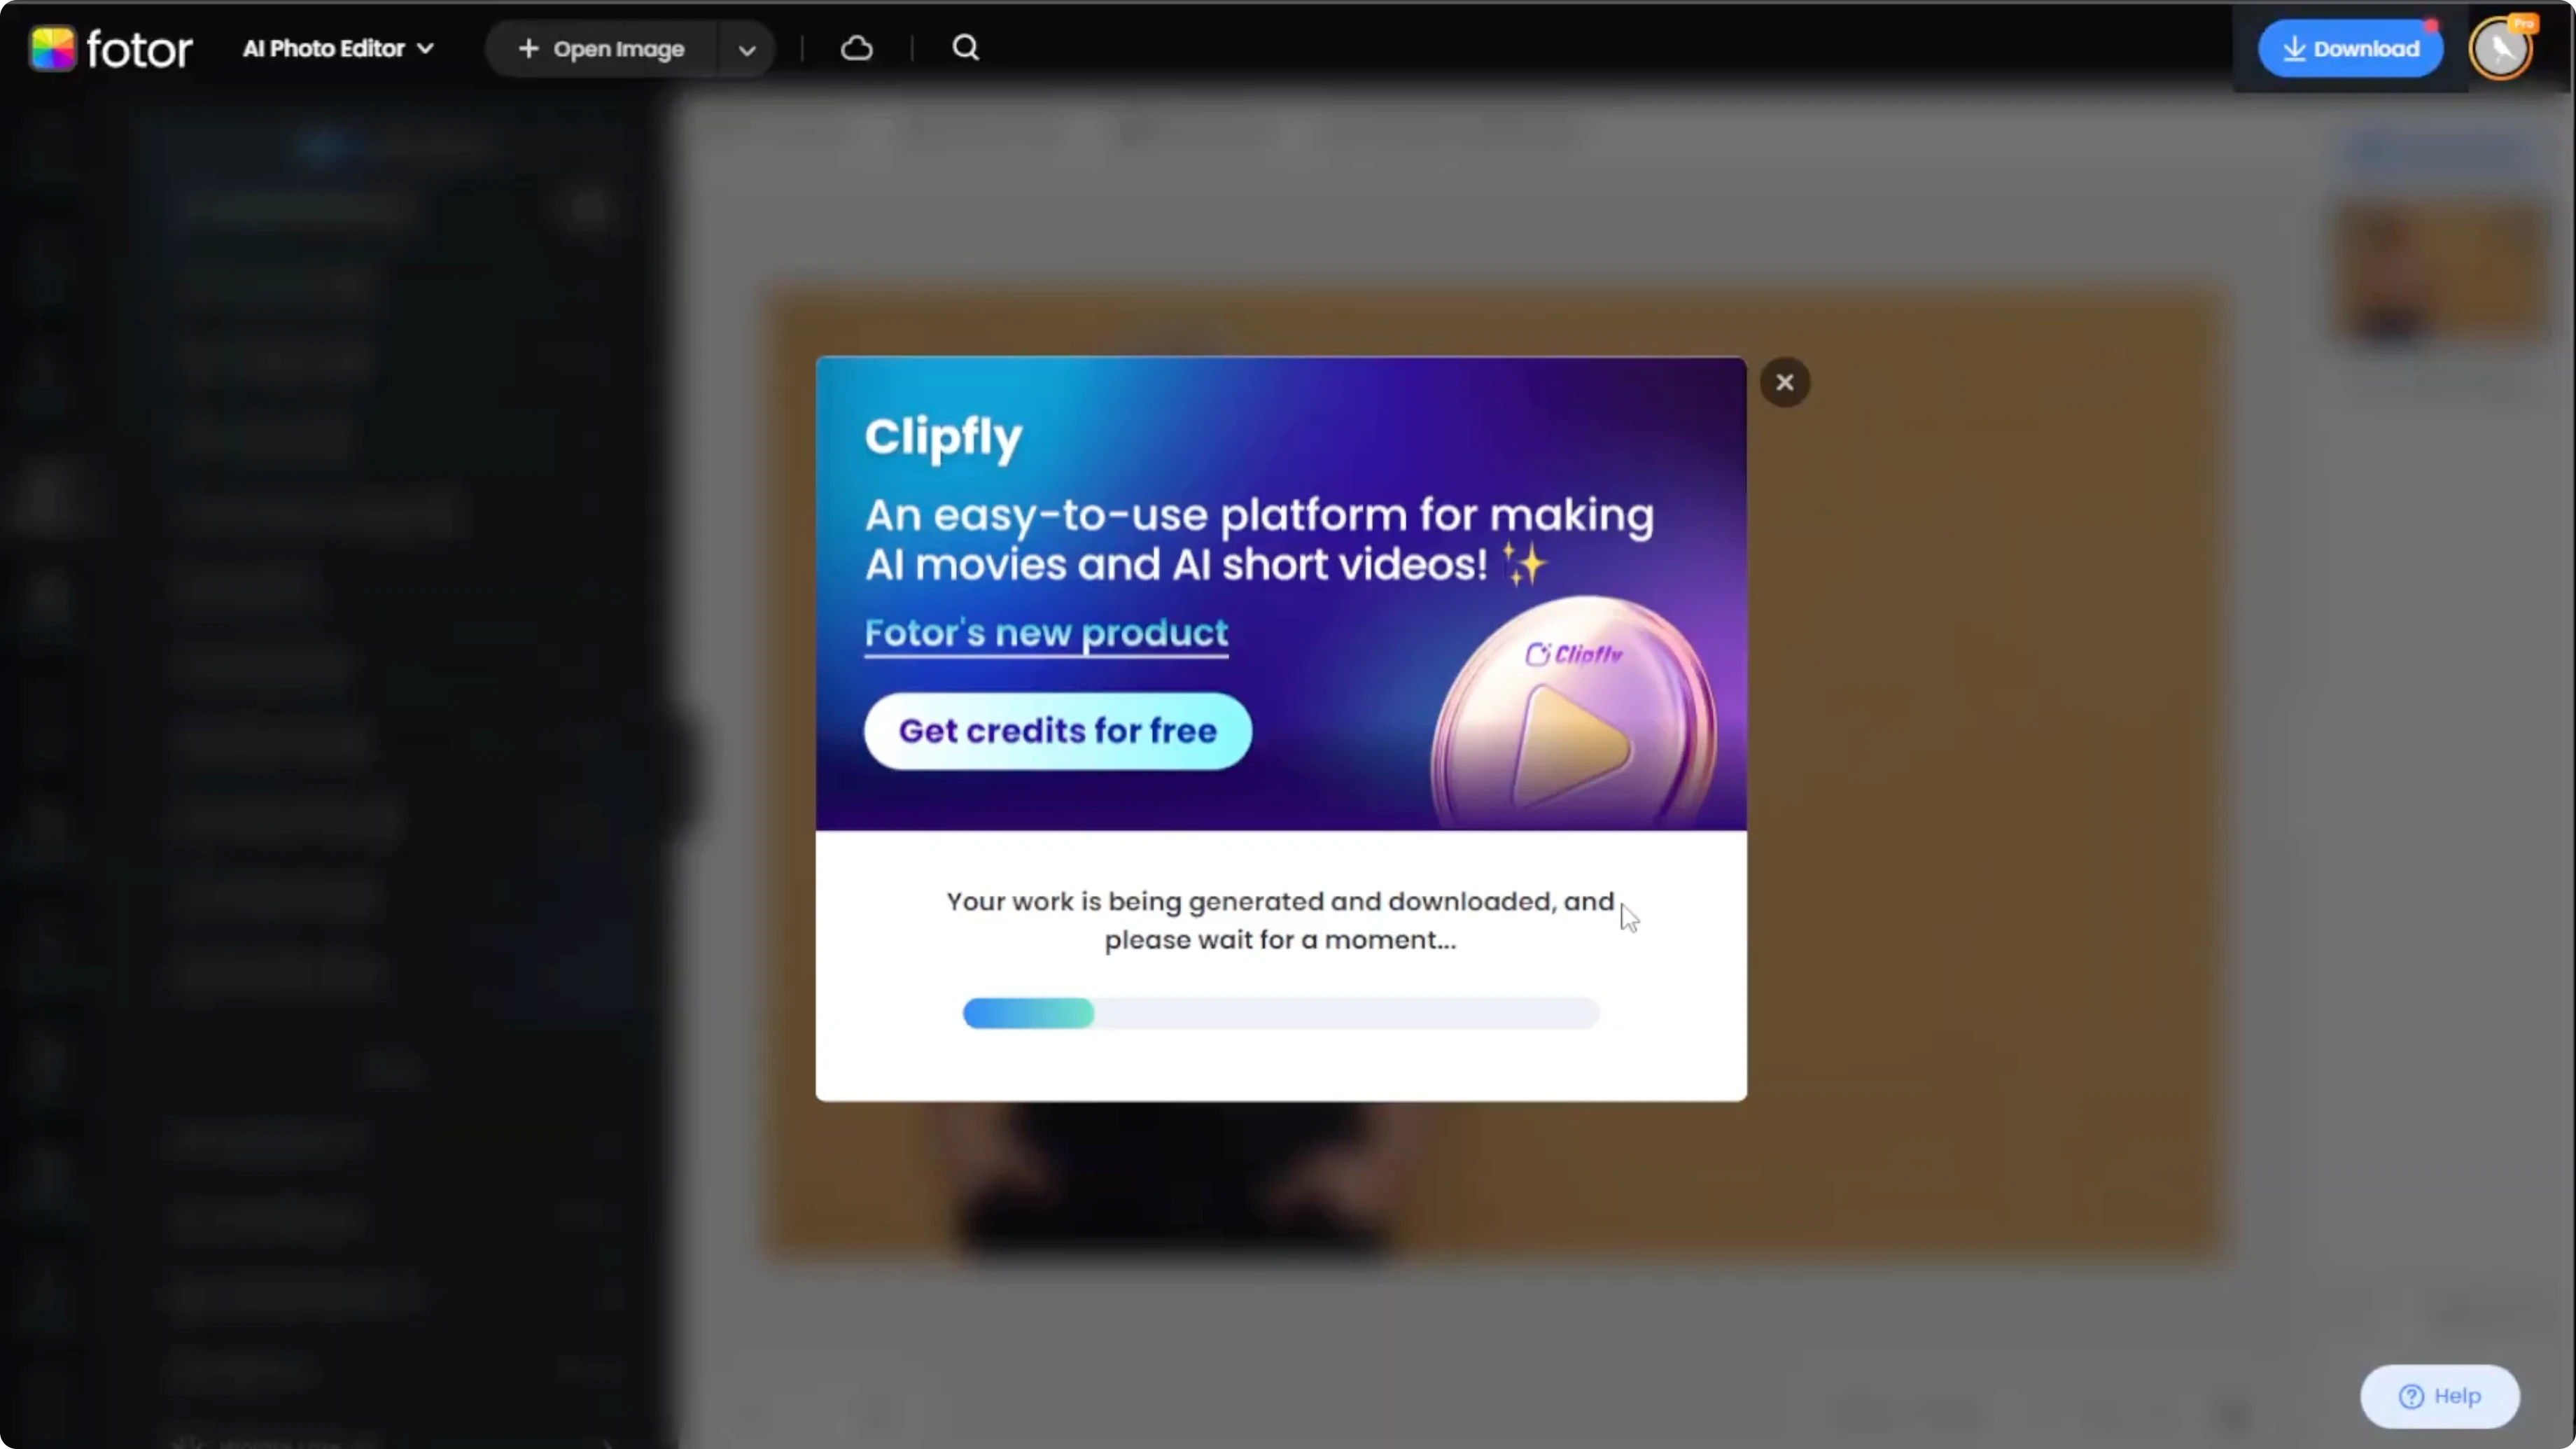
When you are happy with the result, click download to save the image. This preserves the resolution and the final effect in a single file.
To turn your transformation into a short clip or slideshow, explore AI video tools in Canva and pair your before and after frames.
Use cases
With the Photo AI Muscle Tool, building your dream body is as easy as uploading a photo. It is perfect for mock-ups, transformations, or just visualizing your goals. No gym membership required.

Final thoughts
Choose a clean, front-facing photo, test each style, and rely on the compare view to keep results natural. Since effects do not stack, switch styles freely until the proportions feel right. Export your favorite version and build on it for creative presentations or social profiles.
Recent Posts

How AI Can Perfect Photos by Opening Closed Eyes Naturally?
How AI Can Perfect Photos by Opening Closed Eyes Naturally?
How to Make Someone Look Older or Younger Using AI?
How to Make Someone Look Older or Younger Using AI?
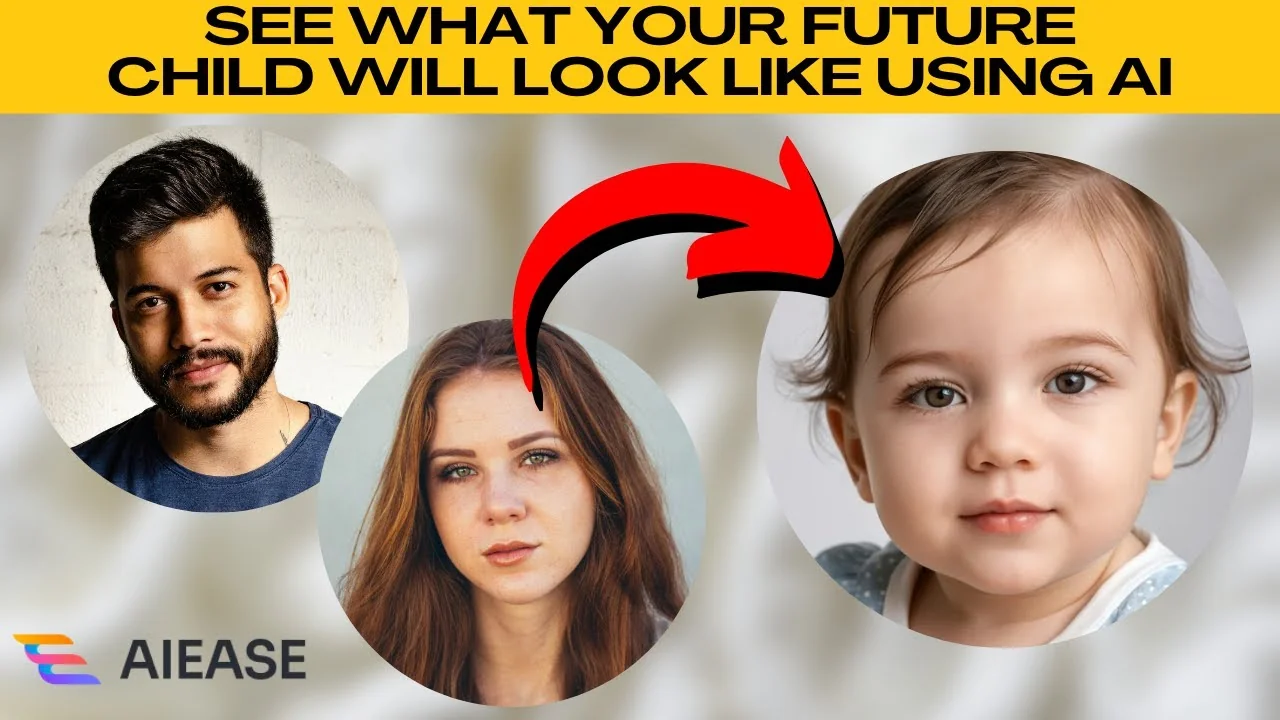
How to Visualize Your Future Child's Face by Blending Parent Photos with AI?
How to Visualize Your Future Child's Face by Blending Parent Photos with AI?