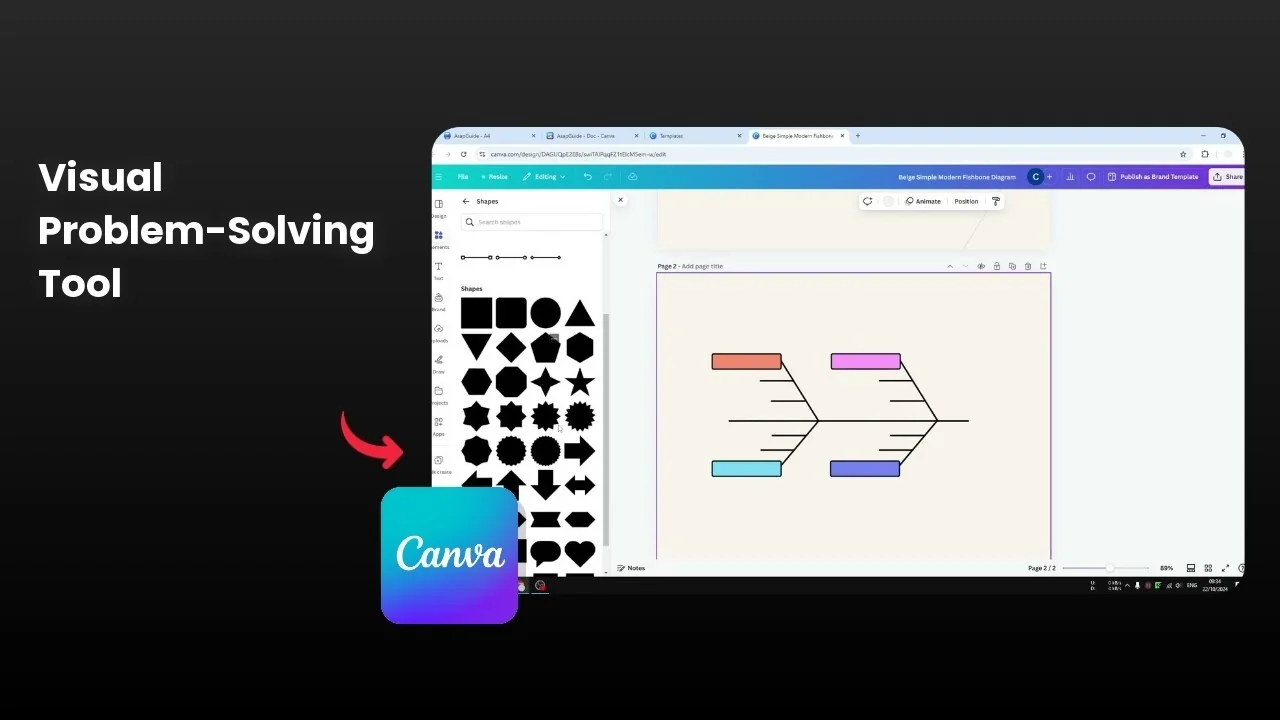
How to Create a Fishbone Diagram in Canva
You will learn how to create a fishbone diagram in Canva. There are two methods. The first is easy, the second is not so easy.
I start with a quick template method. Then I show how to build the diagram from scratch.
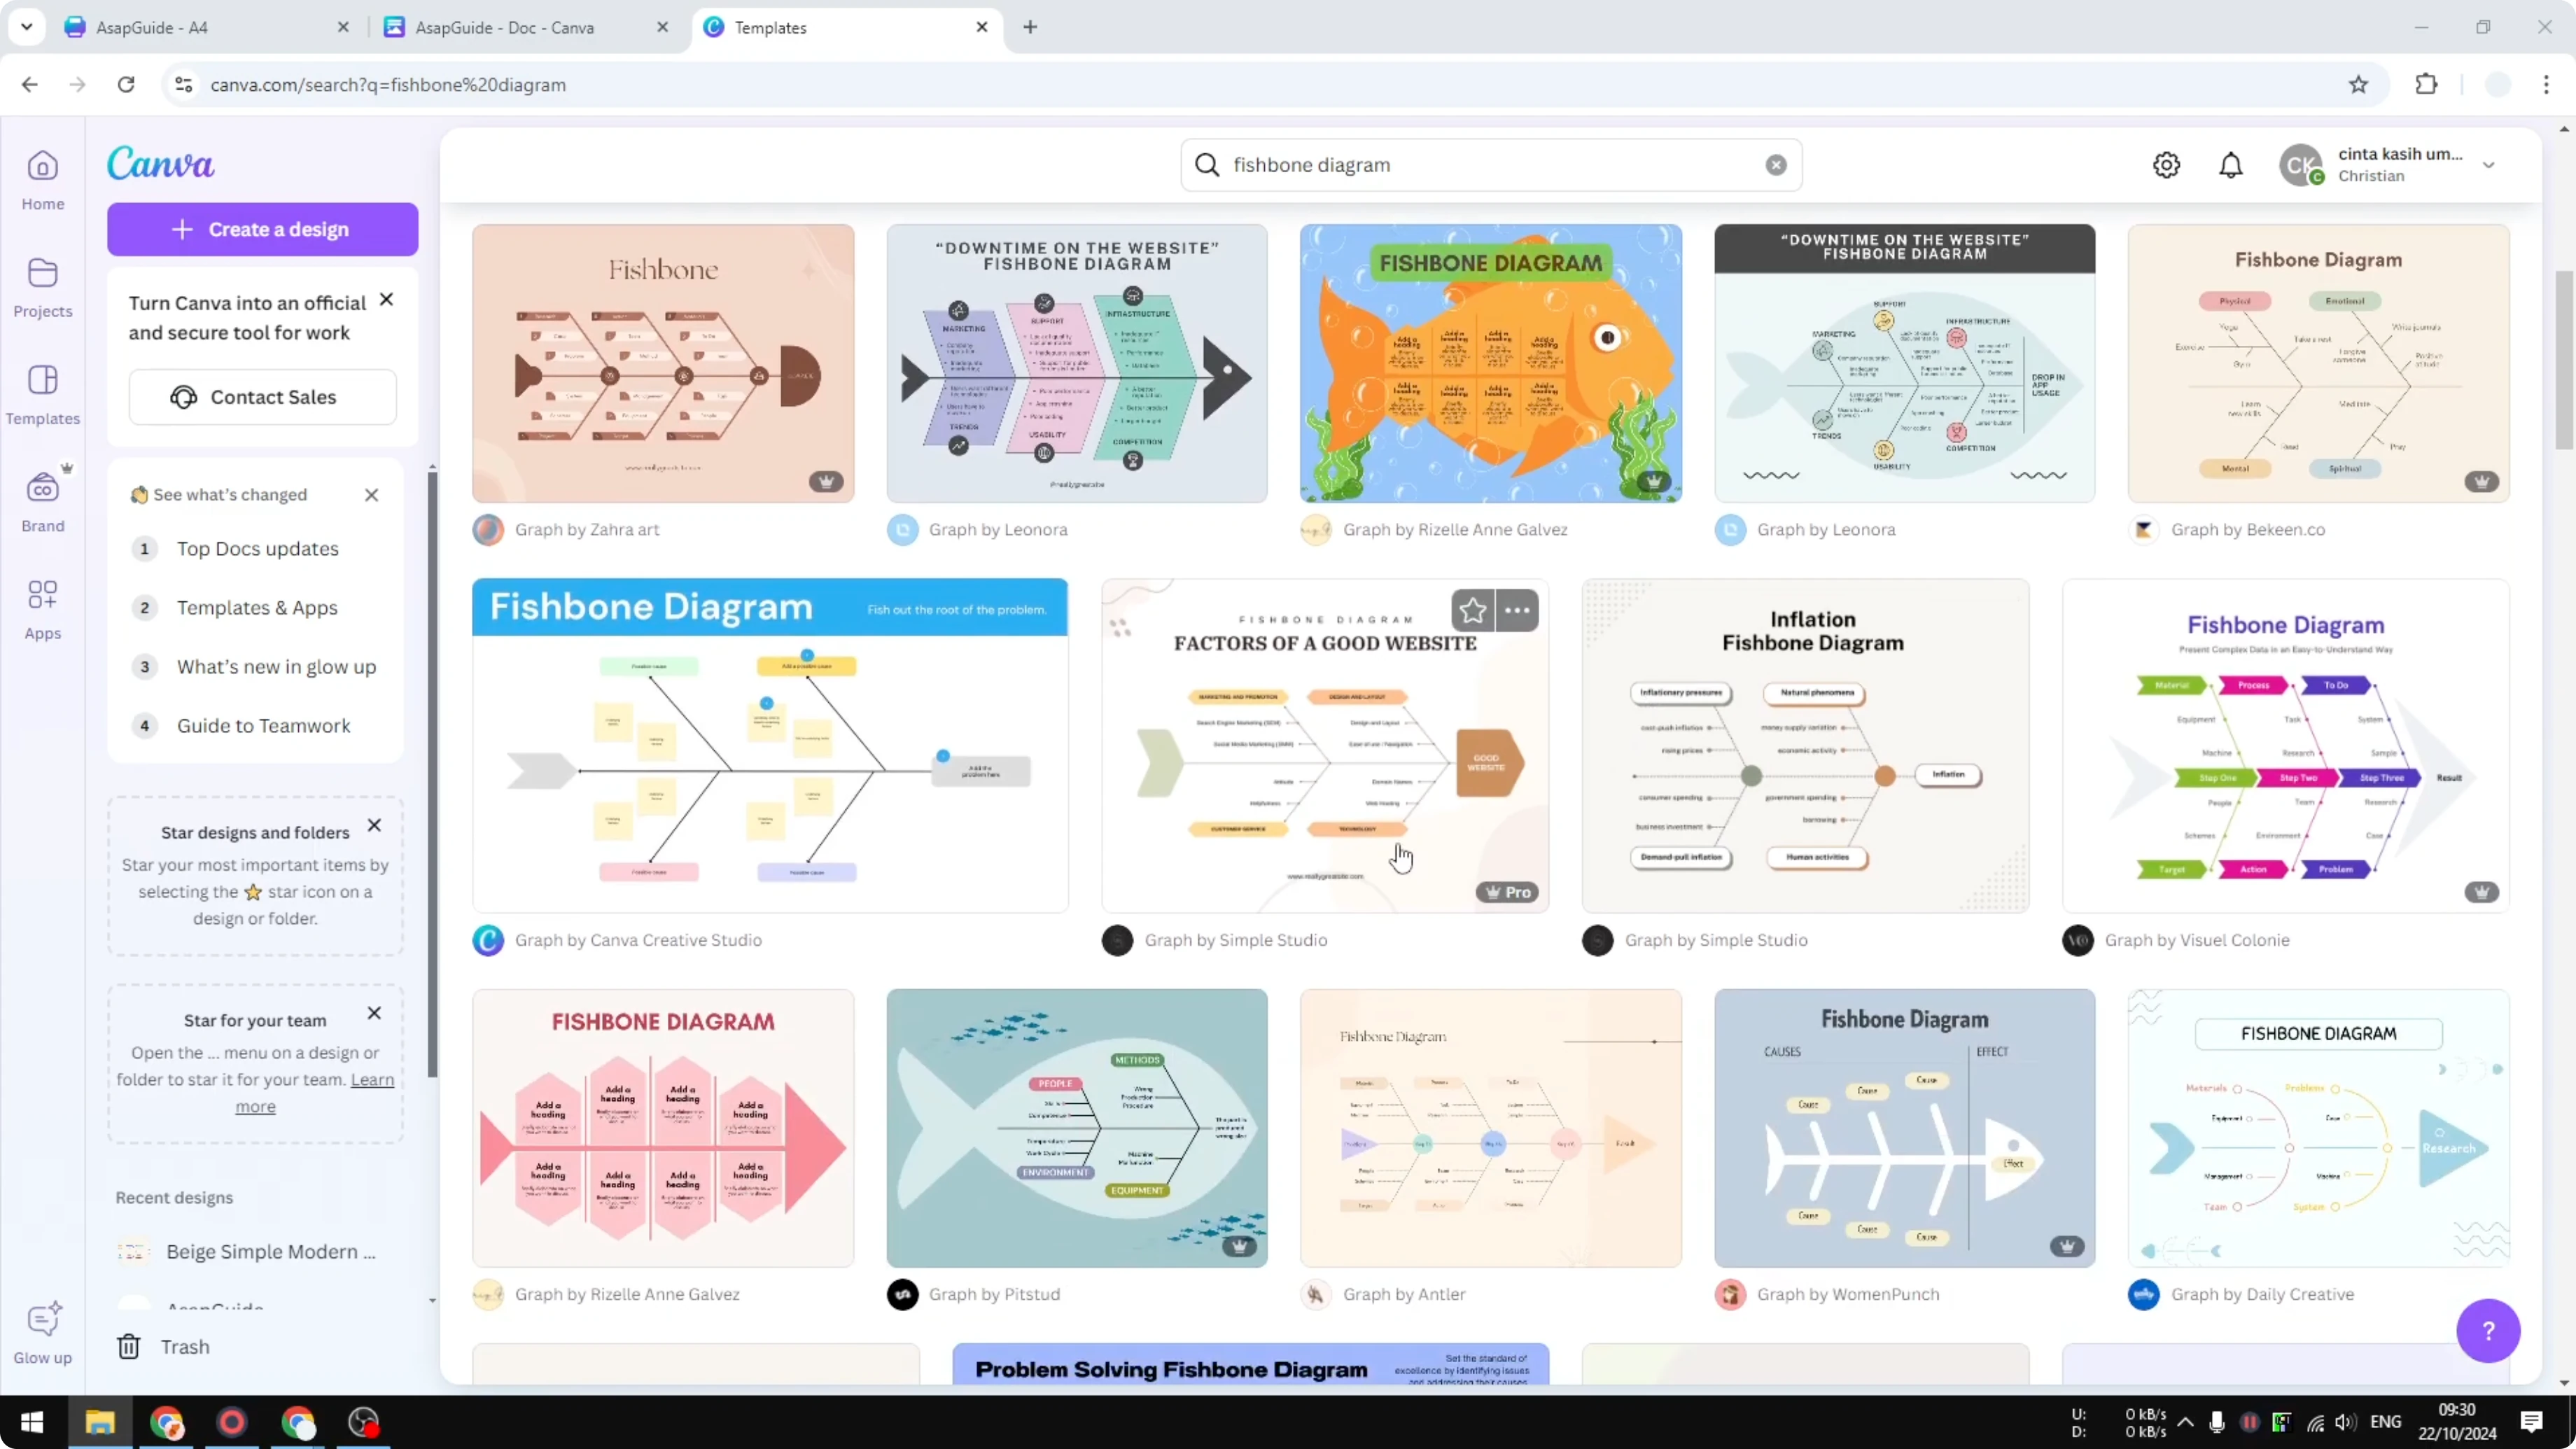
Create a Fishbone Diagram in Canva: Templates
Use a template created by professional designers in Canva. Go to your Canva dashboard and search for fishbone diagram. You will see plenty of great looking designs you can customize.
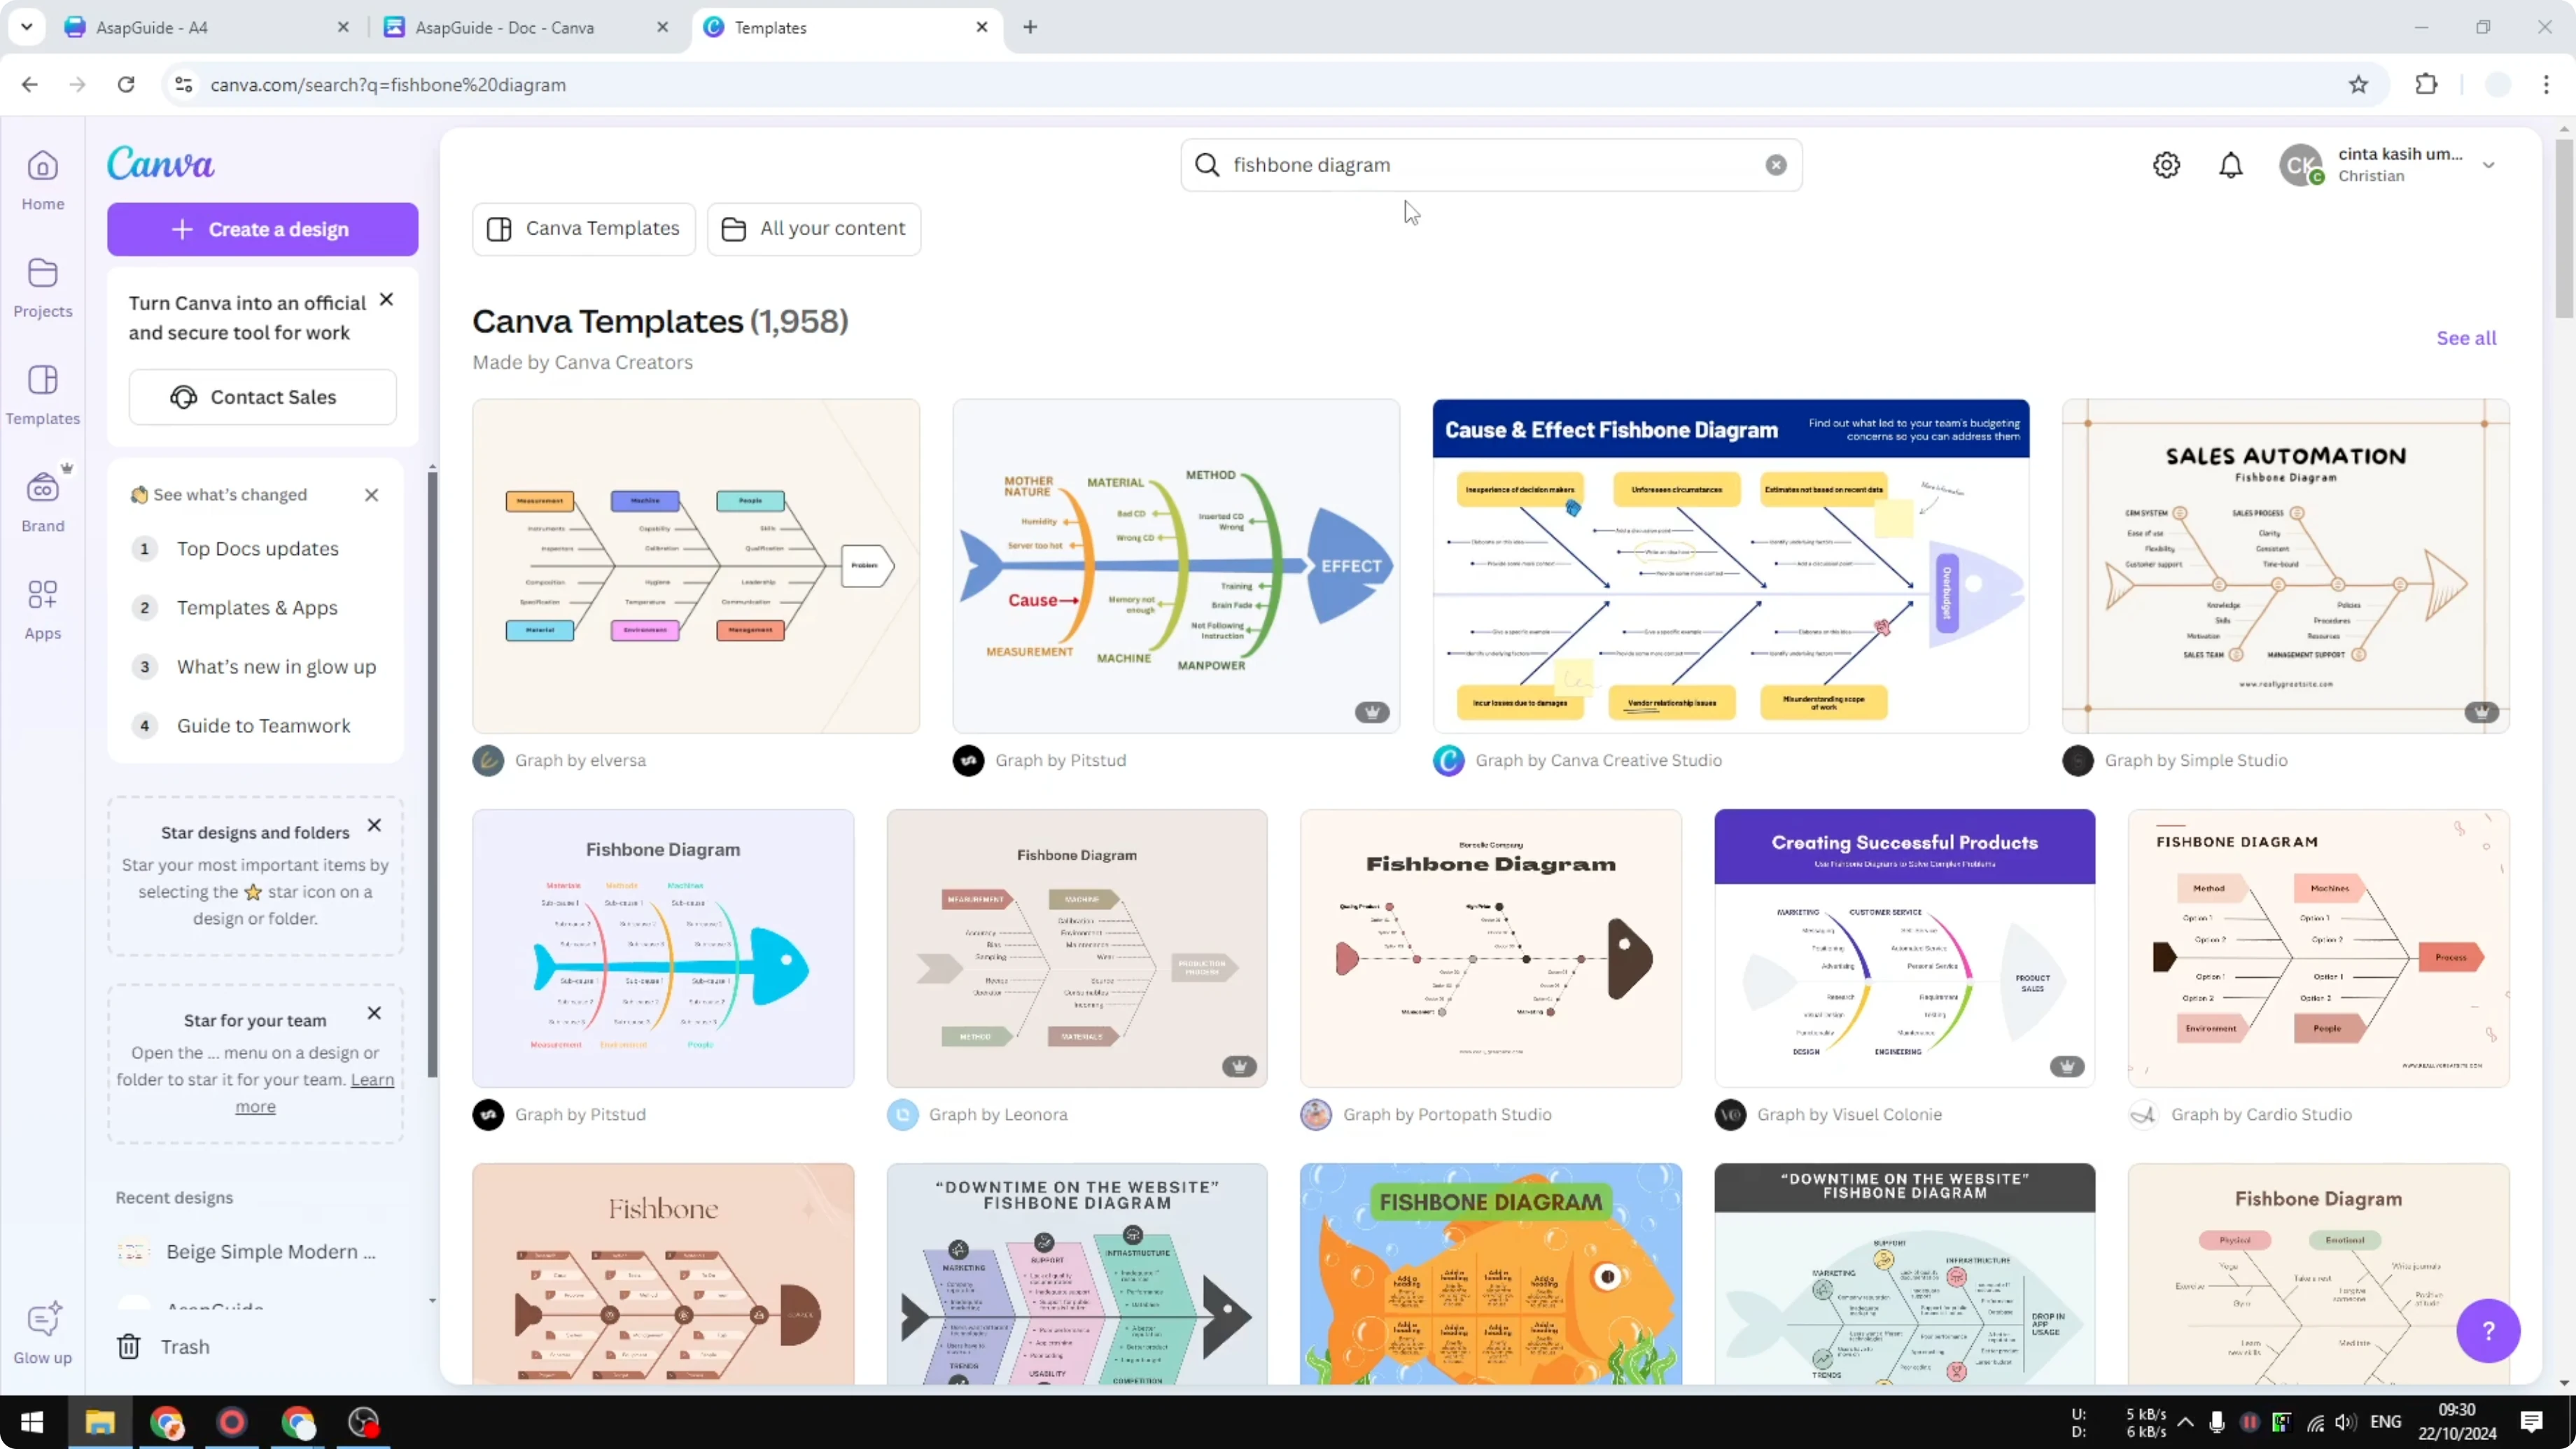
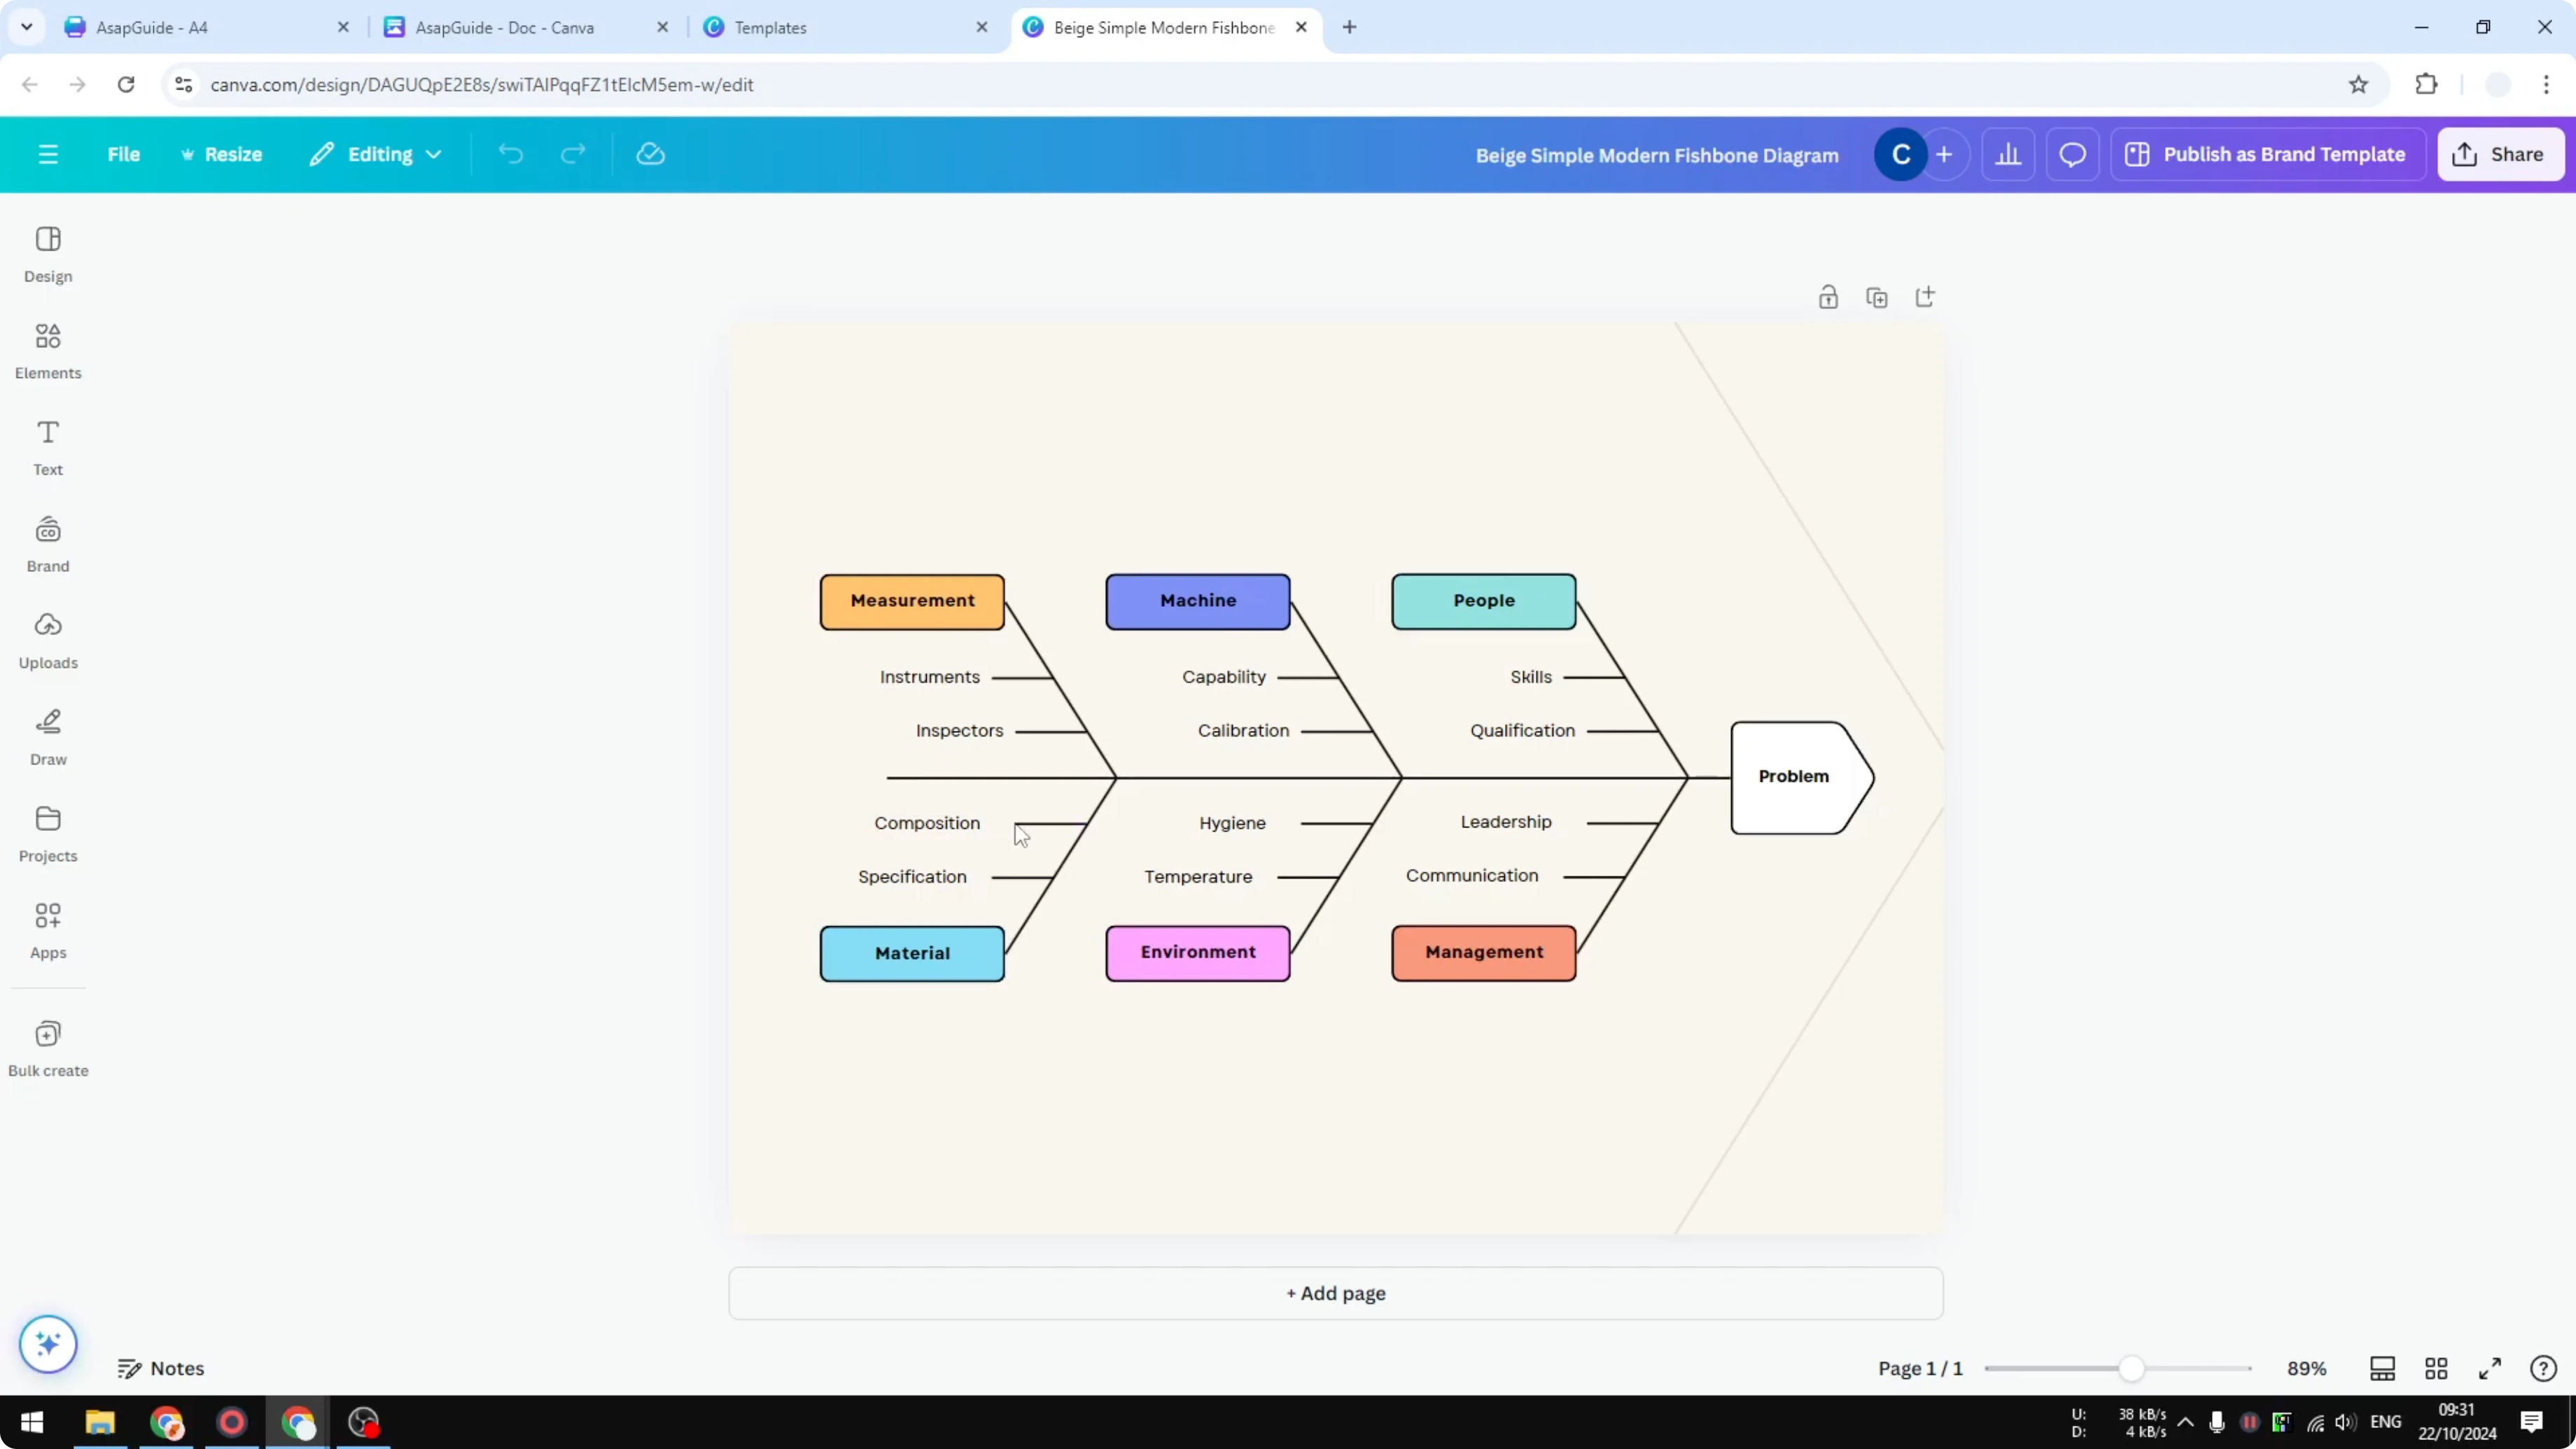
Click a design to open it as a new document you can edit. Hover your cursor over the elements and you will see it is a bunch of lines arranged together to create the fishbone. Customize colors, text, and spacing to match your needs.
If you also map ideas visually for planning, see how to create a bubble map in Canva to complement your fishbone work.
Create a Fishbone Diagram in Canva: Build From Scratch
Set up the spine
Create a new page. Go to Elements, open the Shapes section, click See all, and in Lines select the first simple line. This will be your big long horizontal line for the main spine.
Position and stretch it across the canvas. Keep it centered for easier alignment later. This will anchor the rest of the diagram.
Add the ribs
Add another line for a diagonal rib. Place it so it meets the main spine at about a 50 degree angle. Add another diagonal line for the next rib and size it a bit shorter.

Duplicate that rib for consistency. Space the ribs evenly along the spine. Adjust angles slightly so they look balanced.
Label boxes and styling
Add a square from the Shapes section for a label box. Change the color to blue and reduce the corner rounding for a clean look. Make it a bit smaller so it sits nicely near the rib end.
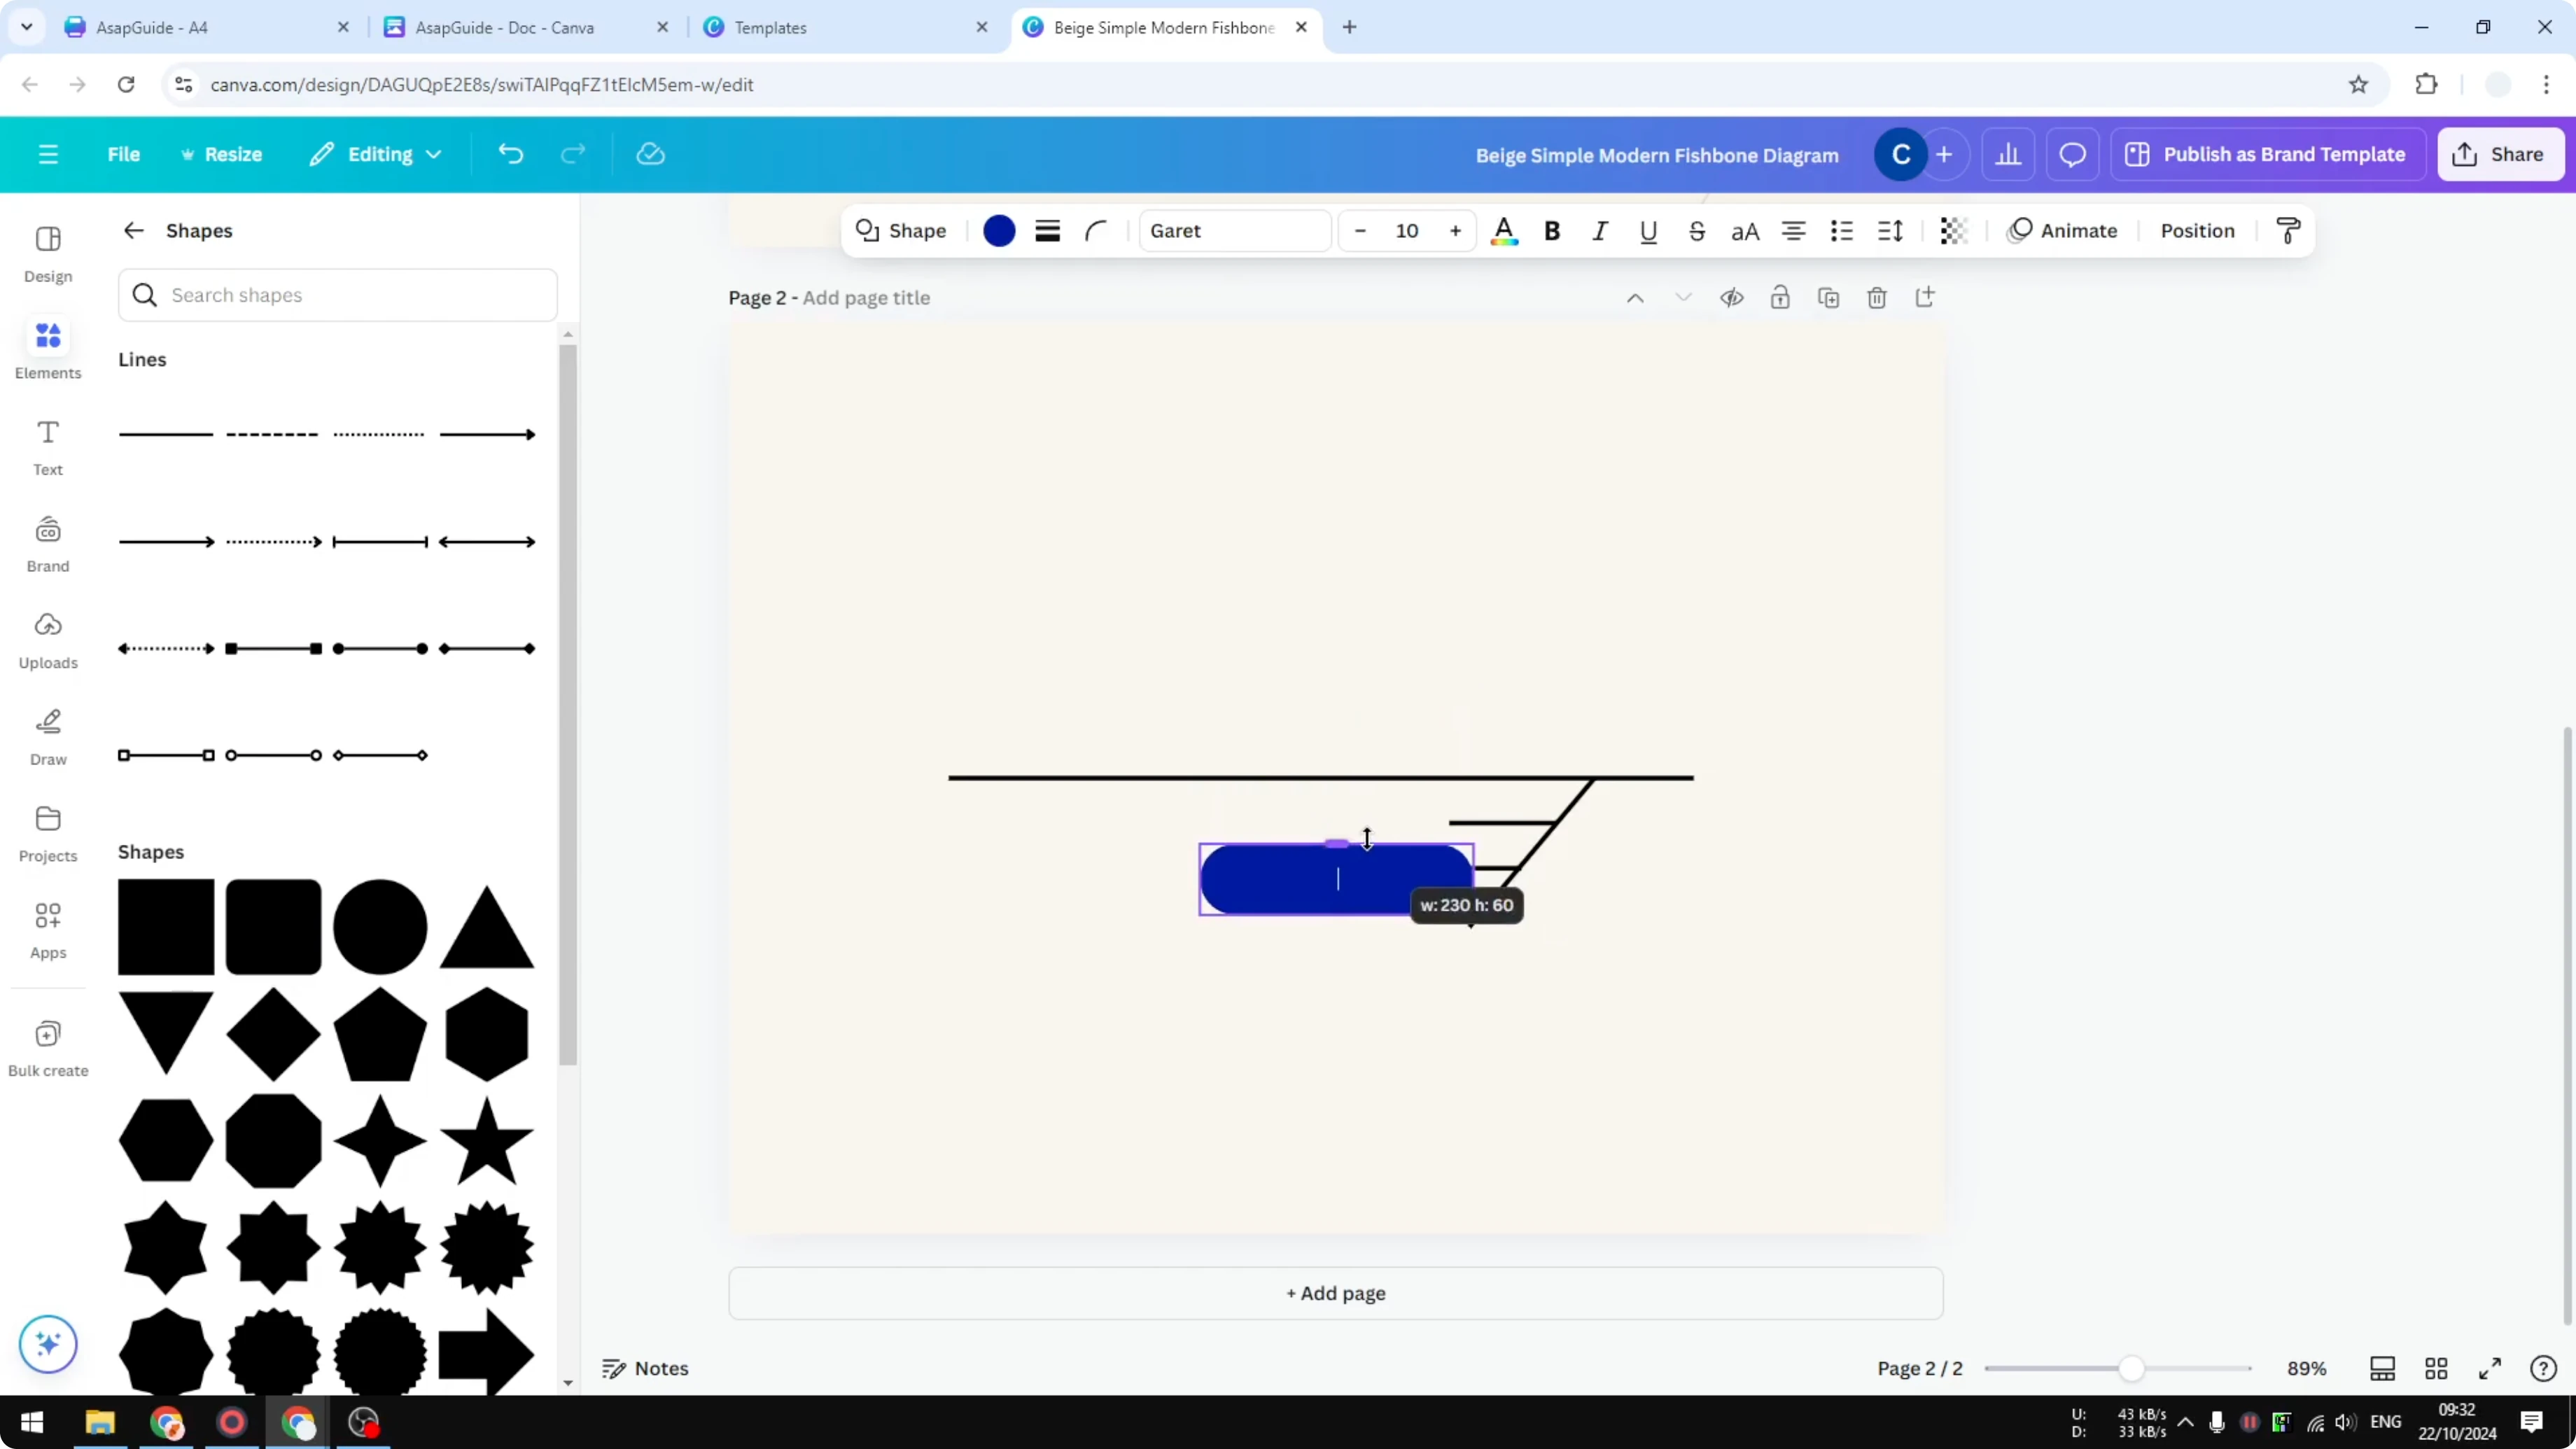
Add a border at 3 pixels to make the label stand out. Copy the label box for the other ribs. You can change the colors later to group related causes.
If you want a soft background glow behind your diagram, you can add a subtle blur with a bokeh effect in Canva and lower the transparency.
Duplicate sections
Select all the small ribs and label boxes for one side. Do not select the main spine. Duplicate the selection and position it for the next section along the spine.
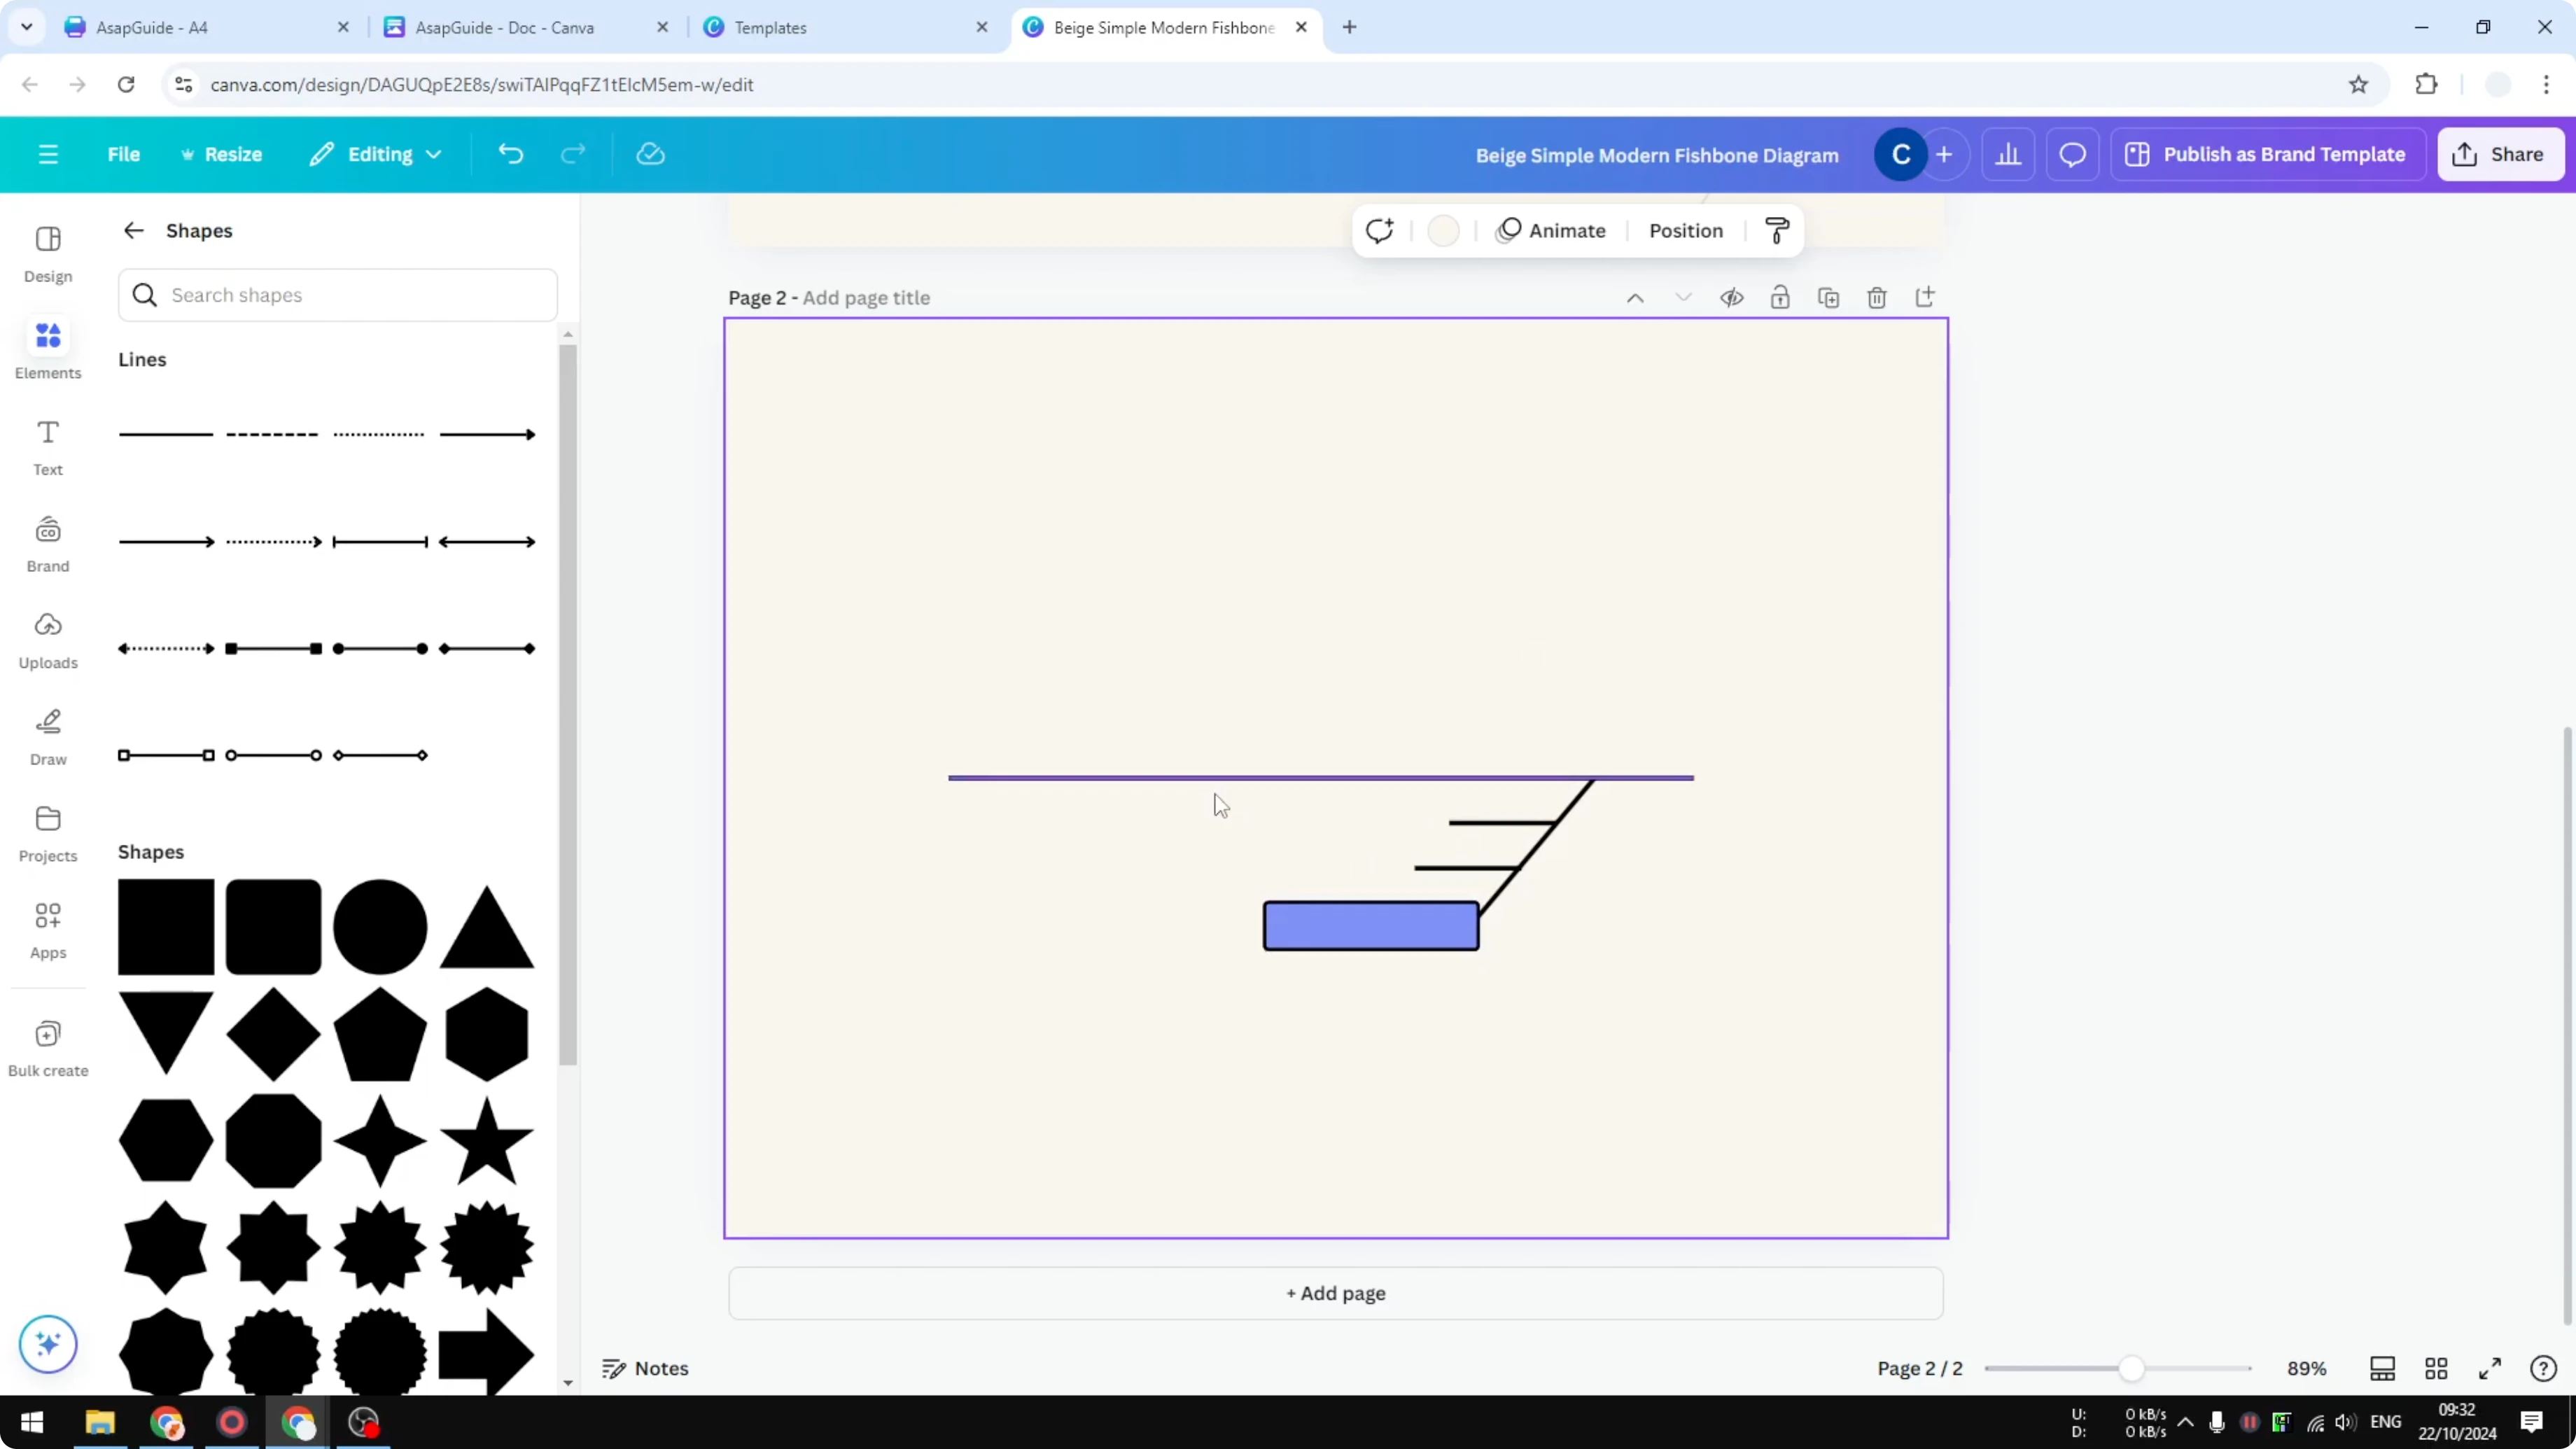
Repeat this process for additional ribs. Keep your spacing consistent for clarity. You can recolor each section to indicate categories.
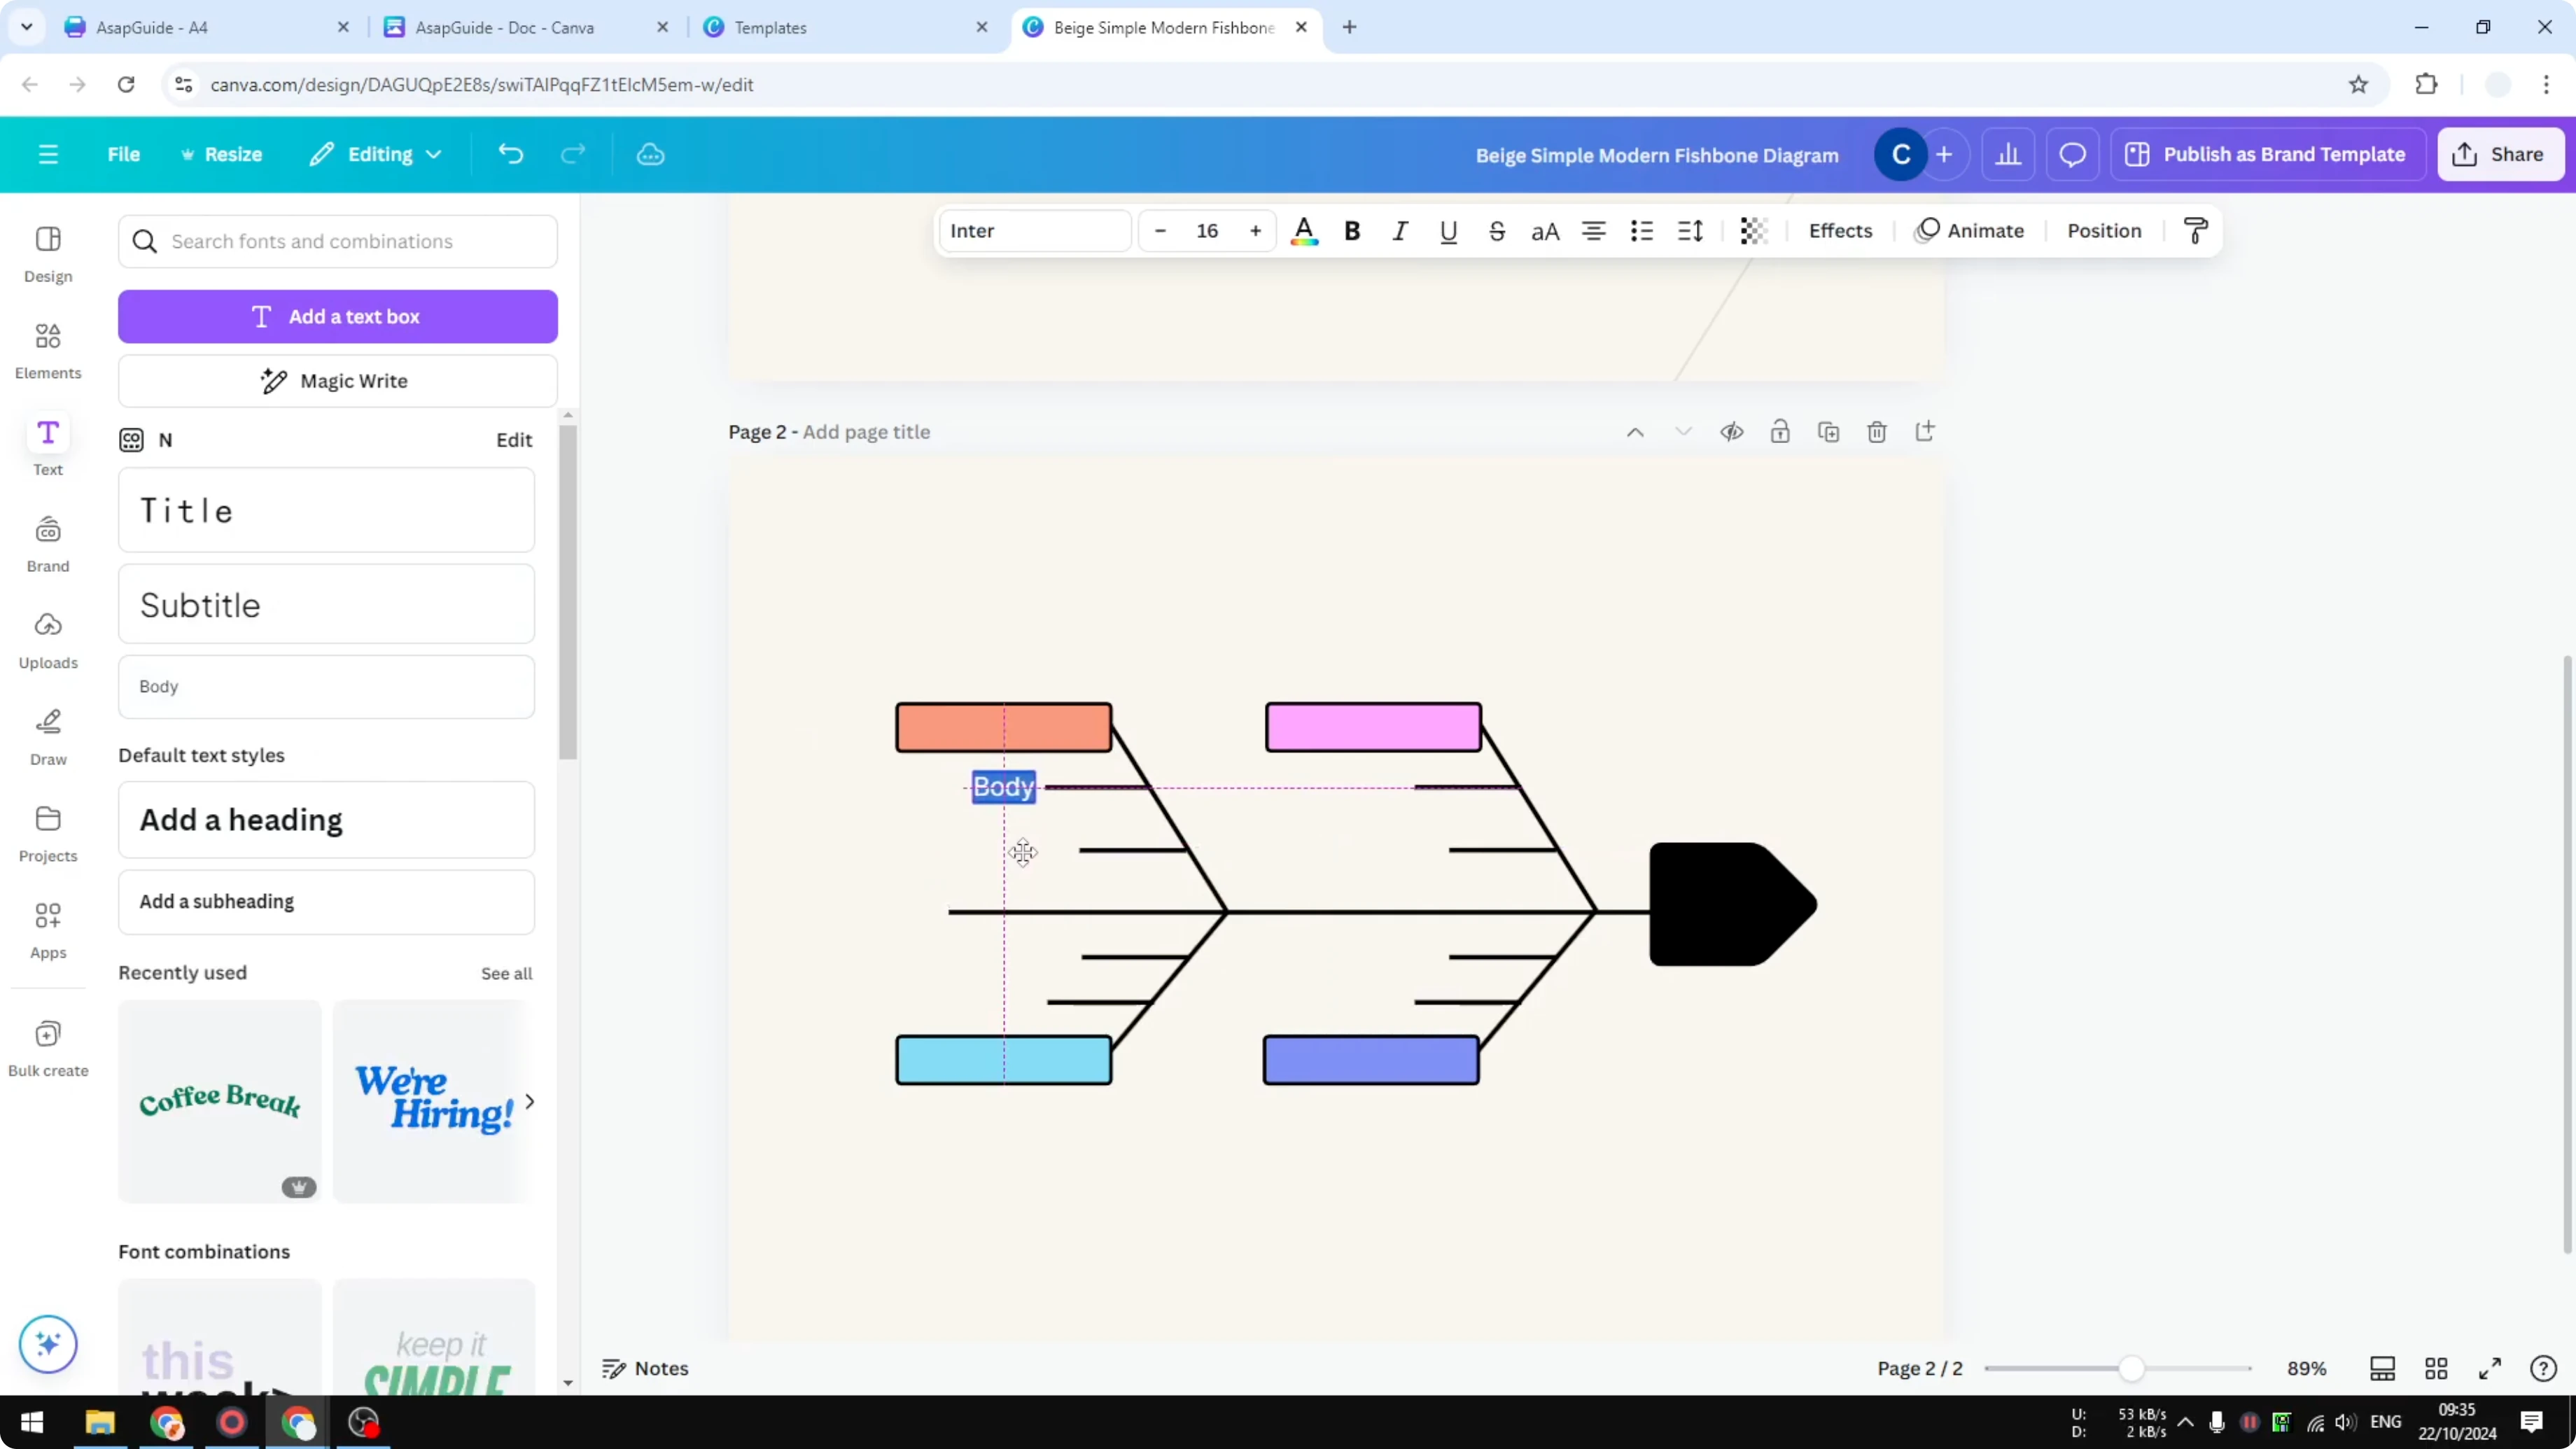
Opposite side ribs
Copy a rib for the opposite side since they are on a different plane. They face the other direction. At the moment I cannot mirror or flip this line selection in Canva, so I manually recreate the rib on the other side.
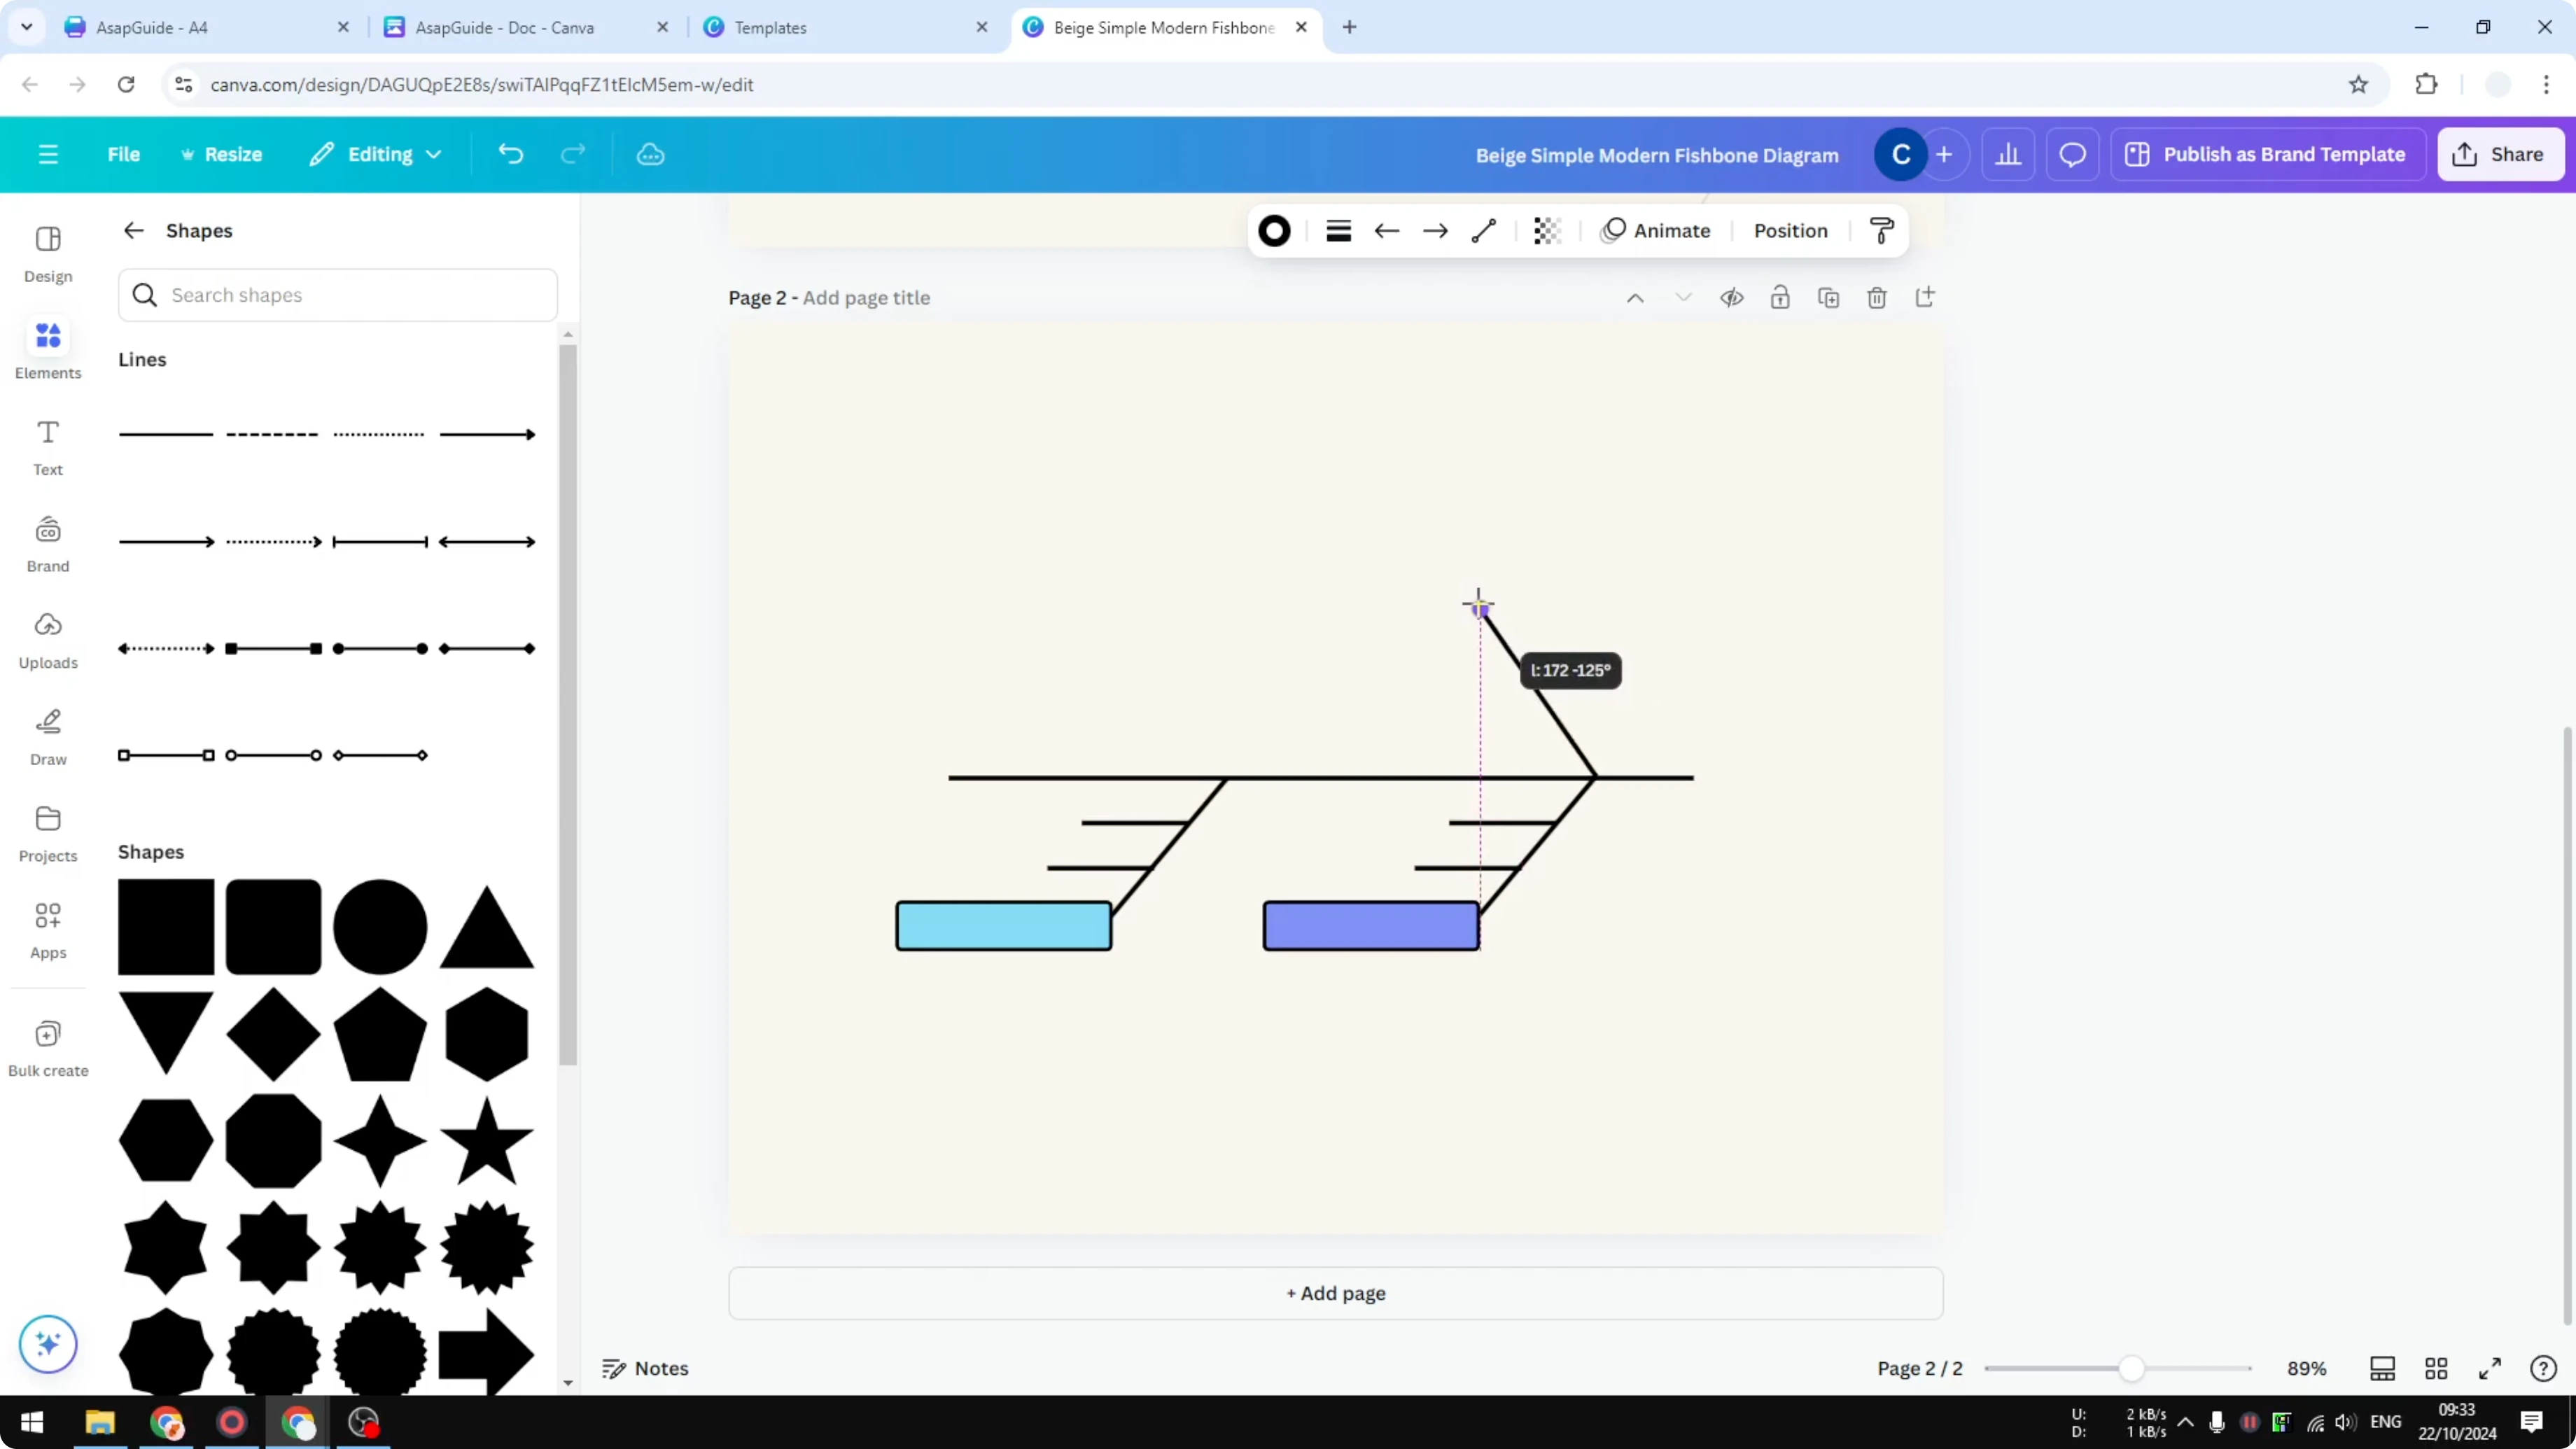
It is not going to be perfect or easy, but it is doable. Create the opposite ribs one by one and align them to the spine. Fine tune the length and angle so both sides feel balanced.
Duplicate this shape again to speed up the build. Change colors if needed. Copy the small label box, duplicate it, and place it near each rib end.
Head shape
Add a shape on the head section of the fish. Go to Elements and pick a simple rounded shape for the head. Change the color to black and add some corner rounding.
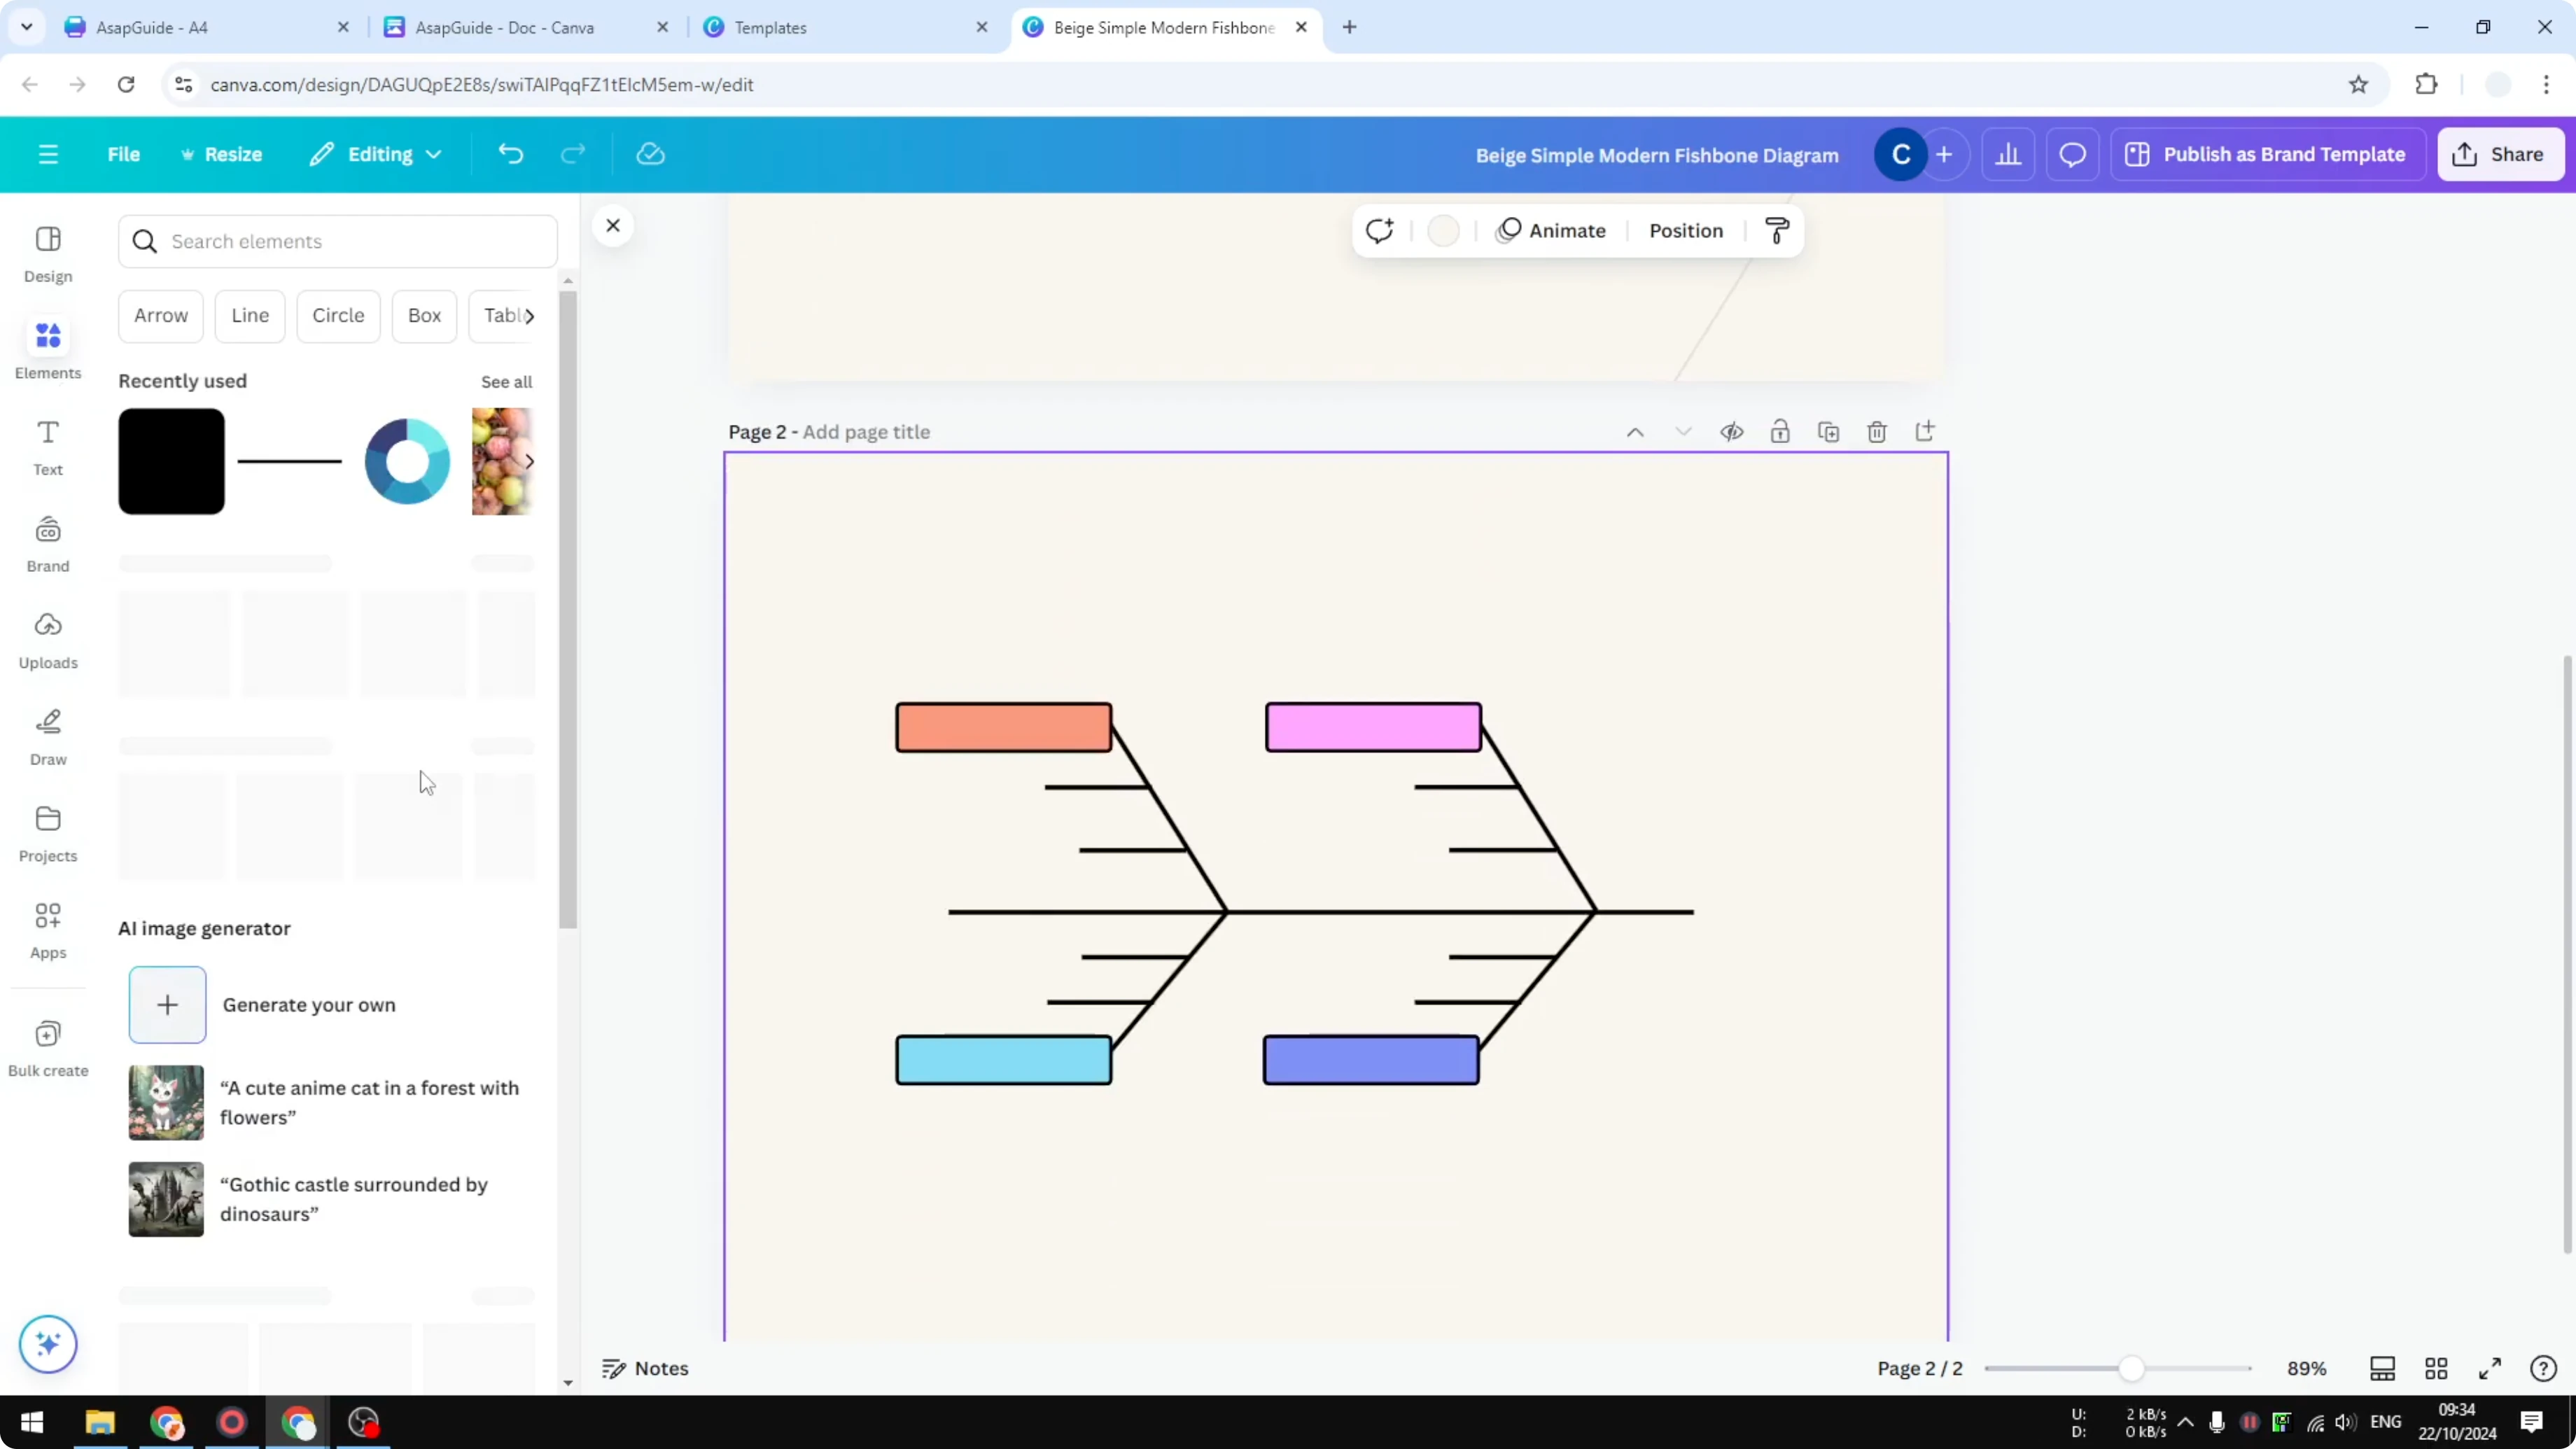
Position it at the right end of the main spine. Resize until the proportions look right. The structure should now read clearly as a fishbone.
Text
Add text to each label box and along the ribs. Name the main problem at the head and list causes along each rib. Fill in sub causes near the rib ends if needed.
If you want your headings to stand out, style them with a playful 3D look using a balloon text effect in Canva. Keep body text simple for readability. Align and space your text so nothing overlaps the lines.
Final thoughts
You can create a fishbone diagram in Canva by customizing a ready template or building it from scratch. Templates are fast and look great, while the manual method gives full control over spacing, angles, and styling. The manual build takes patience, but anyone can do it.
Recent Posts
How to Visualize Yourself as a Pixelized Character with AI?
How to Visualize Yourself as a Pixelized Character with AI?

How to Revive Faded Memories and Enhance Image Clarity with AI?
How to Revive Faded Memories and Enhance Image Clarity with AI?

How to Visualize Yourself as an Animal Crossing Character with AI?
How to Visualize Yourself as an Animal Crossing Character with AI?