How to Add Photo Into Arch in Canva
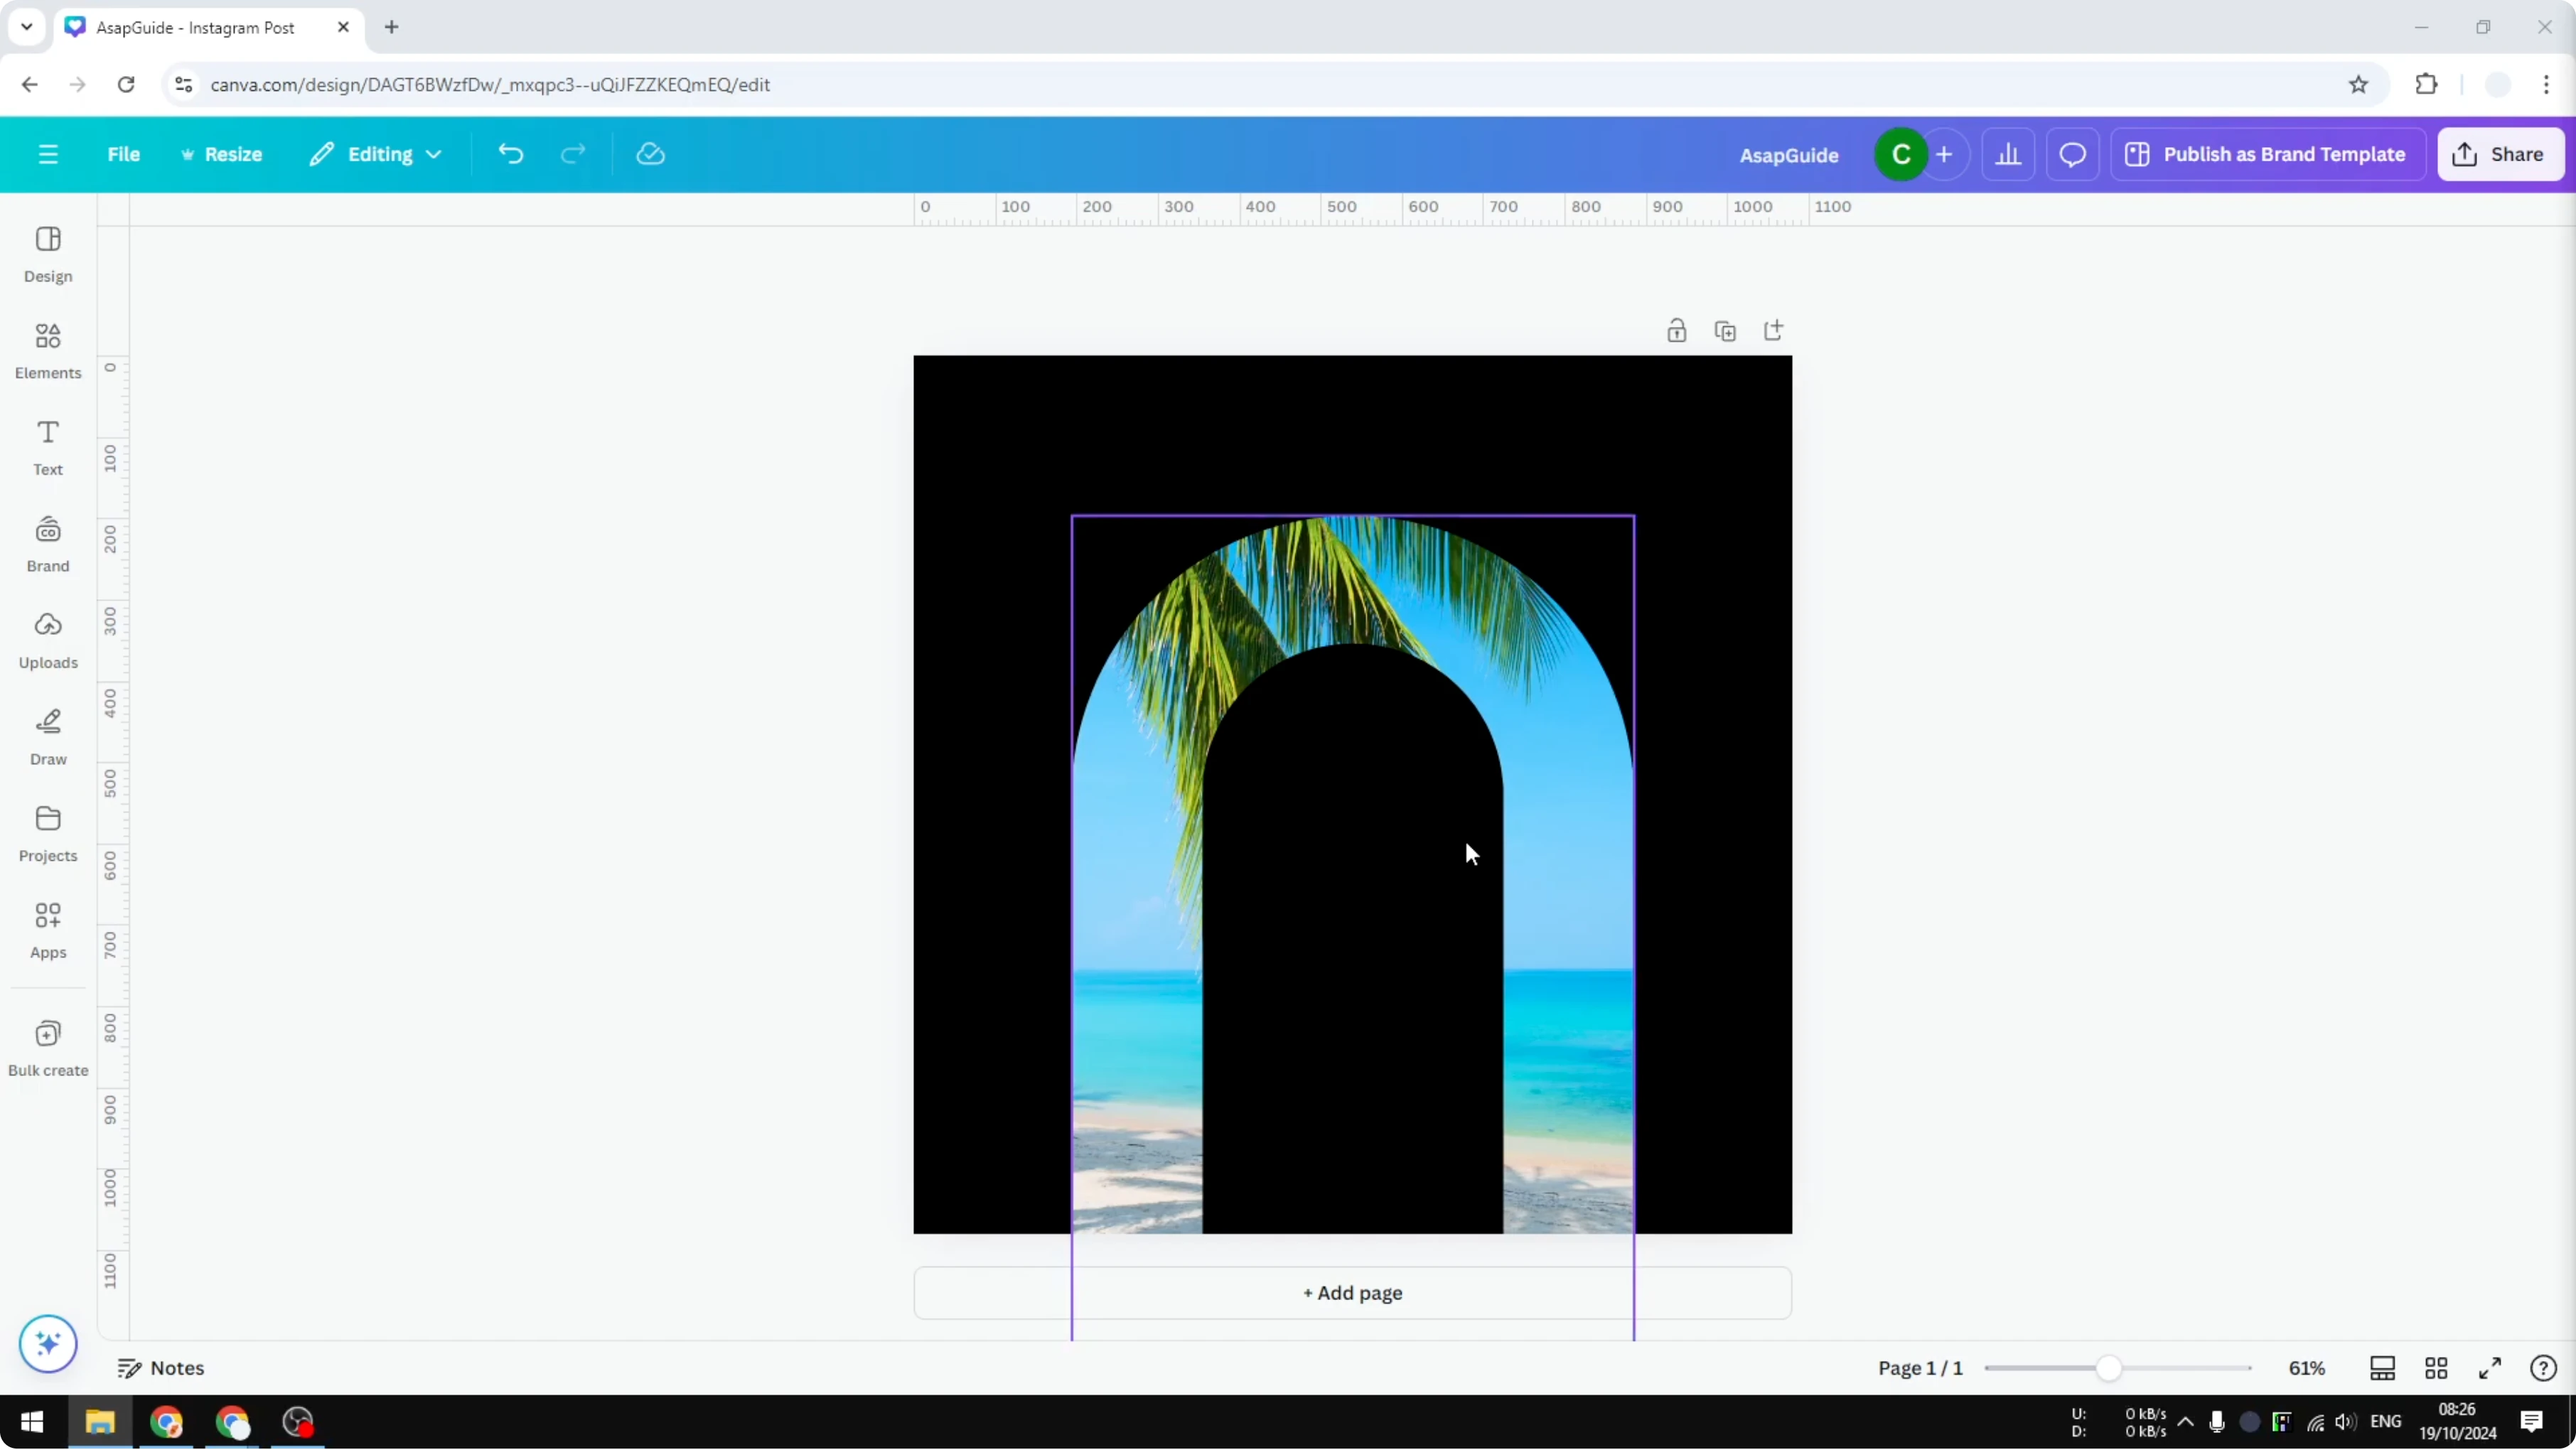
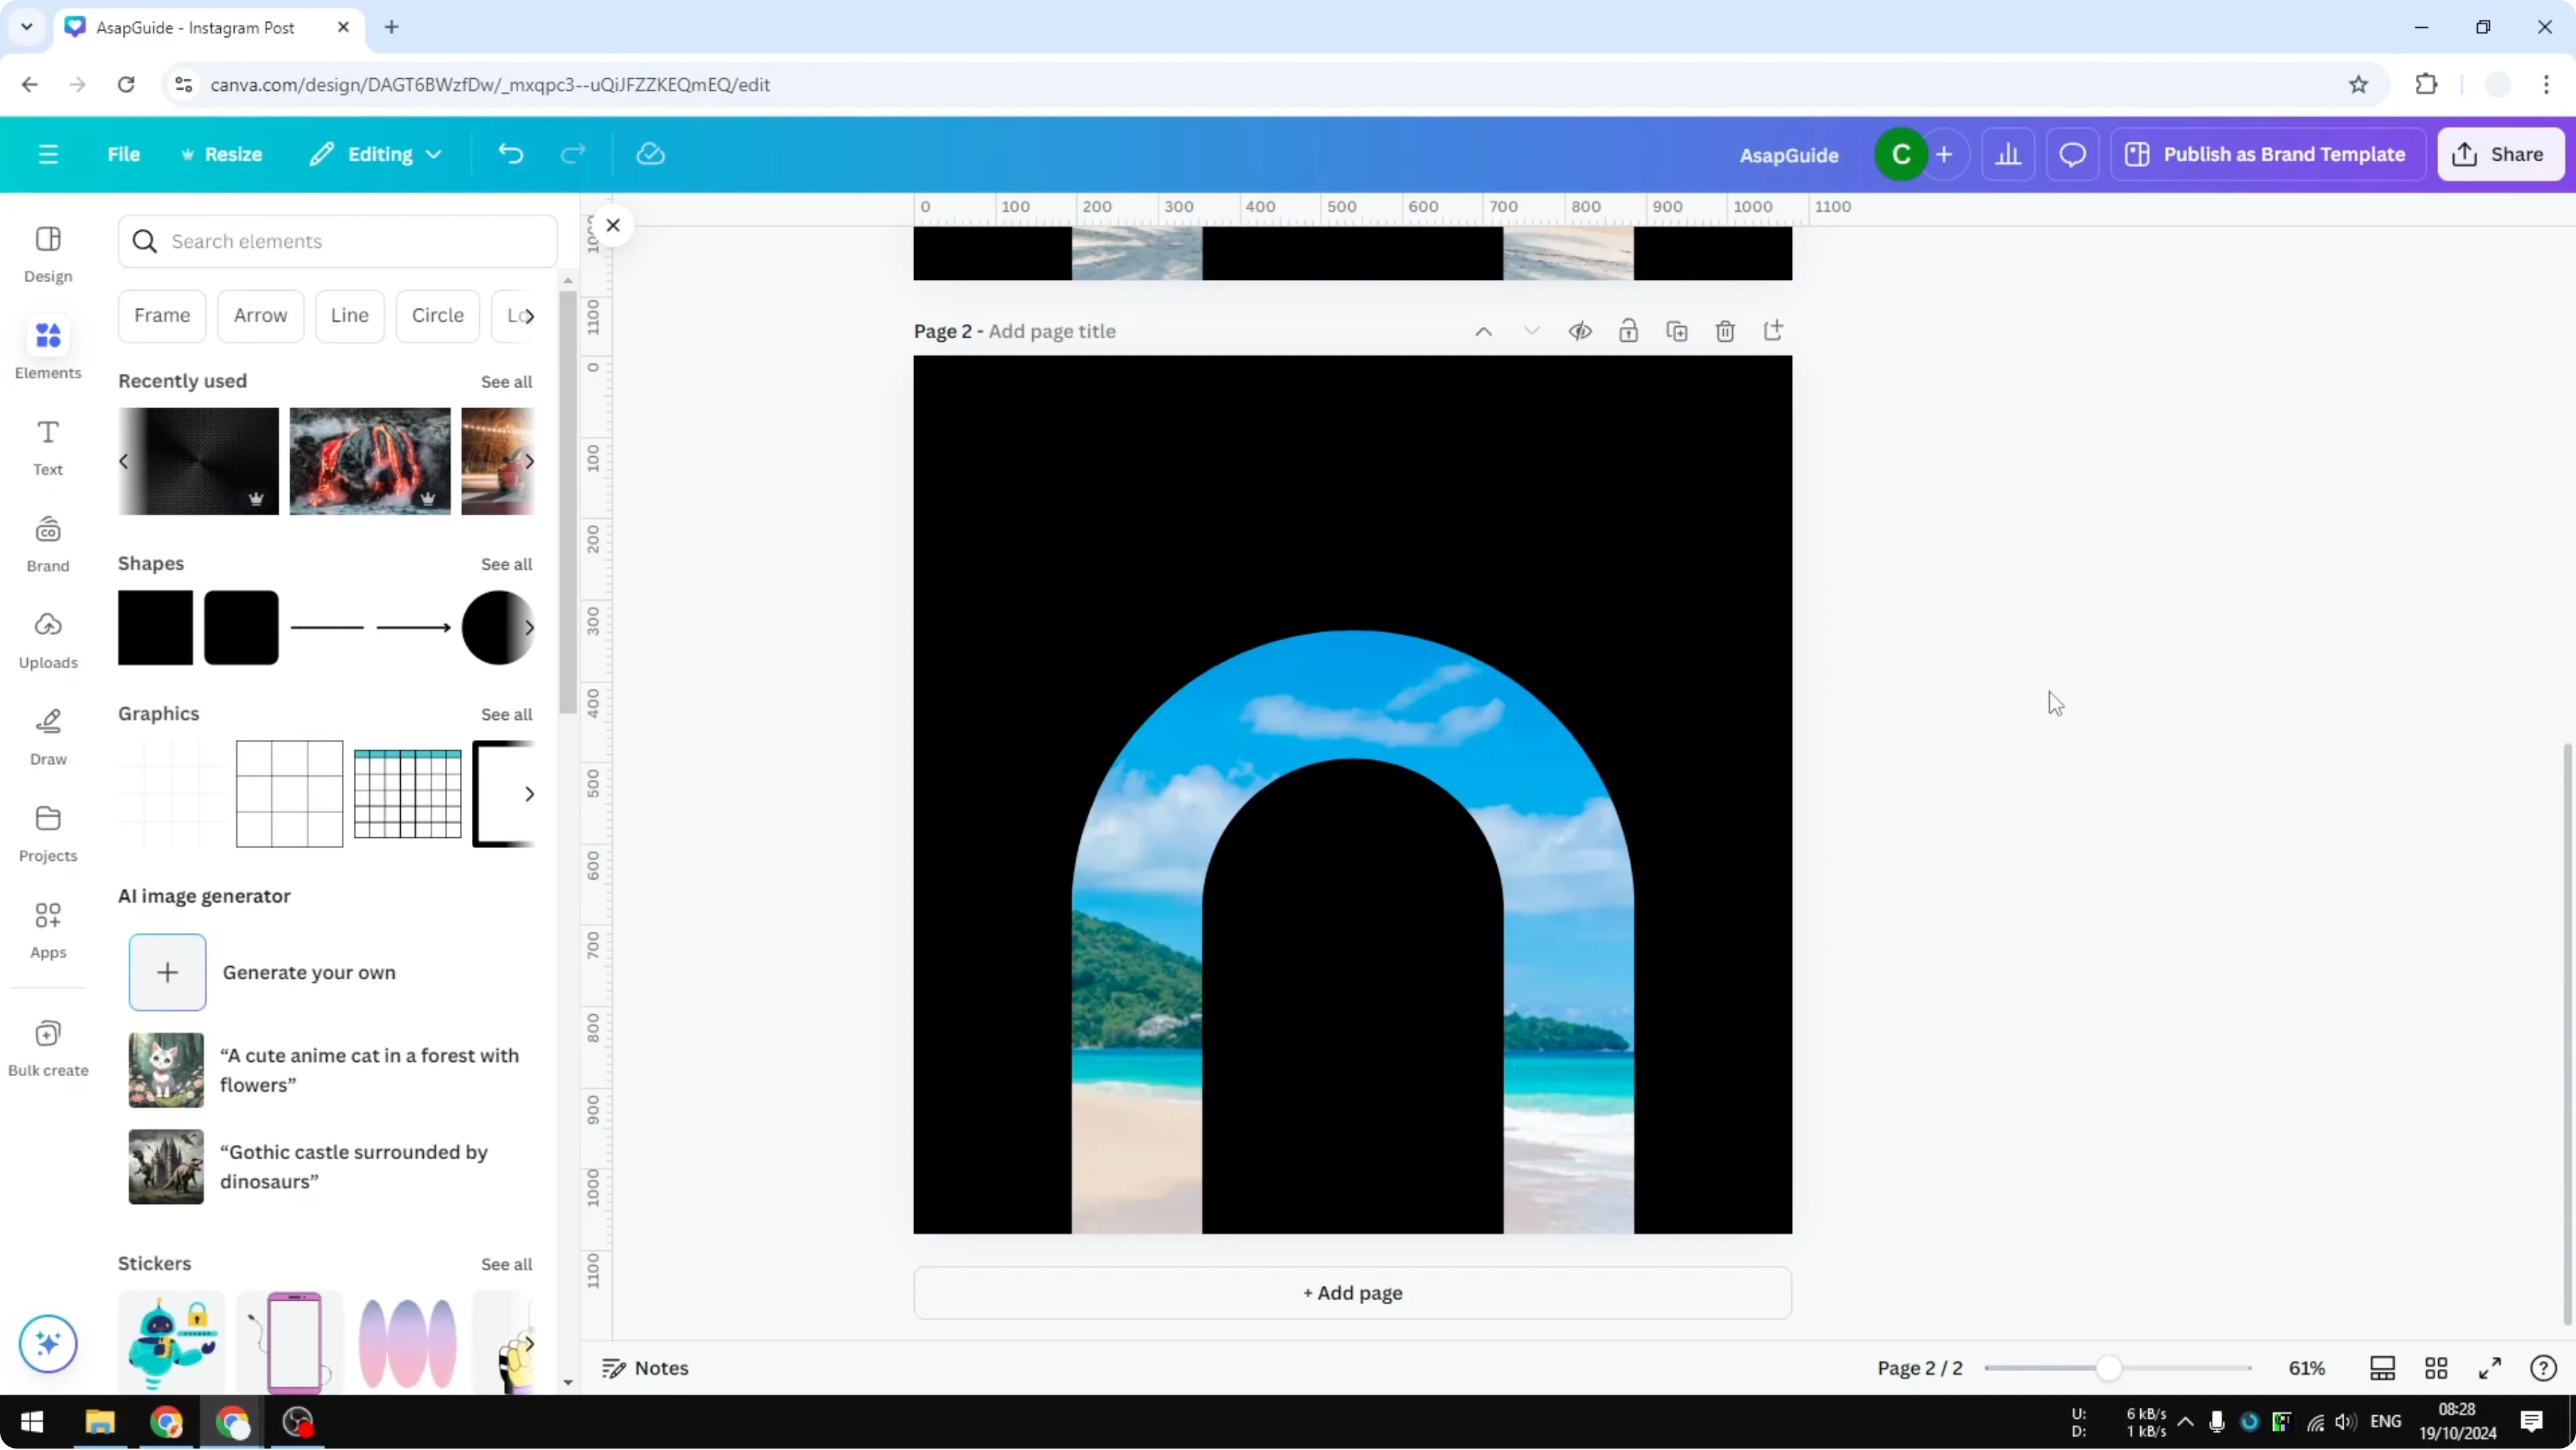
This is a picture within an arch shape in Canva. If you double click on it, you will see that it is actually just a regular rectangular picture. You can customize which area or which part of the image should be shown within the arch area.
There is only one easy way to add this shape to your design. Here is the exact method.
Add Photo Into Arch in Canva
Insert the frame
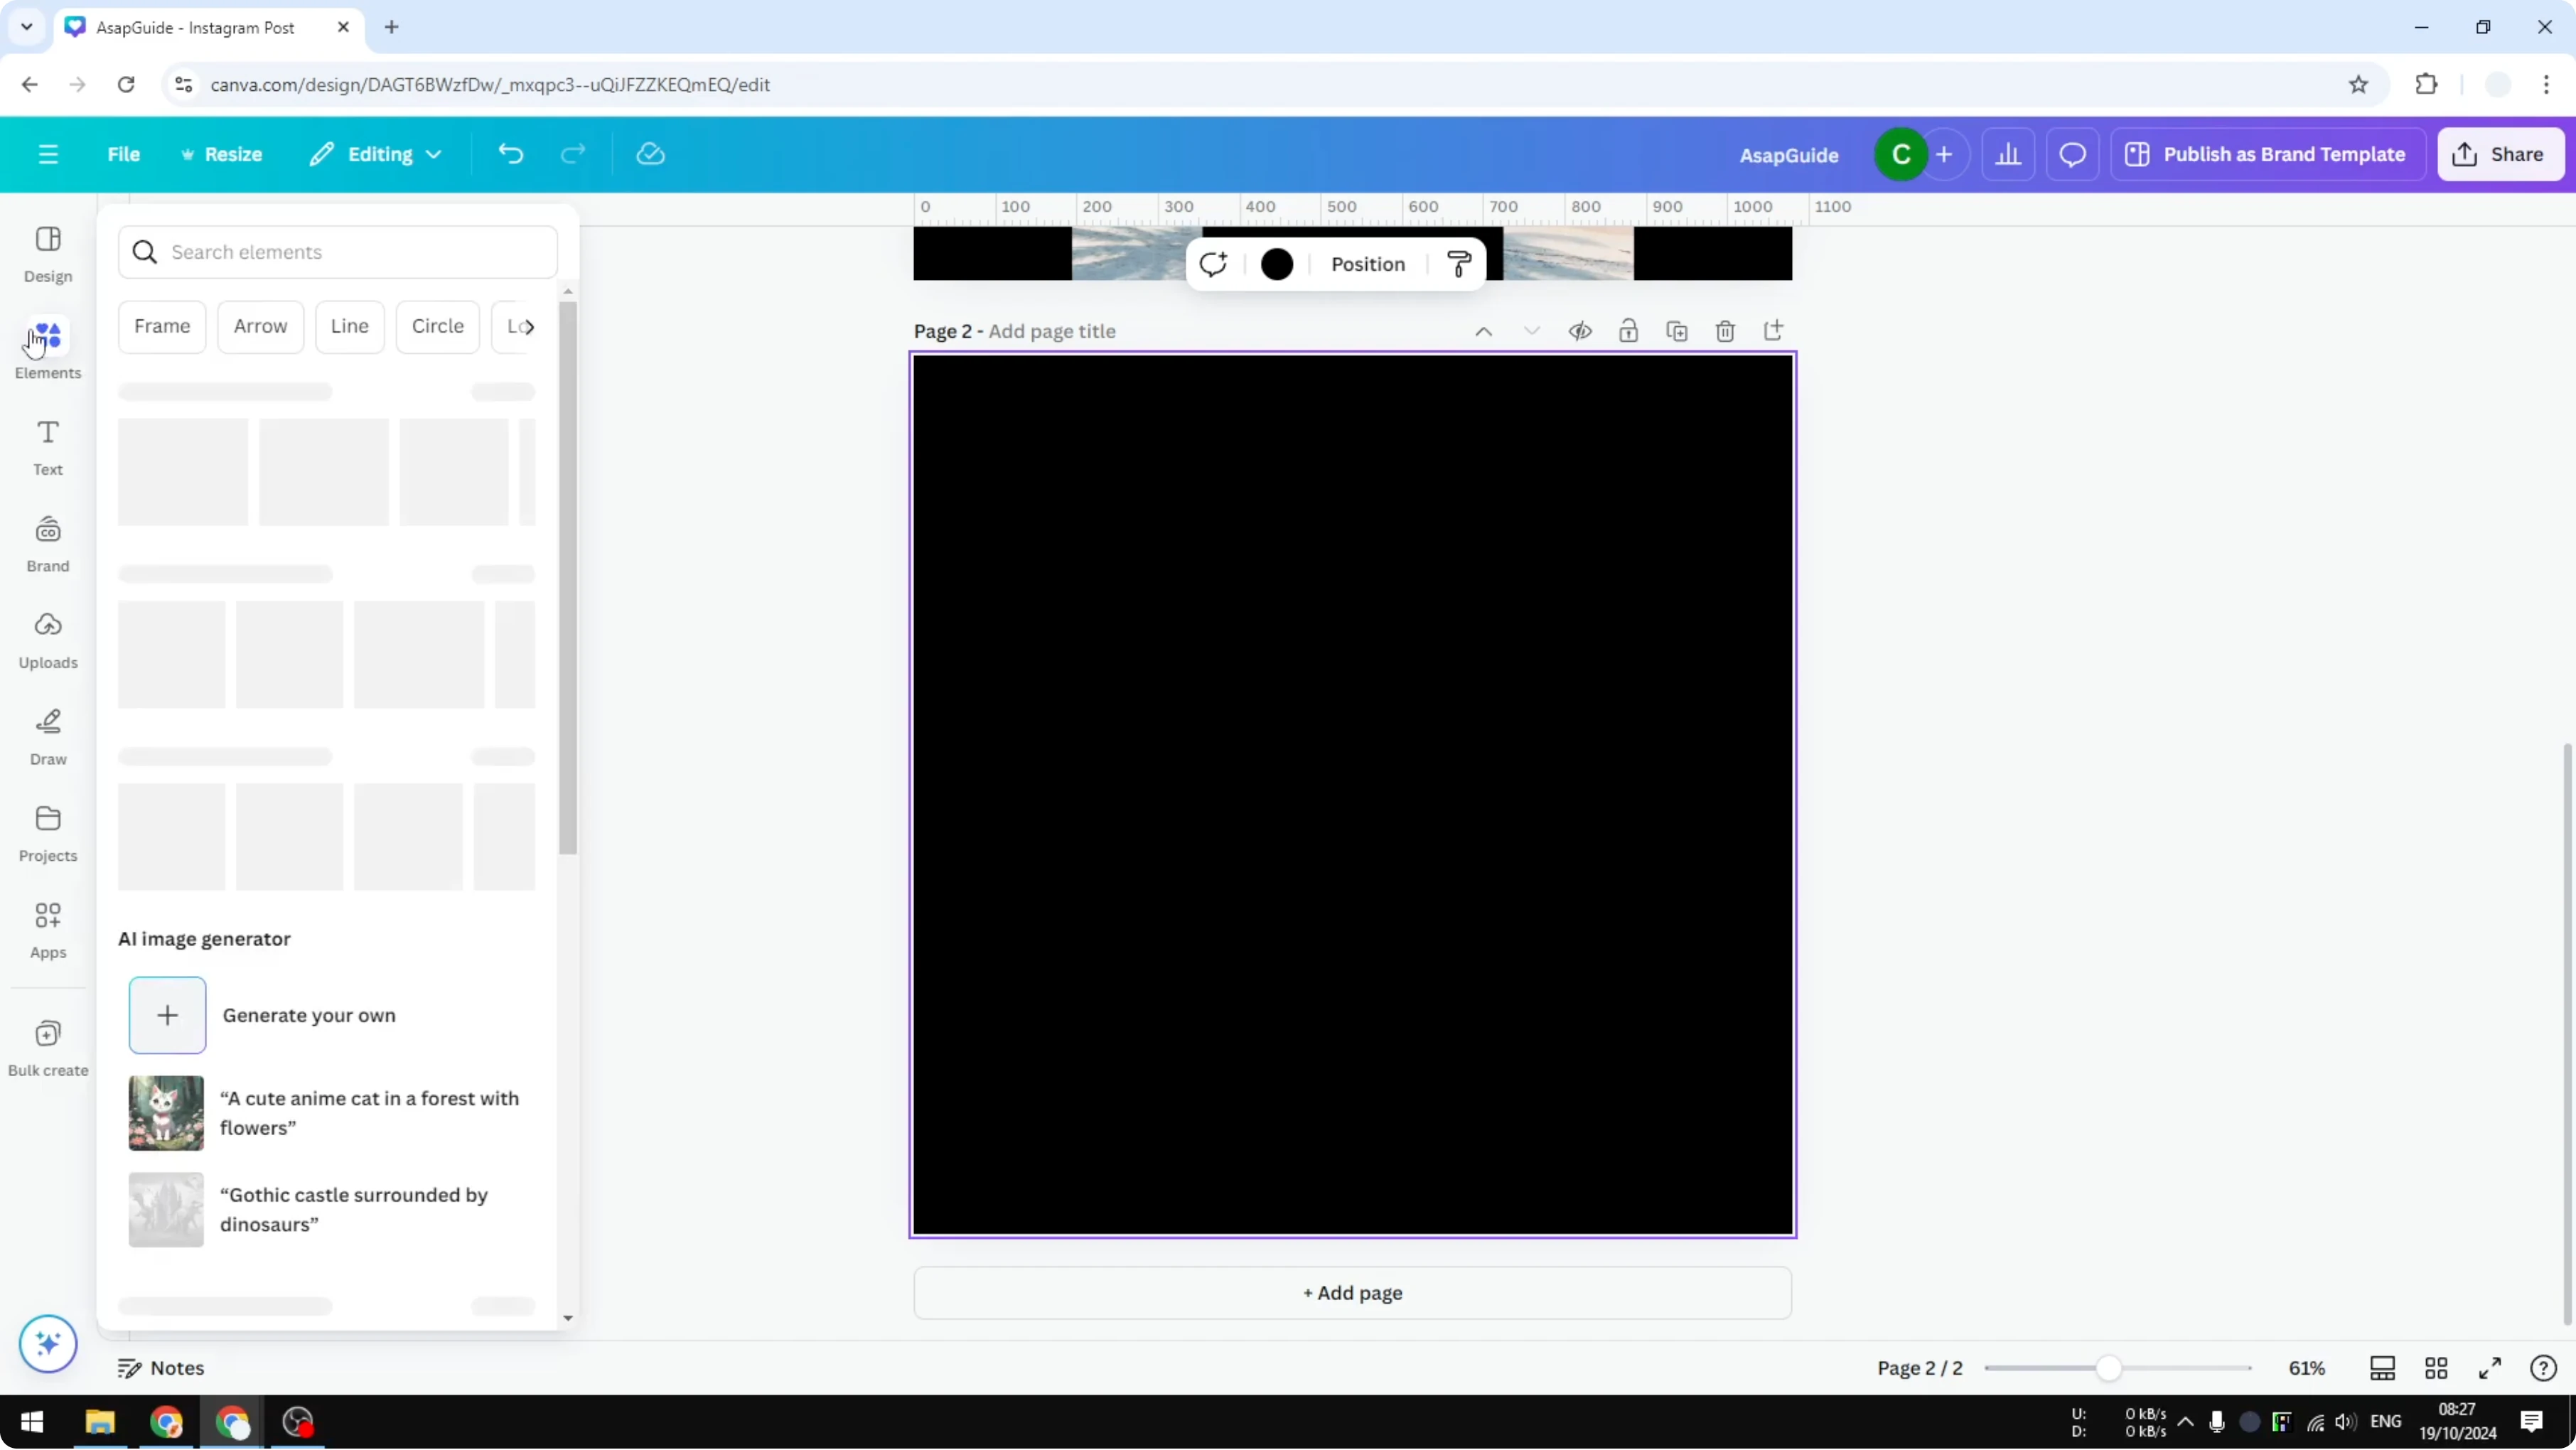
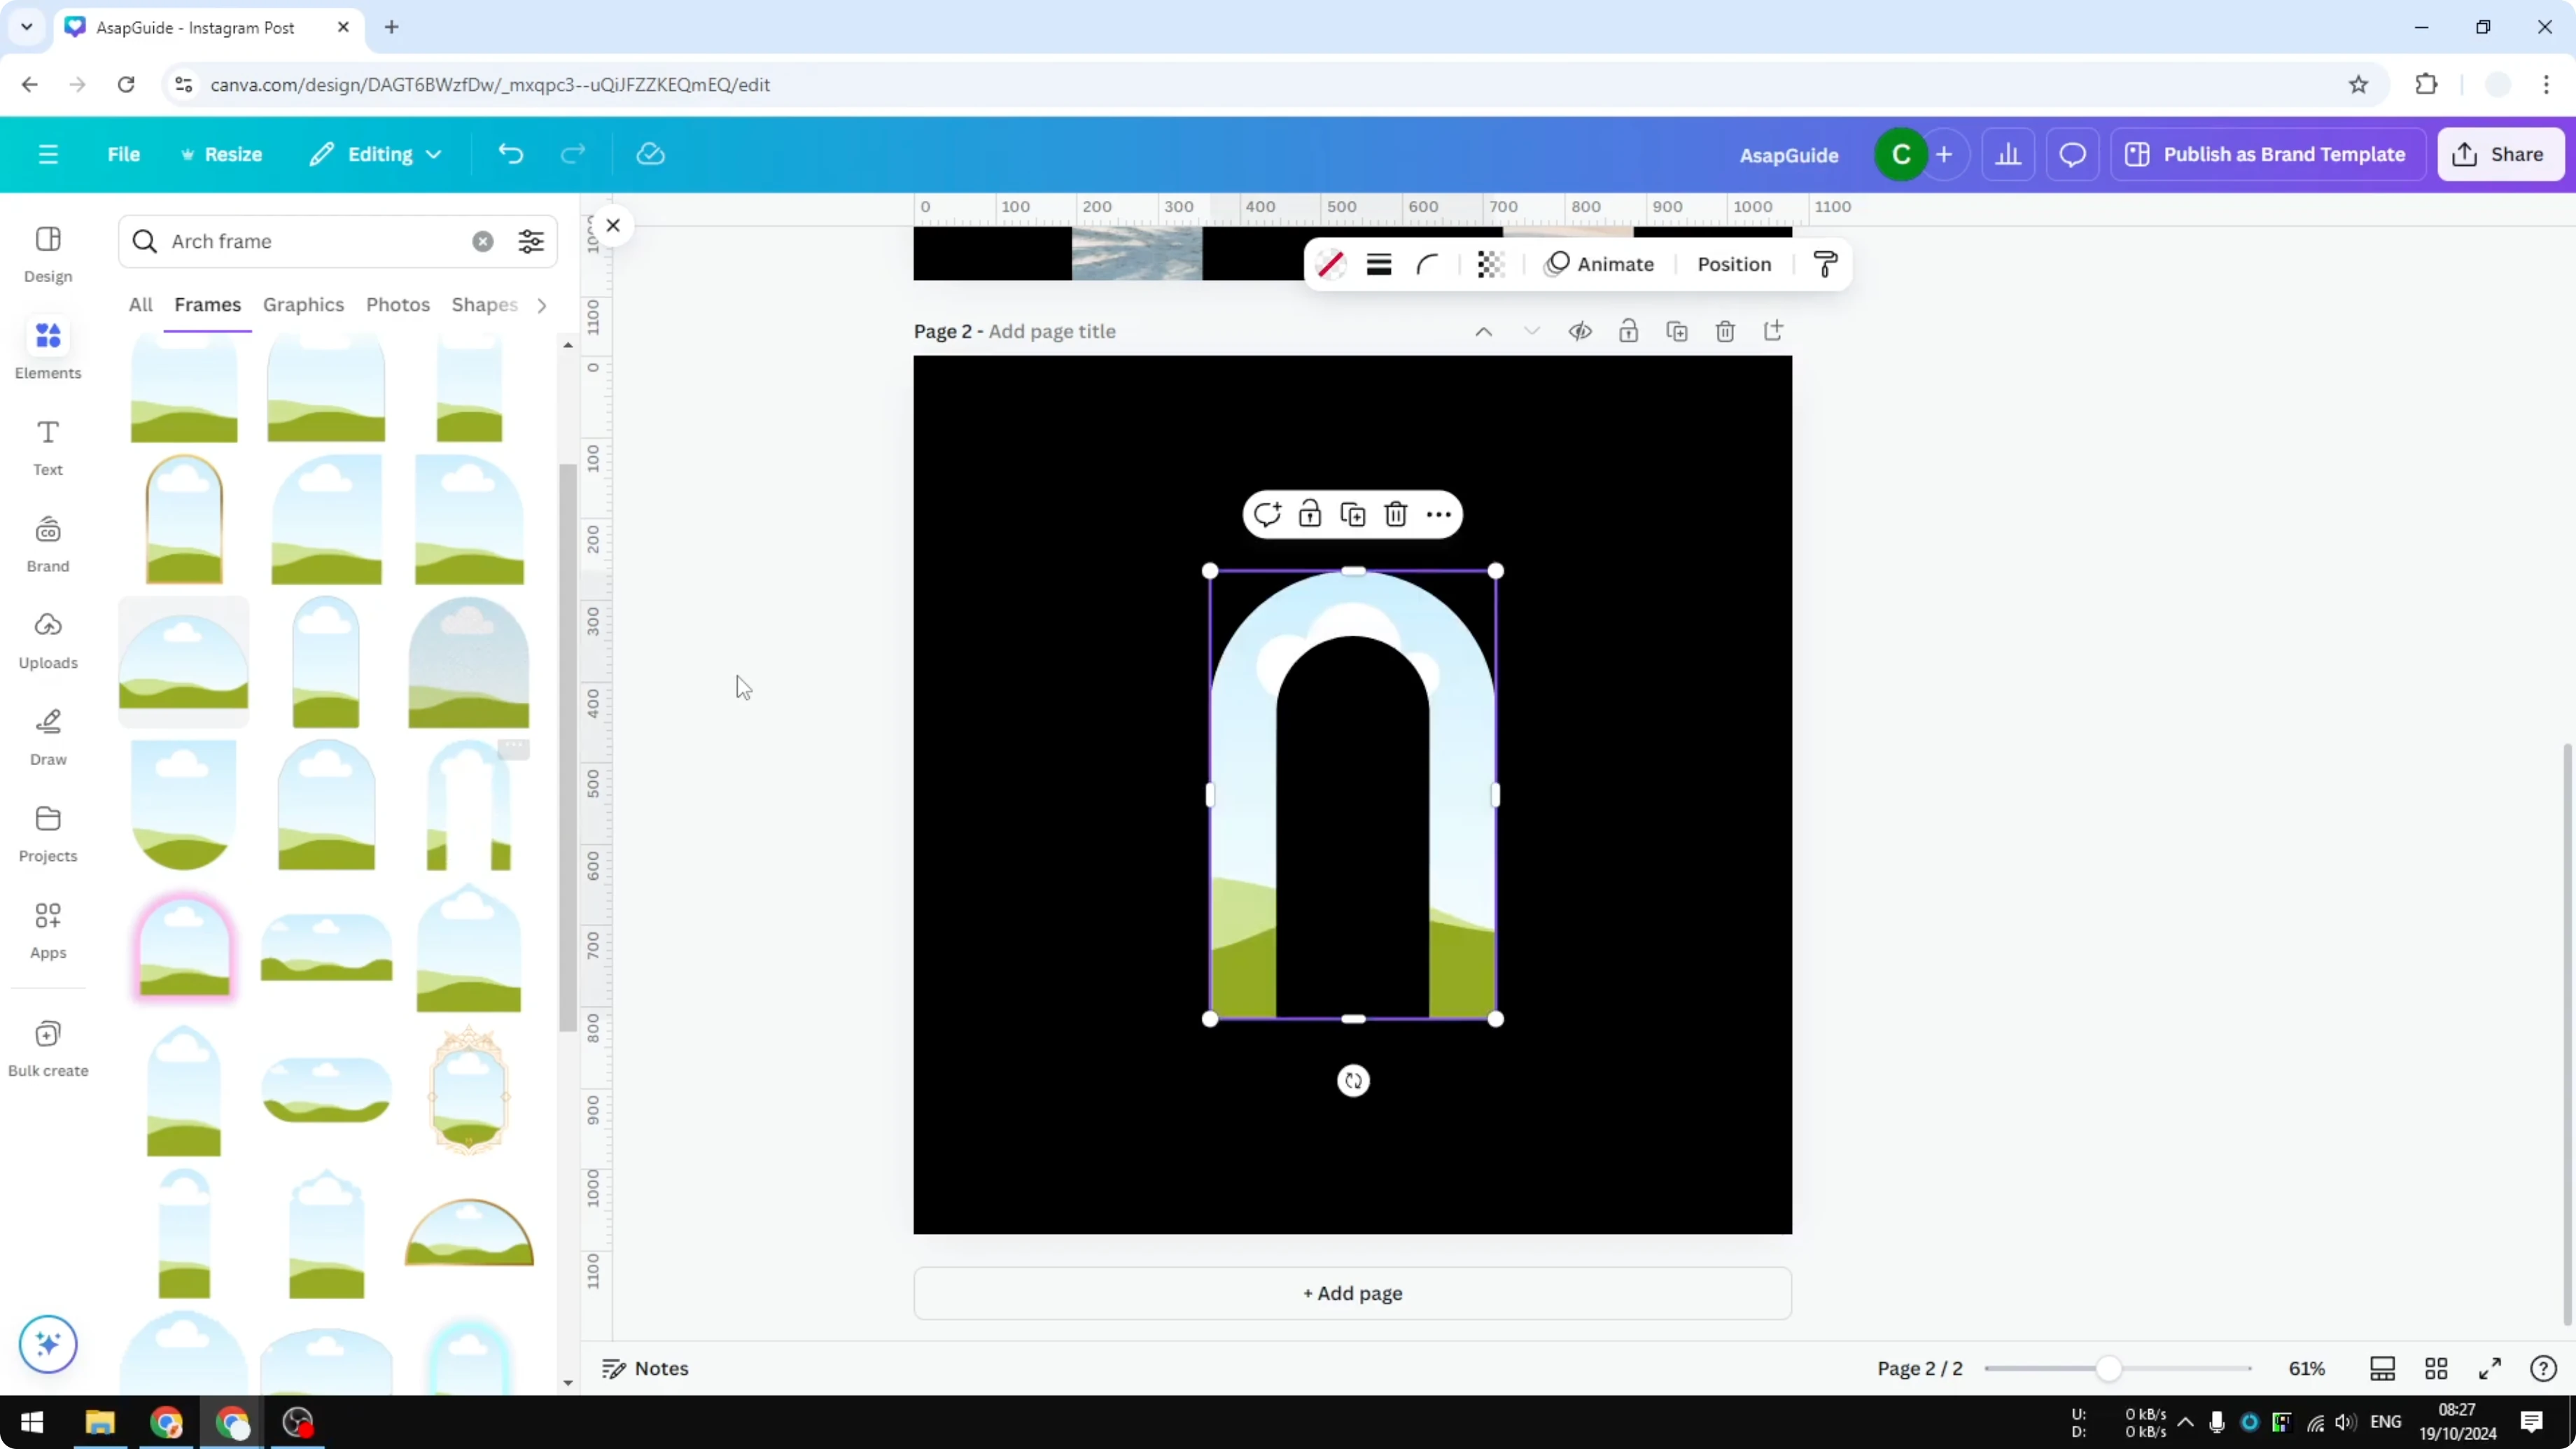
Add a new page. Visit the Elements section and search for Arch frame. Frames are placeholders where you can put an image or even a video later.
Click See all to open the frame variations. You will see multiple versions of arches that you can implement in your design. Pick the one with an empty area in the middle for a perfect arch.
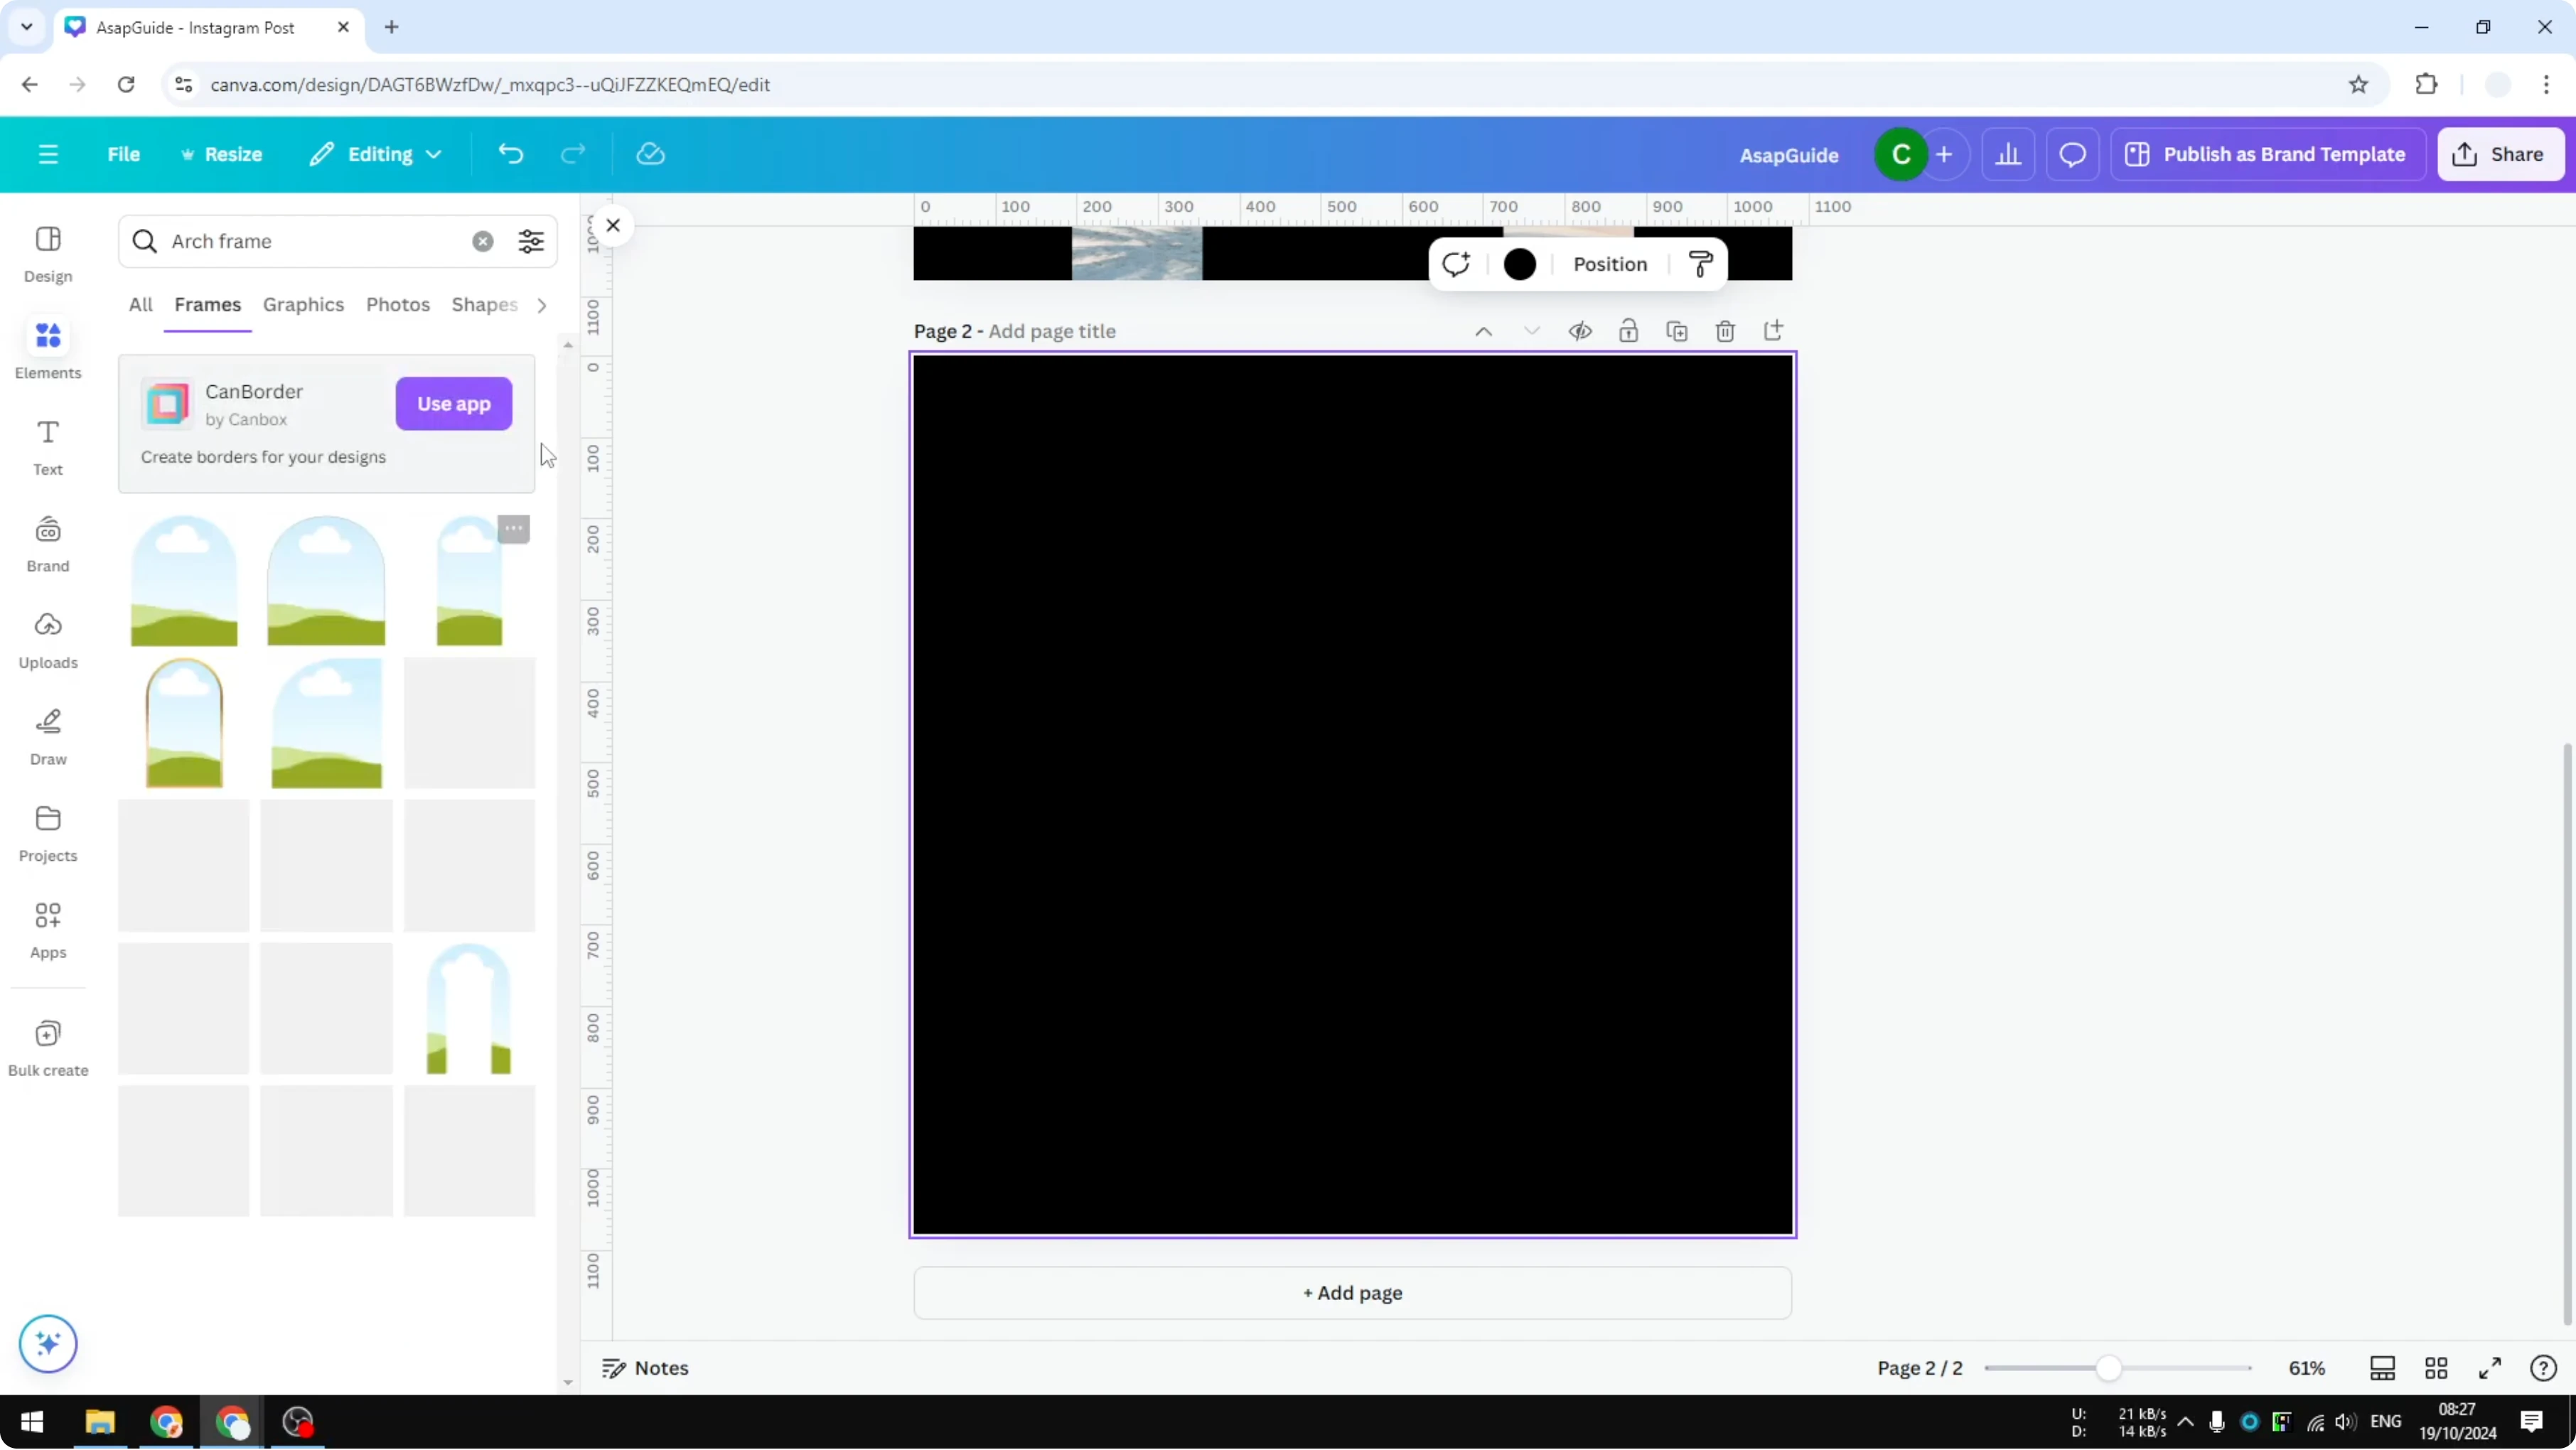
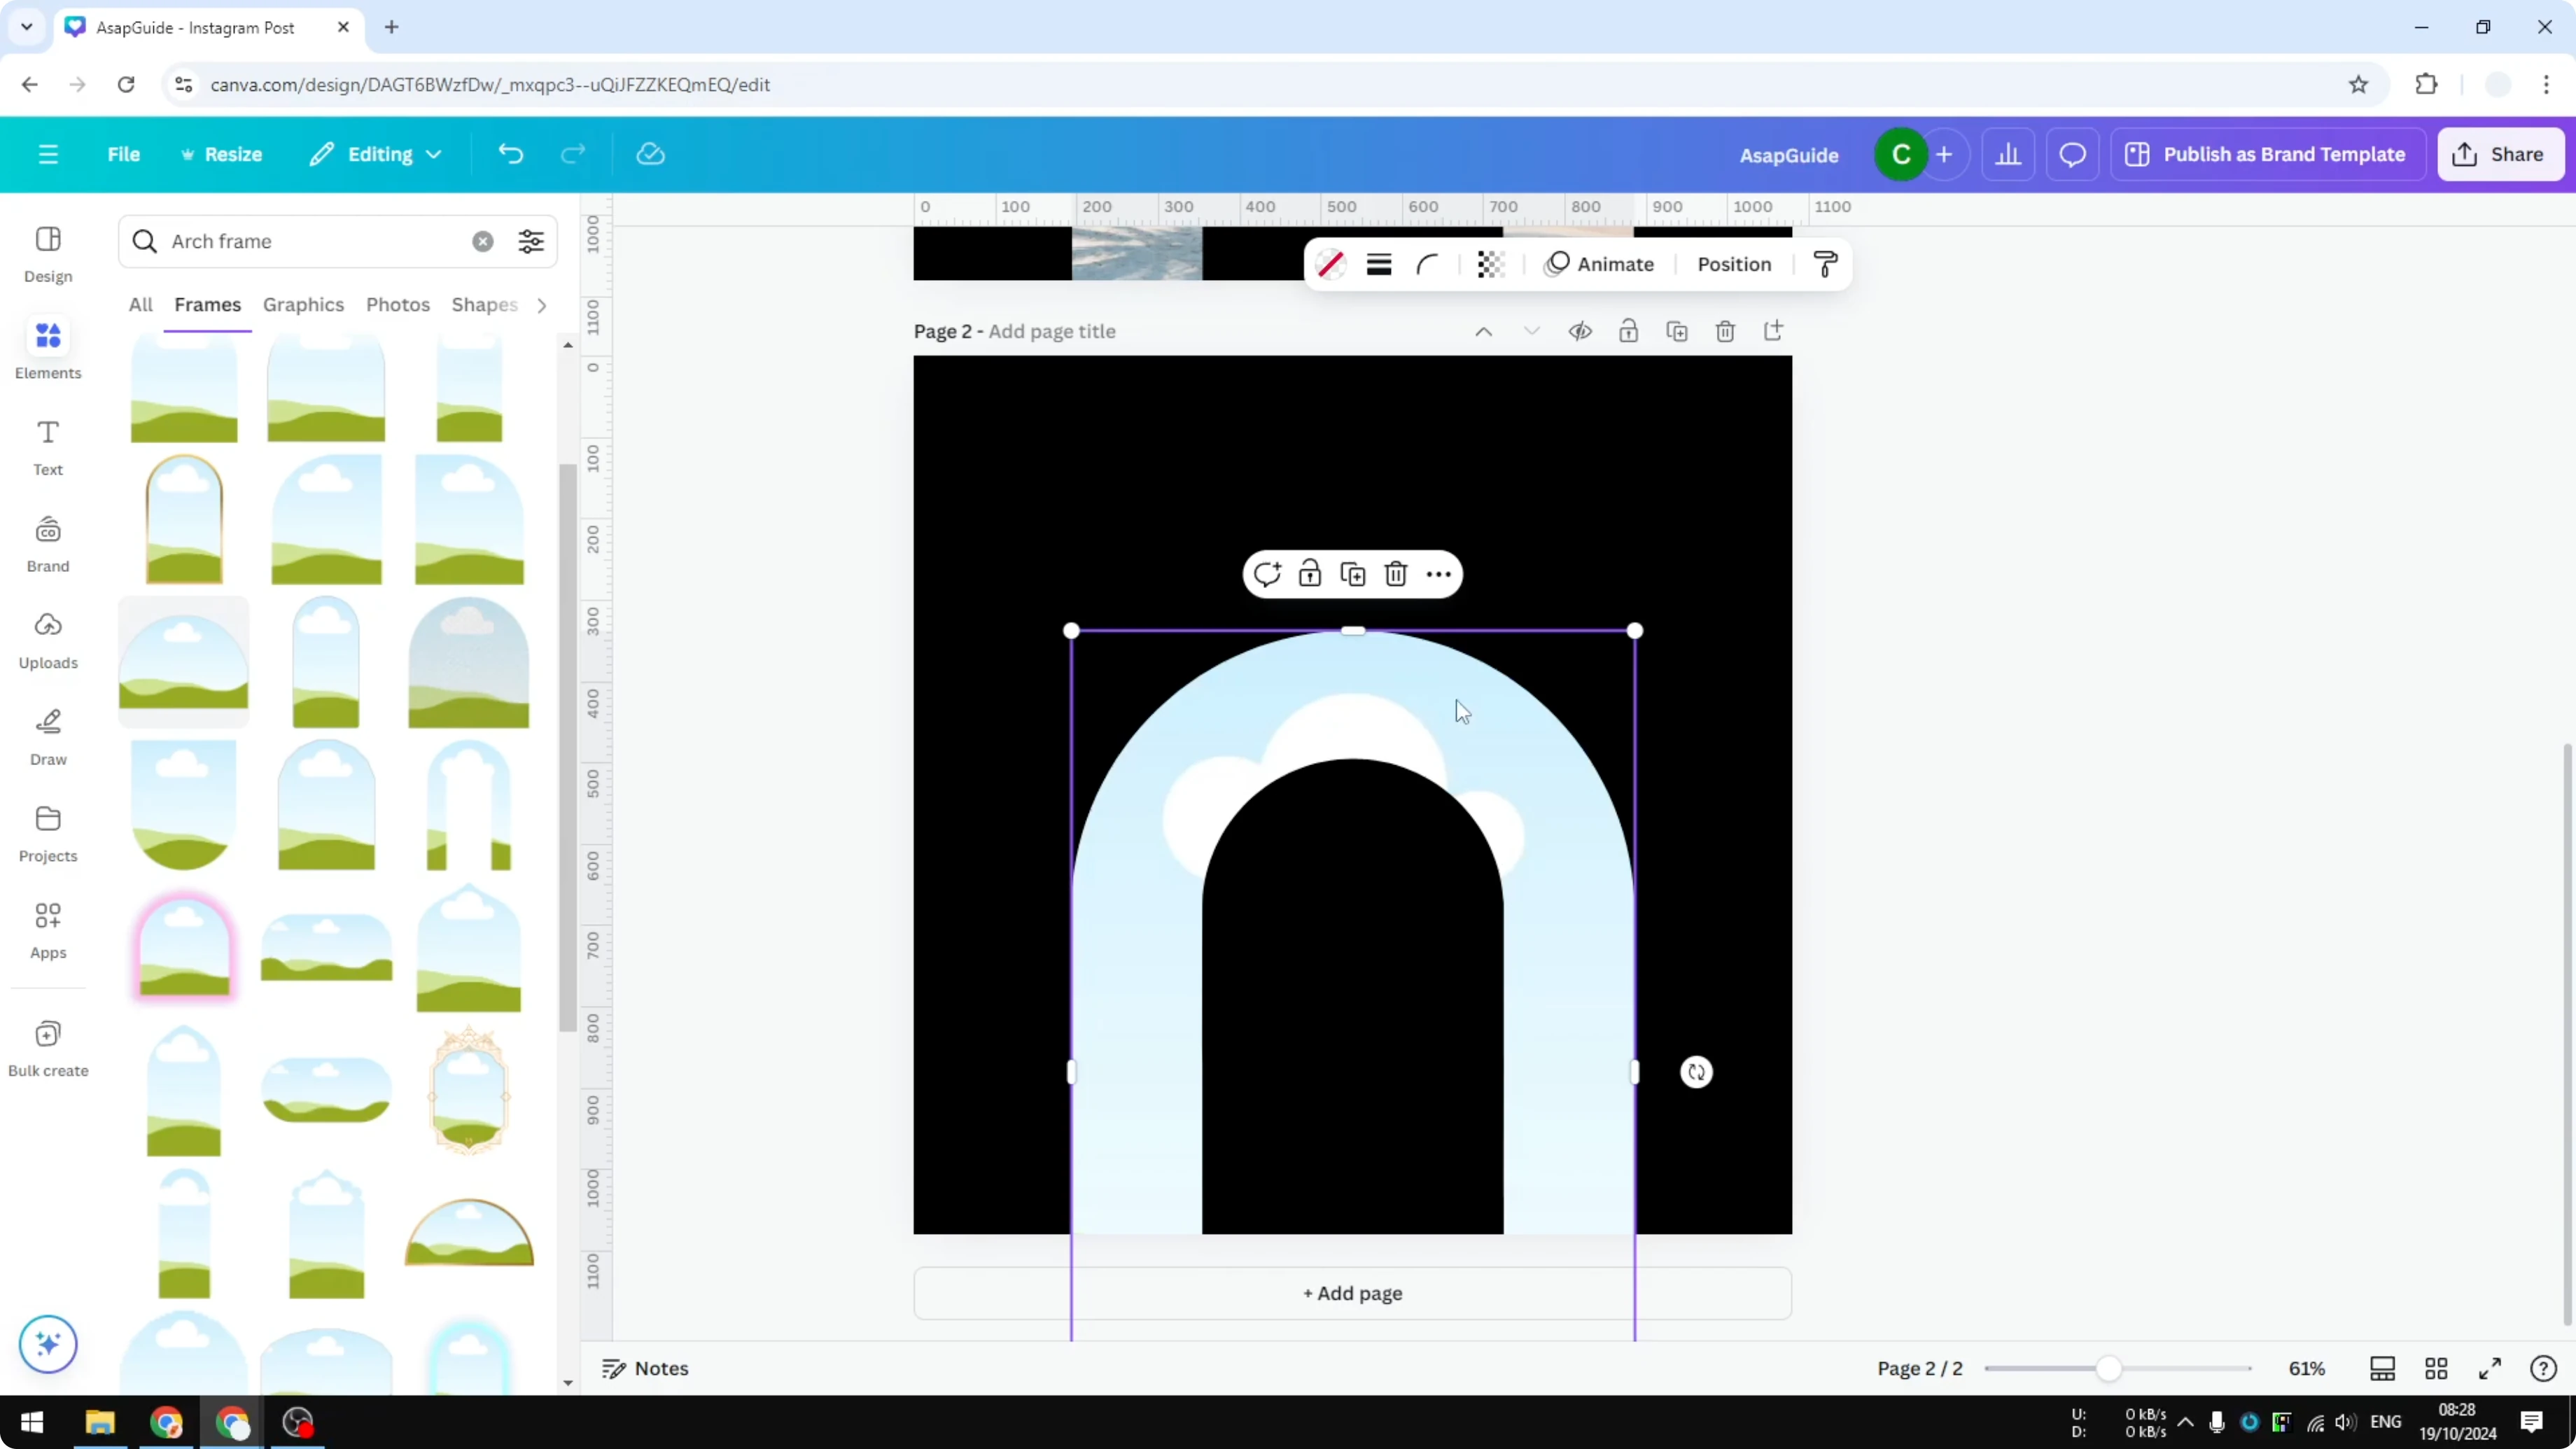
Click the arch to add it to the page. It looks like a picture, but it is not a complete picture. It is a placeholder.
Read More: Add Photo Arch Canva
Place the photo
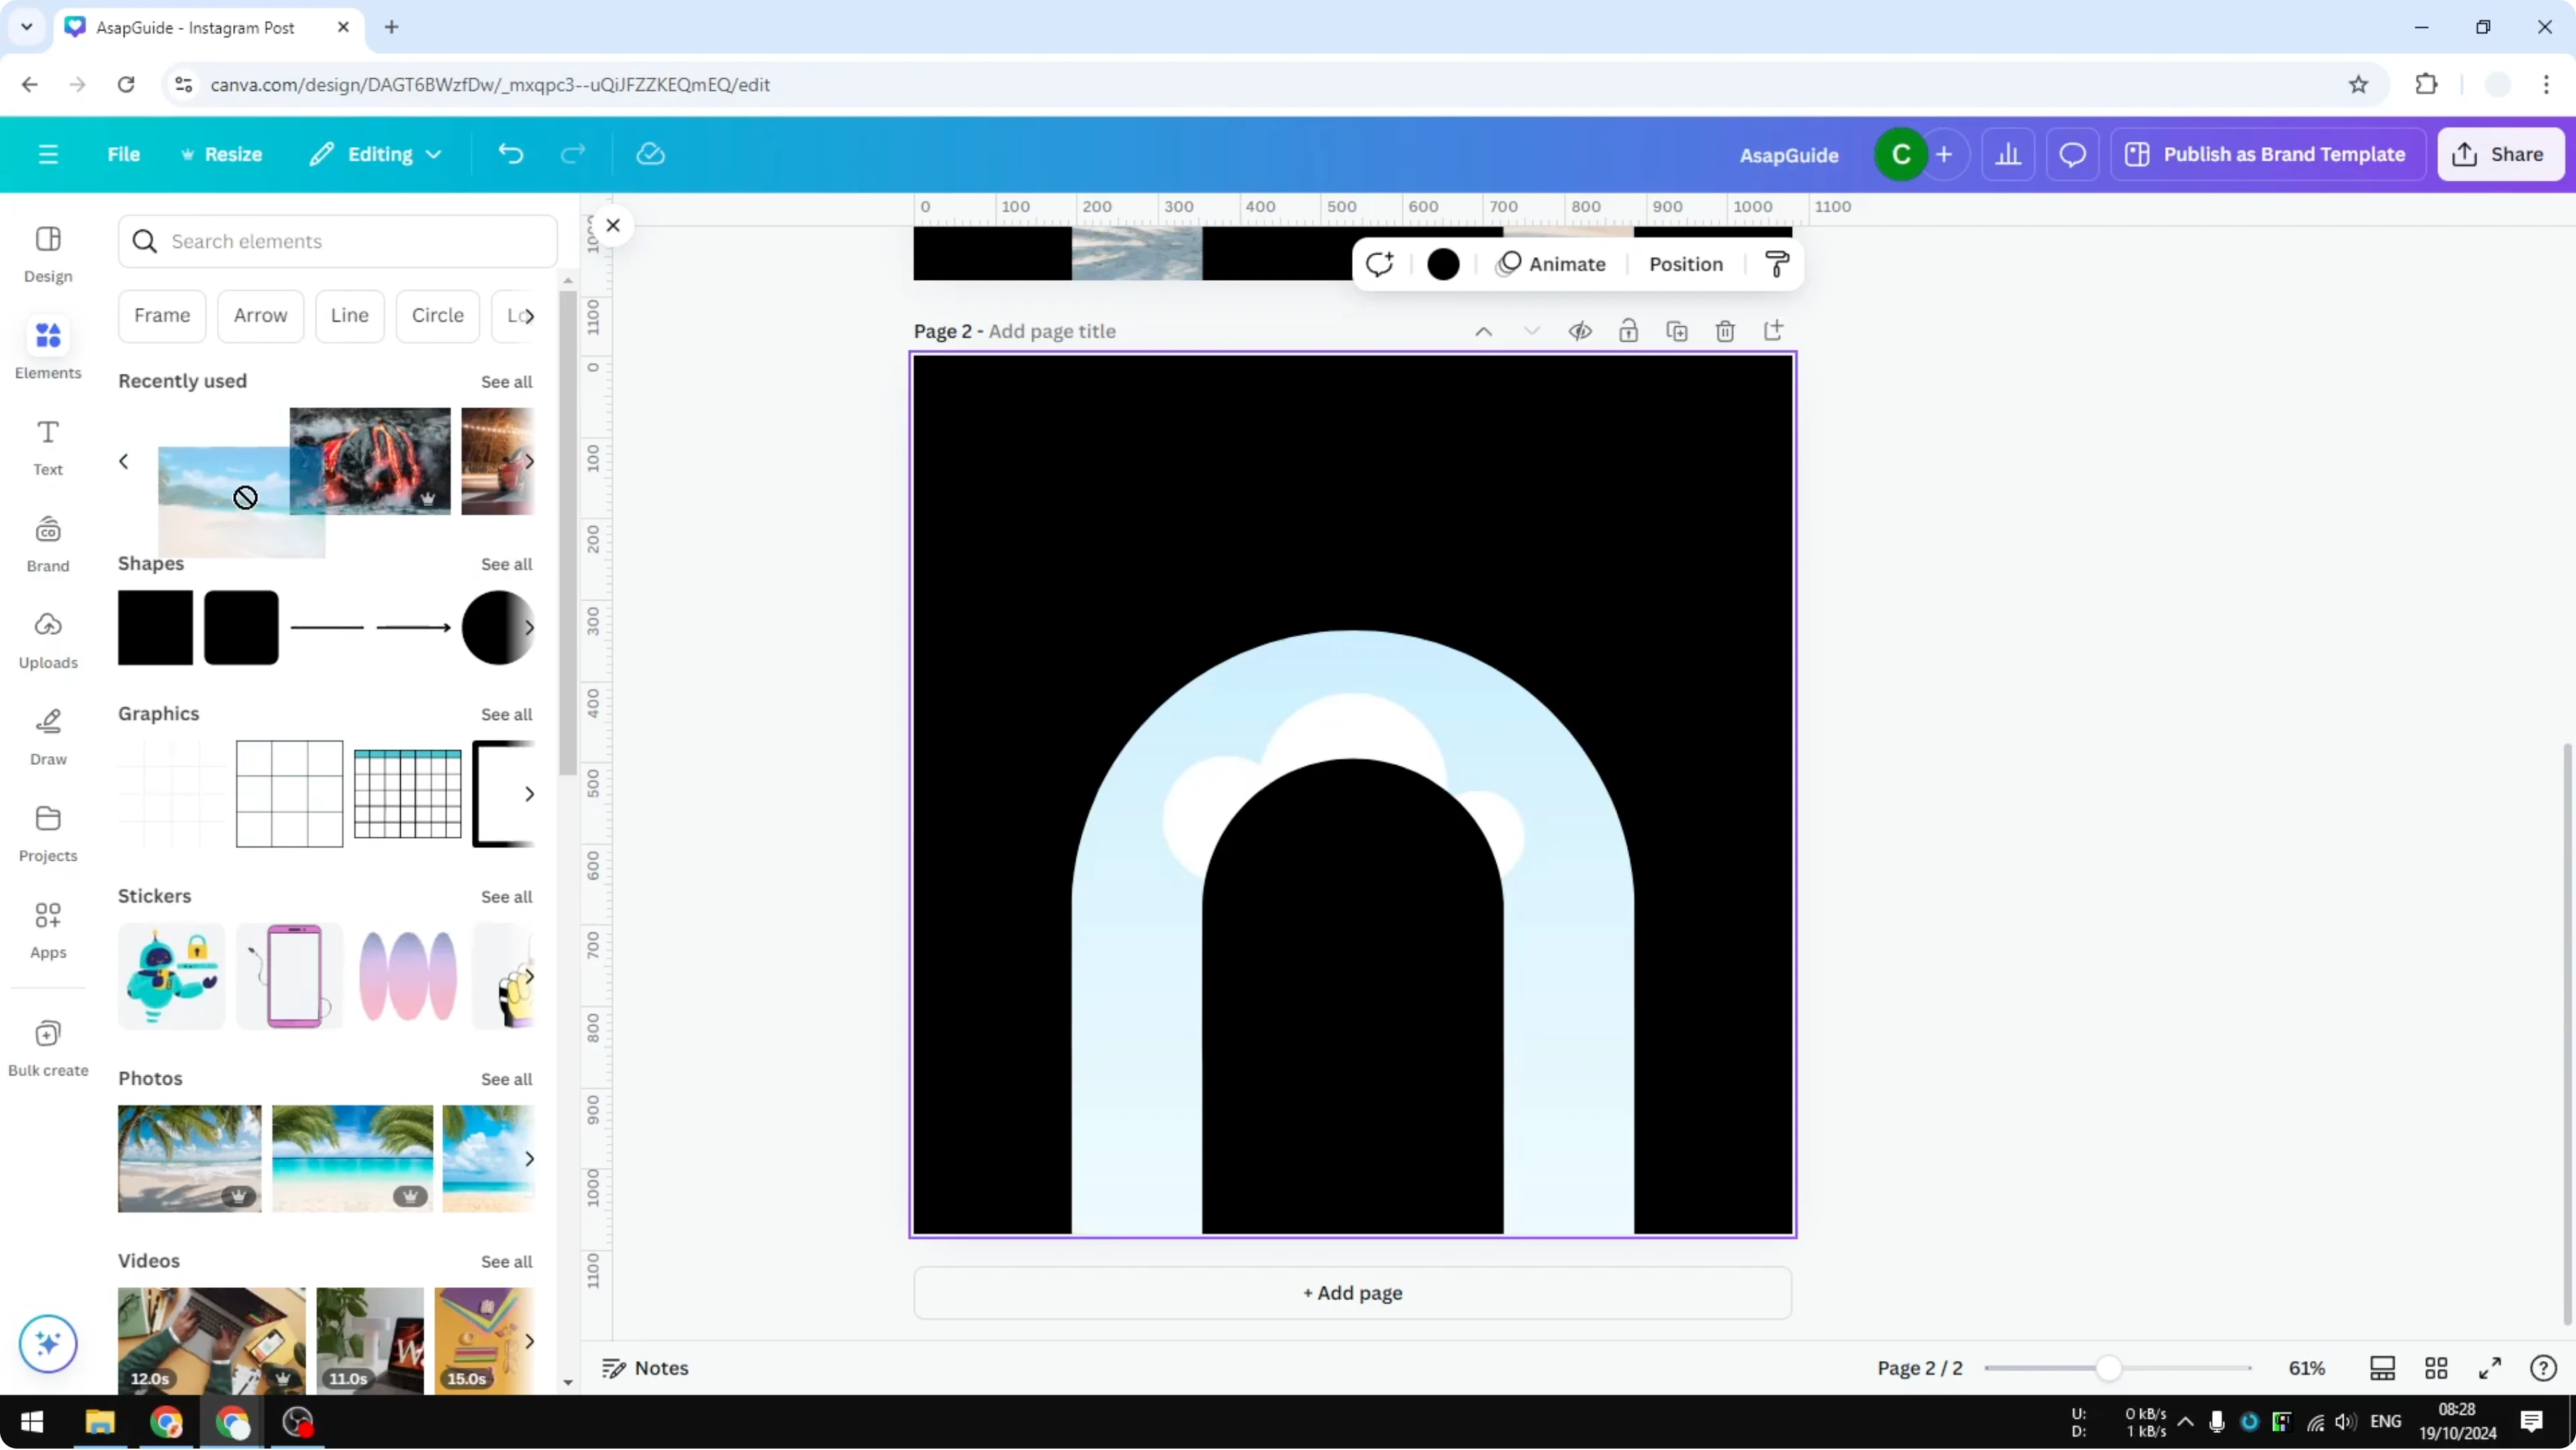
To add a picture, drag and drop an image onto the frame. The frame recognizes the content and puts it inside the shape immediately.
You can choose the previous picture or a different picture. Click an image, drag it onto the frame, and it will be embedded.
Read More: Add Background Photo Canva
Adjust the crop inside the arch
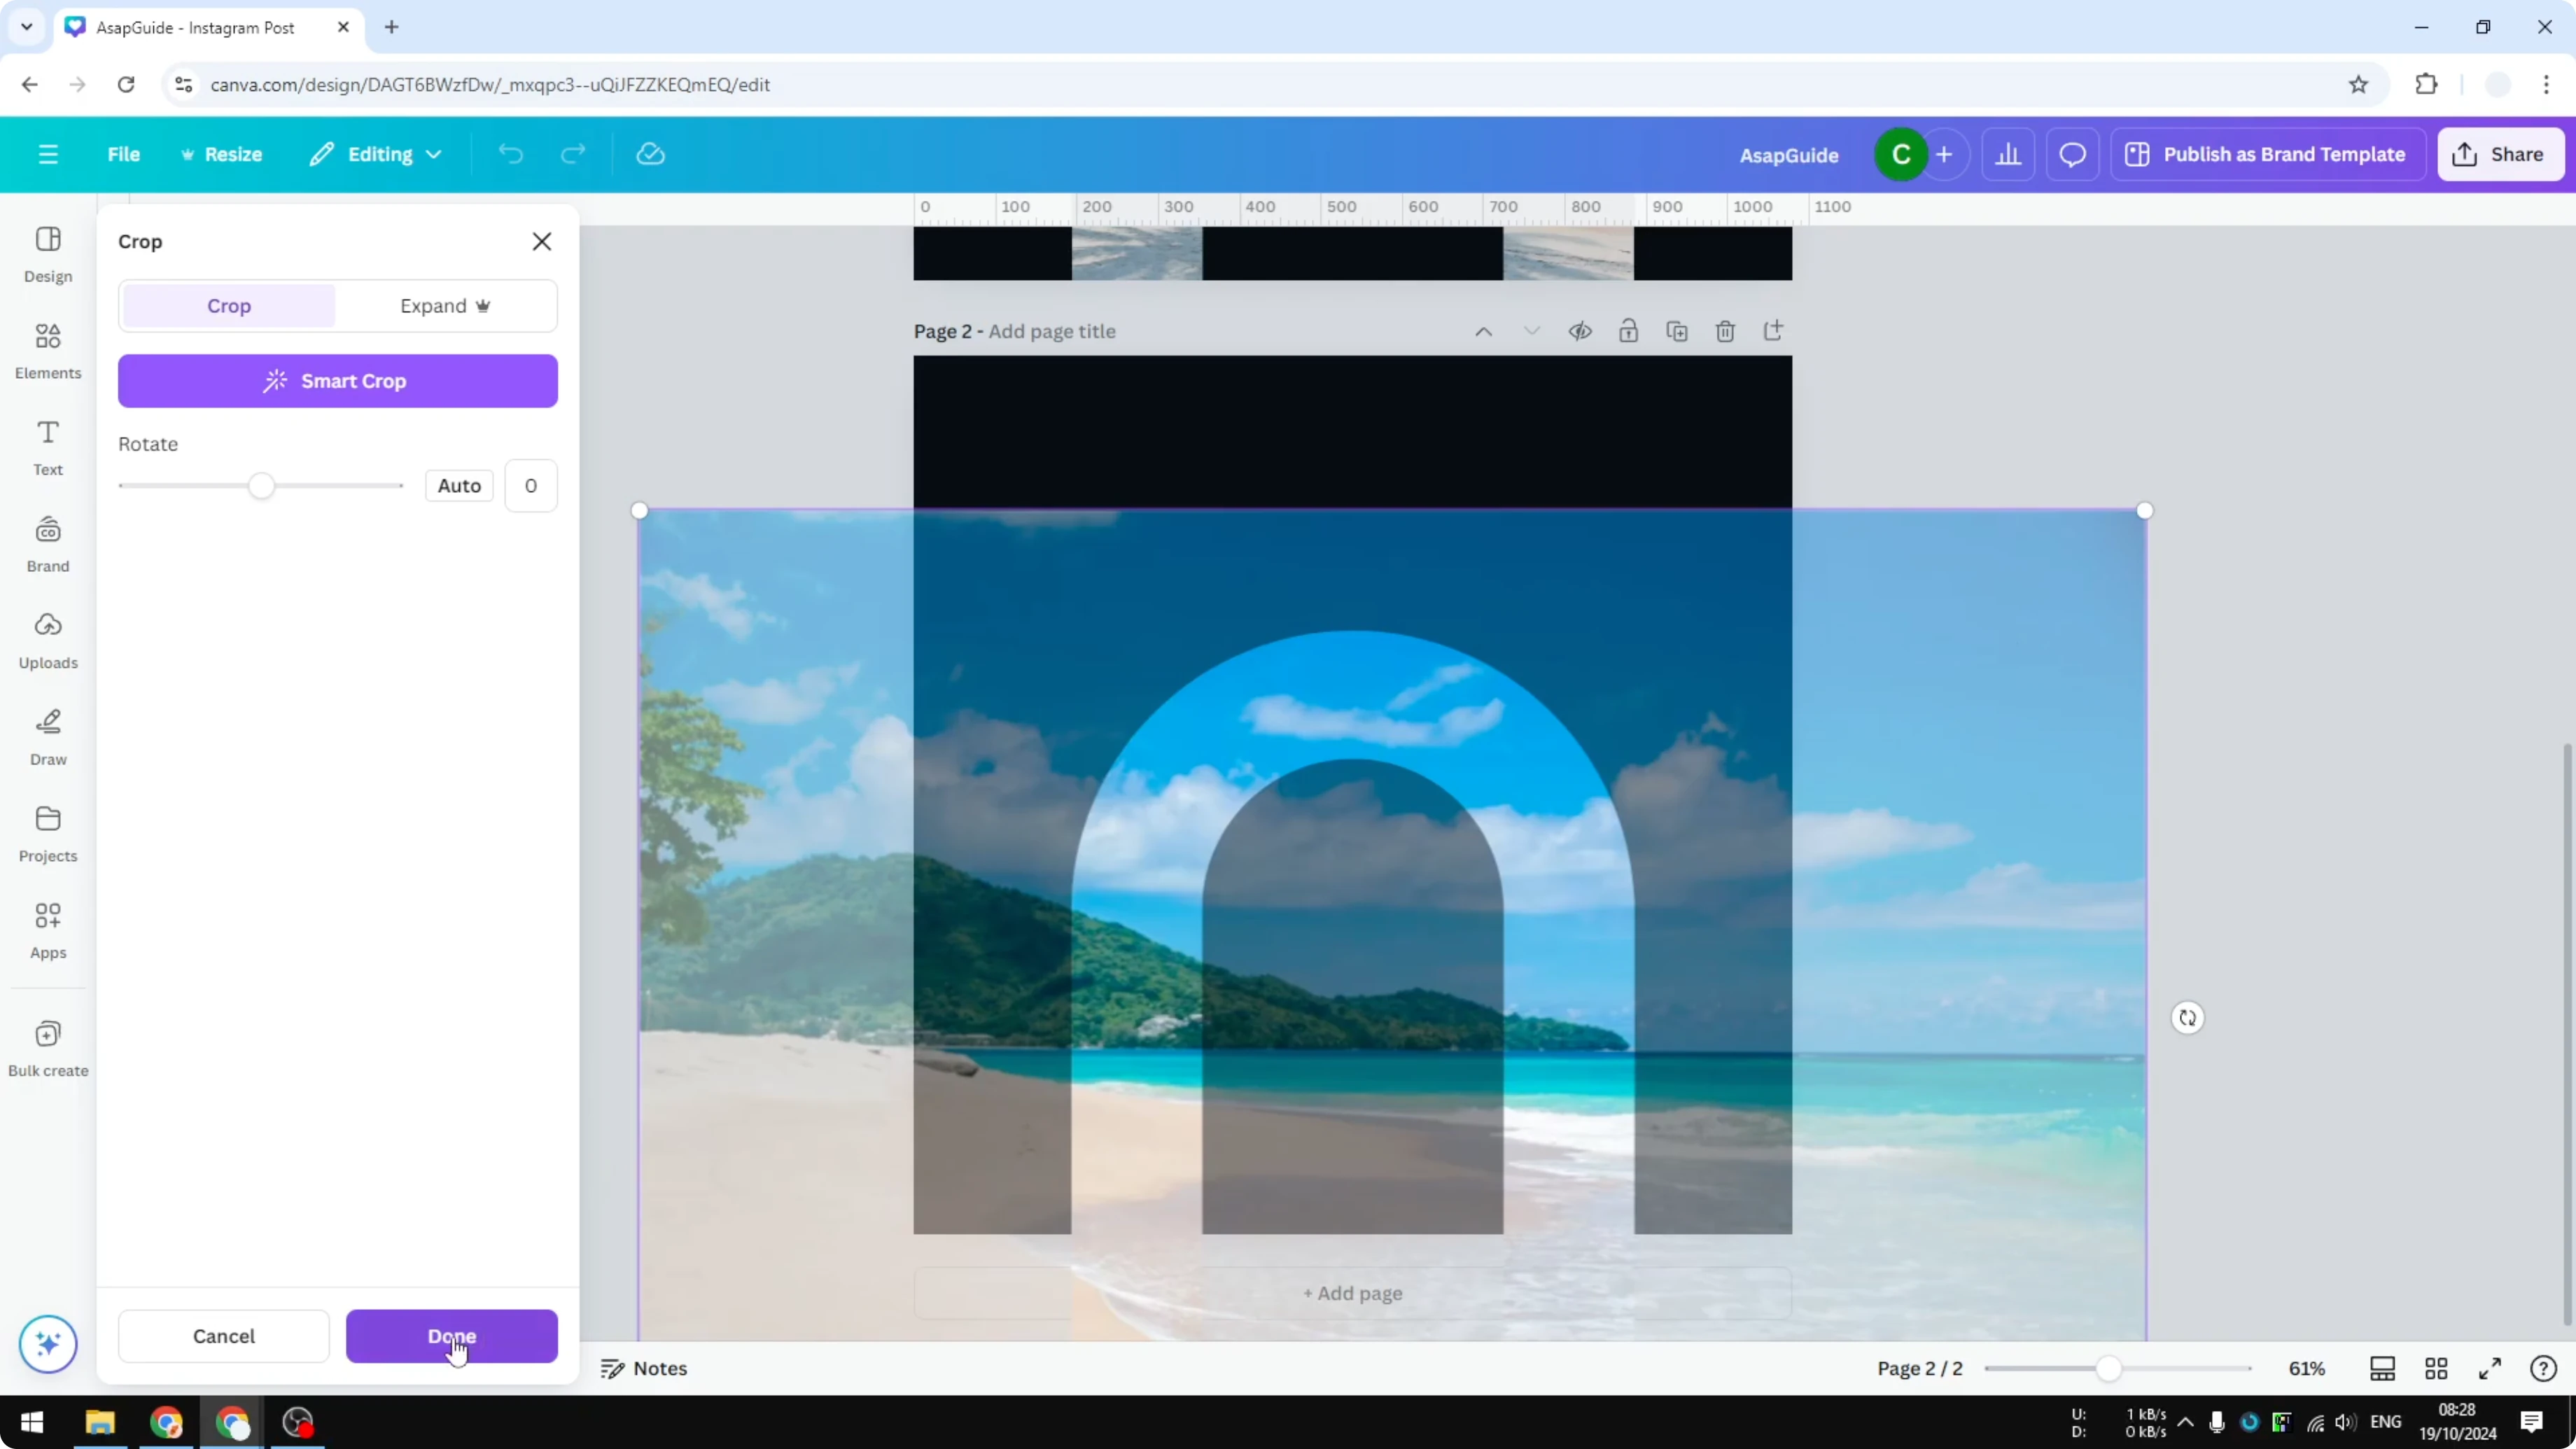
If you want to customize which part of the image should be shown, double click the frame. Drag the image around to reposition it. You can resize the image to fit the arch the way you want.

There are a lot of things that you can do to make sure it is the part that you want to show on the shape. When you are done, click to confirm. This is the result.
Read More: Add Blending Edges Photo Canva
Final thoughts
The arch effect uses a frame, and the image inside stays a regular rectangle. Drag a photo into the frame, then double click to move and resize it until the crop looks right. Click to confirm and your arch photo is ready.
Recent Posts
How to Visualize Yourself as a Pixelized Character with AI?
How to Visualize Yourself as a Pixelized Character with AI?

How to Revive Faded Memories and Enhance Image Clarity with AI?
How to Revive Faded Memories and Enhance Image Clarity with AI?

How to Visualize Yourself as an Animal Crossing Character with AI?
How to Visualize Yourself as an Animal Crossing Character with AI?