How to Adjust and Control Image Lighting with AI?
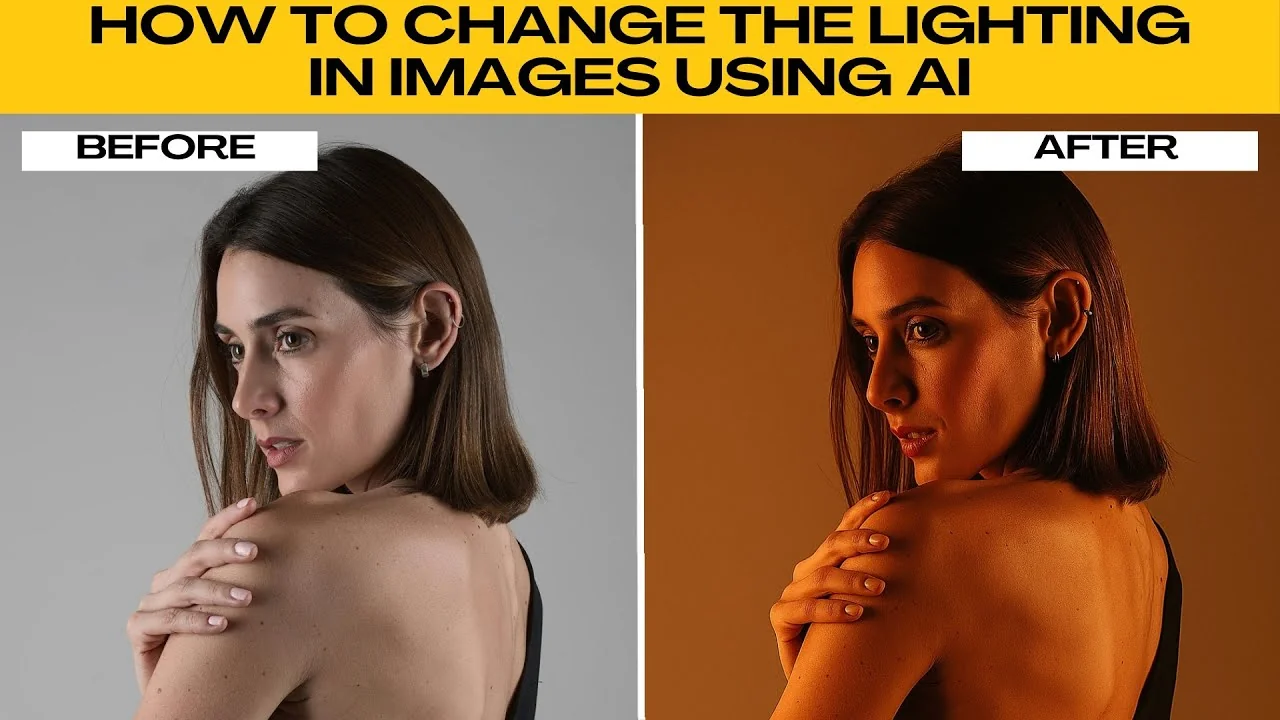
I will teach you how to change the lighting in images using AI.
Lighting can completely transform a photo, giving it mood, drama, or a professional studio look.
With AI tools like ChatGPT image generation, you can easily adjust and experiment with lighting without expensive equipment.
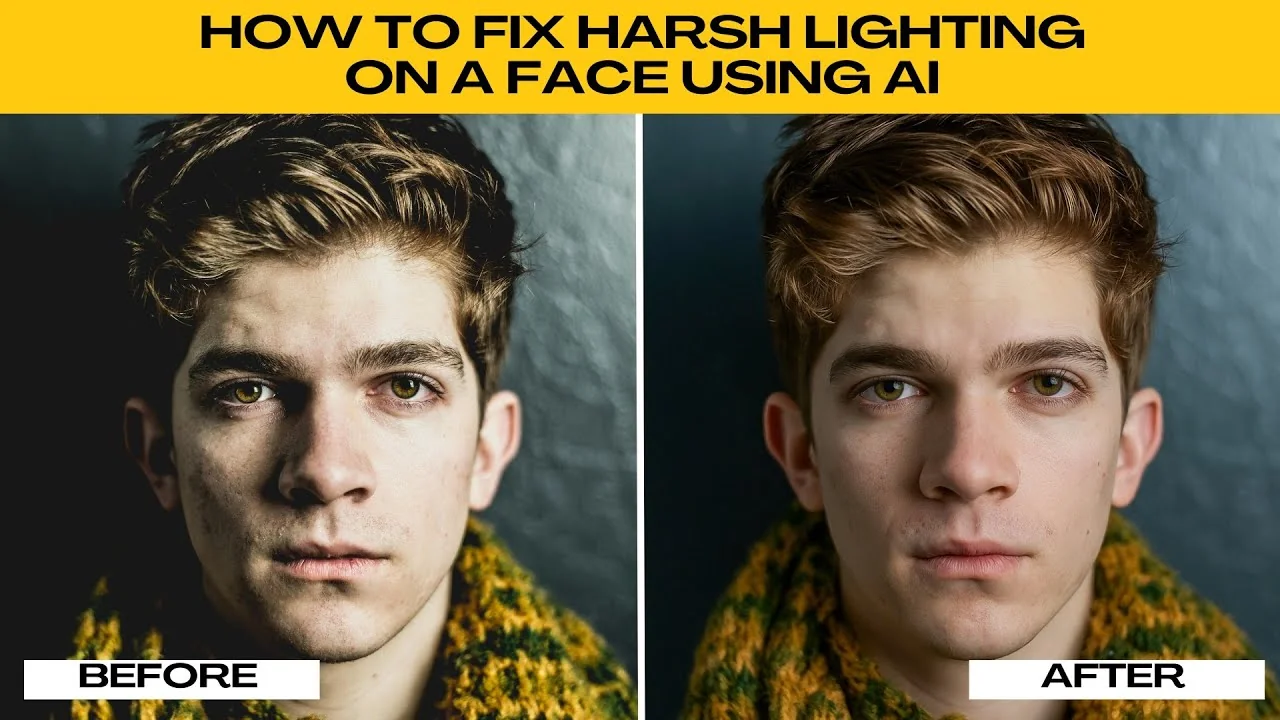
For tough highlights and blown areas, see how to fix harsh lighting with AI before you start.
Get ready
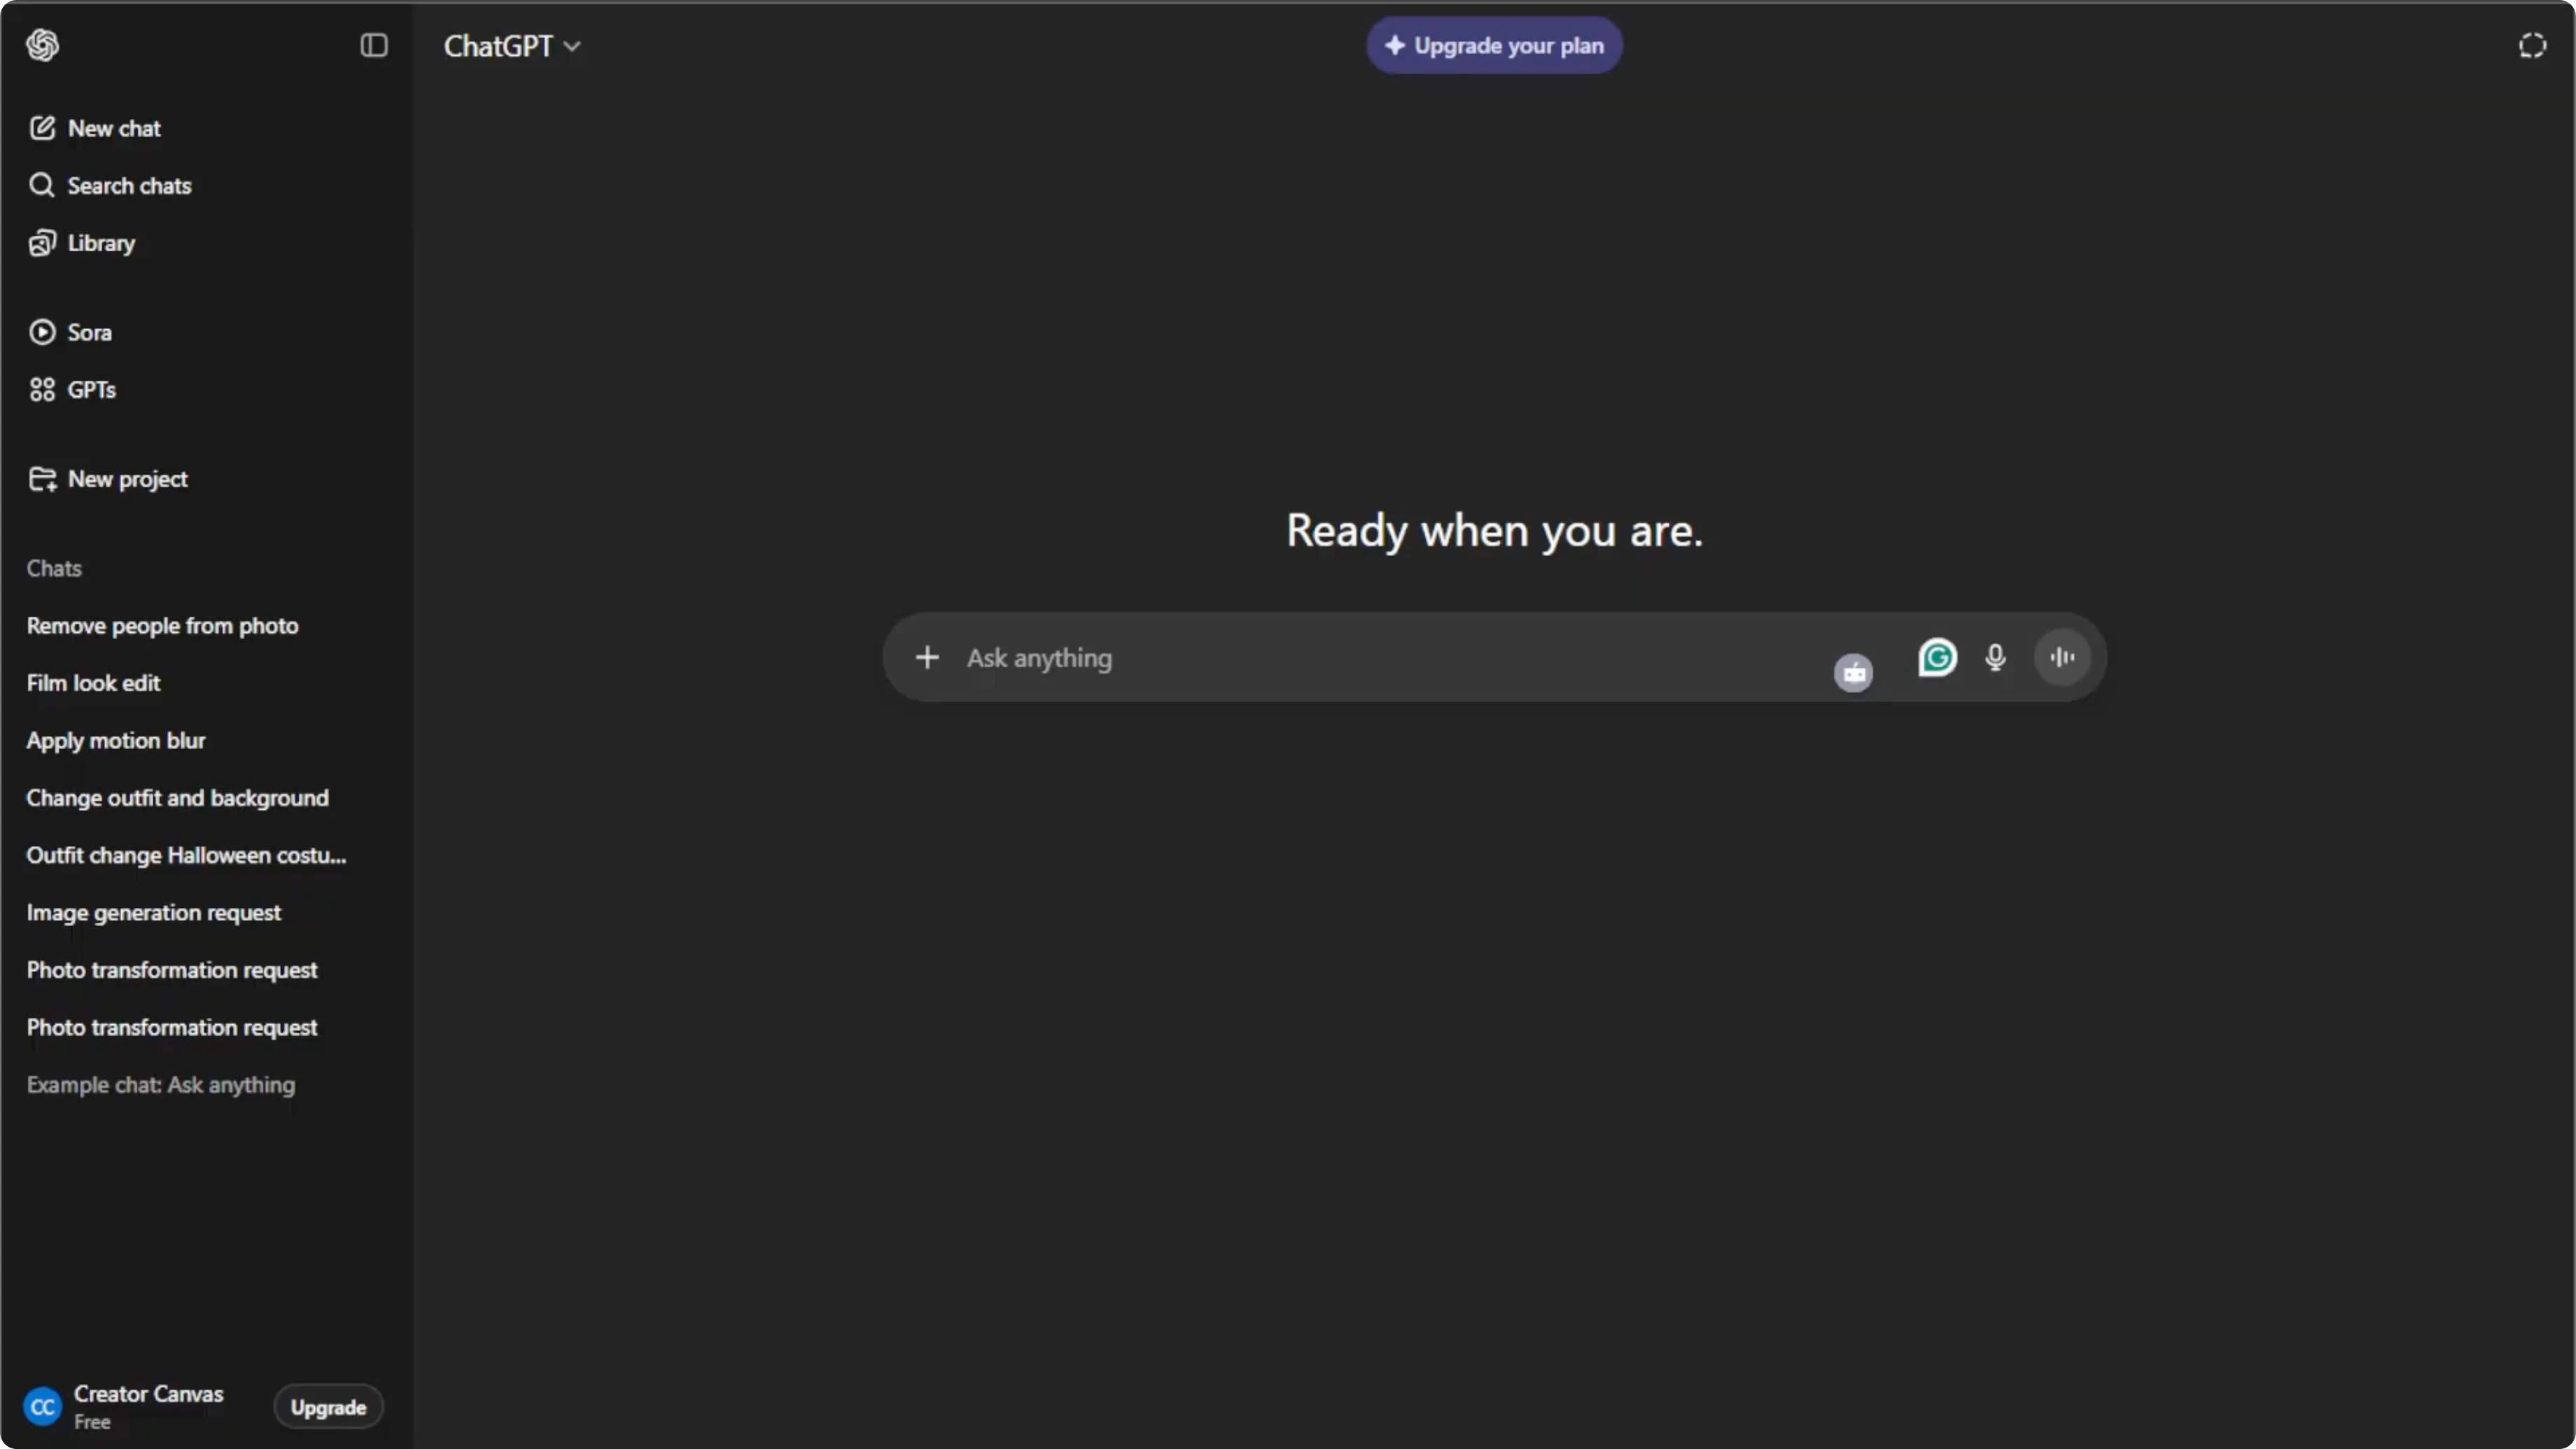
Open your browser and go to ChatGPT.
Log into your free account or create one if you do not have an account yet.
If you want a dedicated editor for similar tasks, explore image editing with Icedit AI.
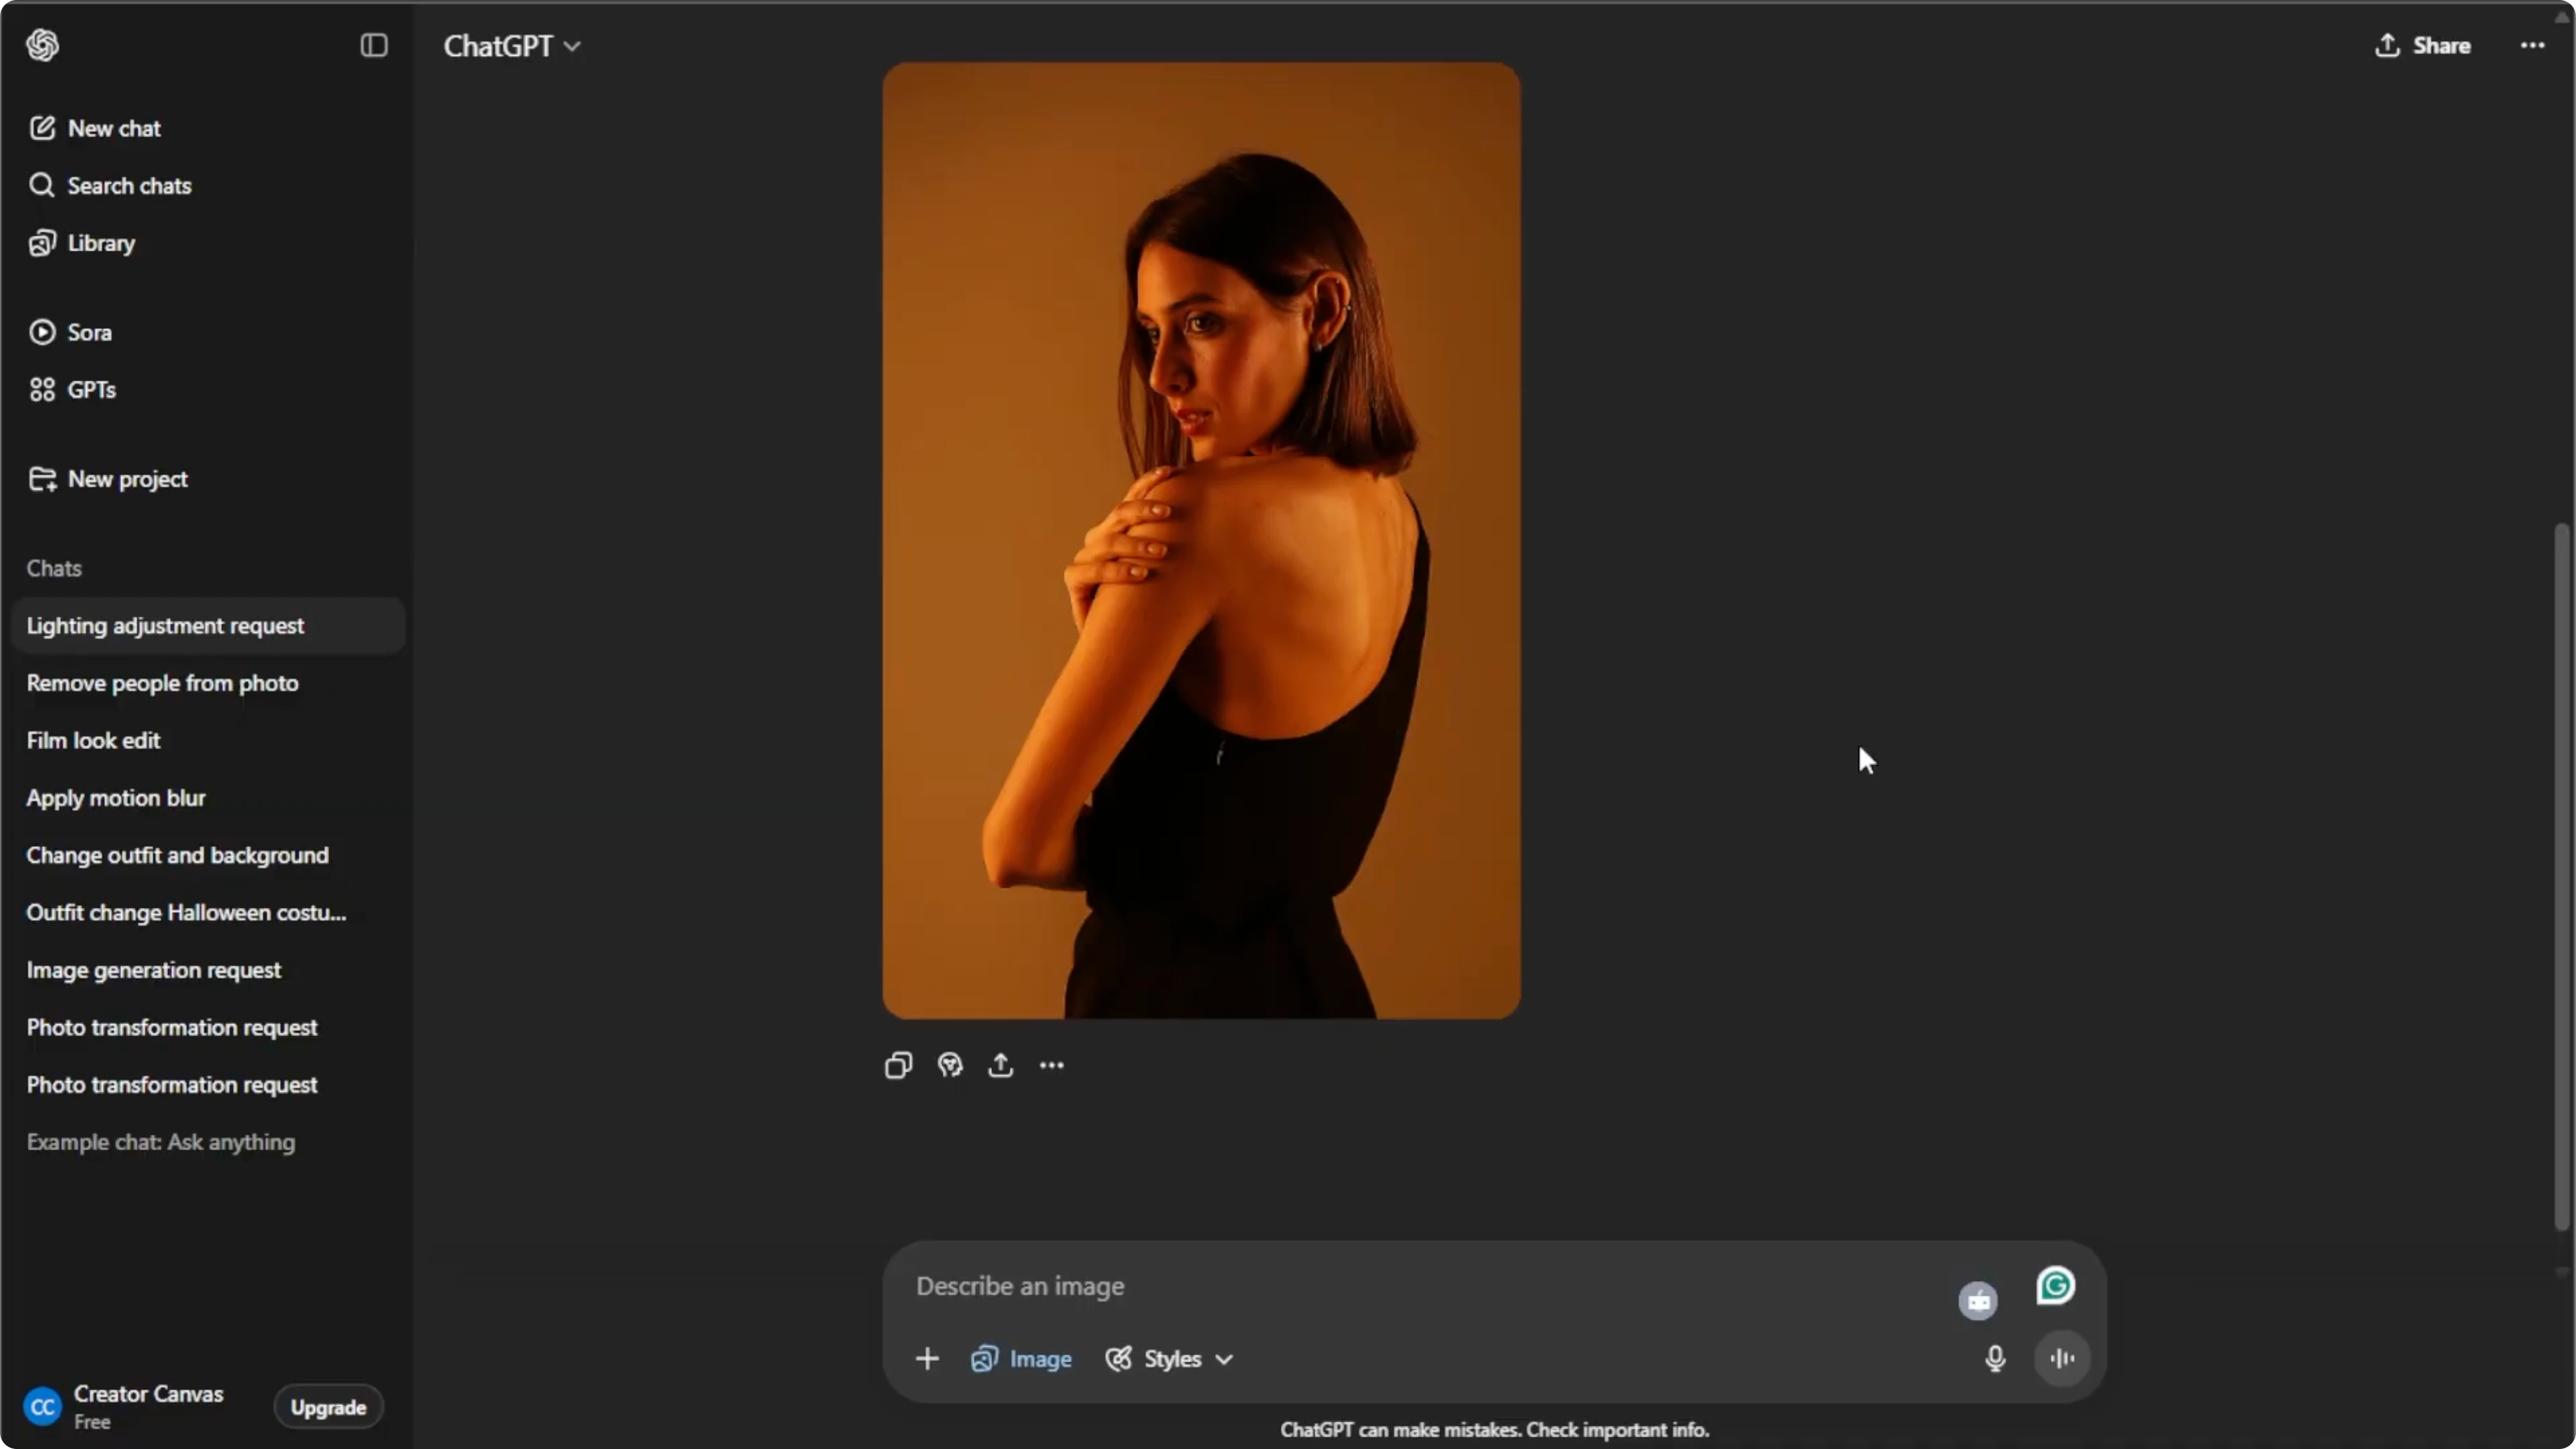
Enter edit mode
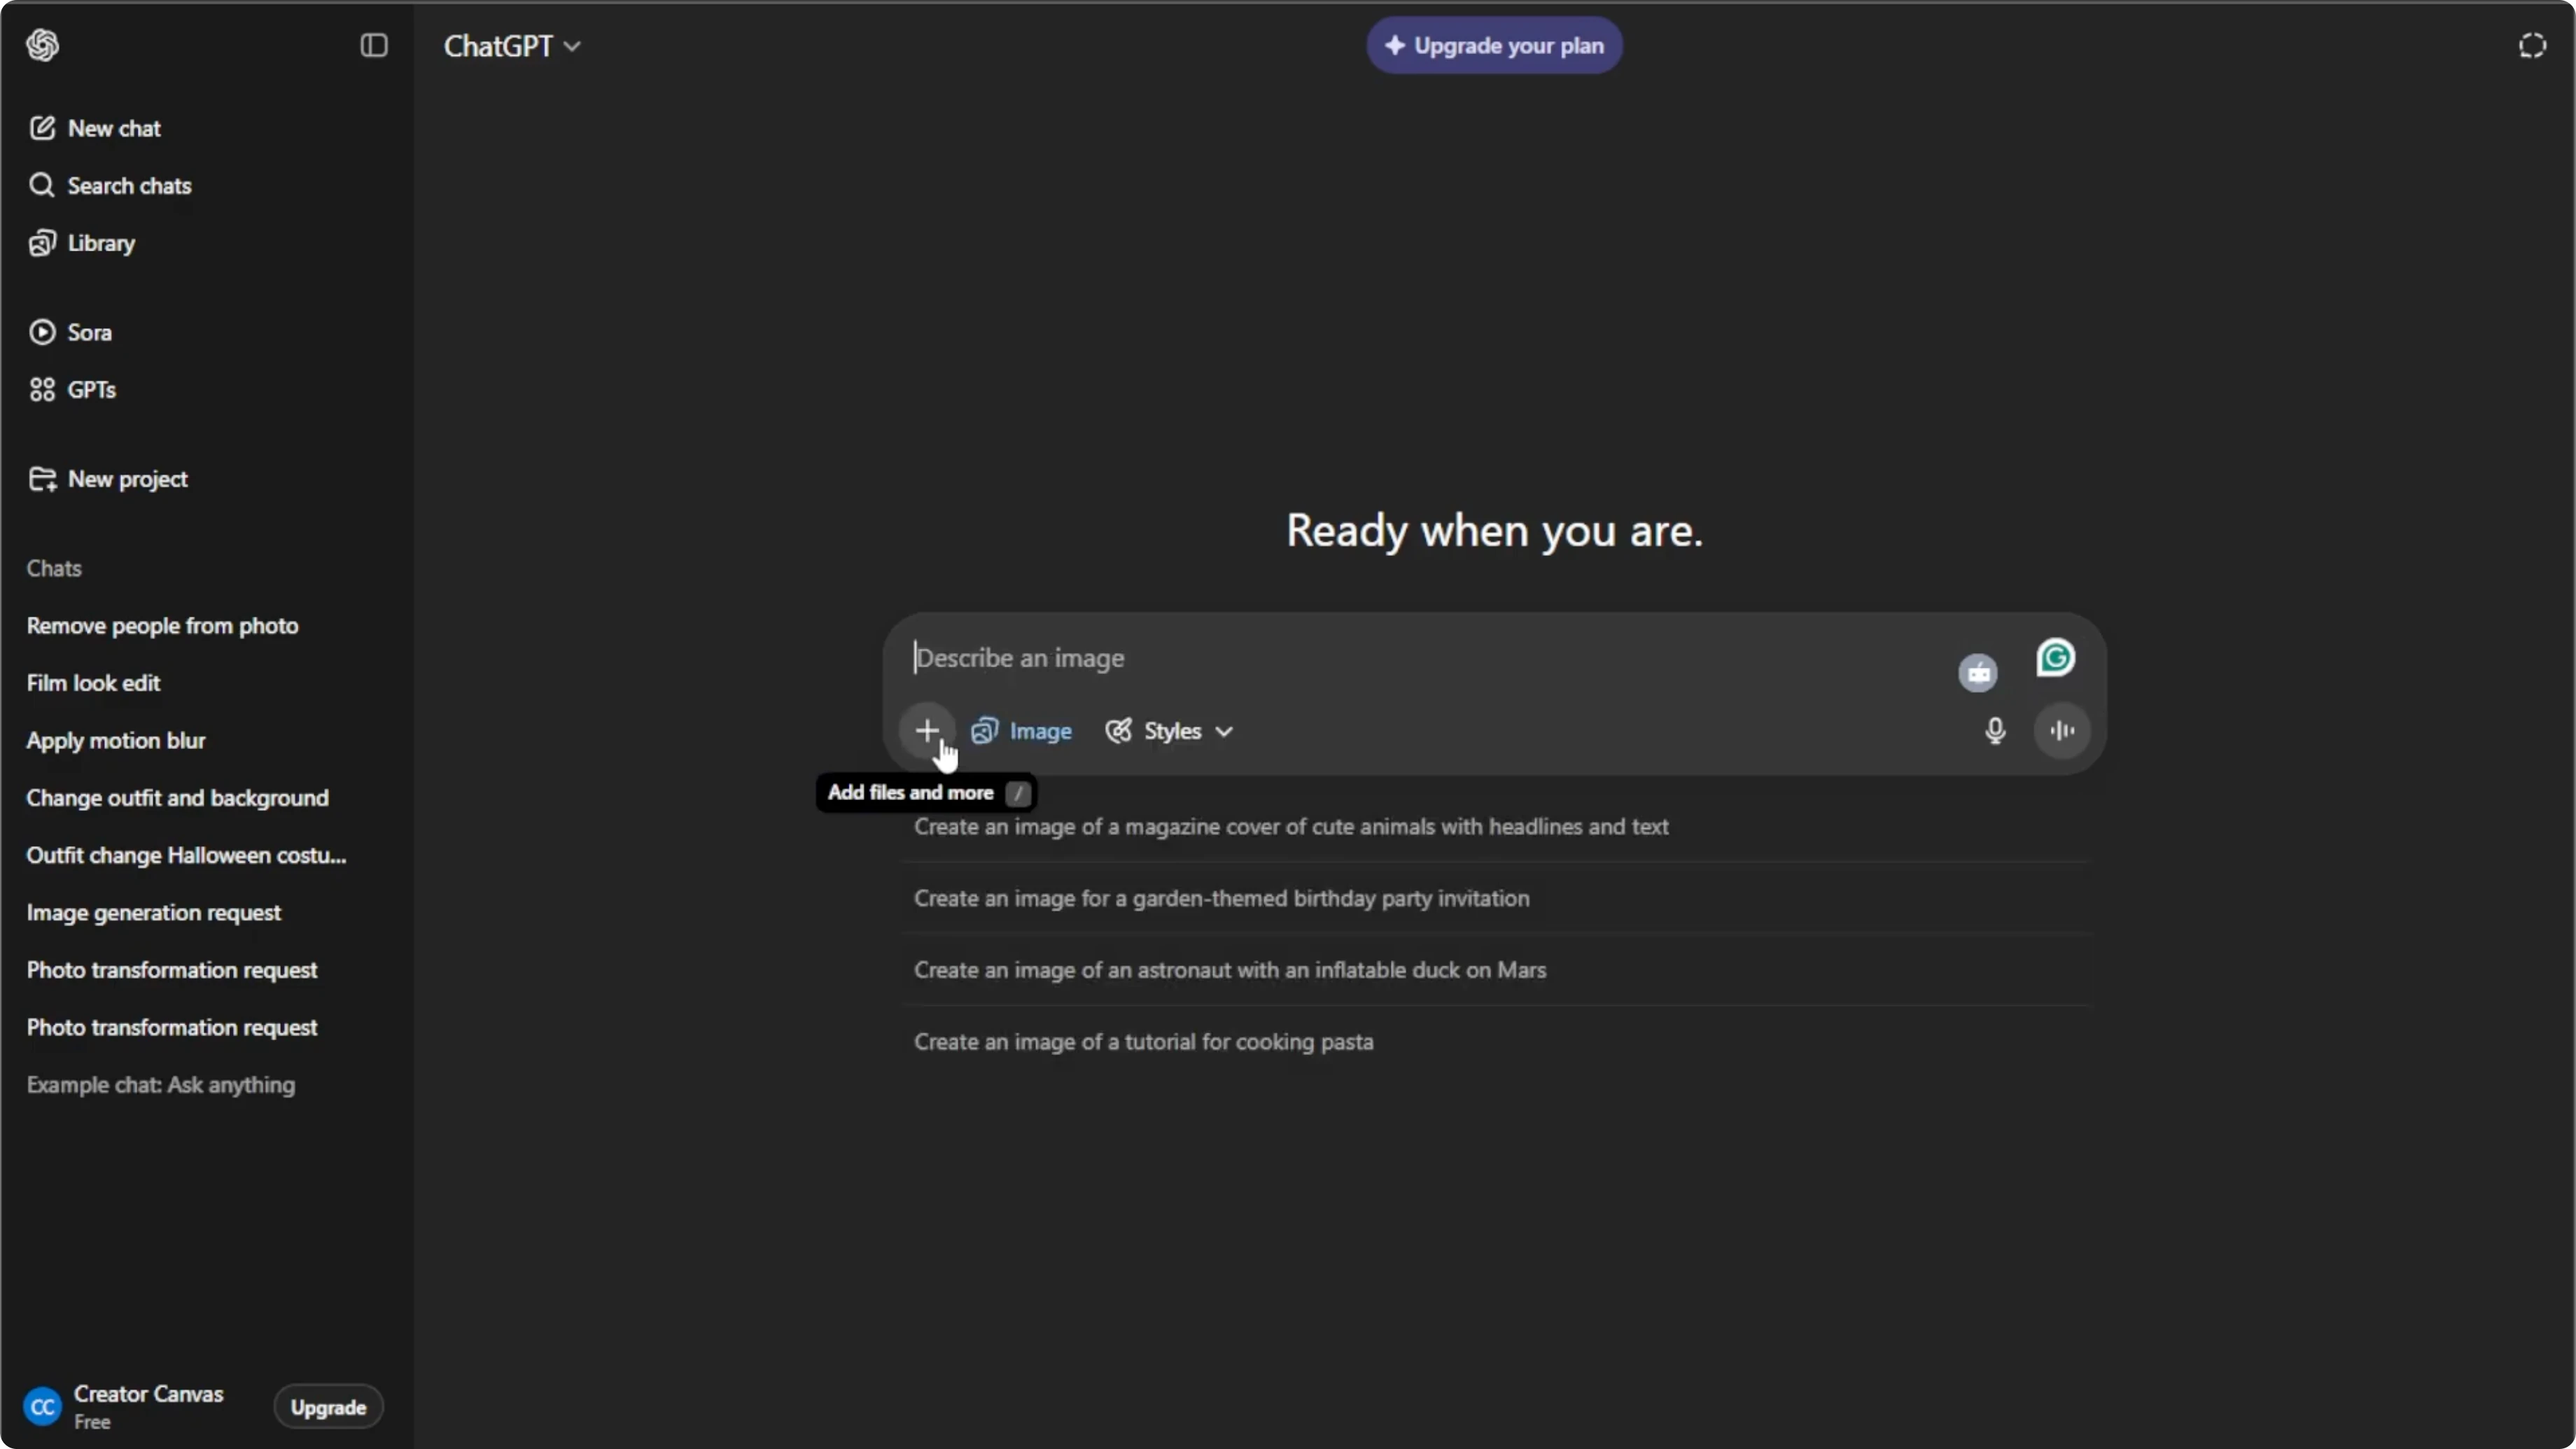
Click the plus icon in the prompt box, then select create image to enter the AI image editing mode.
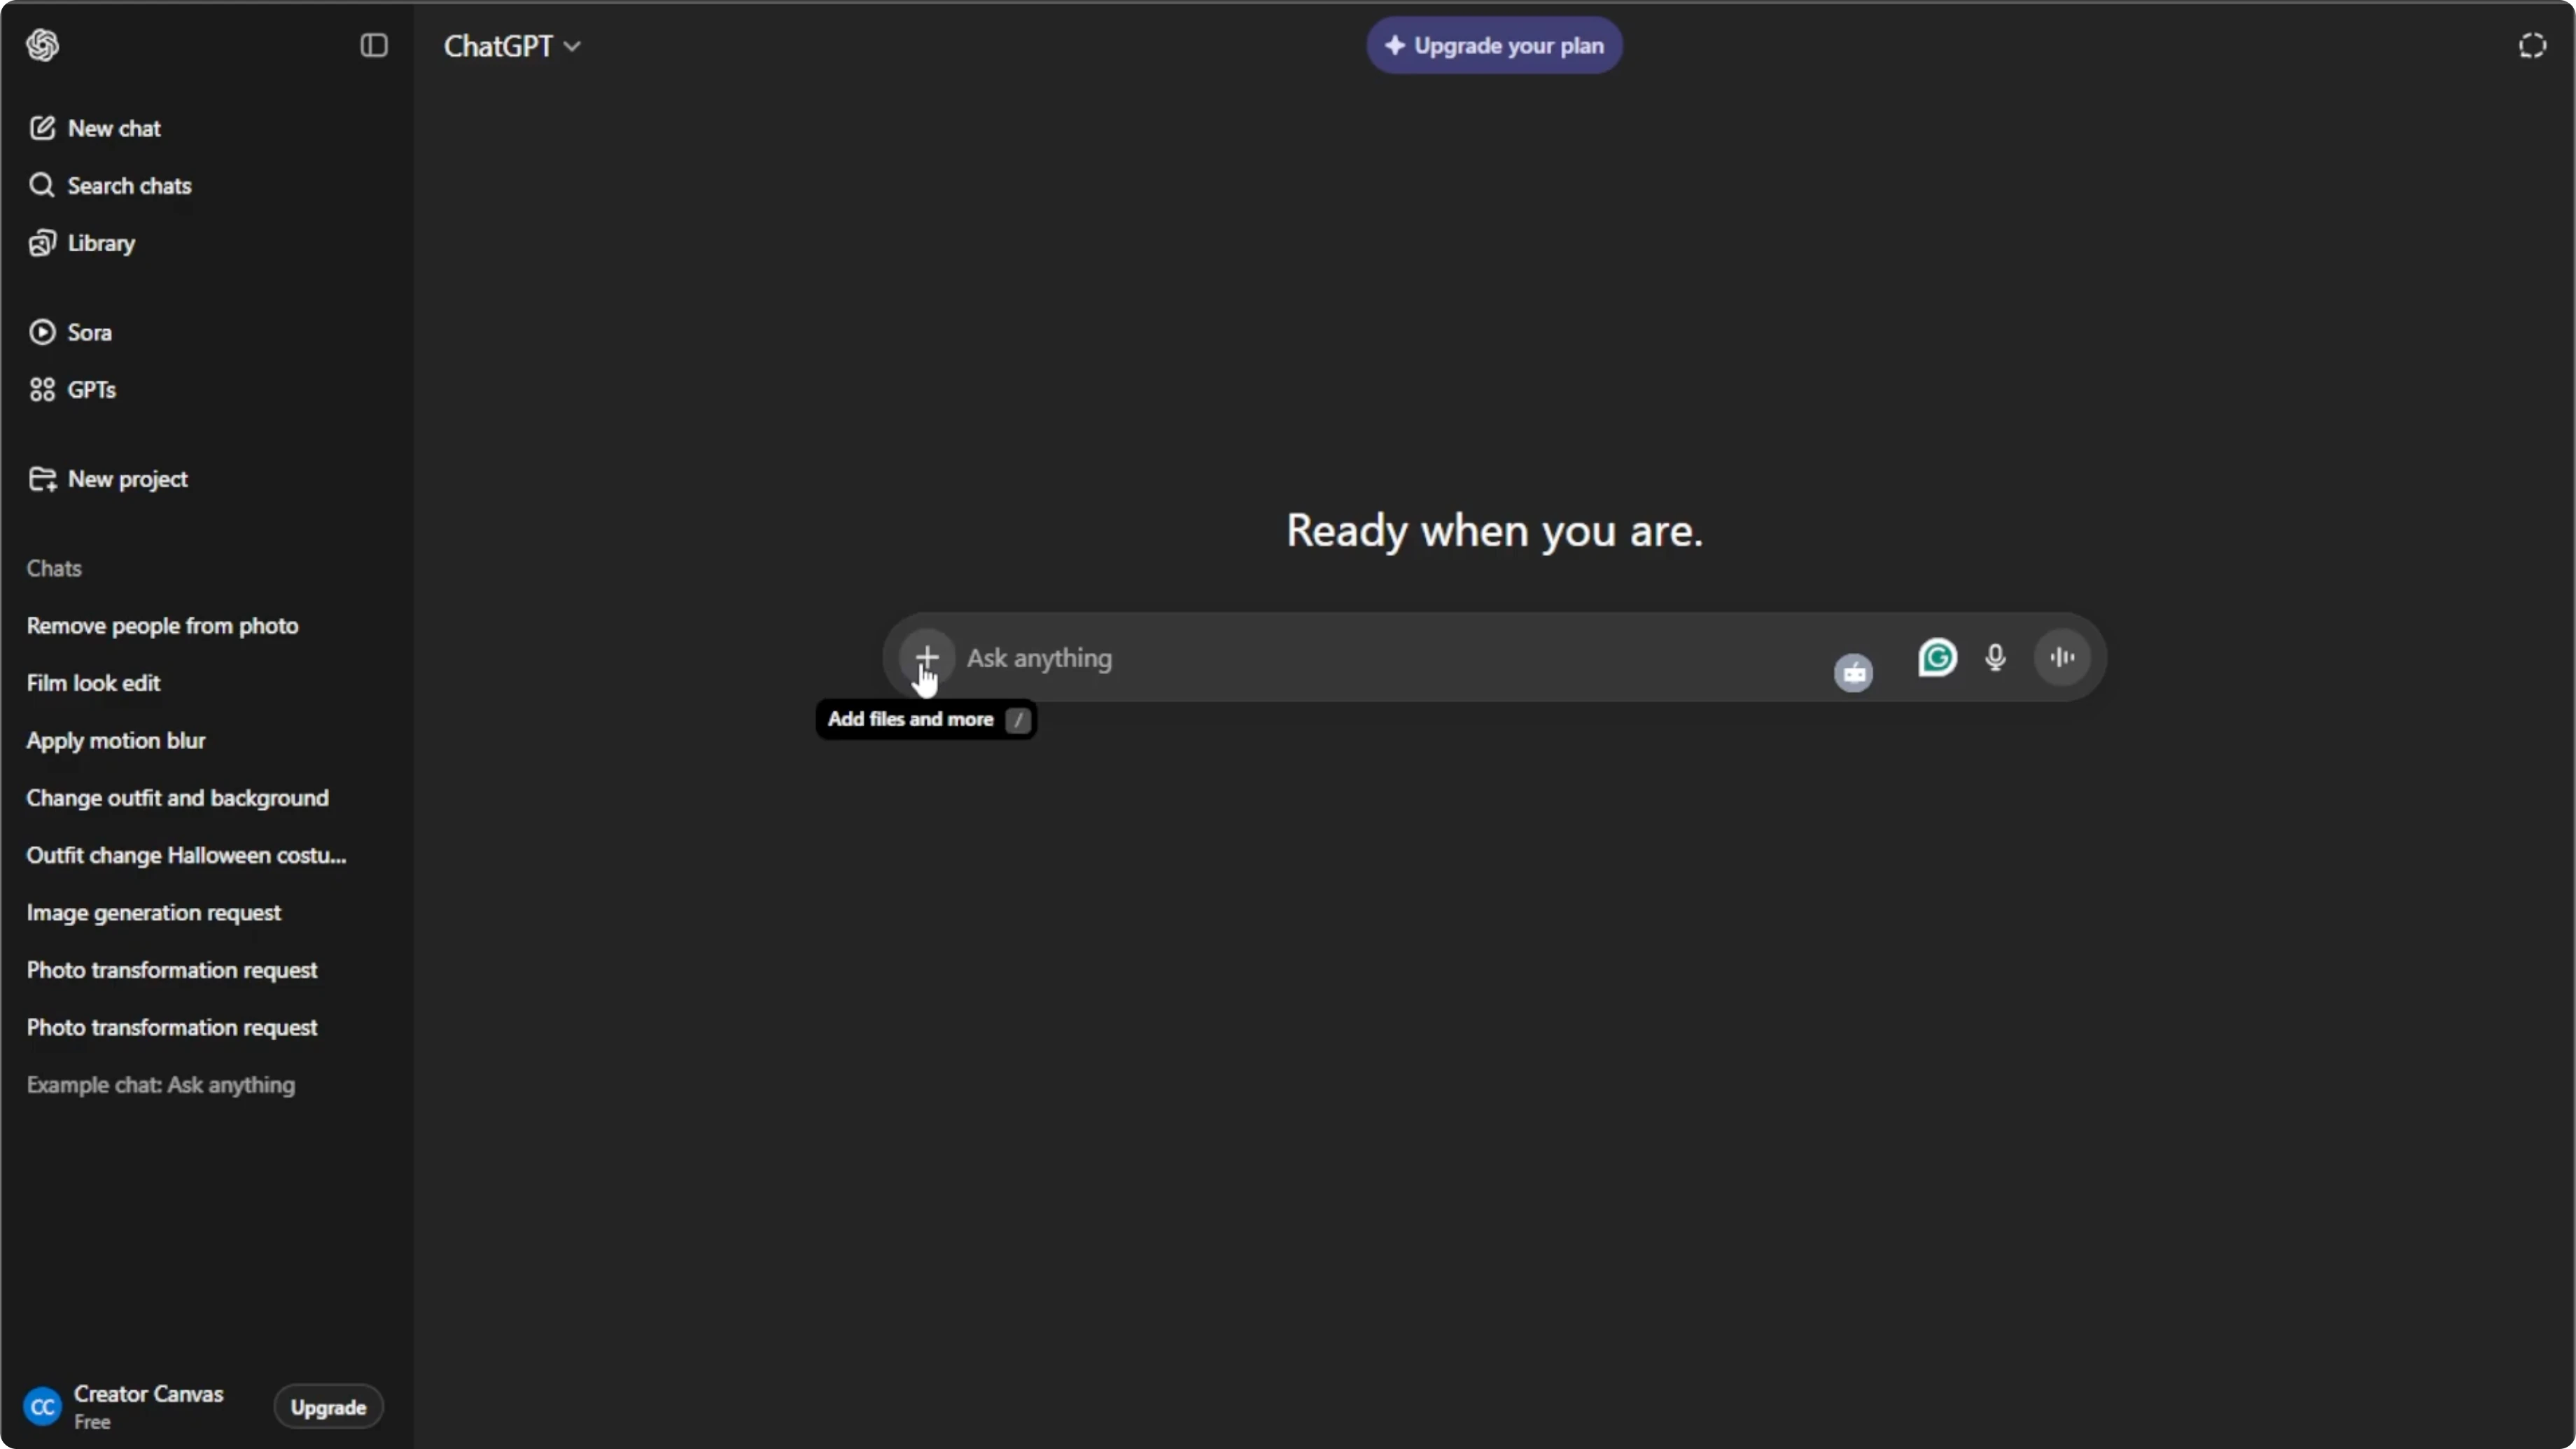
Click the plus icon again, then select add photos or files, or press Control U or Command U on your keyboard.
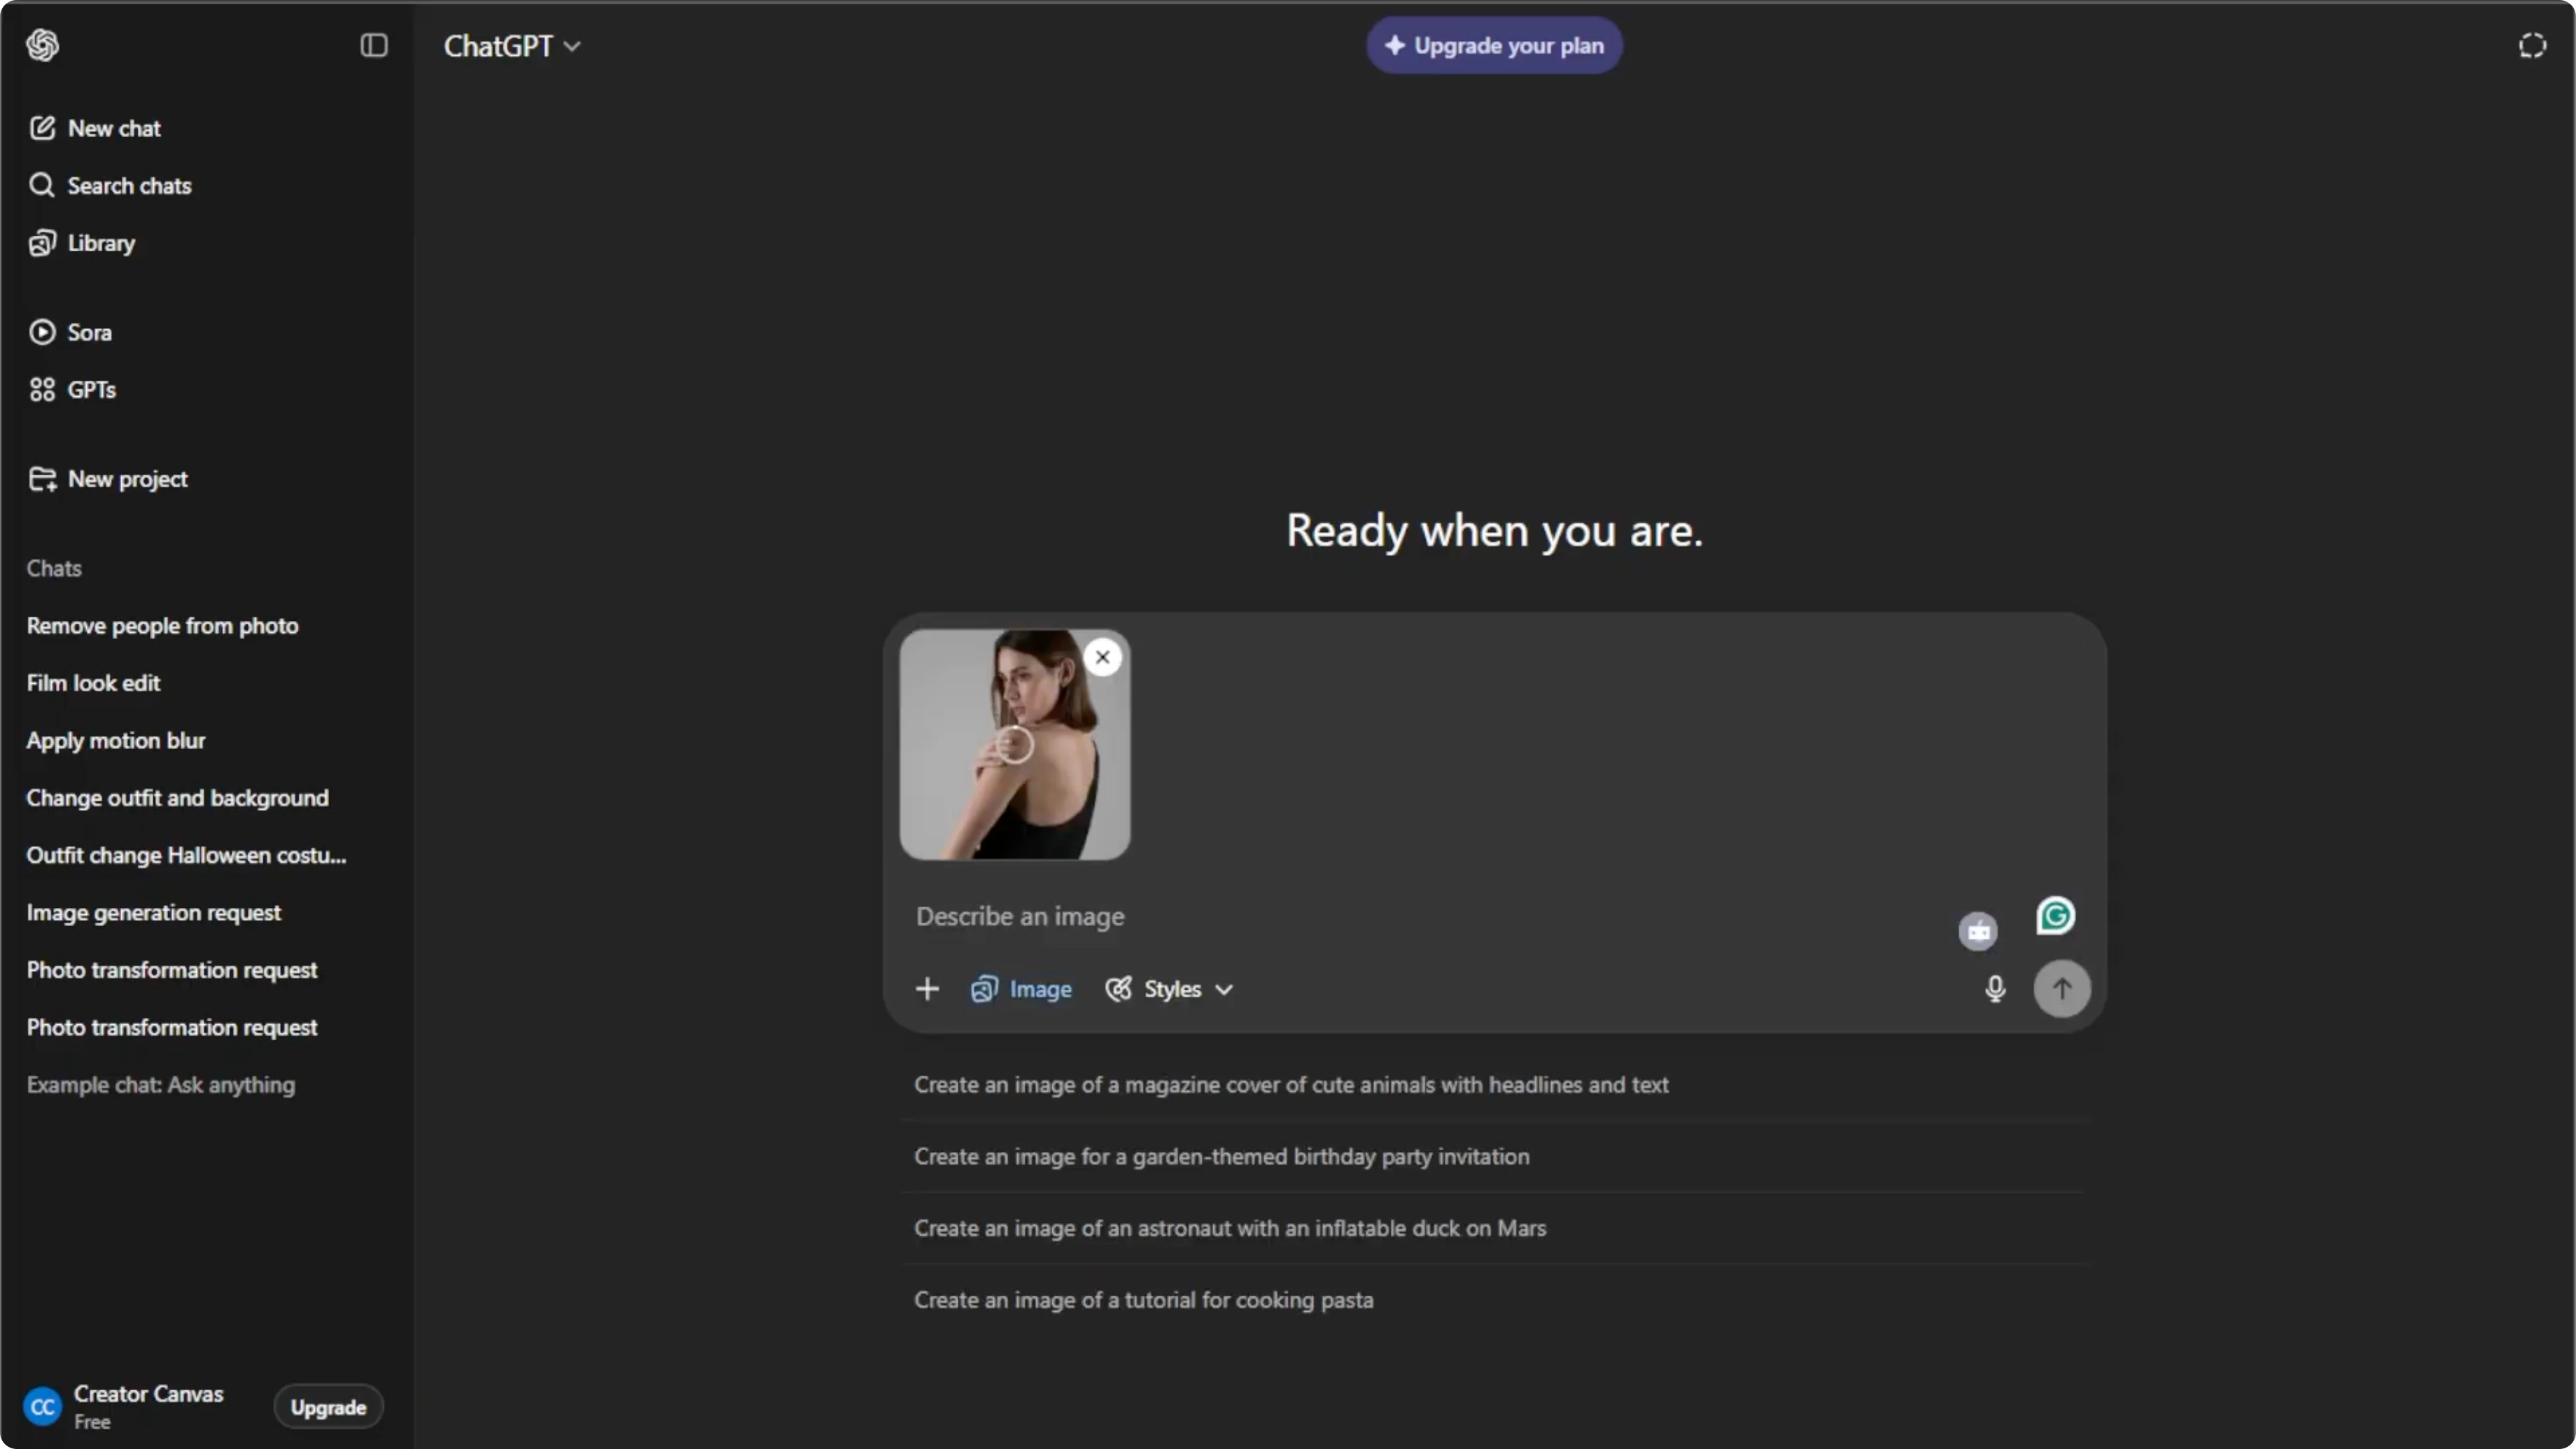
Choose the image from your computer that you want to edit. High resolution photos produce the best results, especially when adjusting lighting.
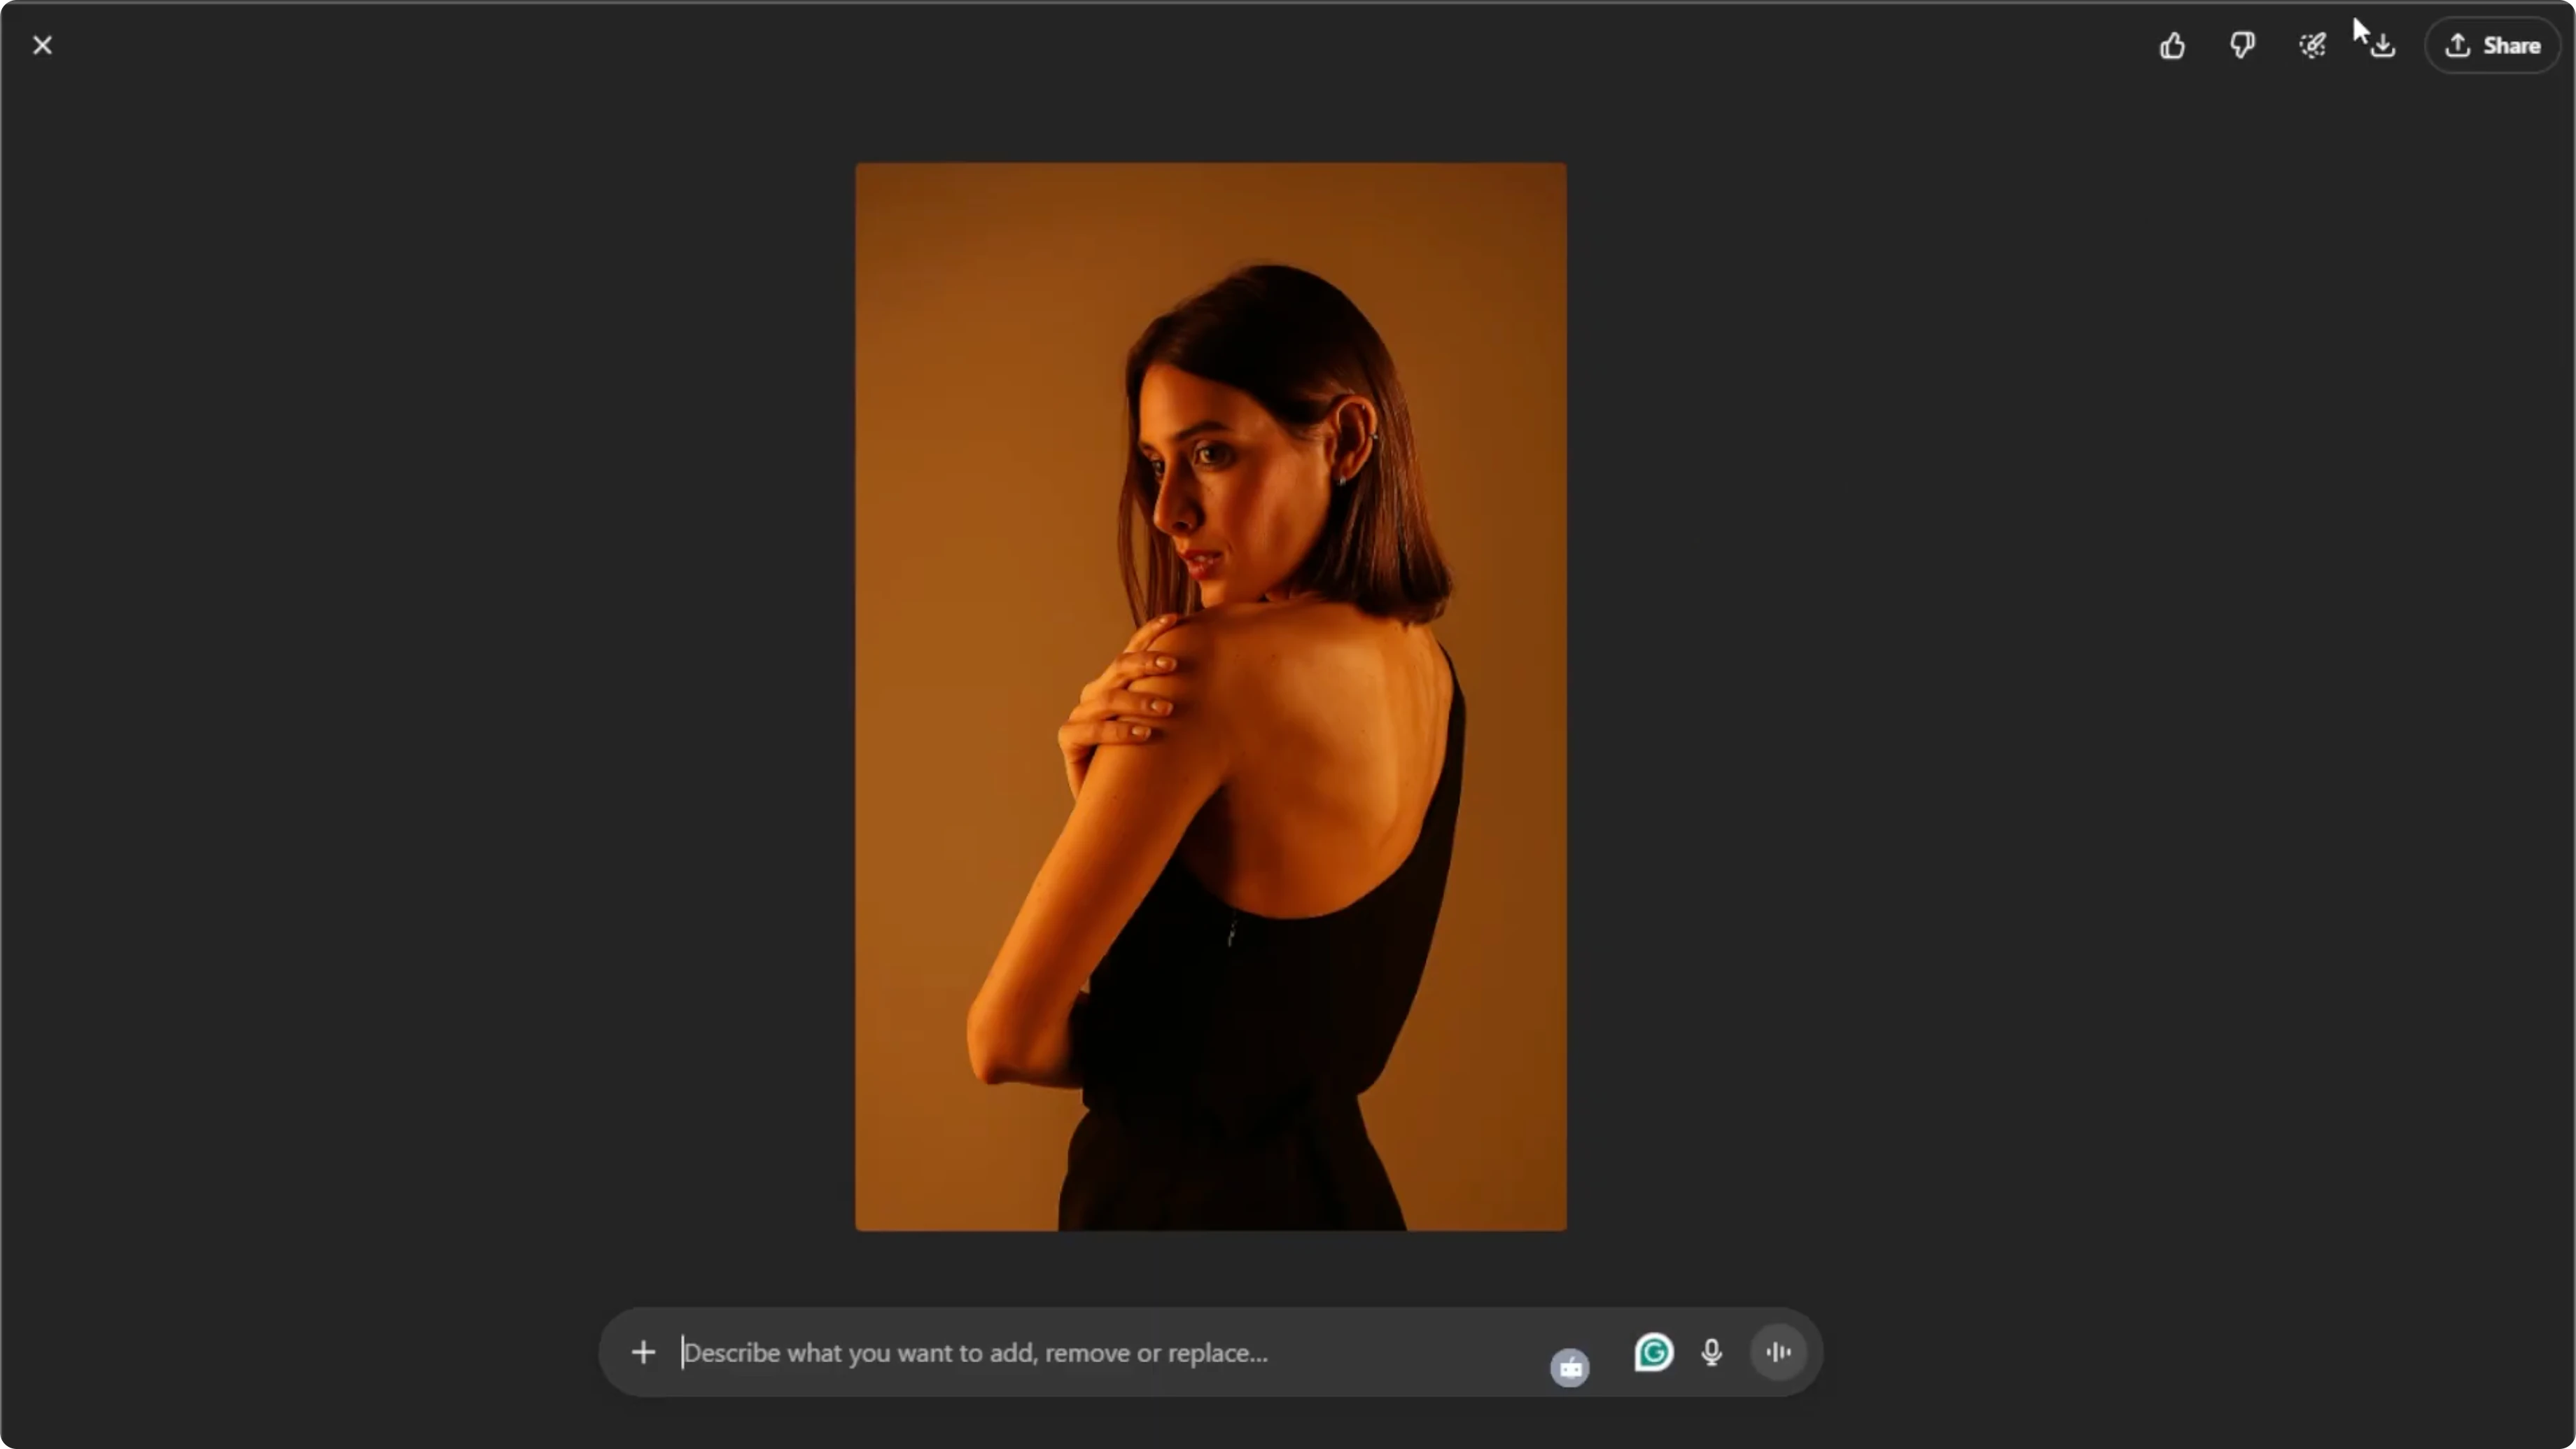
Write the prompt
In the prompt box, describe exactly what type of lighting you want to add or change, and be as specific as possible.
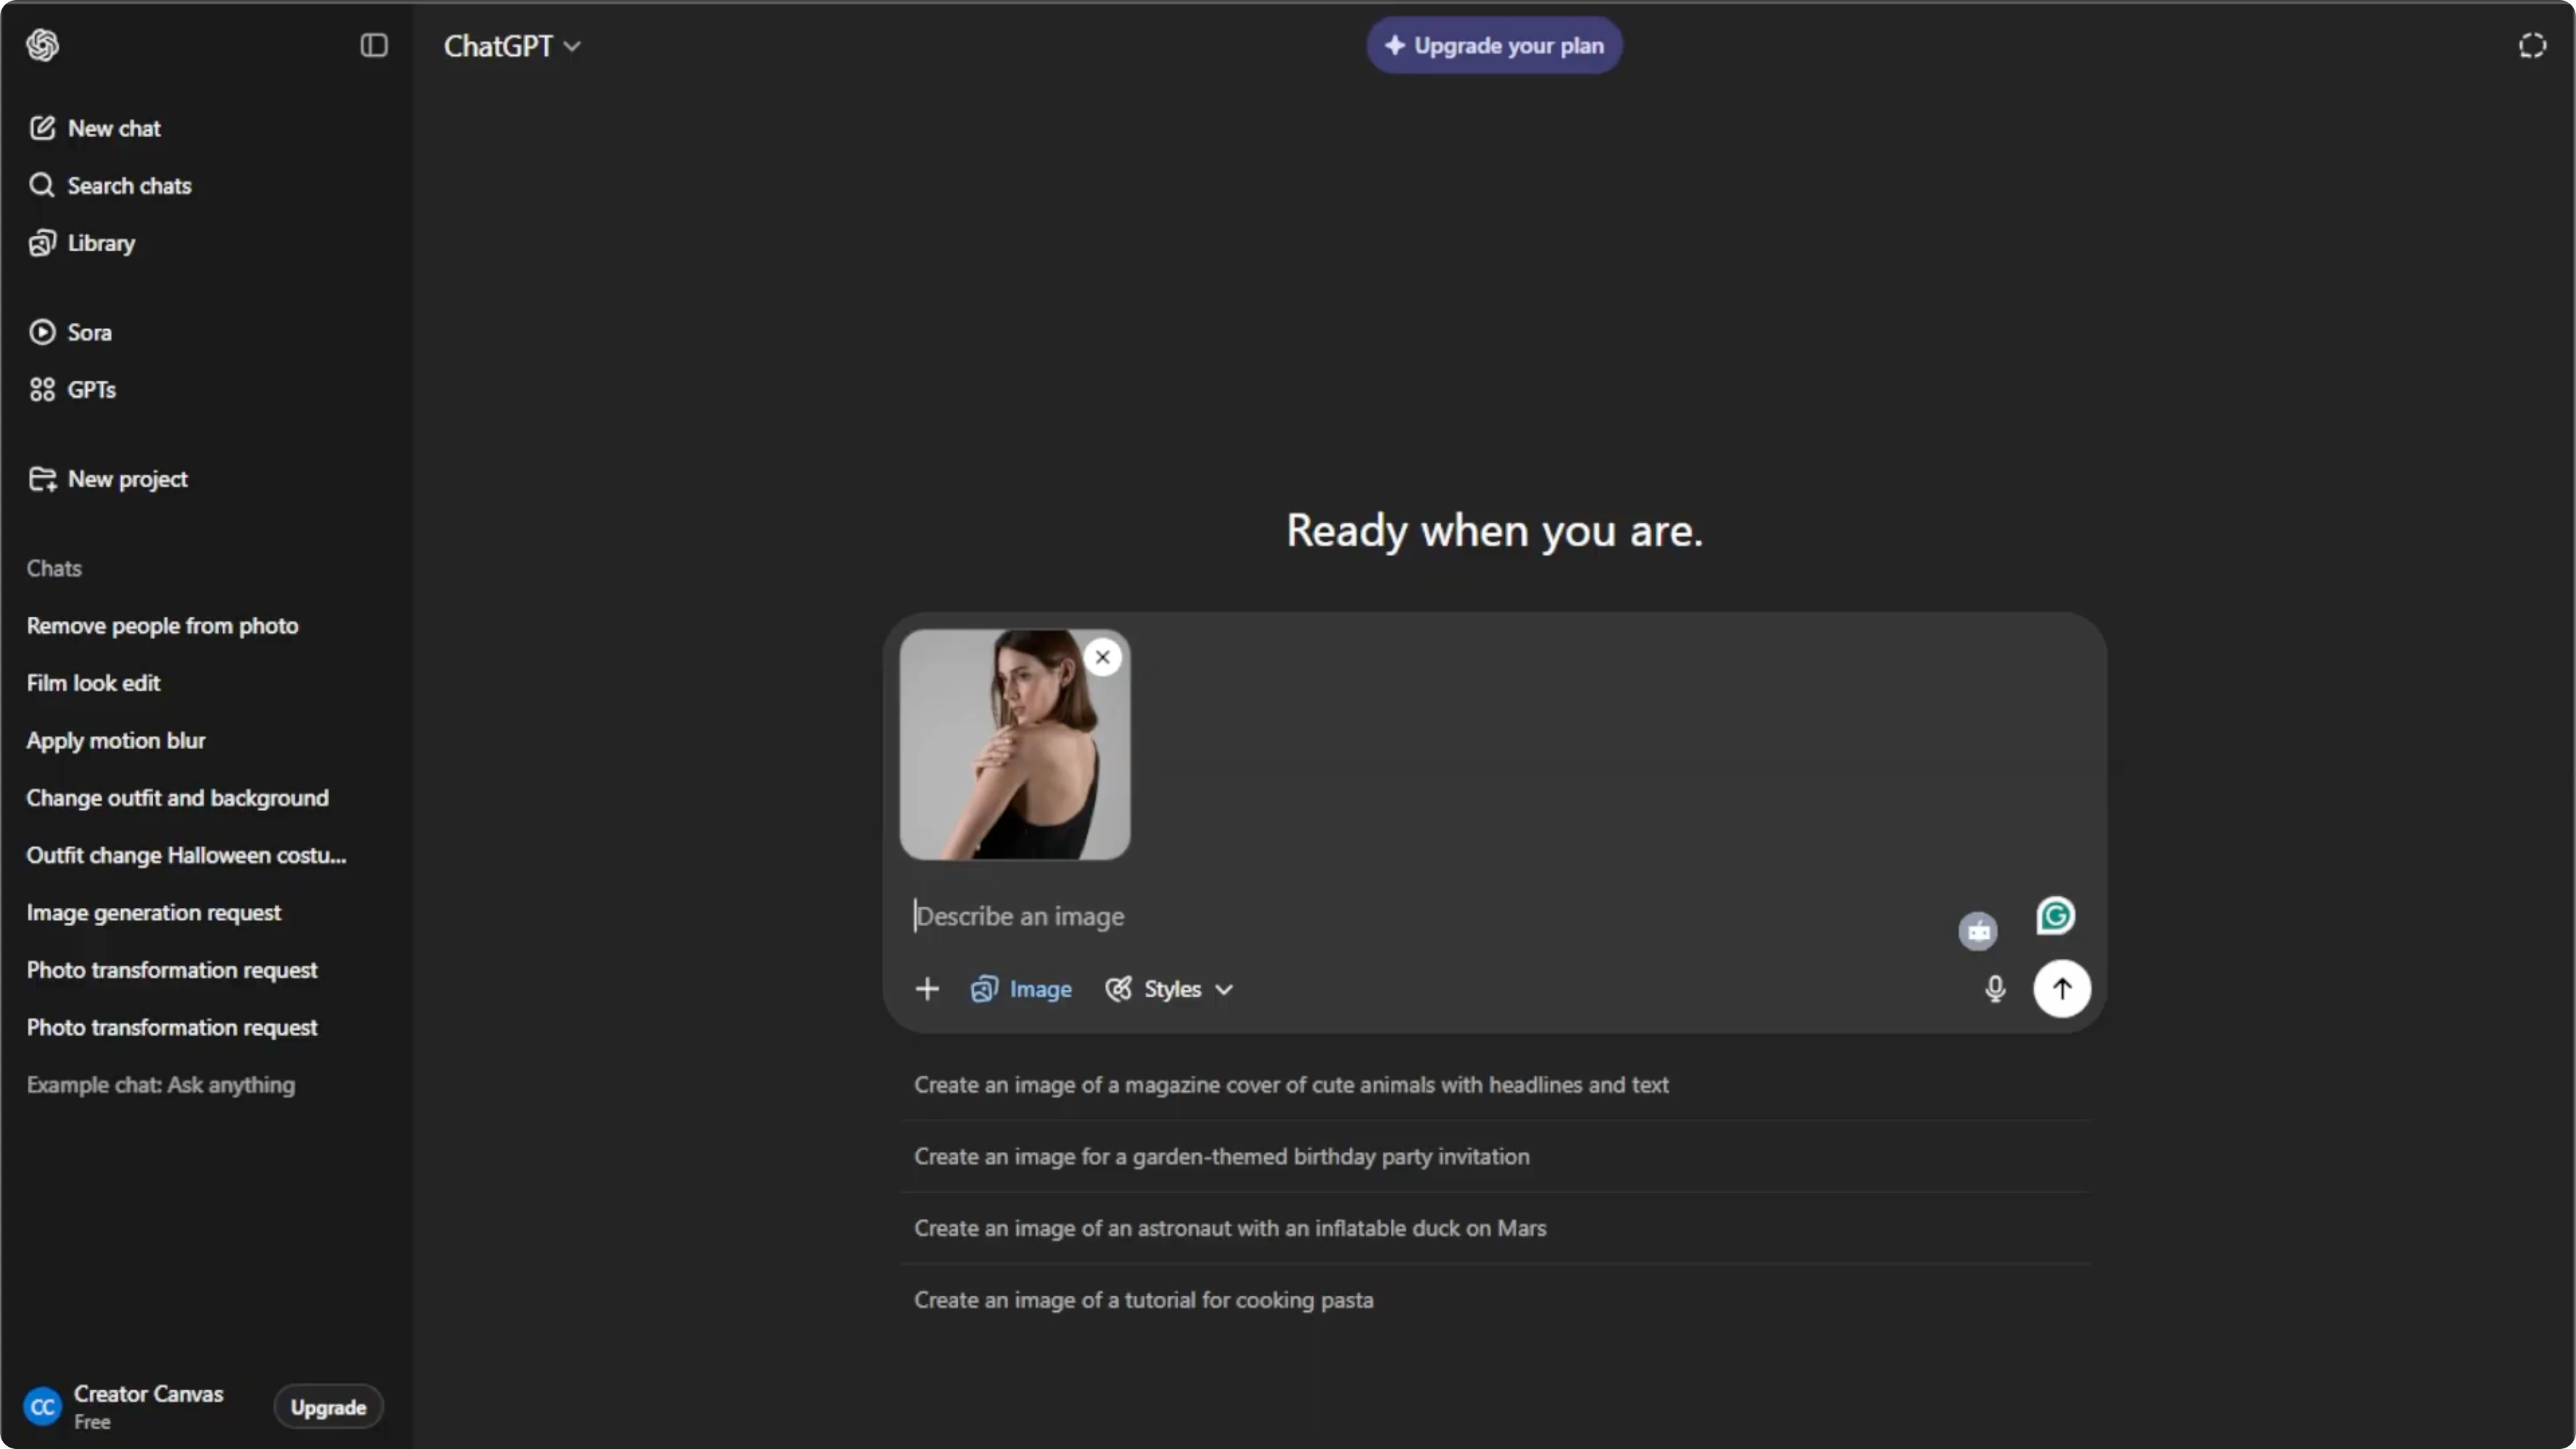
Do not forget to mention the direction, color, intensity, and mood of the lighting for better results.
If the background feels too strong after your changes, you can adjust background image transparency to balance the scene.
Generate and refine
Press Enter to let the AI apply the new lighting.
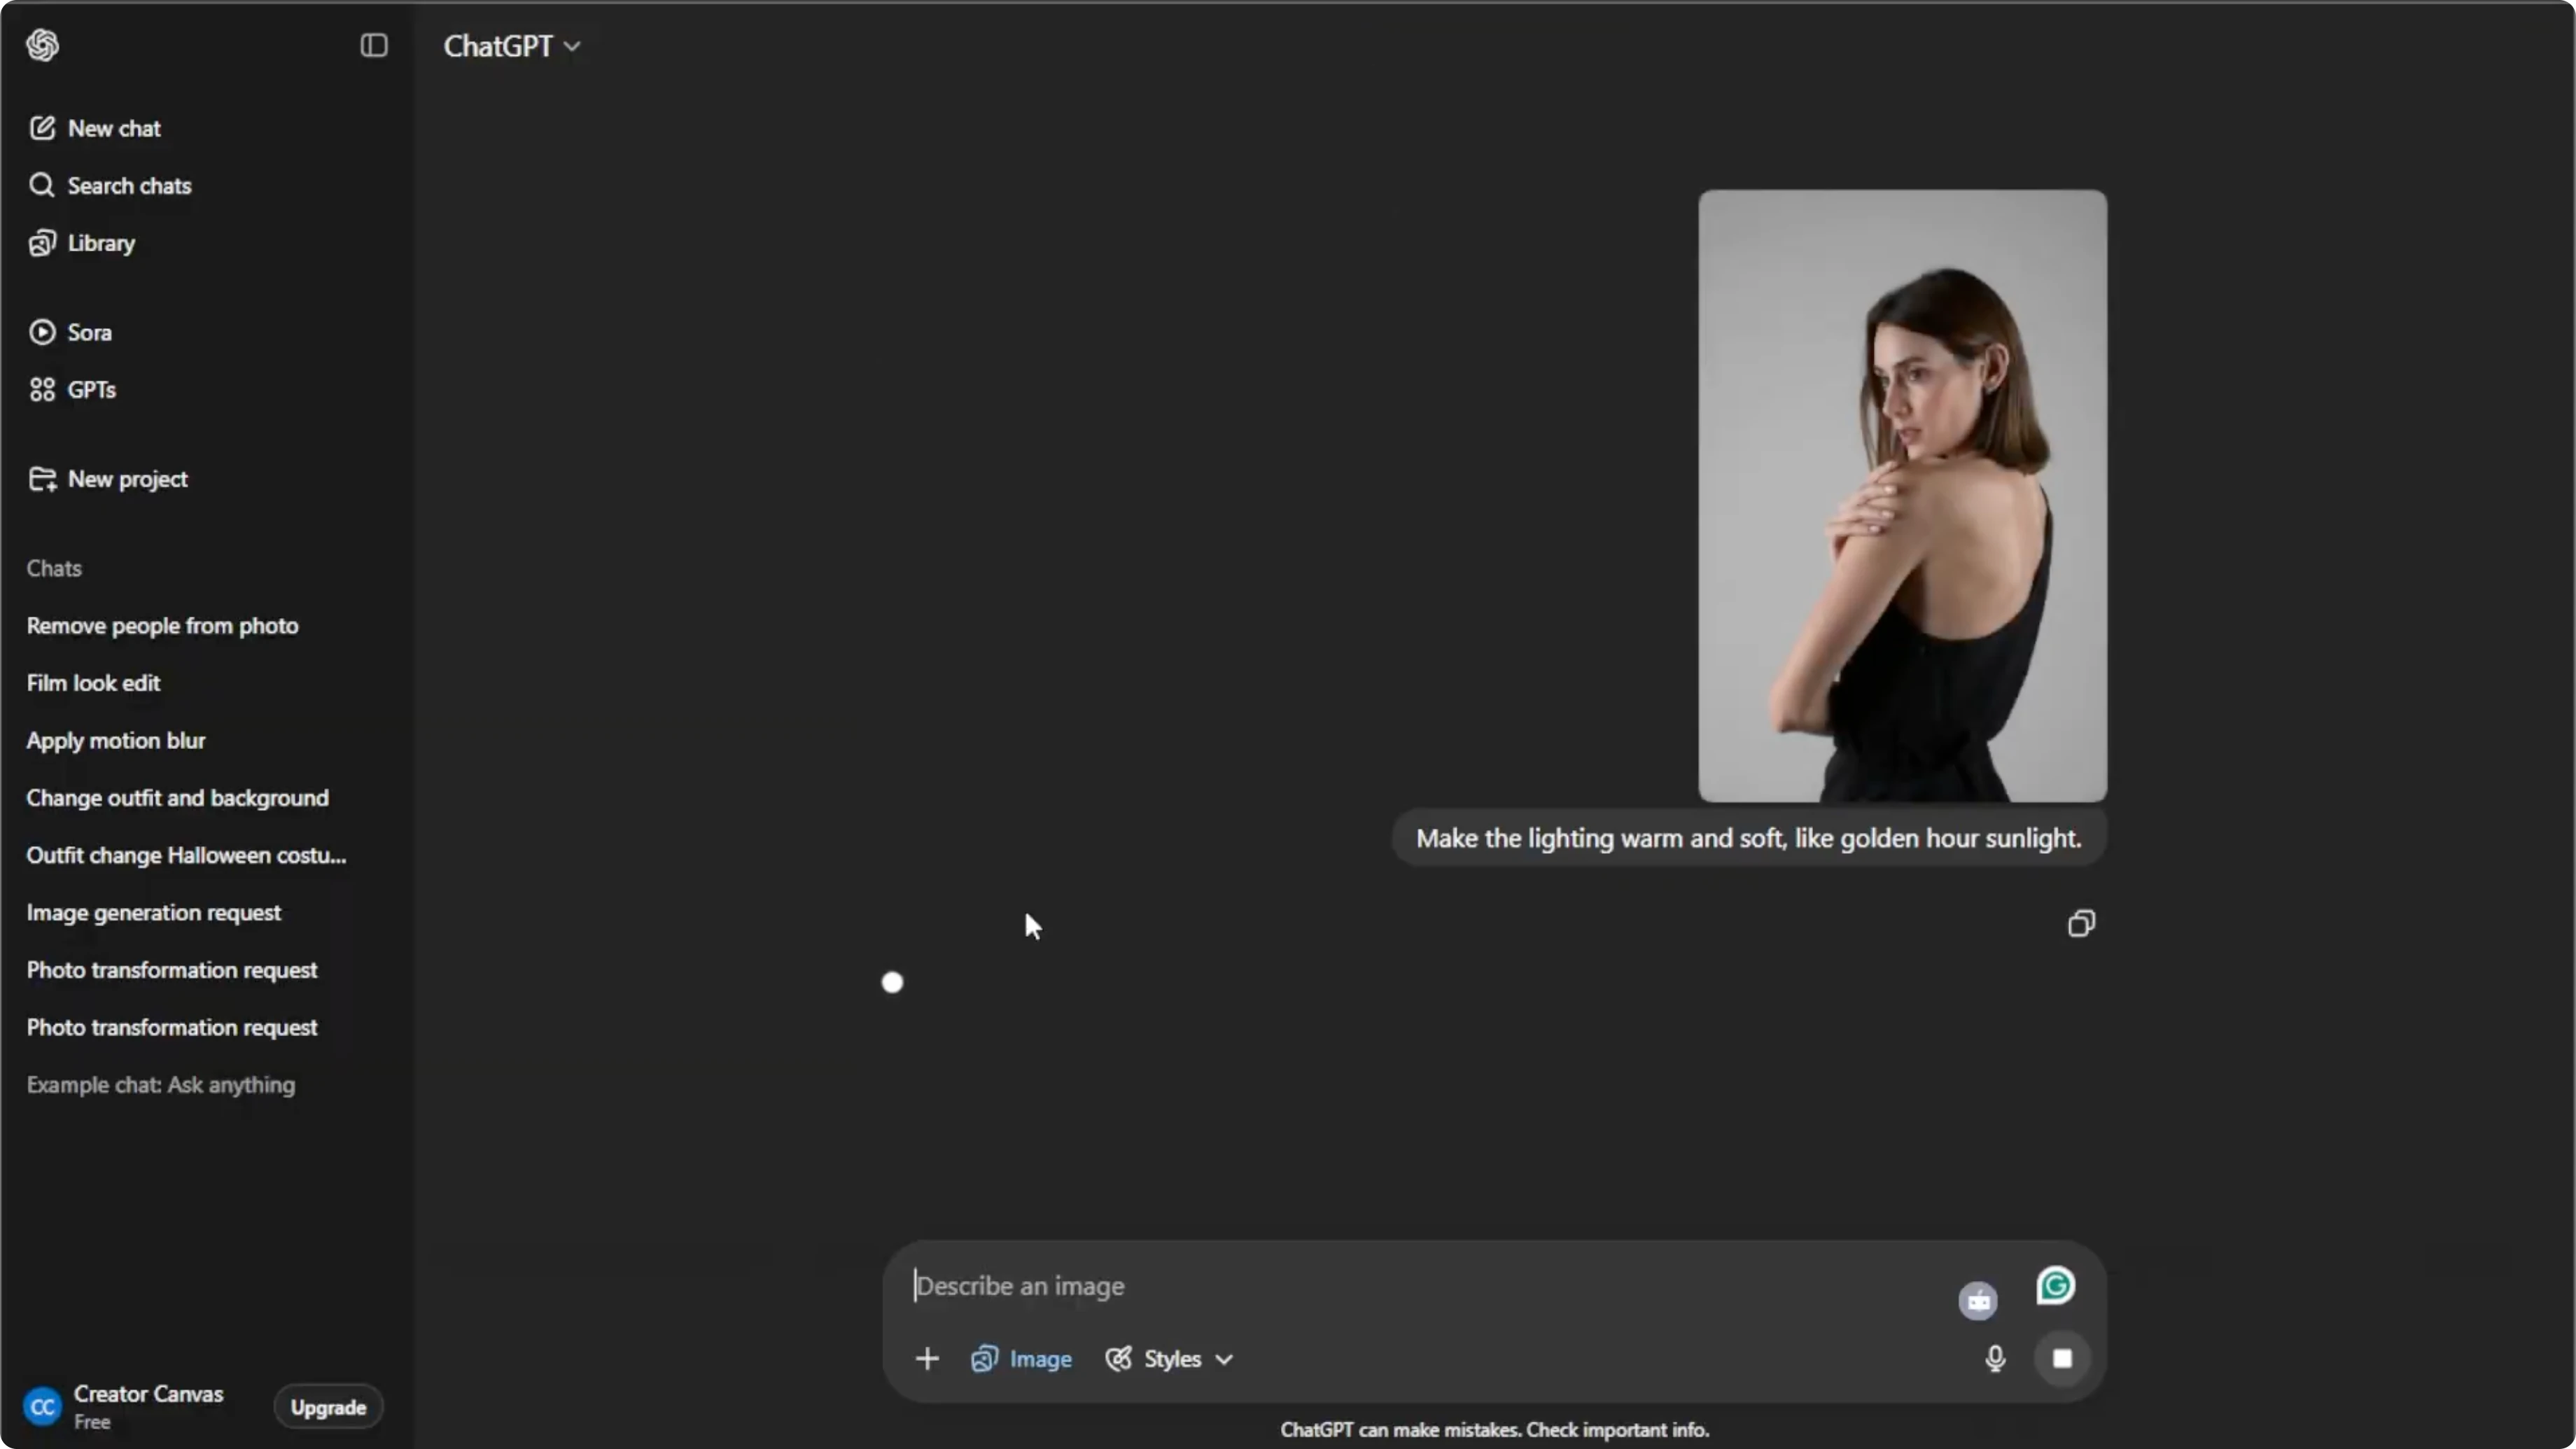
Wait a few moments for the AI to generate the updated image.
The first result may not be perfect, so adjust your prompt and regenerate until it looks great.
For natural results, make sure the lighting direction aligns with the original shadows in the photo.
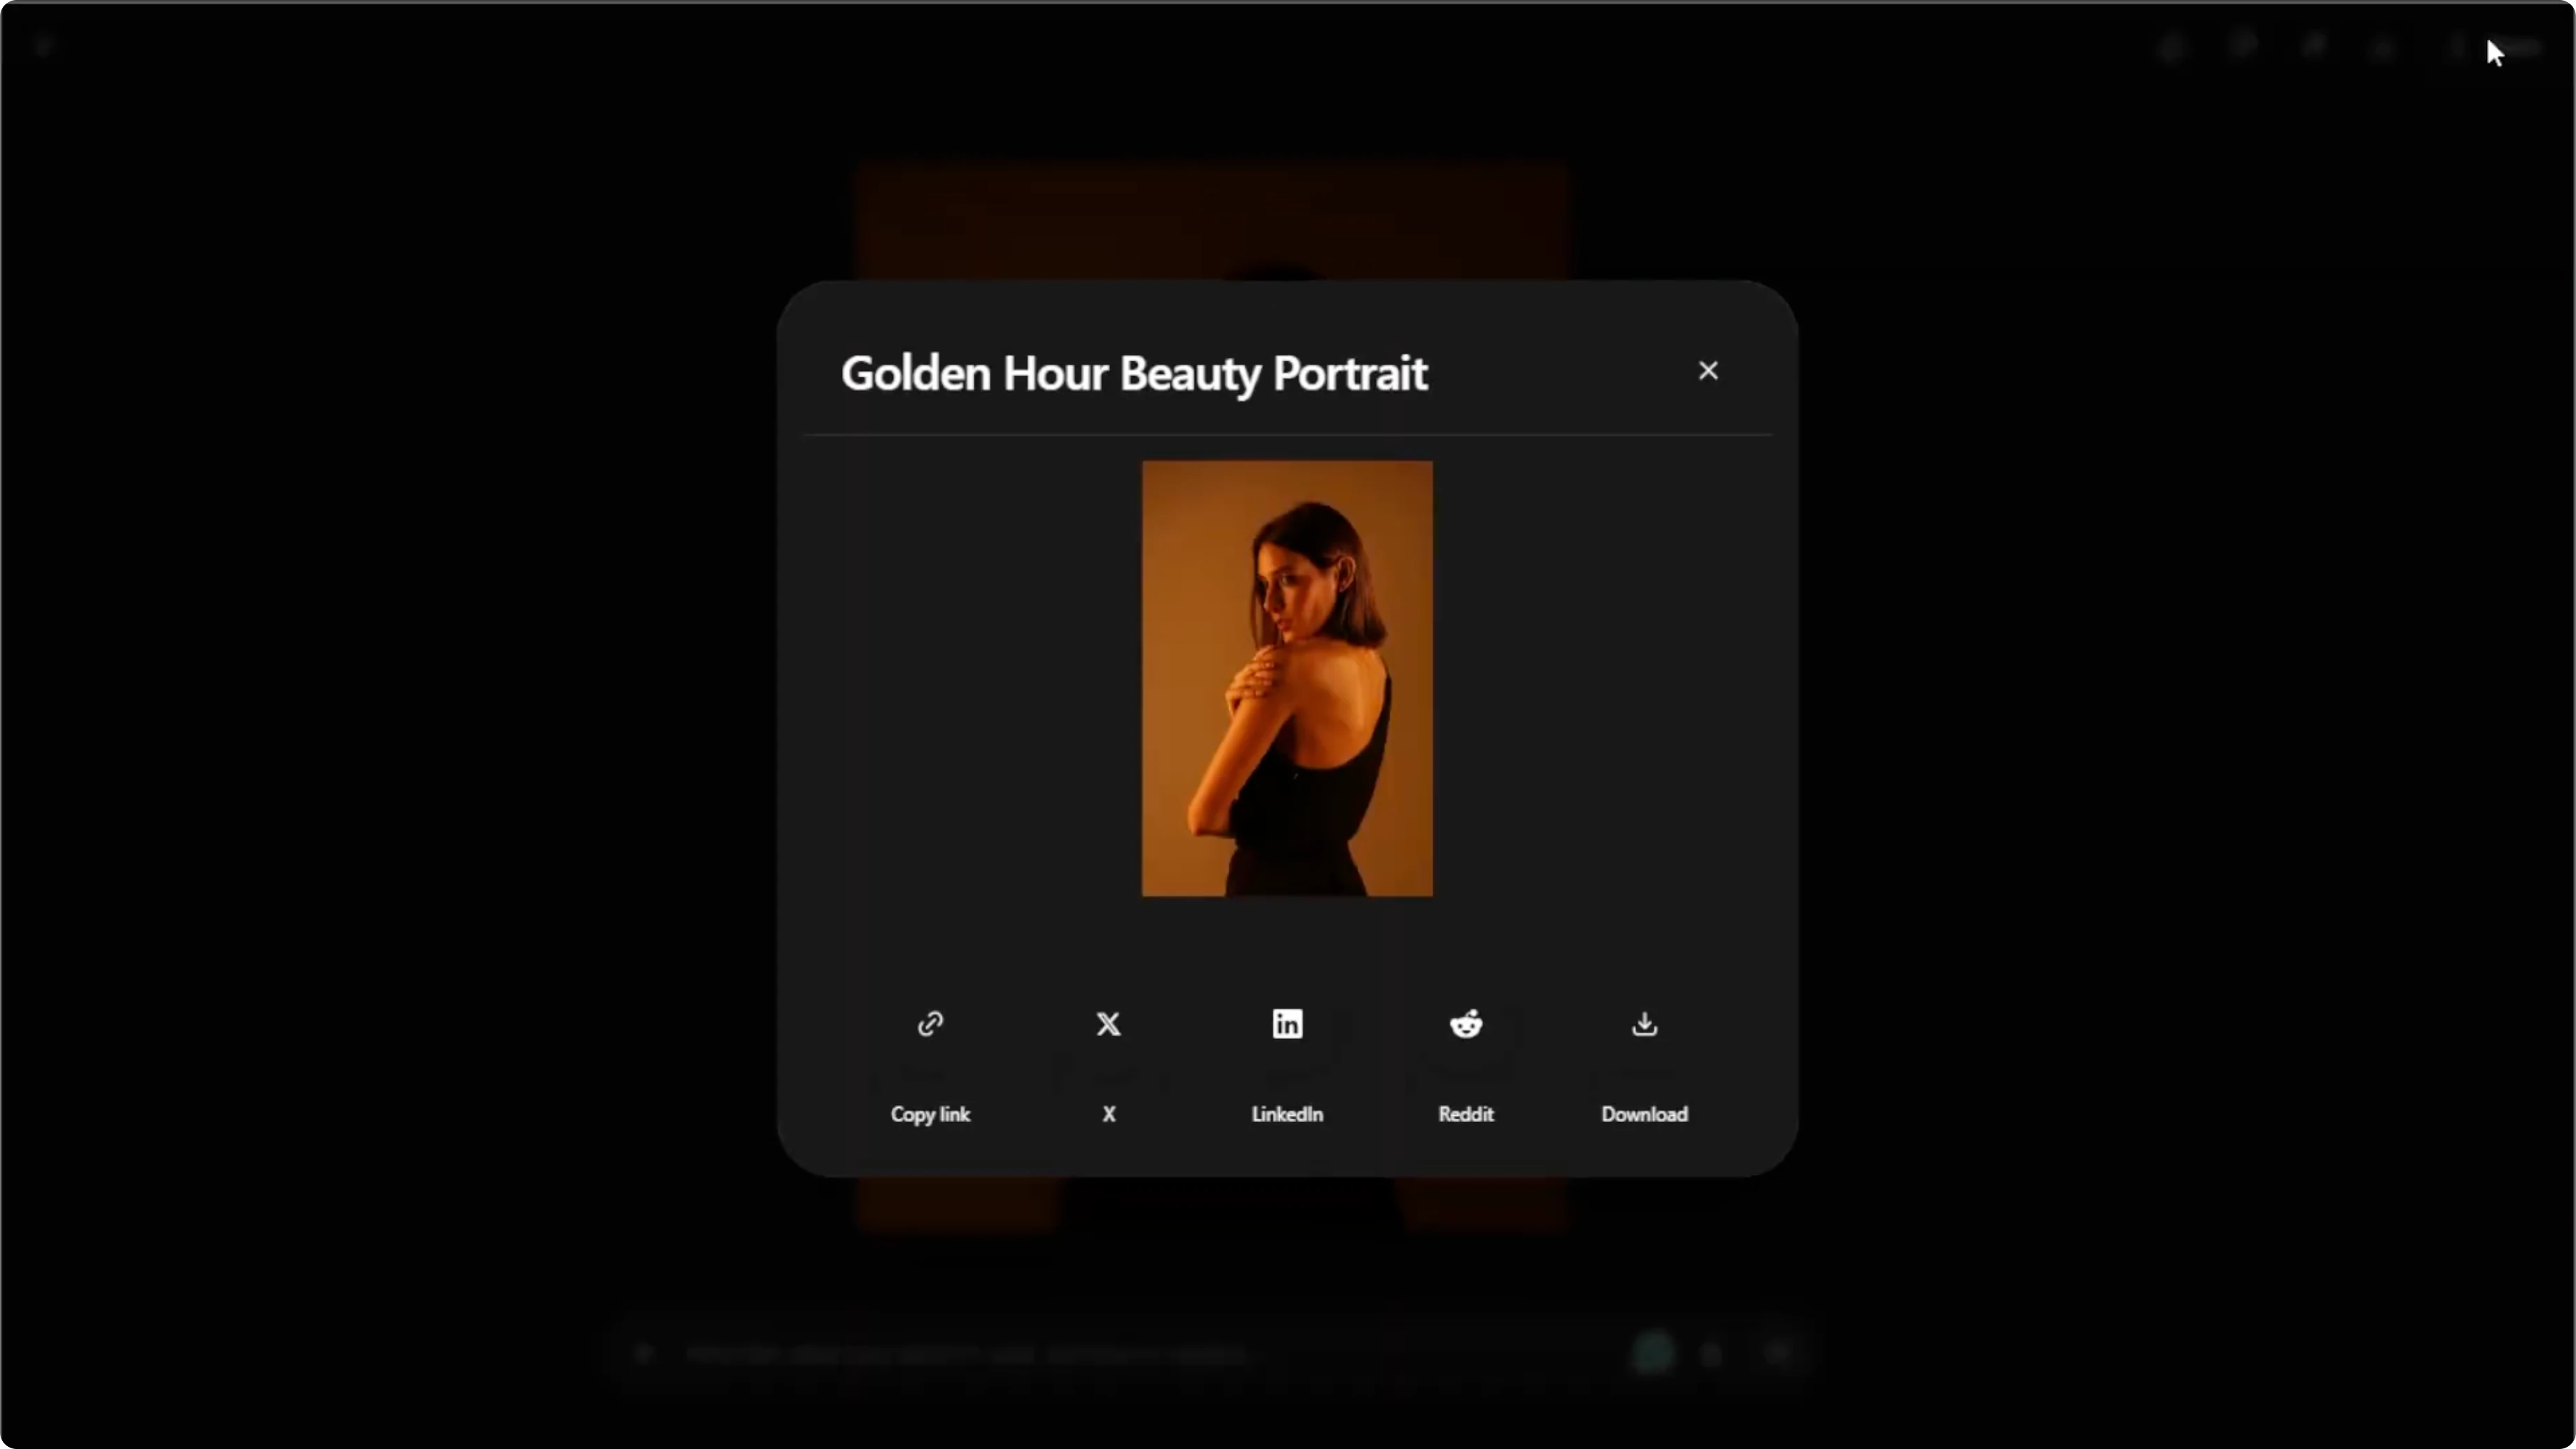
Save or share
Hover over the final image, then click download to save it to your computer.
Or click share to post it to your social media.
Usage limits
The free plan allows up to five images per day.
Upgrade your plan to generate more images if needed.
Final thoughts
With these steps, you can transform any photo with professional, cinematic, or creative lighting in just minutes using AI.
Recent Posts
How to Bring Still Portraits to Life and Animate Faces with AI?
How to Bring Still Portraits to Life and Animate Faces with AI?
How to Balance Exposure and Soften Harsh Facial Shadows with AI?
How to Balance Exposure and Soften Harsh Facial Shadows with AI?
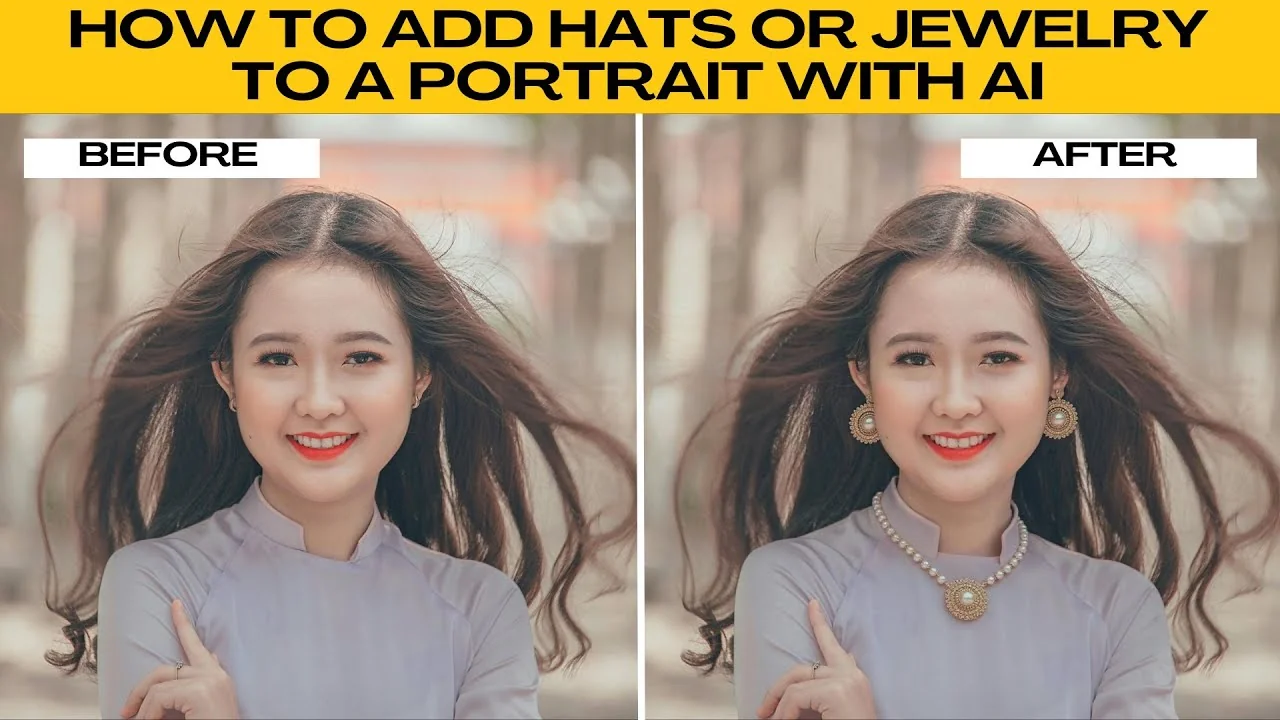
How to Enhance Your Photos by Adding Jewelry, Hats, and Accessories with AI?
How to Enhance Your Photos by Adding Jewelry, Hats, and Accessories with AI?