How to Apply Photo Effects in Canva
I will show you how you can apply a basic photo effect to any photo in Canva. Canva has many features that allow you to make your photo more customizable. You can change the color, apply effects similar to Instagram or Facebook, and add filters before you post.
If you want to apply a photo effect, upload an image or select one from the Canva library. Click the photo, click Edit, and it will reveal a lot of options. You can work with backgrounds too, and if you need help with that, see how to add a background photo in Canva.

Apply Photo Effects in Canva: Adjust
The first option is Adjust. This is the manual option. If you know how to adjust temperature, brightness, shadows, and colors, go for it.
You can also use Auto Adjust. You can select which part of the image you want to apply the effect to. Choose full image, foreground, or background.
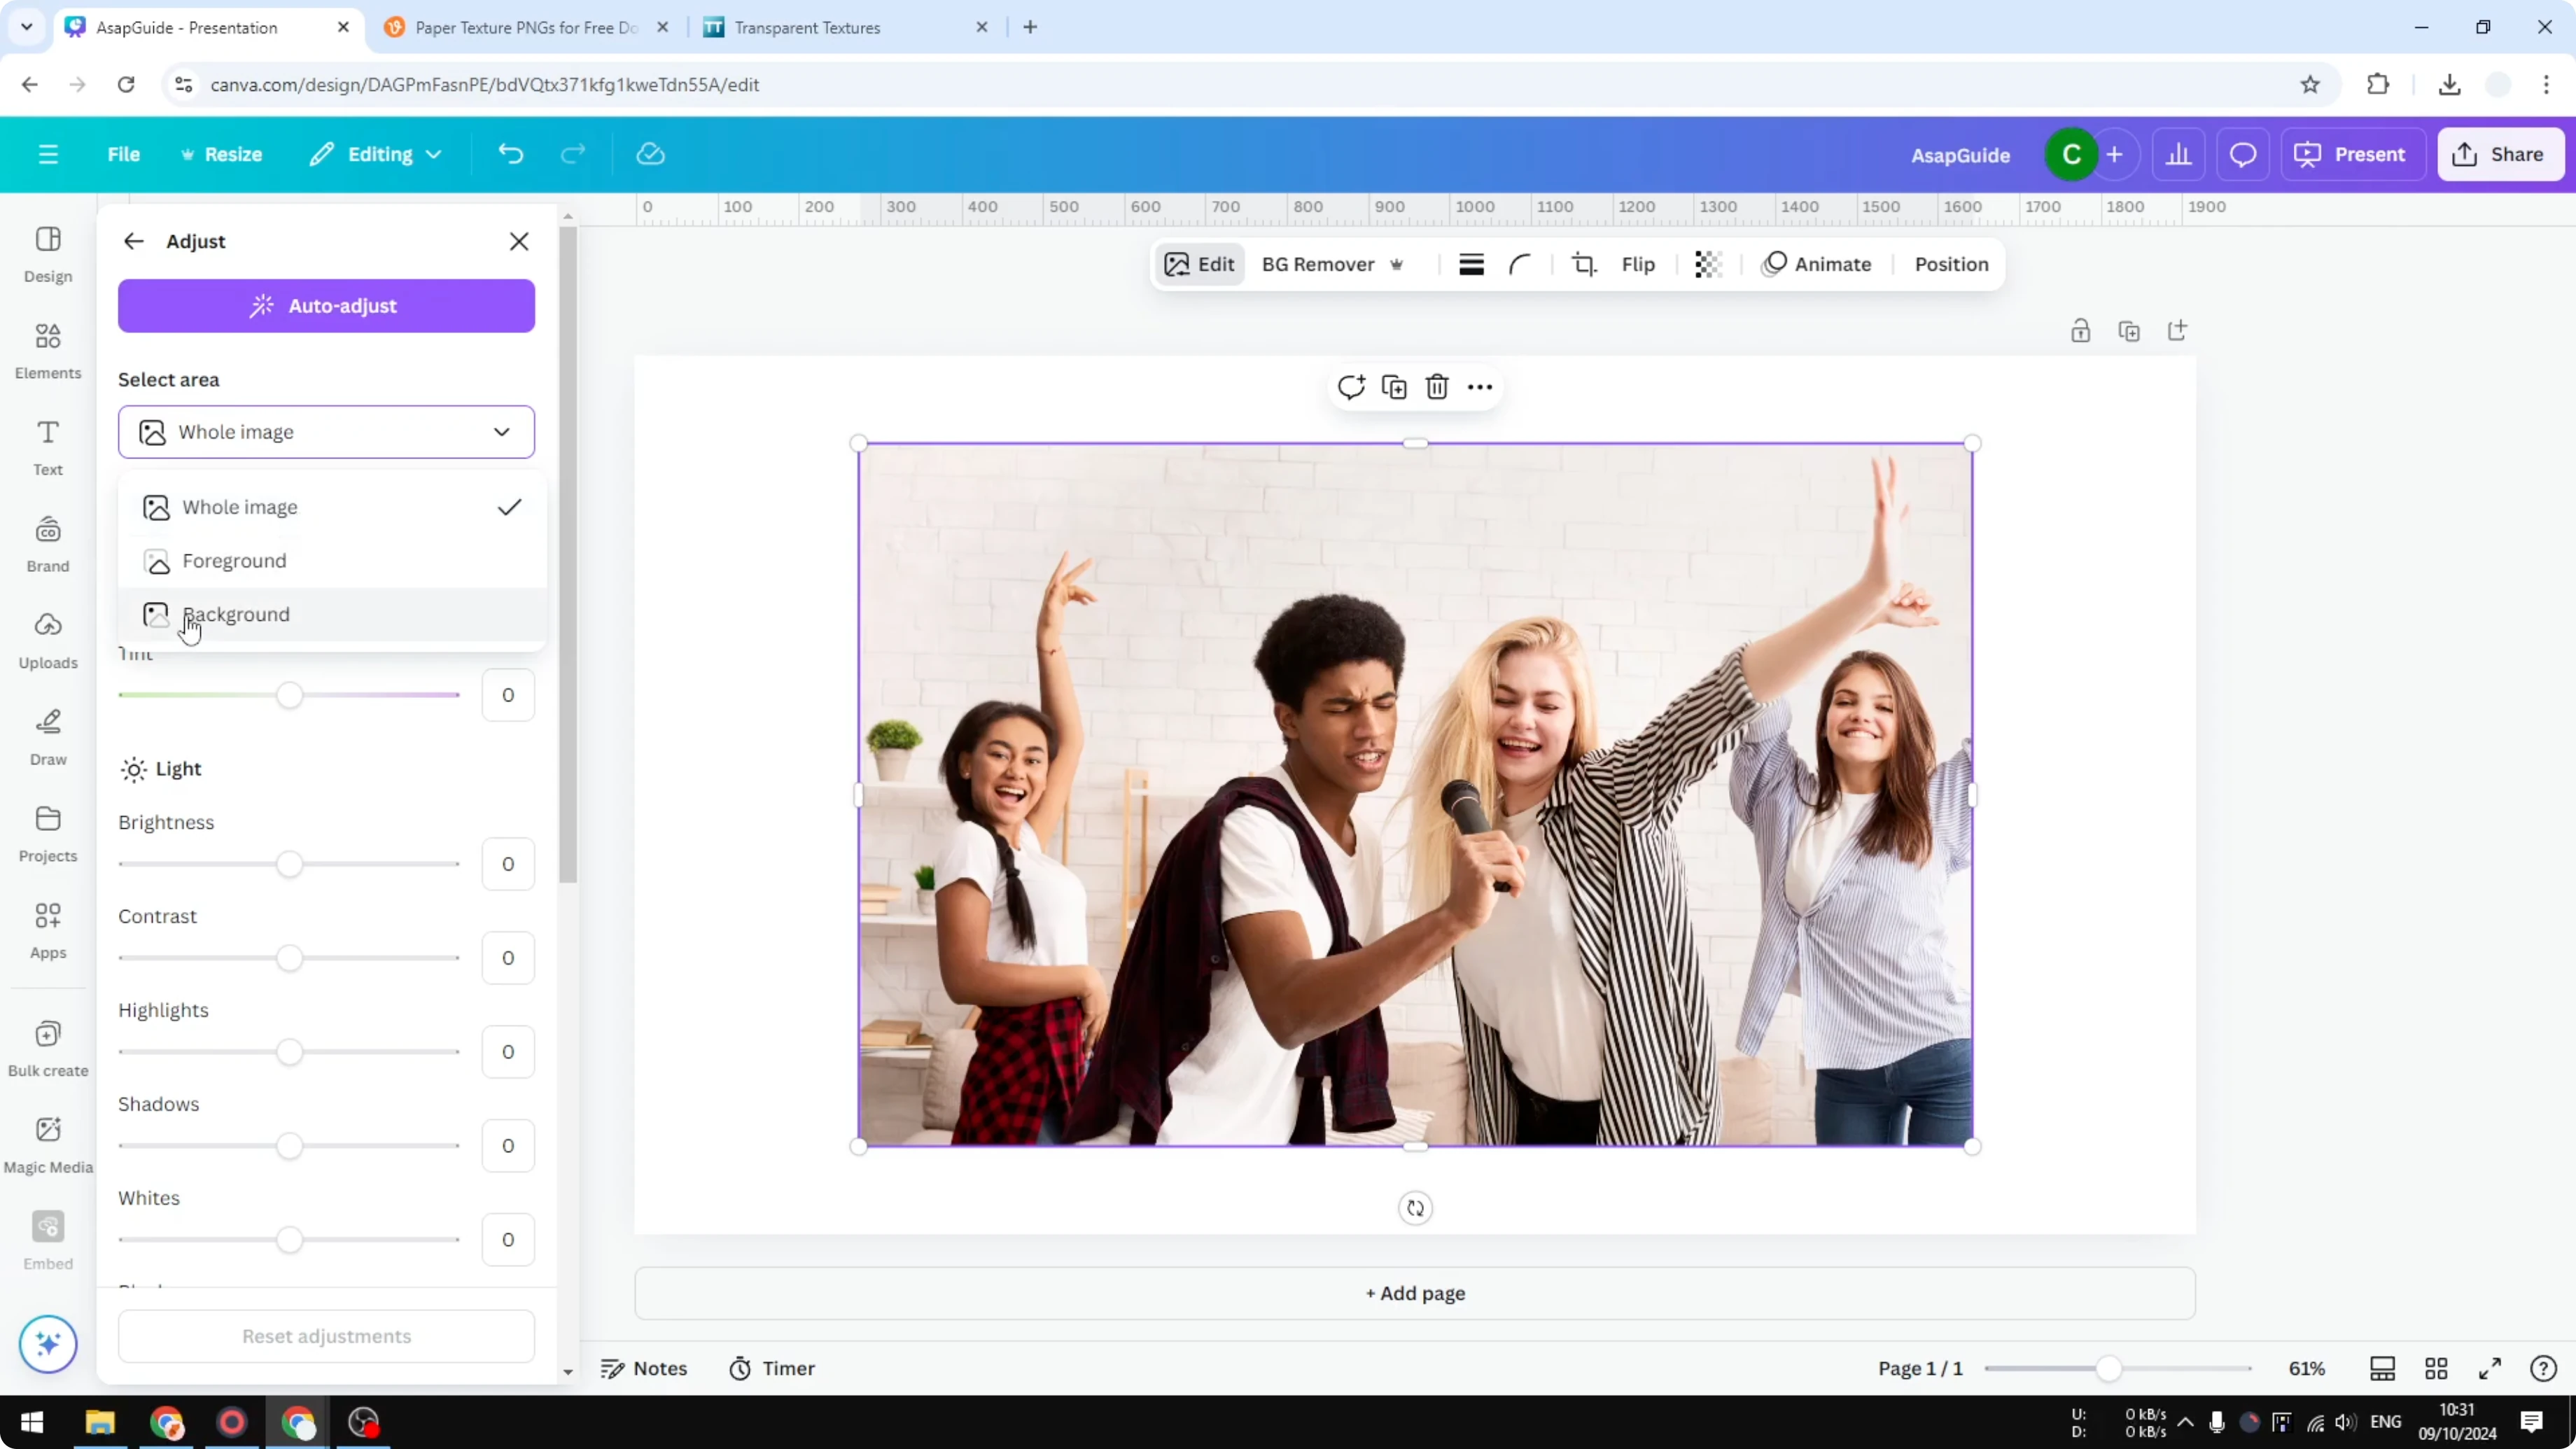
Click Auto Adjust on the whole image to get a setting that Canva thinks is best for that photo. You can always change the mood or the color later. If you want to start over, reset the settings.
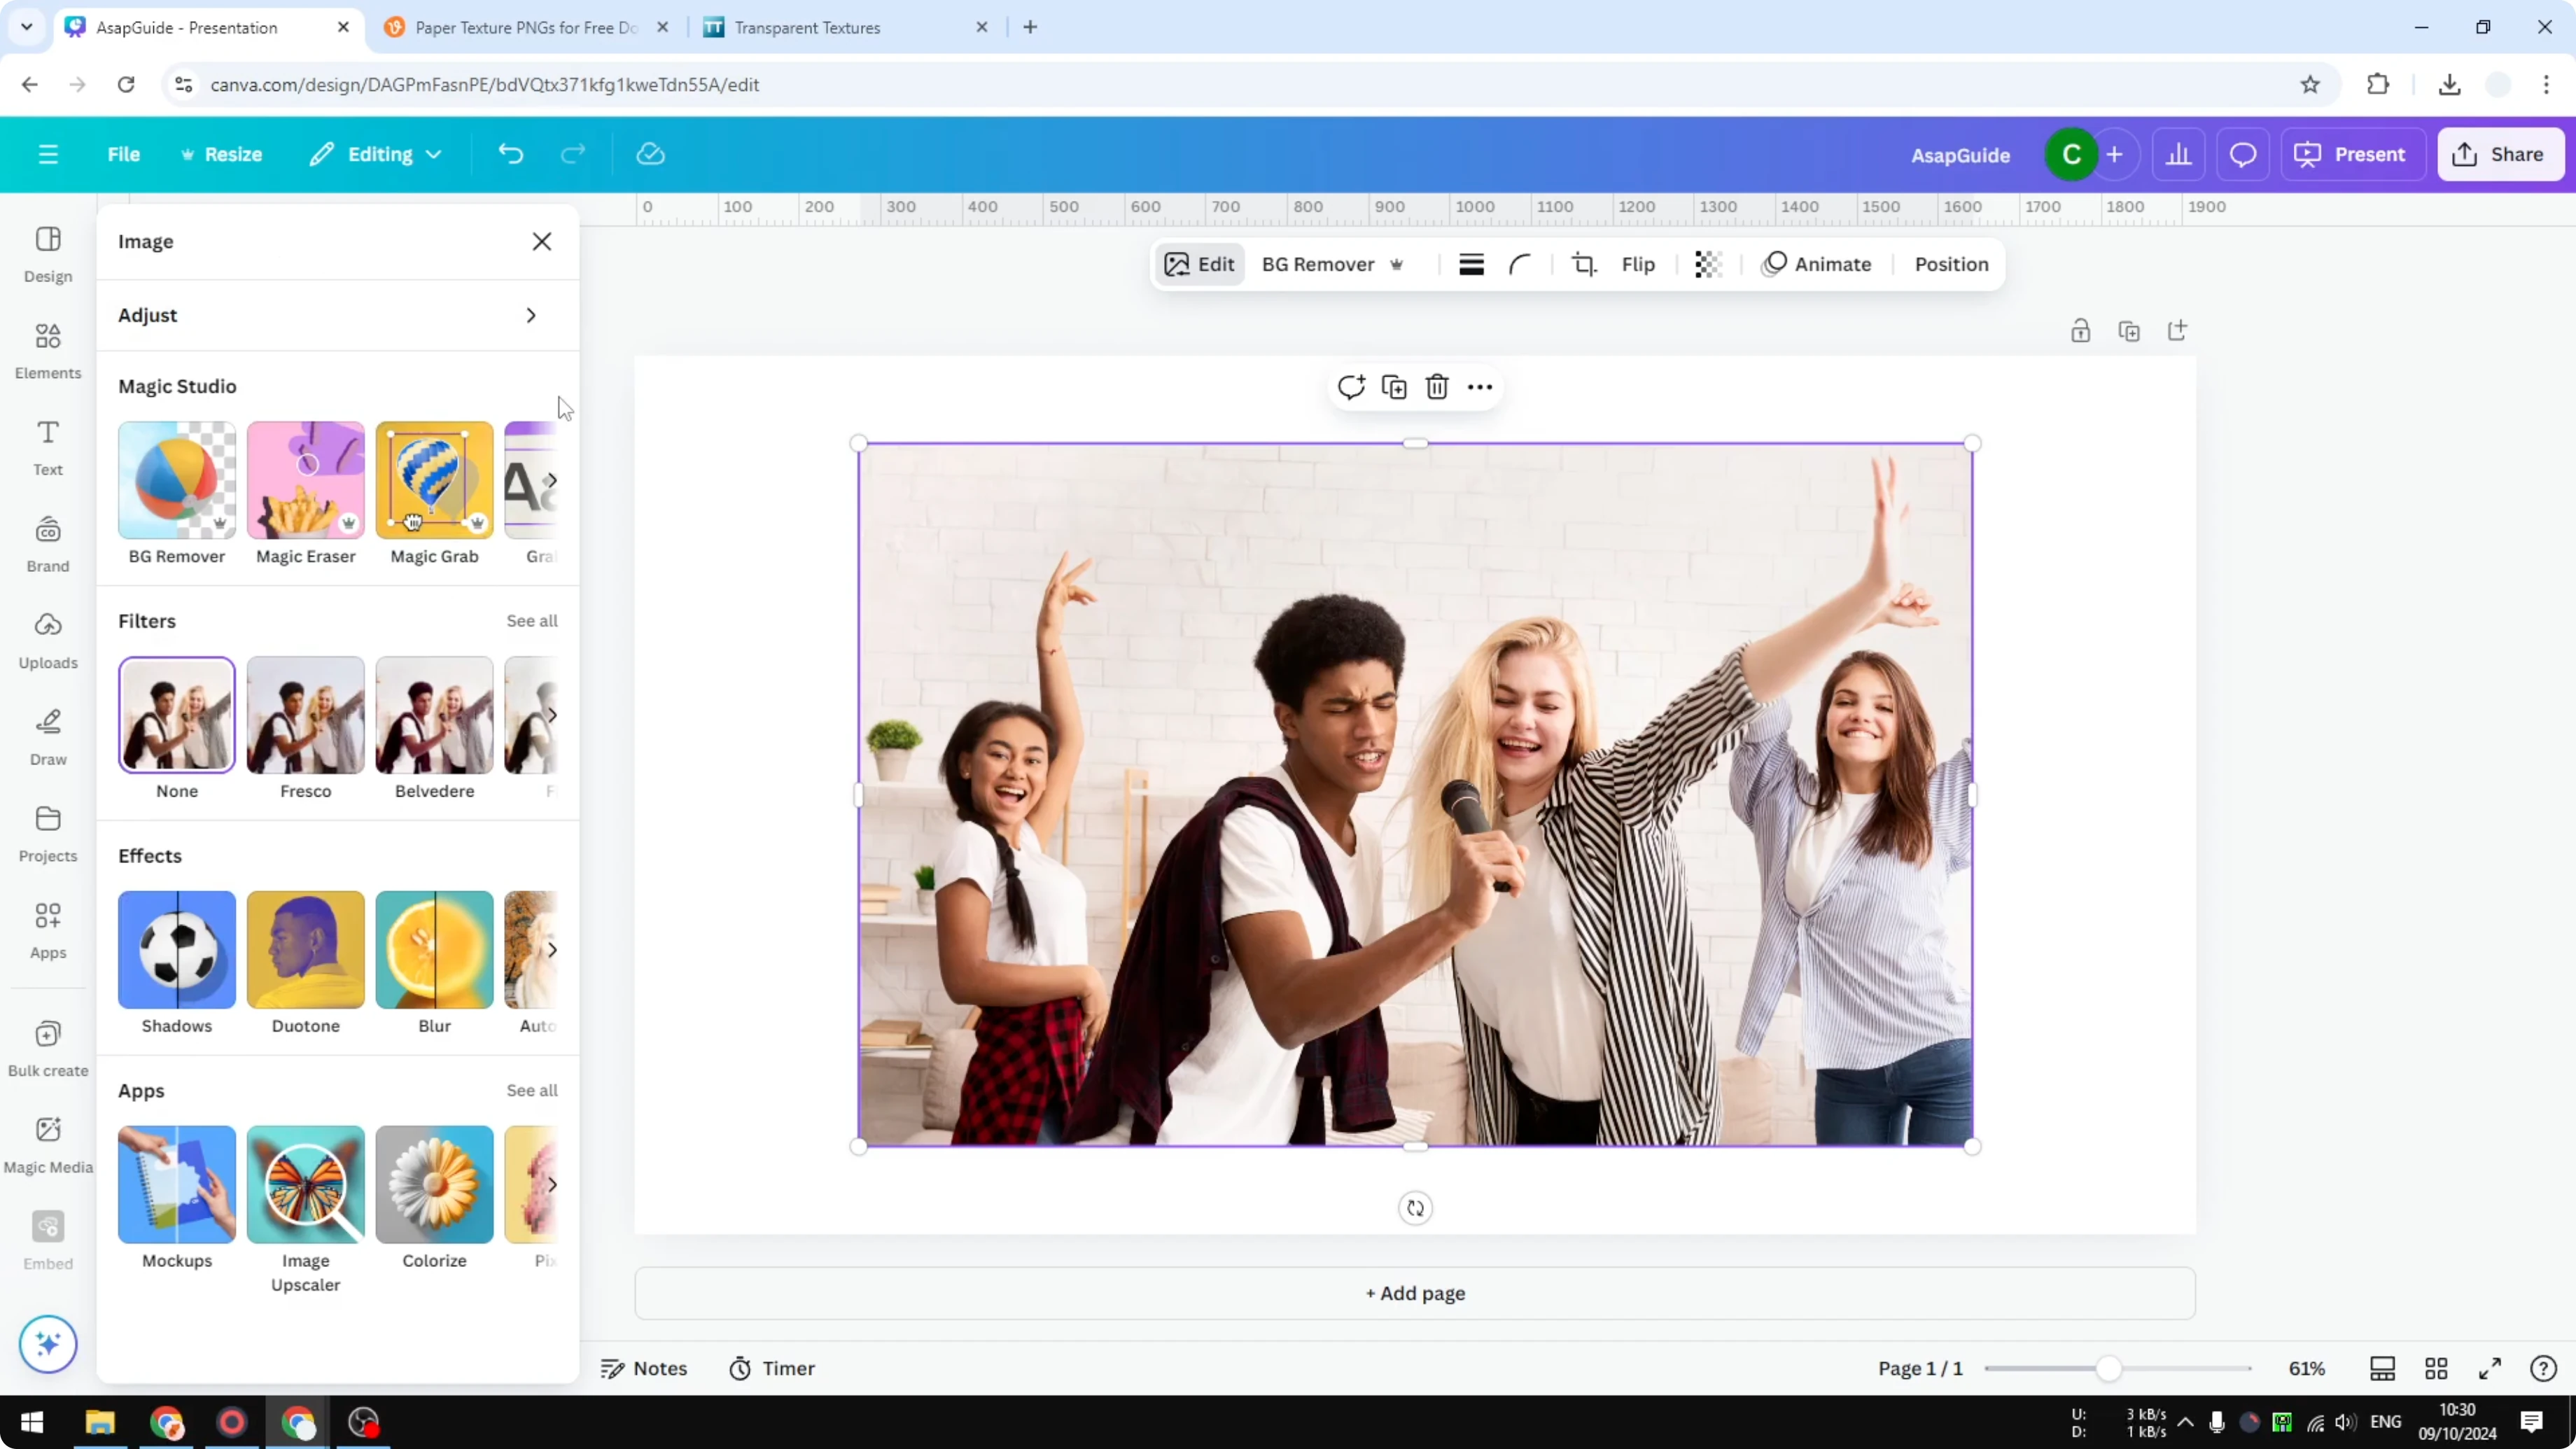
Apply Photo Effects in Canva: Magic Studio
The Magic Studio option is a bit more advanced, and it is more like modifying the photo. You can change the object of the photo, remove a person, remove a shadow, or add something. I am not covering every tool here, but it can make your photo more interesting.

If you want a playful look, try a cartoon transformation with AI. You can follow this walkthrough on creating a cartoon effect in Canva. It pairs well with the other effects covered here.
Apply Photo Effects in Canva: Filters
Filters are probably the most popular option. You can see all the different filters available, and to apply one, just click it. You can adjust the intensity if you want to tone it down or push it further.
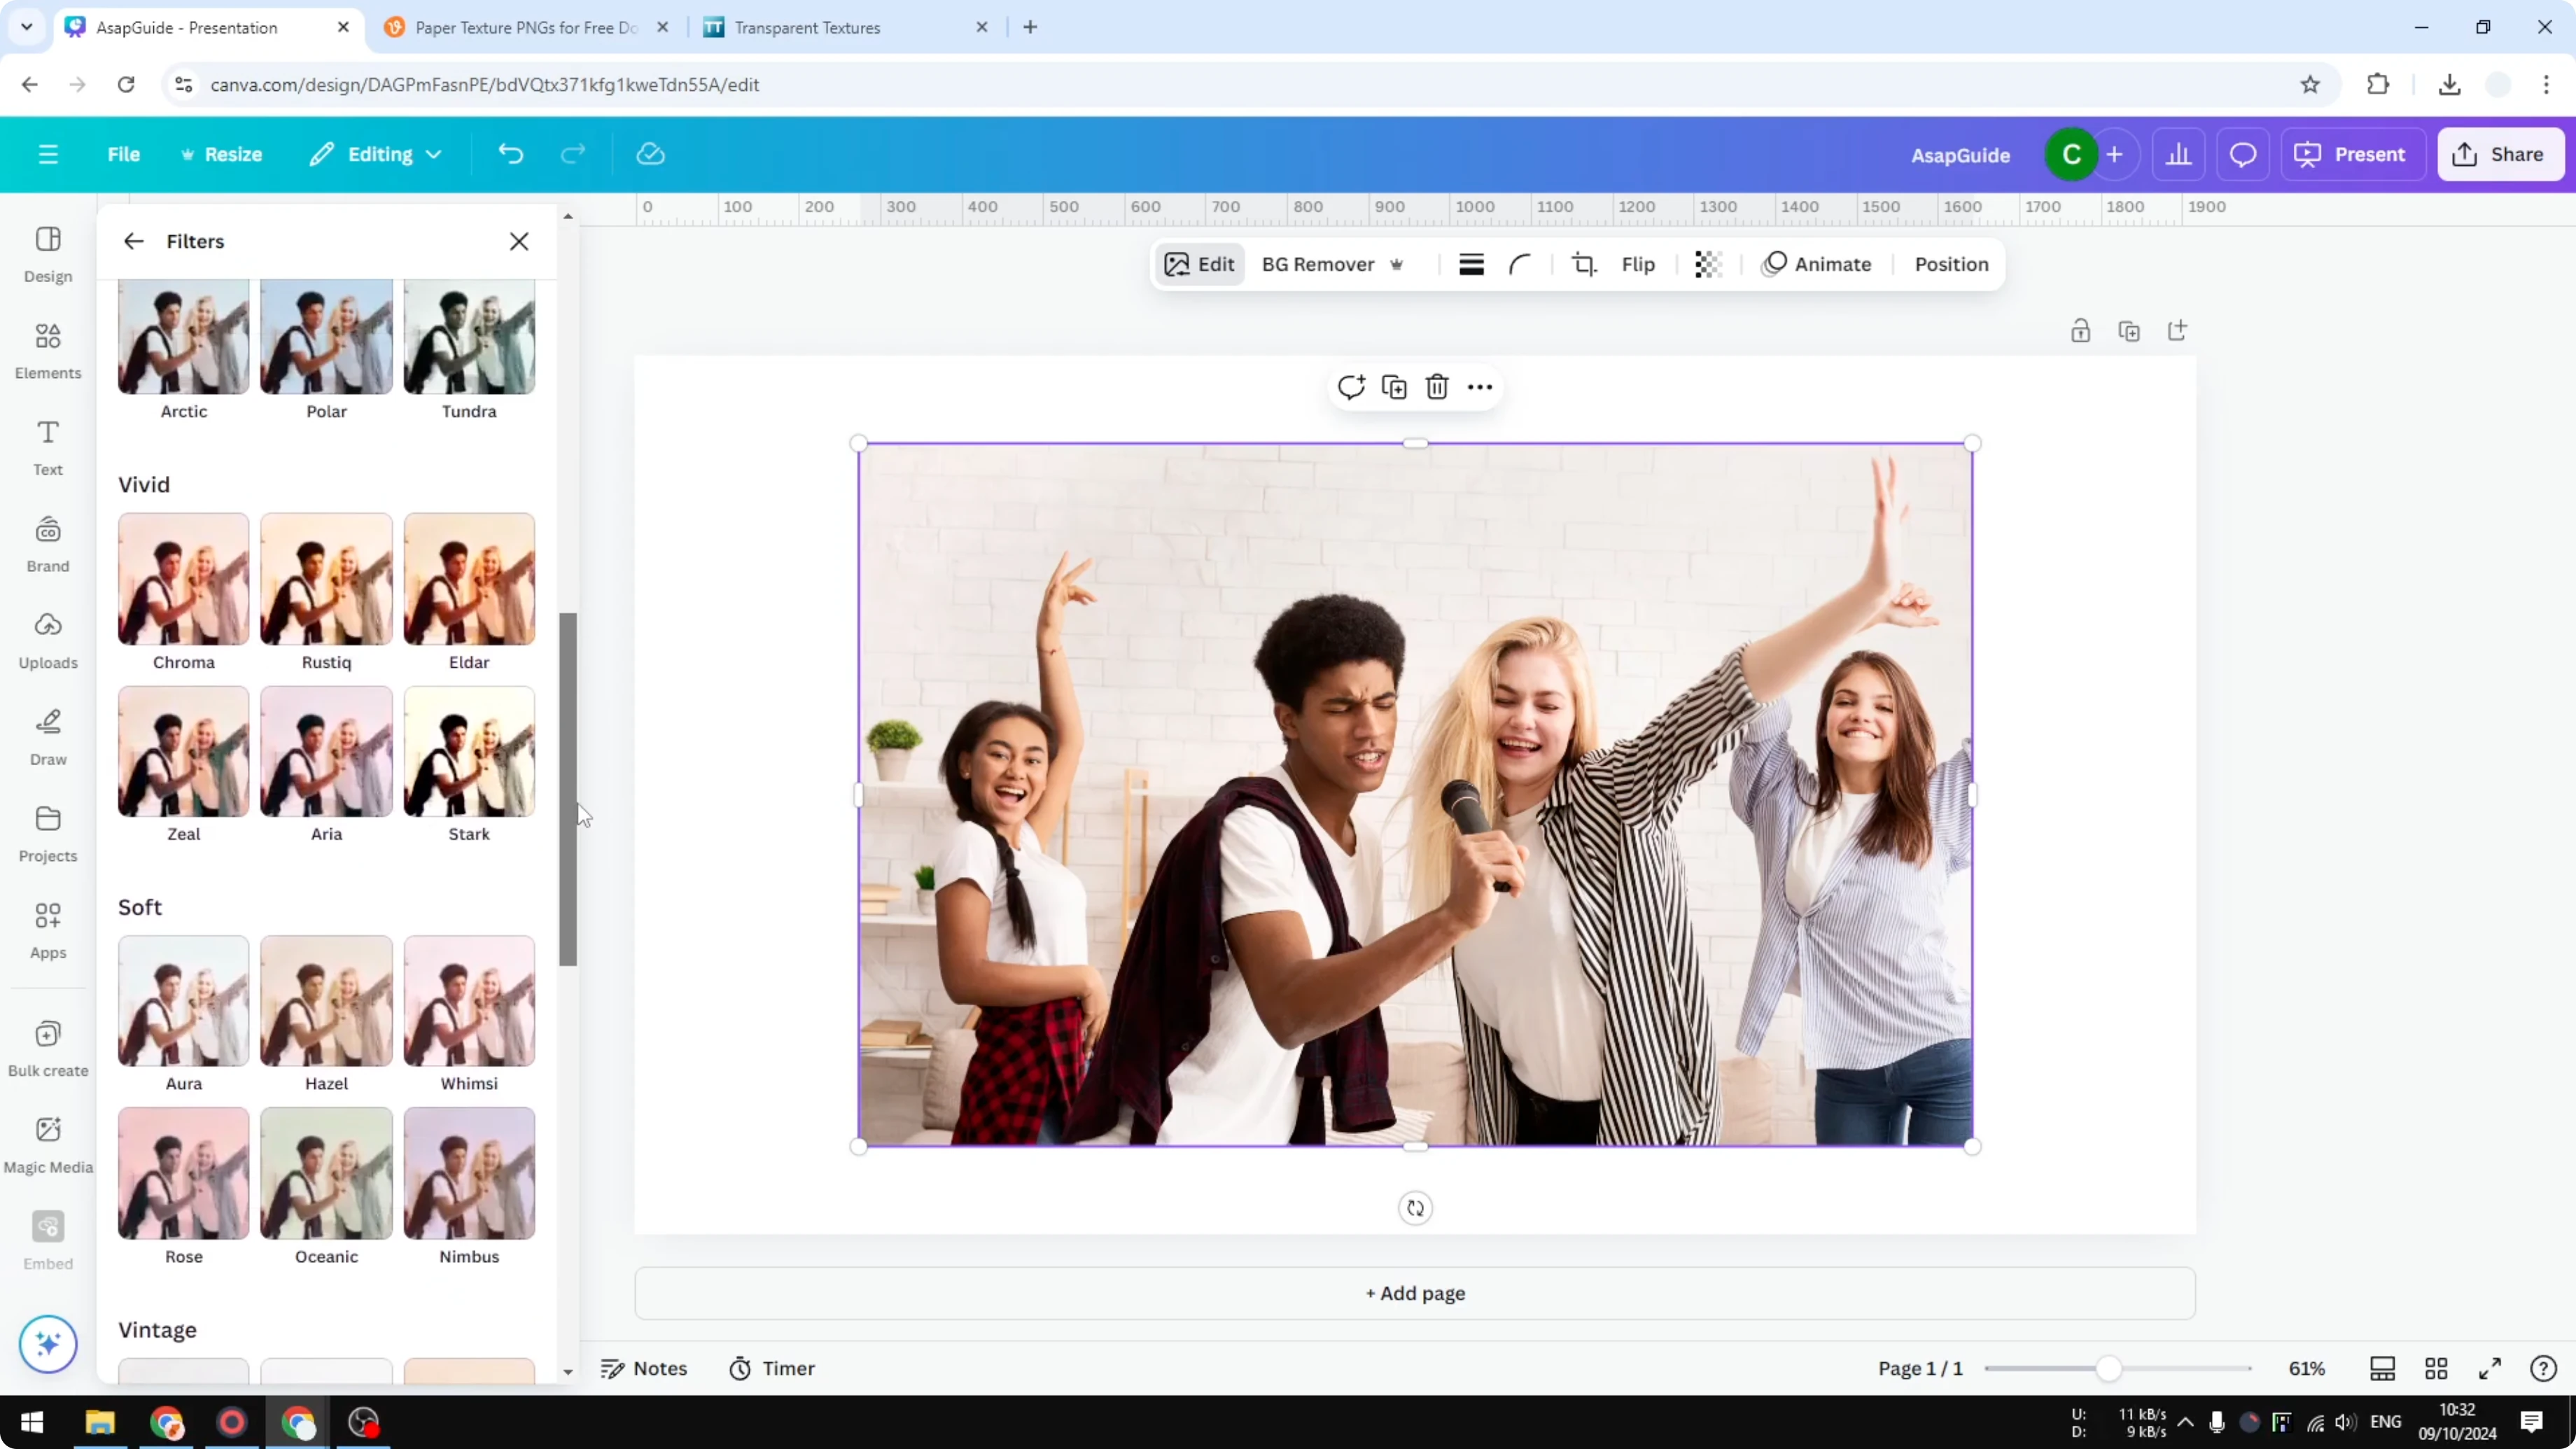
This option is simple and quick. It is great for a fast change in color and mood. You can always stack it with Adjust for finer control.
Apply Photo Effects in Canva: Effects
The Effects panel is very interesting, especially if you want your photo to look like it has been modified by a professional. It combines some basic filters and also AI features. There are many options, and I will show one example.

Autofocus example
I use Autofocus when the picture has several people. In my example, there are four people, two in the front and two in the background. I want to focus on one specific person, and the rest will be blurred.
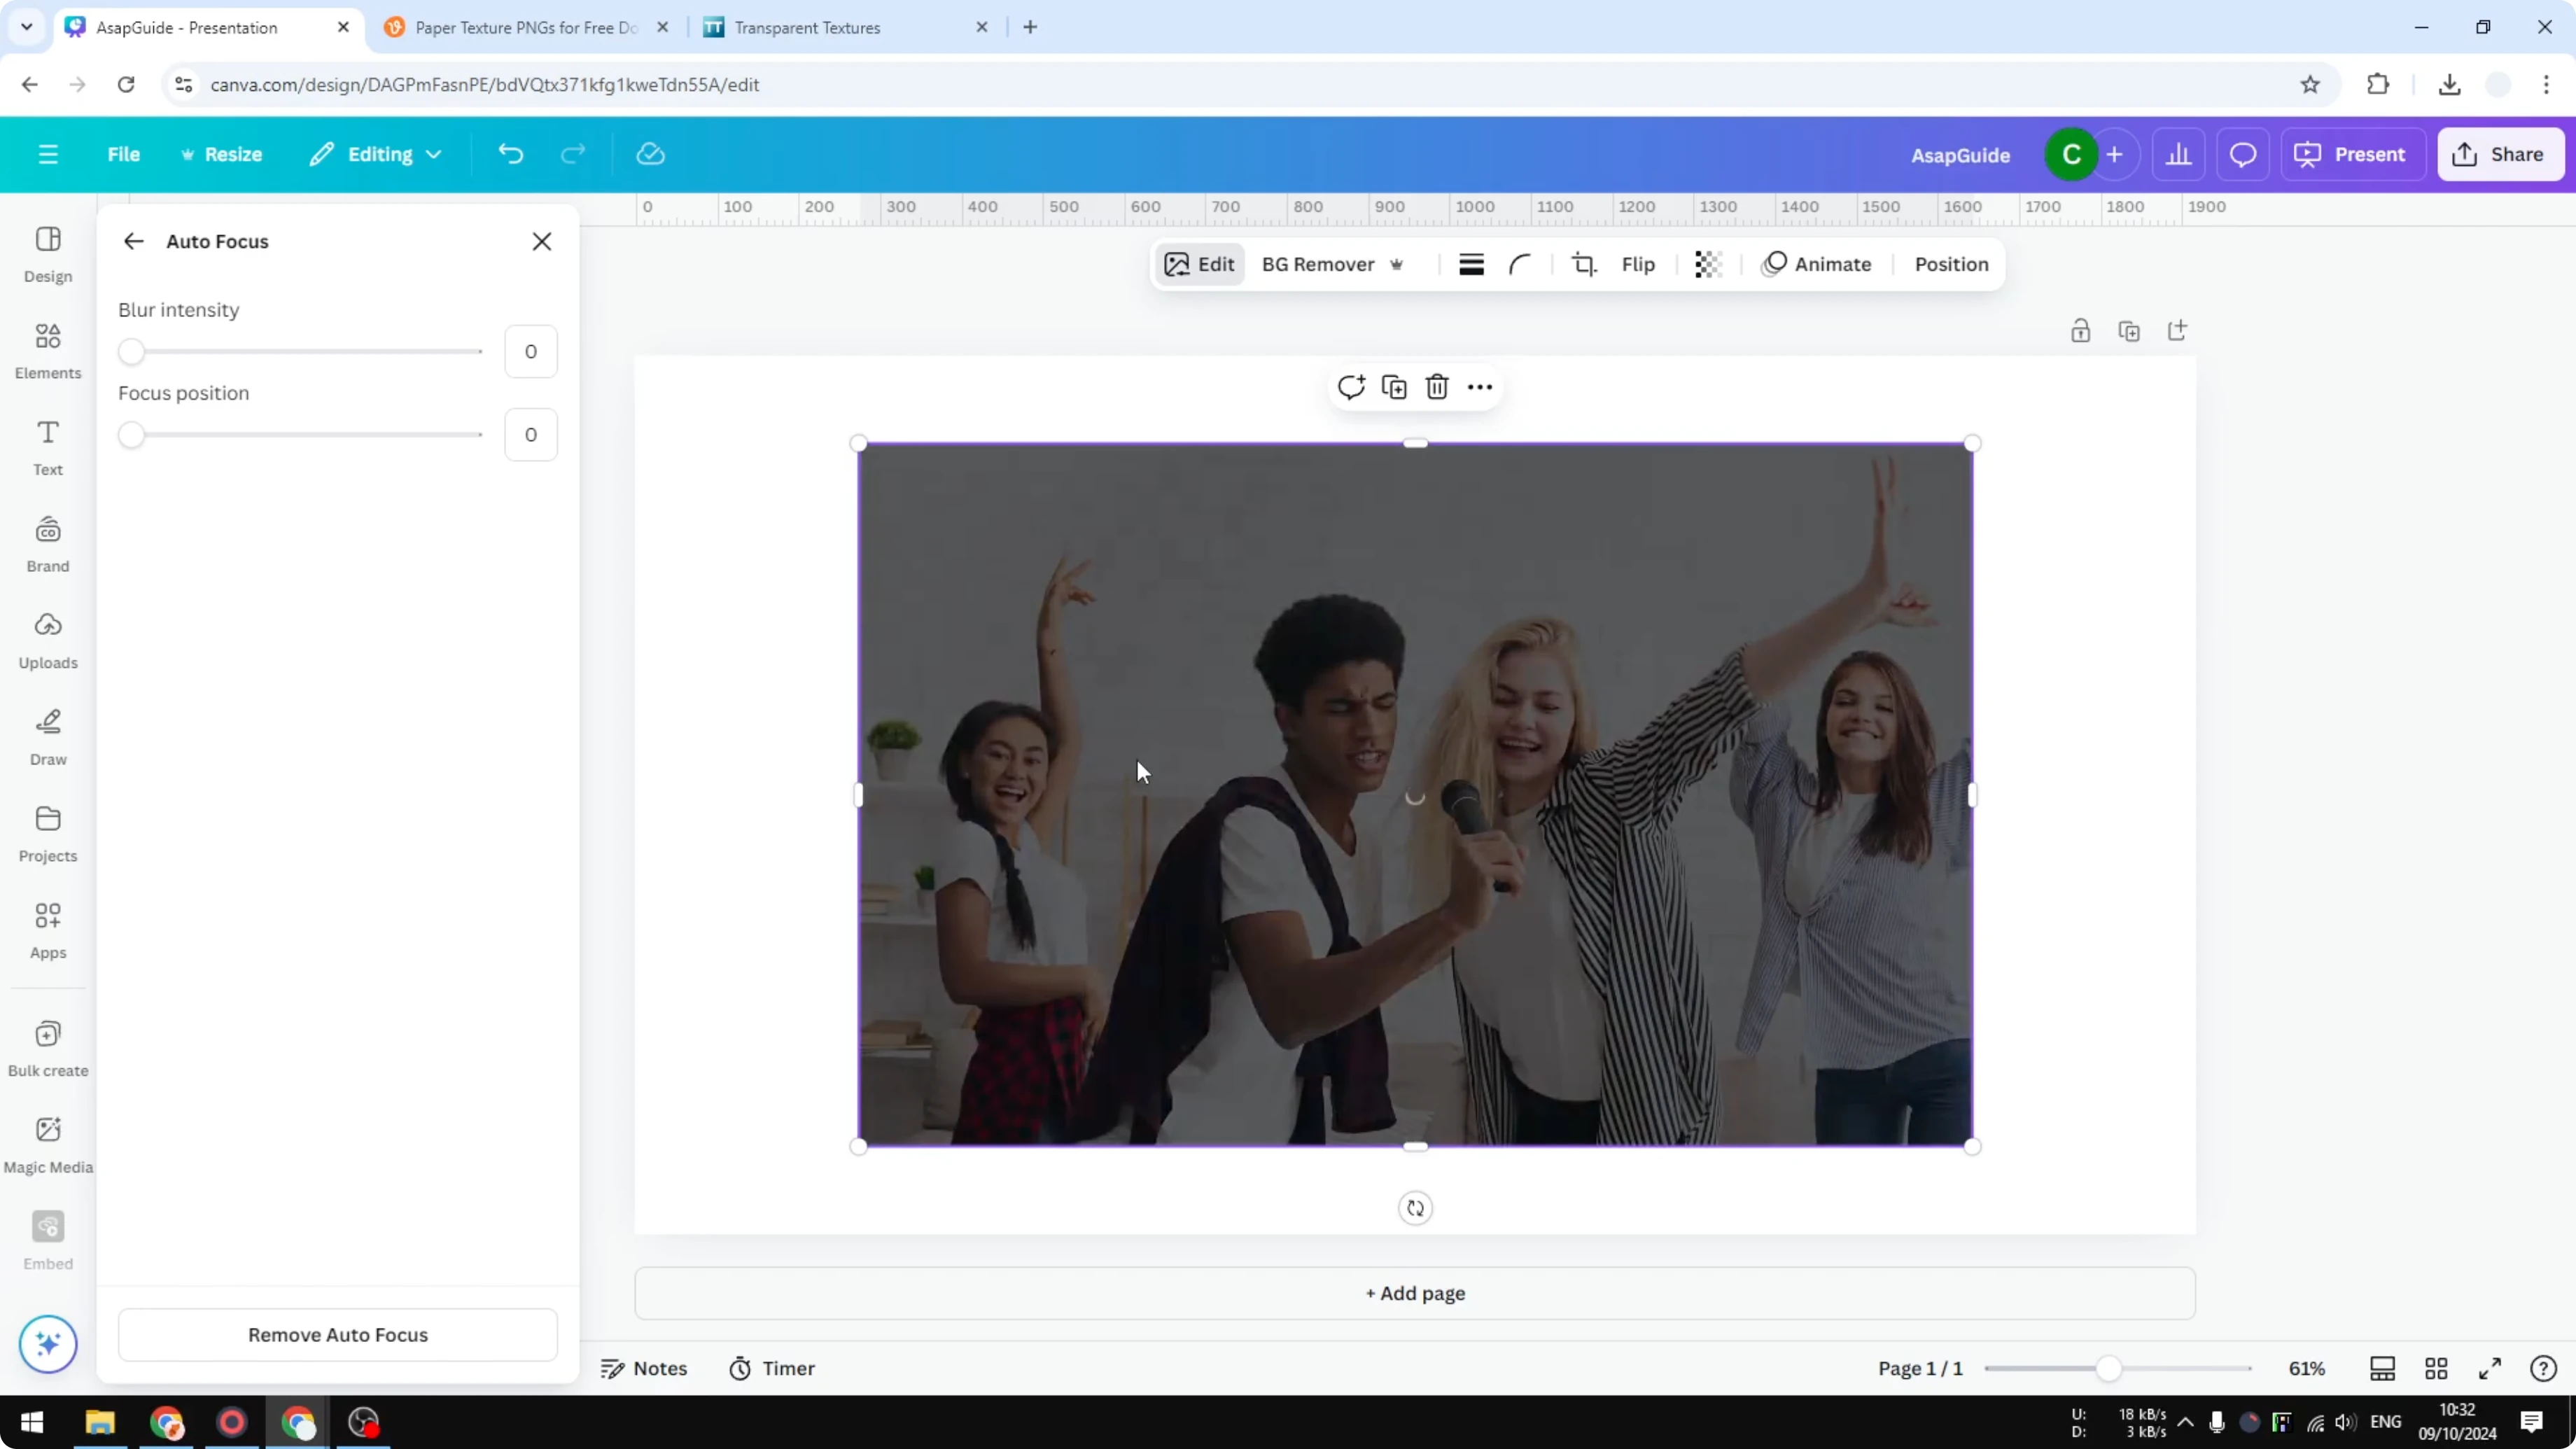
Change the focus position to the person you want in front. Increase the blur intensity to push the background further away. You can change the focus target at any time to switch attention to another person.
This is a very interesting option if you want to isolate a subject or focus on specific people in a group. It helps guide the viewer to the main subject. For cleaner edges around your subject, see this guide to blending edges in Canva.
If you are done with Autofocus, remove it and go back. You can combine Effects with Filters and Adjust. Test different mixes until the photo looks right.
Apply Photo Effects in Canva: Apps
You might notice an option called Apps. There are many apps available in Canva, and they are usually third party tools integrated with Canva. It is not possible to cover all of them here, but I will show one example.
I try the Slice feature. It will ask for permission, and you need to click Open. After that, you can access the feature and apply effects offered by this app to your picture.
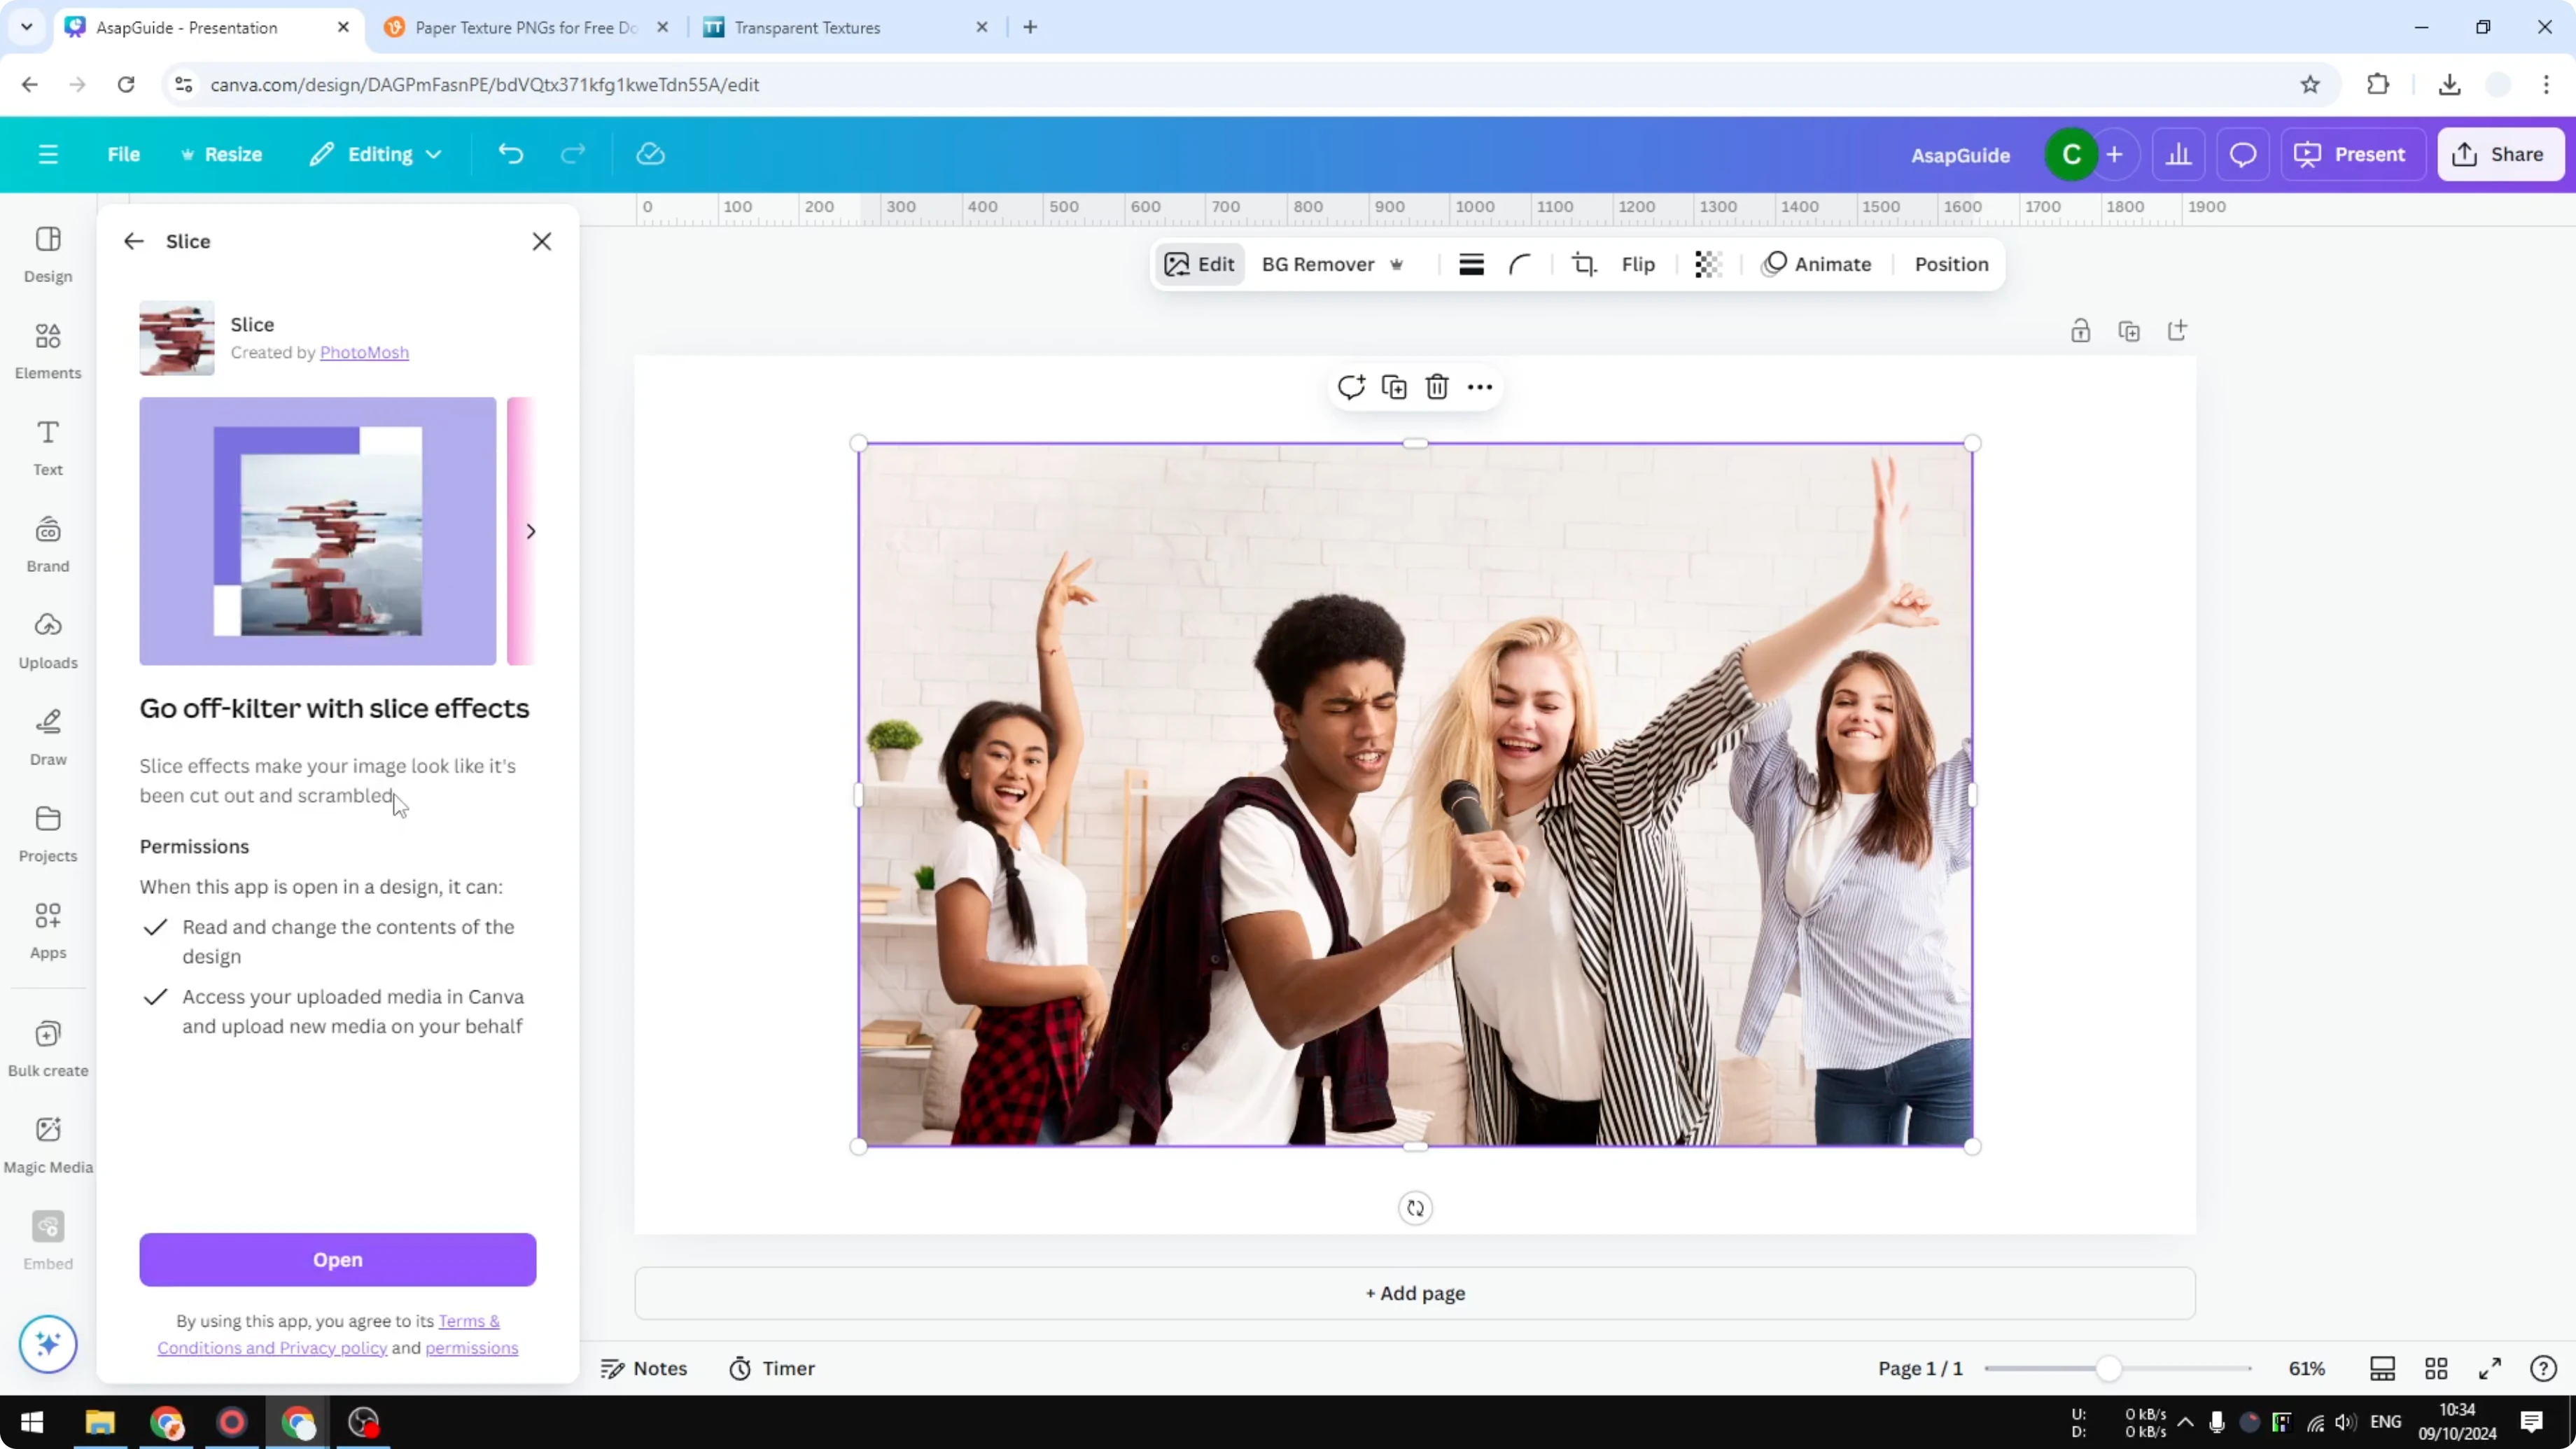
Apply one of the Slice styles and preview the result. Try another variation to see a different take. This can be useful for specific looks that are not in the default Effects.
Final thoughts
You can work fast with Filters, fine tune with Adjust, and create standout looks with Effects and Apps. Autofocus is great when you want one person to be the center of attention. Keep testing small changes until the photo matches your style.
Recent Posts
How to Turn Your Pop Art Ideas Into Reality with AI?
How to Turn Your Pop Art Ideas Into Reality with AI?
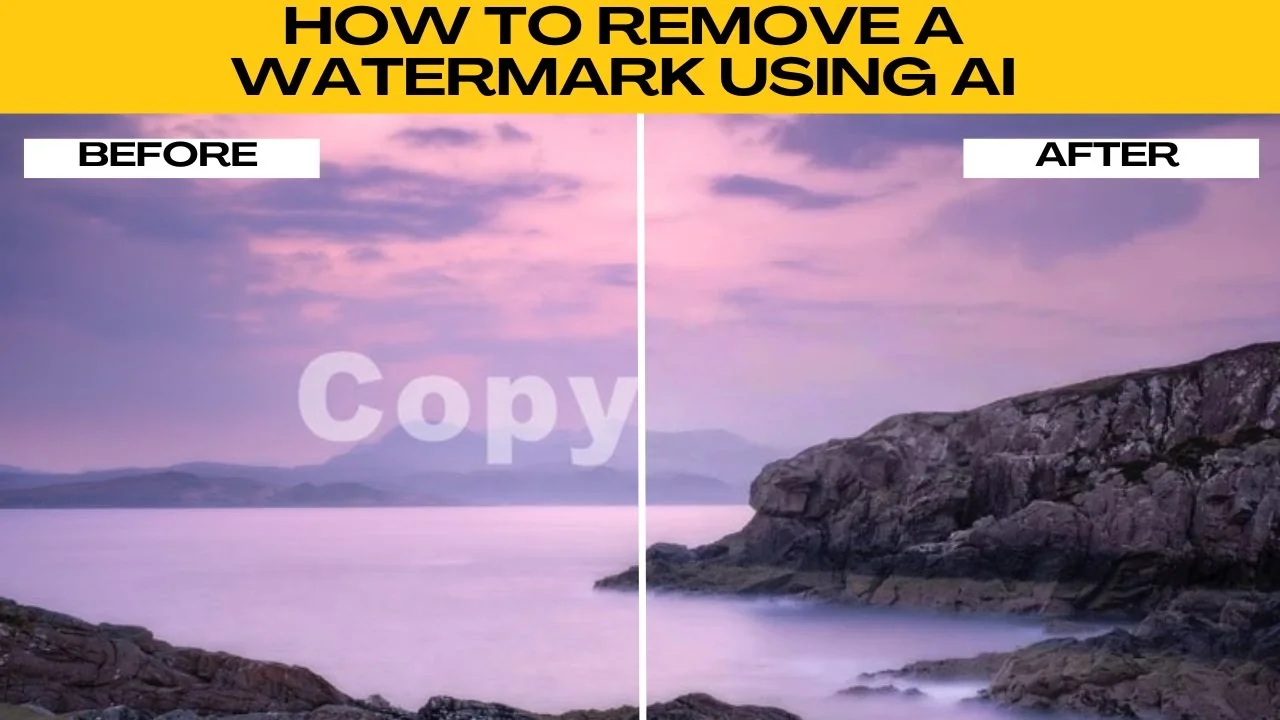
How to Remove Watermarks from Photos Cleanly and Efficiently with AI?
How to Remove Watermarks from Photos Cleanly and Efficiently with AI?
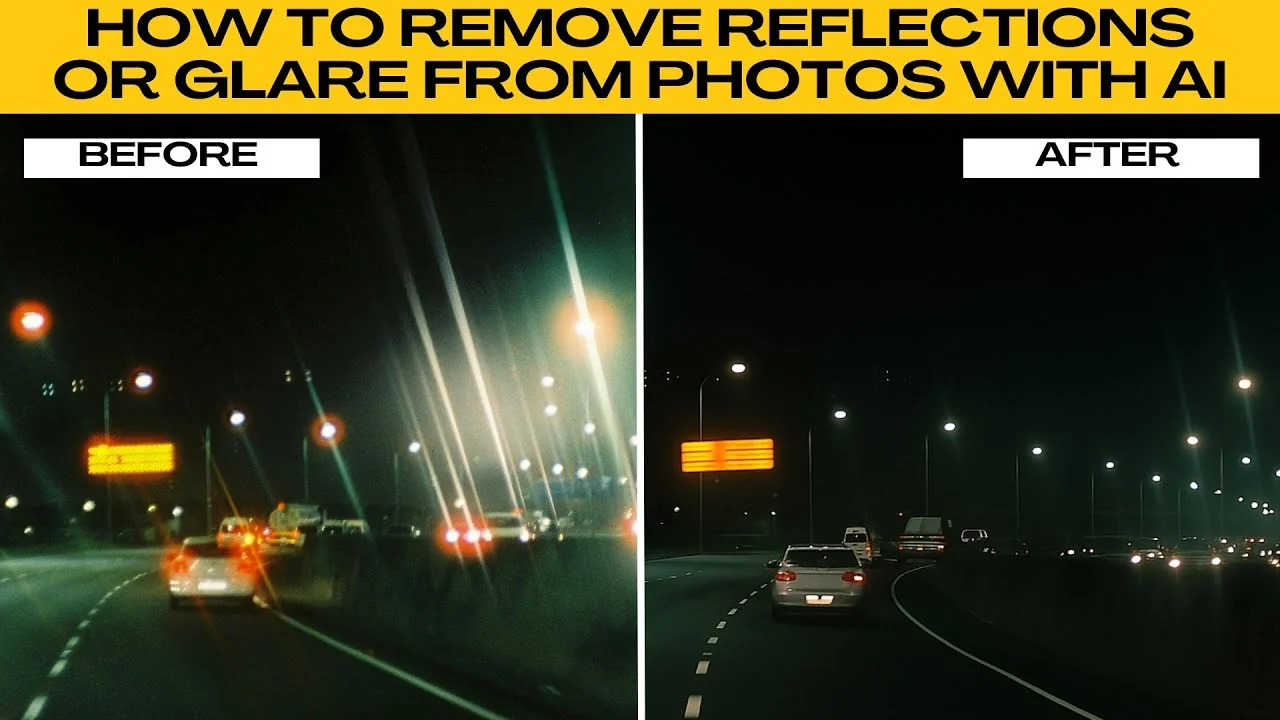
How to Remove Unwanted Reflections and Glare from Photos with AI?
How to Remove Unwanted Reflections and Glare from Photos with AI?