How to Add a Perspective to a Photo in Canva
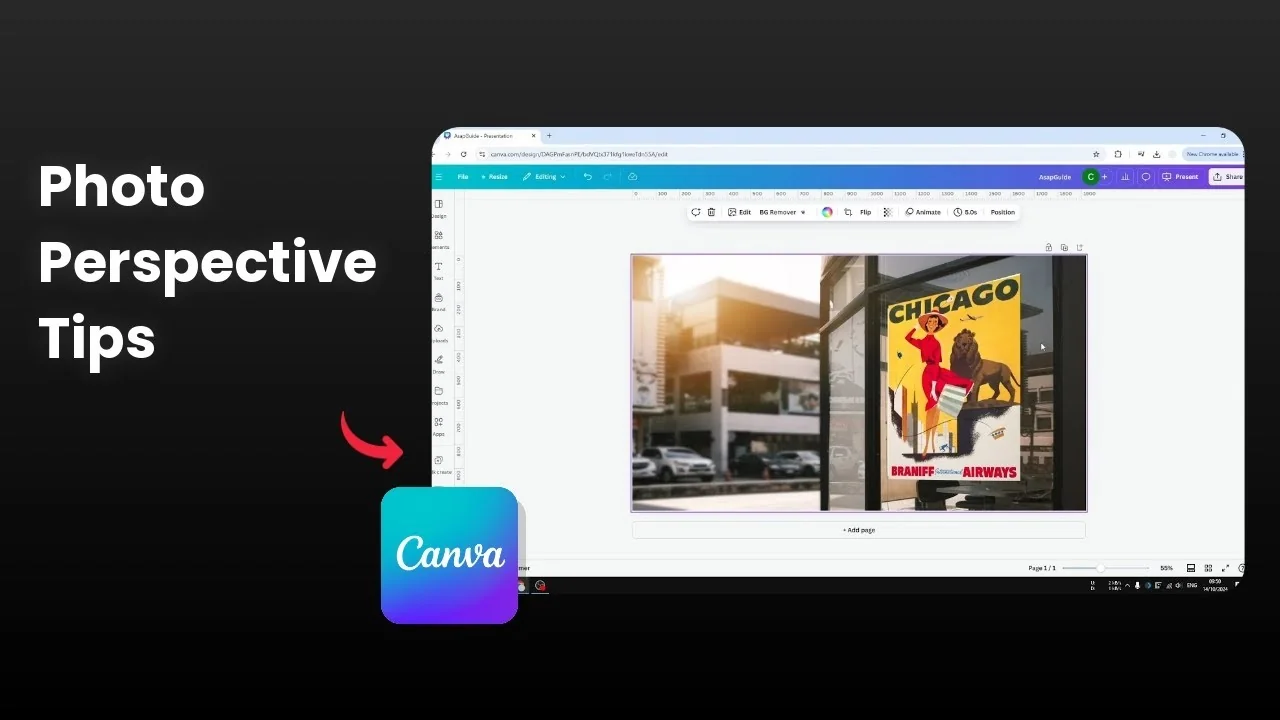
I will show you how to add a perspective effect in Canva. Canva does not have a native feature for perspective, which is odd for a photo editing app. Here is how I do it in a simple way.
Add a Perspective to a Photo in Canva
Prepare the image
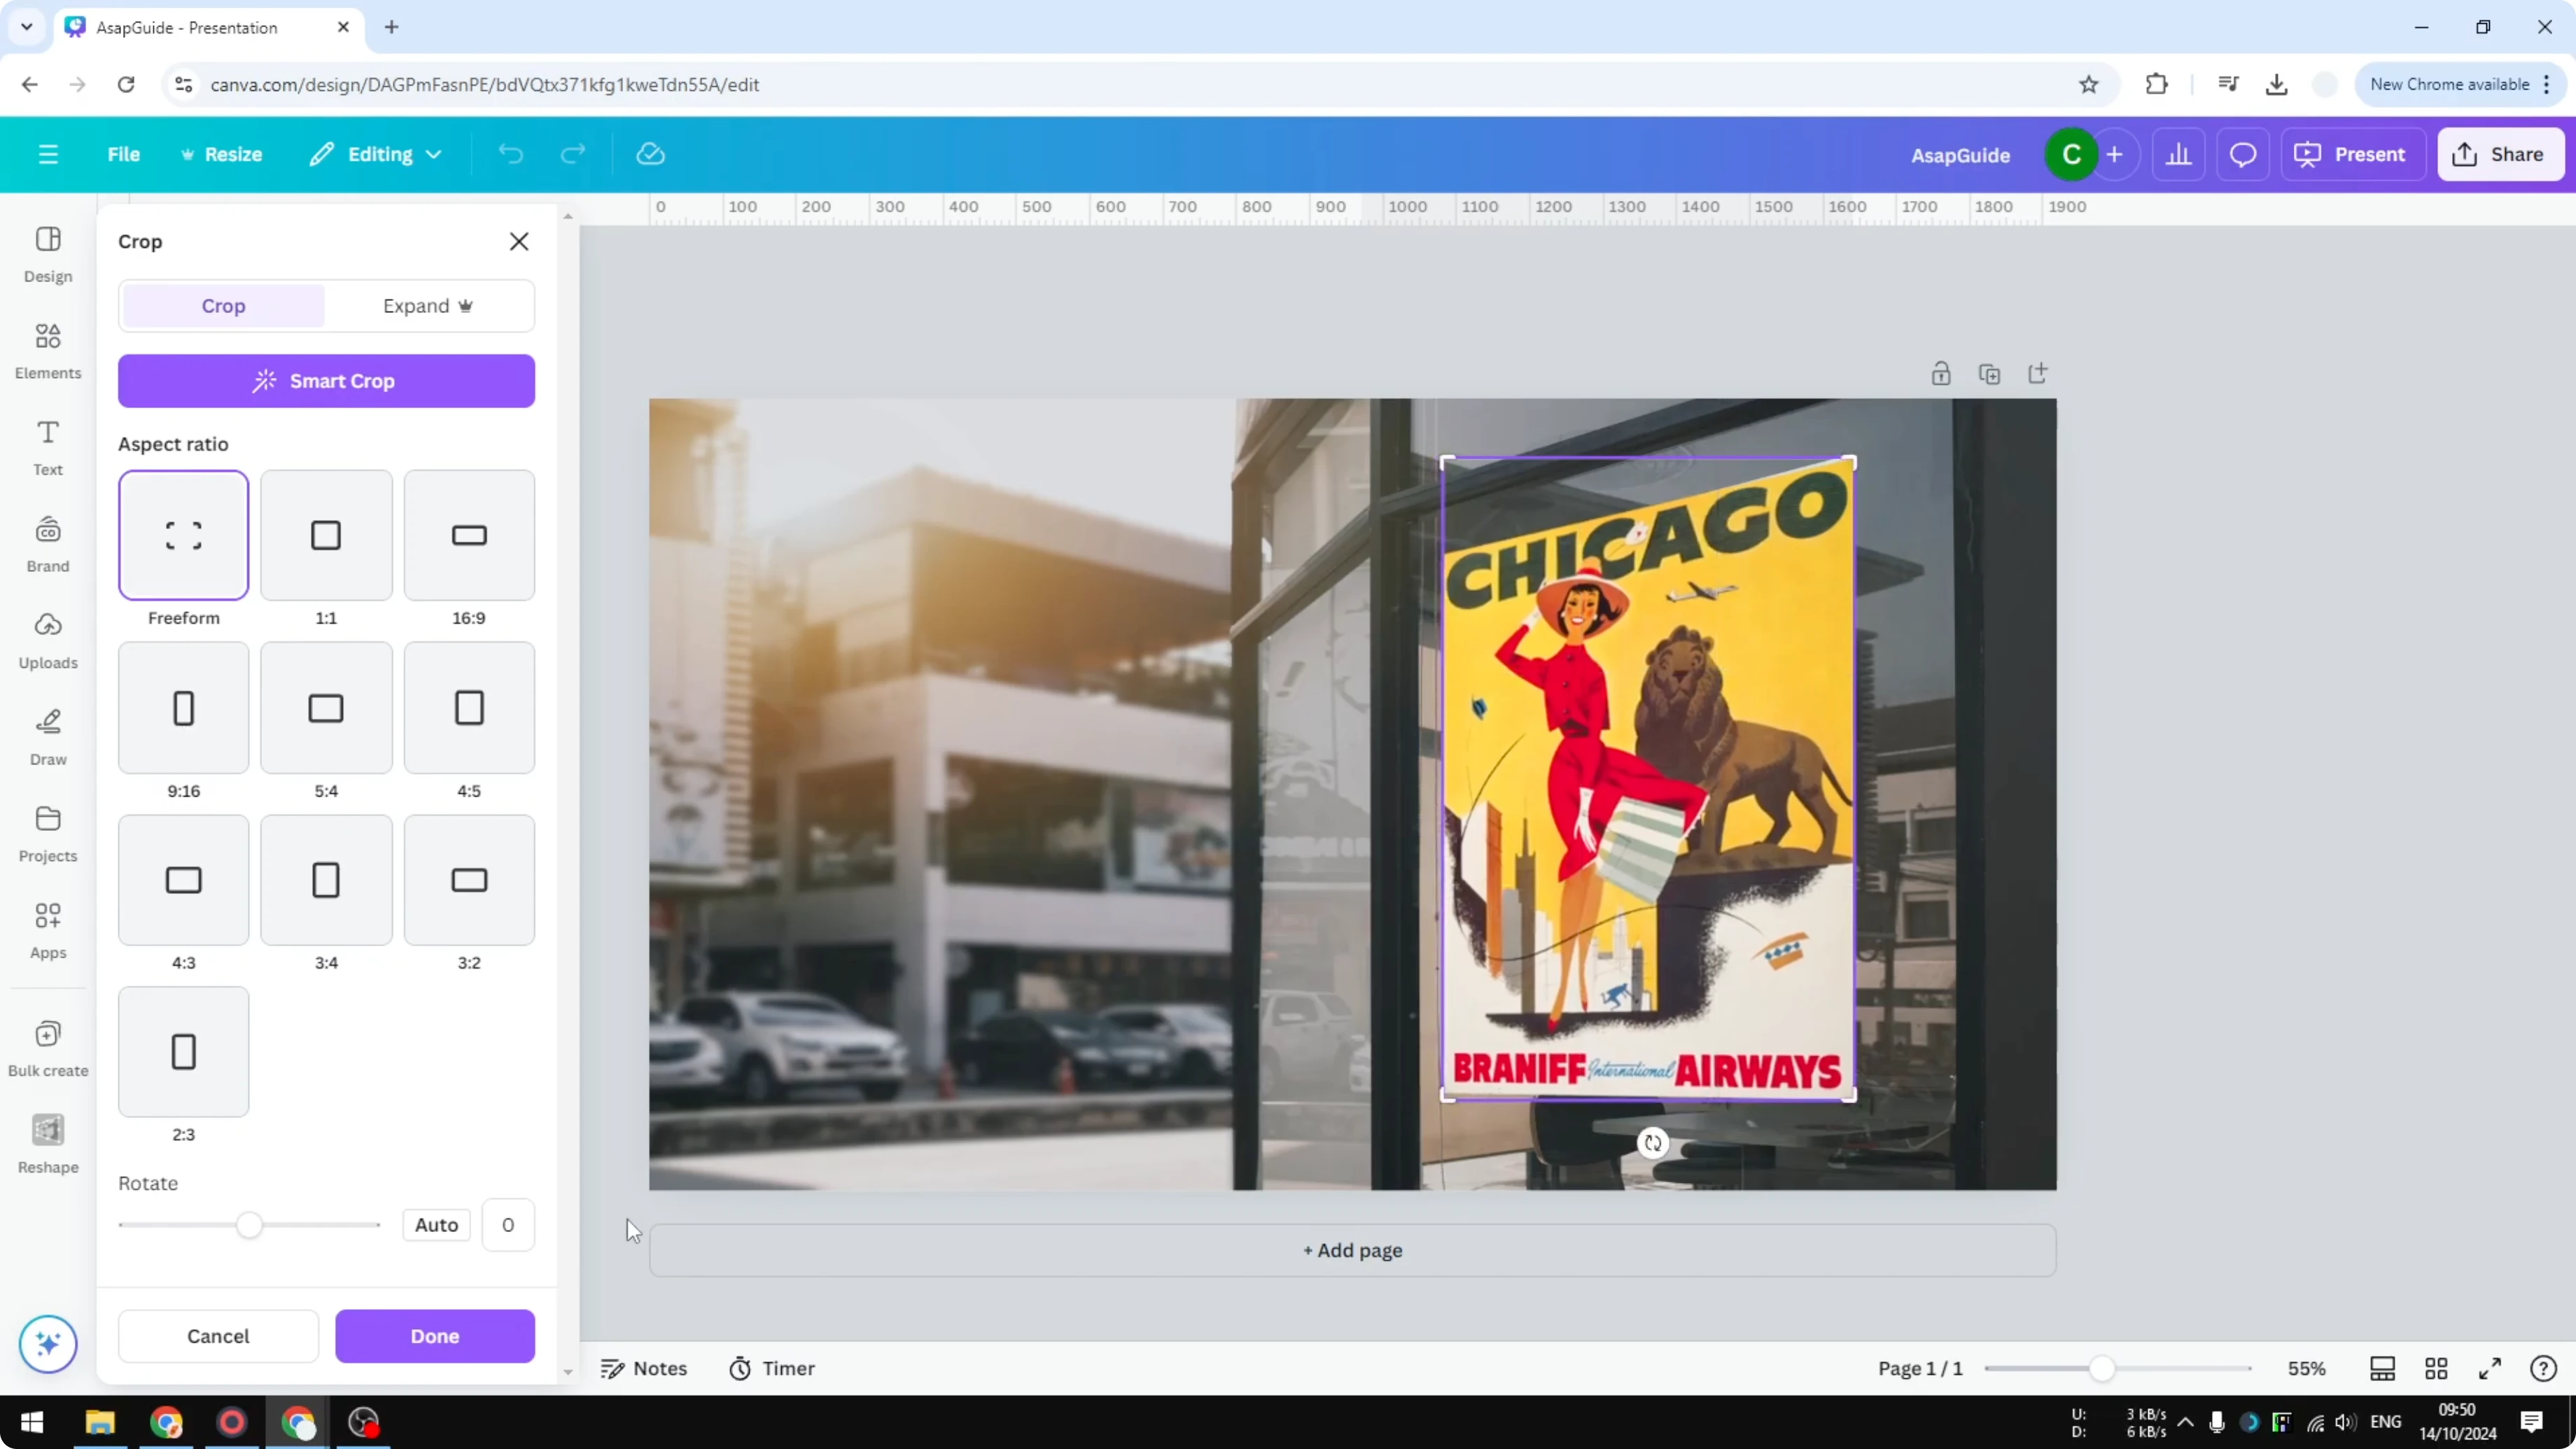
Click the picture that you want to add the effect to.
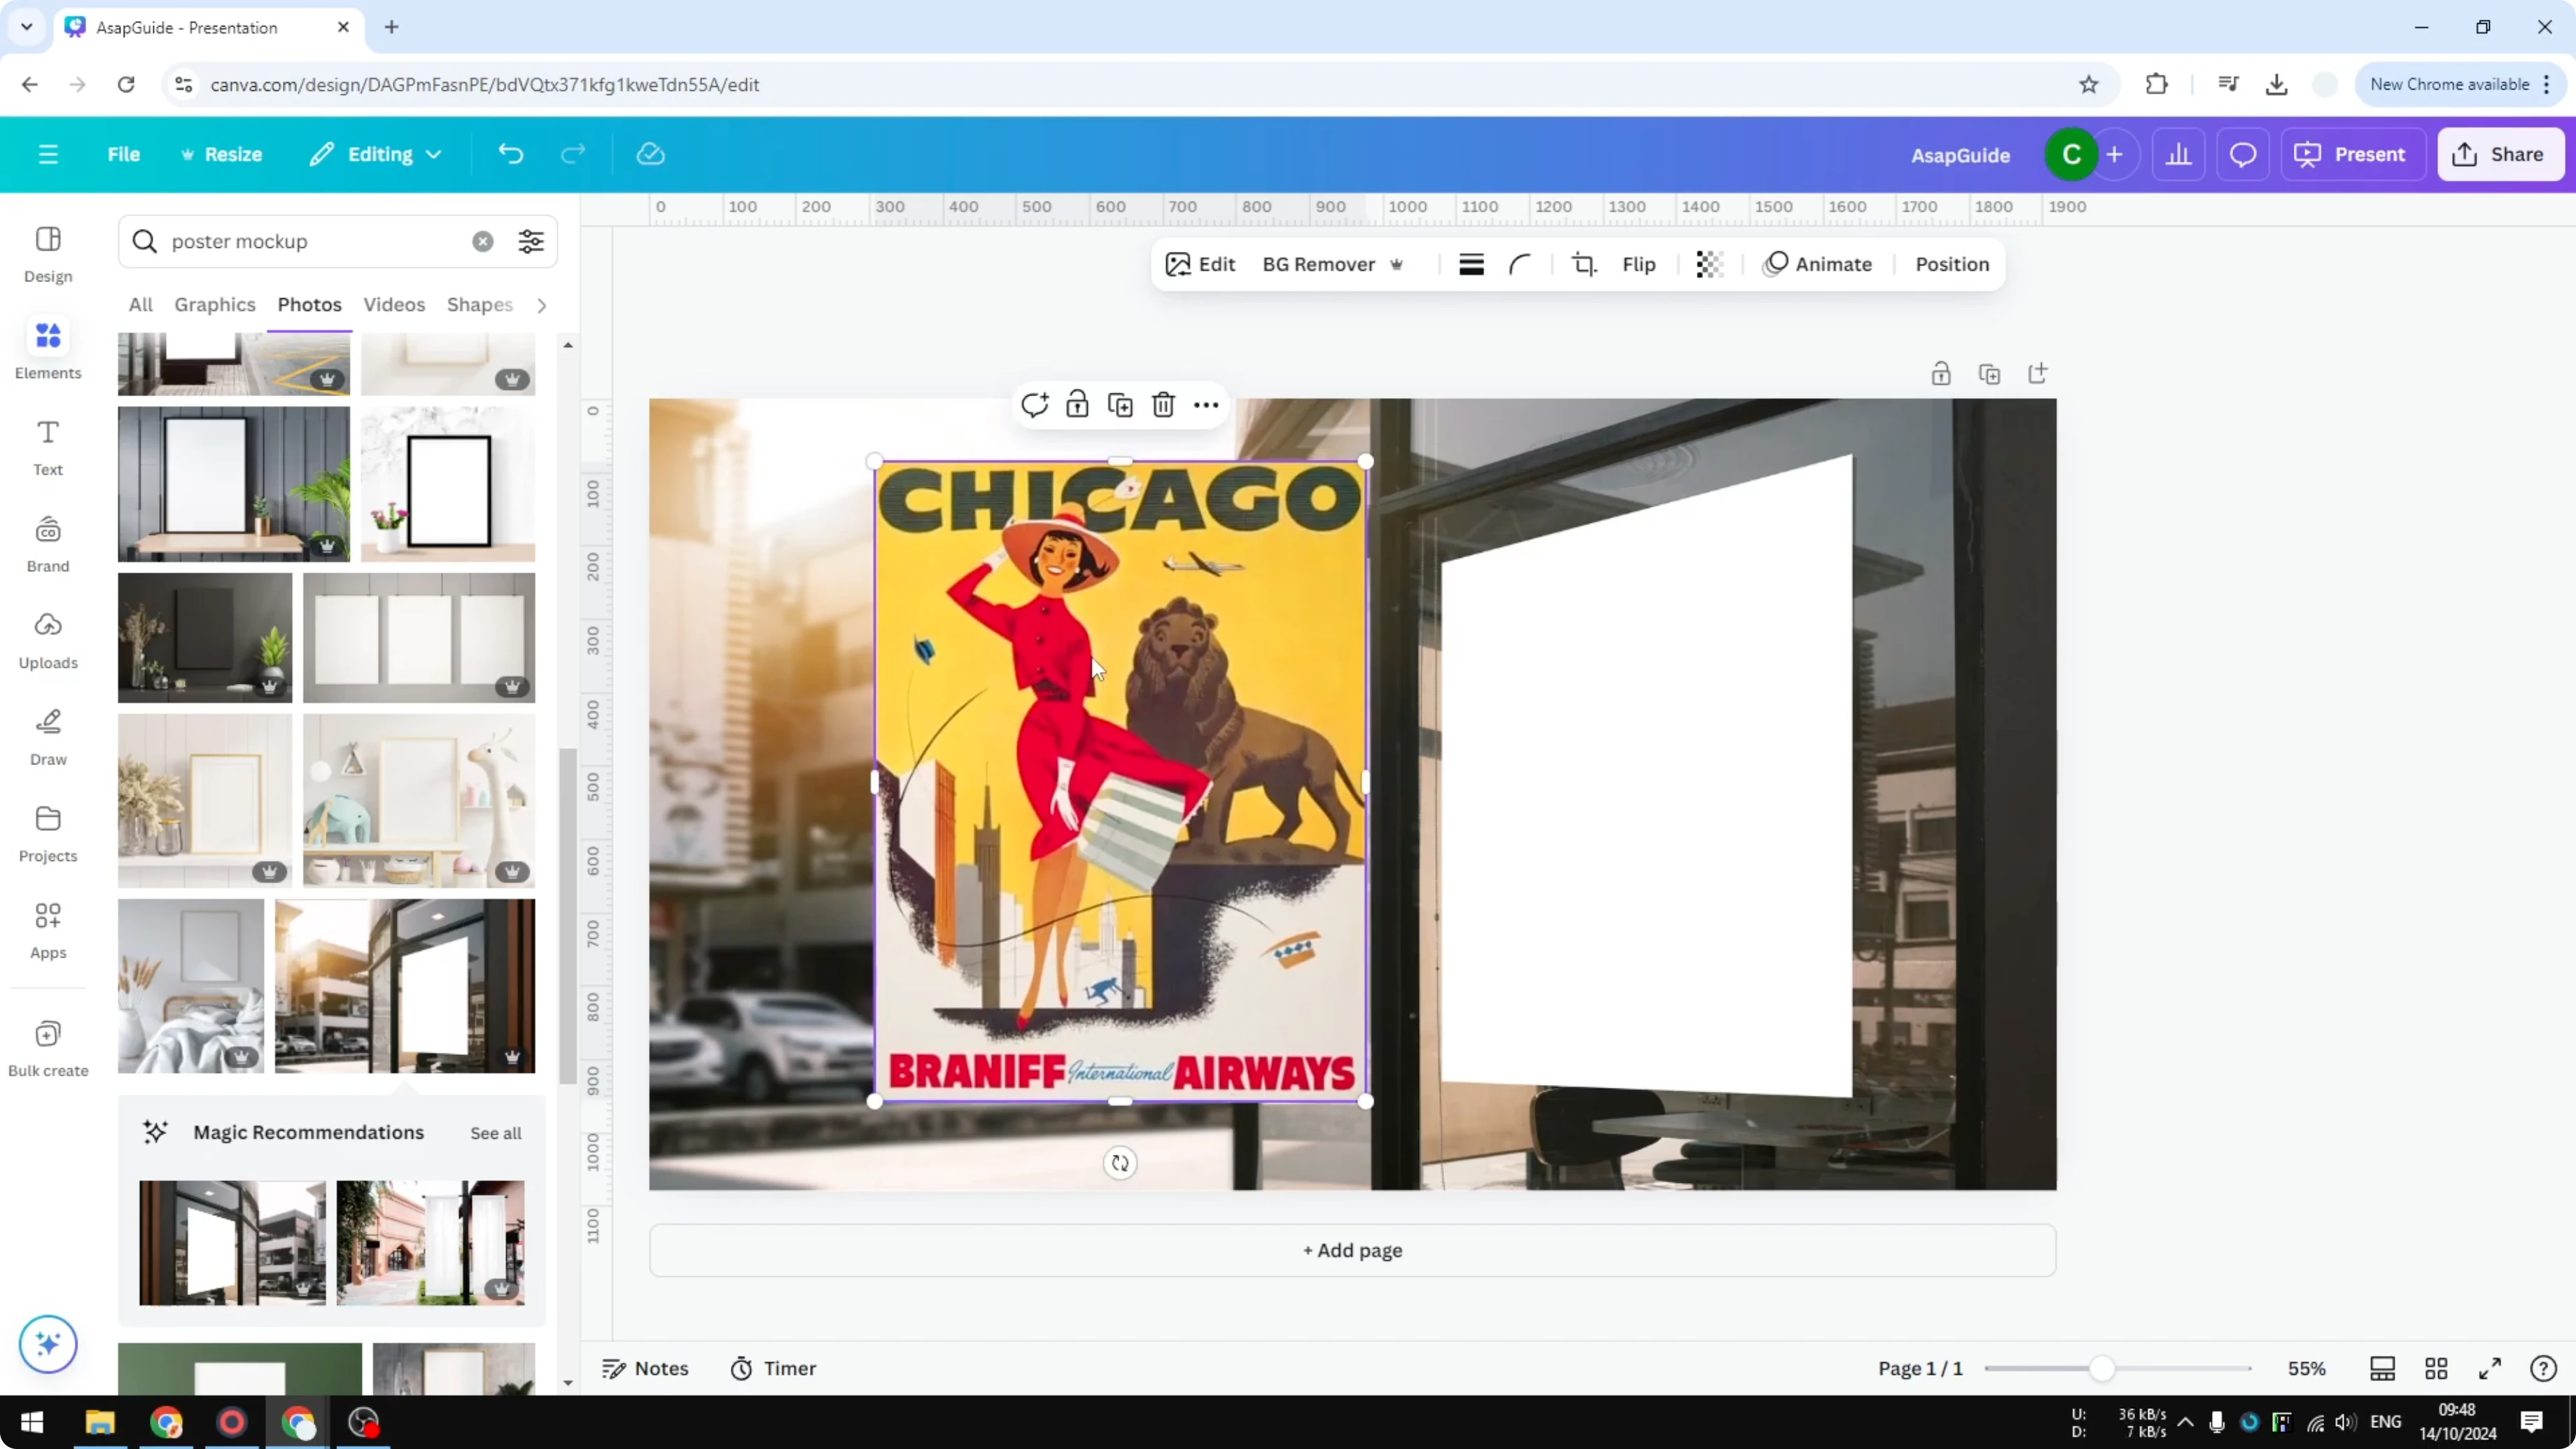
I am putting a poster into a poster mockup, and the dimensions are different.
I want it to blend nicely with the rest of the photo.
If you need to set a background first, see how to add a background photo in Canva.
Open Reshape
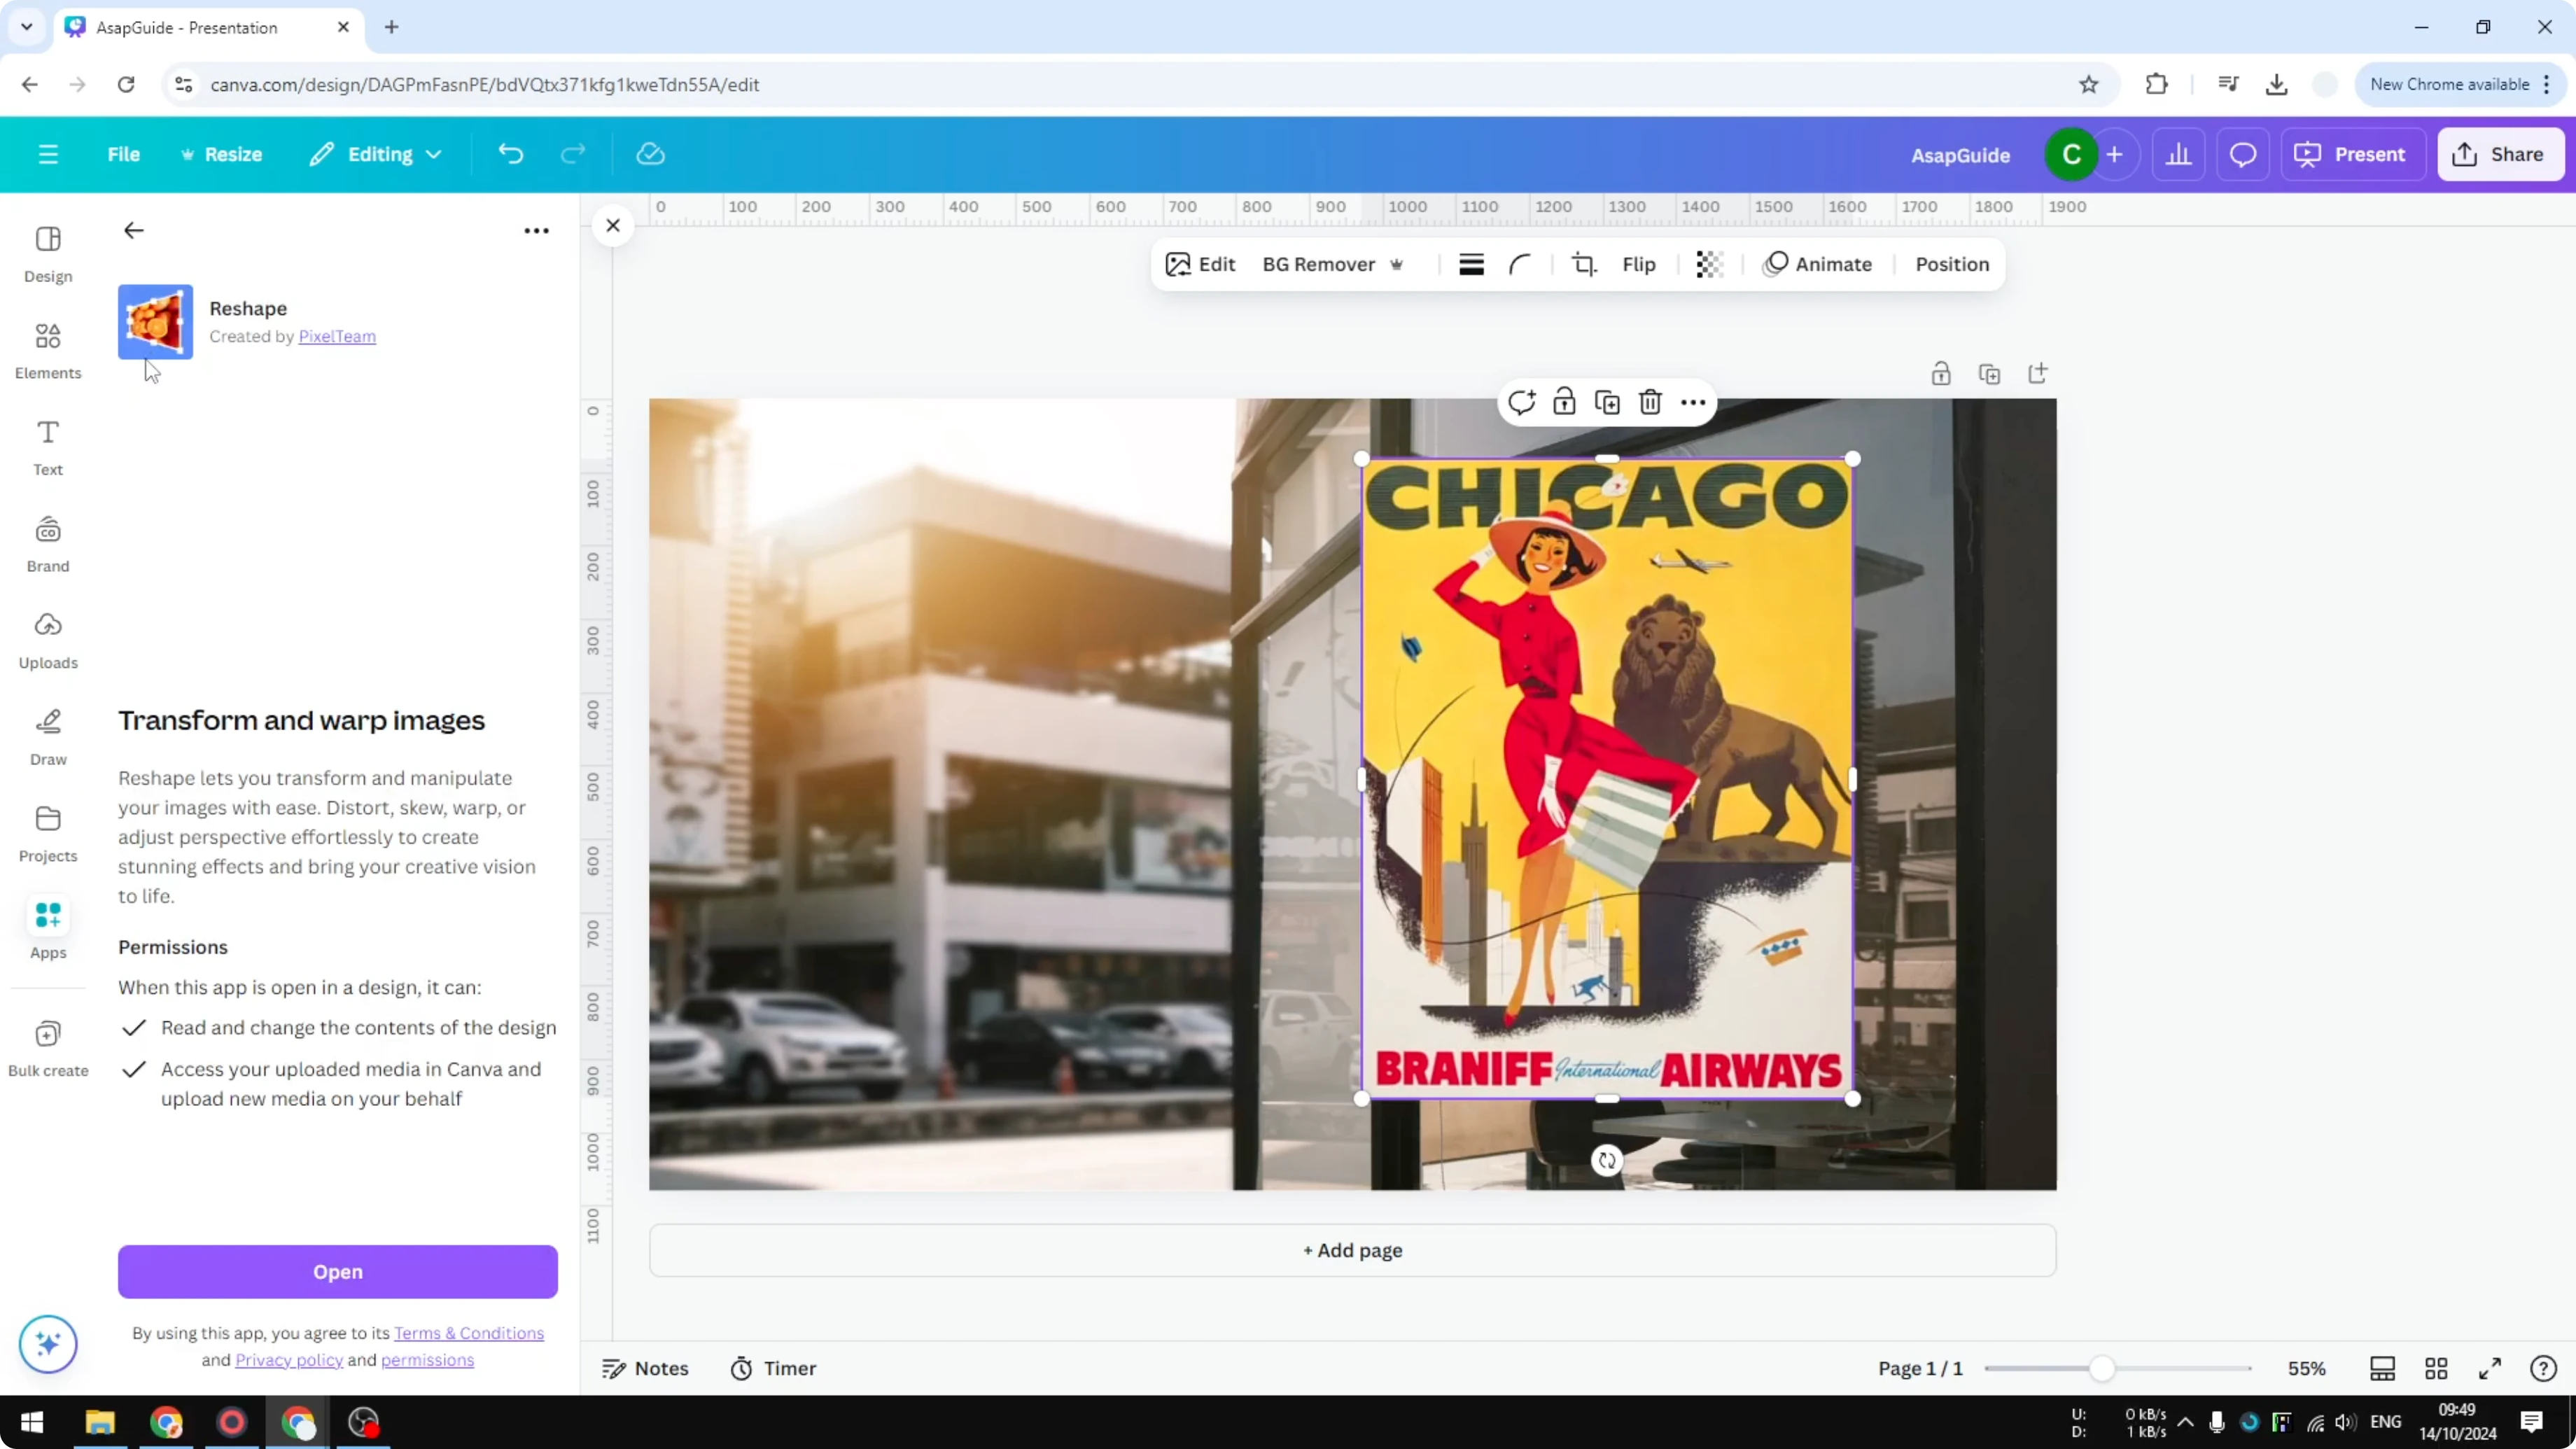
Go to the Apps section and search for Reshape.
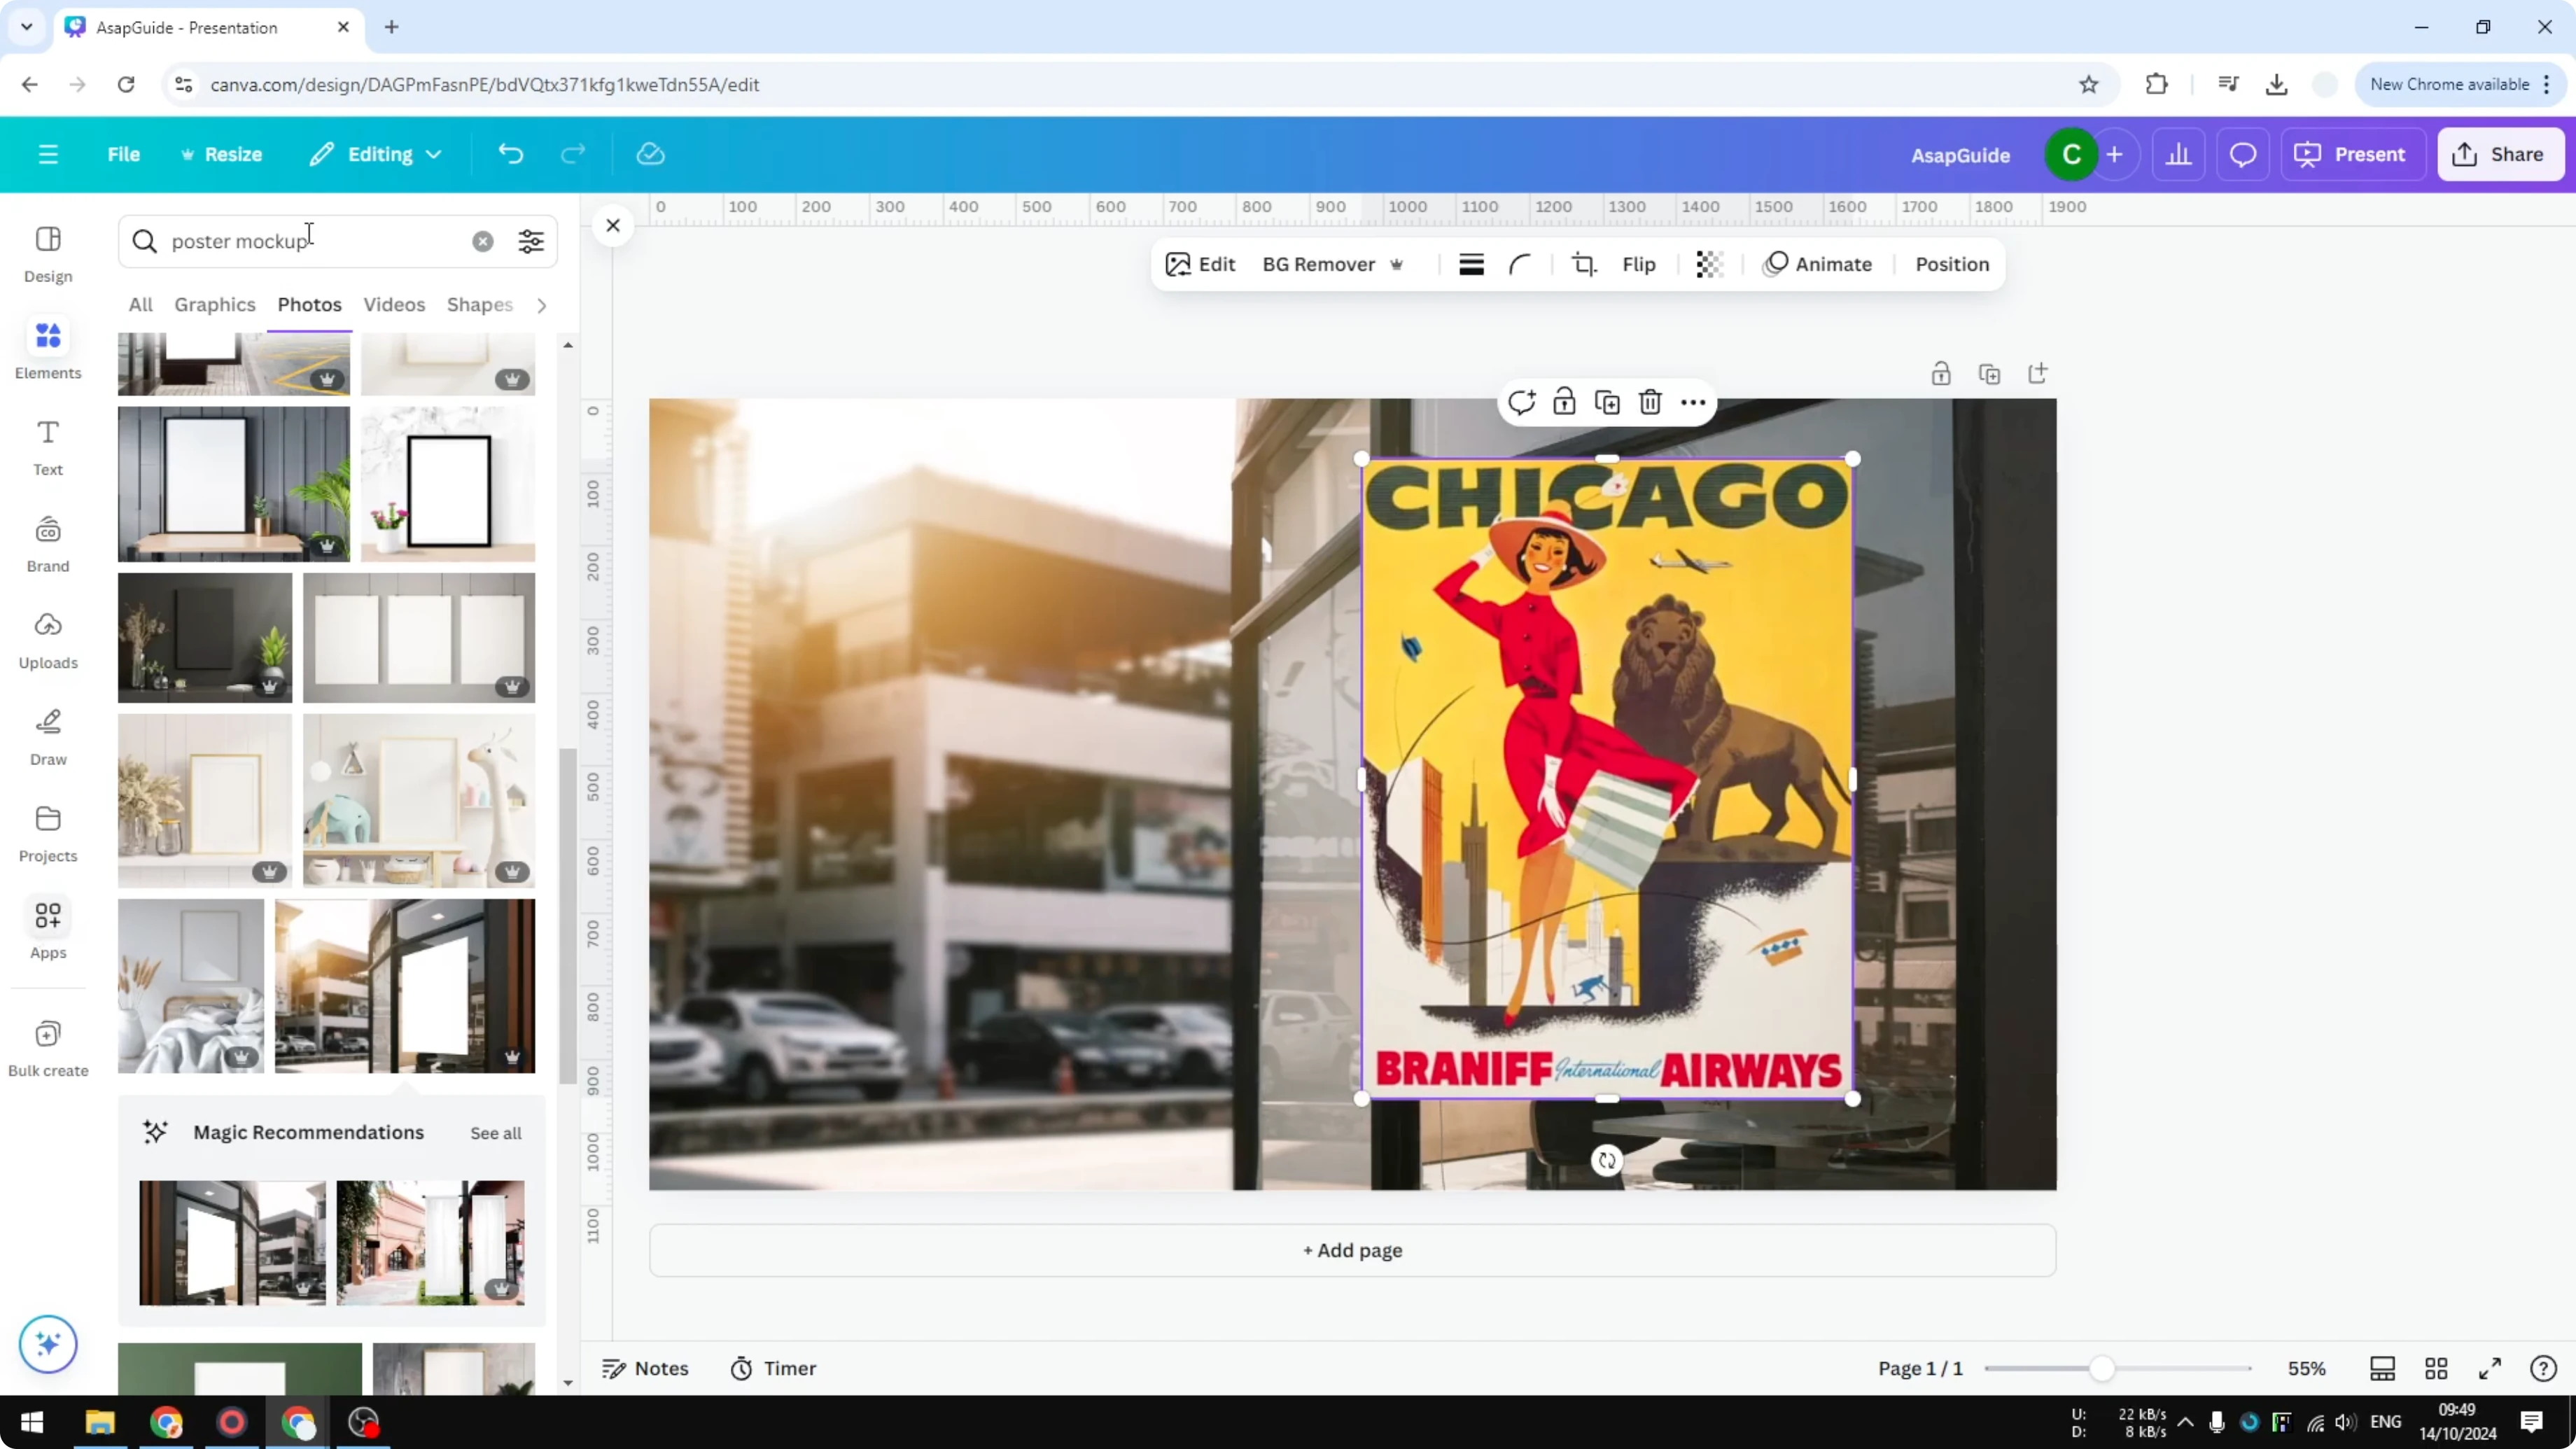
Click Reshape, then click Open.
Select Perspective.
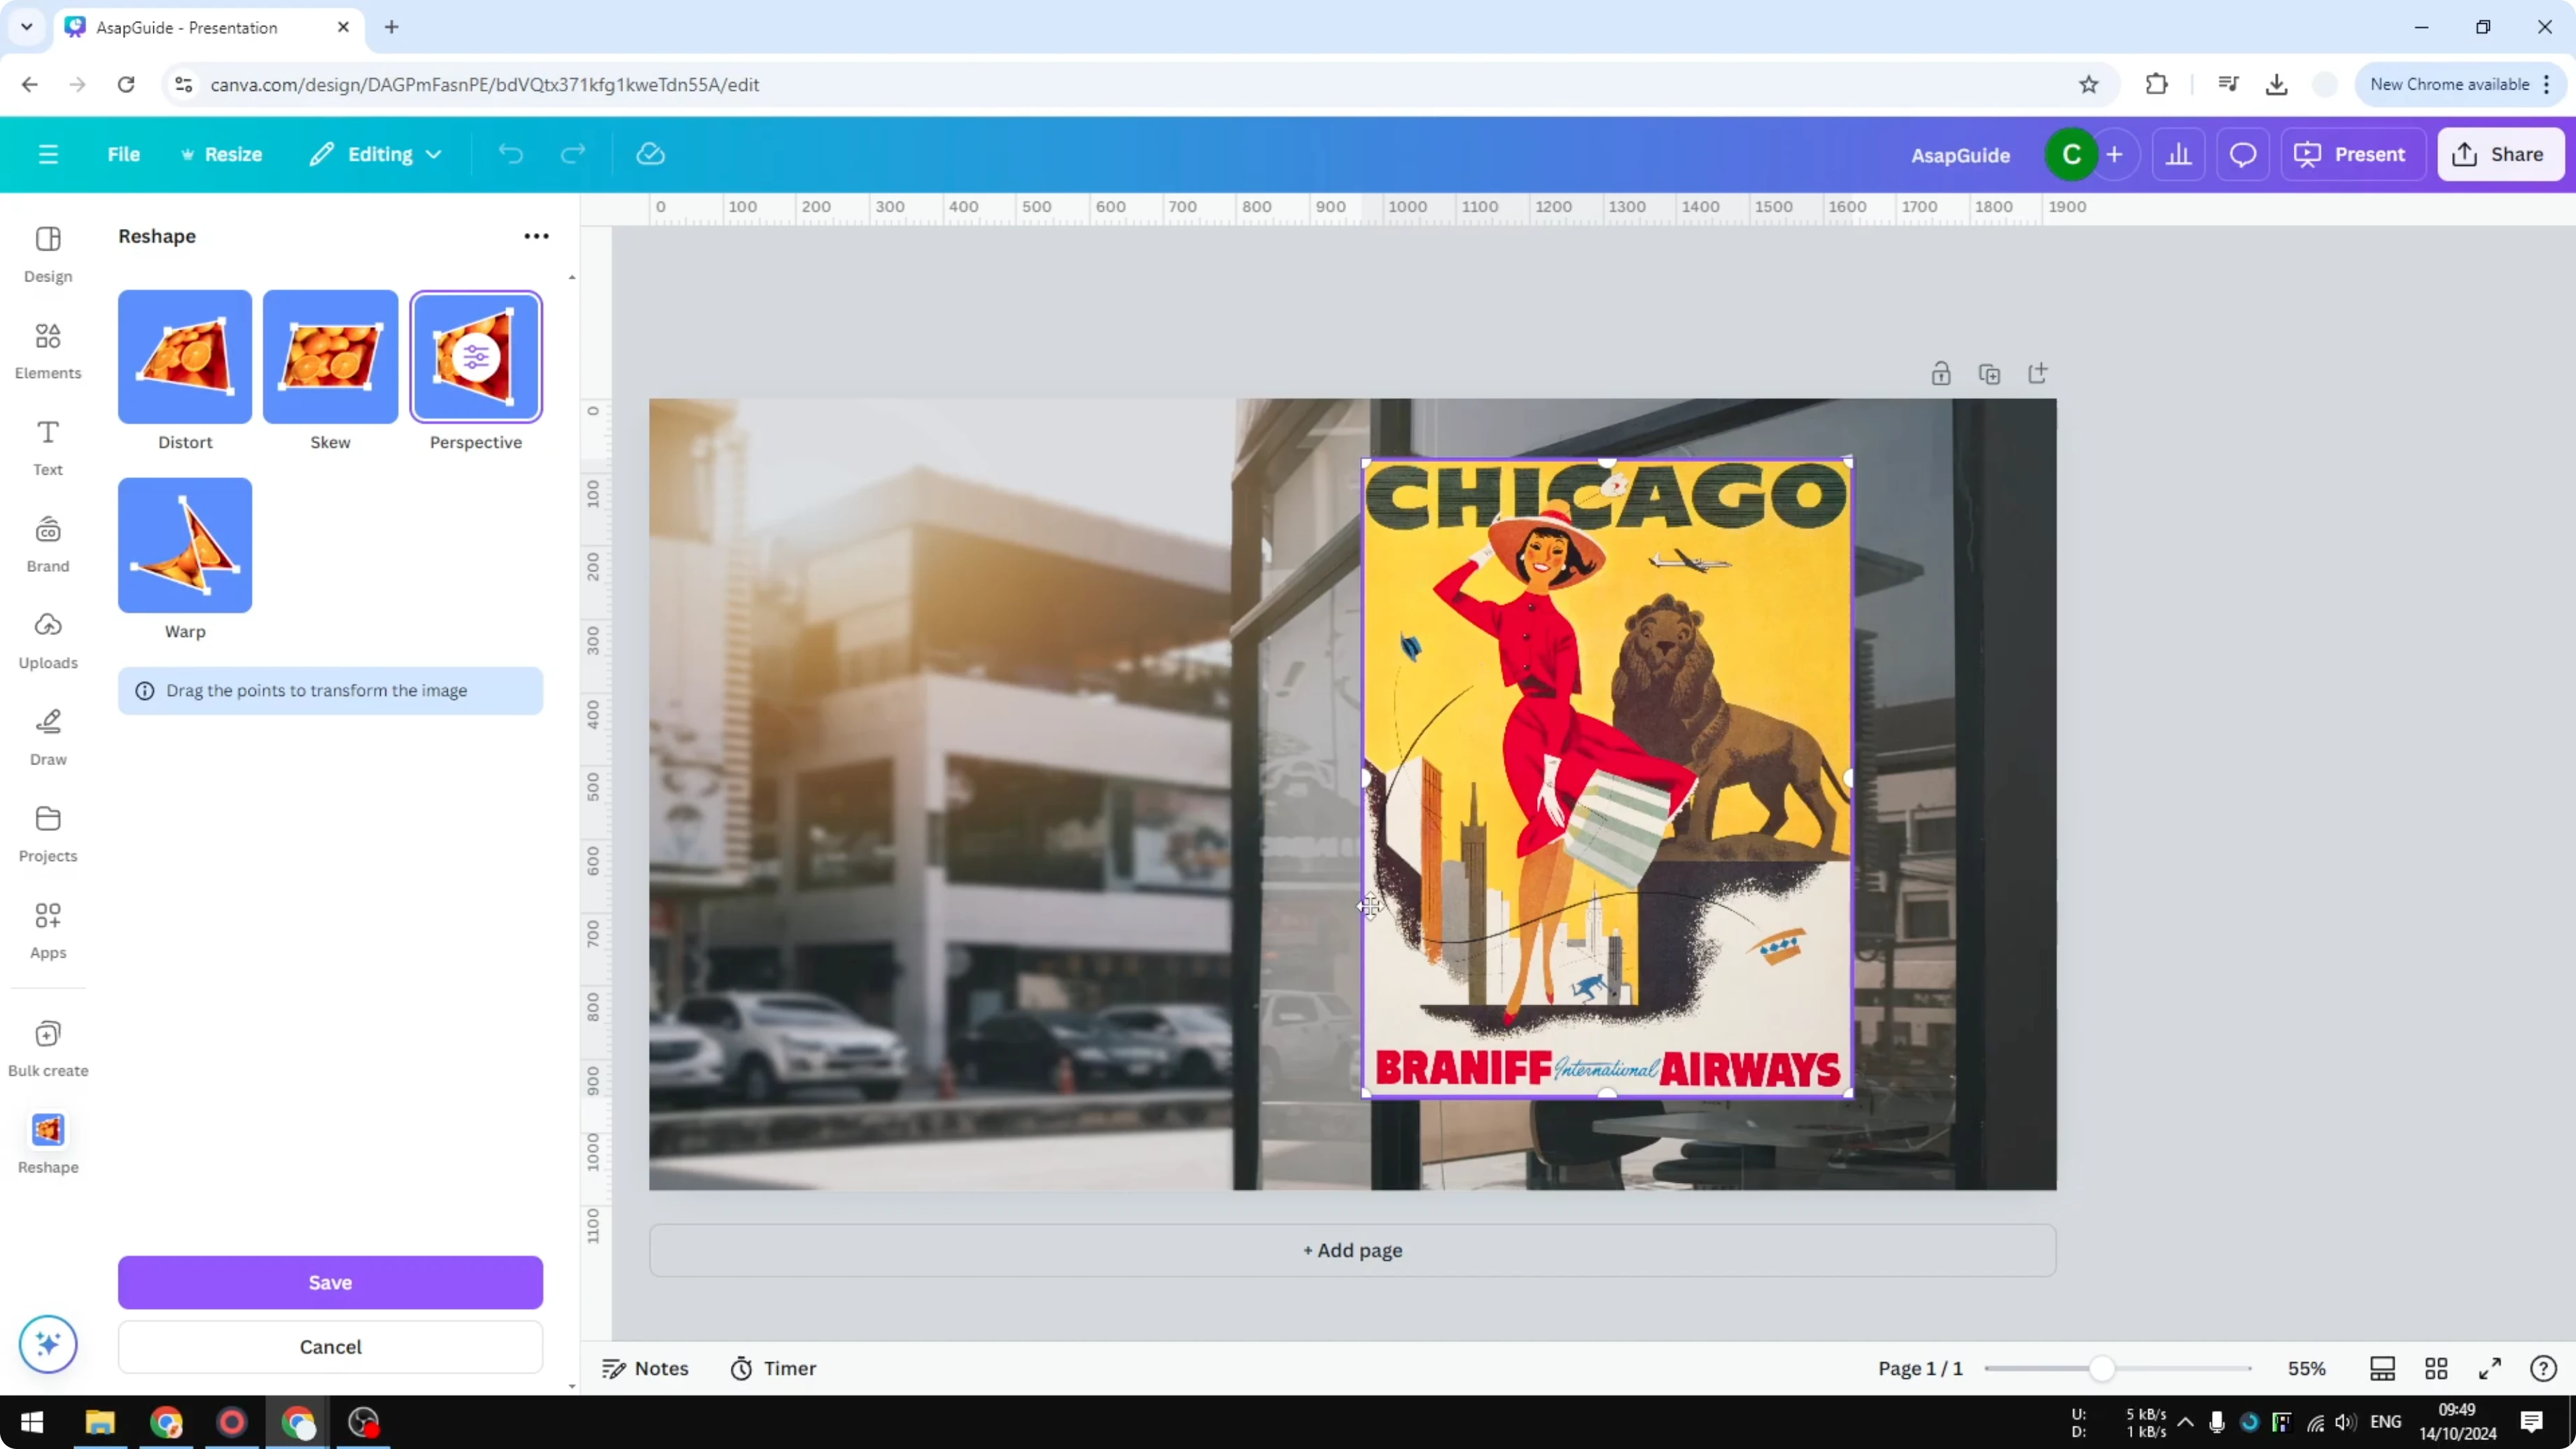
You will see eight control points that you can use to control the perspective of the picture.

Adjust control points
I make the left side smaller because the right side is bigger in the mockup.
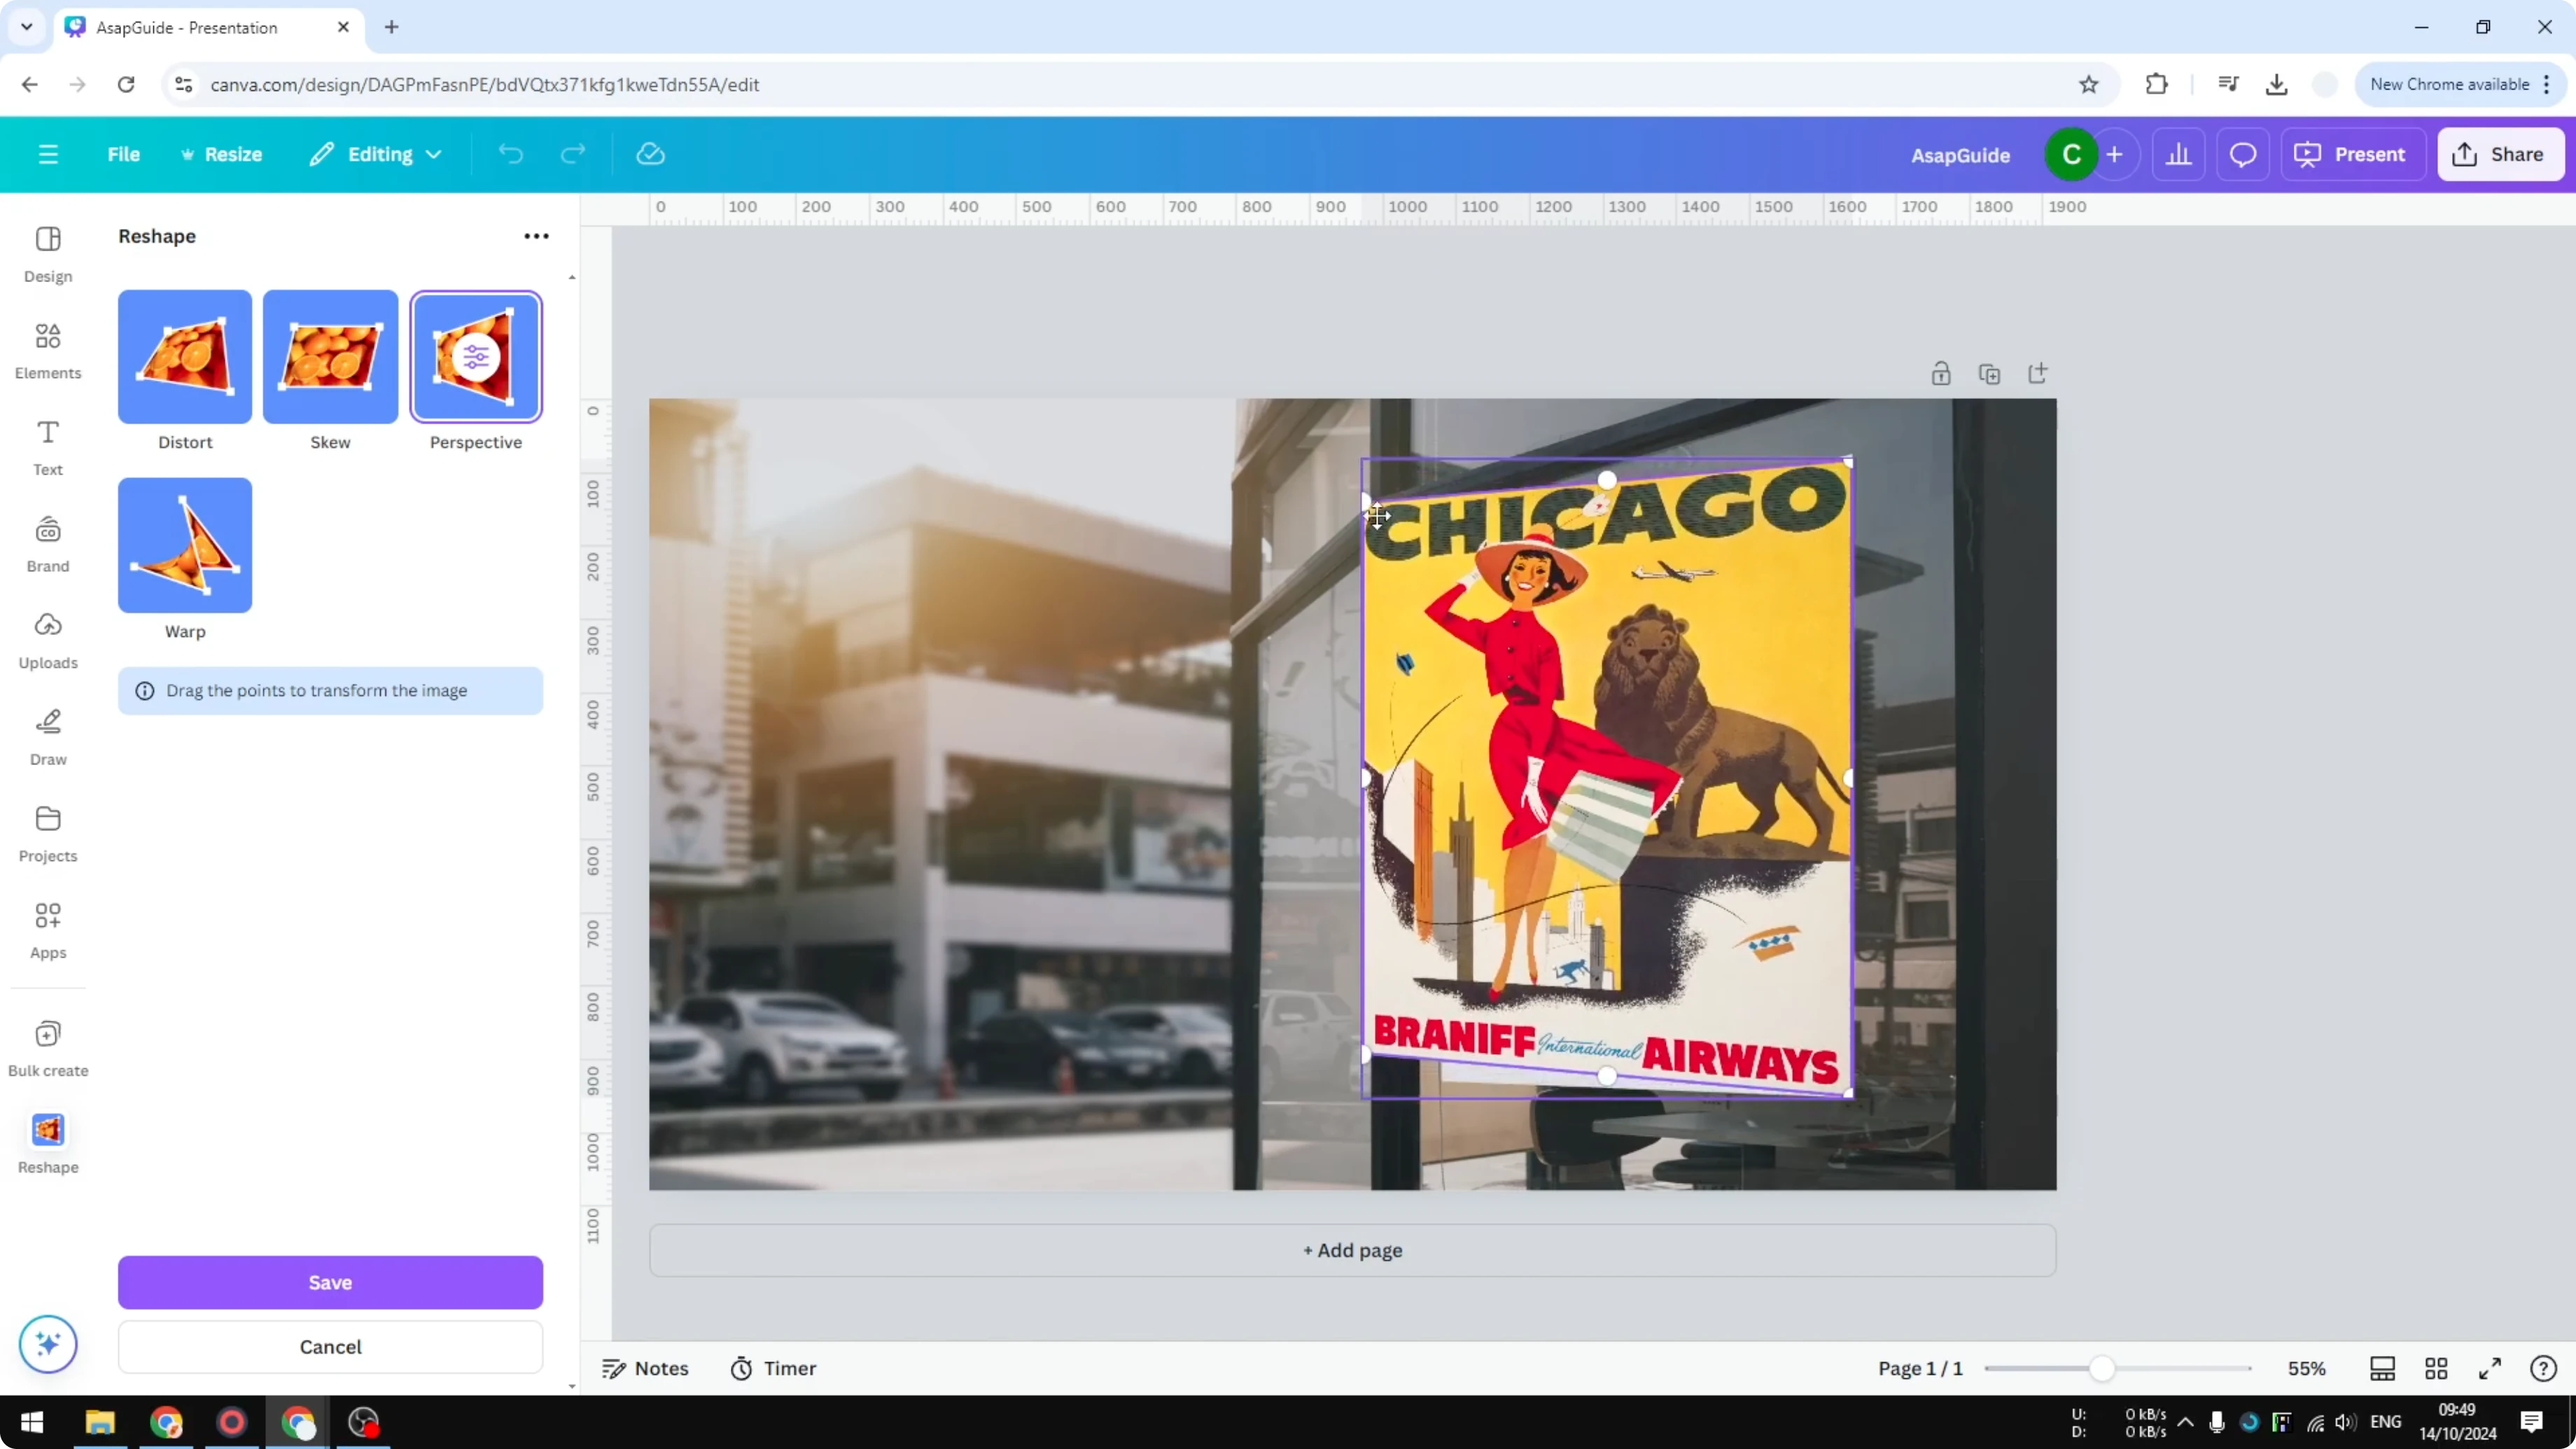
Move the points slightly toward the bottom if needed.
If the image becomes a little bigger than the actual photo, that is fine for now.
Click Save.
Reshape will upload a new photo to your Canva library that you can use in your design.
For a softer merge with the mockup, you can blend the edges of a photo in Canva.
Fit and finalize
Lower the Transparency so you can see the background and align the corners.
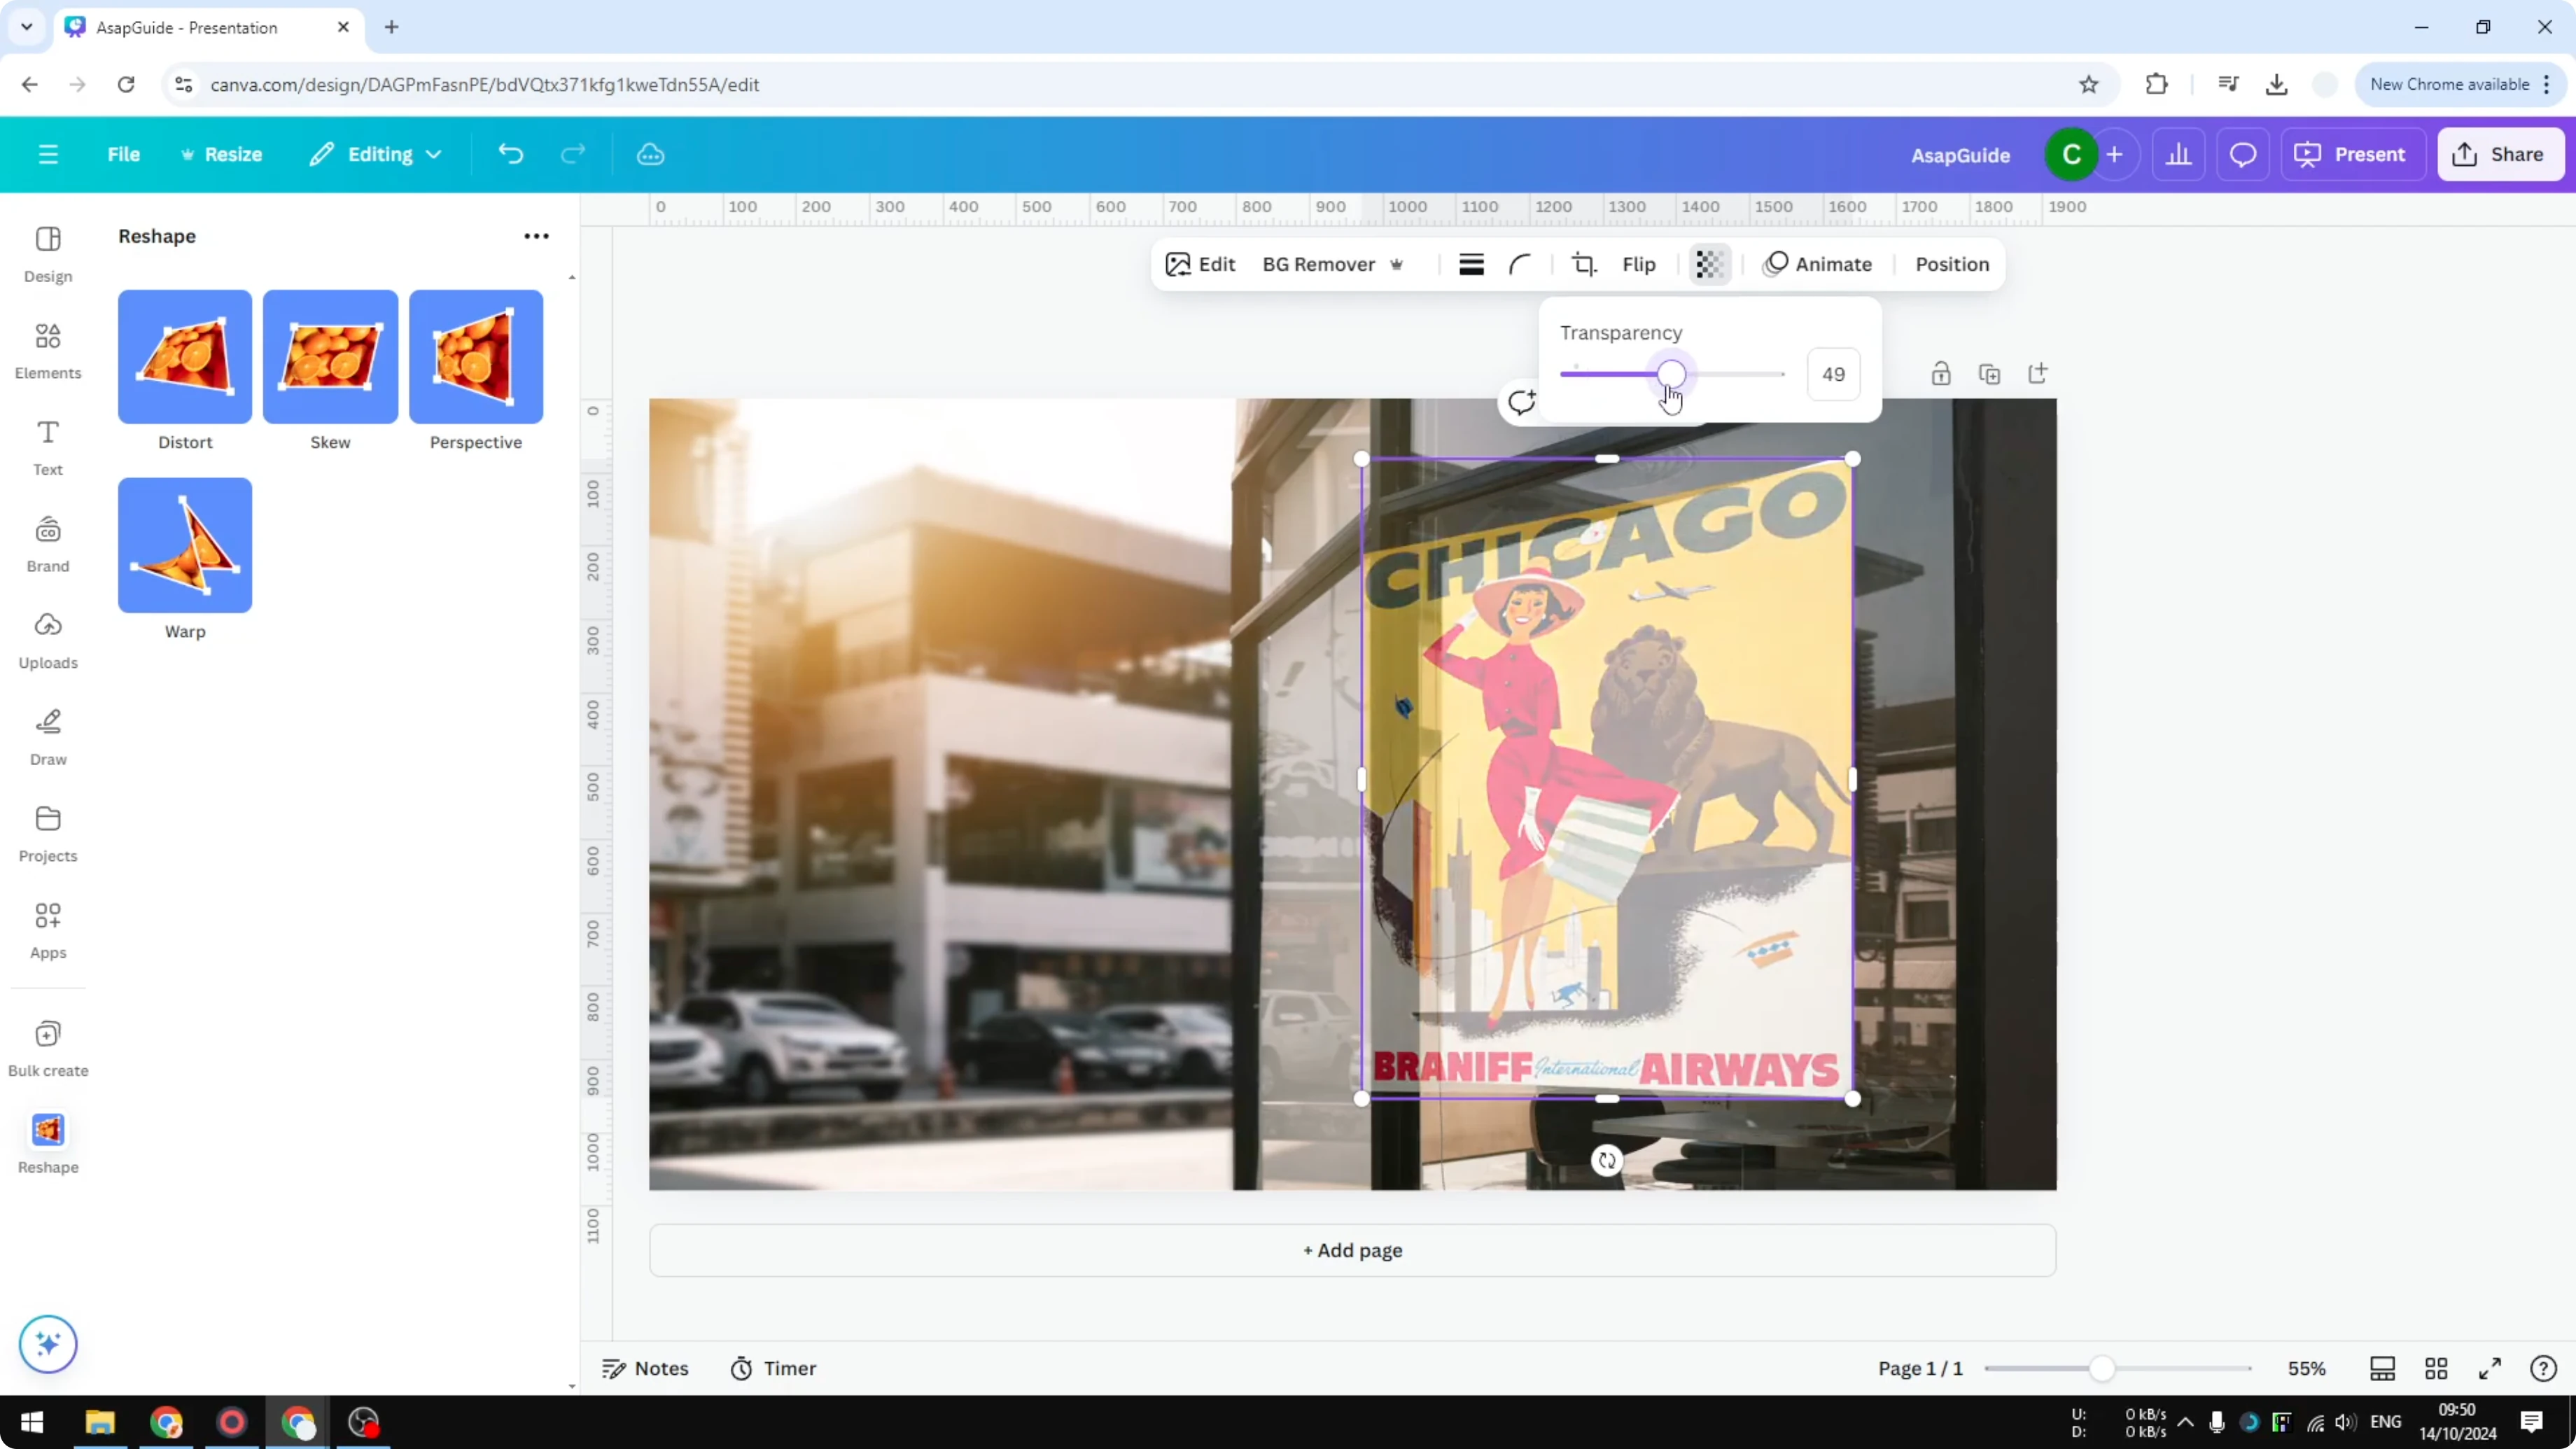
Close the tool panel if it is still open.
Double click the image and squeeze it to the size that fits the mockup.
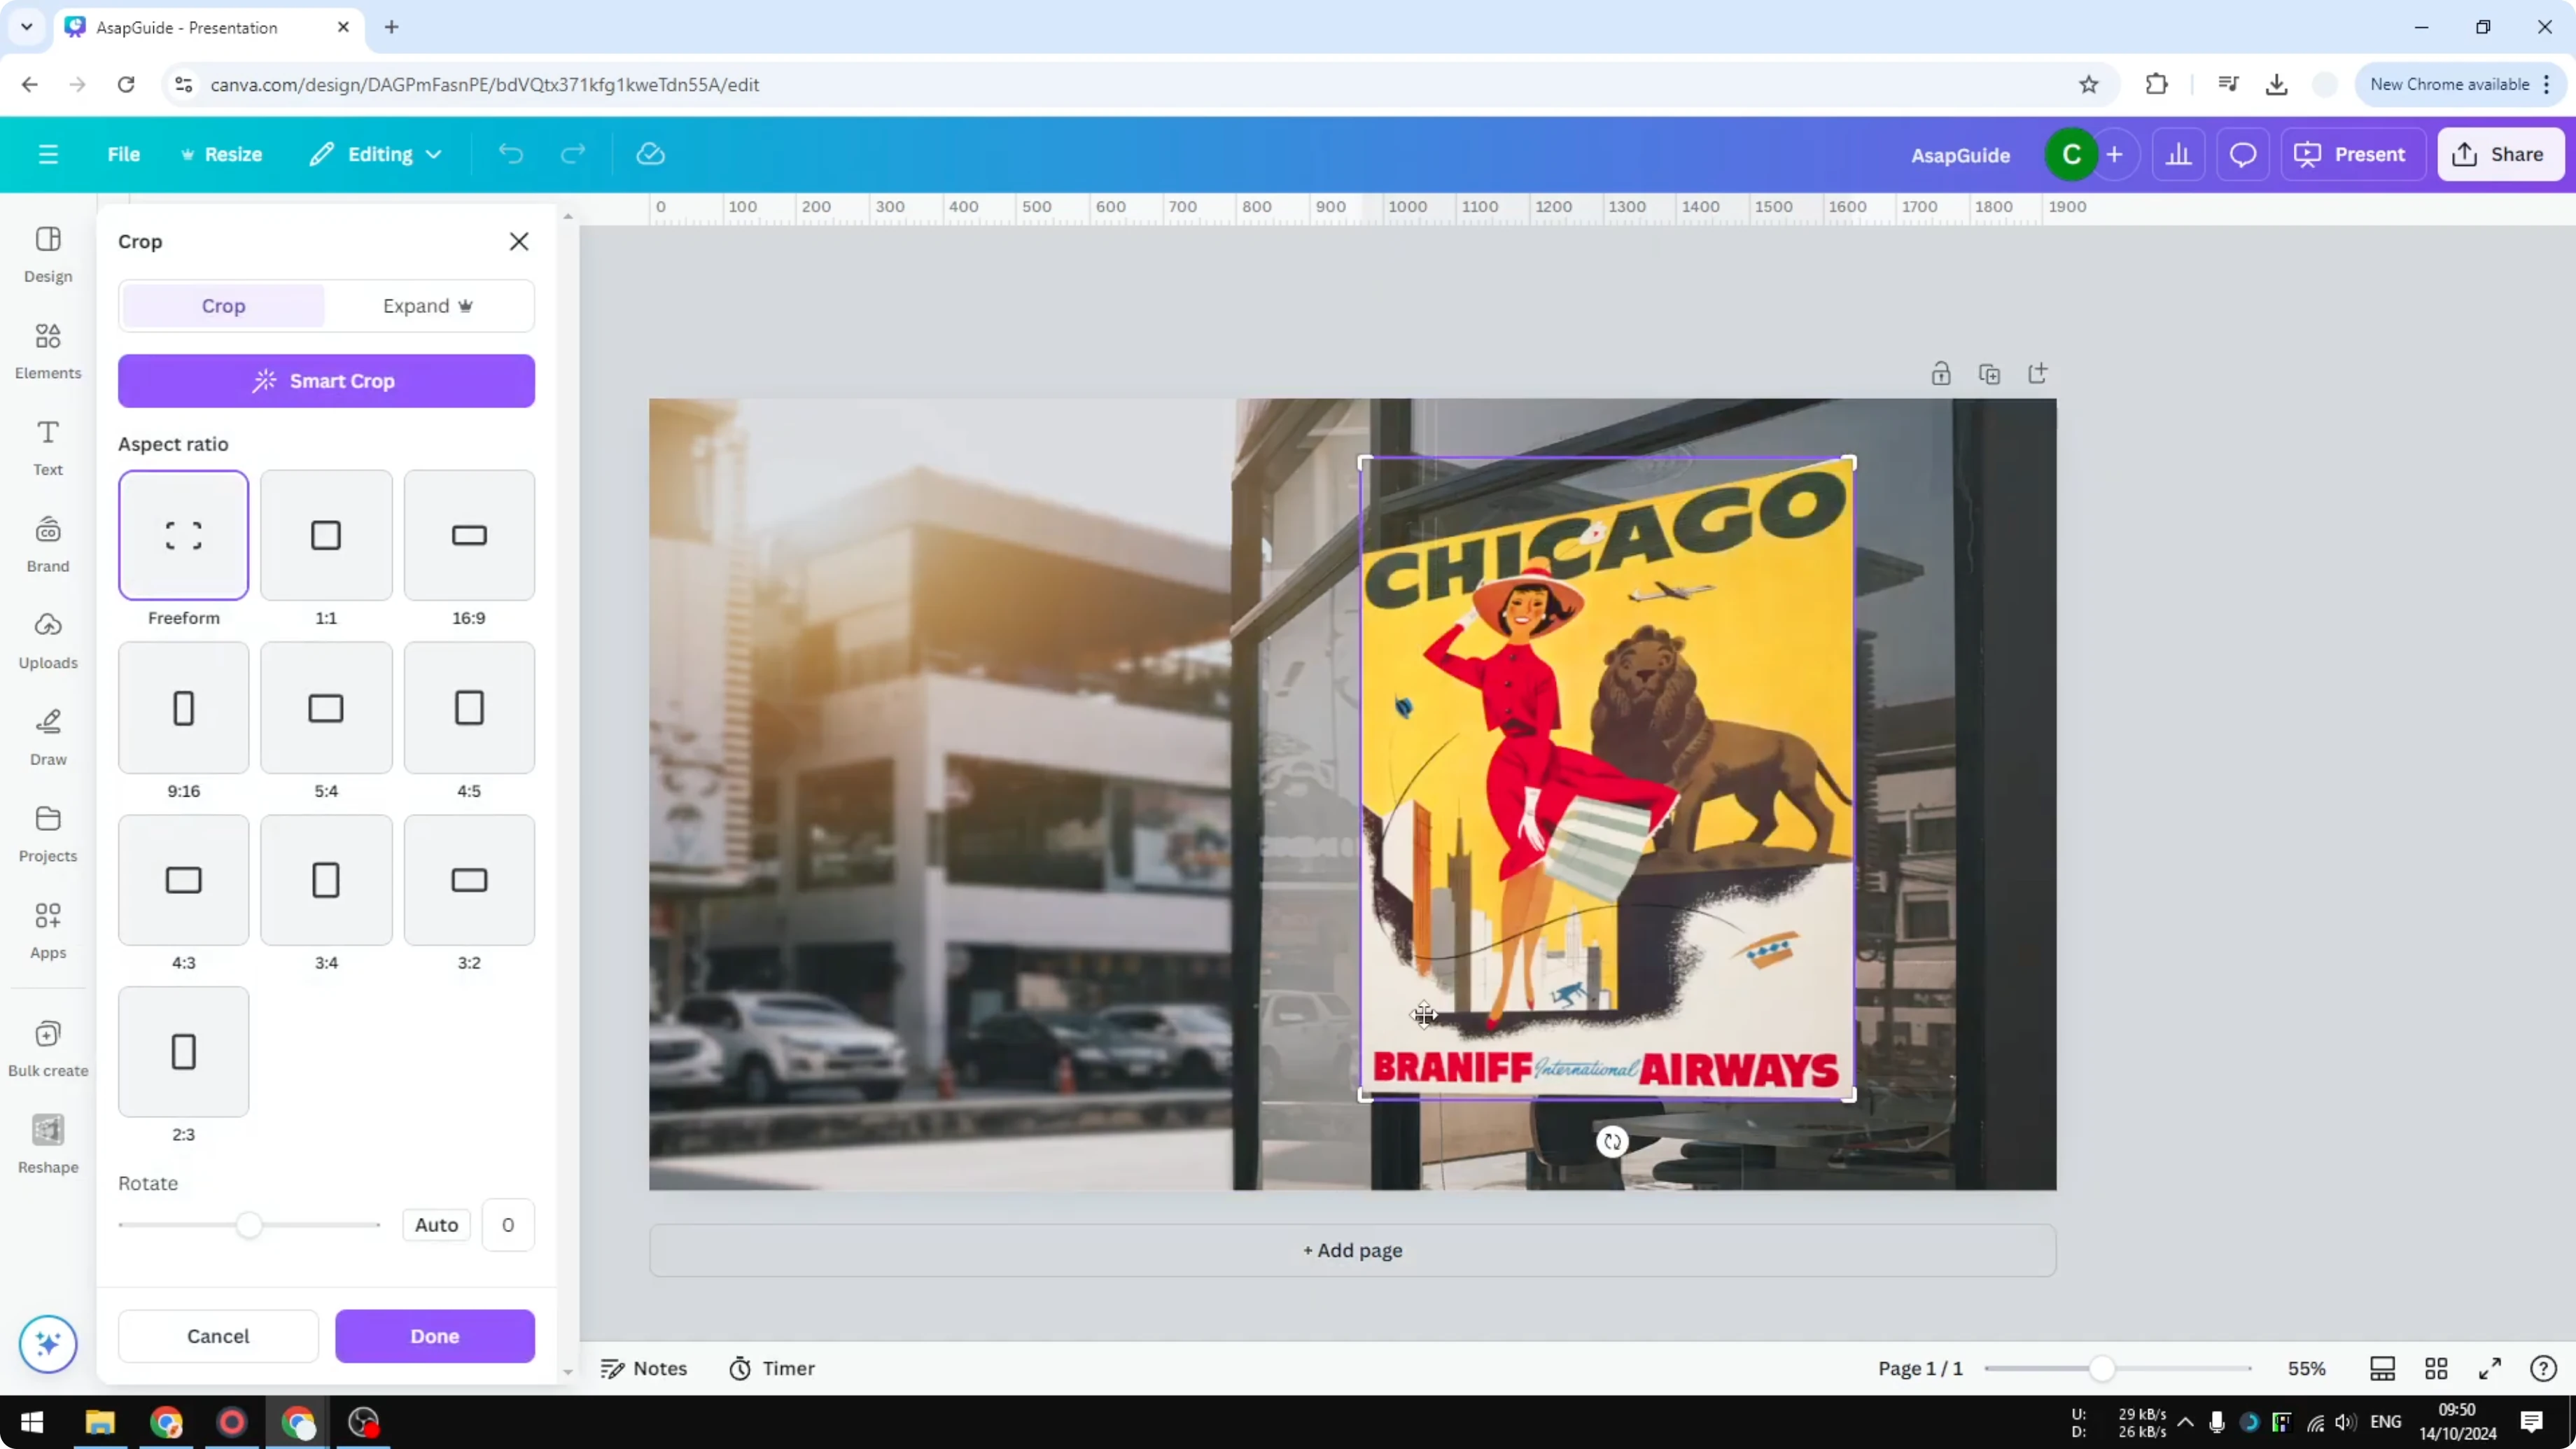
Press and hold Shift, then click and drag a corner control point into the target area.

Click the button to confirm, and the poster will sit in place.
That is how you can add a perspective effect to a photo in Canva.
Final Thoughts
The key steps are Reshape, Perspective, eight control points, and a final fit with Transparency for alignment. This workaround gives you control over angle and placement so the insert looks natural inside a mockup. If you want a different creative style after you place it, try an AI effect to turn a photo into a cartoon in Canva.
Recent Posts
How to Visualize Yourself as a Pixelized Character with AI?
How to Visualize Yourself as a Pixelized Character with AI?

How to Revive Faded Memories and Enhance Image Clarity with AI?
How to Revive Faded Memories and Enhance Image Clarity with AI?

How to Visualize Yourself as an Animal Crossing Character with AI?
How to Visualize Yourself as an Animal Crossing Character with AI?