How to Add Outline to a Photo in Canva
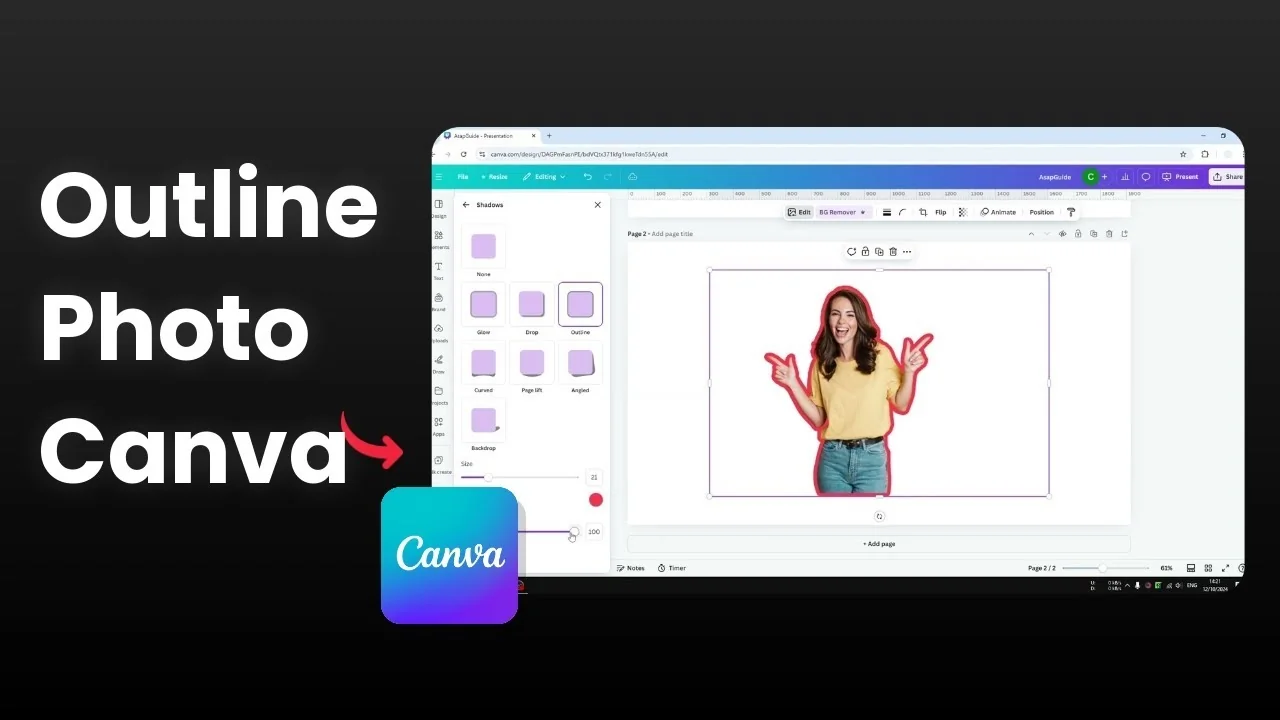
I will show you how to add an outline effect to a picture in Canva. I have a picture of a woman with a thick line surrounding her. This is a great way to make the element stand out.
Making this effect is quite easy in Canva.
Add Outline to a Photo in Canva
Prepare the subject
The picture has a background. The first thing you need to do is make the picture transparent by removing the background. You want to leave only the main subject.
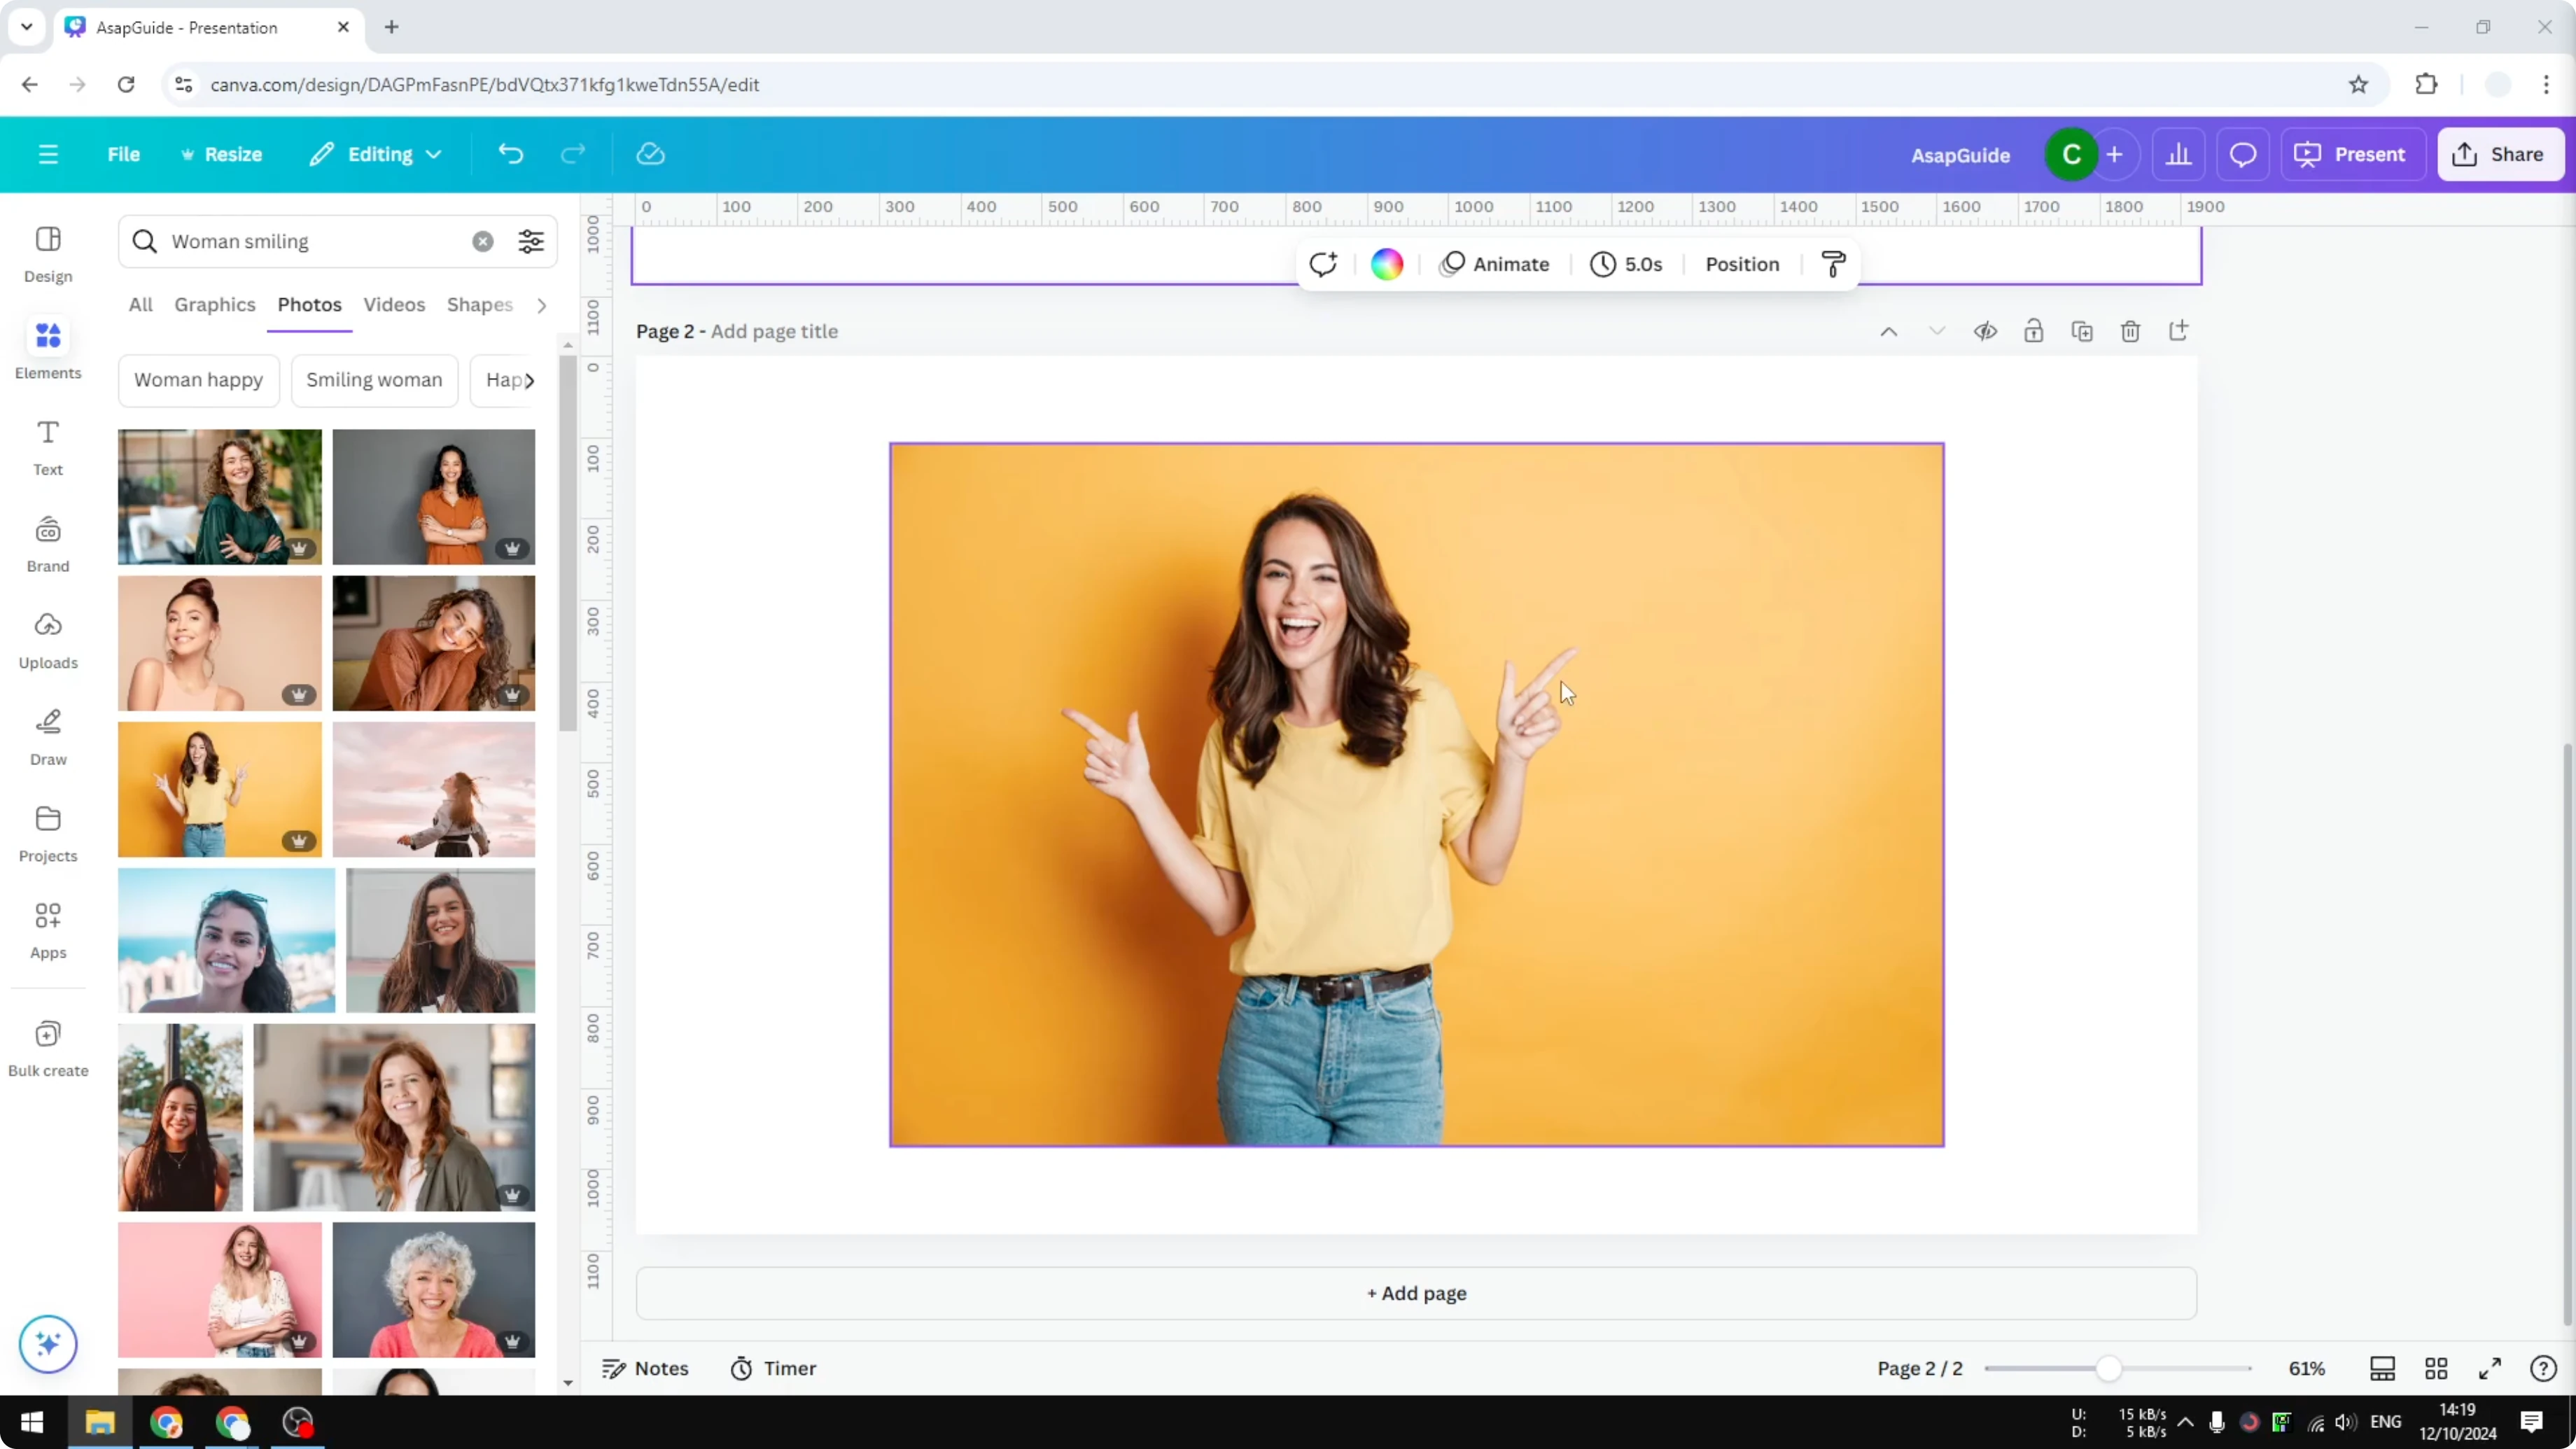
If you already have a transparent PNG on your computer, upload it to Canva and skip this process. If you have a regular picture with a background, remove it first.

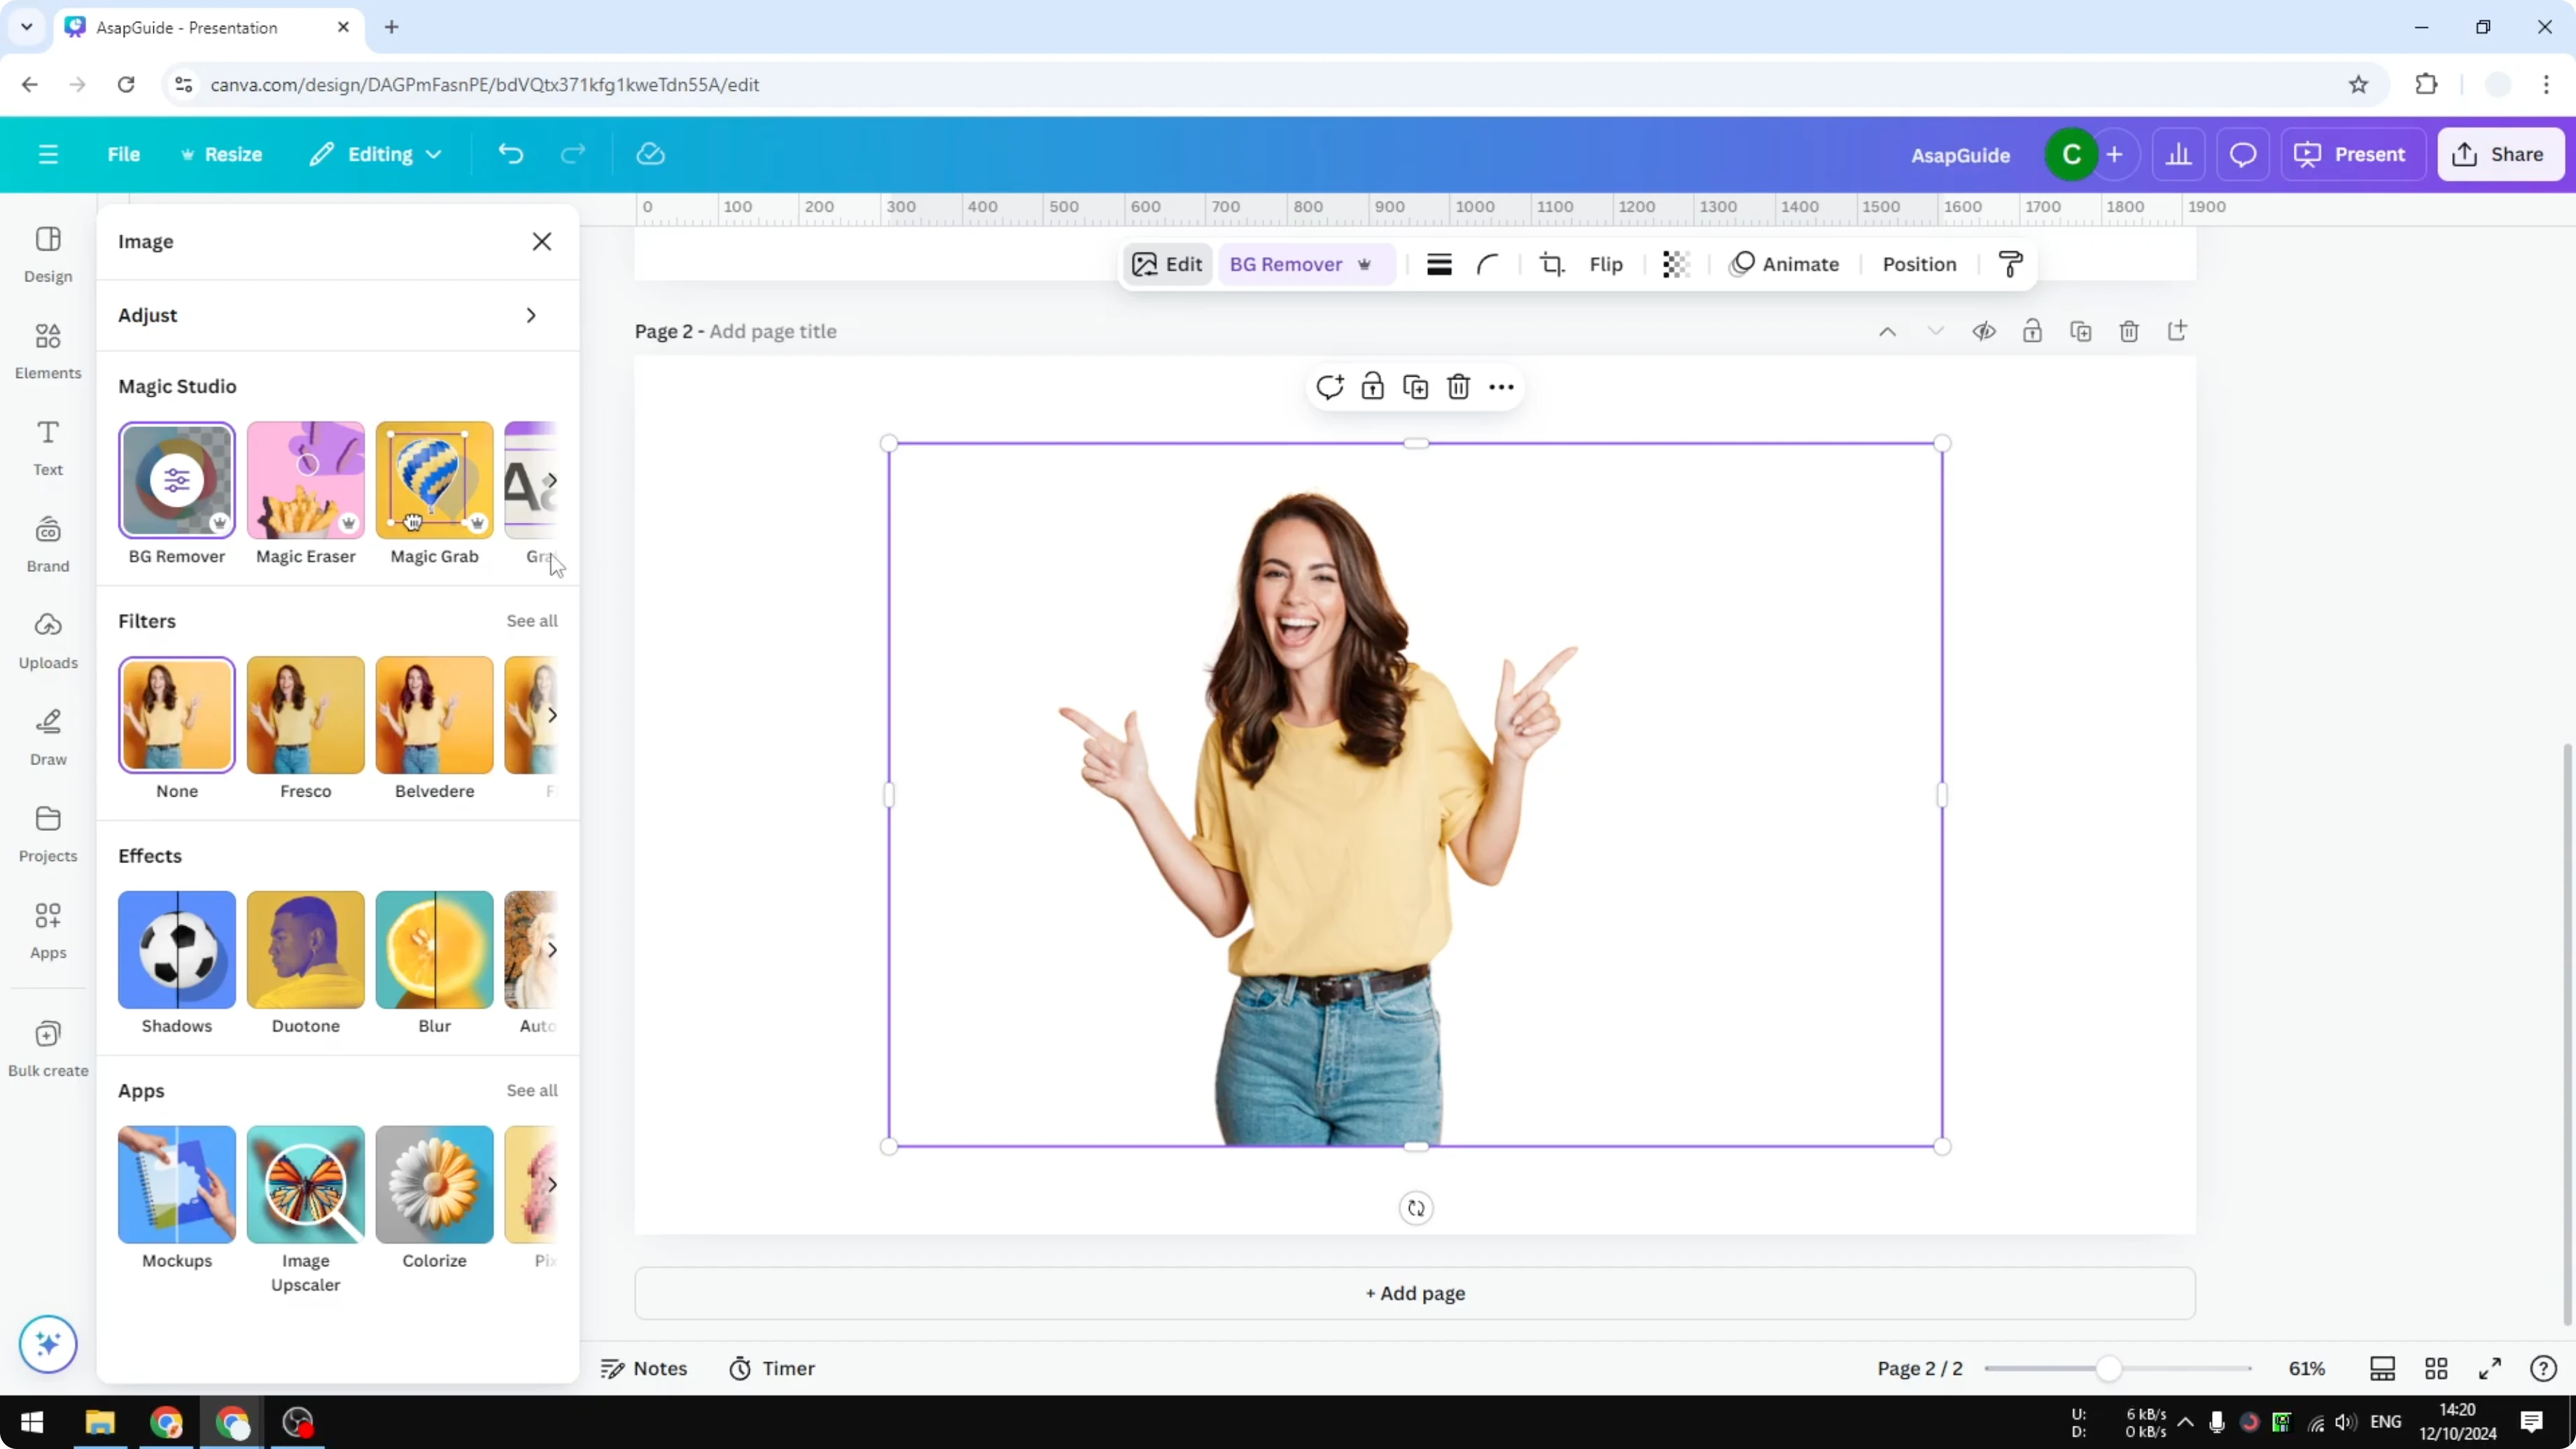
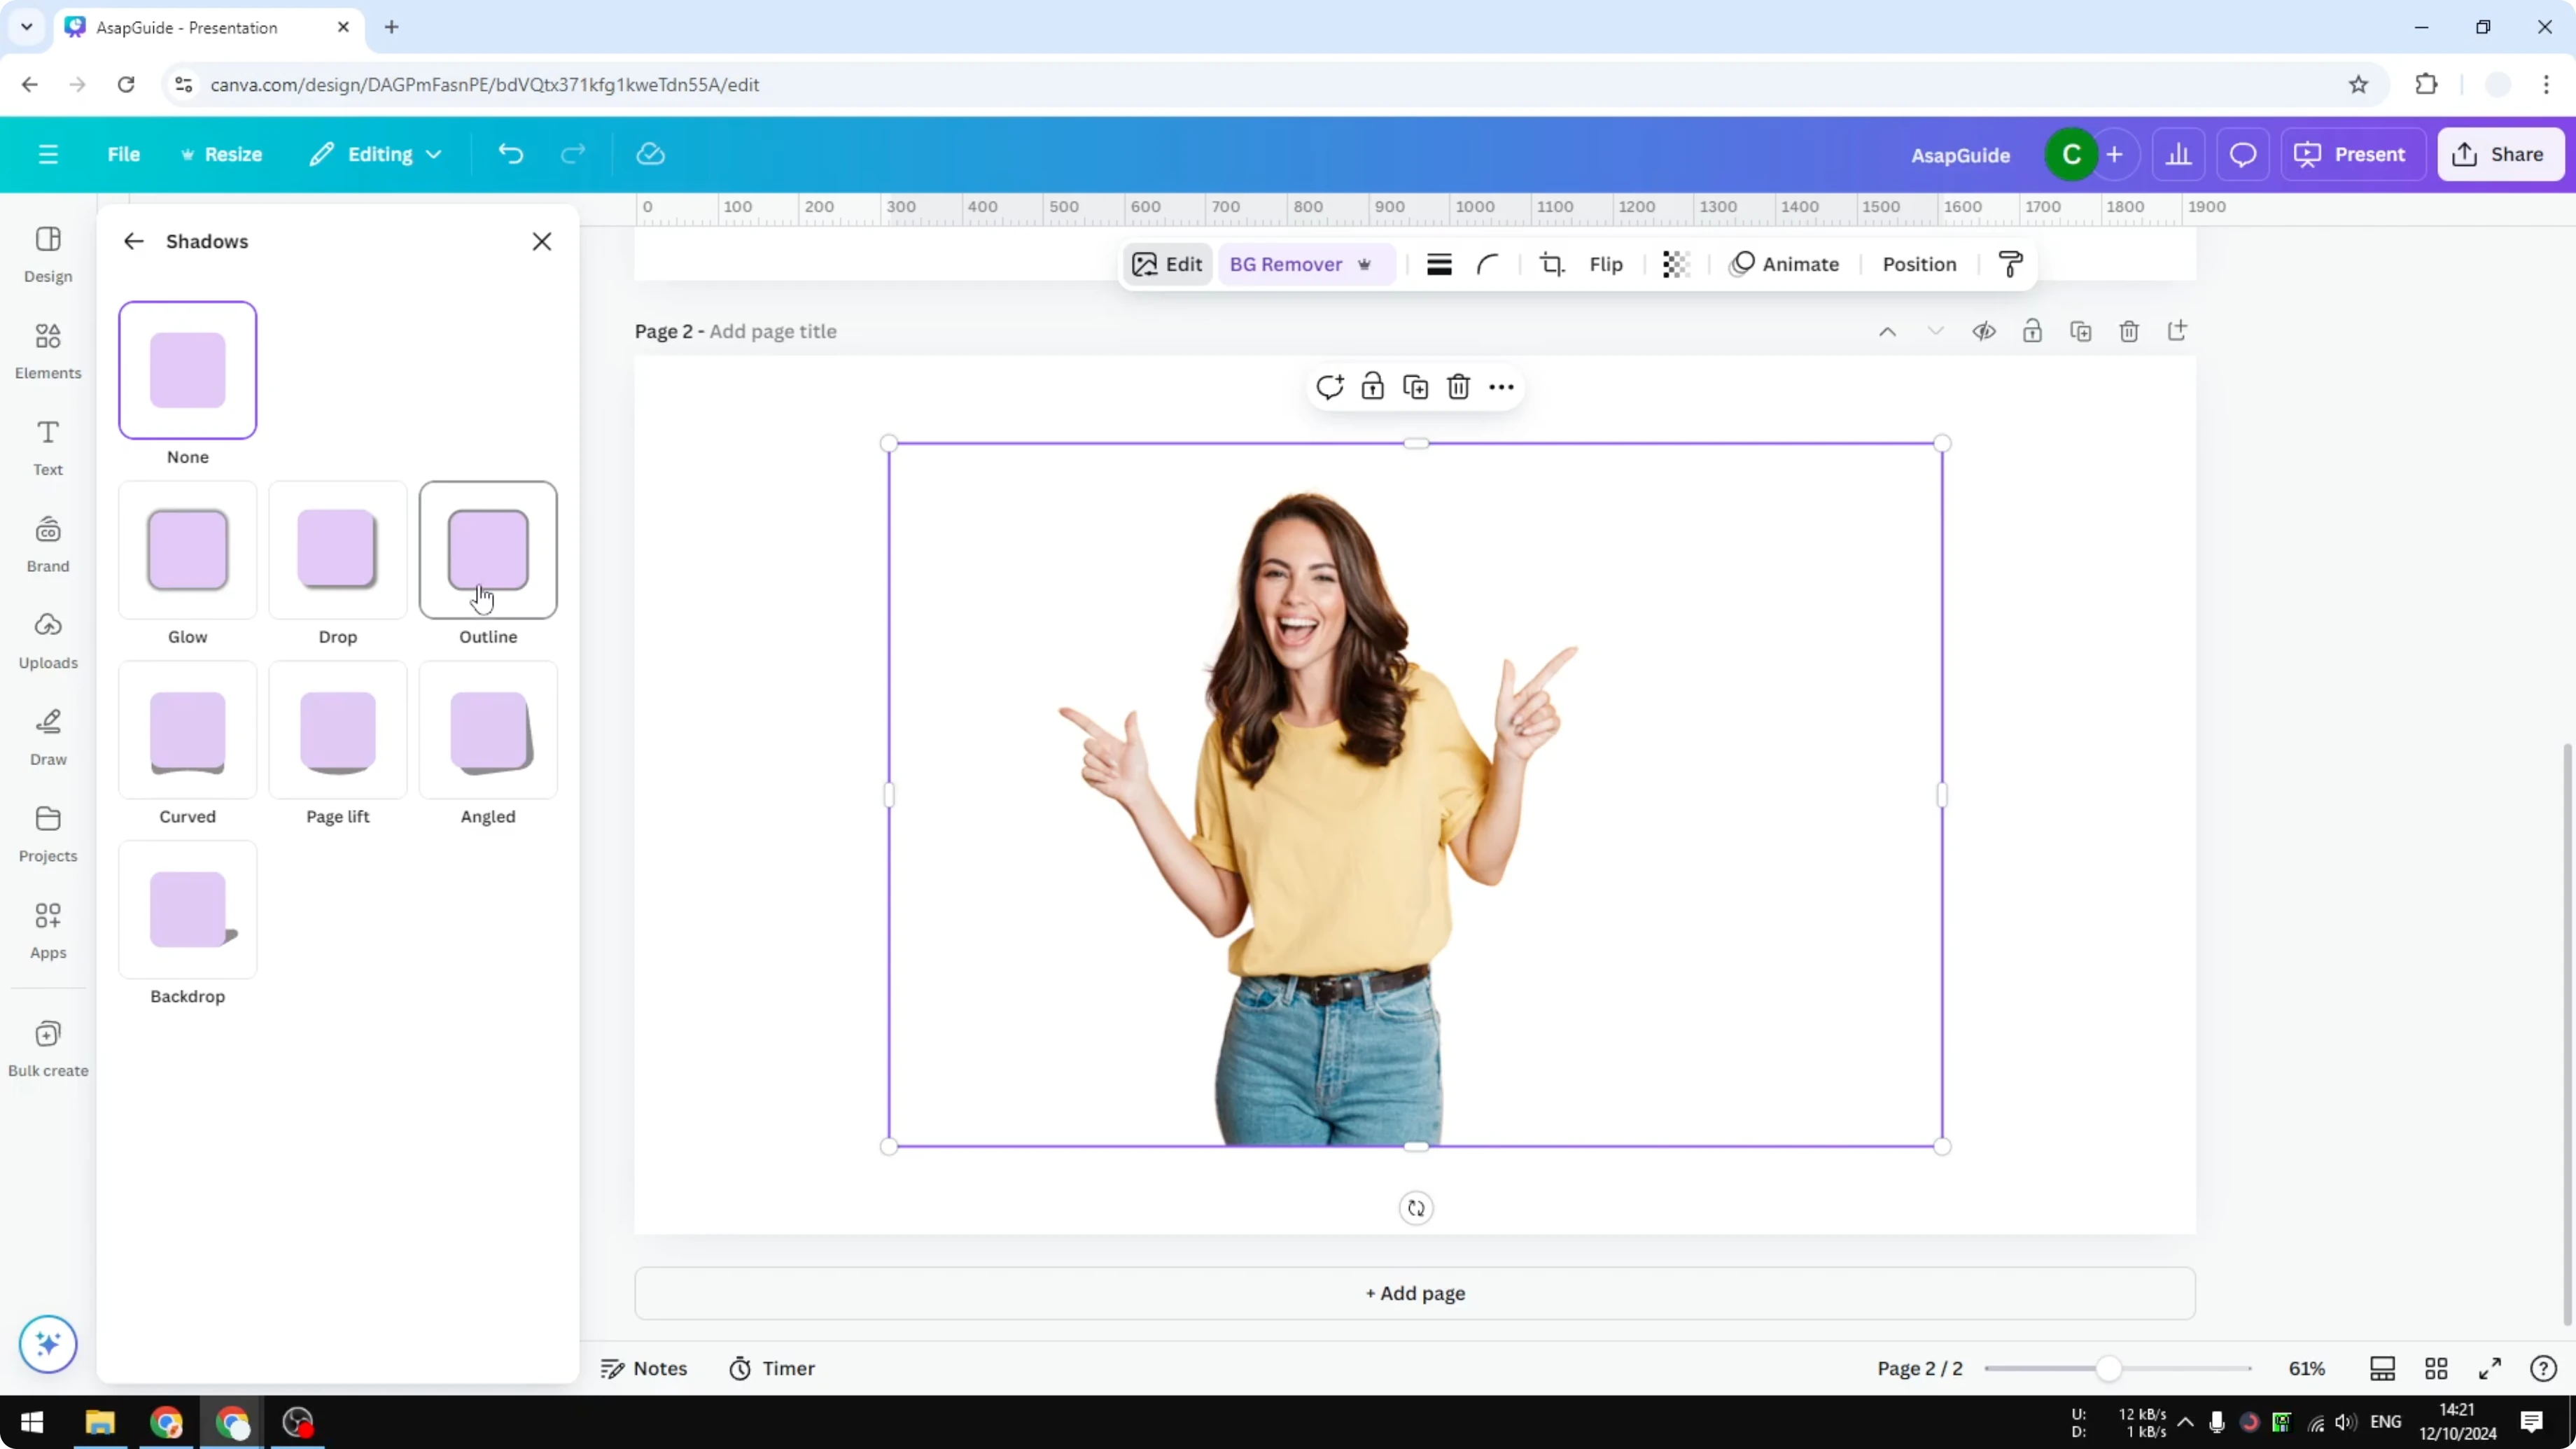
Remove background
Click the image. Click Background Remover in the toolbar or open Edit and select Background Remover. When it is done, the image is clean with no background.

Sometimes the image has a complicated background. Use Erase and Restore to make sure the AI is not accidentally removing the main subject. Adjust until the cutout looks right.
If you want to place the subject on a new scene, check our guide to add a background photo in Canva. It pairs well with an outlined cutout.
Refine edges
To soften the cutout before outlining, see how to add blending edges in Canva. This can help the subject sit better on complex backgrounds.
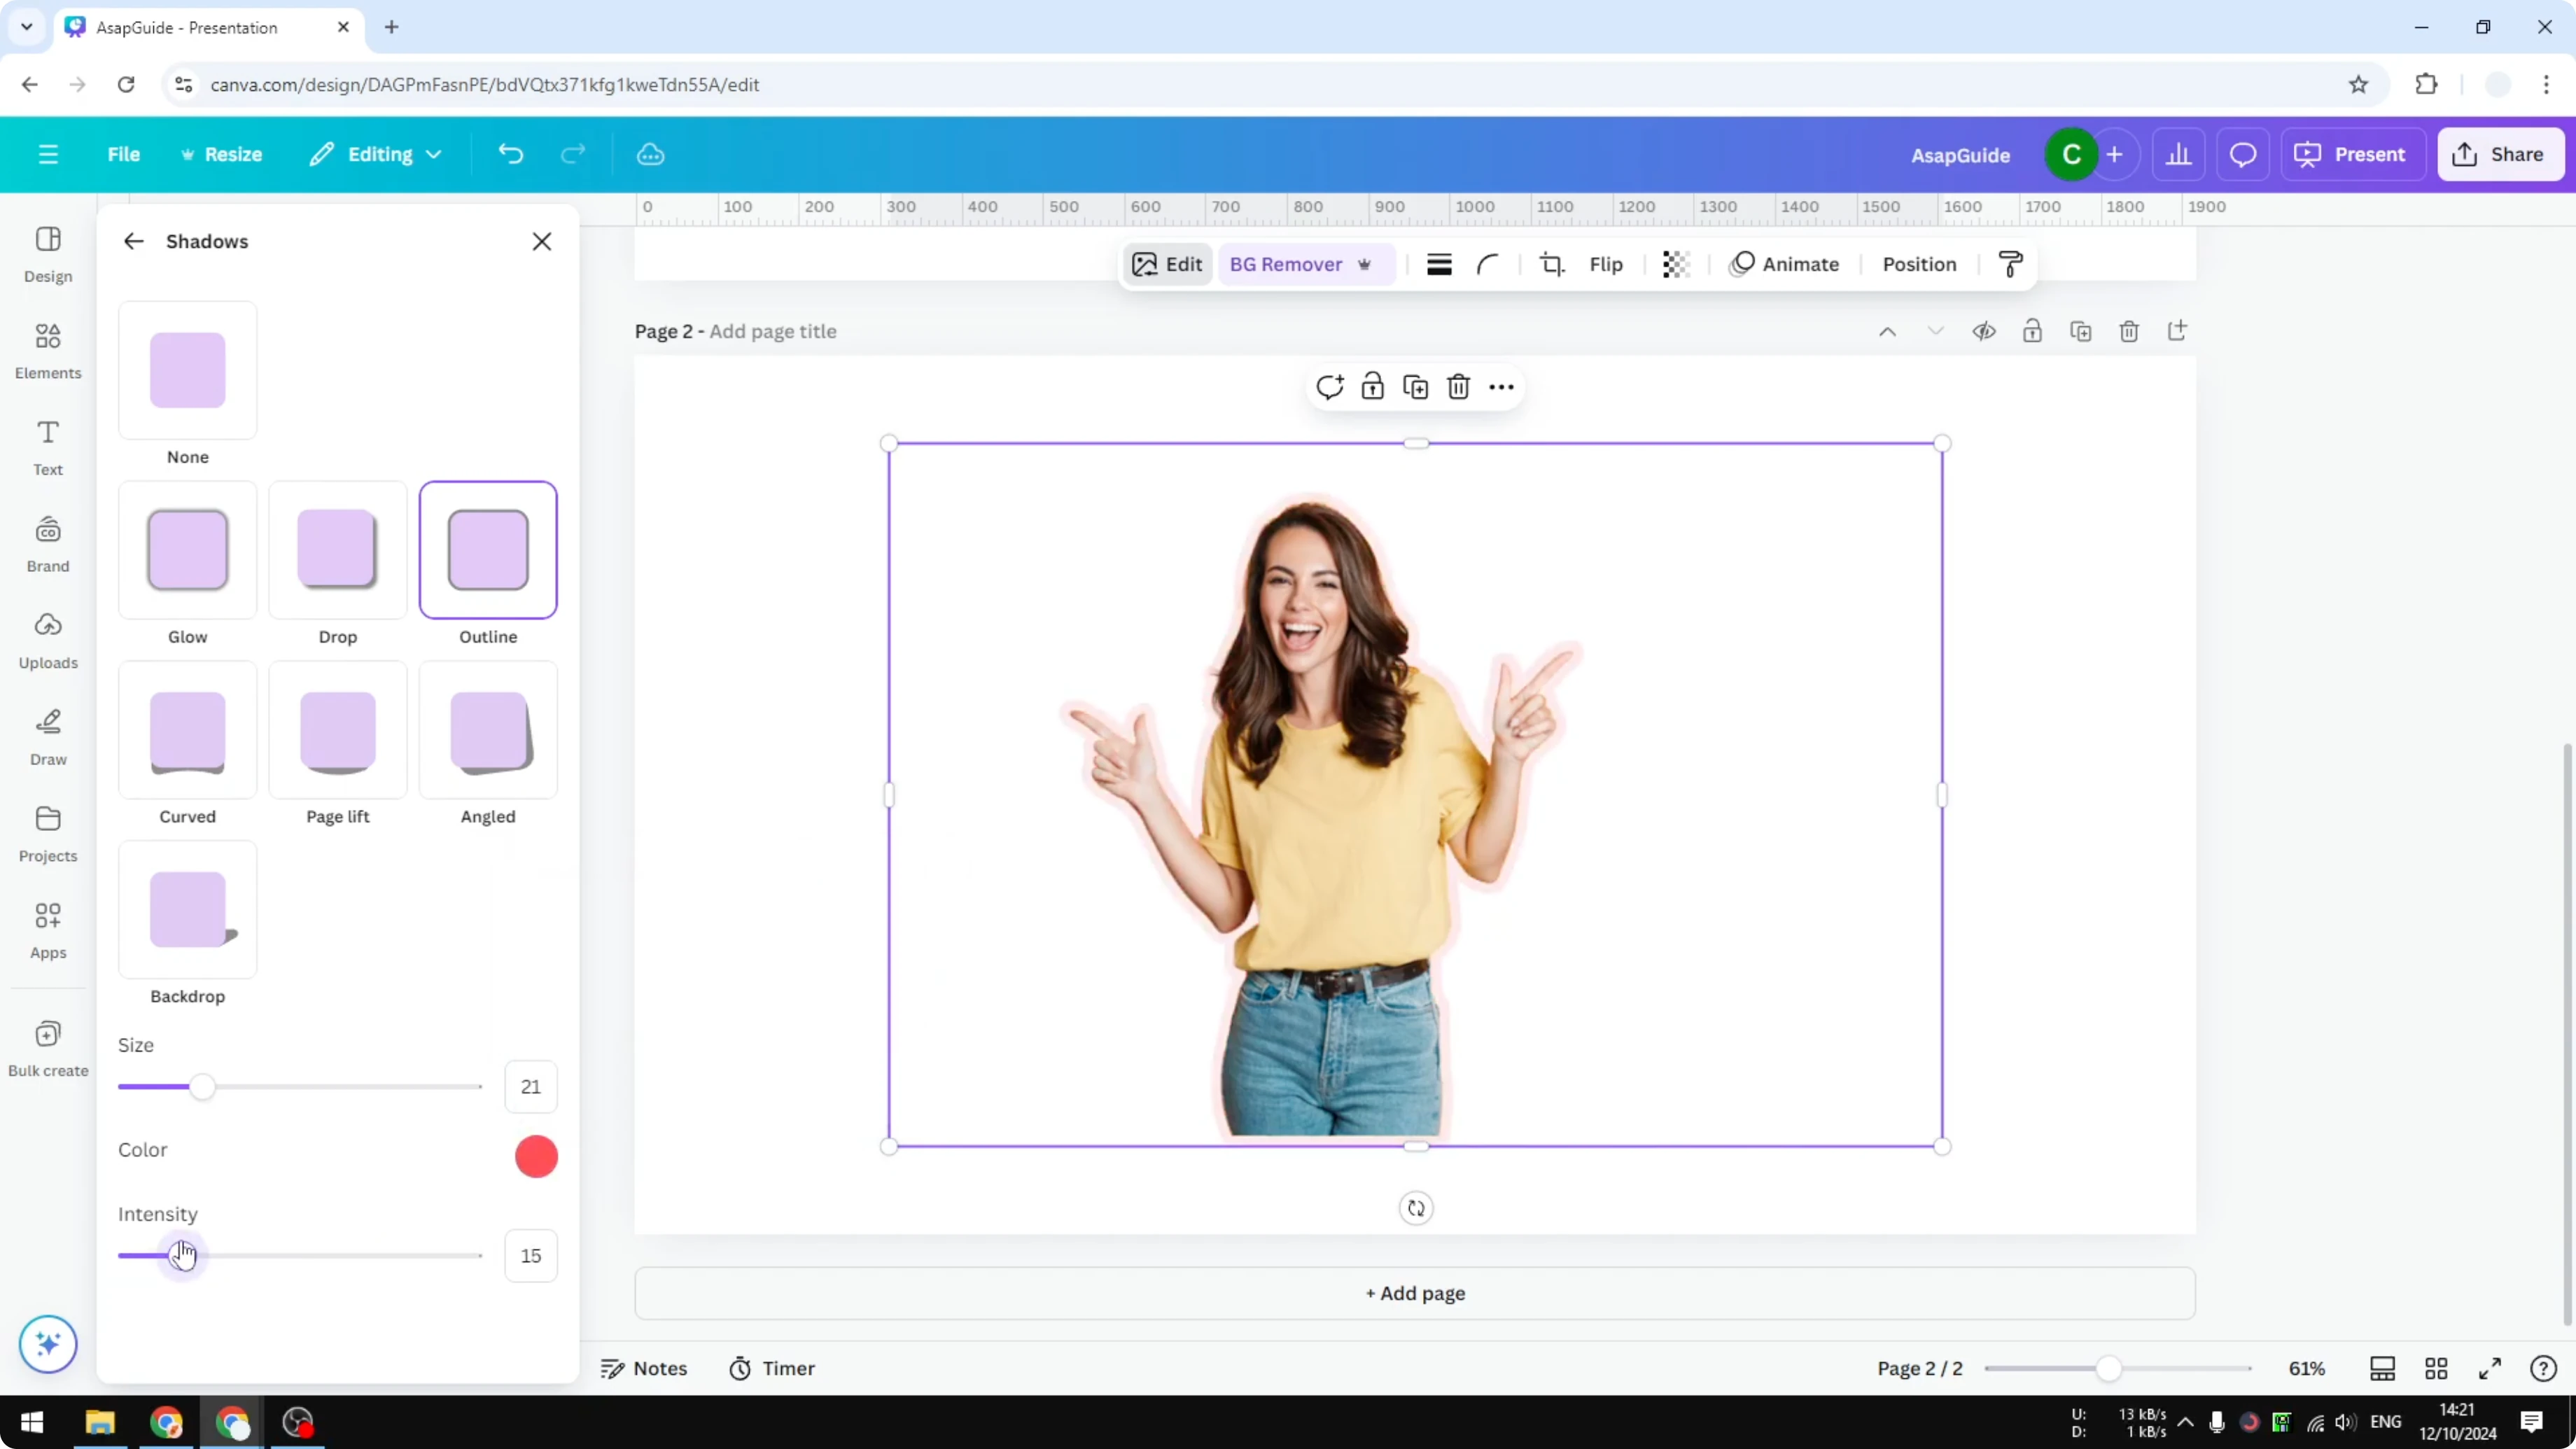
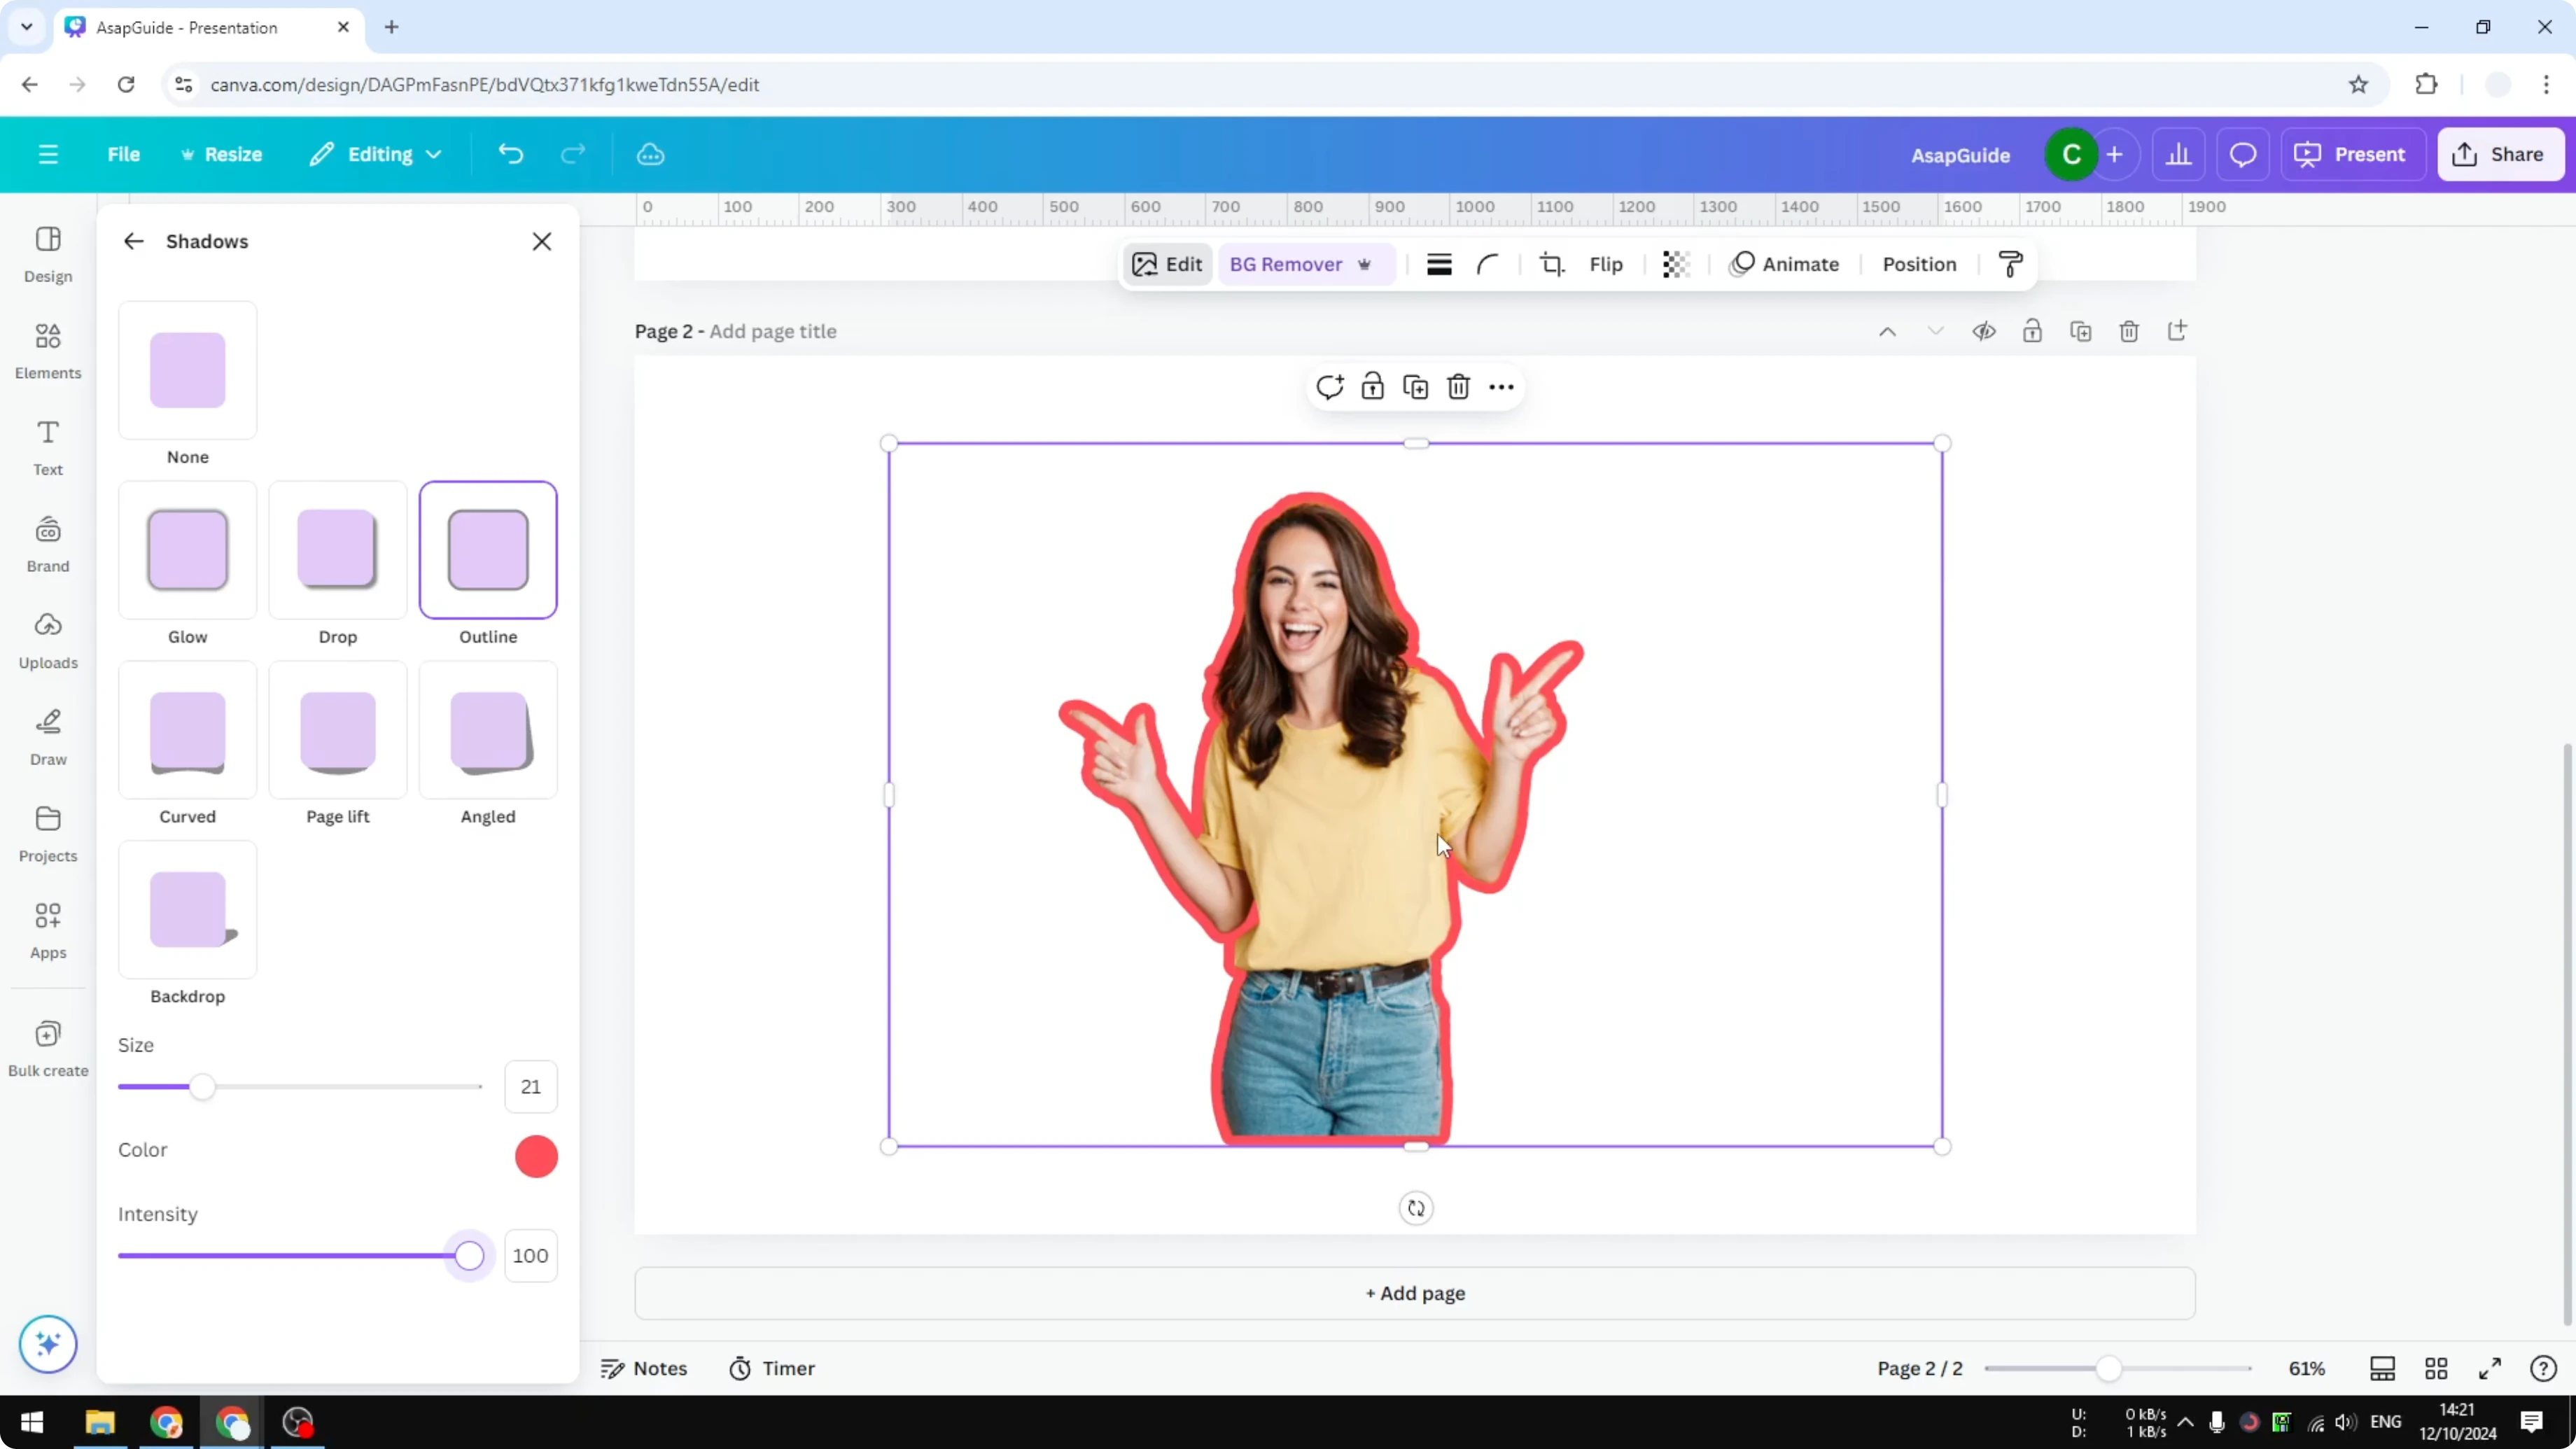
Apply the outline
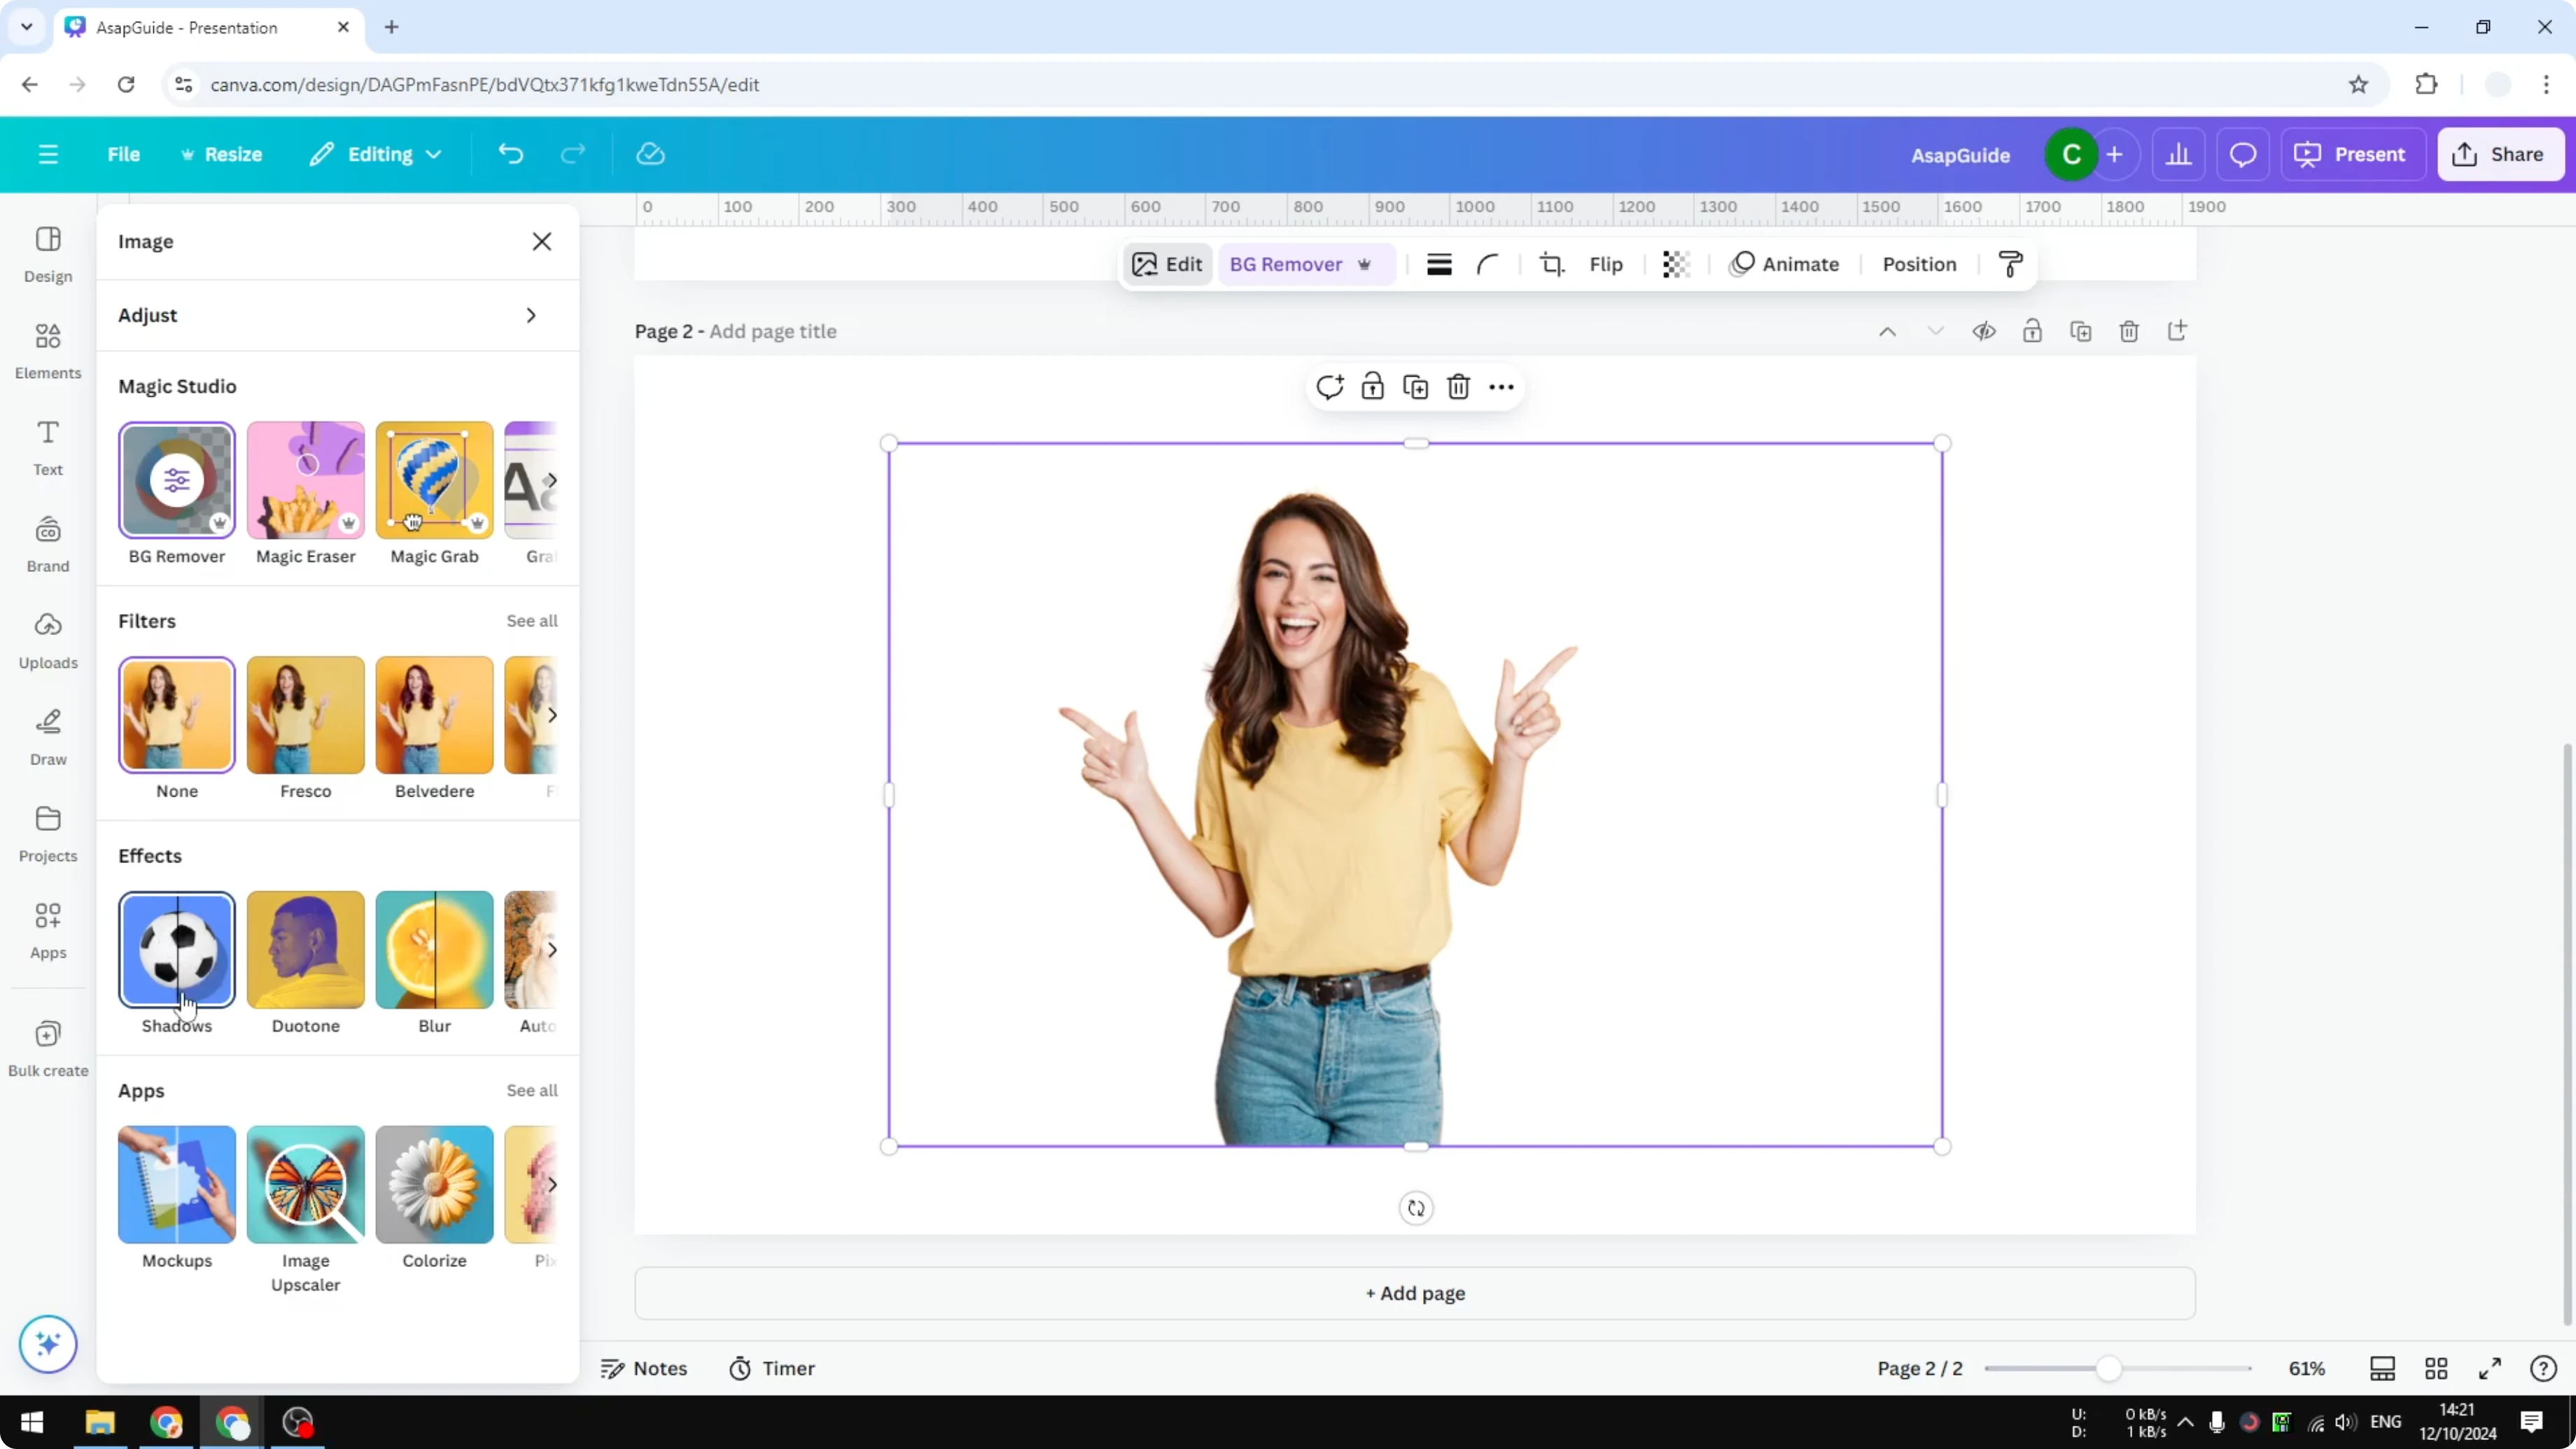
Open Shadows in the Effects panel. Click Outline. The effect wraps a line around the subject.
Adjust Size to control the thickness of the line. I like leaving it at 20 for a strong look. Pick the Color that matches your design.

Intensity controls the transparency of the effect. I leave it at 100 percent for a solid edge. Tweak as needed.
For a stylized look that pairs with outlines, try our guide to create a cartoon effect with Canva AI. It gives the subject a bold illustrated style.
Final thoughts
That is how to create an outline effect on a picture in Canva. Remove the background, apply the Outline shadow, and tune size, color, and intensity. This simple workflow makes your main subject pop.
Recent Posts
How to Visualize Different Hairstyles and Hair Colors with AI?
How to Visualize Different Hairstyles and Hair Colors with AI?

How to Transform Daytime Photos into Realistic Night Scenes with AI?
How to Transform Daytime Photos into Realistic Night Scenes with AI?
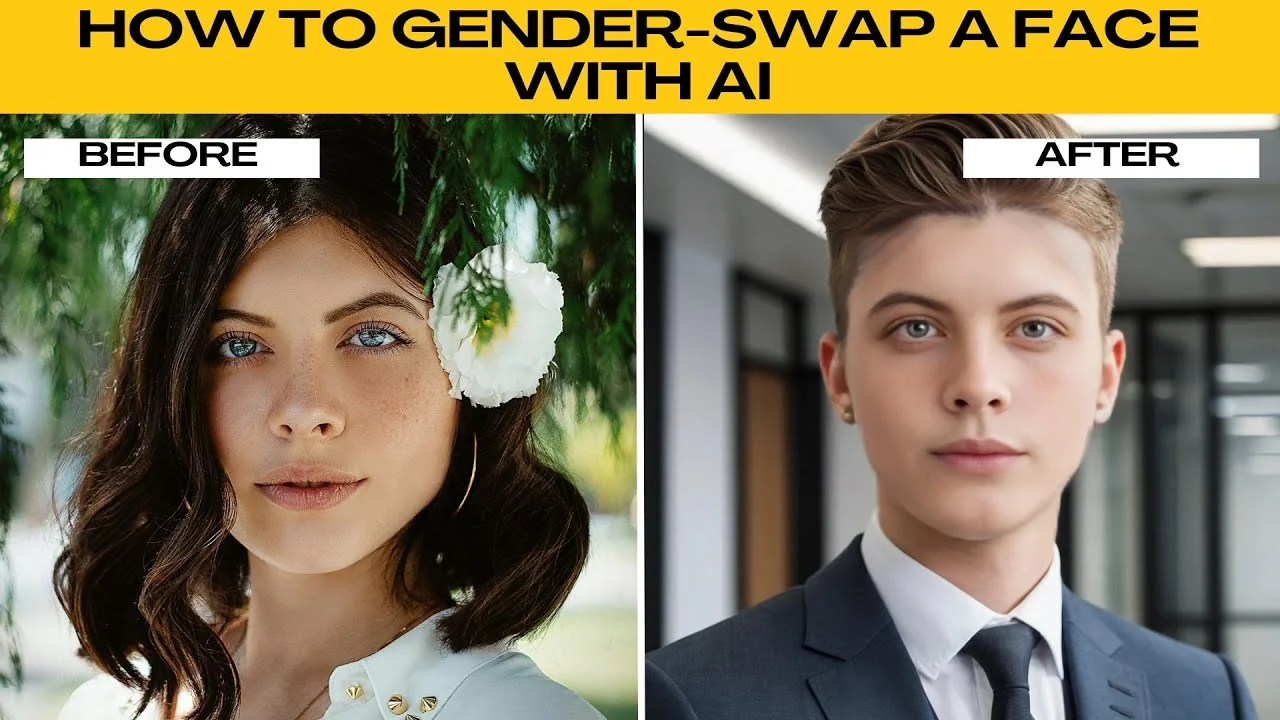
How to Visualize Yourself as the Opposite Gender with AI?
How to Visualize Yourself as the Opposite Gender with AI?