How to Reduce File Size in Canva
I am going to show you how you can reduce the file size in Canva when you are downloading your project or your design. You have plenty of options to customize the quality of the picture or the video, and if you are willing to sacrifice the quality just a little bit, you should be able to get a smaller file size.
Reduce File Size in Canva: Establish a Baseline
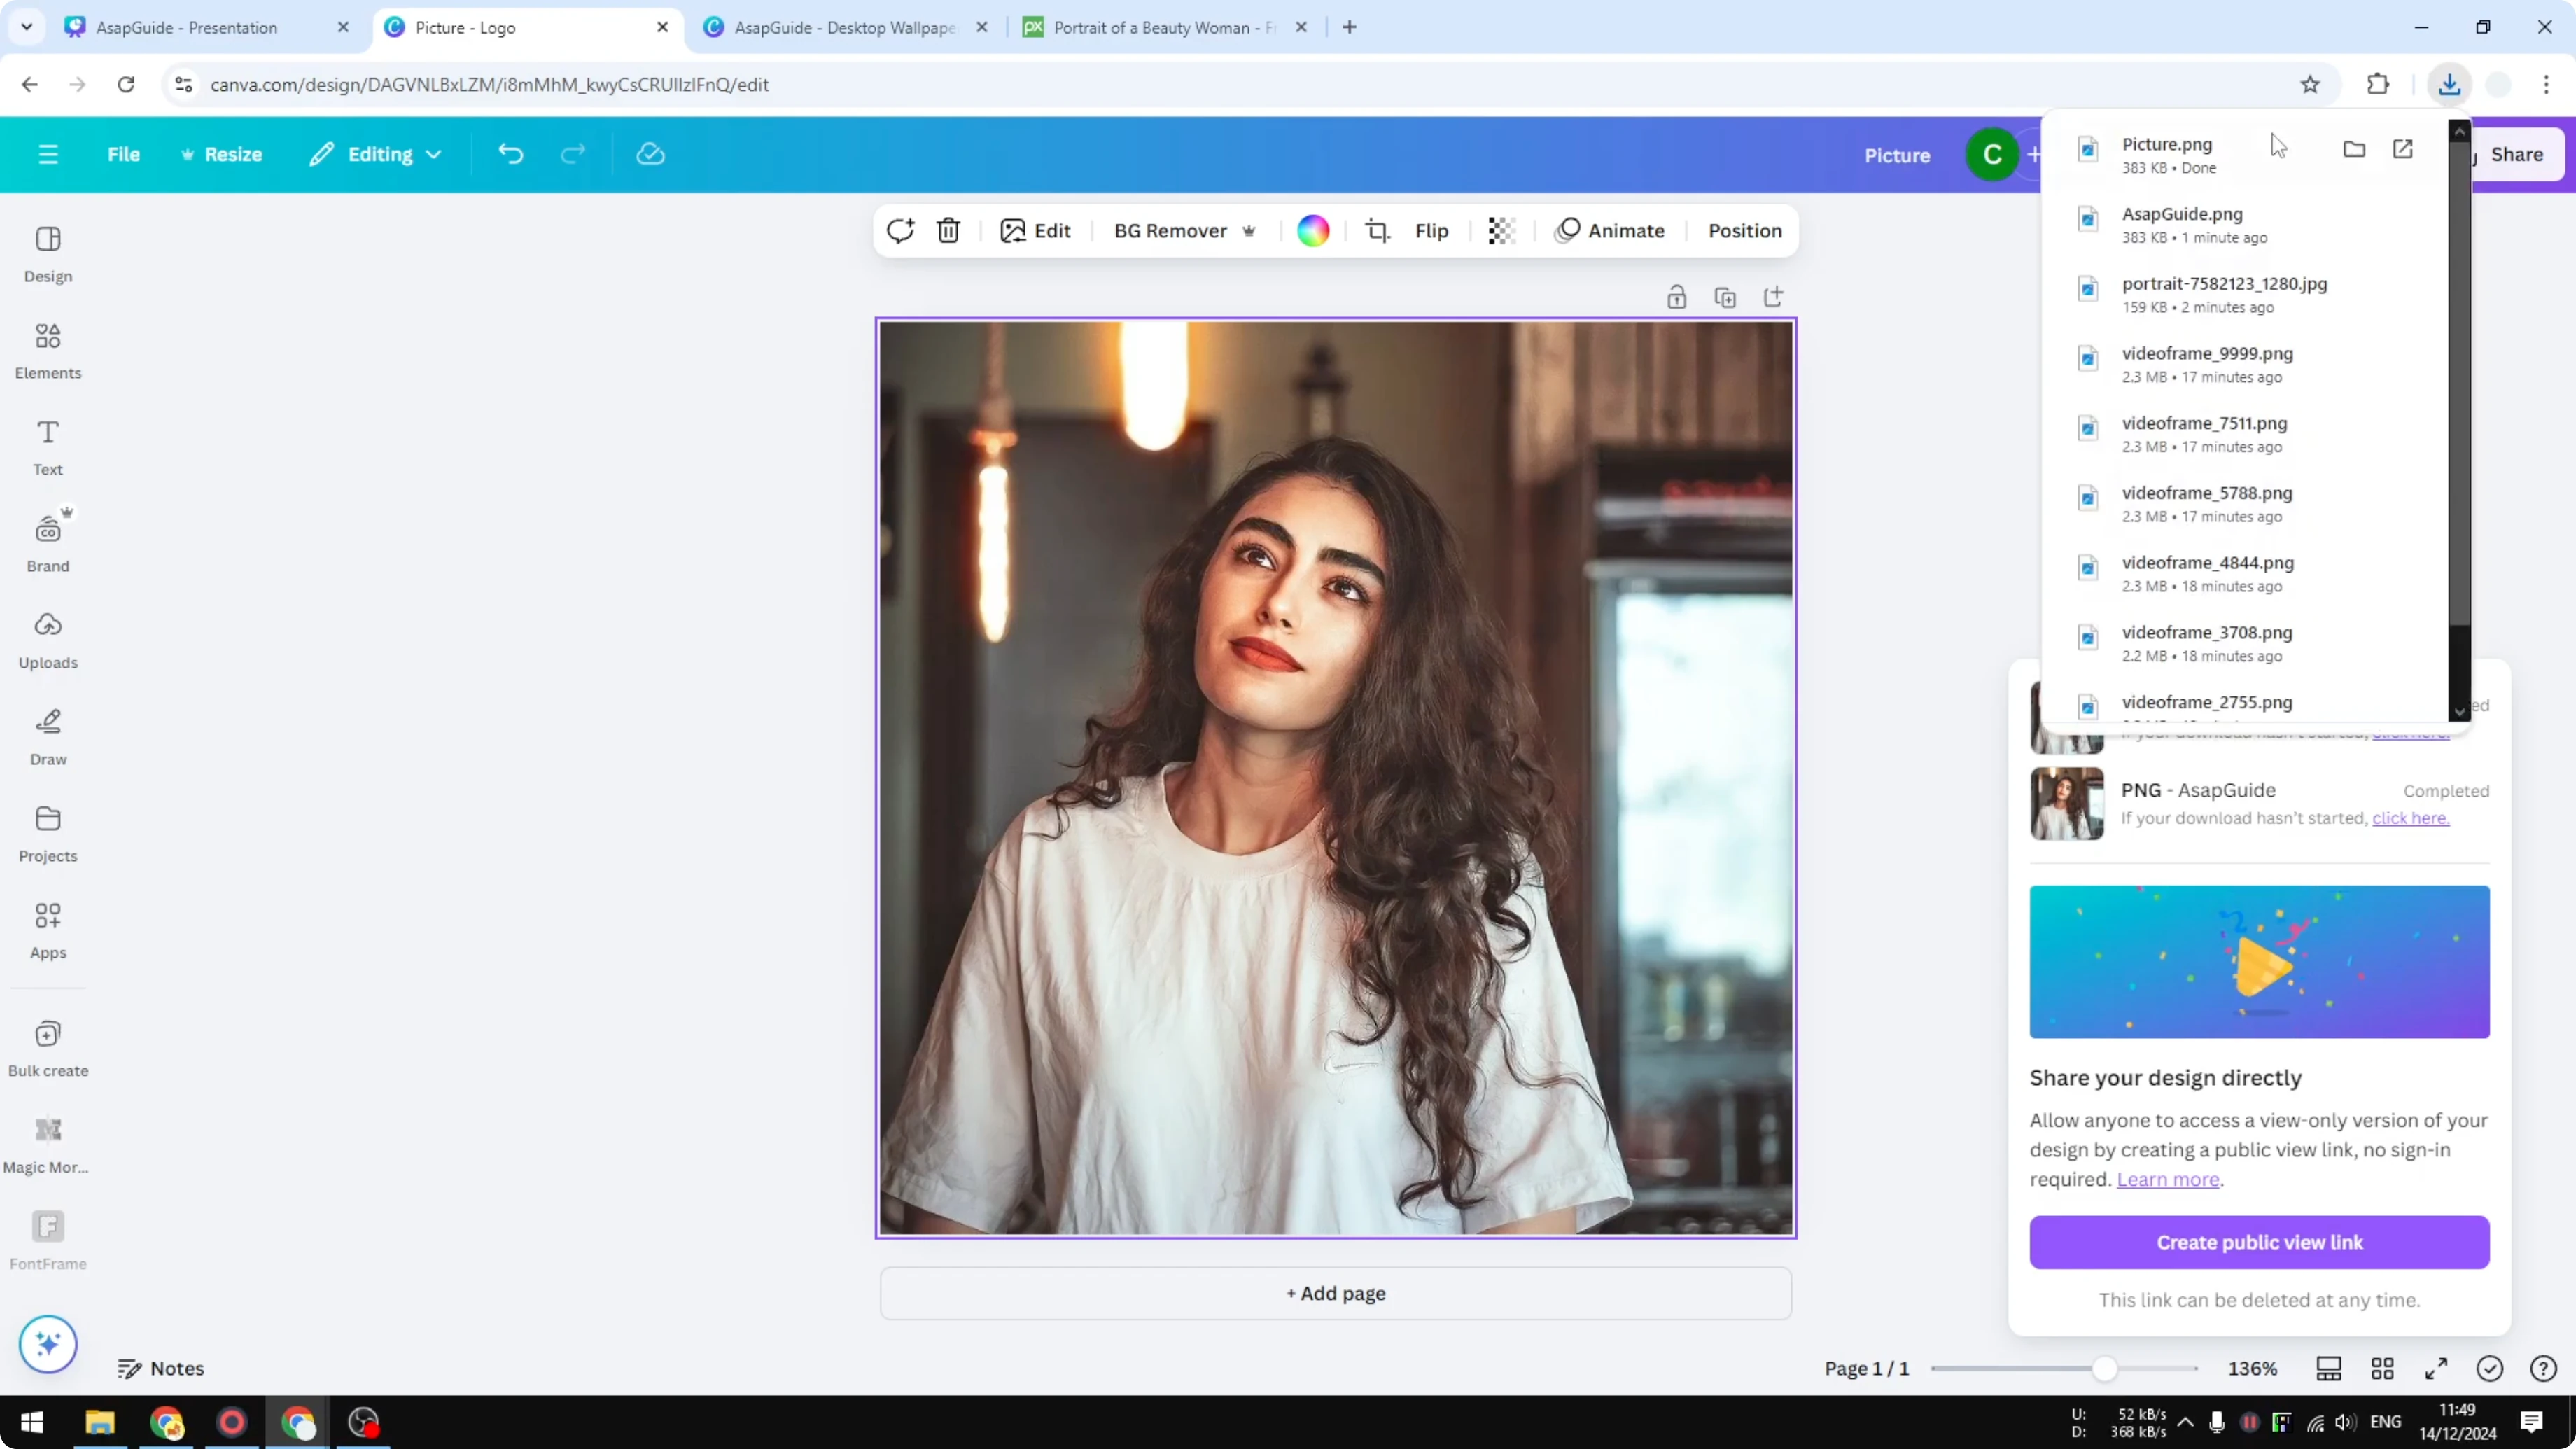
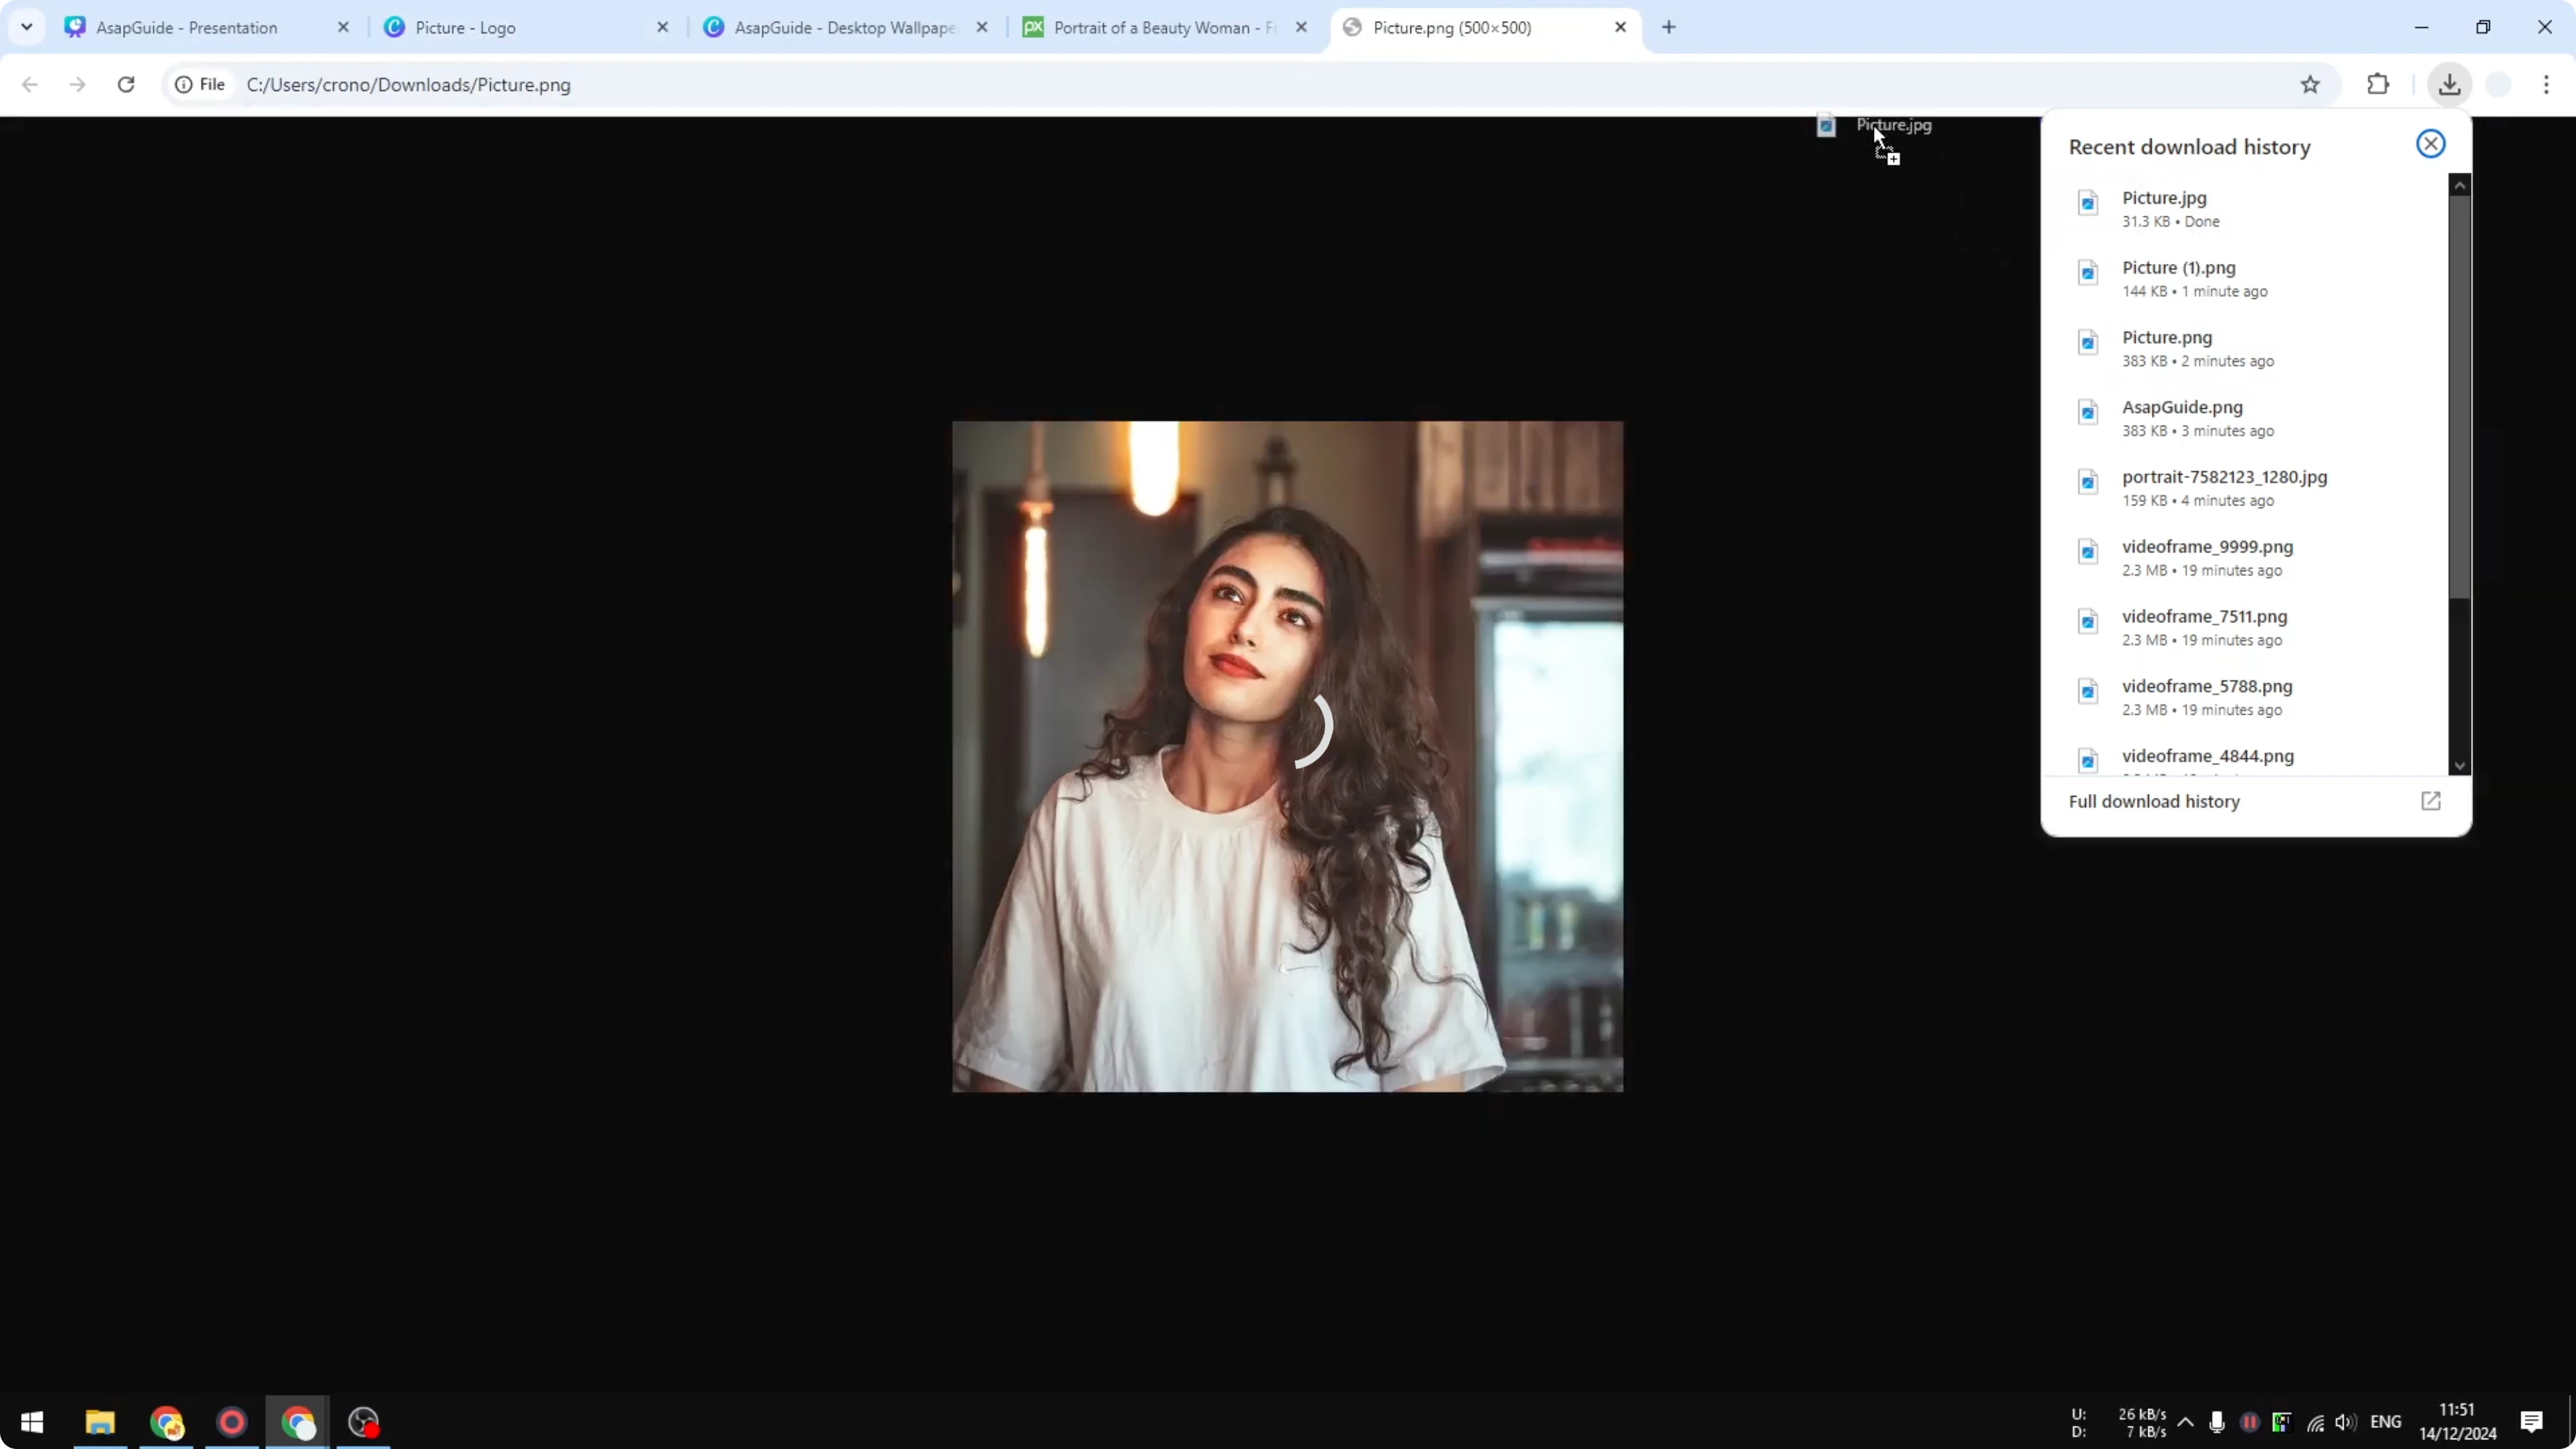
I tried downloading a photo without any further setting. I selected PNG and downloaded the file to my computer. The file size was around 383 KB.
Reduce File Size in Canva: PNG Options That Work
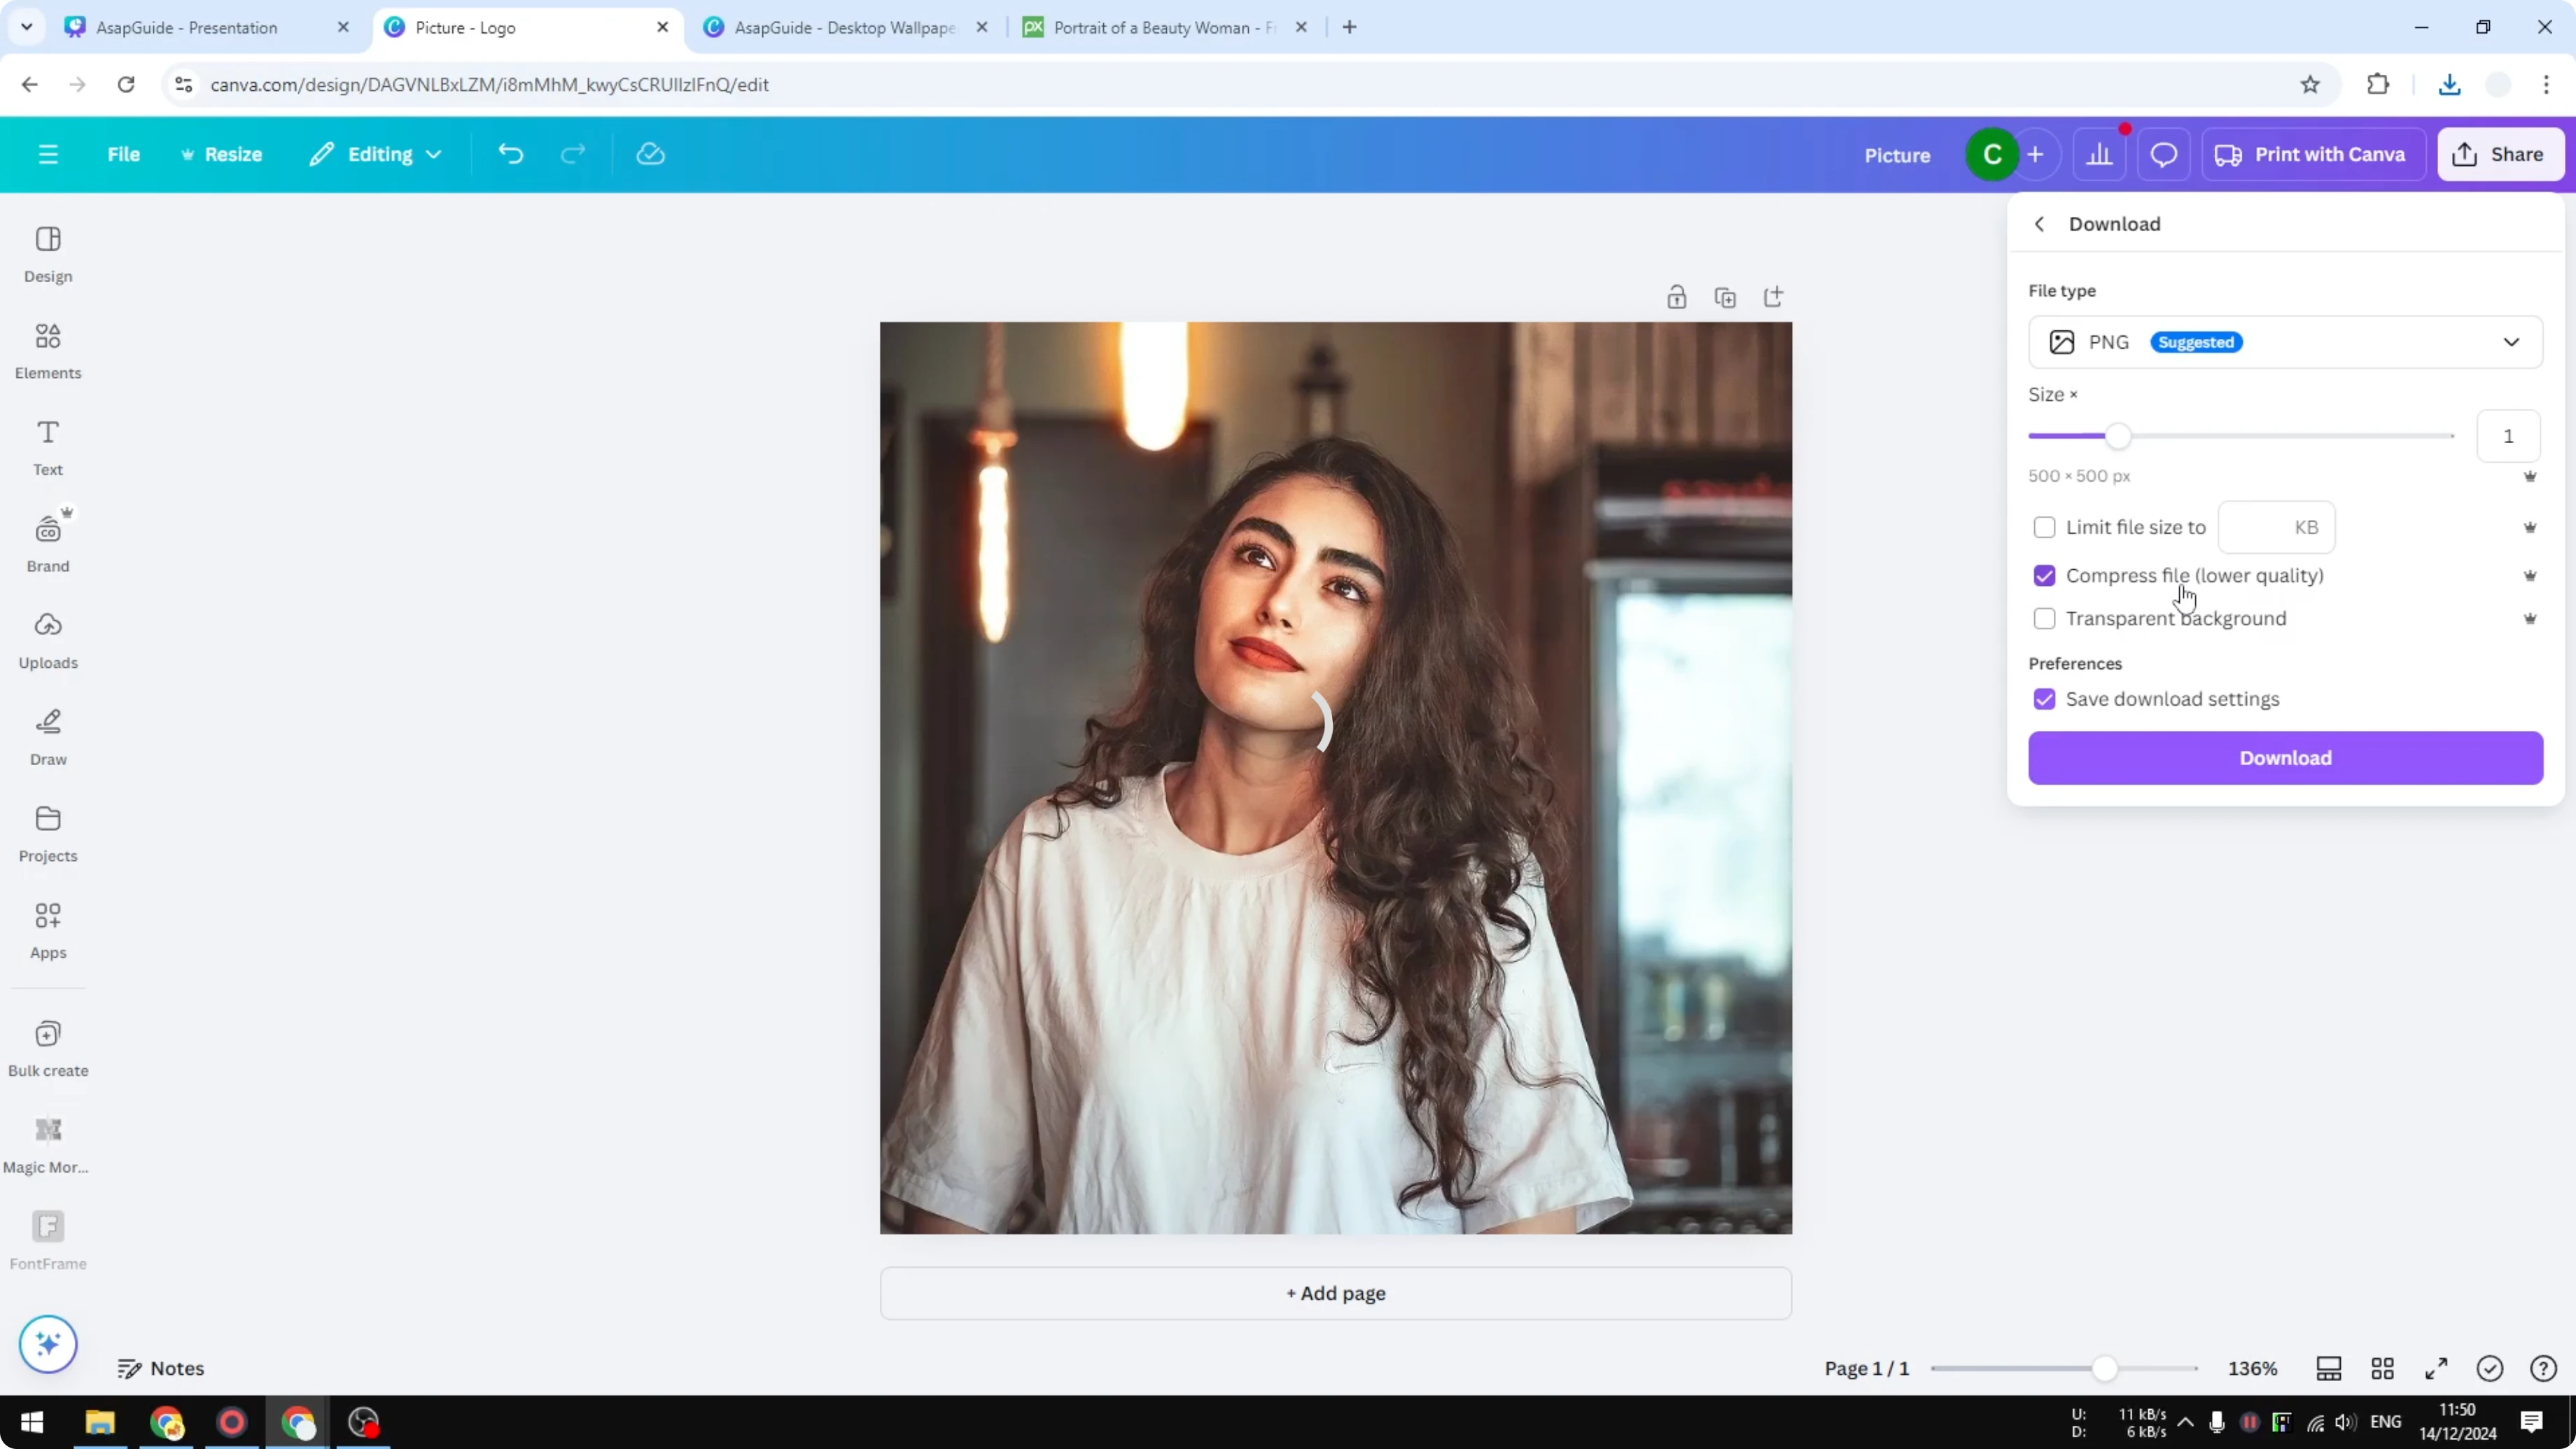
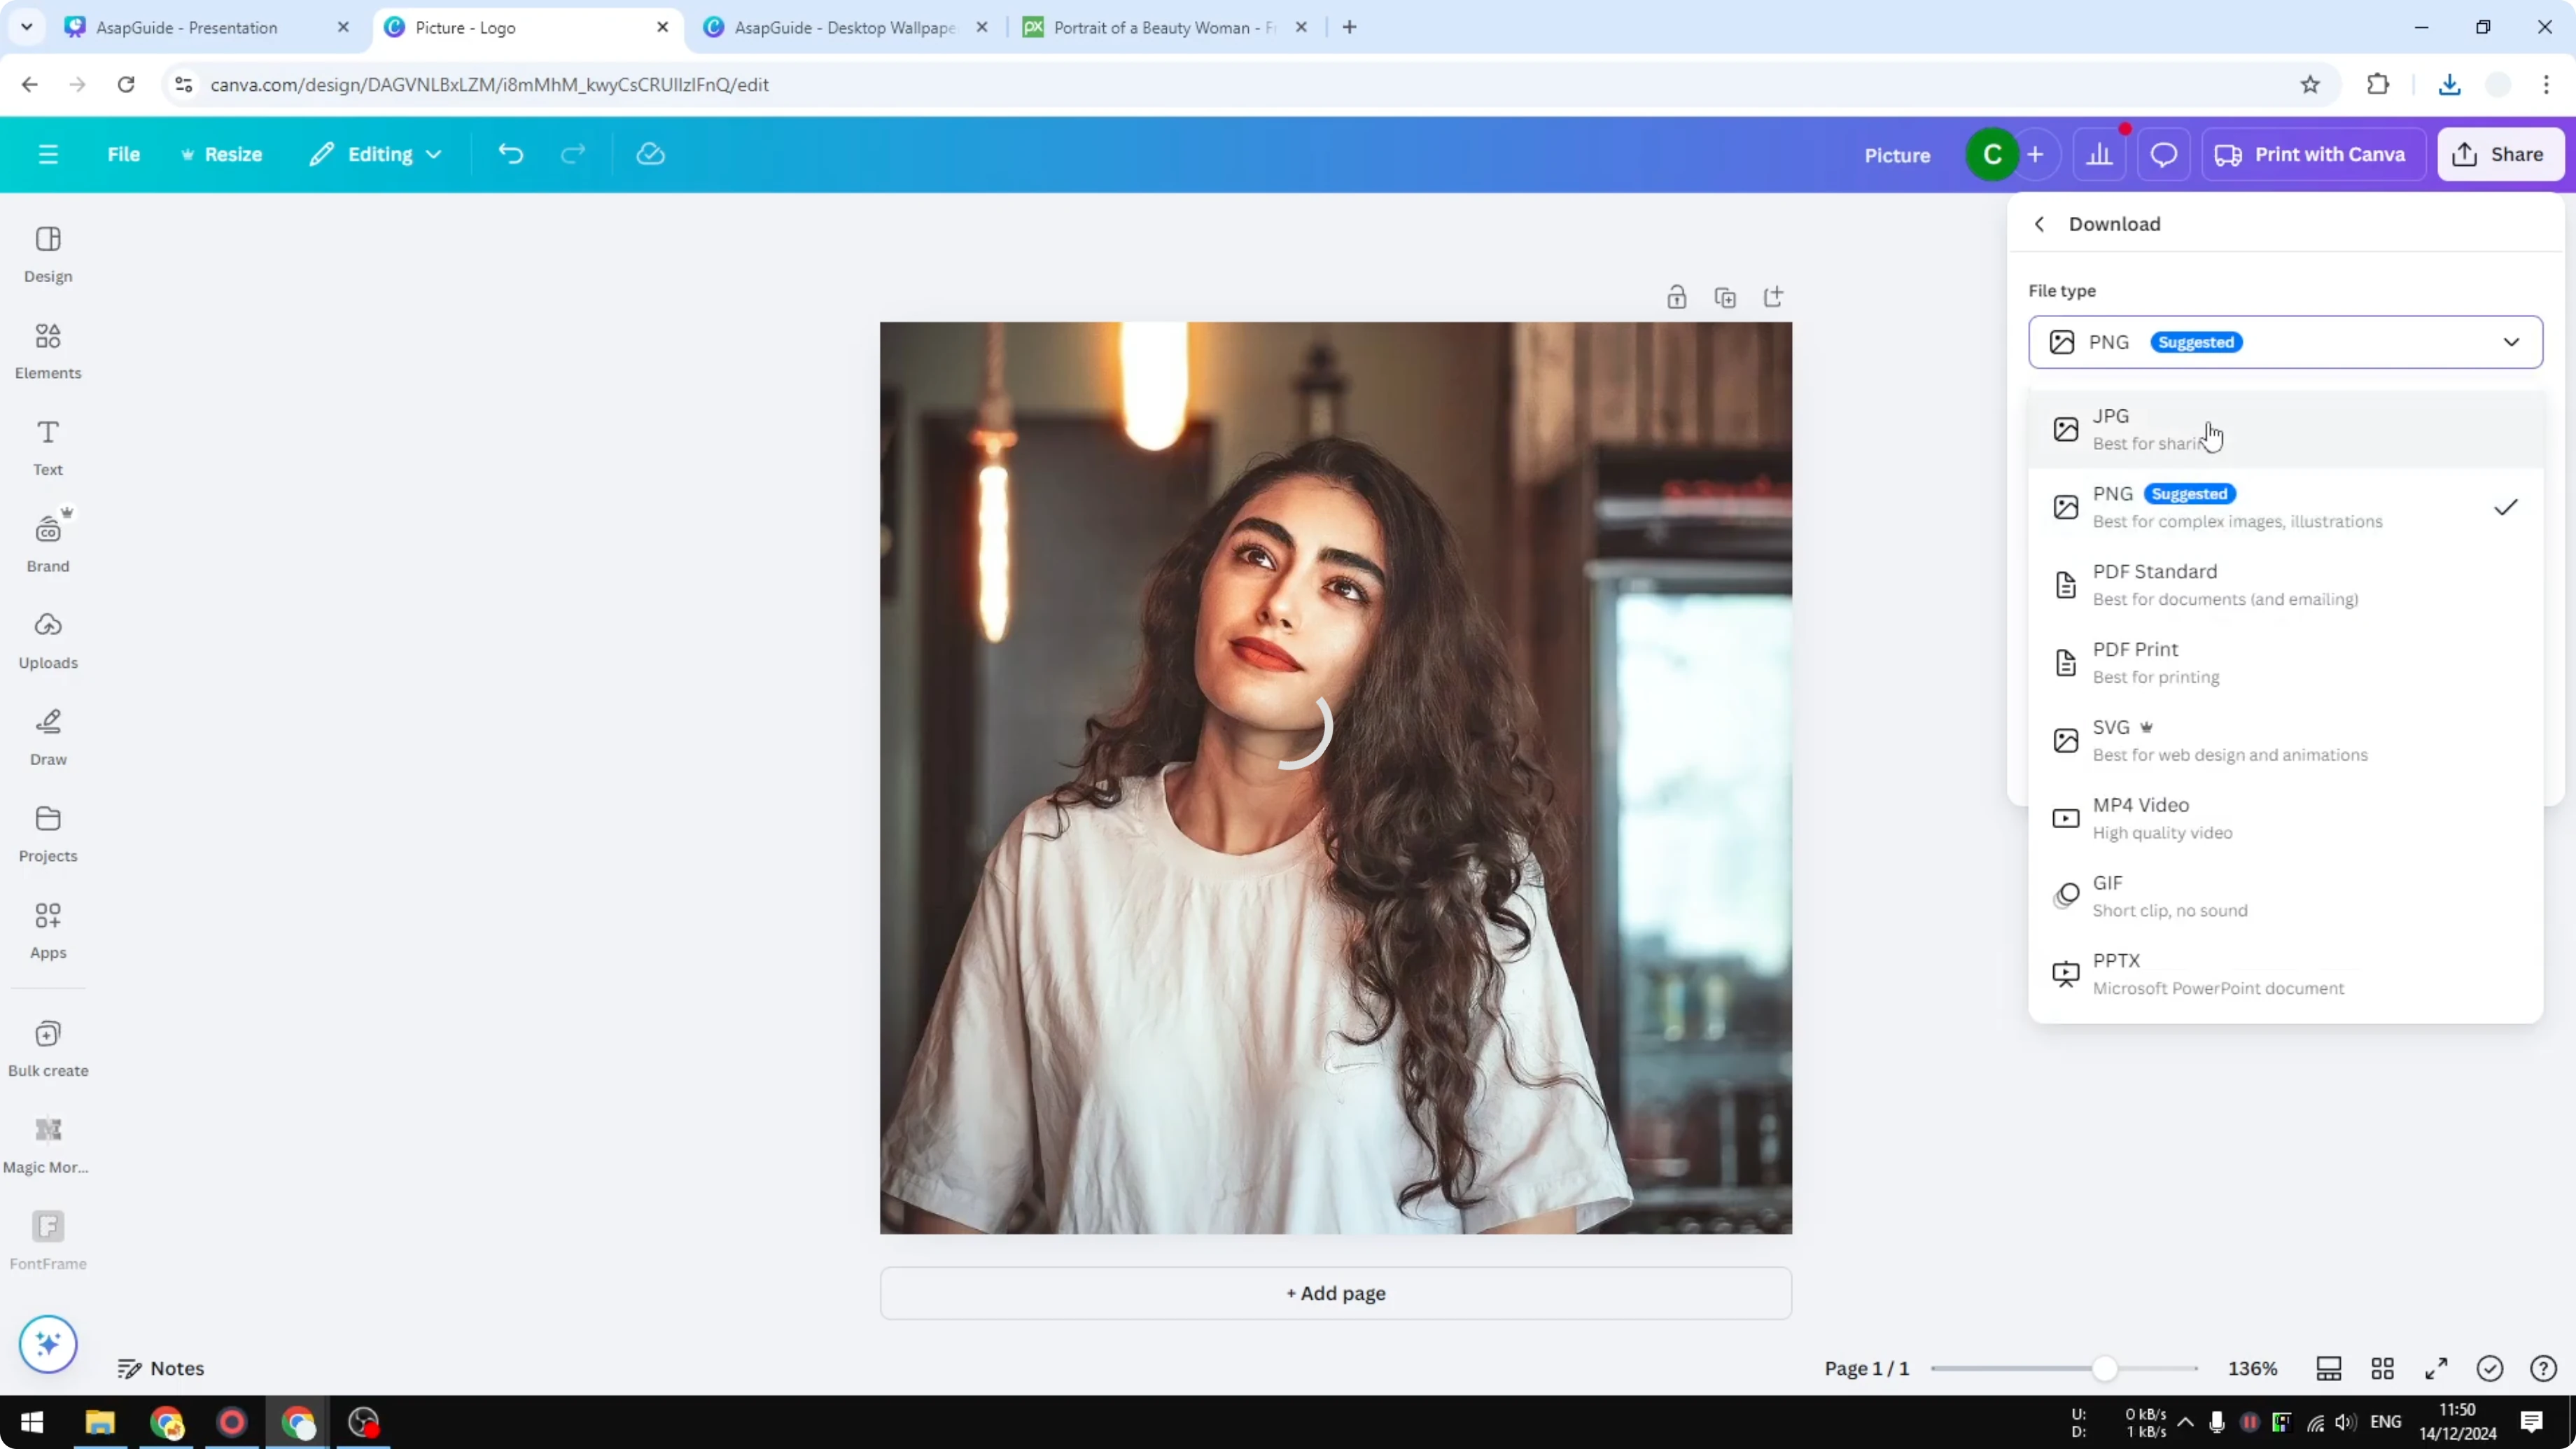
If I select the PNG file format, I have the option to limit the file size. Usually this is not my option. I would rather use the Compress file option, and that usually will give me a slightly better result.

You also have the option to reduce the size, the dimensions of the file. If you make it smaller, then of course the file is going to be smaller as well. I tried using the same dimensions and just enabling Compress file, and the download produced a much smaller file size. It is a massive improvement, down from 383 to 144 KB.

Steps for PNG
- Choose PNG as the format.
- Enable Compress file.
- Keep dimensions the same, or reduce them if you want an even smaller file.
- Click Download and check the resulting size.
Reduce File Size in Canva: JPG Is Great for Photos
You can also use a format like JPG because it is one of the best formats for displaying non-transparent pictures, basically for a photo. If you are downloading a logo, design, or infographics, then PNG is the best format. For everything else, usually JPG is the best option.
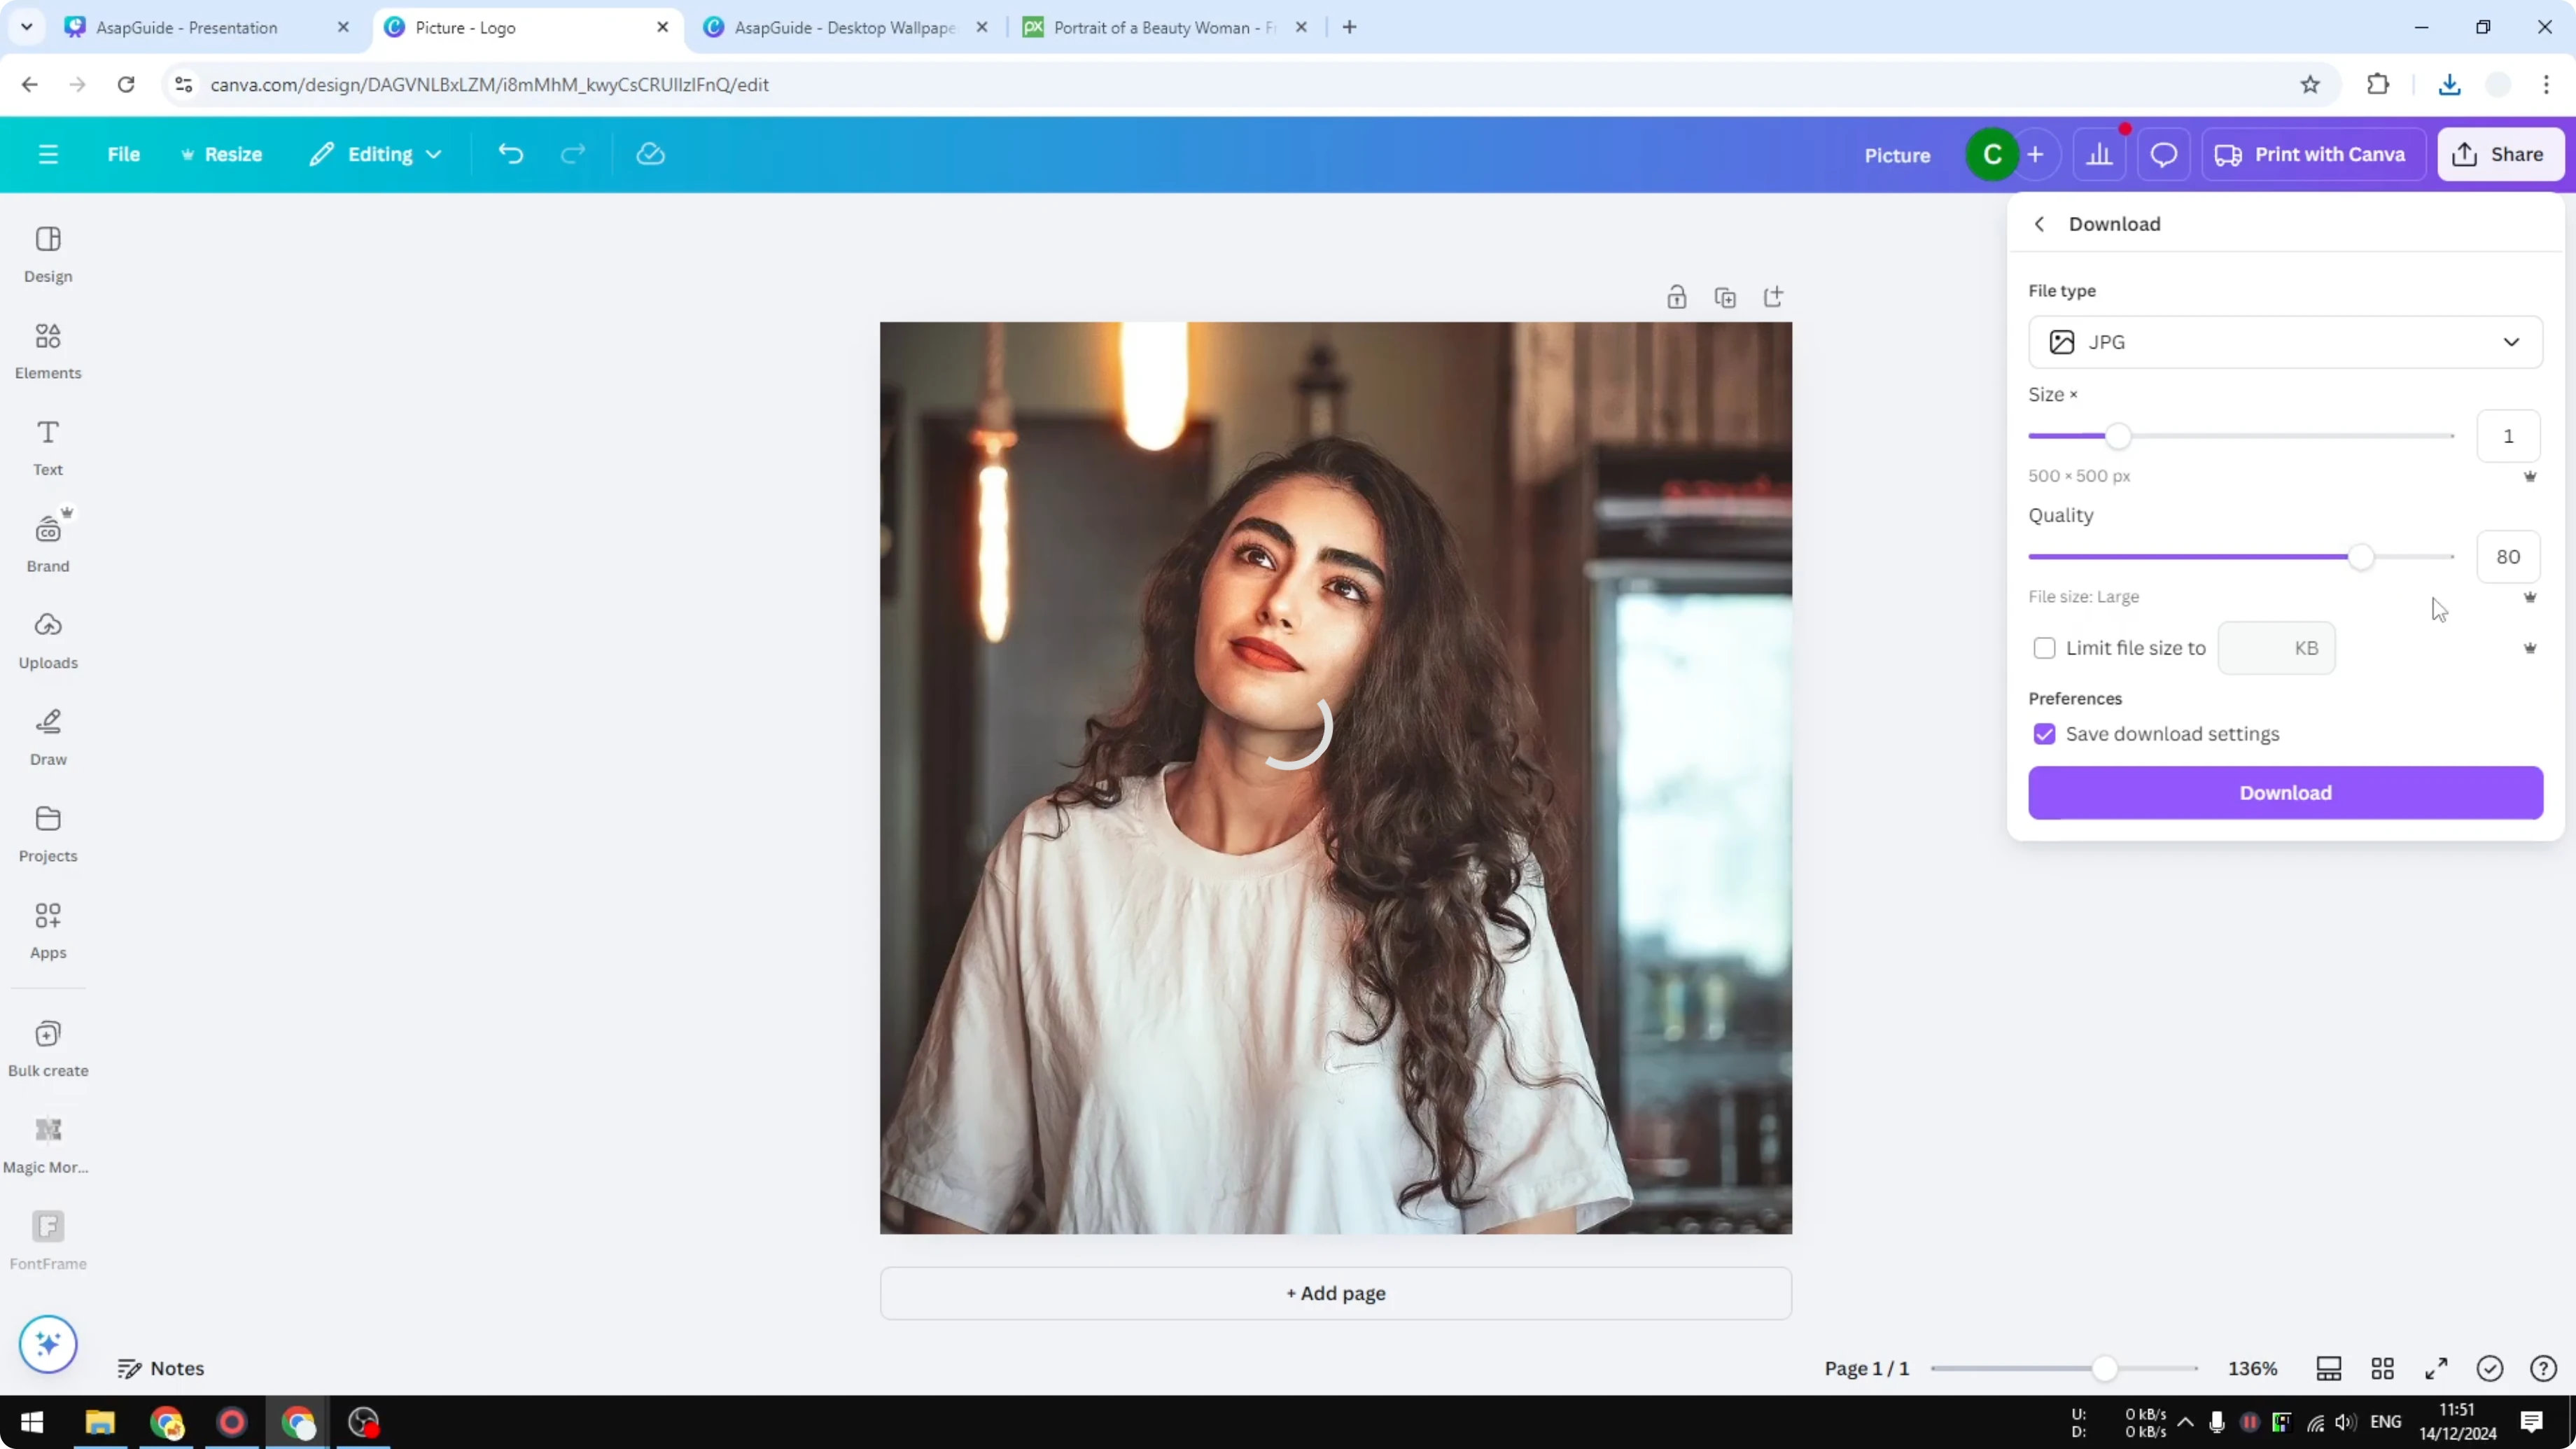
Here you have the option to adjust the quality. Usually Canva will reduce it to around 80 percent, but you can go down to maybe 50 percent if you want to, and you will see that it will reflect the file size. I tried a bit more conservative, around 70 percent, and clicked Download. Usually JPG should yield a smaller file size, but it really depends on the setting. The result was 31.1 KB.

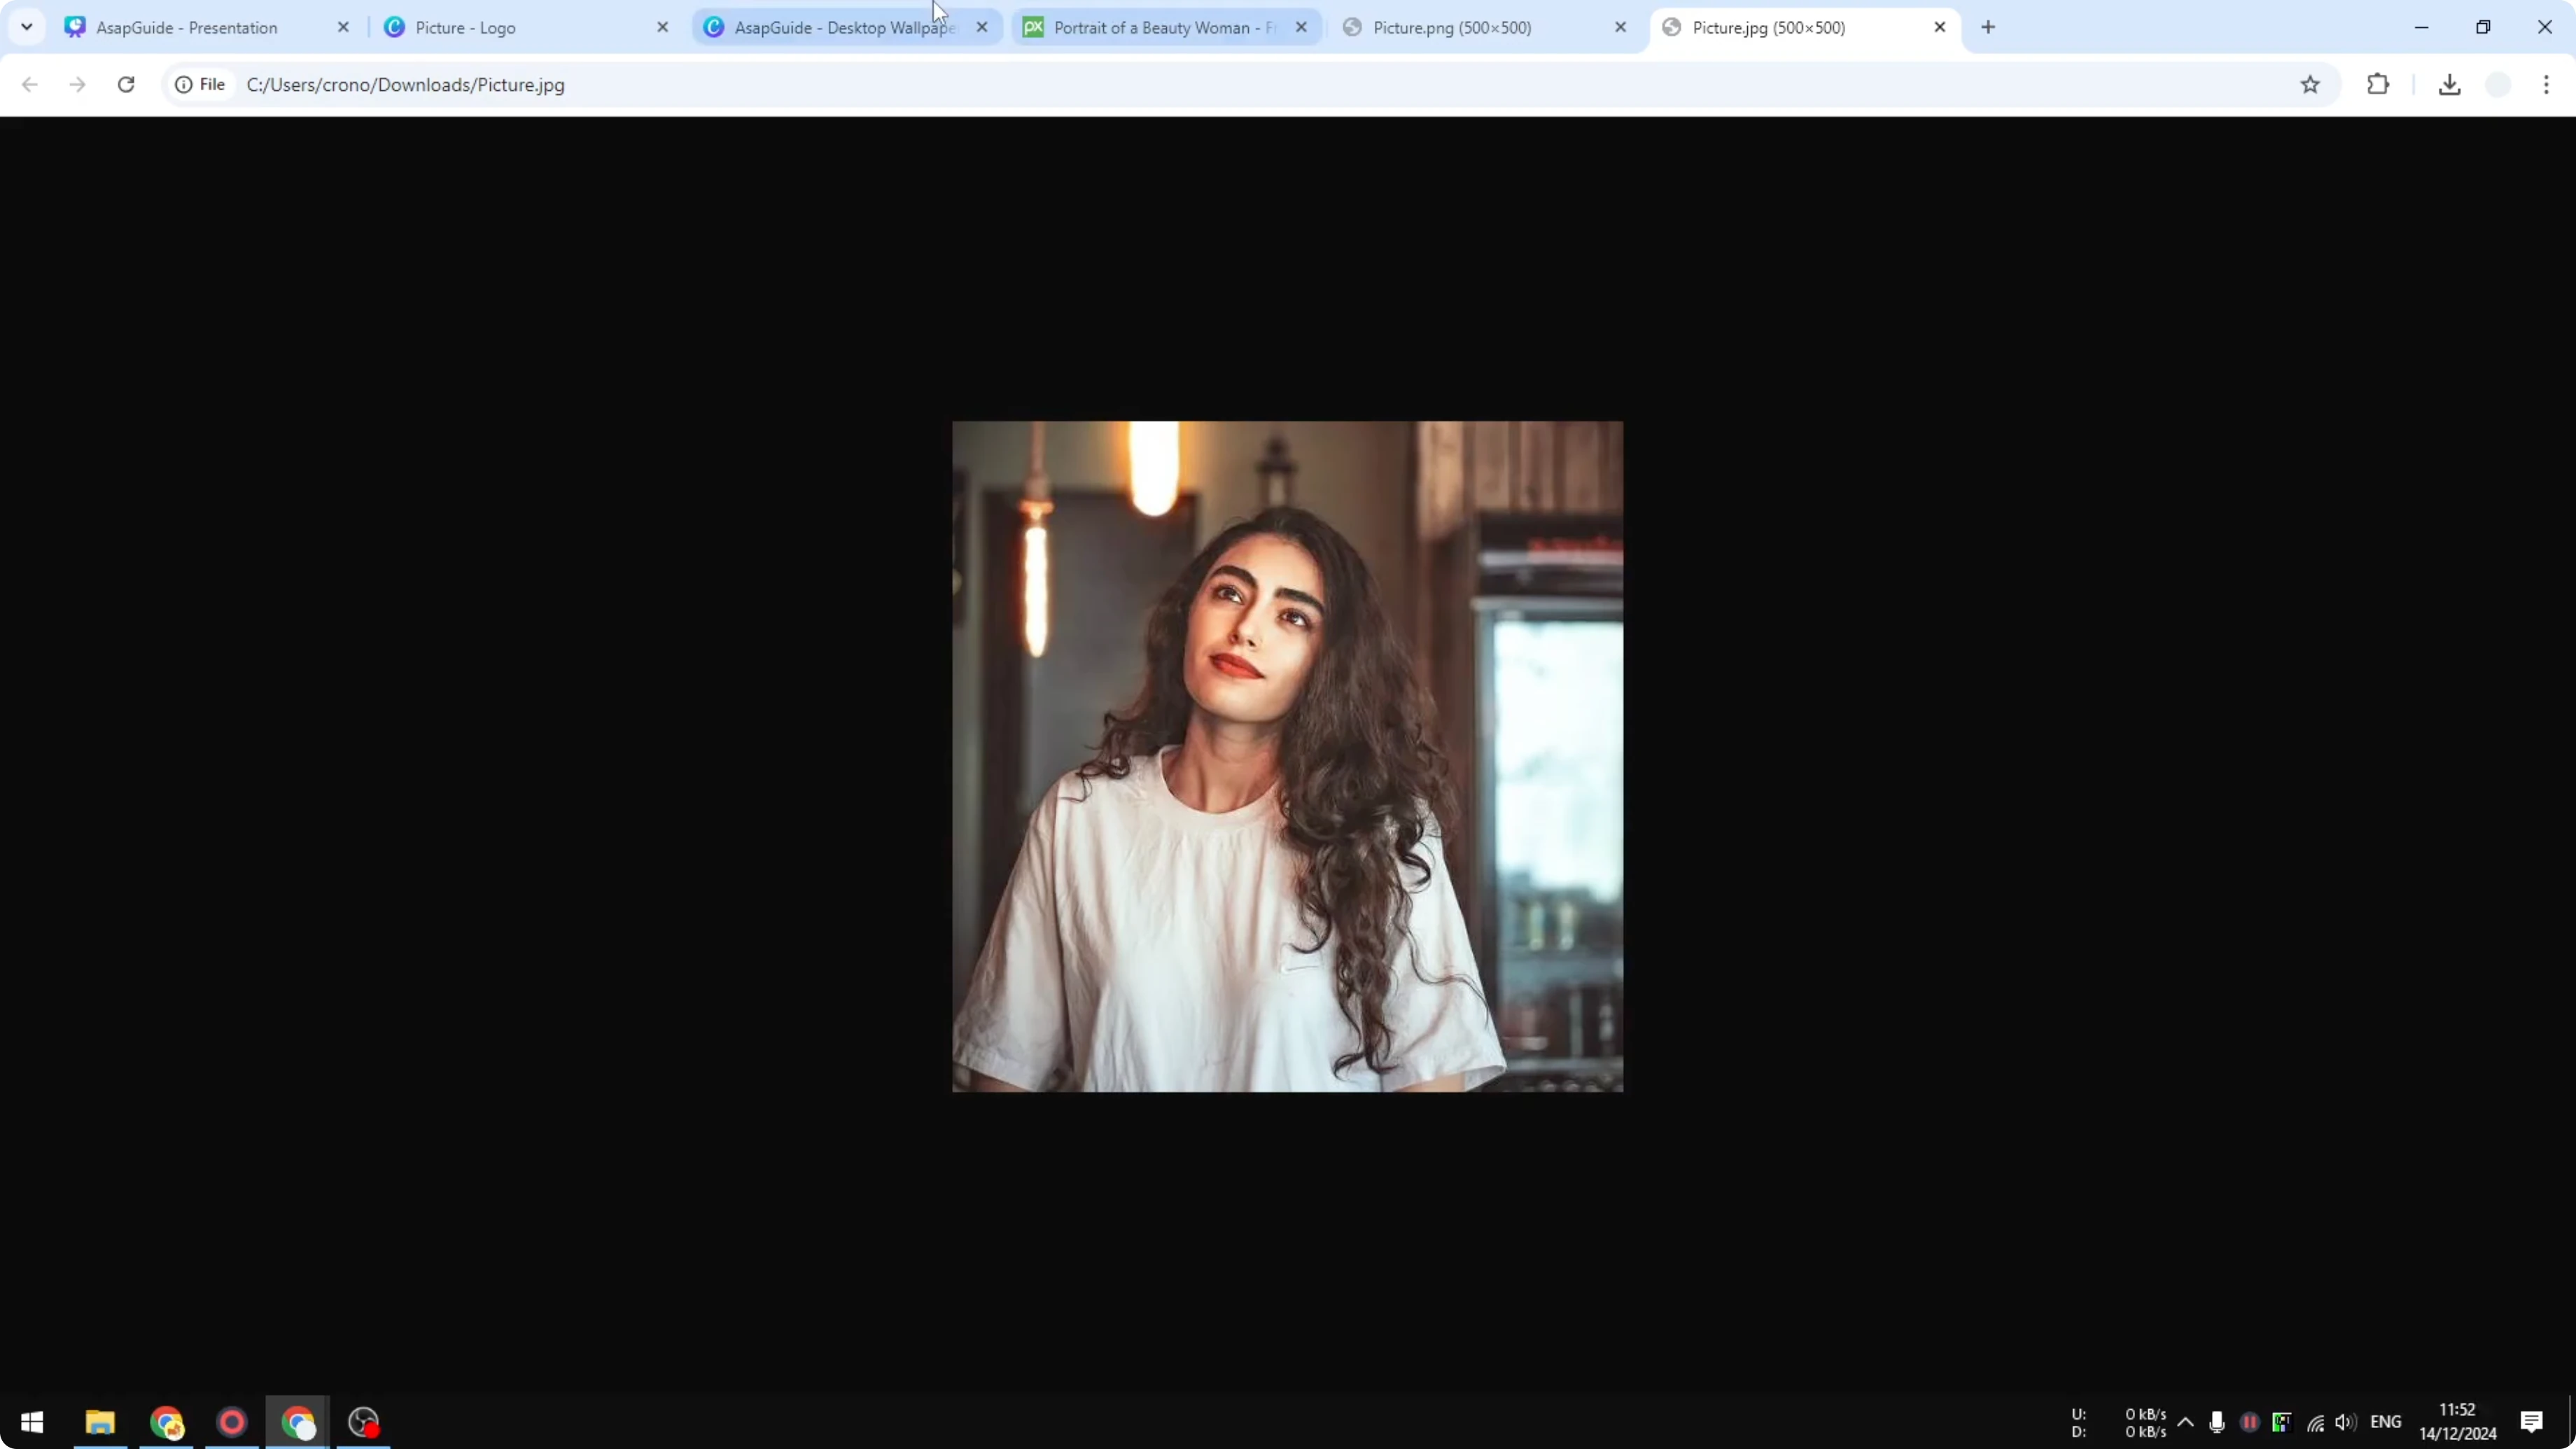
If you open the files side by side, the original picture versus the JPG small one, there is almost no difference. The original versus the one that has been compressed looks very similar.
Steps for JPG
- Choose JPG as the format.
- Adjust Quality. Try around 70 percent for a good balance.
- Click Download and compare the visual quality with the original.
Final Thoughts on How to Reduce File Size in Canva
- PNG with Compress file can cut a file significantly without changing dimensions.
- Reducing dimensions will always reduce size further.
- For photos, switch to JPG and lower the quality slider. Around 70 percent often keeps the image looking almost the same while making the file much smaller.
That is how you can use Canva to compress the file size effectively.
Recent Posts
How to Visualize Yourself as a Pixelized Character with AI?
How to Visualize Yourself as a Pixelized Character with AI?

How to Revive Faded Memories and Enhance Image Clarity with AI?
How to Revive Faded Memories and Enhance Image Clarity with AI?

How to Visualize Yourself as an Animal Crossing Character with AI?
How to Visualize Yourself as an Animal Crossing Character with AI?