How to Pixelate an Image in Canva
I'm going to show you how to pixelate a picture in Canva. This is sometimes known as blurring or censoring a part of the picture, and it's very useful if you want to block certain information or visuals in a design. It's usually used for a face, text, a logo, or anything you don't want other people to see.
Pixelate an Image in Canva
In this example, I'm going to pixelate this woman's face while the rest of the picture stays normal. Here's how you can do that step by step.
Prepare the image
Duplicate the picture. Right-click the image and click Duplicate.
![]()
Place the duplicated image in exactly the same location as the original picture. Make sure it aligns perfectly on top of the original.
![]()
Crop the duplicated image down to the section where you want to apply the pixelation. For this example, crop to the face.
![]()
Do not move this image after cropping. You don't want to accidentally shift its position, because it will look off against the original.
![]()
Apply pixelation with the Pixel Fi app
Click Edit. Go to the Apps section.
![]()
Search for an app called Pixel Fi. Select it to apply the pixelation to the cropped image.
![]()
You will see a preview. It may show the whole image, but remember you are applying the effect only to the cropped duplicate, not the background.
![]()
When you're done, click Replace. The effect is applied to the picture.
![]()
Only the face of the woman is pixelated, and the rest stays normal. This keeps the important part censored while preserving the rest of the photo.
![]()
Finalize and organize
Group the two images together. This makes it easier to manage the design.
![]()
Final Thoughts
Pixelating a part of an image in Canva is simple: duplicate, crop the target area, apply pixelation with Pixel Fi, then replace and group. This approach gives you precise control over what stays visible and what gets censored. It works well for faces, text, logos, or any sensitive detail you want to hide.
Recent Posts
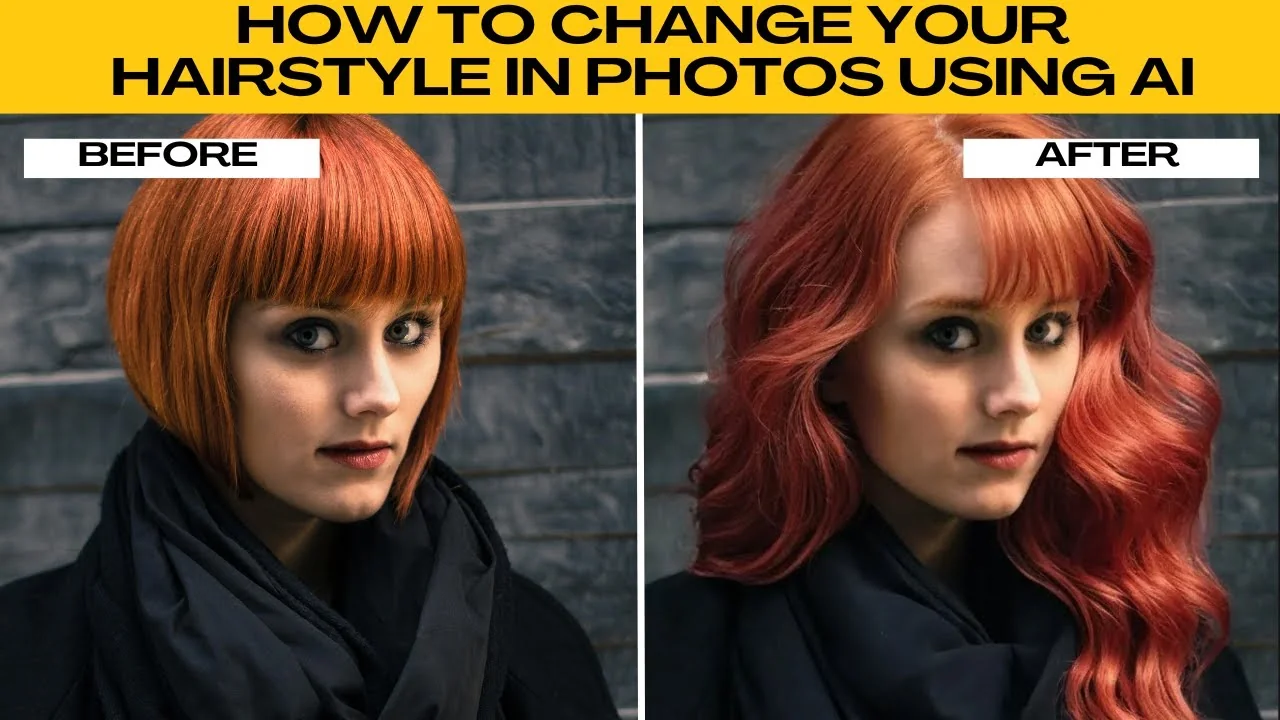
How to Visualize Different Hairstyles and Hair Colors with AI?
How to Visualize Different Hairstyles and Hair Colors with AI?

How to Transform Daytime Photos into Realistic Night Scenes with AI?
How to Transform Daytime Photos into Realistic Night Scenes with AI?
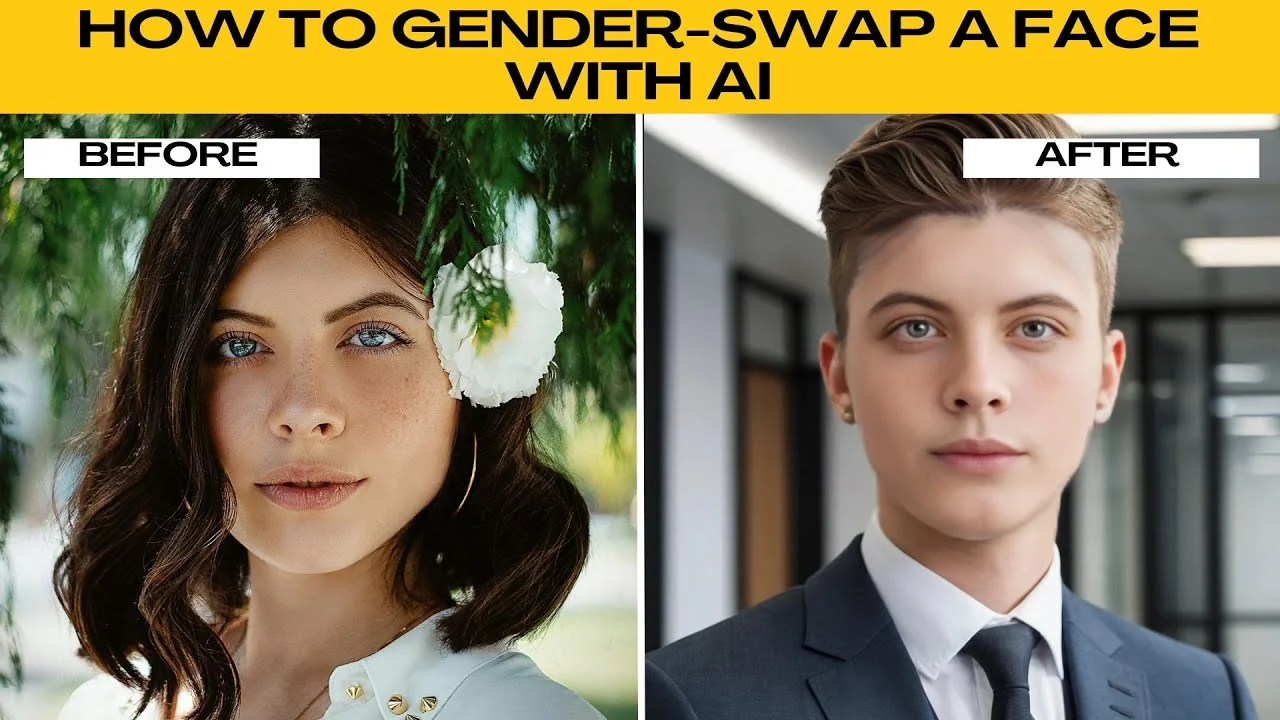
How to Visualize Yourself as the Opposite Gender with AI?
How to Visualize Yourself as the Opposite Gender with AI?