How to Easily Add Speech Bubble in Canva
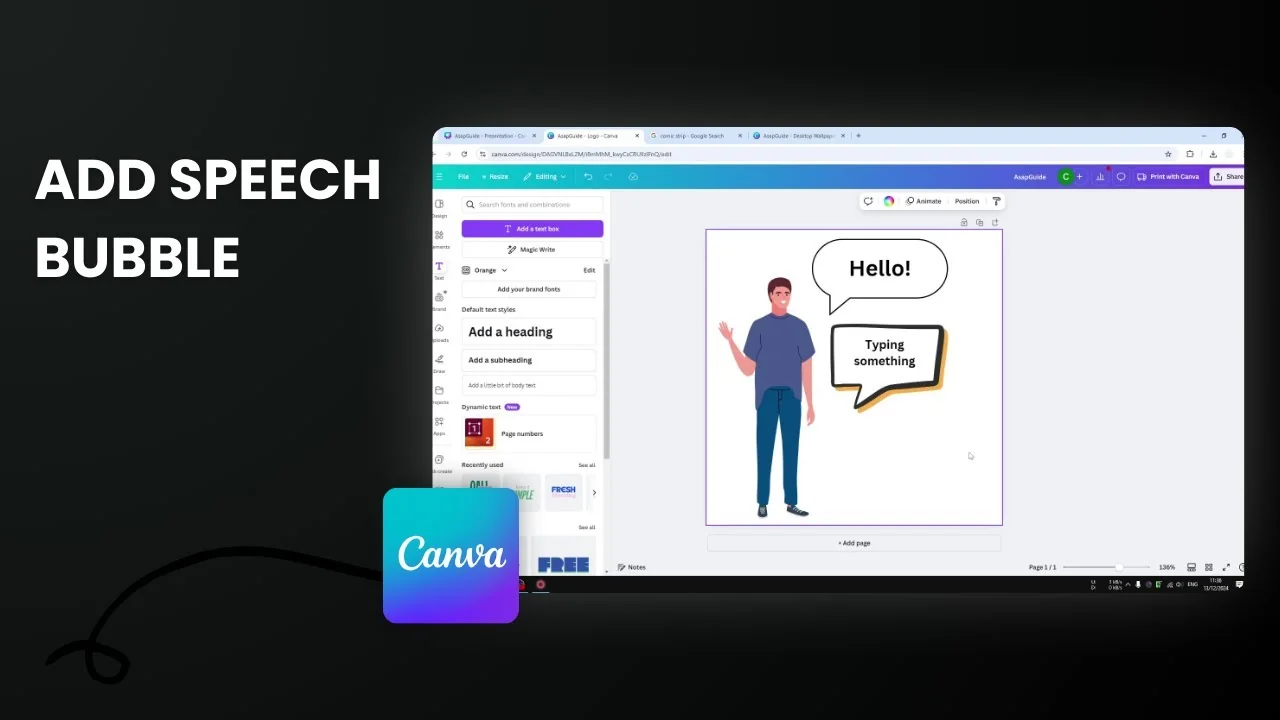
Here is how you can create a speech bubble in Canva. Speech bubbles are popular to tell readers that a character in the design is saying something. If the character is supposed to say hello but there is no speech bubble, it is difficult to connect them. That is why a speech bubble is important.
Easily Add Speech Bubble in Canva
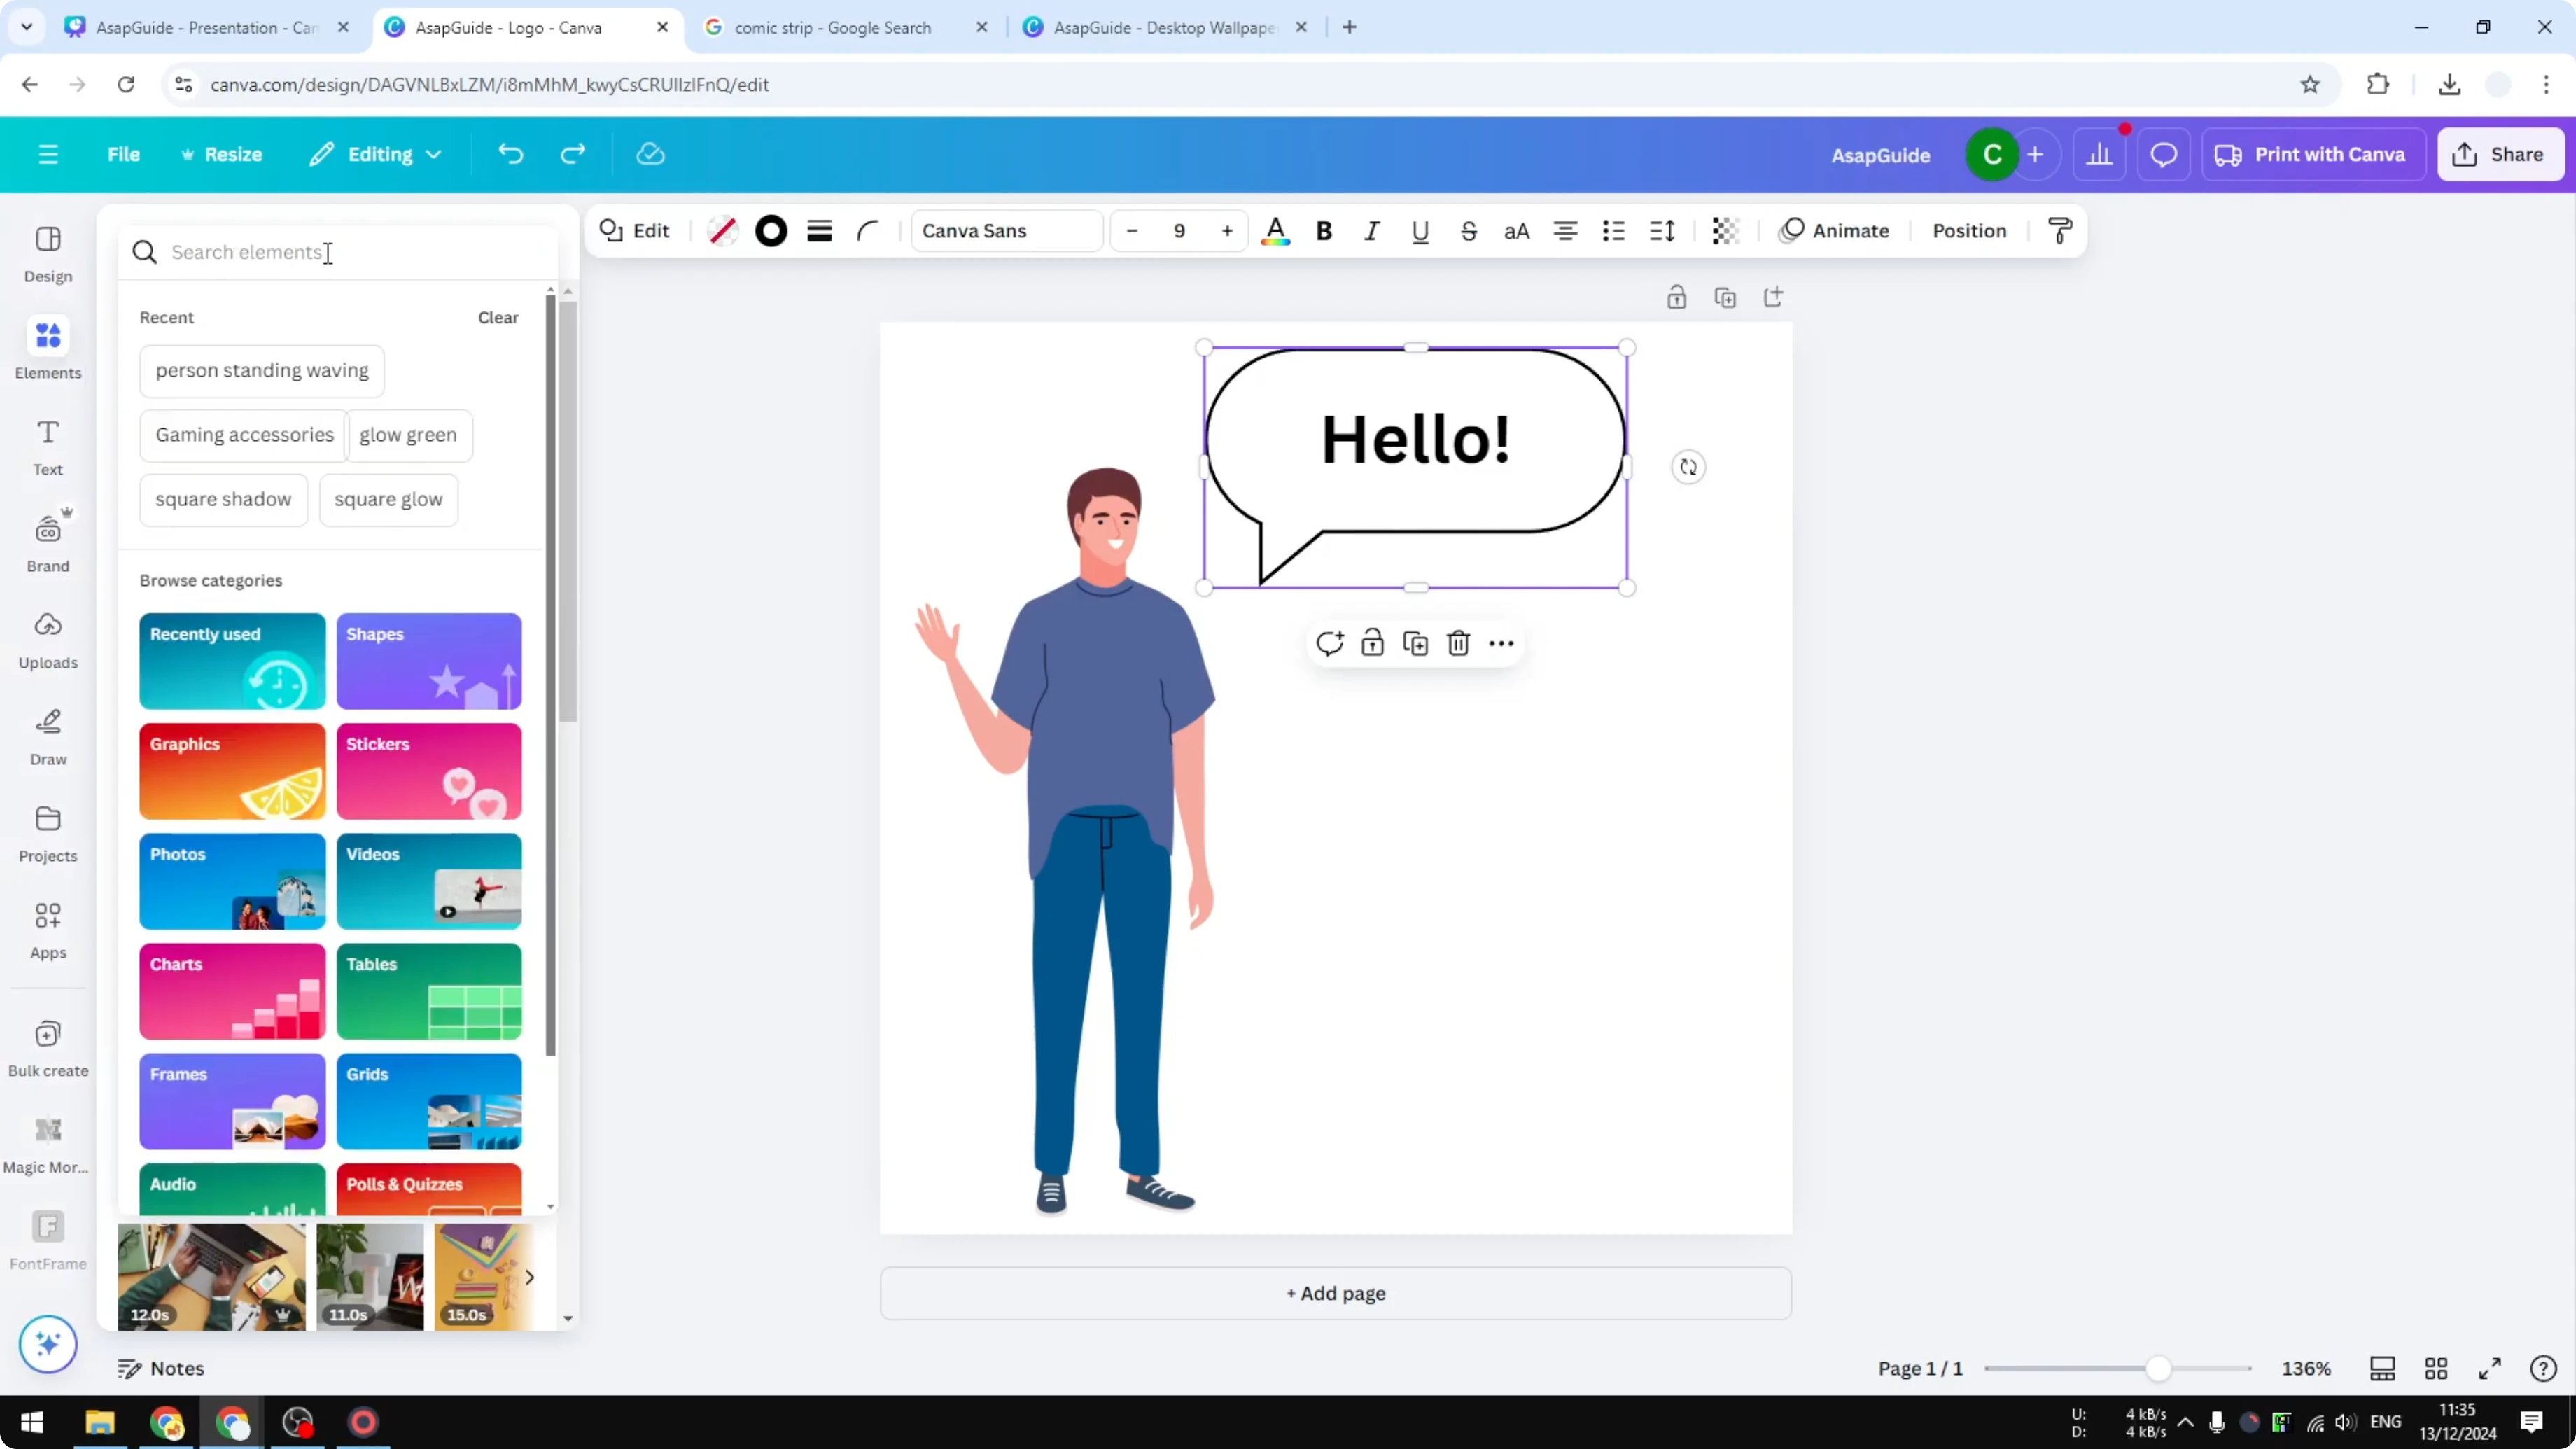
Method 1: Build a simple bubble with Shapes
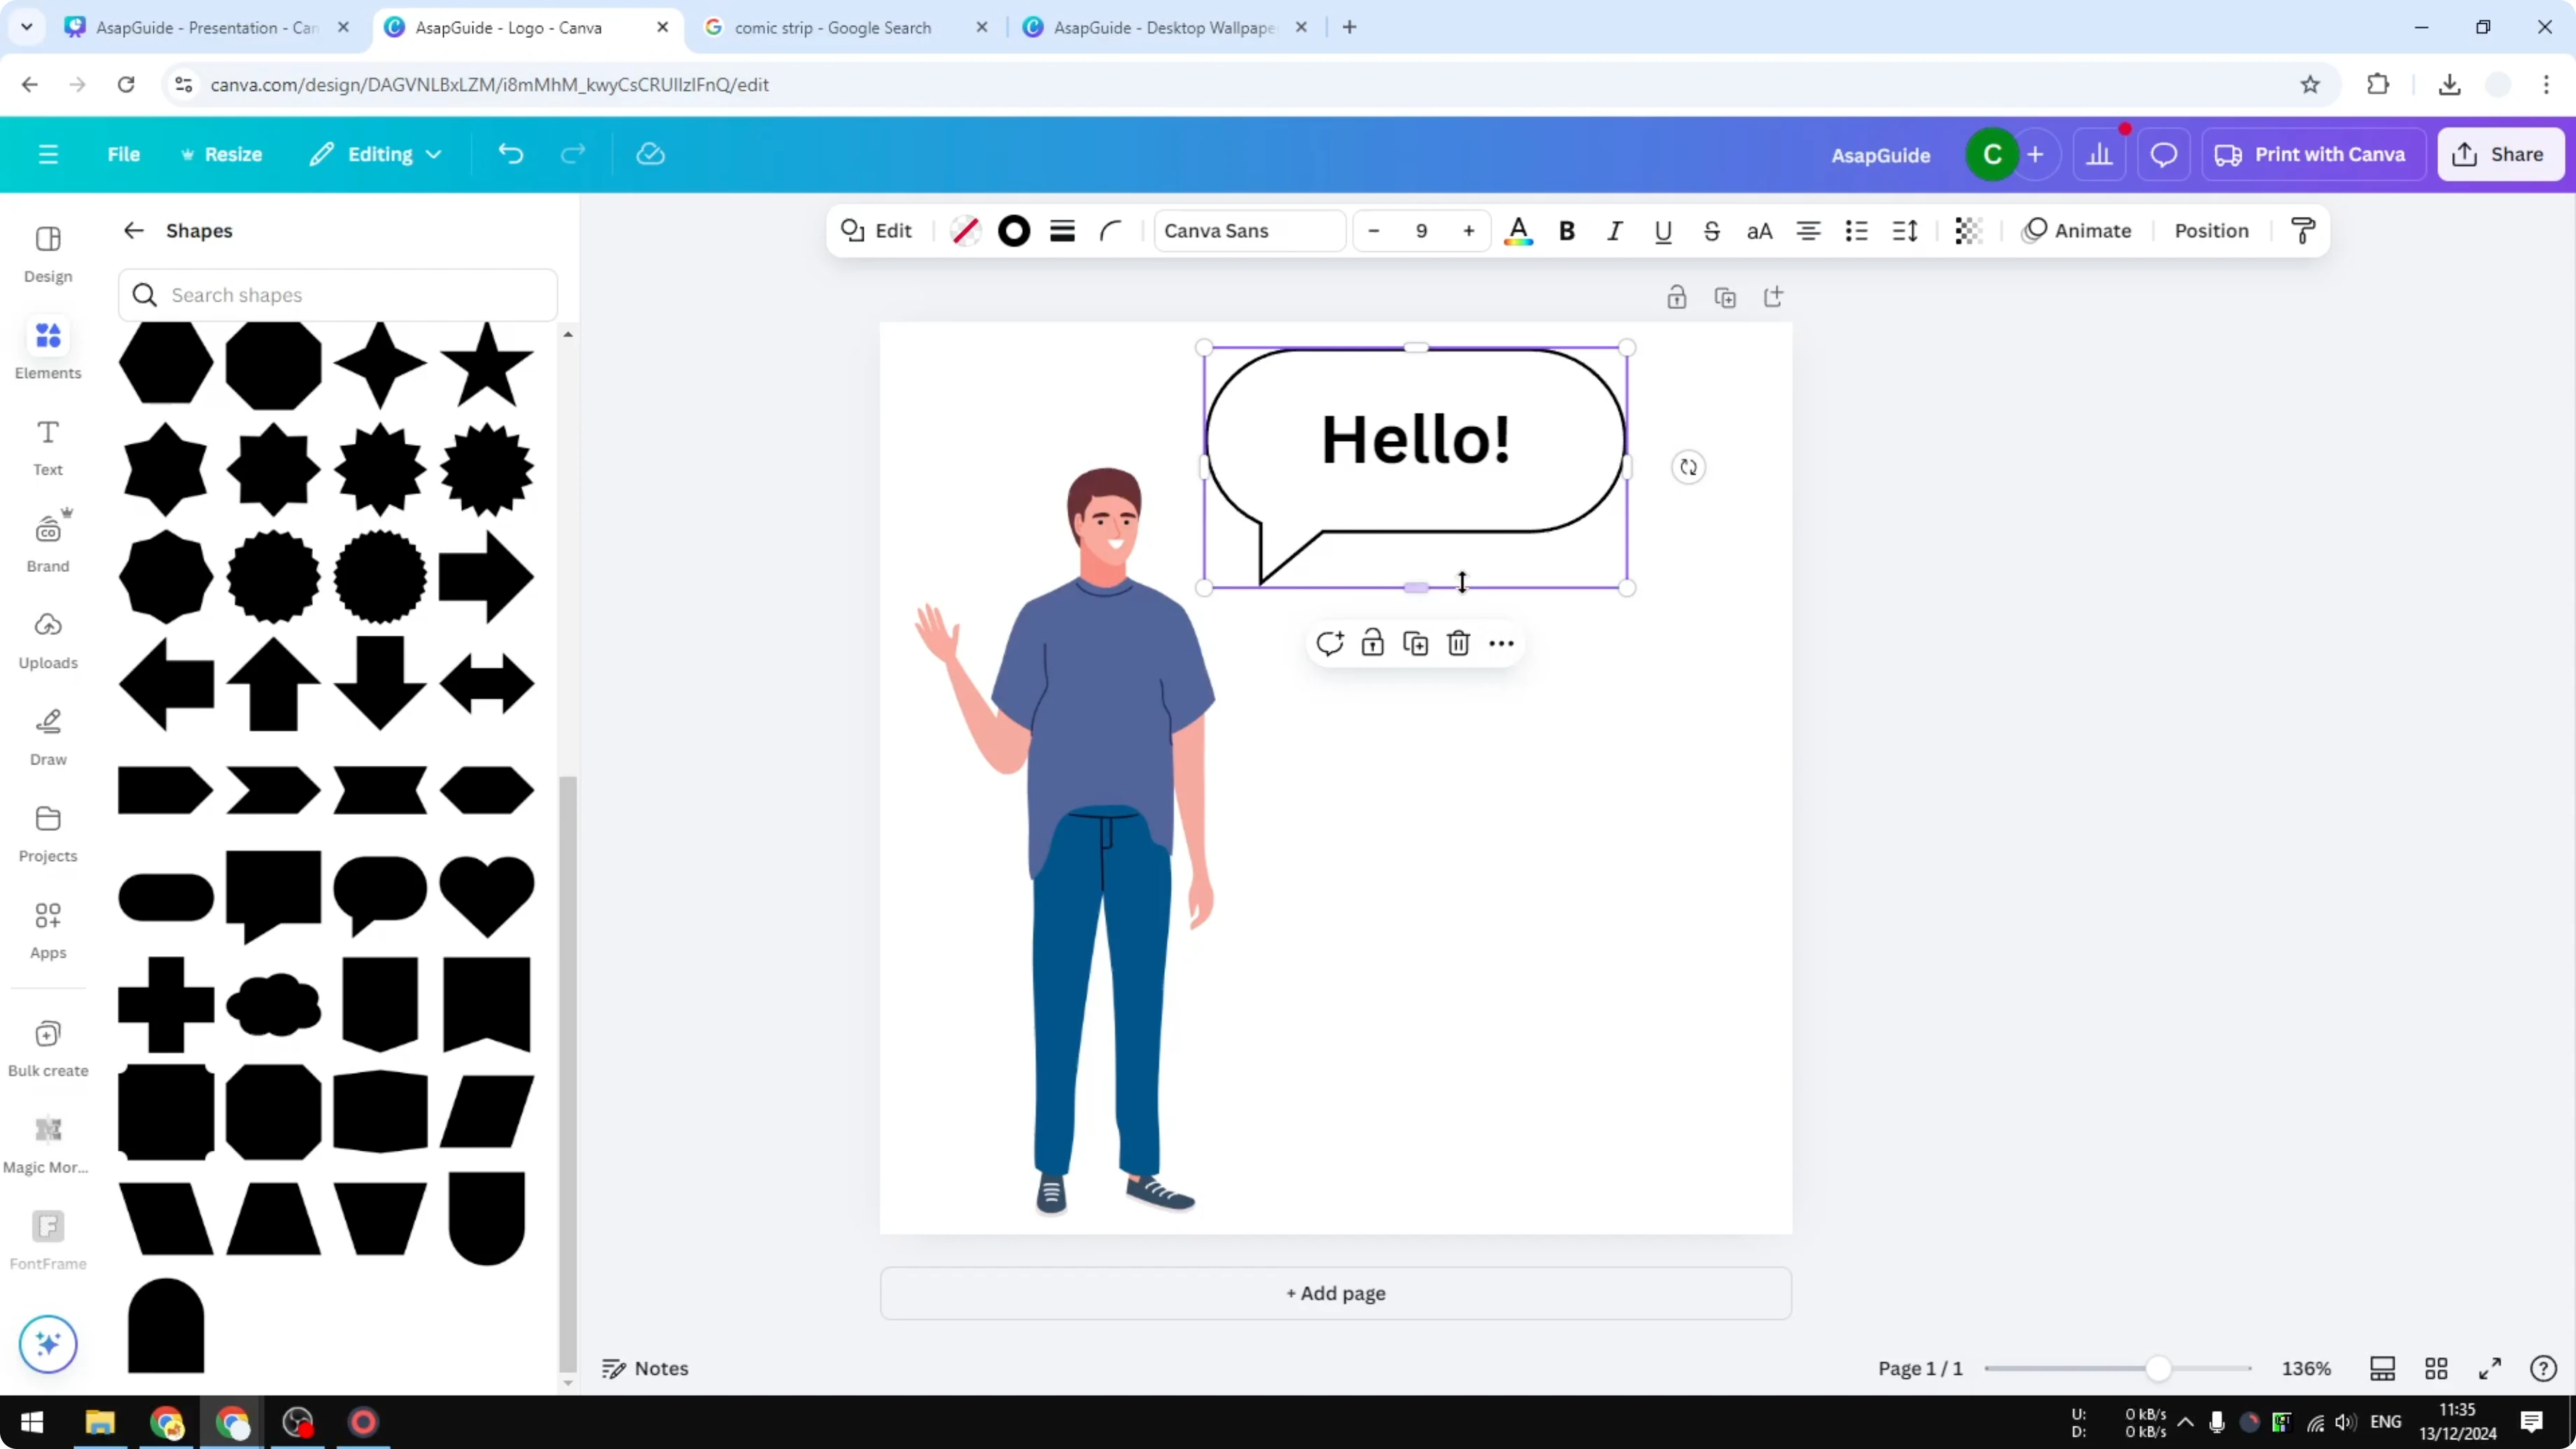
- Go to Elements.
- Click Shapes, then See all.
- Choose the option you want to use.
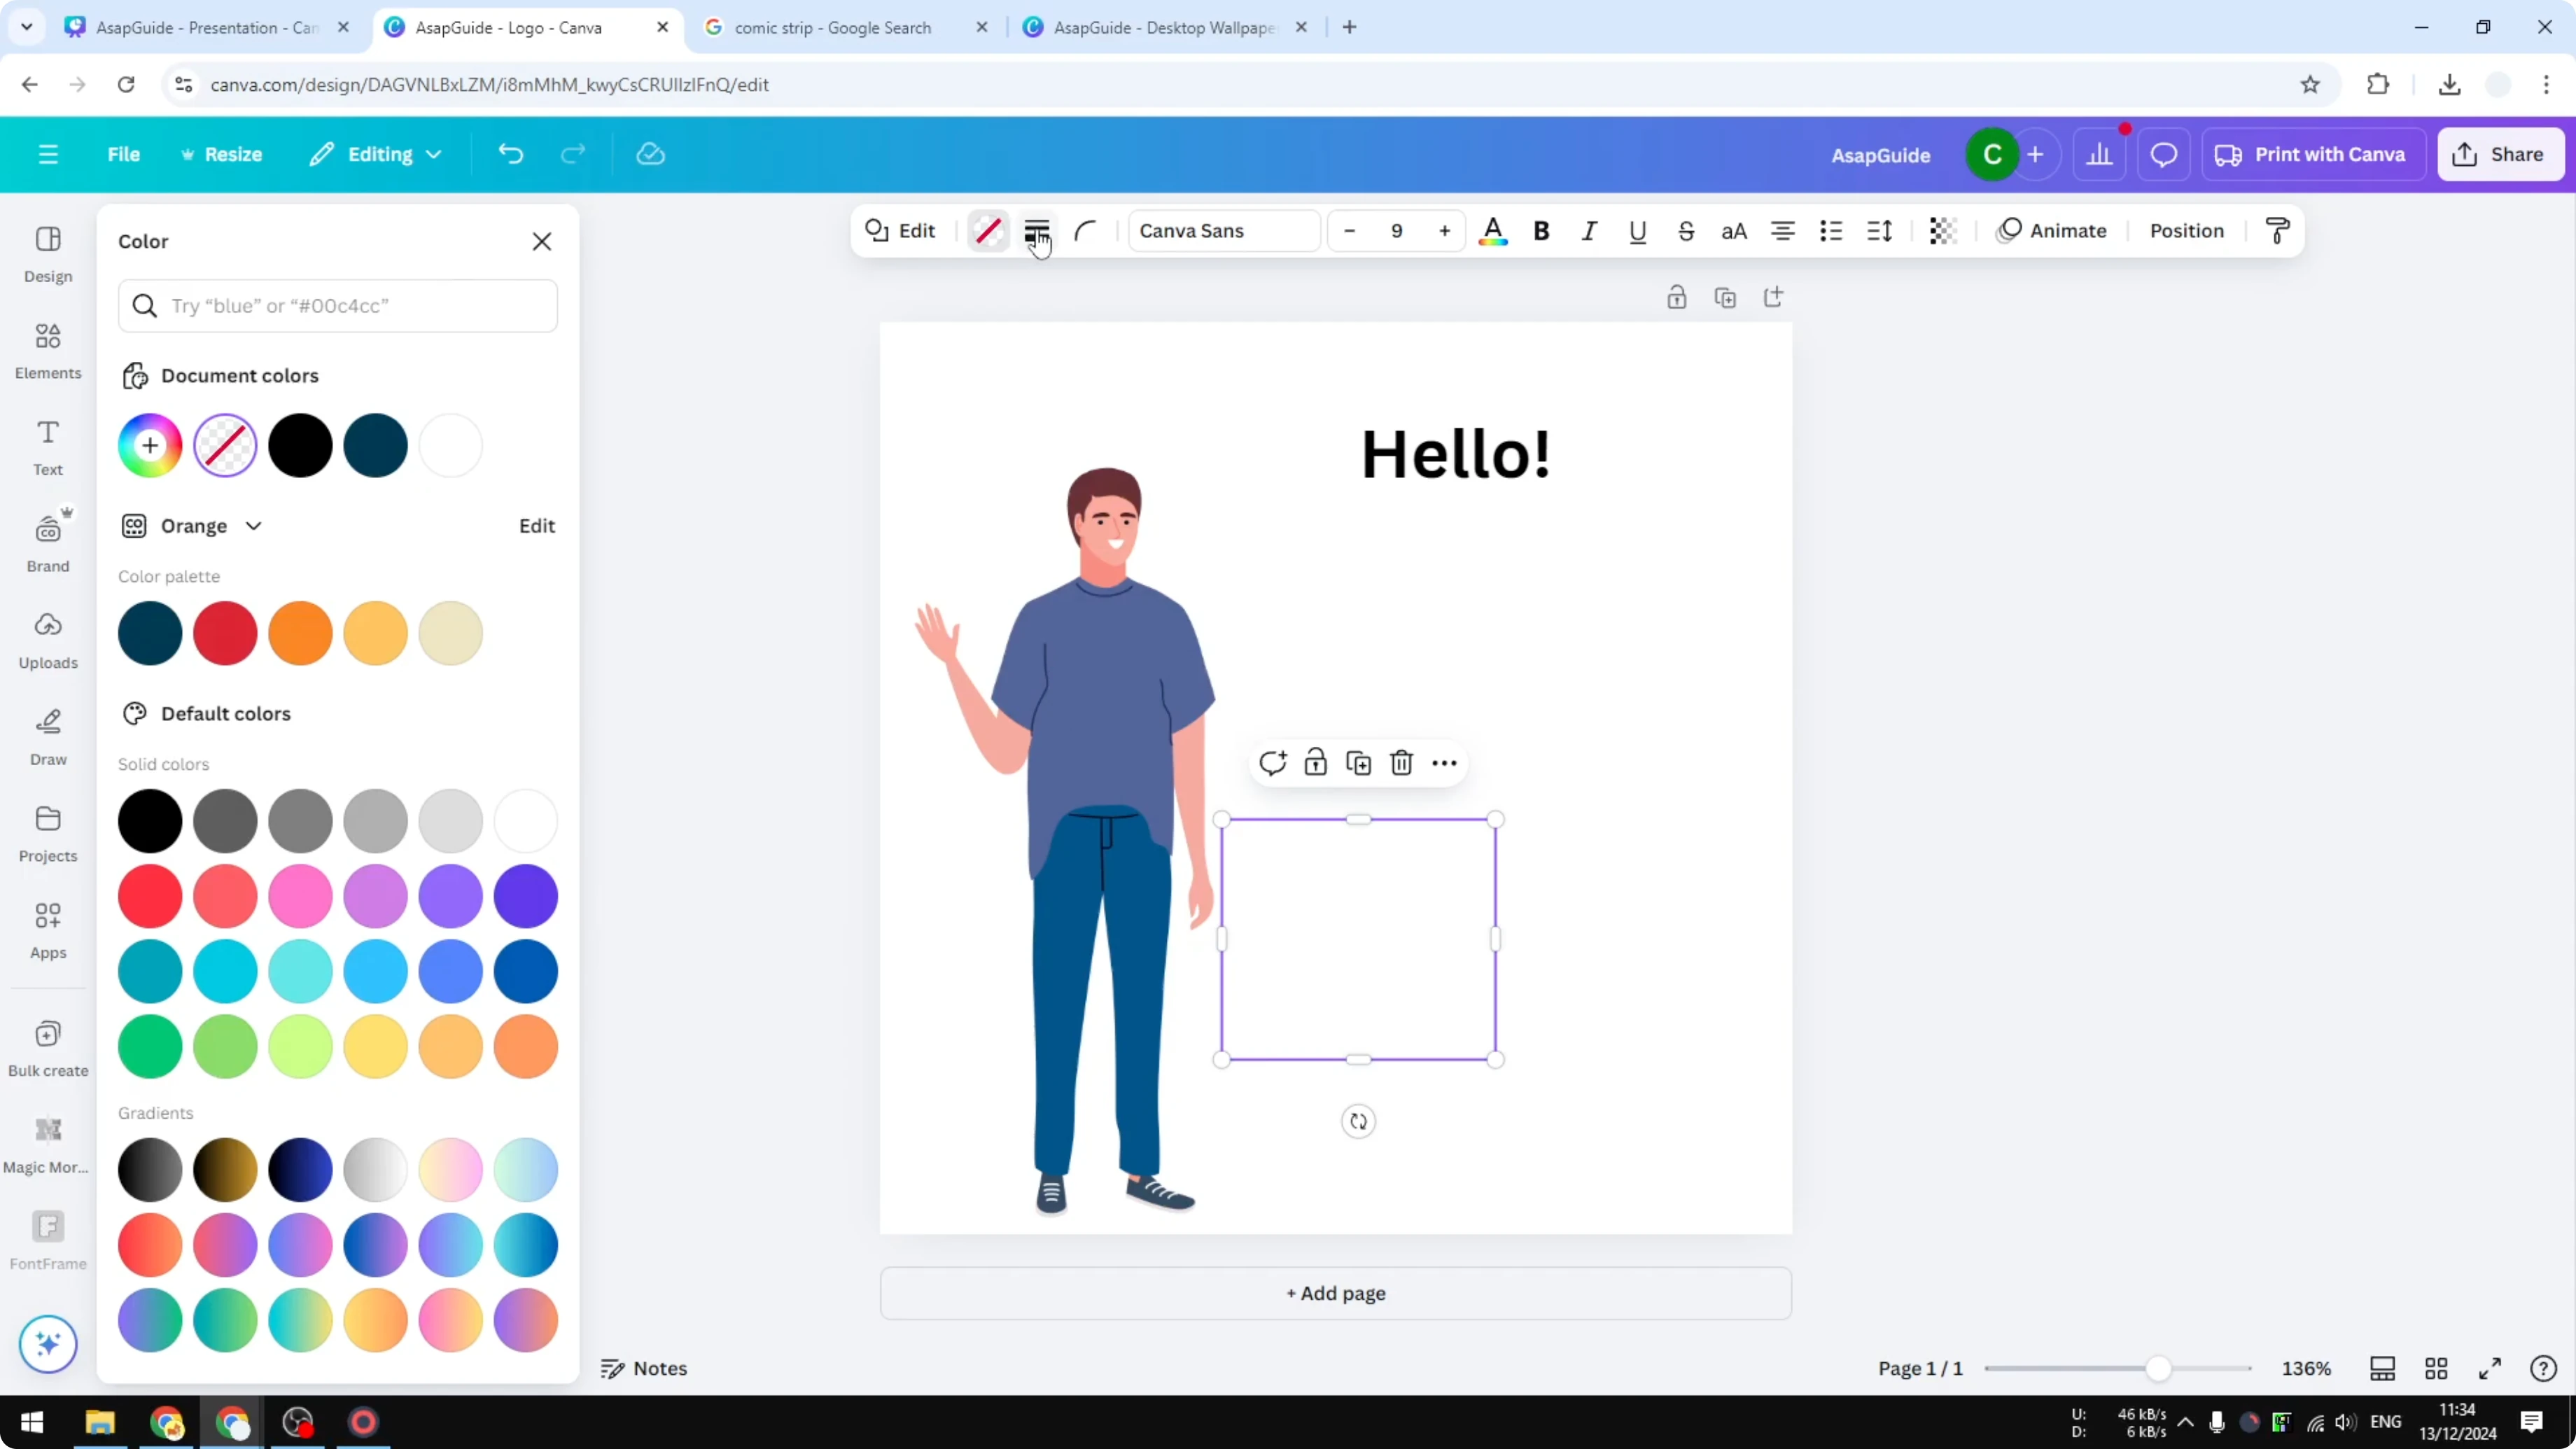
- Set the fill to white or make it transparent.
- Add a border - 2 or 3 pixels are good enough.
- Move it into position near the character. This essentially becomes the speech bubble for this person.


Issue: pointer direction and flipping
The problem with this method is that you cannot move the pointer. If your character is on the right, it is not looking great. Shapes in Canva cannot be flipped unless you download the shape as a picture and then flip it, but that is a bit too complicated.
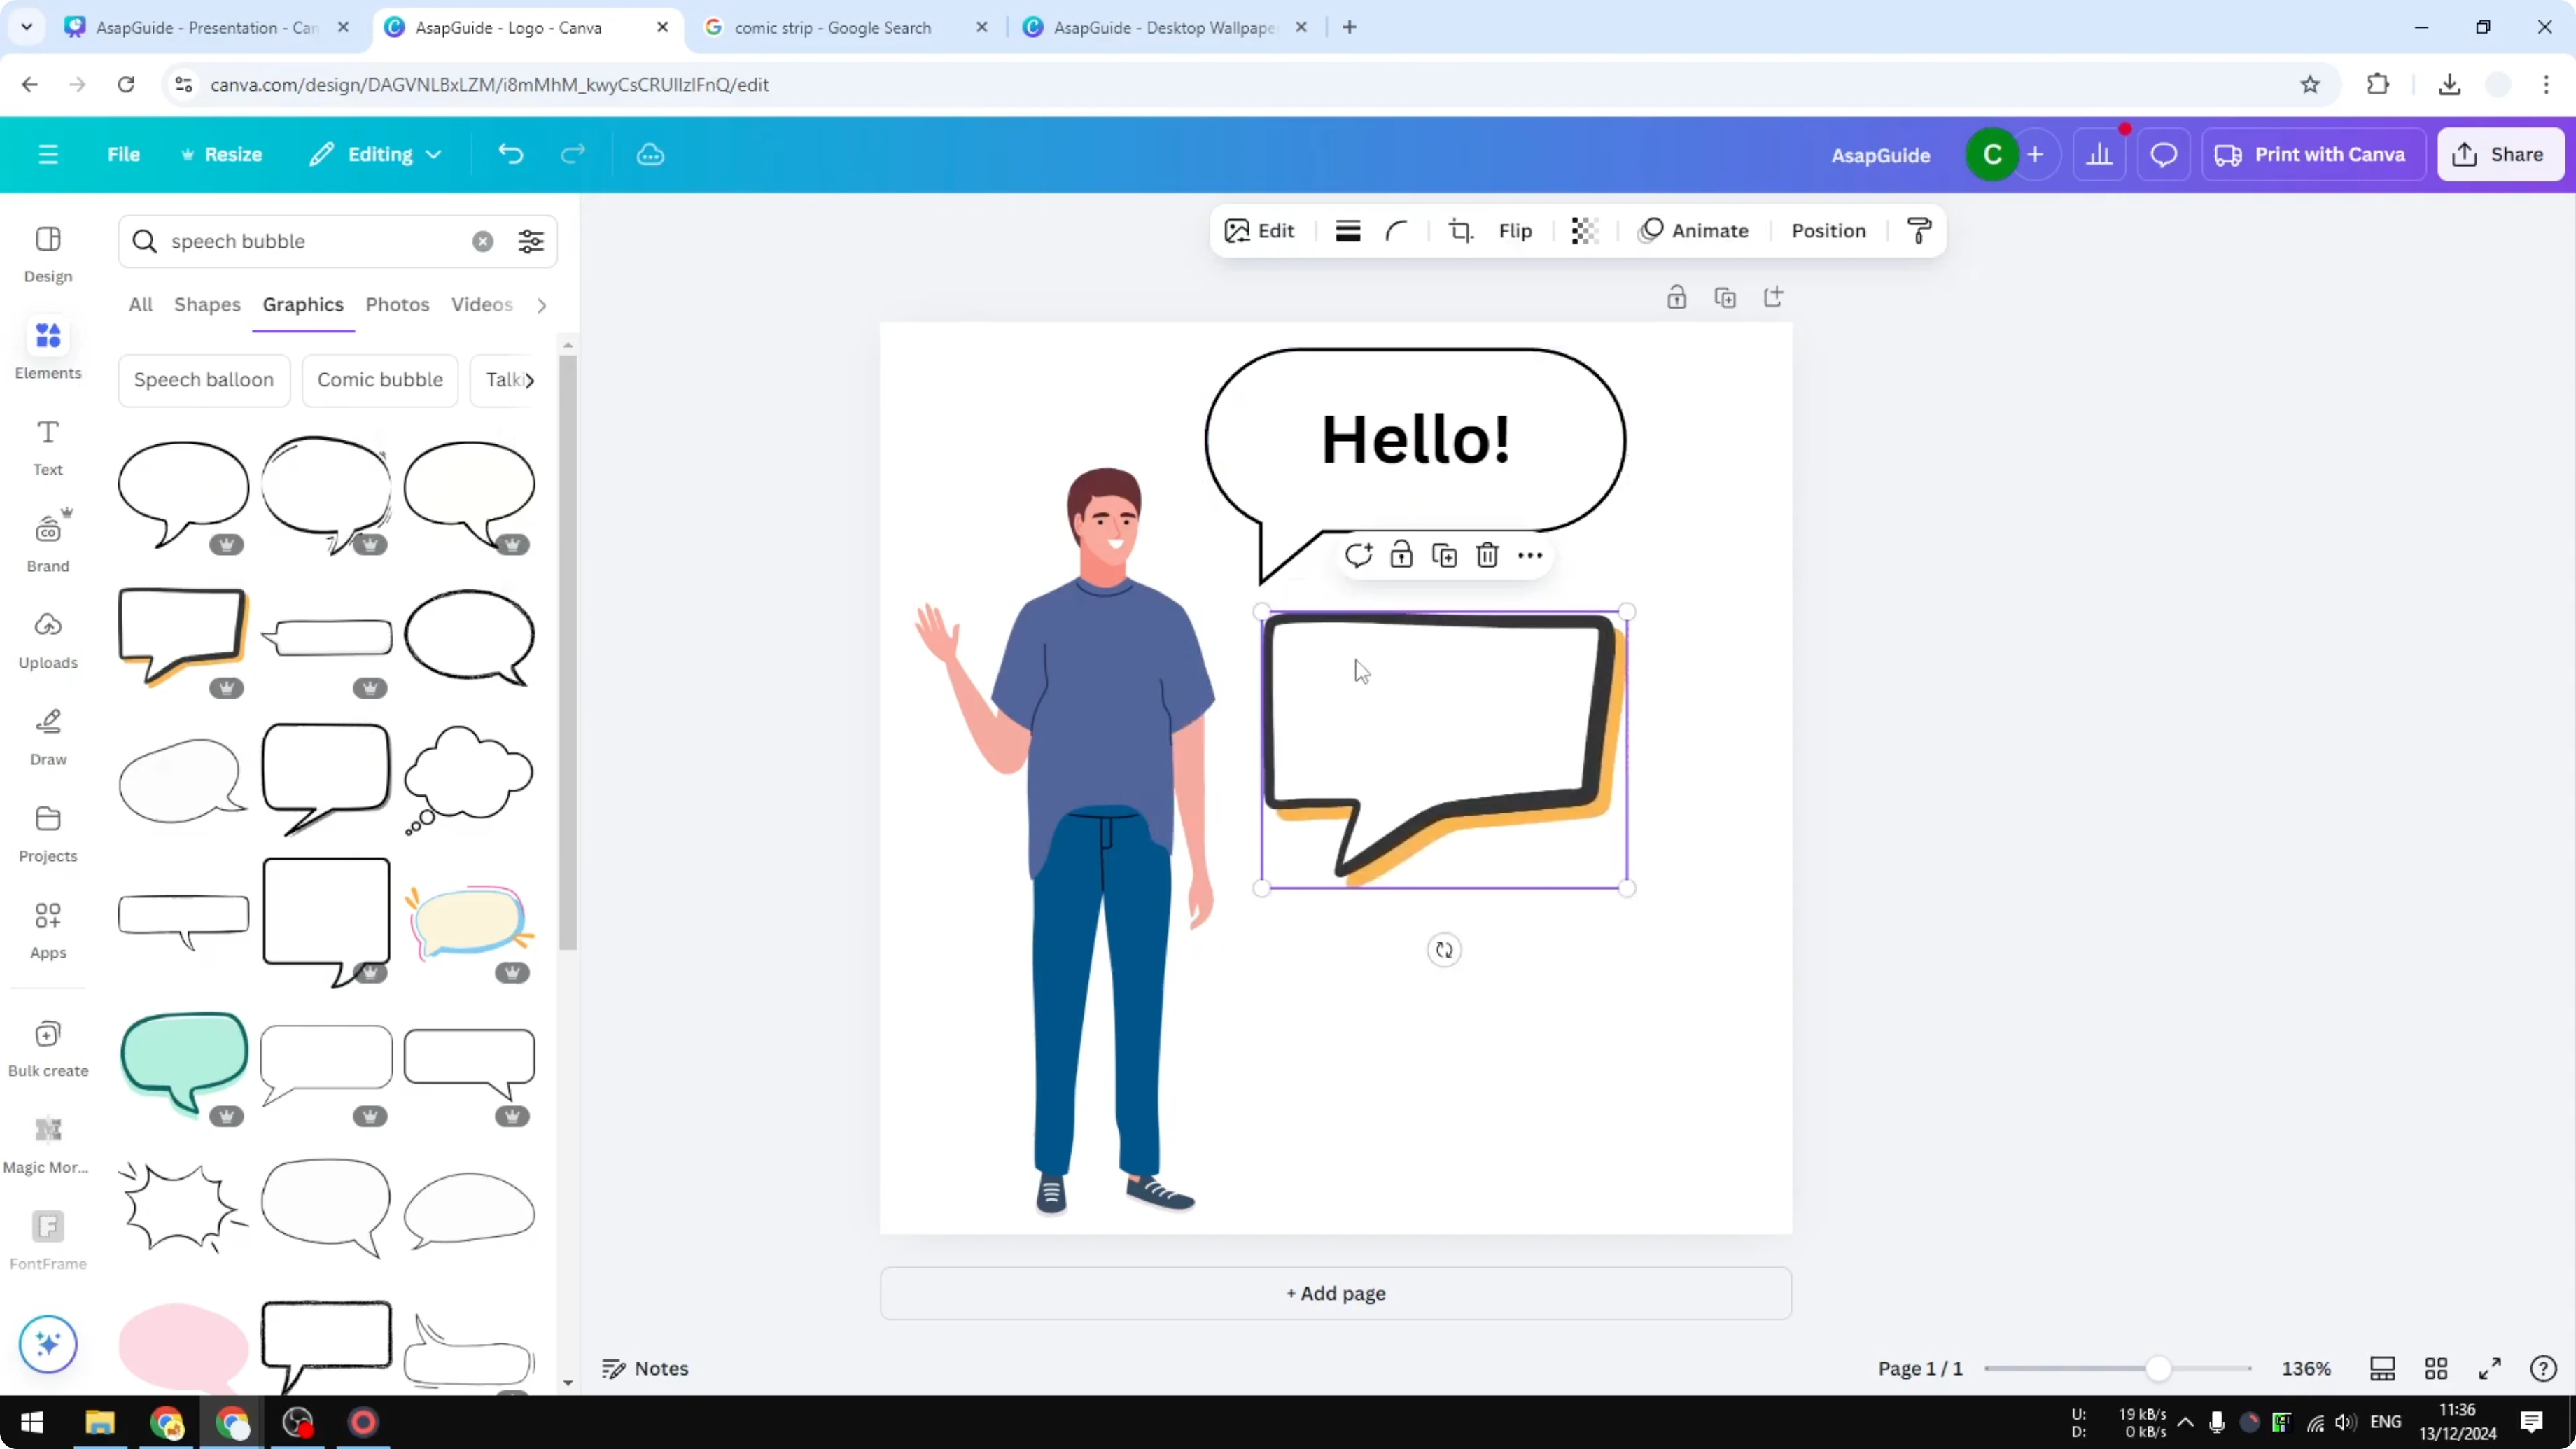
Method 2: Use Speech Bubble Graphics from Elements
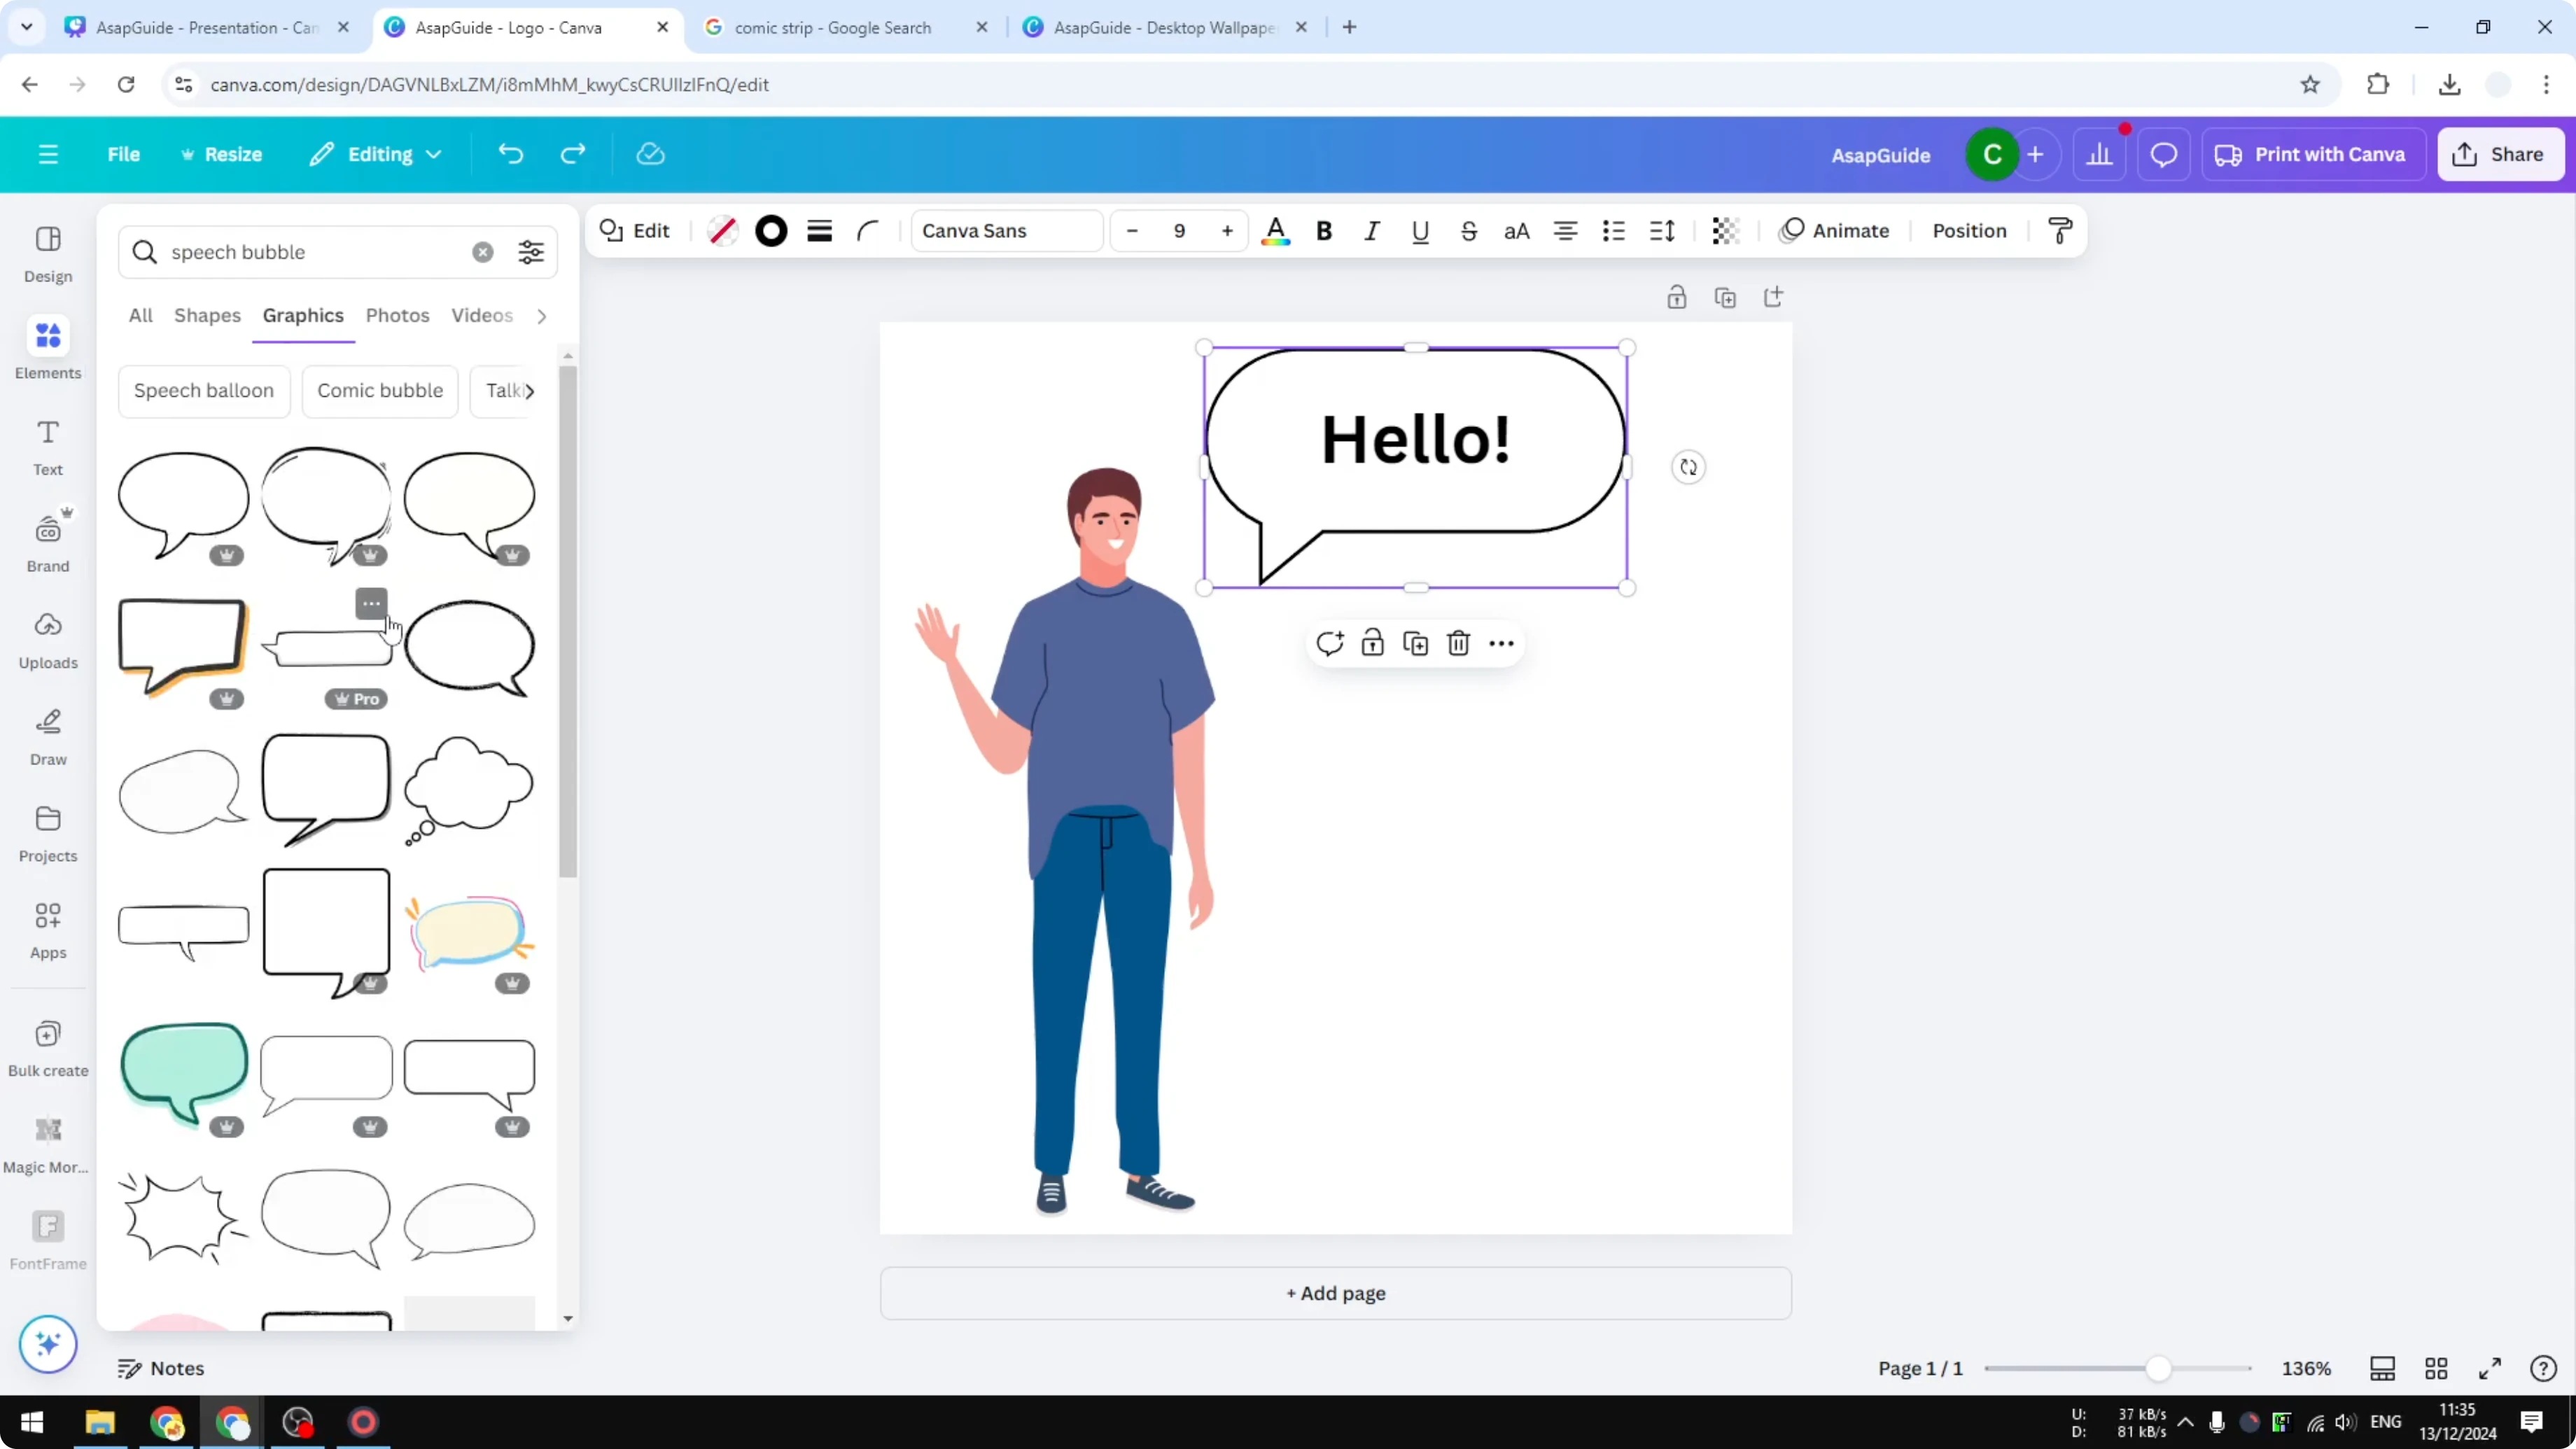
- Go to Elements and search for speech bubble.
- In the Graphics section, you will see plenty of different options.
- There are great looking designs and unique styles that you could apply to your comic or your design.
Add text to your bubble
- Go to Text.
- Click the text style you want to use.
- Start typing something.
- Put the text into the speech bubble.
Final Thoughts
Adding a speech bubble in Canva is simple. You can build one with Shapes for a quick result, but the pointer is fixed and flipping is not straightforward. Searching for speech bubble in Elements gives you a lot of flexible, better-looking options, and you can add your text in a few clicks.
Recent Posts
How to Visualize Yourself as a Pixelized Character with AI?
How to Visualize Yourself as a Pixelized Character with AI?

How to Revive Faded Memories and Enhance Image Clarity with AI?
How to Revive Faded Memories and Enhance Image Clarity with AI?

How to Visualize Yourself as an Animal Crossing Character with AI?
How to Visualize Yourself as an Animal Crossing Character with AI?